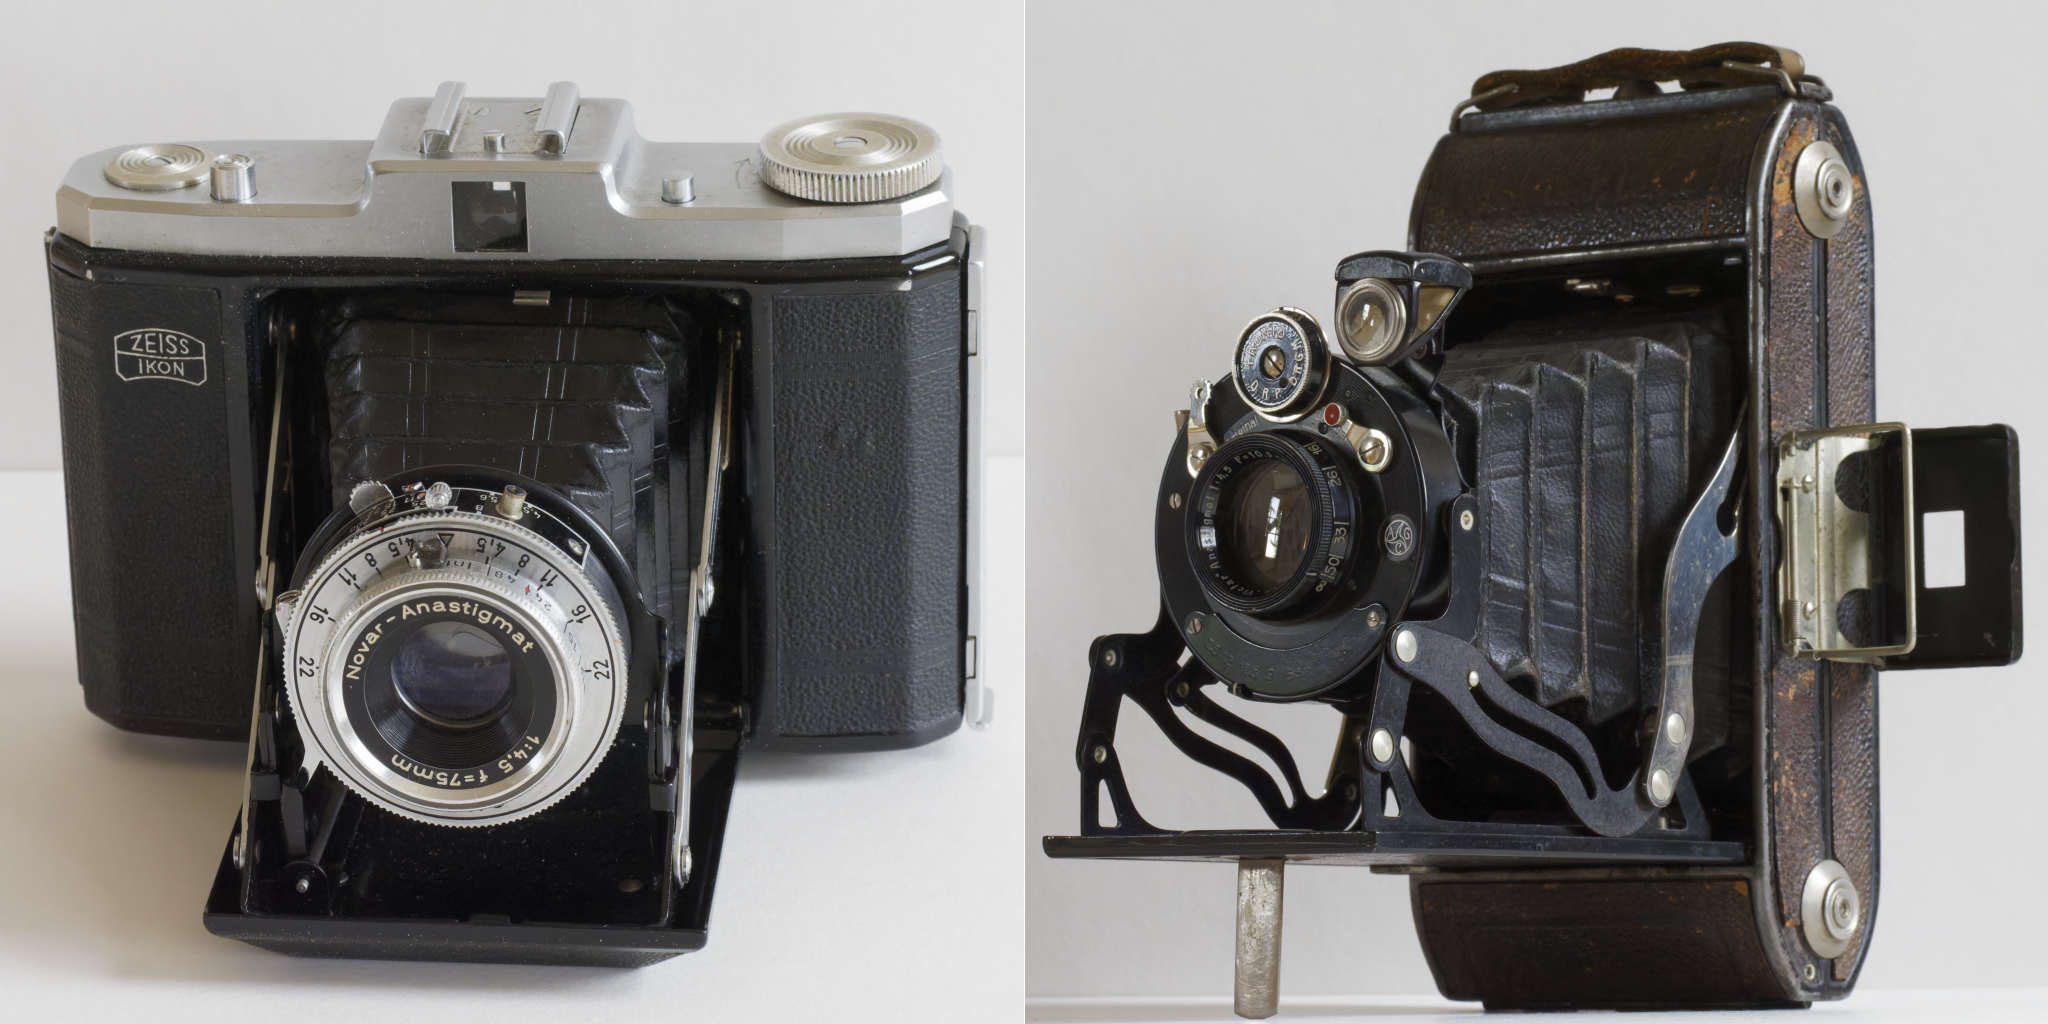
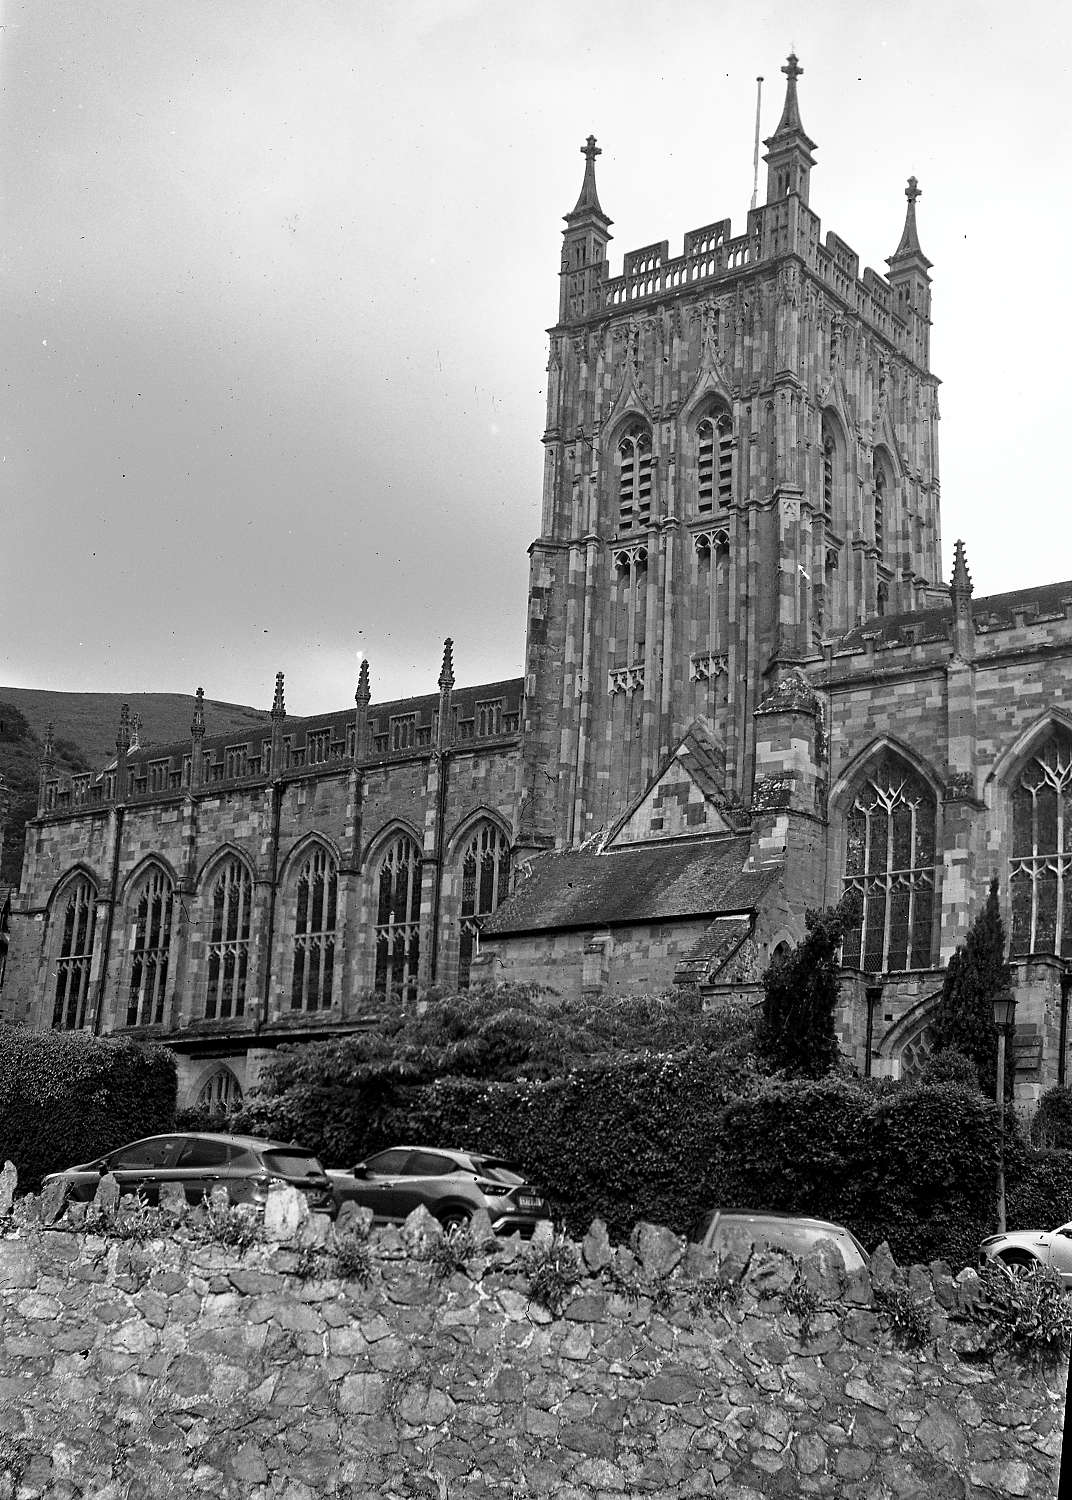
Like my last post this story begins with a purchase at a flea fair. I already had one Zeiss nettar, but was tempted by seeing what seemed a more modern one that took 6×6 pictures instead of 6×9. It looked to be in excellent condition, including a case. I thought the lens looked fine, but when I got home I realised there was fungus in it, probably enough to degrade any images. It turned out that it was easier to clean than the Zeiss in my previous post. To remove the rear element I just had to unscrew one retaining ring, so I could get to the back of the middle element. Then learning from previous experience, I moved the focus so I could access all three grub screws in the bezel and I removed it only after noting that the focus mark was at the first digit of the 12 foot mark. Then, being careful not to move the focus I put a piece of sticky paper on the outside of the lens assembly and marked where the focus point was and then counted how many turns before it came off. All the three elements could then be cleaned and and reassembled, a process that probably took no more than 15 minutes. A film went in and back to the flea fair, thinking it would be a good subject for testing the camera. The results were terrible. These were the best images.
 Lesson 1: when reassembling the lens, be careful to make sure the convex side of the rear element is on the rear facing the form. The fault was corrected and a couple of days later, when the light was bright enough to hand hold with a reasonable aperture, go out with a roll of FP4+. However, because I did not want to waste a whole film testing a camera that might have other problems I decided to take 6 shots with it, go into the darkroom and put the film in another camera I wanted to test, a Wirgin Auta dating from the early 1930s that I had never tried. Hence the heading, which is really an excuse to review two cameras together. After taking the 10 shots (6 on the Zeiss, 4 on the Wirgin), the film was developed in ID-11 1+1 for 11 minutes.
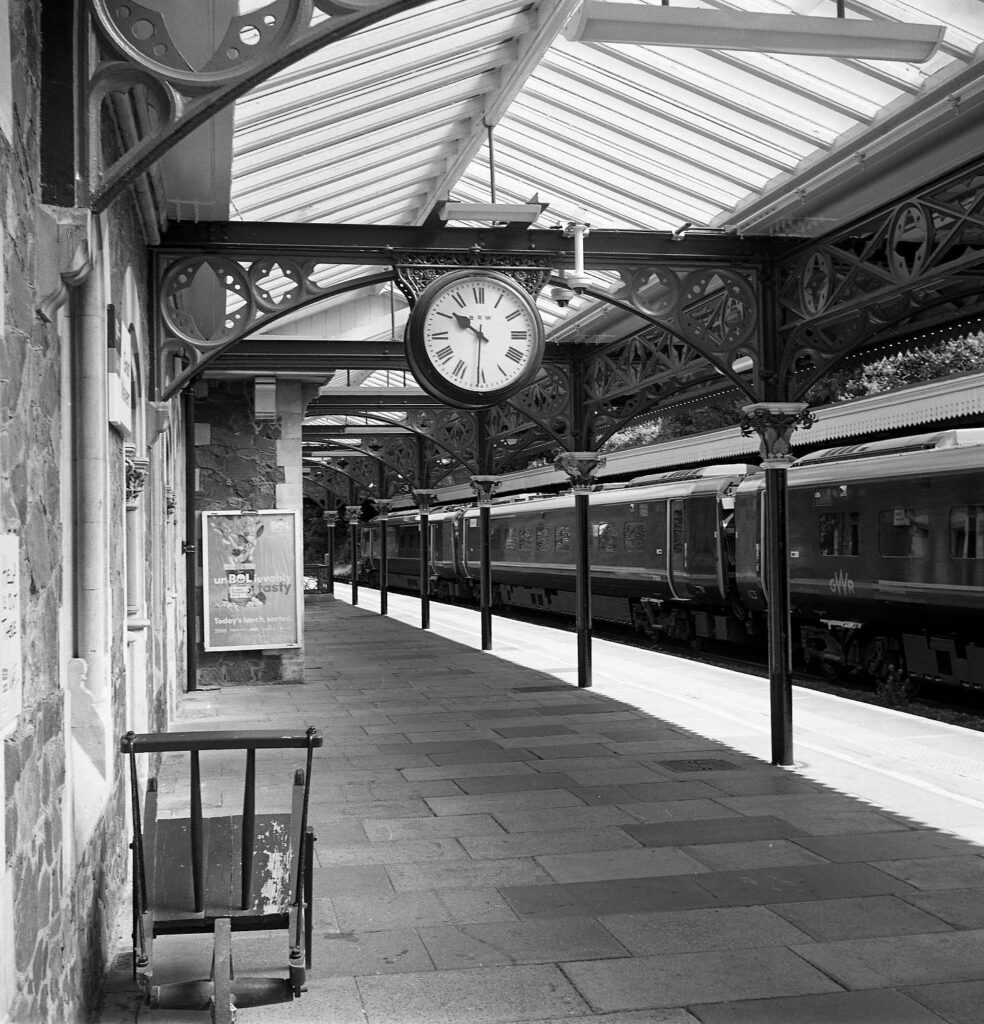
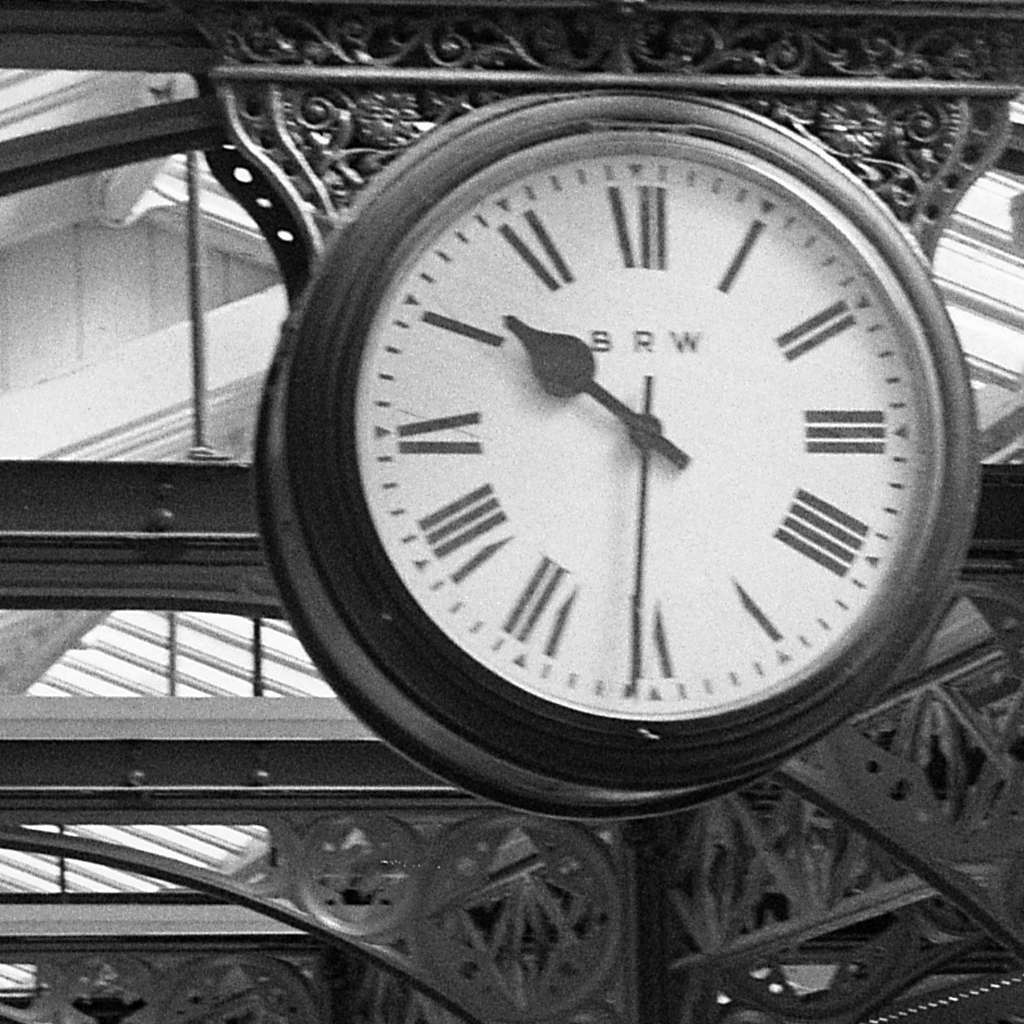
The Zeiss shots impressed me as being as sharp as I could expect (maybe I did not quite nail focus on the clock), which should be clearest in the two 100% crops, though given the good things Ivor Matanle’s book on classic cameras says about this model, I should not have been as surprised as I was. This time I used a separate rangefinder to get focus right, though I was cautious and tried to use f11 as much as I could. I learned that the rear element is definitely not symmetric and turning it round has a dramatic effect. Who needs a Lensbaby or a plastic lens?
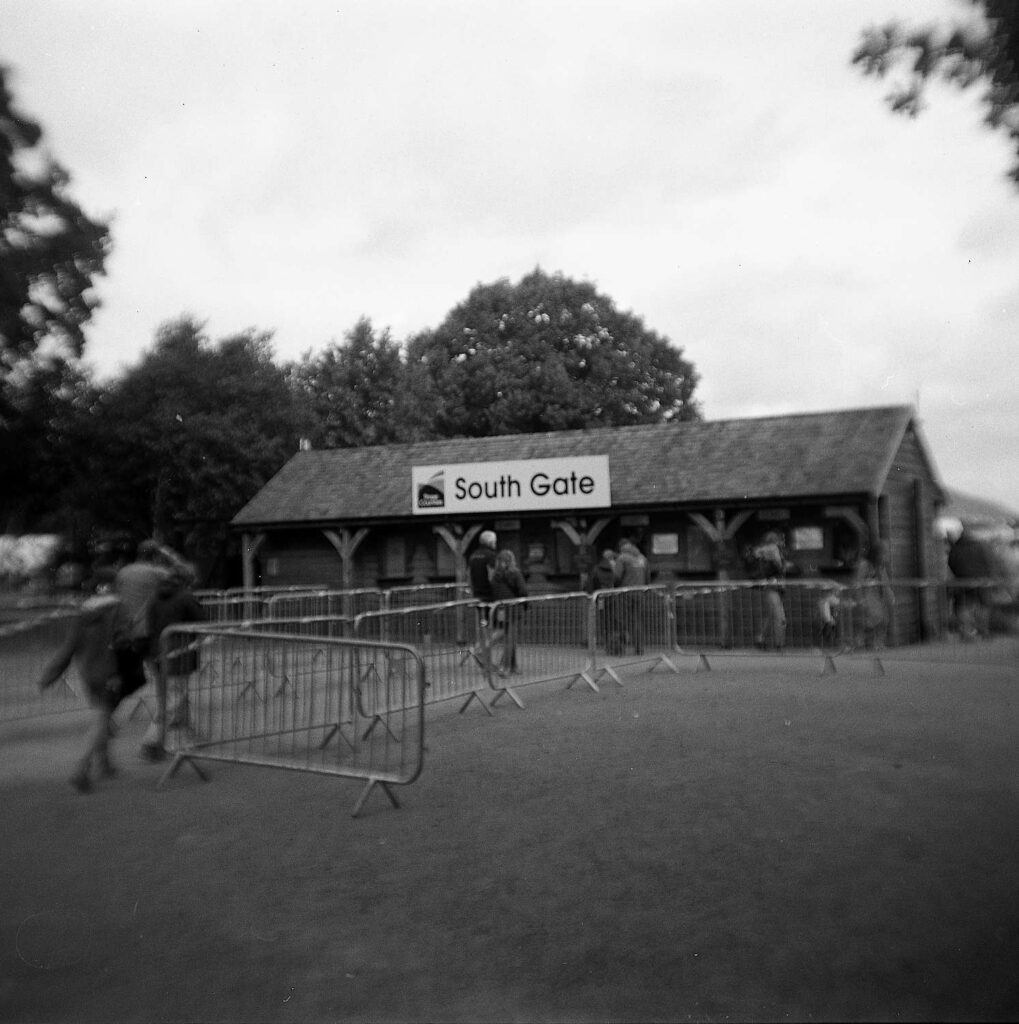
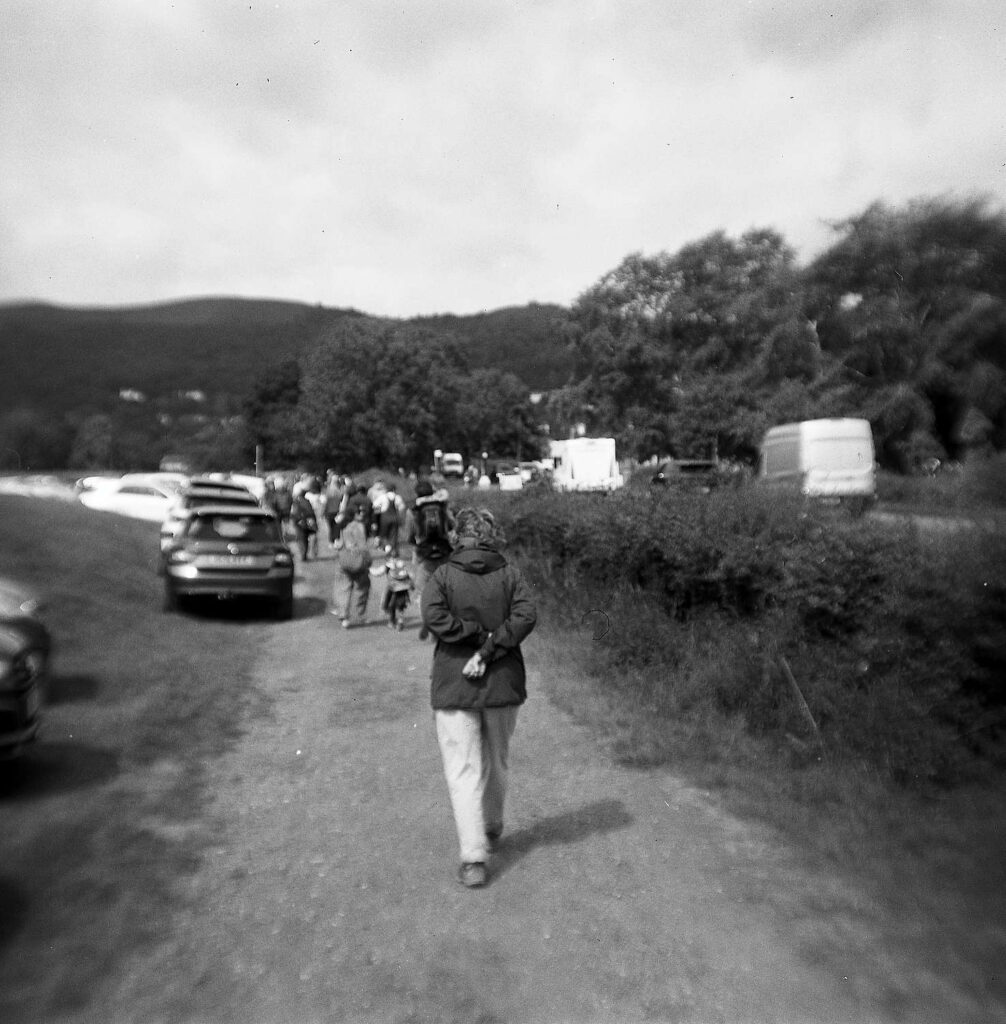
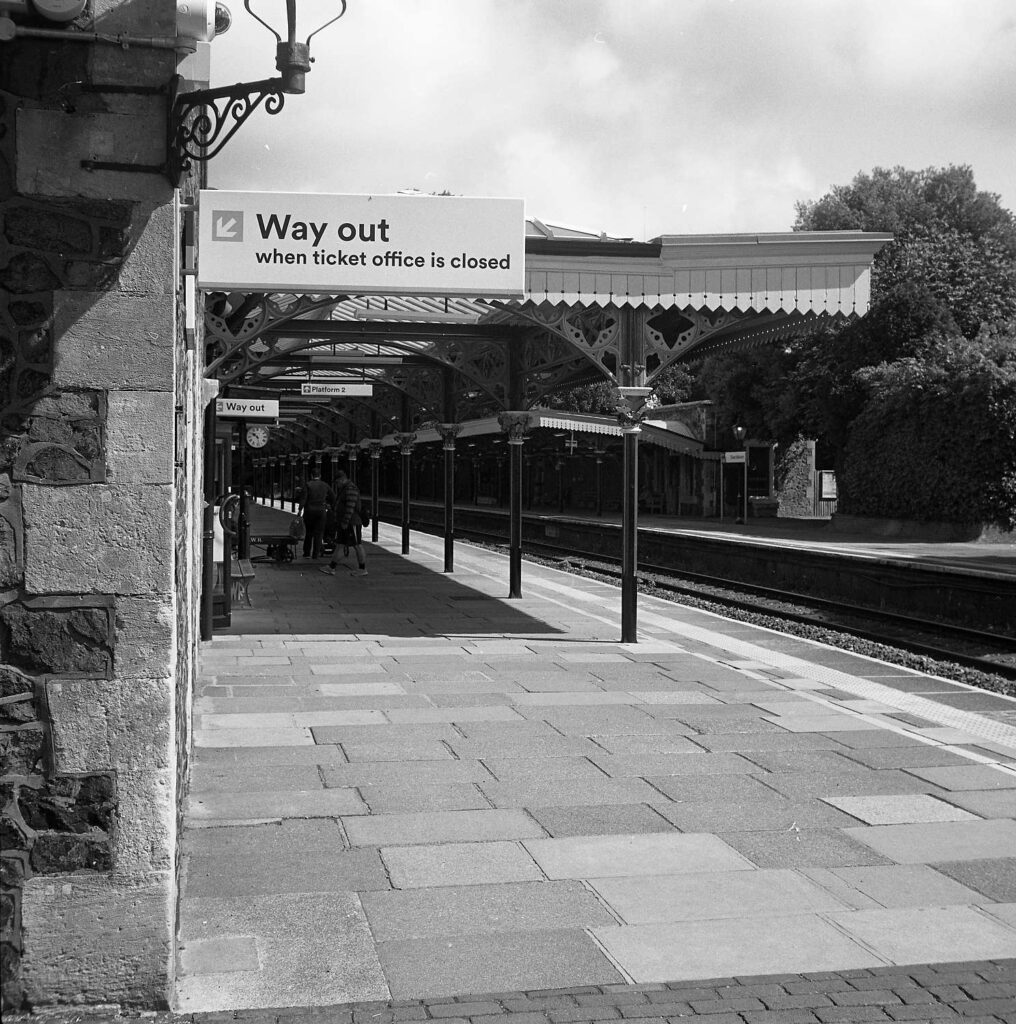
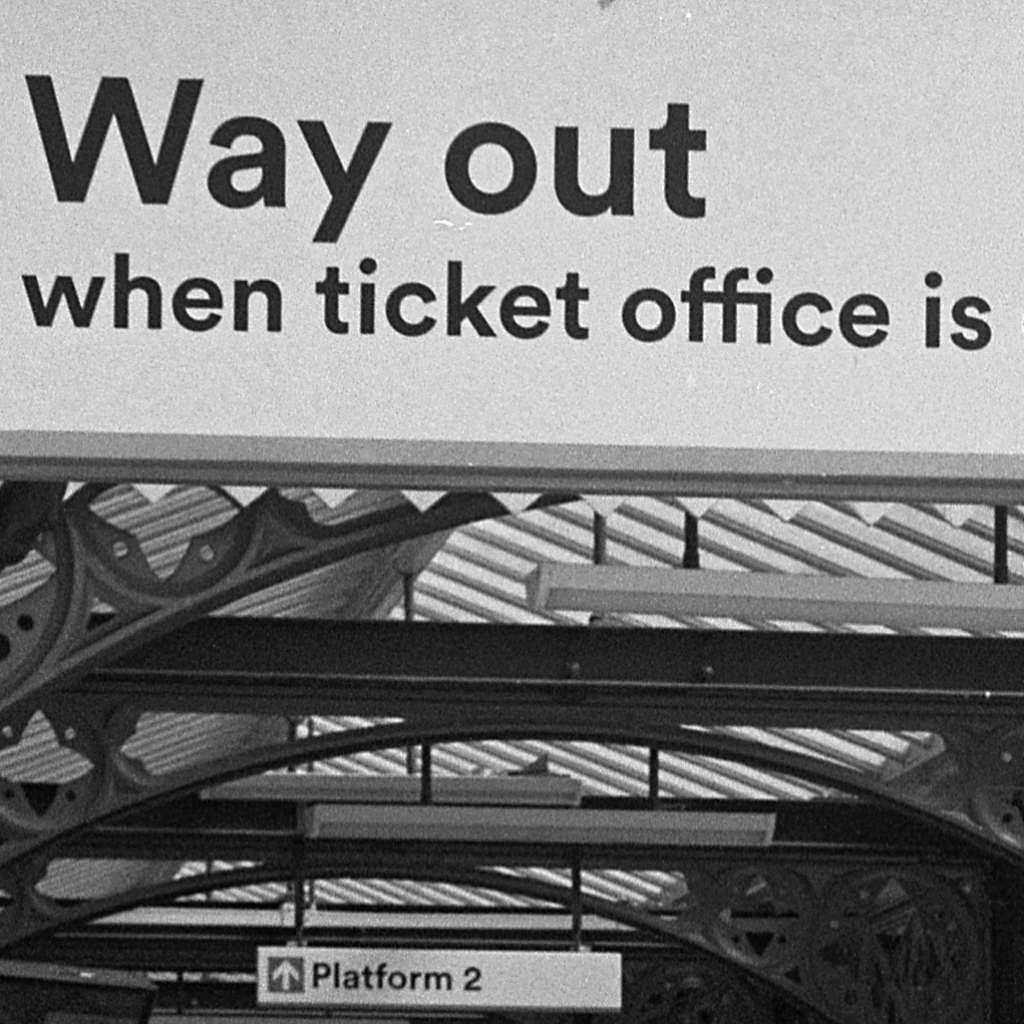
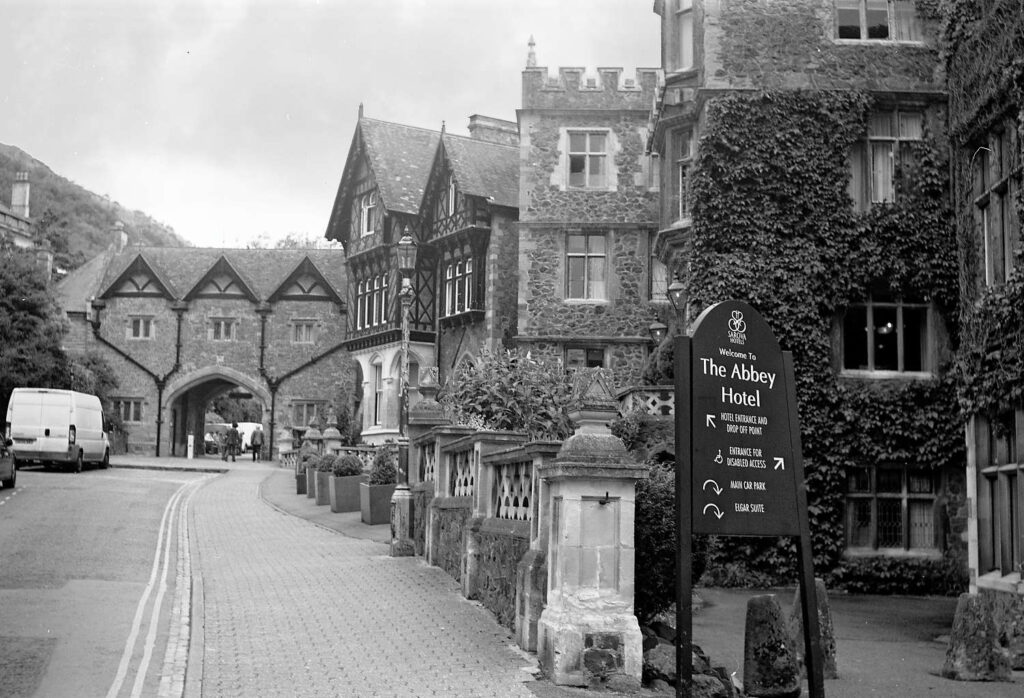
In the next one I focused on the Way out sign.
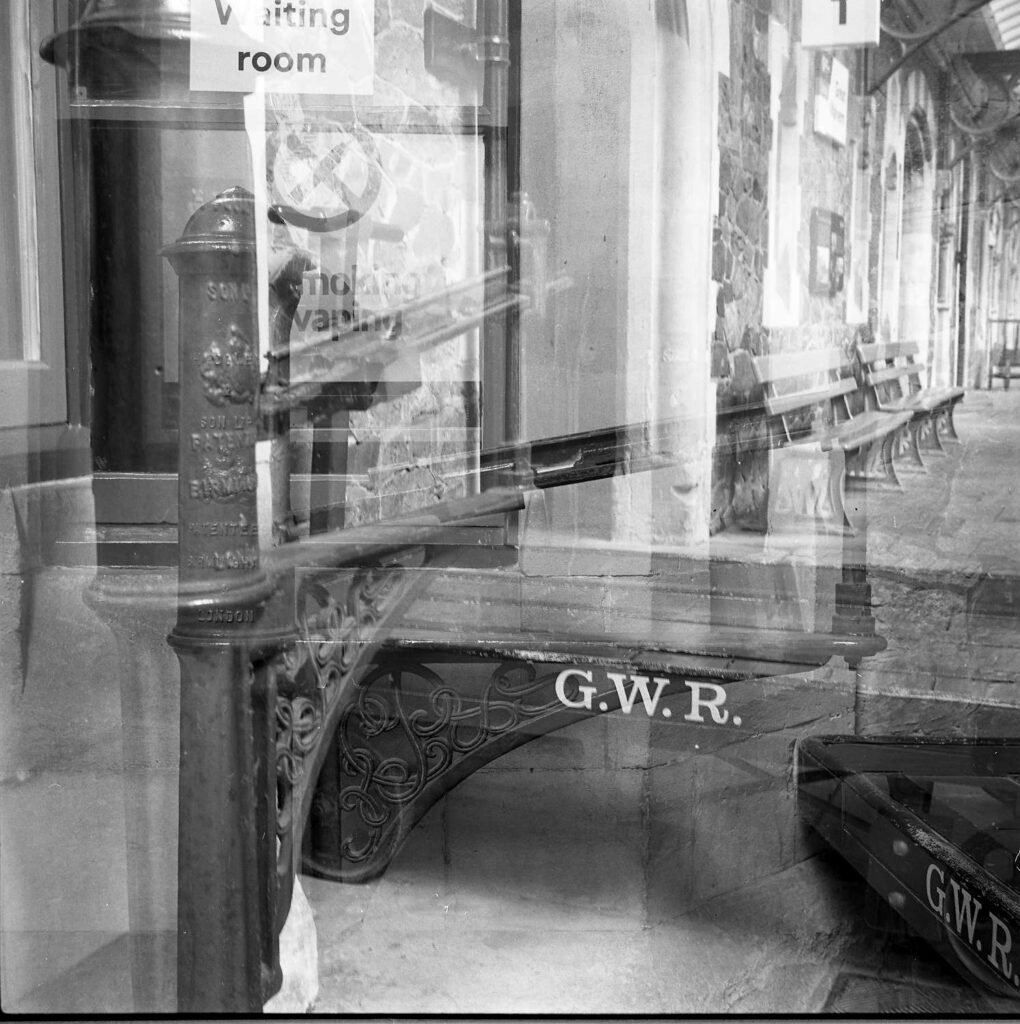
 Two more on the station platform aimed at testing focus and bokeh using f4.5 at closer range resulted in an accidental double exposure. But it looks as if they might have worked had I remembered to wind on.
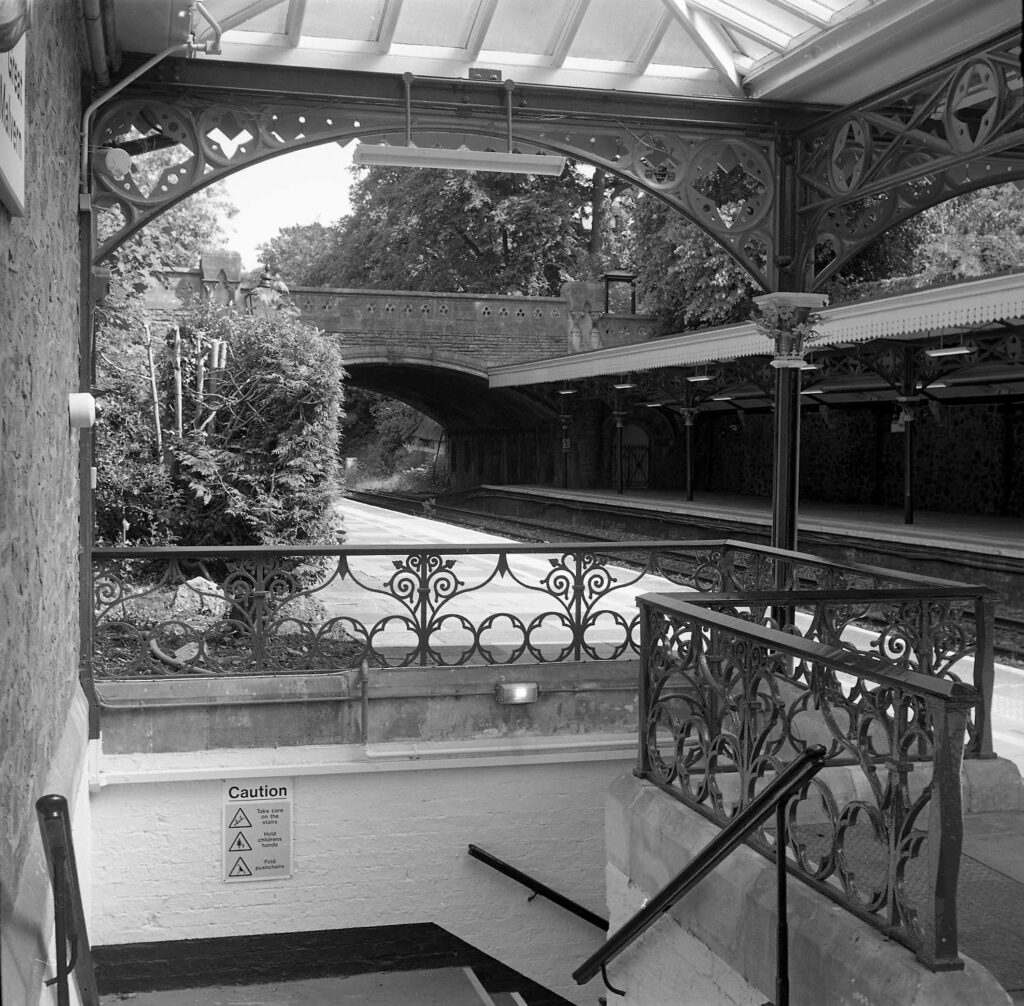
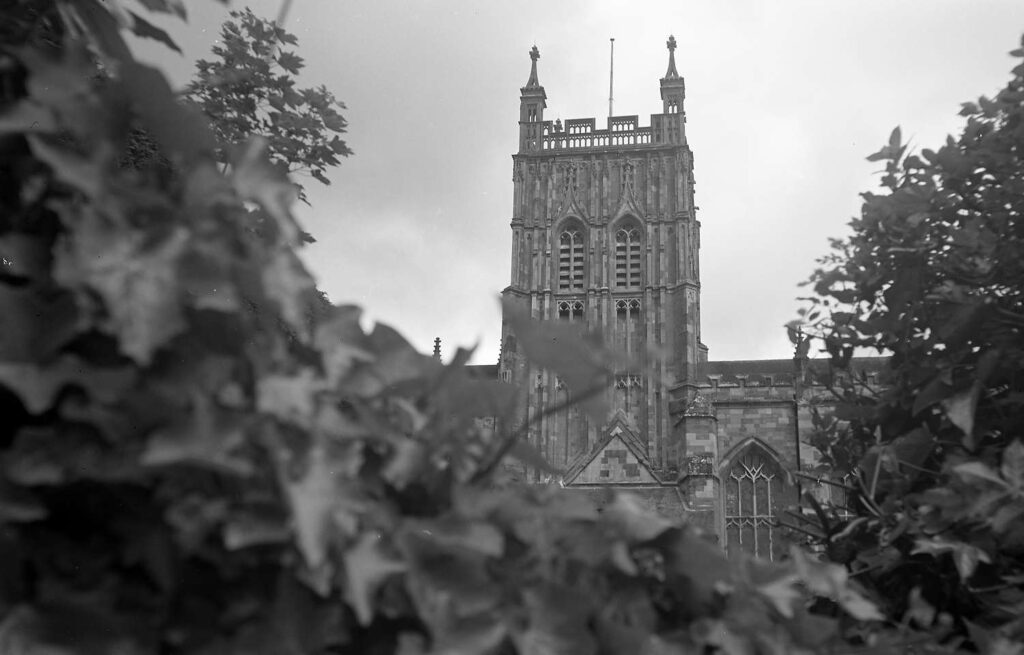
The rest were fine. In the next I focused on the far rail behind the subway.
The Wirgin images were very different, with much paler negatives, and I adjusted the exposure slider between 1 and 2 stops on three of them.
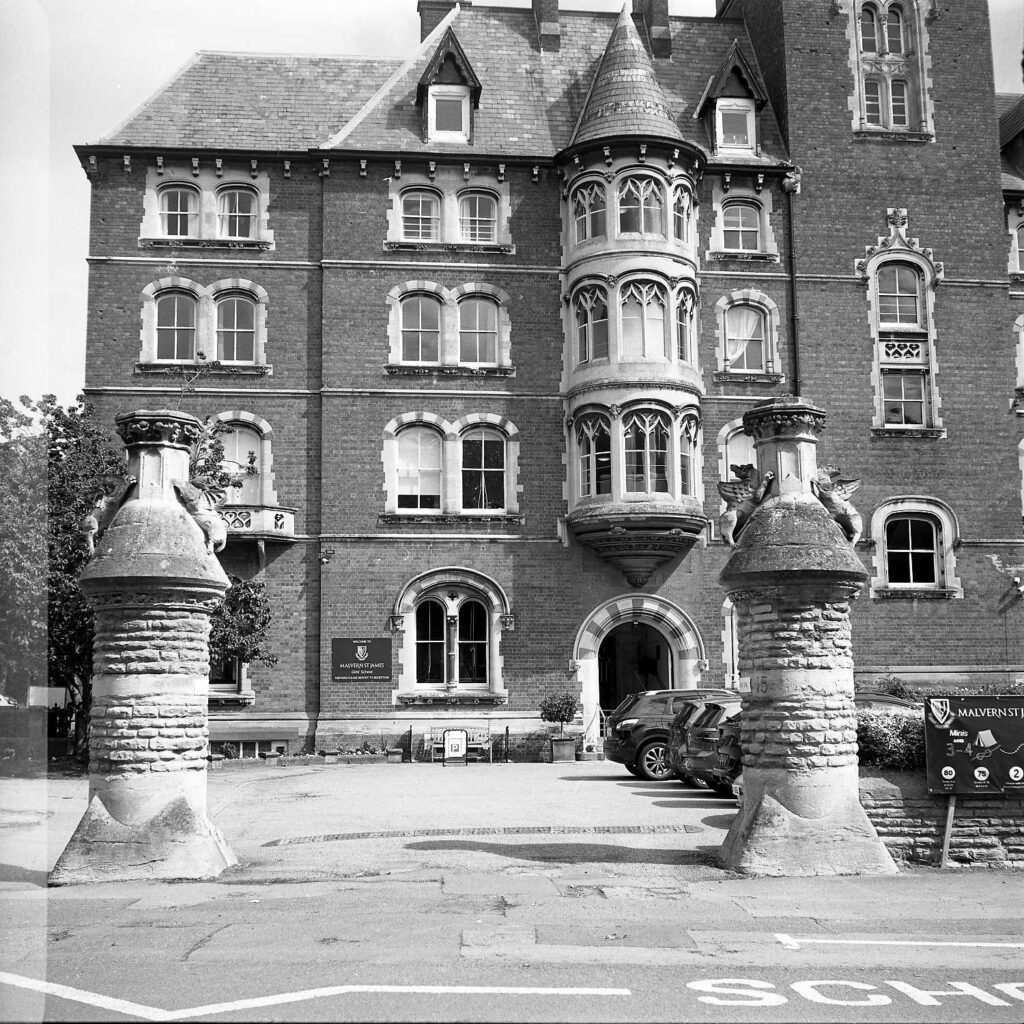
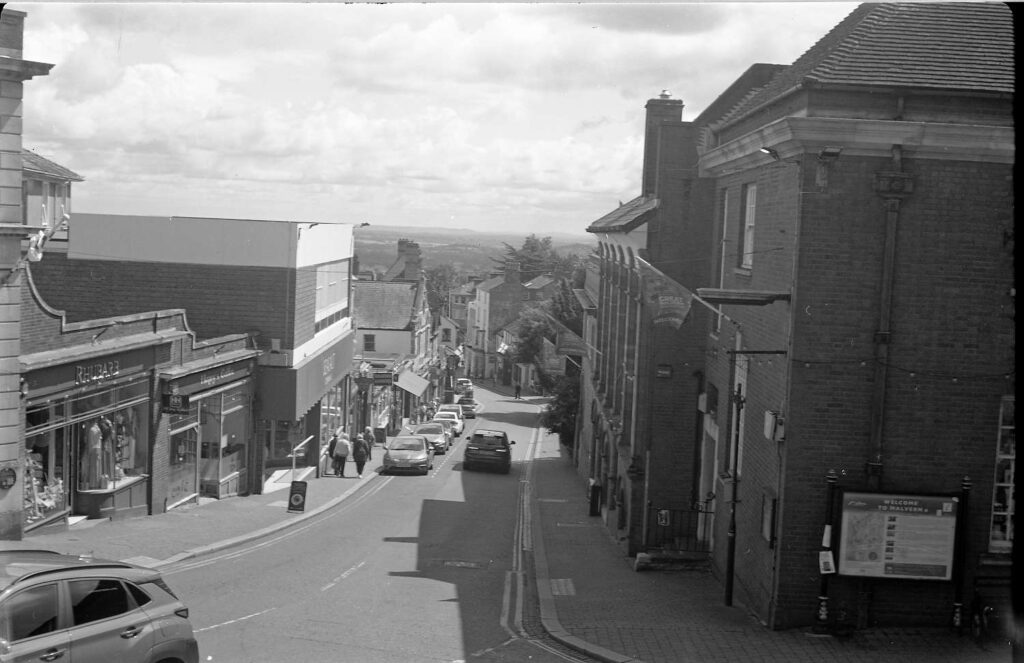
The first was focused on the hotel sign, which seems sharp enough, with the building in the distance out of focus as it should be.
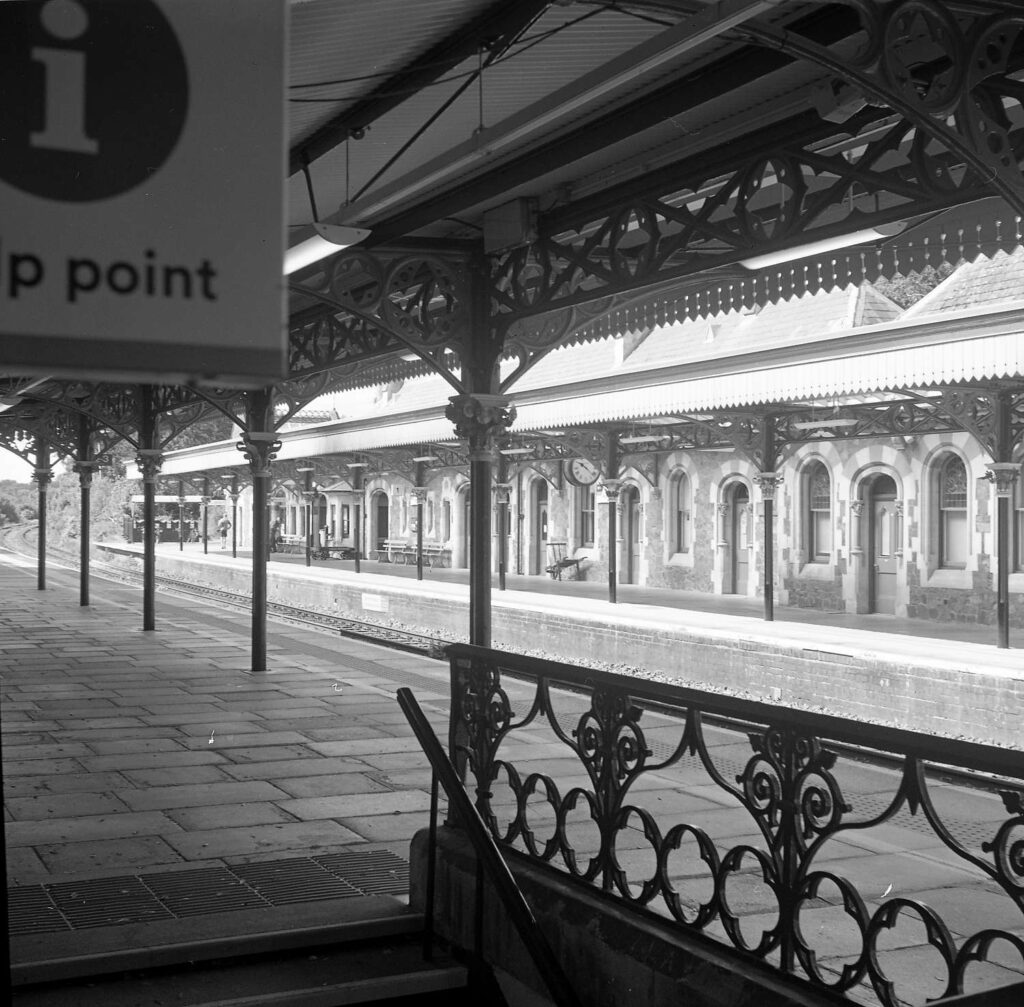
The next one is nice and sharp, showing that the camera can take decent images. Something I don’t understand is that this negative had lots of dust spots from when it was in the camera, something no other images had. Perhaps it got in when I moved the film over in the darkroom. I can’t think of any other explanation. I removed a lot of them in this image with Lasersoft’s SRDx filter but there are still plenty left.
The last shot on the roll had a scratch across it, which I cloned out.
I know 10 shots is an unusual number but that is the whole roll. The last one is slightly out of focus as I forgot to put it back on infinity, though I would have expected the focus to be near enough the hyperfocal distance.
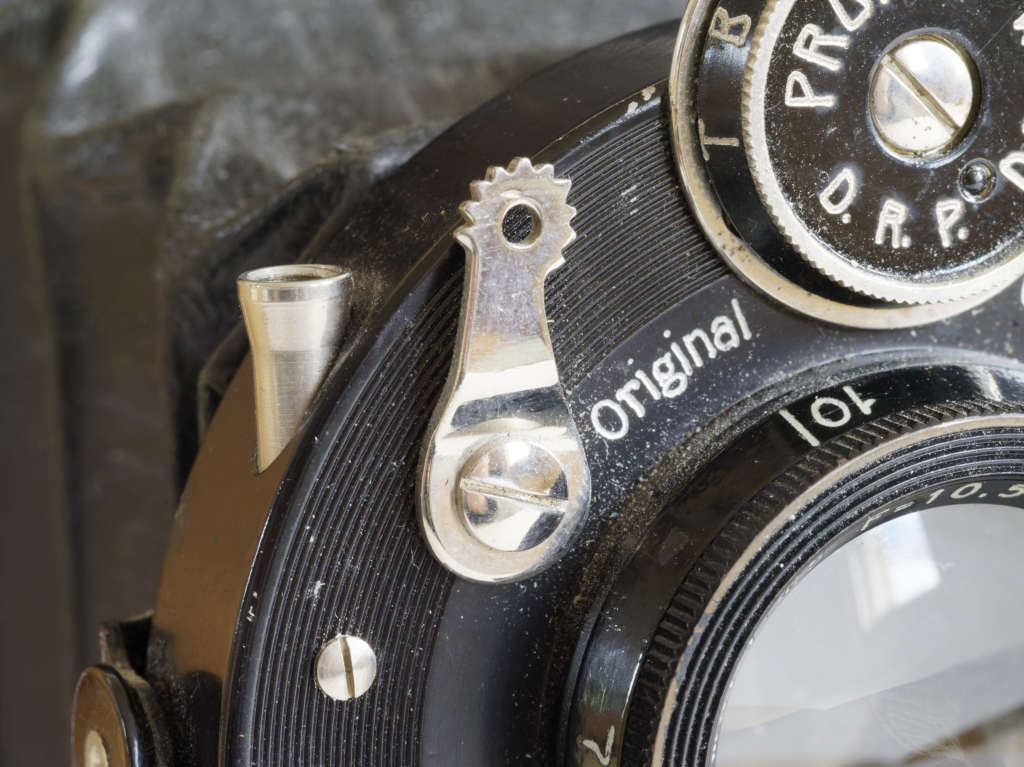
Conclusions: The Zeiss was easy to use, with a proper viewfinder and a very solid feeling mechanism for extending the bellows. An odd feature is the shutter speed options: 1/25, 1/75, 1/200 and B. An irregular sequence making it a bit harder to translate settings from my exposure meter. The shutter button is placed where it is easy to use while holding the camera steady. If I want square MF images it is a lot easier to slip into a camera bag than a TLR, so I expect it will get some more use.
The Wirgin shots were less satisfactory. I don’t know why the photos were underexposed: if it were a sticky shutter I would expect overexposure. Some of the photos are sharp, so I assume it is capable of making decent images – good for a camera that is around 90 years old – and that the slight muddiness of other images is the result of underexposure and camera shake. The likely reason is that the shutter realease is not on the camera body but only on the lens.
It is convenient in that the shutter does not have to be cocked after each shot but its position means that it is difficult to trigger the shutter if you need two hands to hold the camera steady. I would recommend using a cable release so that it can be operated with a hand that is holding the body.
The other oddity with the cameras is the unconventional aperture markings. I think it is the first time I have seen a camera with anything other than the usual 22, 16,11 and so on. Again, something to make copying exposures from a meter slightly more difficult. I assume it is because they wanted to go up/down in full stops starting with f4.5.

Overall it is not as easy to use as the Zeiss, though I suspect it would get easier to use with practice.
One grouse about all the folders I have encountered is that the tripod bush is slightly proud of the base of the camera, making it hard to get a firm grip on a tripod, and the tripod bushes on the fold out bit (for vertical shots) are too close to the body to fit more than a tiny tripod head to it.
Share this post:


Comments
Gary Smith on One roll of film, two cameras
Comment posted: 09/07/2025
Was it a bargain find?
Last night I was given a clue and it turns out that I had the Fresnel lens and ground glass sandwiched incorrectly in my Toyo. I'm hoping to do some more test shots today.
Thanks for your post!
Roger on One roll of film, two cameras
Comment posted: 09/07/2025
Good luck with the Toyo.
Comment posted: 09/07/2025
Jeffery Luhn on One roll of film, two cameras
Comment posted: 10/07/2025
Thanks for sharing your photos. The Zeiss is, by any measure, a much better performer, as you would expect. Your Zeiss images are tack sharp and well composed. I'm a nut for Zeiss folding cameras and own six, all of get used in rotation to keep them happy. The lenses are all super sharp, but each one has individual quirks like overlapping frames or inexact shutter speeds. The 35mm Contessa is a real gem. When I shoot FP4 in that one, the results can be taken for a medium format camera.
Despite the good performance of the Zeiss cameras, I'd have to say my Rolleicords are sharper. Perhaps it's the way that the TLRs are cradled in my hands and pressed against my body that makes for a more steady exposure.
About dust: All of my older bellows cameras had lots of dust in them, resulting in black specks. I always blow out the bellows and camera interiors when I first get the cameras, but that didn't solve the problem completely. I now blow them out before each use and the images are cleaner. I think old bellows continue to shed stuff that ends up creating black specks, so cleanliness is essential.
Keep shooting and posting!
Jeffery
Russ Rosener on One roll of film, two cameras
Comment posted: 10/07/2025
Roger on One roll of film, two cameras
Comment posted: 11/07/2025