Phoenix (1) Why Bother? When it was released a few years ago, Harman Phoenix was a welcome new kid on the block. Like most, I was eager to try it out. To begin with, I want to say that, while I understand many photographers have their go-to method, and I am merely a hobbyist, the playfulness I feel when trying out a new type of film really drives my creativity. Even if you yourself have a tried and true approach, I encourage you to branch out like this once in a while. Learning to see in a new set of parameters seems to unlock something for me.
The first iteration of Harman Phoenix was certainly unique. I’m sure anyone reading this knows that Phoenix II – their reformulation – has long since been released, and it seems the first version may not be available for much longer unless there is large demand, so your window to experiment with it may be closing.
I read and watched everything I could before shooting and still got several exposures that were total misses in my first couple of rolls. Those failures were instructive, though. Here are the lessons I’ve learned:
Phoenix can make scenes with flat light pop
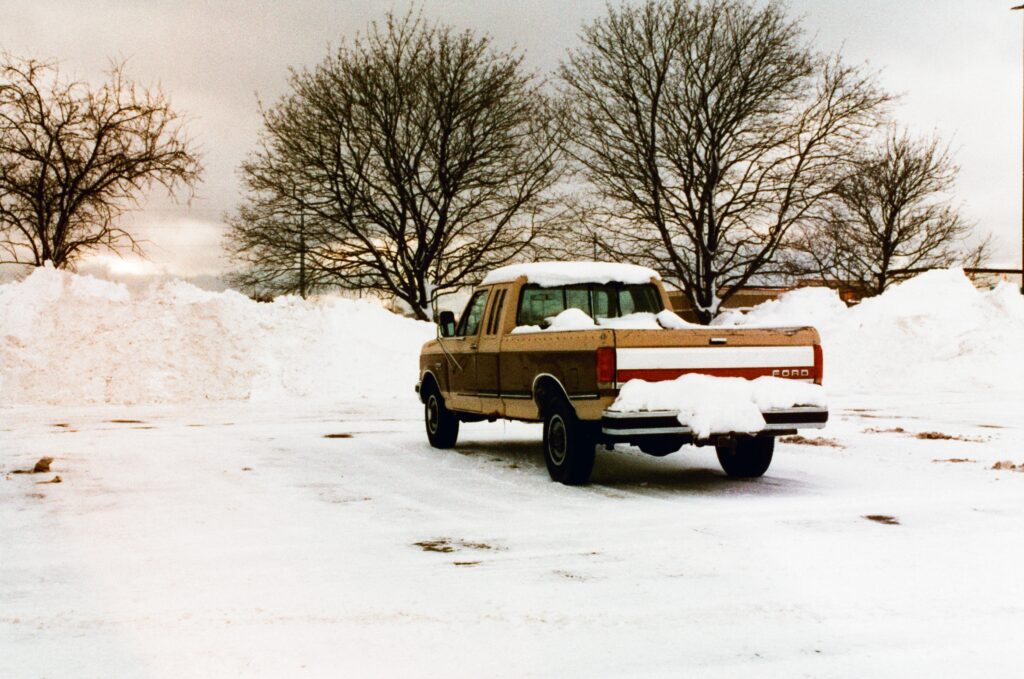
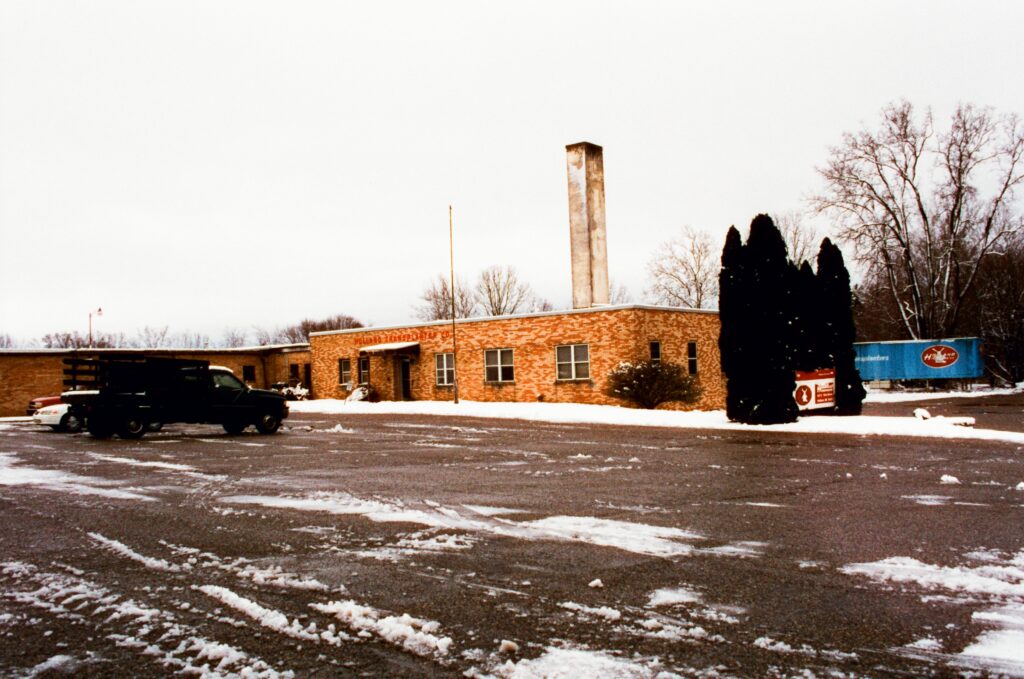
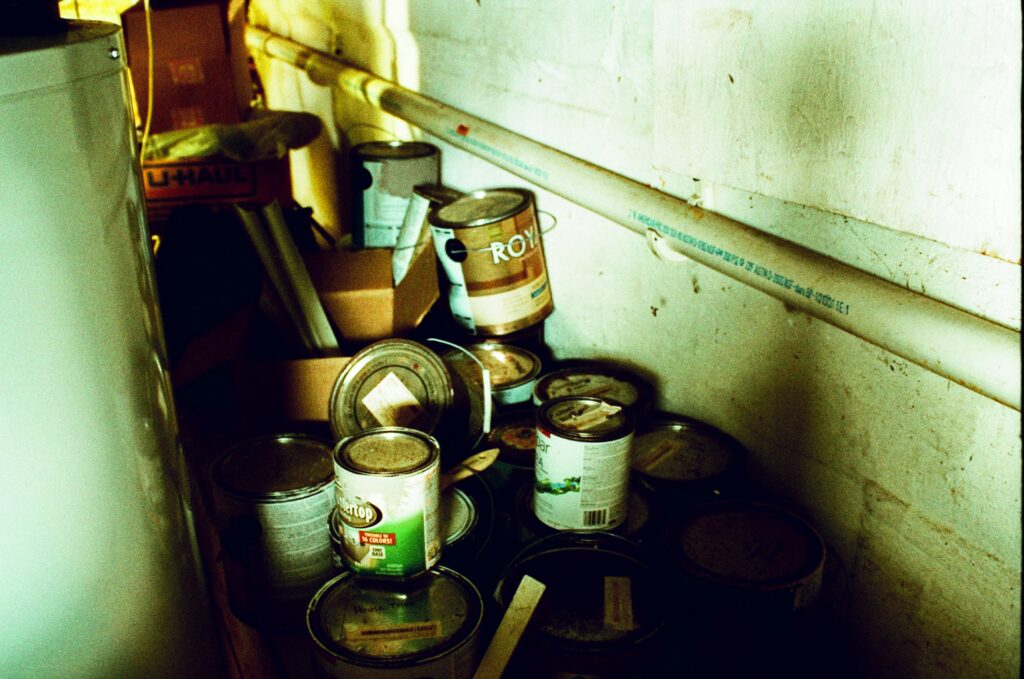
As you probably know, Phoenix 200 (I) has very low latitude, so a camera with a working meter is very helpful. In higher contrast scenes, metering for the shadows will certainly get you halation, but it will also avoid the extremely muddy results you would get even from a midtone meter reading. Because of these extremes, my most successful exposures with this film have come from shooting in flat light. The film gives otherwise gray or brown scenes some extra pop and contrast, and for that reason I really like shooting it in Michigan’s often overcast Winter. Especially in these flat light situations, I also found that exposing it for a +⅔ exposure (i.e. metered at 125) is almost always a good idea.

Foggy days
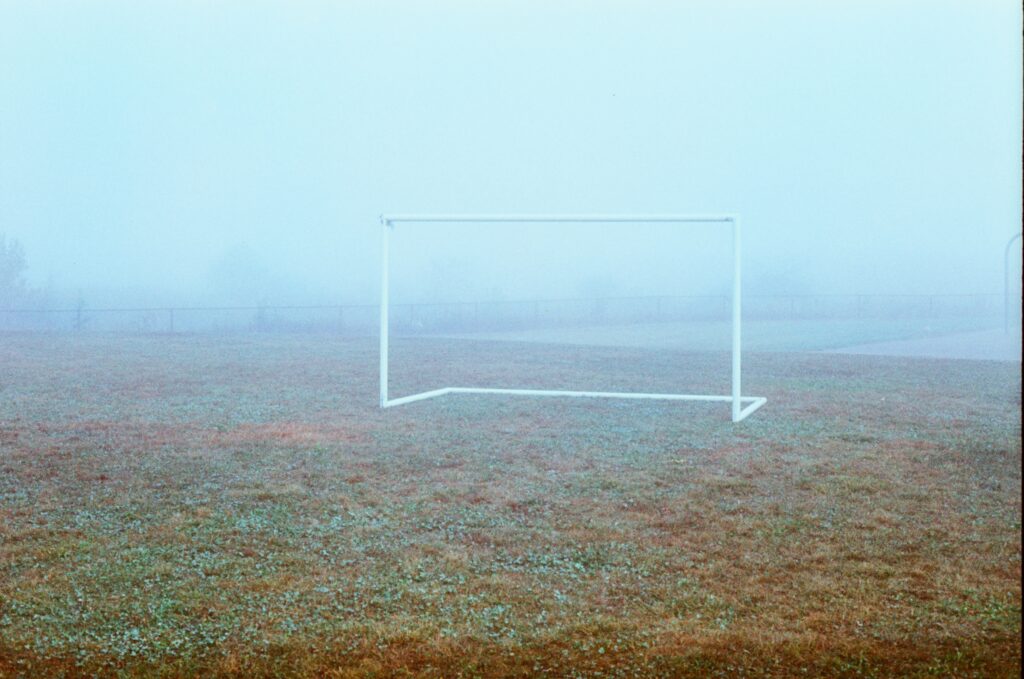
A similar situation where Phoenix can thrive is with minimalistic subjects in fog. Not everyone gets fog, but this film loves it, especially with the exposure at iso 125 and a colorful or graphic subject in the otherwise hazy scene.

Cool subjects
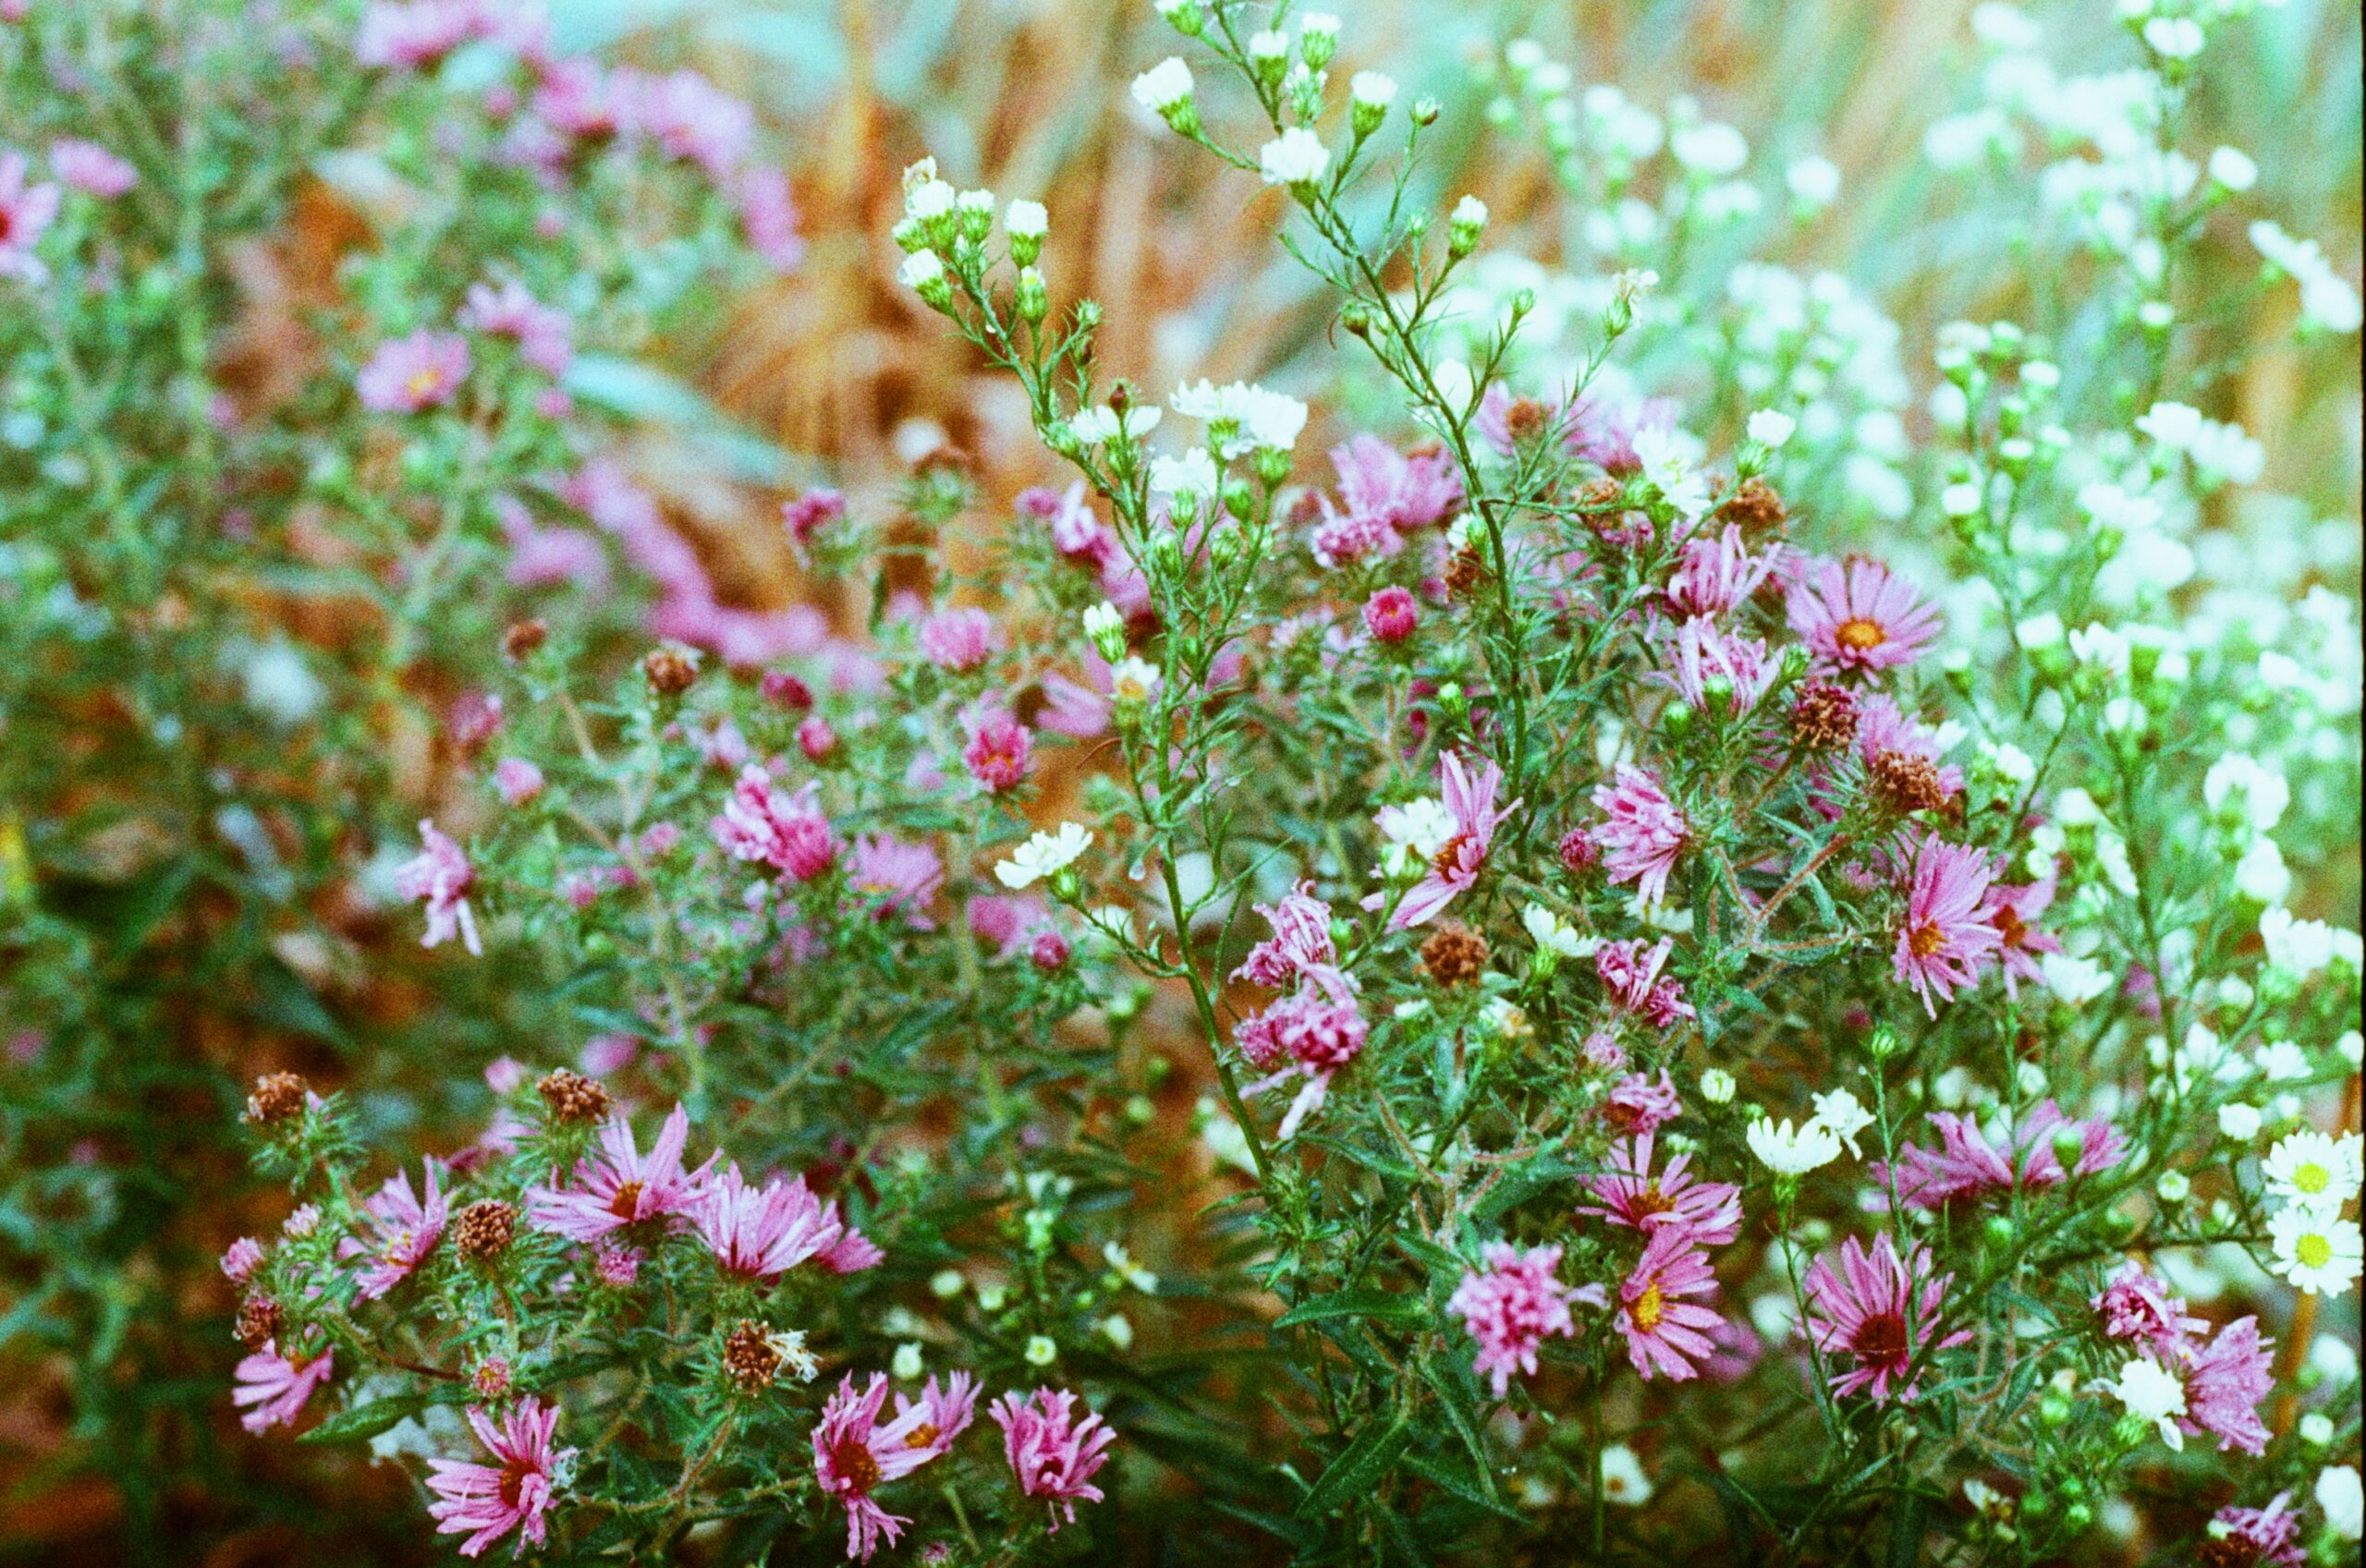
Another direction I’ve found pleasing with this formulation is to shoot subjects with cool tones. Greens and blues seem to luminesce contrasted against warm and neutral backgrounds. It’s like a built-in filter that makes this film so unique. A couple of my very favorite images from this film feature green subjects in an otherwise brown or gray frame.


Pro-mist filter
The next tactic I’ve noticed to work is to make use of a black pro-mist filter. The film is notoriously grainy, but this filter seems to soften the grain, making it more pleasing to my eye. Another benefit of the pro-mist is that it softens the halation effect, both in its glaring red color and its stark brightness. You can see in these sample images that the halation and redness are both significantly reduced by the filter. These images also have minimal editing on my end.

Lean in
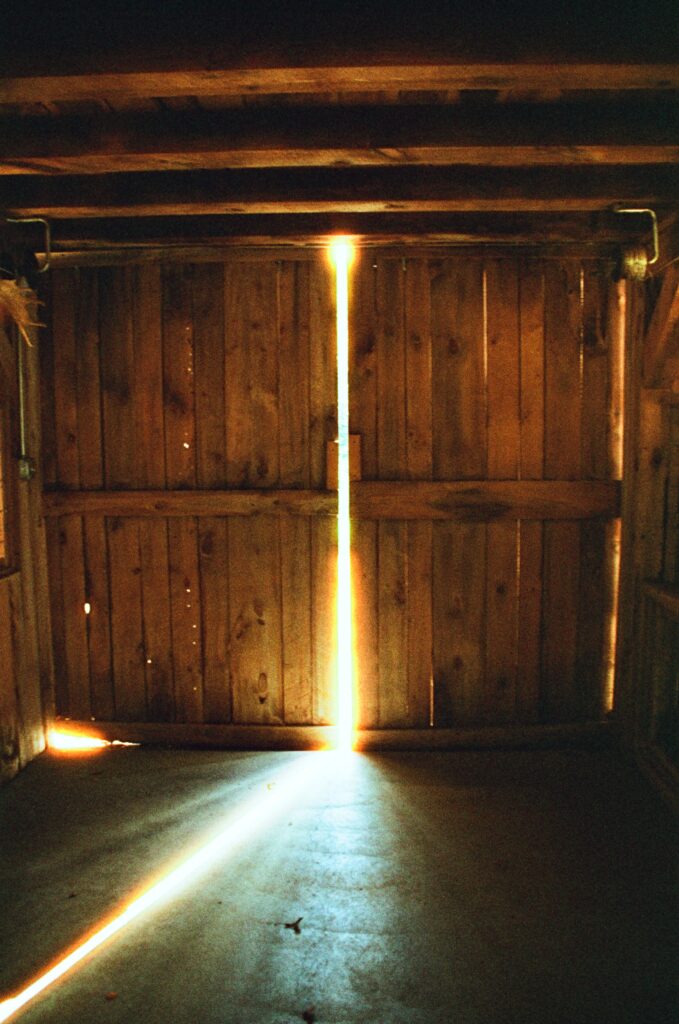
The final thing I would like to share about Phoenix is that I have learned to lean into this film’s quirks. It’s got heavy contrast – shoot into direct light and backlighting. It leans very warm – shoot scenes full of incandescent light, reds, yellows, and oranges. It is unpredictable – ignore light meters and ISO and see what happens. Let the limitations free you to play, experiment, and embrace the chaos.


Share this post:


Comments
Neal Wellons on Phoenix (I) Rising, or, How I Tame the Beast
Comment posted: 20/12/2025
Comment posted: 20/12/2025
Erik Brammer on Phoenix (I) Rising, or, How I Tame the Beast
Comment posted: 20/12/2025
Your wonderful frames of the fence and the empty goal that seems to be hovering above the ground remind me of them. I let the white balance drift heavily into the yellow, which is a style that certainly only works for some subjects.
Comment posted: 20/12/2025
Curtis Heikkinen on Phoenix (I) Rising, or, How I Tame the Beast
Comment posted: 20/12/2025
Comment posted: 20/12/2025
Geoff Chaplin on Phoenix (I) Rising, or, How I Tame the Beast
Comment posted: 21/12/2025
Comment posted: 21/12/2025
Russ Rosener on Phoenix (I) Rising, or, How I Tame the Beast
Comment posted: 22/12/2025
Comment posted: 22/12/2025
Tony Warren on Phoenix (I) Rising, or, How I Tame the Beast
Comment posted: 22/12/2025
Comment posted: 22/12/2025
@nathanspics486 on Phoenix (I) Rising, or, How I Tame the Beast
Comment posted: 14/01/2026
Comment posted: 14/01/2026
Comment posted: 14/01/2026
Comment posted: 14/01/2026