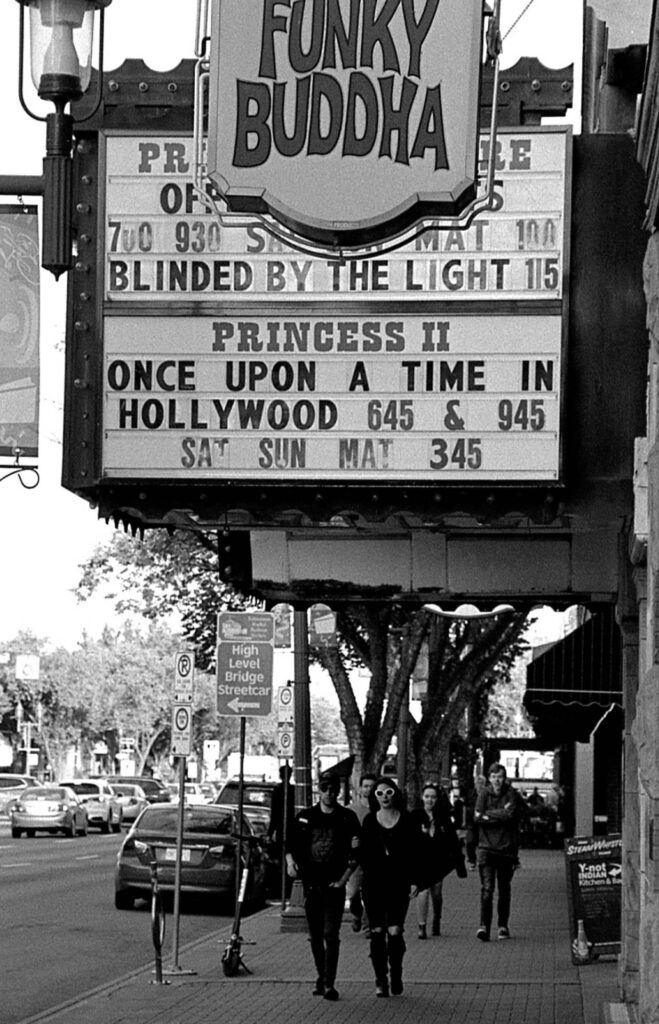
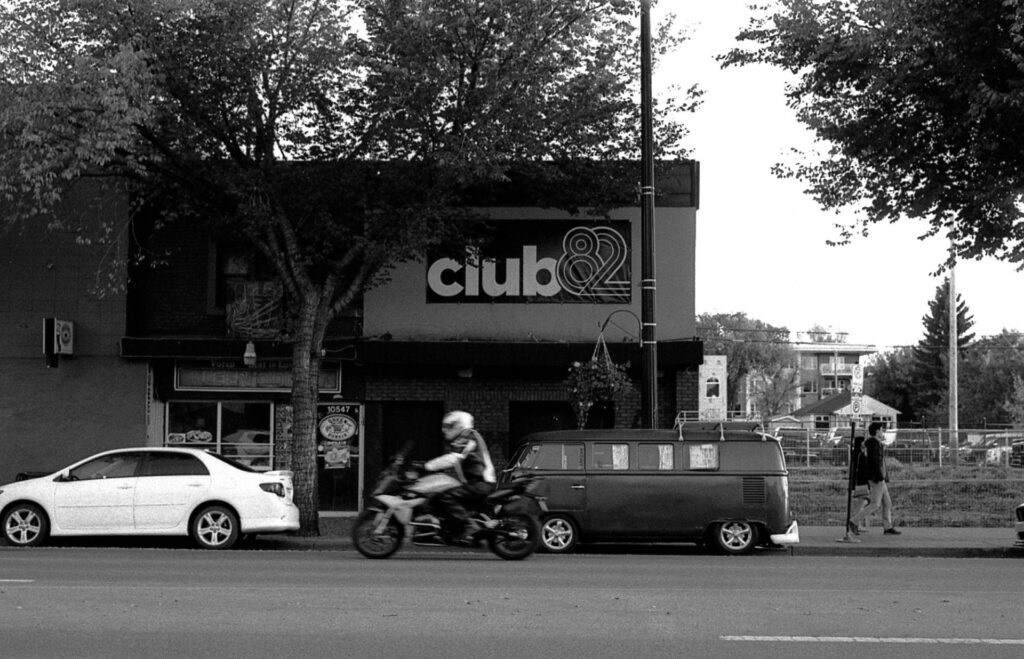
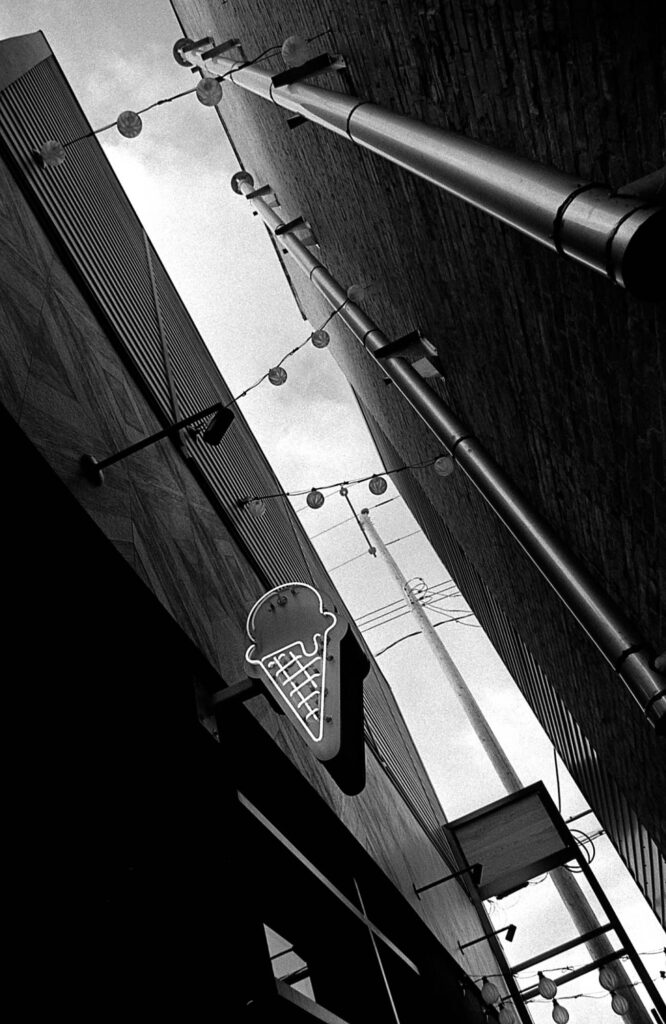
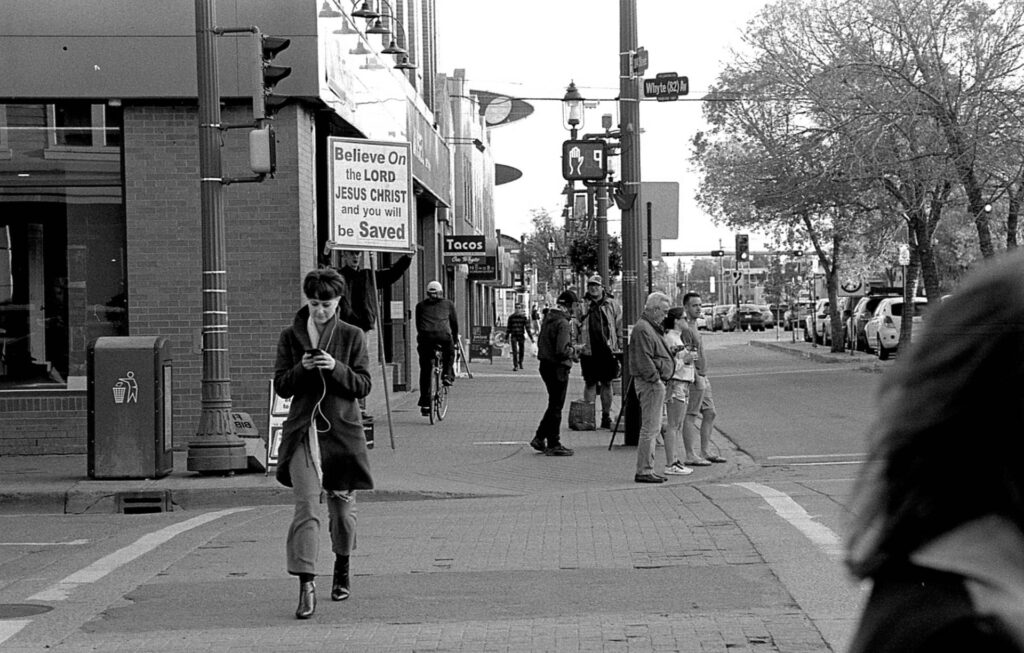
In 2019, I went on a short stint to Edmonton to take some photos of my old stomping grounds: Whyte Avenue. As a teenager in the 1990s, this was where you’d find me. Sipping a coke at the Cyber Café while “surfing the web” or having a “puff” at a very liberal alley café. I knew I wanted to shoot film for this trip…I did bring digital, but didn’t end up taking it out of the bag. My tripod also didn’t budge, but the last time I did need it, and figured it was best not to take any chances.
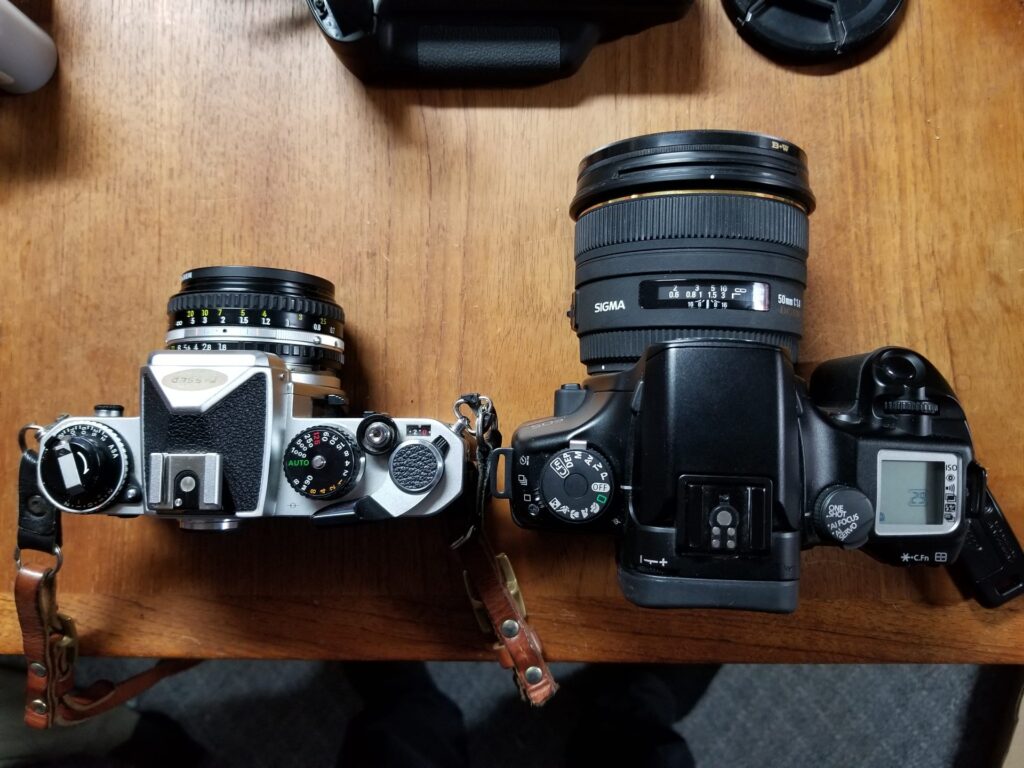
I had with me a Canon EOS Elan 7 that I had not tested and was going to review. I also had a much-loved Nikon FE, that I have since sold. I have had a lot of cameras come and go in my years of reviewing them and the Nikon FE is only one of two I regret selling. The other was a Yashica Mat 124 but since I don’t shoot 120 anymore, the point is moot. Snapped on my FE was a humble 50mm f1.8, and I had been shooting Tri-X at 1600 ISO and getting great results with this combo. I loved everything but the developing time, which is 16 minutes. For the Elan 7 I had a Sigma 50mm f1.4 that I would sell when I traded all my Canon gear in, but re-bought later in F mount when I switched to a fully Nikon system. I recently talked about this lens on my channel, as it’s my favourite 50mm of all time. It’s hard to know with 100% certainty because it was four years ago but judging by the focal lengths I likely had an EOS 24-105mm f4 USM as well but like I said, it was four years ago, and because it was before the pandemic, it may as well have been ten years.
I wanted to shoot a bunch of rolls, to just let loose when I normally would be conservative, but I had to see the results as well. I had to make sure everything was going smoothly, rather than head back to Calgary with several rolls and realize every one had an otherwise easy to fix problem.
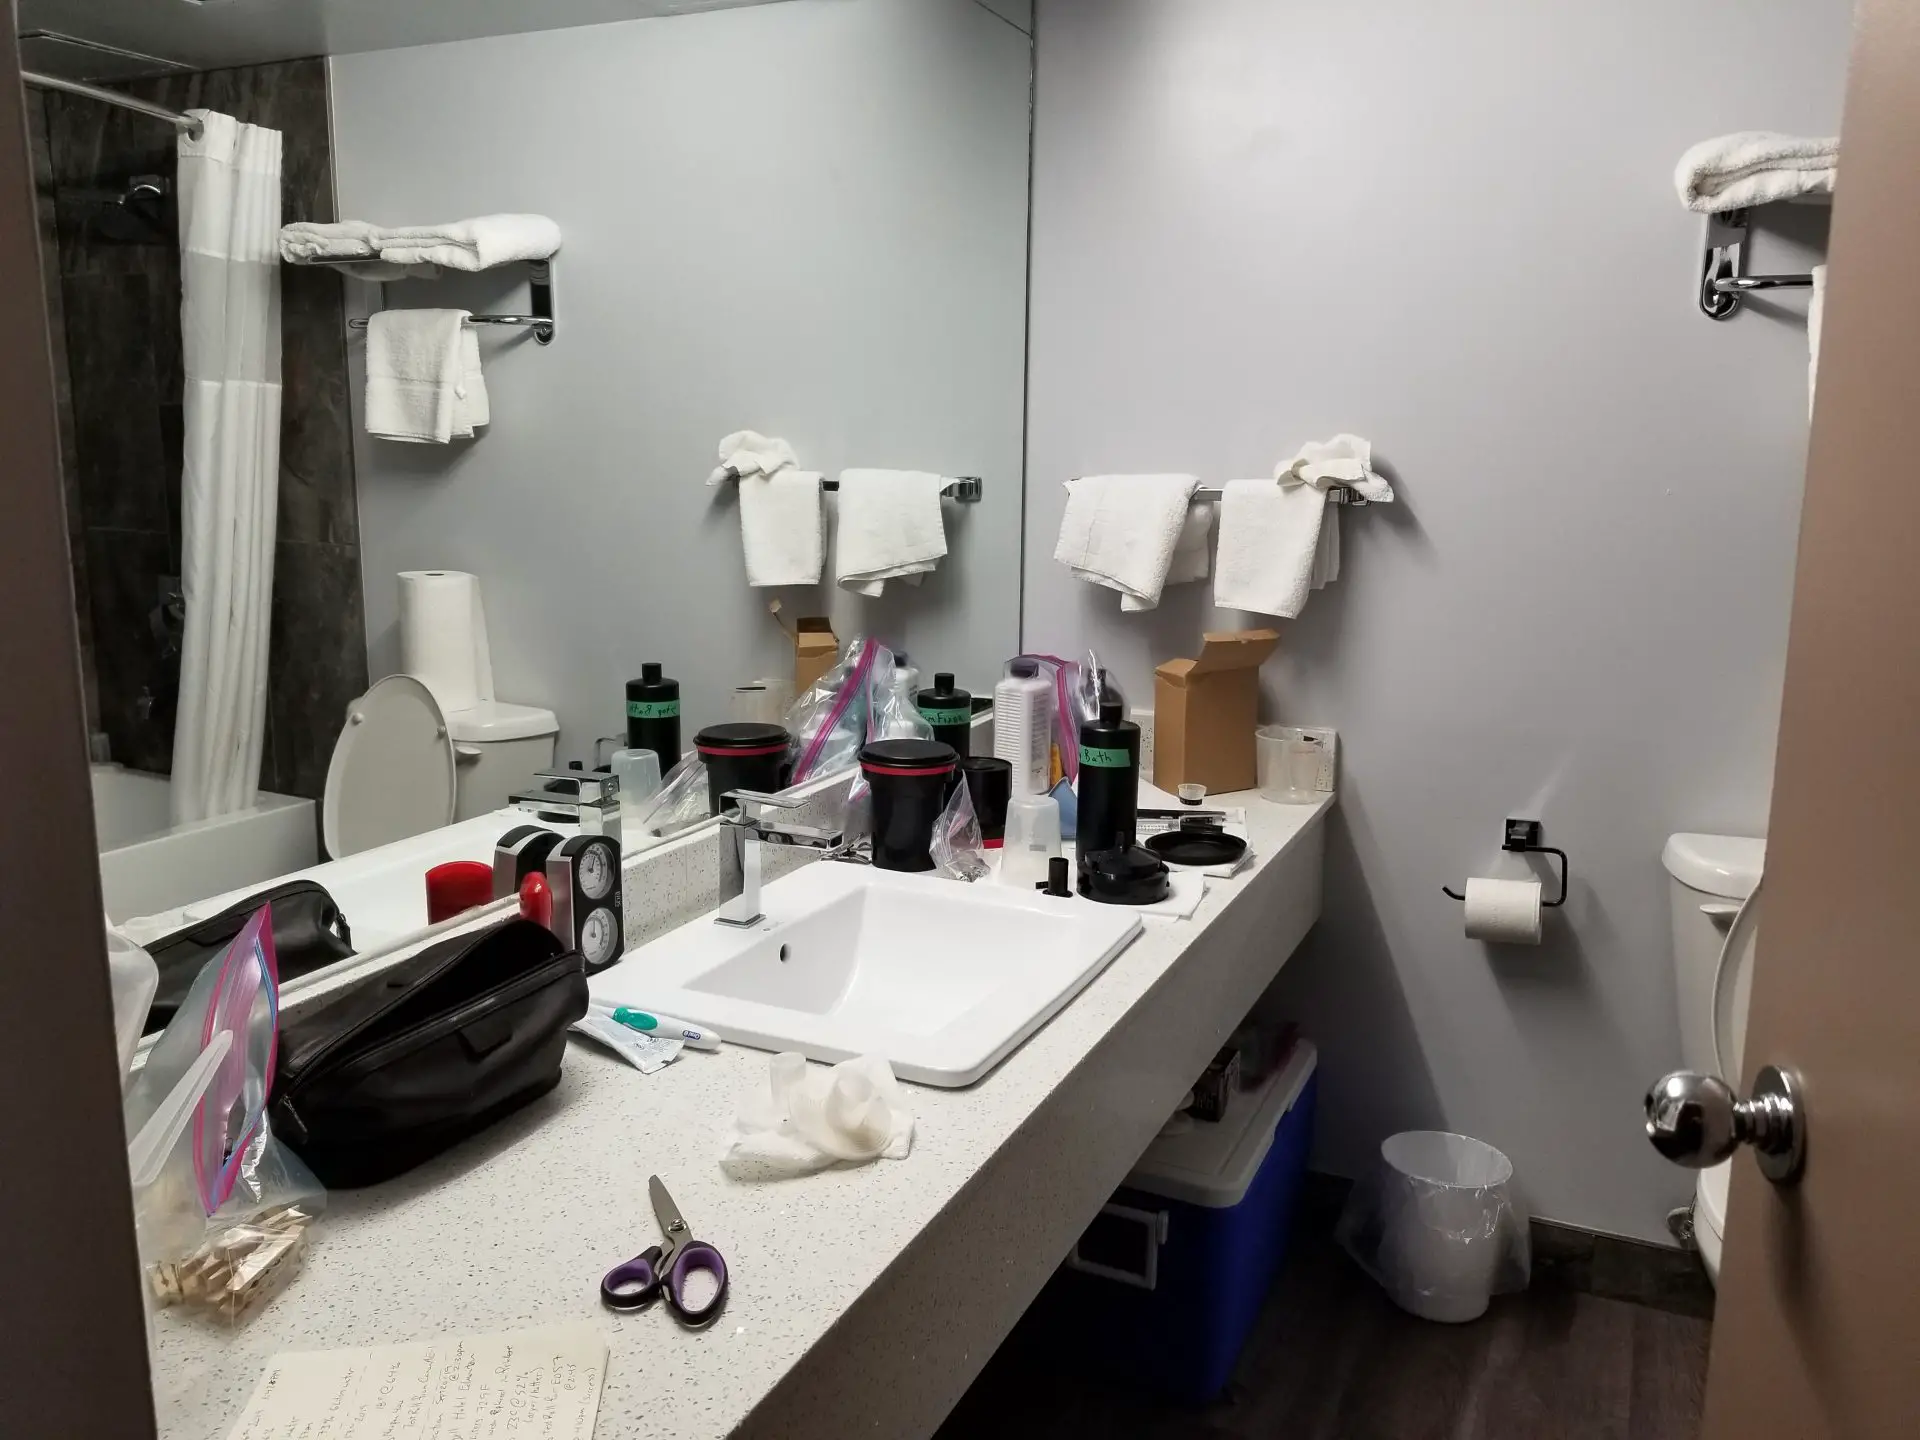
That’s when I came up with the idea of Hotel Darkroom.
I didn’t need everything of course, I wasn’t going to scan or make prints, my only concern was making sure that my negatives were solid. It seemed like a good idea too: go out and shoot, and come back and watch some cable TV while I soup everything. I managed to catch Predator 2 during my first test roll too. Classic.
I’ll give you a list of everything I brought with me but first a bit about my test roll.
I needed to test the Elan 7, as mentioned, as well as the “darkroom” itself. So, hitting two birds with one stone, I snapped some shots of my cats and other randomness before I left, just so I’d have a roll with me when I arrived.
Regarding the make shift darkroom, before you think about supplies, you need to make sure you have a light tight situation. If you have a changing bag, you’re gold and can move to the next step. However, if you don’t, you’ll need to figure out something elaborate and I cannot stress this enough, non-permanent.
There is a third option which I had my fingers crossed for, which is do nothing. The room may already be naturally light tight. Many hotels, for reasons I am not entirely sure, have very solid doors that go all the way to the floor and don’t allow any light. This was the situation I found myself in.
During my light tight test, all I had to do was draw the curtains, turn off the lights and shut the door. I waited five minutes for my eyes to adjust and see if I was still in total darkness. Many hotels will have black out curtains too, and the bathroom by the front door, opposite the windows. If this failed, I could also wait for nightfall. That’s a good tip for home too. Can’t get things light tight? Do it at night. It’s not perfect but it works in a pinch, especially if you’re just starting out.
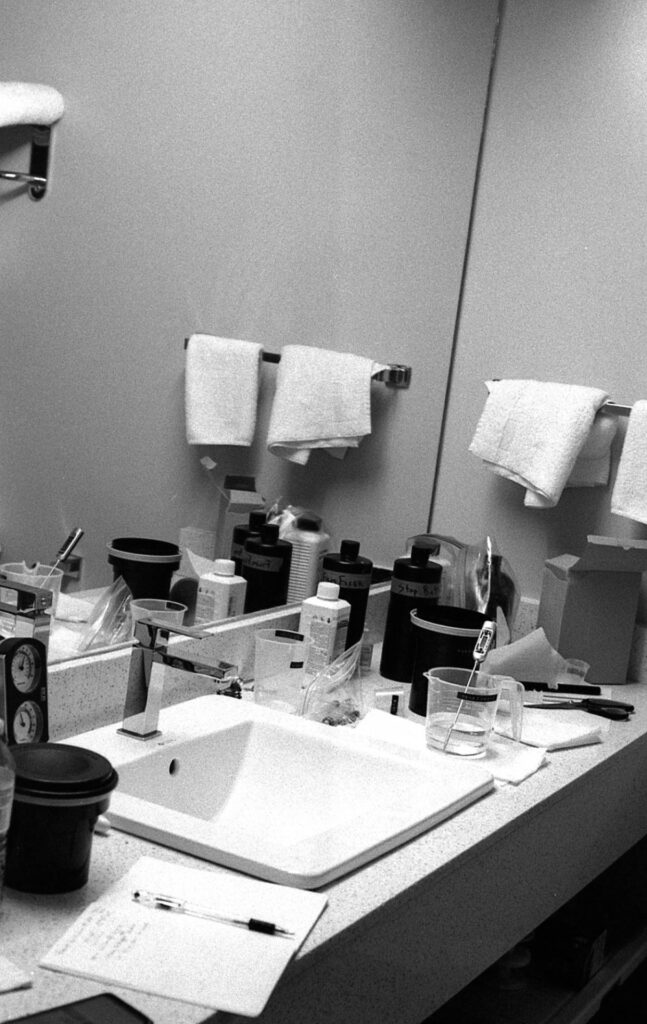
I set everything up, developed my test roll and it came out peachy! If you want to do it like I did, here’s what you’ll need.
First. I used a Coleman 45L Chest Cooler to hold everything. Doesn’t matter what brand but 45L was a good size to hold everything. I picked a cooler for safety purposes during transport. I also ziplocked my liquids. If something busted or burst during transport, it would have to escape the bag and the cooler.
One thing that won’t fit in the cooler is extra water. If you’re hell bent on using distilled like I am you’ll have to either carry it separately, or buy some on arrival. I was super lucky to have a convenience store on the main floor. Keep your empties for bringing back exhausted fixer and stop bath.
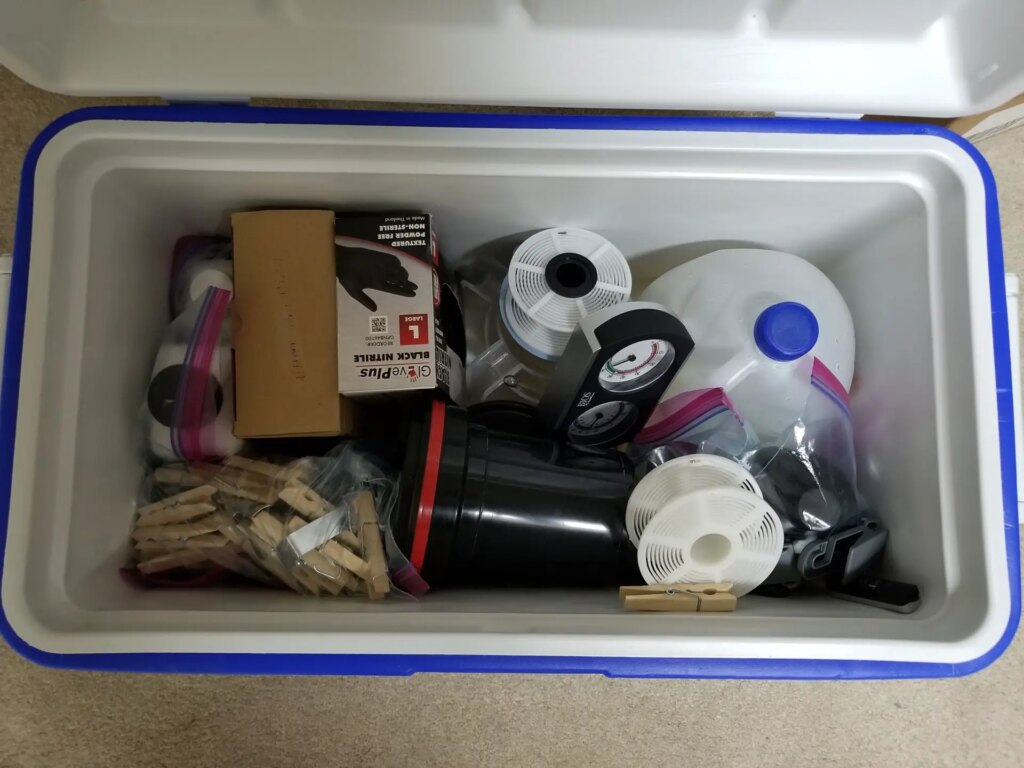
Here’s everything else I brought.
- Two developing tanks, as one will usually be drying after being washed.
- Two extra spools, because tanks dry faster than spools and extras will help you from slowing down.
- Temperature / Humidity Gauge.
- Funnel.
- Nitrile gloves, or whatever gloves you use.
- One Roll of Paper Towel.
- Film Clips.
- Green Painters Tape.
- Measuring Cups. I brought: 1x 1000ml 1x 500ml 1x 400ml 1x 100ml 2x 30ml
- Two Thermometers. Backups are important especially if you have butter fingers.
- Developer, stop bath, and fixer. In my case I brought Blazinal (Rodinal) and Kodak HC-110 for developers.
- Stop Bath and Fixer Working Solution.
- Hypo Check.
- Syringes.
- Darkroom Logbook.
- Scissors.
- Can opener (I actually didn’t bring one but I know a lot of people use them. I just rip it open bare handed).
- A binder with film sleeves.
Here are a few things that I didn’t bring, that I would if I were to try this again.
- A loop for getting a closer look at the results.
- A small light table, also as a viewing aid but also, in a pinch I can take a smartphone shot of my negative and have a rudimentary inverted preview. There are a bunch of cheap USB powered LED light tables now that will do the trick.
- Wardrobe bag. In 2019 I was still hanging my film out in the open like a savage, but since then I started using a wardrobe bag with the bottom cut out, before I was gifted a hand made drying cabinet. It works great and folds up to take very little space.
- Data Sheets. I have a data sheet template that can be found on my Discord if you’re interested.
I’d also keep it to a single developer, probably a concentrate like HC-110 (if that even exists anymore) or just the Rodinal.
Now here are two simple rules to keep in mind.
- Don’t pour anything down the drain you wouldn’t at home. Even if you are in some sketchy motel, probably more so actually. Those pipes can’t take it. Please…don’t be a darkroom dillhole.
- Take everything with you. Every used paper towel sheet, every clip of film…everything. Don’t leave it for the cleaning staff. We all know the slightest whiff of stop bath is like being punched in the nose from the inside out.
I used to use a darkroom logbook quite a bit, but I would be a hypocrite if I said you absolutely needed one. I think they’re very helpful for new darkroom though. It’s good to get an idea of what your humidity is going to be like at different times of the year. For example I need to warm my chems in the winter, but it’s sometimes a perfect 68F in the summer. Lately I’ve taken to compensating with time, but I digress. Here’s an example from when I did the test roll.
———–
On Location: REDACTED Hotel, September 20th, 2019 @ 2:30PM
Water: 4 Liters @ 72.9F
Room Temp 23C @ 52% Humidity
Developing Test roll for EOS 7
Finished at 4:10PM (success)
———–
One of my previous sessions at home was colder and more humid. Coming in at 64.4F at 66% humidity and rising to 68F at 73% in just 55 minutes. In the past I would have tried to cool down my solution but now I have a chart hanging in my darkroom that gives compensated times based on temperature and while I realize the results will vary based on this, it’s much less of a headache. My sixteen minute development of Tri-X at 1600 ISO for example would have been shaved to twelve minutes.
From here you should be able to do everything as normal and the last challenge is hanging up your film to dry, and there are two methods I used.
Method One: Use clips or wood clothes pins attached to clothing hangers (provided by the hotel) and hang the film in the closet. The issue with this is it won’t hang high enough and you’ll have to split your roll in two before placing on hangers.
Method Two: Use painter’s tape to hang them. Pretty barbaric I know, but using two strips of painter’s tape at the closet opening so the film doesn’t stick to the wall, and over the exposed lead (the black part at the beginning) was the easiest, best and most non destructive way to get it done.
The only thing that was frustrating about this experience is that the hotel room turned out to be more dust free than my actual darkroom. Better counters too. So, while I wanted to say “you’ll make do” you might come back feeling like your home-base needs an upgrade.
A few other things to keep in mind.
My distilled water was too hot, by almost 5F. If you’re determined to stick to the traditional 68F development of black & white film, put some water in the fridge. Pour the cold water in with the hot into a third container until you hit the magic number. You can also grab a bucket of ice from down the hall and cradle your mixed solution in it until it reaches the temperature you need as well. I’ve done this at home with reusable ice packs.
It’s best to clean everything up immediately, and put it away in the cooler after each session and when you’re done using each item. I can walk around my darkroom pretty easily with the lights out, but the hotel will be unfamiliar and the likelihood of bumping something is much higher, even with the lights on.
Though this is totally safe, I would advise against drawing attention to the idea of what you are doing, which is essentially renting a room and turning it into a lab. Another reason for the cooler. While this isn’t the biggest deal because we know it’s safe, it’s hard explaining that to someone who may have never seen film before or know how it works.
Ensure there’s a Do Not Disturb tag on your door so your drying film is not disturbed while you’re out shooting.
Depending on how far you are driving you may want to check city bylaws for photo lab waste rules. It might be easier to bring it to a Fire Station, then all the way home.
Overall this was a fun experiment. It’s weird because at the time I did not enjoy myself and was very critical of my work, but now I look back with rose (red 25) coloured glasses. Maybe the pandemic swung the bell curve in its favour, who knows. I’ve thought about this a lot and I’d like to try it again, especially if I am hunkering down somewhere for like a week.
Have you ever tried anything like this? Let me know in the comments.
I have a YouTube Channel, Weekly Newsletter and Discord I hope you’ll check out!
Stay Classic!

Share this post:


Comments
SF on Hotel Darkroom: Developing Film on the Road
Comment posted: 02/11/2023
For a loop, you could perhaps use an inverted lens. Saves and items needed to take along.
Comment posted: 02/11/2023
Comment posted: 02/11/2023
Comment posted: 02/11/2023
Comment posted: 02/11/2023
Comment posted: 02/11/2023
Ken on Hotel Darkroom: Developing Film on the Road
Comment posted: 02/11/2023
Comment posted: 02/11/2023
Daniel Castelli on Hotel Darkroom: Developing Film on the Road
Comment posted: 03/11/2023
Once, back in college I was on the road & I needed to unload & reload 4x5 film holders. I draped a thick, lightproof surplus army blanket over a card table, scooted under the blanket, and completed the task. Done at night. We need to do to what we need to do to get the task done.
Robert Selders on Hotel Darkroom: Developing Film on the Road
Comment posted: 03/11/2023
Comment posted: 03/11/2023
Art Meripol on Hotel Darkroom: Developing Film on the Road
Comment posted: 03/11/2023
Comment posted: 03/11/2023
Ben on Hotel Darkroom: Developing Film on the Road
Comment posted: 05/11/2023
If the hotel room doesn’t get really dark, a light-proof jacket makes an acceptable changing bag. Simply fold the bottom/waist over the collar a time or two to ‘close’ the bag and stick your hands through the arms.
HC-110 is still available in the US. I don’t know about elsewhere.
I like the garment bag trick. I’ve been thinking through recreating an old DSA/Senrac type film dryer using a heat gun/hair dryer and PVC pipe but all that stuff will take up more room than a cut down hanging bag.
I’m not trying to steal this thread but stop bath can be optional. If you go that route there is one less chemical to bring or smell.
Thanks for the memories.
Comment posted: 05/11/2023
Art Meripol on Hotel Darkroom: Developing Film on the Road
Comment posted: 07/11/2023
https://petapixel.com/2021/10/13/this-is-how-ap-journalists-sent-photos-from-the-field-in-the-1980s/
Wes on Hotel Darkroom: Developing Film on the Road
Comment posted: 08/12/2023