
Earlier today, I posted a 5 frames post documenting a recent experience shooting a slightly crappy teleconverter mounted to a Ricoh FF90 Super – you can find that post here. I wasn’t overly enamoured with the results from the camera/lens combo, but after sending the film to Duncan at Silverpan Labs, I have managed to somewhat inadvertently kick off some slightly more controlled experimenting with Kodak T-MAX P3200.
The initial choice to shoot Kodak P3200 in the Ricoh was entierly down to an idea I had a few months ago to limit myself to two films for a while for the benefit of learning how to get the most out of them. The second film I’ve been shooting with is the other recently-rereleased-by-Kodak-film Ektachrome E100. My goal for shooting E100 was quite simple – I wanted to learn how to expose it to get the best results, whilst also initiating myself into the world of reversal film. You can find the results from that series of posts here.
P3200 goals..?
My goals for shooting Kodak P3200 have been slightly different. I’m quite comfortable with shooting and scanning black & white film, and for a long time have just used the same lab who consistently use the same chemicals. As such, I had become accustomed to, and more importantly largely happy with the results I was getting. As I talked about in this post about my often lackadaisical black & white workflow, P3200 happened to fit my shooting “techniques” quite nicely, and indeed worked well within my wider scanning and processing workflow. That said, I did wonder what else could be achieved when shooting this high-speed film – but beyond that, I wasn’t initially sure where I was going to go with all this…

As such, I decided it might be an idea to change a few of the variables and see what sort of results I can get. With my scanning processes quite well ironed out, the main thing I decided I wanted to try was having the film developed in different chemicals. For many film photographers, this is as simple as just buying some new chemicals and experimenting – I used to do this myself in fact. The problem I have these days is that I’m too lazy to be bothered to develop my own film regularly enough to make buying the chemicals worthwhile, nevermind lots of different chemicals – they’d all just go out of date. So ideally, I have to outsource.
The problem is, outsourcing does somewhat limit the ability to try different chemicals since a lot of labs don’t offer anything more than the standard commercial black & white stuff they use for everyone. Which is why, when I’d finished this roll, I decided to send it to Duncan at Silverpan Film Labs. Duncan offers a small range of different chemicals via his website, but after I posted him this particular roll, I got in touch and told him I’d be interested in experimenting a bit, and for this roll could we try something that might give a finer grain.
I happen to have shot this roll at EI1000 – it was a fairly arbitrary choice at the time, but largely motivated by the fact that I’ve shot P3200 at slower-than-box-speeds in the past, and I’ve had really nice results so was quite comfortable shooting it this much overexposed. Overexposing film that has the latitude to do so in point & shoot cameras also helps avoid accidental underexposure caused by the slightly more primitive metering systems, so I quite often shoot like this when I don’t entirely trust the camera’s light meter.
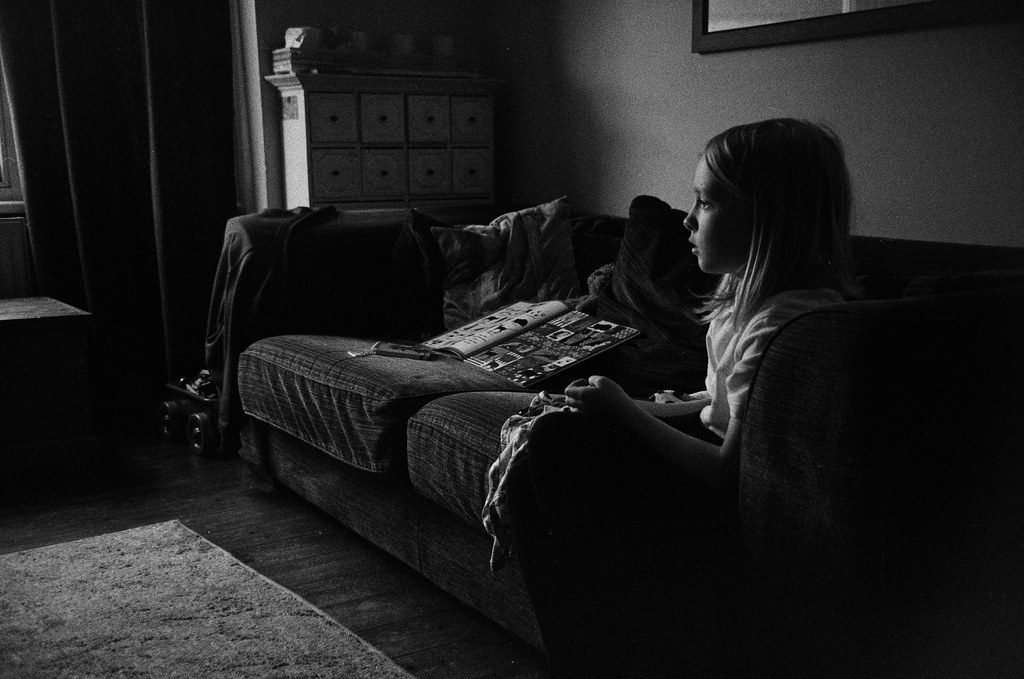
In actual fact, Kodak P3200 is supposedly at 800-speed film, with the ‘P’ in the name denoting that the suggested processing times for it are actually times for push processing it +2 stops. I suppose this might mean that shooting it at EI800 would have been a more logical place to start…? But in all honesty, when I loaded the film, I wasn’t thinking this far ahead.
I digress… When I told Duncan I’d shot it at EI1000, he quite-sensibly suggested we pull process it. I thought about this a little, but in the end, given my concerns about the camera underexposing, I decided to opt to have it processed normally.
Adox Atomal 49
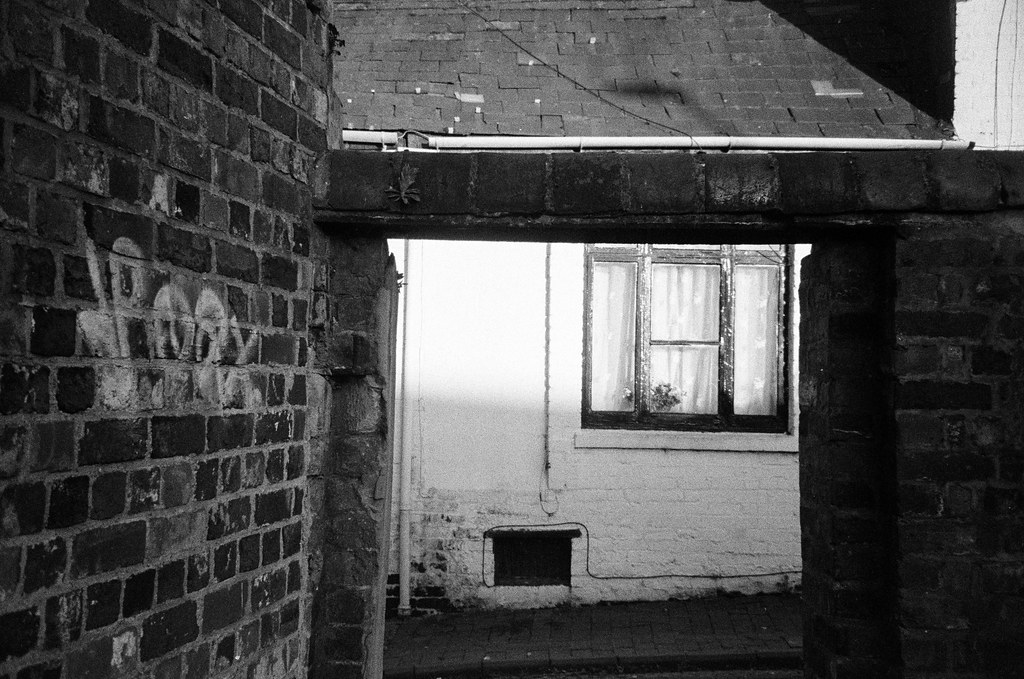
With this information in mind, Duncan suggested we try something he hadn’t before and give Adox Atomal 49 a bit of a go. As you’ve seen if you read my earlier post, the lens has let the images down a bit, but looking past that, it is possible to see the character of grain in the scans. The results me and Duncan have achieved have what I’d describe as a smaller yet rougher, or at least a more-defined grain than what I have had in the past.
For example, take this image:

crop:

And compare it to this image: (which I am pretty sure was shot at EI800 and dev’ed by AG with the commercial chems they use (Fuji Negastar, I think))

crop:

You can see a difference in the grain. Of course, this is highly unscientific at this stage, and I am yet to decide on a preference, but it’s interesting to see an obvious difference in the results, I think.
So what’s the point, and what am I trying to achieve.
Reflecting on the results I have so far, honestly, I mostly just like the idea of the process of a bit of experimentation. One of the joys of doing this is the freedom not to have a particular goal. That said, I suppose the main two things I am looking for are a grain that I think looks pleasant, and negs that are easy to scan and process to the point of achieving results I am happy with without having to spend hours in Lightroom.
As I have already talked about in my aforementioned post about my black & white workflow, Kodak T-MAX P3200 already works well for me. It’s a flexible film that lets me arse about lackadaisically with exposure if I’m feeling lazy, and has already proven itself to me as a film that scans well.
As such, I suppose the ultimate question I am trying to find an answer to is what happens if I do put some effort and thought into how I expose it, and the choice of chemicals I use. Can I, with some experimentation, find a path to getting myself readily repeatable results that look consistent and are exactly to my tastes? The results I’ve had with P3200 when not really trying have been great, so with a bit of effort and experimentation, it will be interesting to see what happens…
Controlling the variables
Of course, when changing one variable – in this case, the chemicals I’ve had this film processed in – it’s important to lock at least some of the others down. This helps ensure that any results from experiments can be pinned down easier. And if I am going to make sensible comparisons moving forward, this is going to be quite important. As such, at least to start with, I will need to shoot more rolls at EI1000 and have Duncan process them normally. But that’s ok for now, I think – EI1000 gives me loads of versatility, and when I get into being able to compare results more, it will be a good place to start experimenting with pull-processing the film a bit too.
What’s next?
Chatting to Duncan there’s talk of XTOL, Microphen, TMAX developer, pushing, pulling, all sorts. He’s up for sharing some of his results here on 35mmc too. I’ve got half a mind to open the floor to you guys as well – so if there is anyone out there that fancies sharing some P3200 results with 35mmc readership, do get in touch! Of course, that will involve introducing a lot more variables, but I’d be interested to see what people are up to with this film, and – even better – it might give me and Duncan a few ideas too…
Words of thanks and recommendation
Finally, I just want to say a continued thanks to both Kodak Alaris and Duncan from Silverpan Film Labs. Kodak are suppling the film for this series, and Duncan is doing an excellent job at developing the films as well as giving me useful and insightful feedback – this being a service he offers to all of his customers.
If you want to buy this film, I also recommend Analogue Wonderland as a my chosen film supplier. They stock P3200 here, but also supply something like 200 other films making the website interesting to explore as well as purchase from.
Finally, you can find all my photos taken with this film here, and see this whole series of posts and other relevant content here
Share this post:


Comments
Stéphane on Kodak T-MAX P3200 – Frist Rolls Review – The Start of Some Experiments
Comment posted: 08/07/2019
Alvaro on Kodak T-MAX P3200 – Frist Rolls Review – The Start of Some Experiments
Comment posted: 09/07/2019
Comment posted: 09/07/2019
Alvaro on Kodak T-MAX P3200 – Frist Rolls Review – The Start of Some Experiments
Comment posted: 09/07/2019
David Hill on Kodak T-MAX P3200 – Frist Rolls Review – The Start of Some Experiments
Comment posted: 09/07/2019
Alvaro says about pulling: “...develop for a stop more than you exposed at”. More which way? For more exposure or more speed? Pull or push? I think you’re saying “pull harder” i.e. “best to underdevelop by 1 stop”, or “shoot at 1600 but develop for 800”. Did I catch that right?
Comment posted: 09/07/2019
Devlin Cook on Kodak T-MAX P3200 – Frist Rolls Review – The Start of Some Experiments
Comment posted: 11/07/2019
Comment posted: 11/07/2019
Comment posted: 11/07/2019
Nick on Kodak T-MAX P3200 – Frist Rolls Review – The Start of Some Experiments
Comment posted: 26/12/2022
The real film speed is 800-1000 ISO depending on developers you use. XTOL or Tmax will give you a film speed of 1000 ISO. something like d76 will give you 800 ISO for normal speed.
Everything else above that is PUSHING this film. It is NOT a 3200 ISO film. the P3200 stands for - PUSH UP TO 3200 ISO.
See Kodak's data sheet for information.
Even in the sun, I use it, with a yellow-red filter to get into usable exposure speeds. In New England, its not super bright, so most of the time it is fine.
I have heard people complain about the highlights being blown, especially with TMAX developer. Kodak wouldn't make a Tmax film, and a Tmax developer, and have them be unusable together, this is nonsense.
The biggest problem people have with film these days, is a lack of calibration and testing, to their supplies and their methods. You need to test a film, run different speeds for your camera, calibrate it to your enlarger, Work out max black testing in the darkroom, and then adjust your development times based on highlight printing tests, also in the darkroom. That way you know for the camera you use, to the film you use, to the developer you use, to the agitation you use, to the enlarger you use, what your EXACT film speed ratings are for your camera, development times, etc to get great prints under an enlarger.
Testing and calibrating things takes only a few hours. We didn't jump about from film to film like folks do now, we tested each film, and calibrated our development and enlargements, to get the BEST prints.
If you don't do these things, don't complain about bad pictures, blown highlights, etc on this amazing film. That is user Error, and its usually from shooting 10 films at once, and using 40 different options for scanning, developing, etc. Pick one film, one develop and one method and stick with it FOR YEARS.
If someone doesn't know how to do this, contact me and I will send you detailed instructions on calibrating your tools, for free, in a DM.