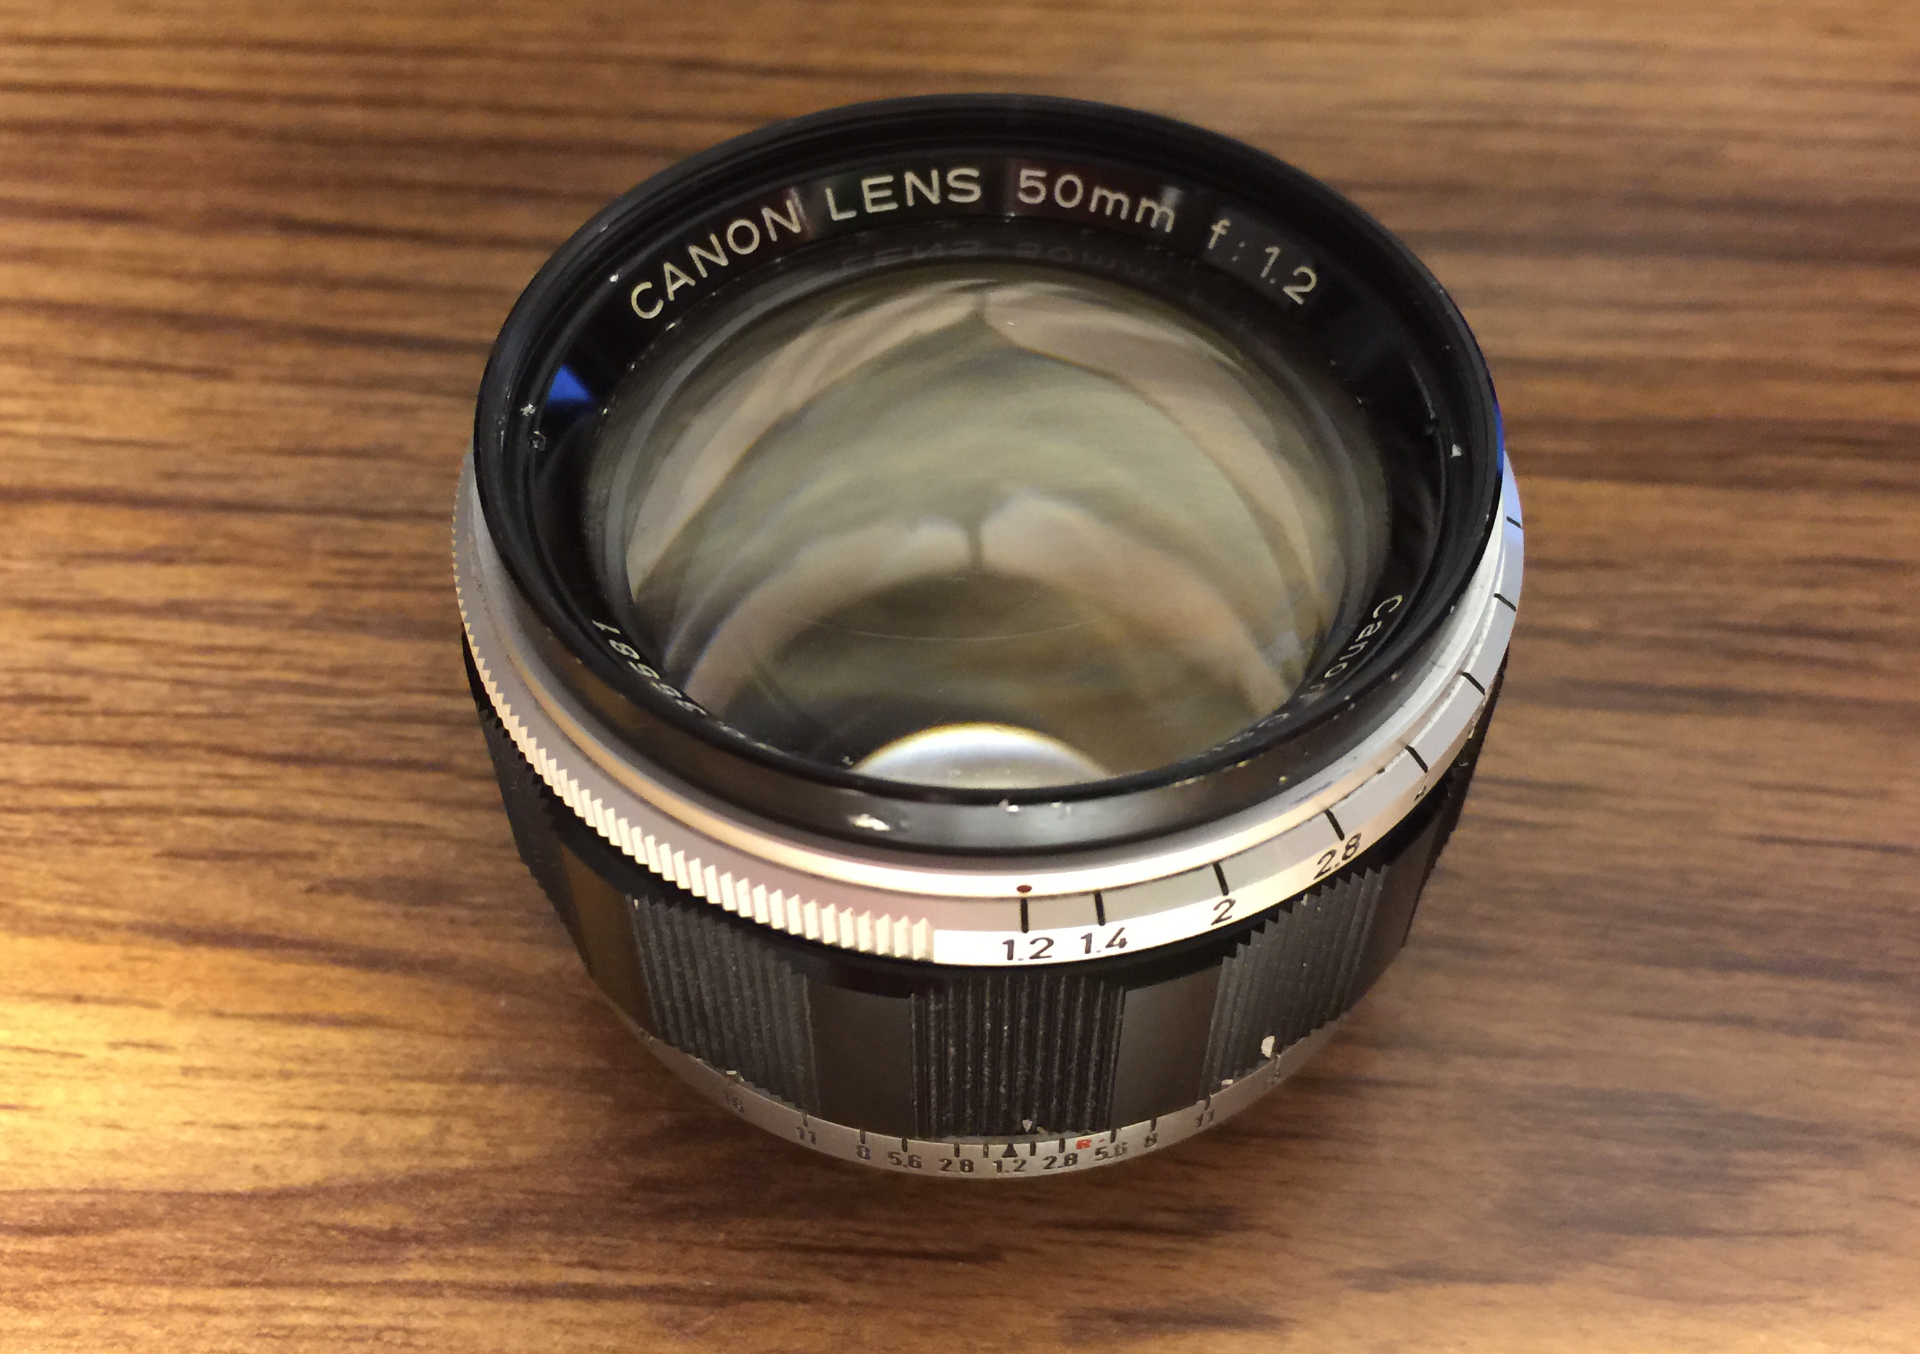
A while back, I snagged a beautiful Canon VI-T rangefinder camera for small bucks at a yard sale. It’s probably as close as I’ll ever come to owning a classic Leica. But it had issues:
- Its unique base-plate “trigger winder” worked only sporadically.
- There were a couple scratches across its 50mm f/1.2 Leica-Thread-Mount lens (apparently, a fairly common problem).
- And the lens contained significant haze from aperture-lubricant out-gassing (also reportedly common).
But now that nice weather is returning to New England, a personal project I have in mind will require some late-night outdoor shooting. And I think this lens would be perfect if adapted to my Fuji X-Pro1. So I decided to fix it up as much as possible.
A Missing Instruction
Searching around, I found this excellent three-part procedure for cleaning the lens. It went pretty much without a hitch. Fortunately, the lens’s aperture blades looked fine, so I only had to clean the interior glass surfaces. So in the procedure’s PART II section, I skipped the tricky aperture bath.
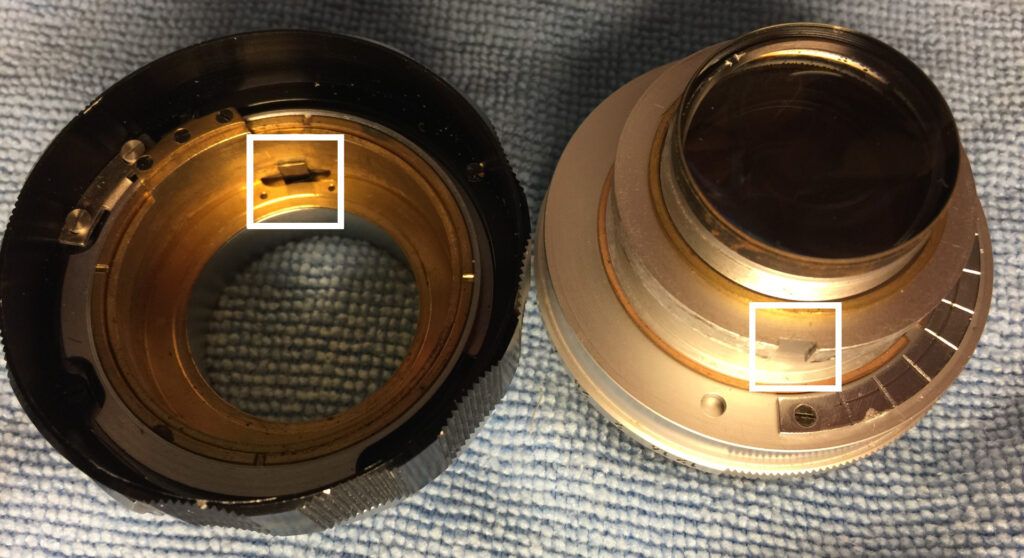
But I’m writing this quick article because an important piece of information is missing from the procedure’s final PART III. It should have followed the line: “If you removed the inner and rear element only, clean each of them carefully and re-install.” FYI, the inner and rear elements come out of the lens casing as a screwed-together unit (shown on the right in the photo below). Its two glass components are then separated, cleaned, screwed back together, and at the end, the recombined lens assembly is returned to the casing (on the left) as a single unit.
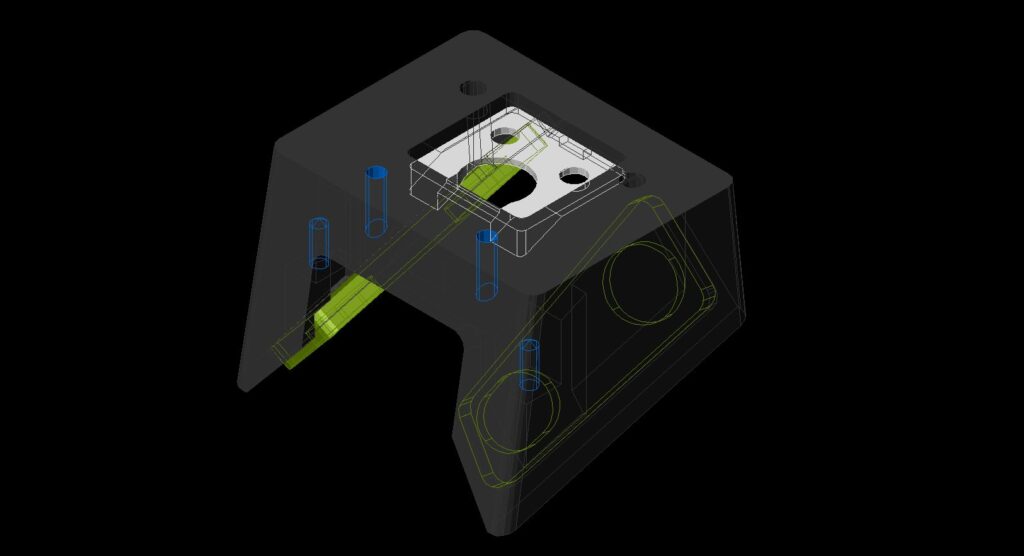
BUT there’s only one correct way to align the lens assembly and the casing. One must ensure that the casing’s vertical metal tab (outlined on the left) slips into a machined groove (outlined on the right):
 You’ll know that this wasn’t done properly if the final retaining ring at the rear of the lens refuses to fully screw in at the end of the procedure’s PART III.
Also note that the machined tolerances are so tight within the casing, that recombining these units may require gentle jiggling. And nothing should be forced.
Final Notes
I just wanted to write this piece for any other folks who want to clean this (or similar) Canon rangefinder lenses. And while my lens’s glass cleaned up beautifully, the two scratches across its front element are there to stay. So I’ll use a lens hood to keep light from hitting and glinting off them.
And… after periodically exercising the Canon VI-T trigger winder for nearly a year, it once again advances film properly. Patience pays!
–Dave Powell is a Westford, Mass., writer and avid amateur photographer.
Share this post:


Comments
Jukka Reimola on Cleaning a Classic Canon f/1.2 LTM Lens
Comment posted: 11/06/2024
Dave Powell on Cleaning a Classic Canon f/1.2 LTM Lens
Comment posted: 11/06/2024
Zach on Cleaning a Classic Canon f/1.2 LTM Lens
Comment posted: 11/06/2024
Comment posted: 11/06/2024
Adrian Cullen on Cleaning a Classic Canon f/1.2 LTM Lens
Comment posted: 12/05/2025
Comment posted: 12/05/2025
Adrian Cullen on Cleaning a Classic Canon f/1.2 LTM Lens
Comment posted: 21/06/2025
My next job is look at cleaning the minimal haze on my Canon ltm 28/2.8 all chrome lens. I'm hoping the mechanical construction is somewhat similar to the 50/1.2 albeit on a miniaturised scale.
Dave Powell on Cleaning a Classic Canon f/1.2 LTM Lens
Comment posted: 21/06/2025