The Fuji 100mm F3.5 AE is a lens designed for medium format cameras (6×7 and 6×9) of the Fuji brand, which began to be marketed in 1974. It has a classic Tessar optical design, that is, 4 elements in 3 groups, which results in a high contrast due to low number of elements. At full aperture you get gorgeous bokeh in the out-of-focus areas, and at other apertures (especially between F8 and F11) it’s fabulously sharp in the center.
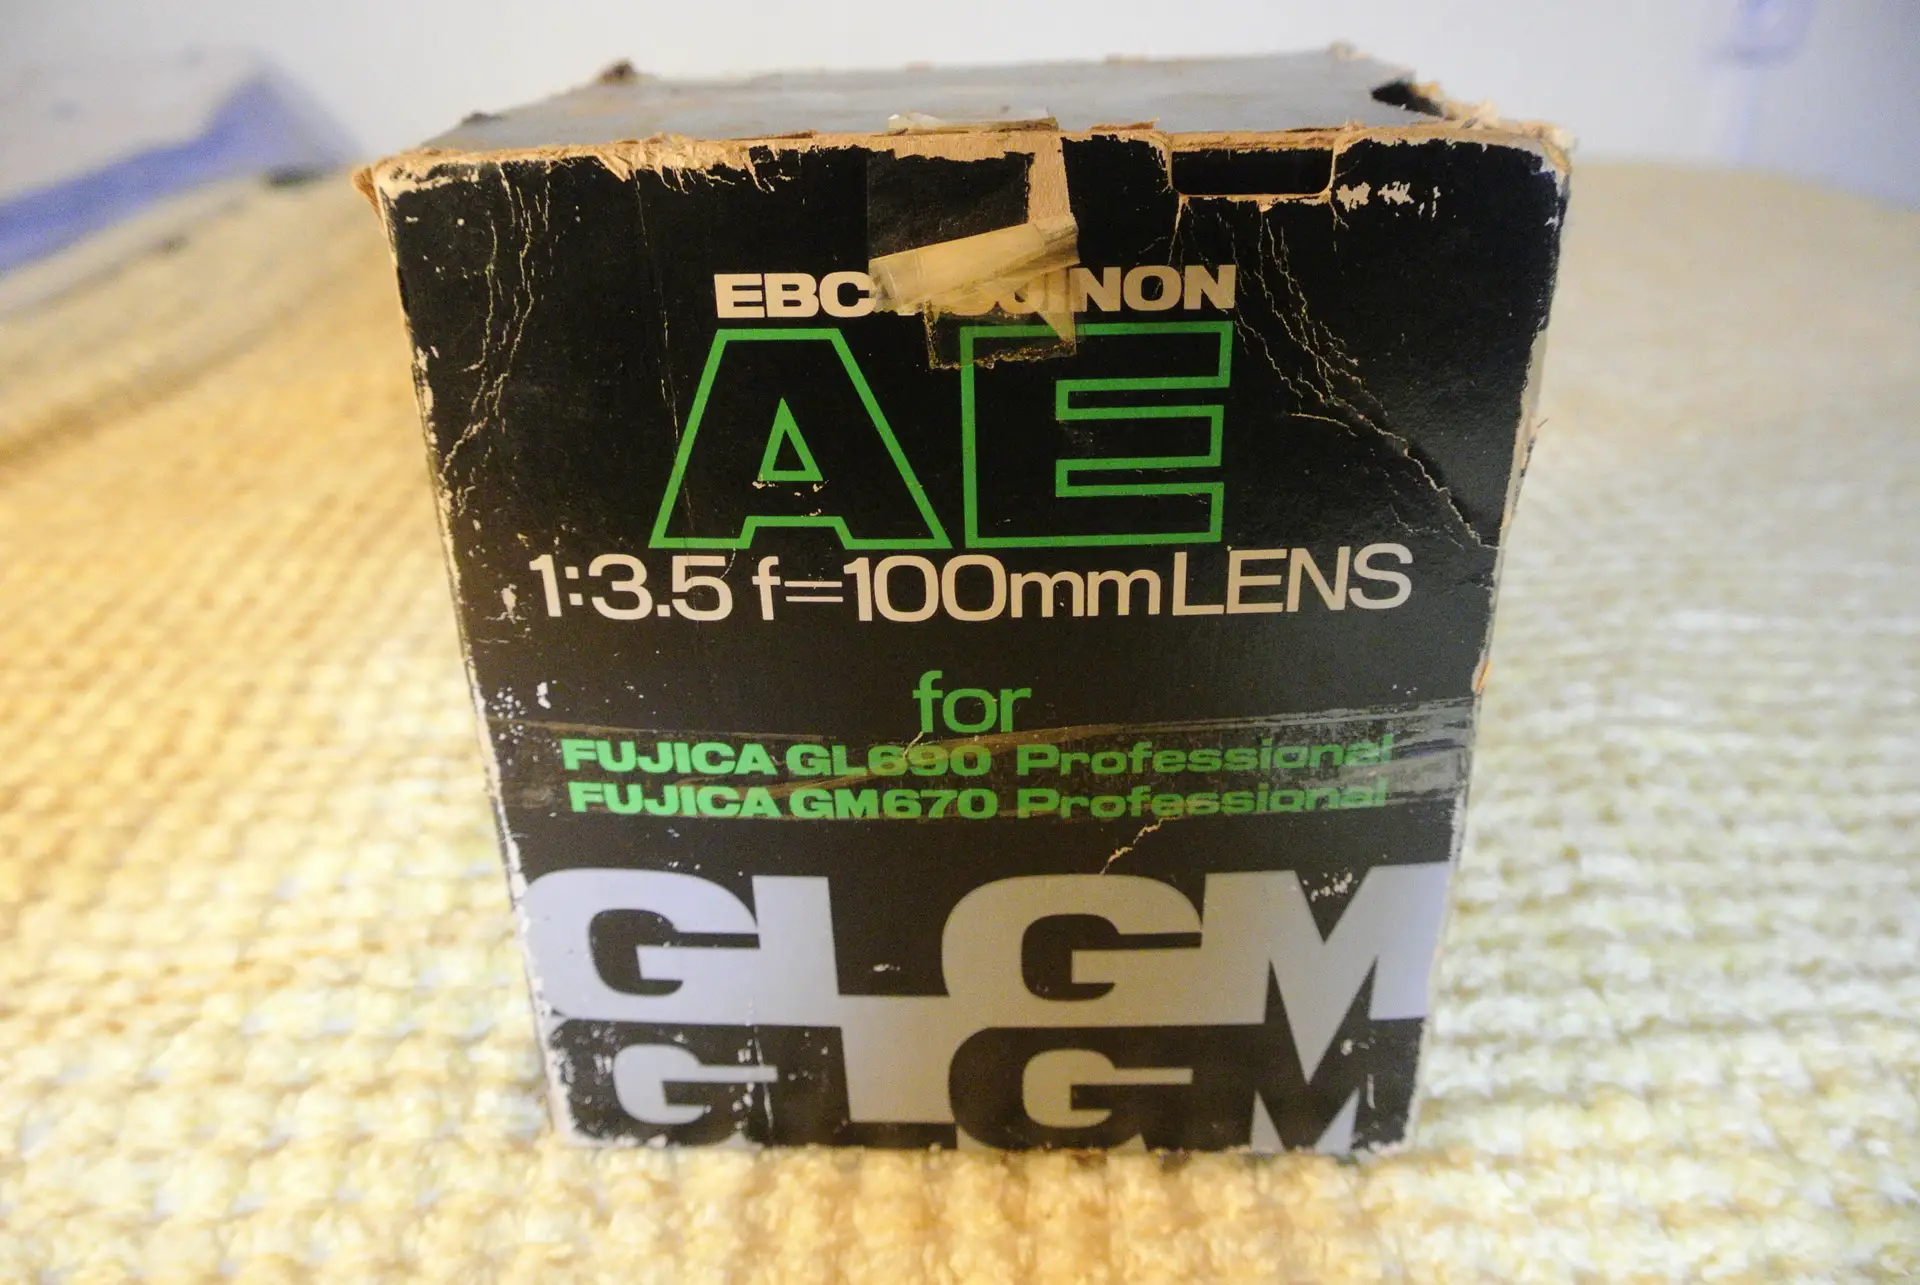
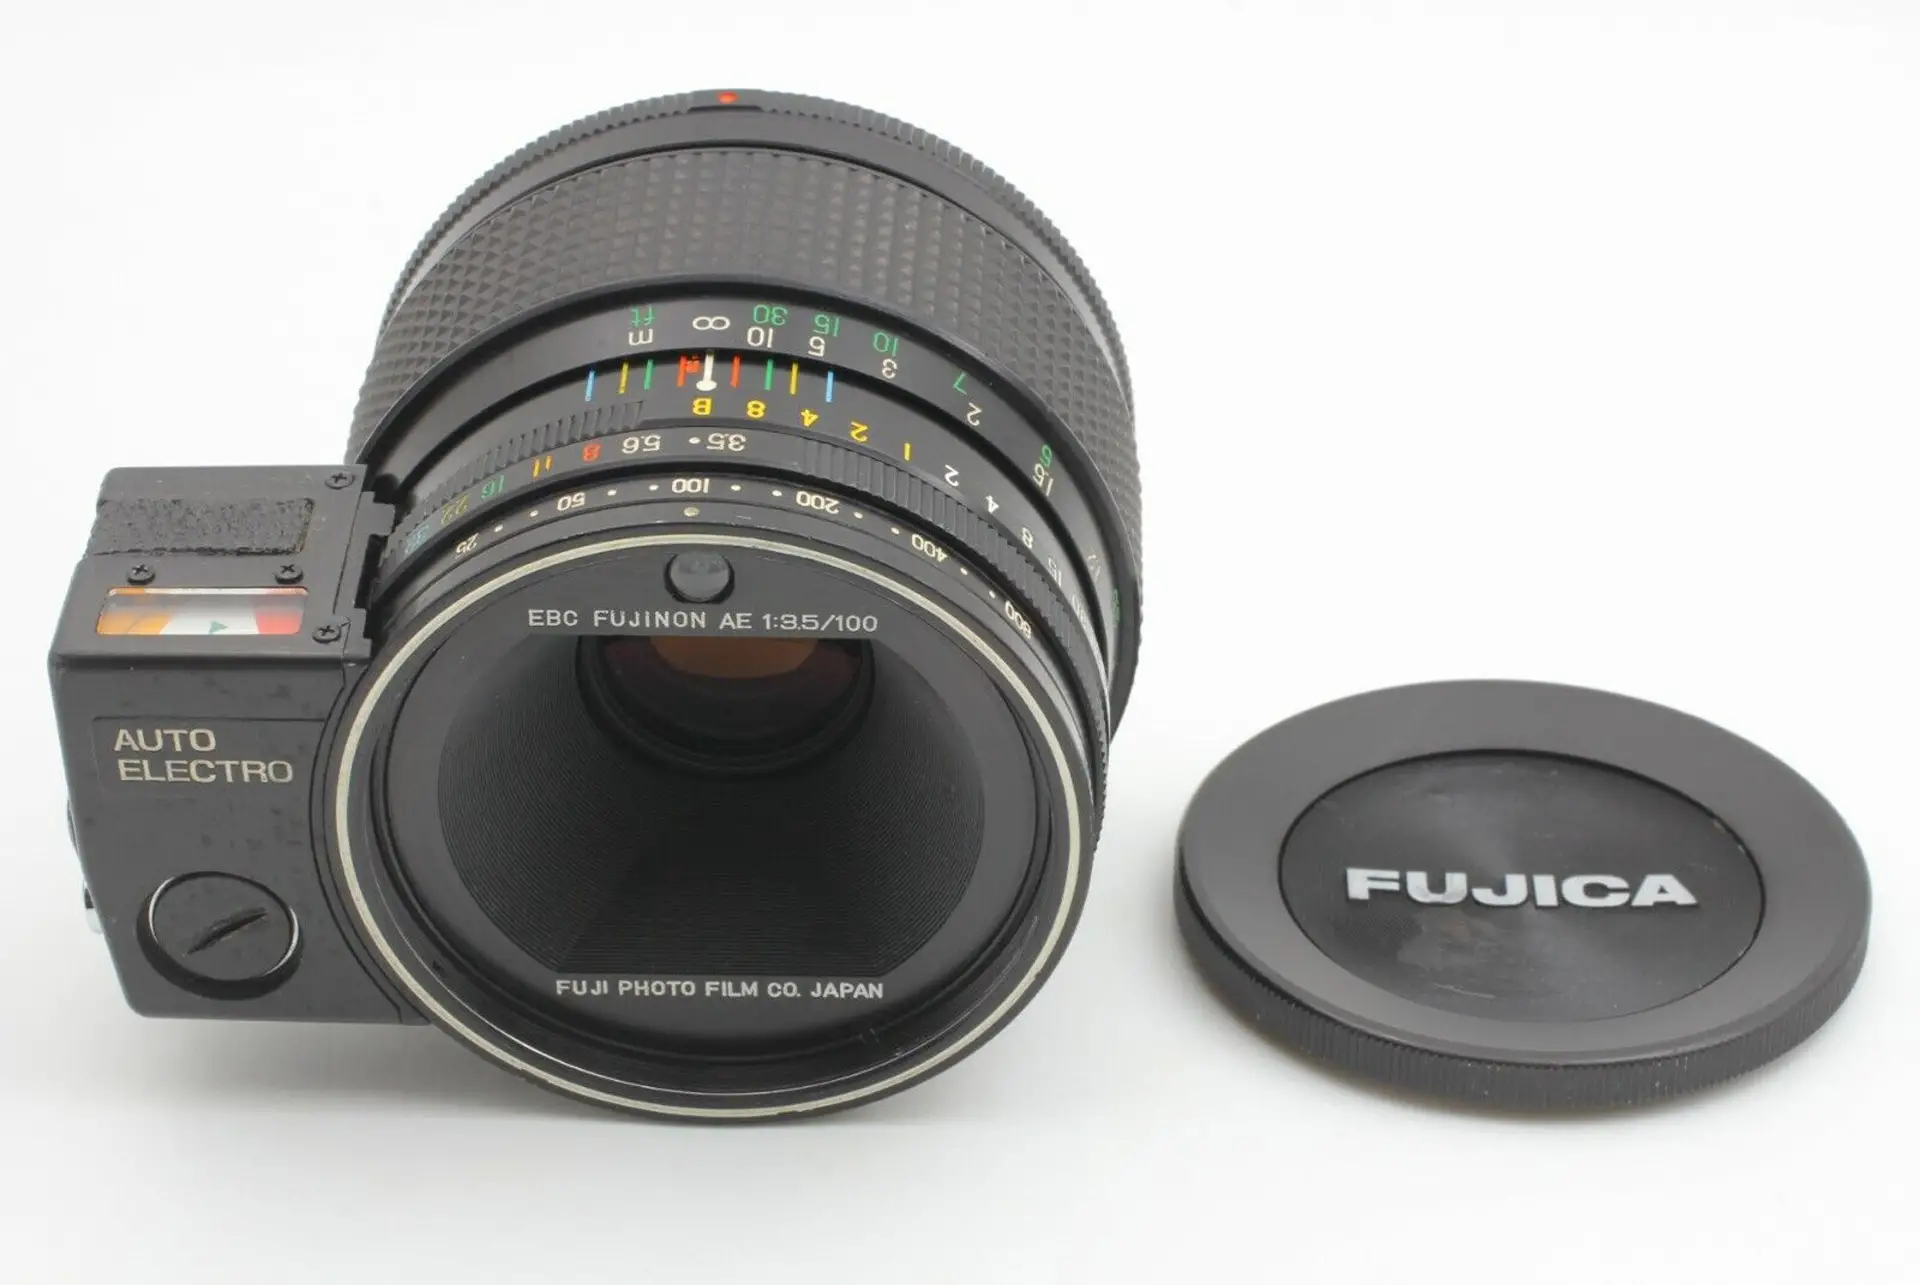
It is Fuji’s first medium-format lens with EBC multi-layer coating, and it has a light meter built into the lens, which is why it is called AE (auto electro). There are adapters to use these lenses on 35mm cameras, but the lens assembly weighs 700 grams and is large. Since my camera is a Pentax MX (one of the smaller SLRs) there’s not much point in fitting such a monstrosity of lens.
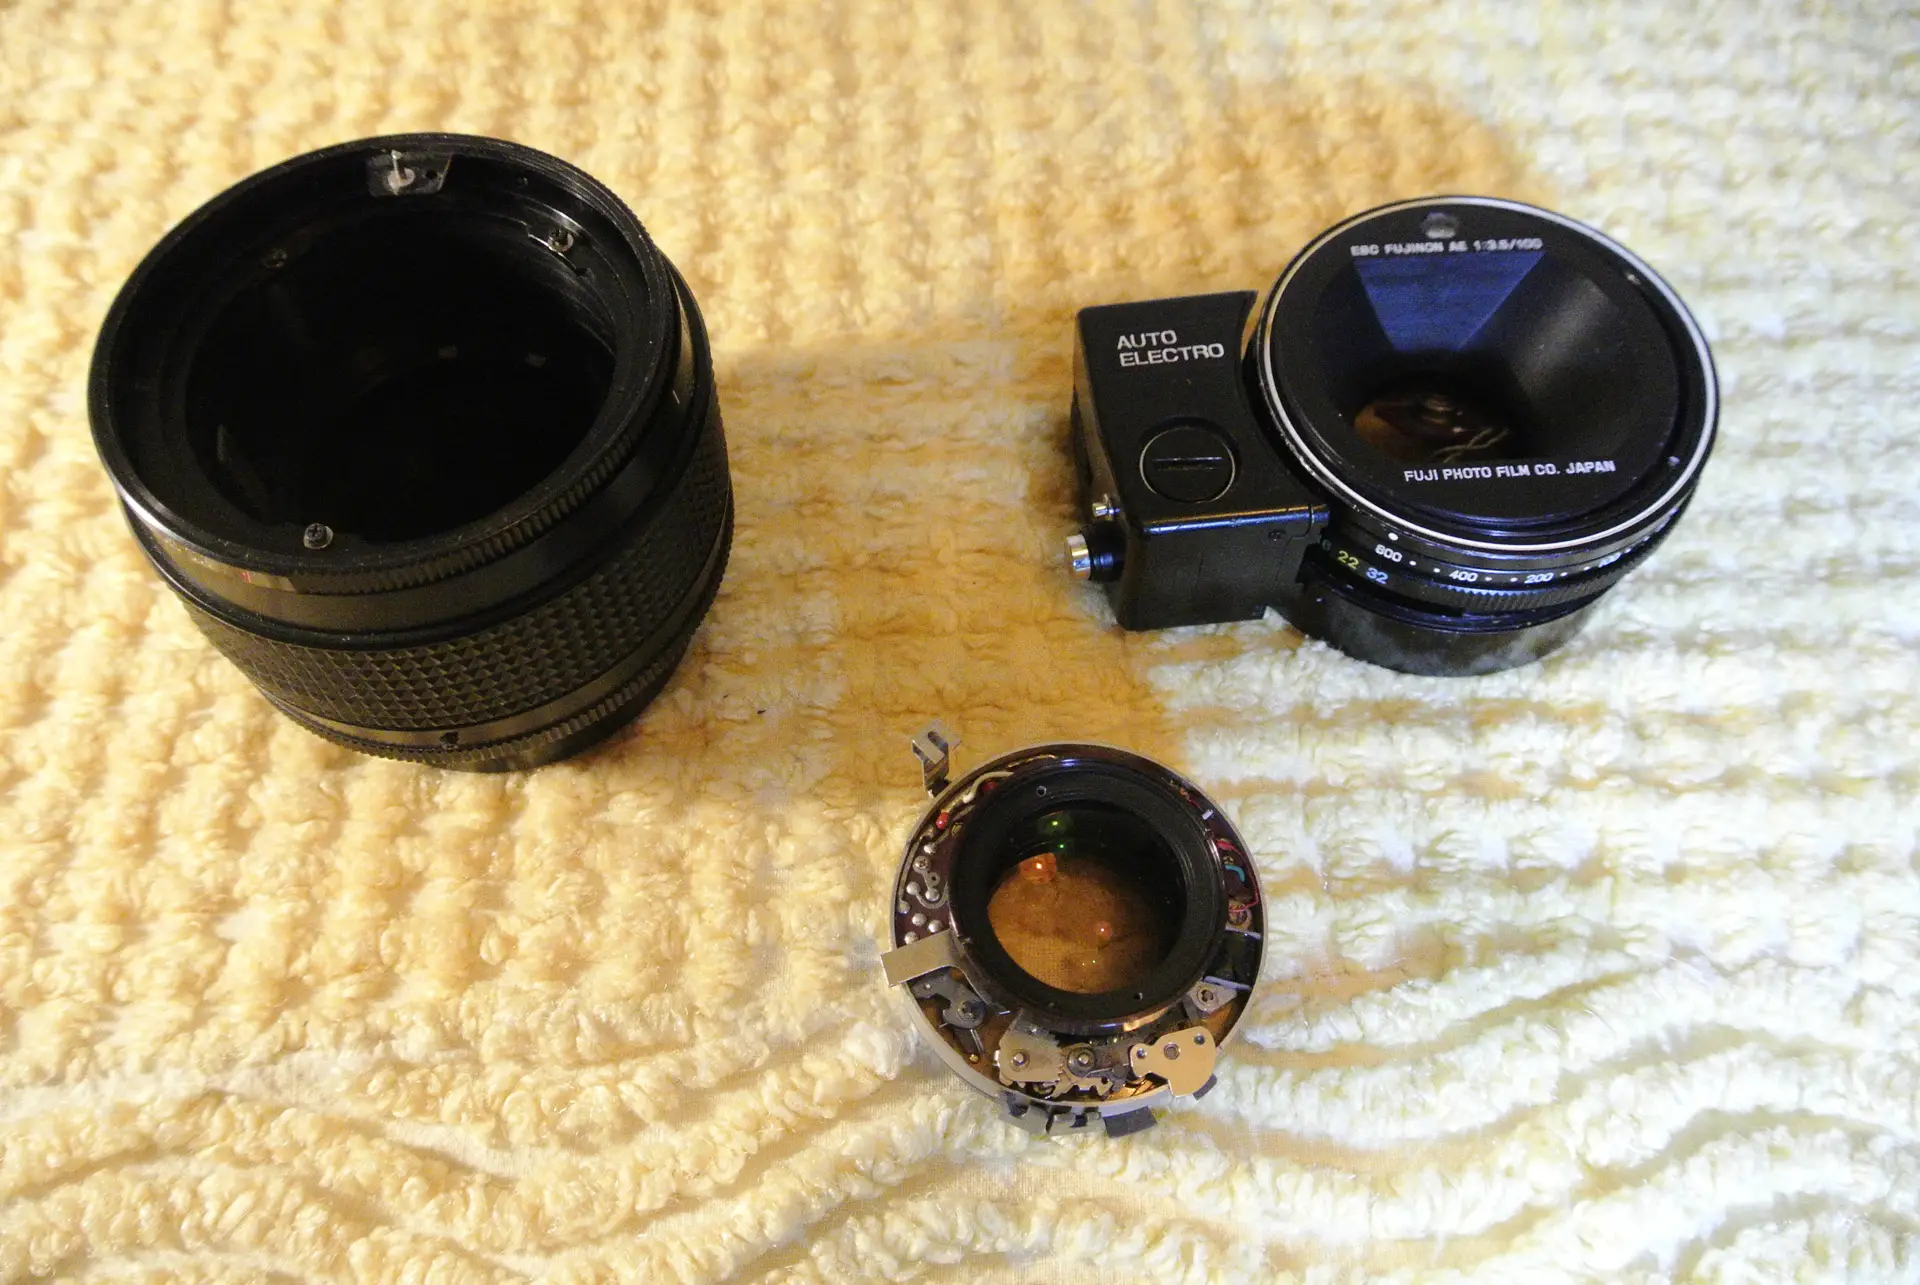
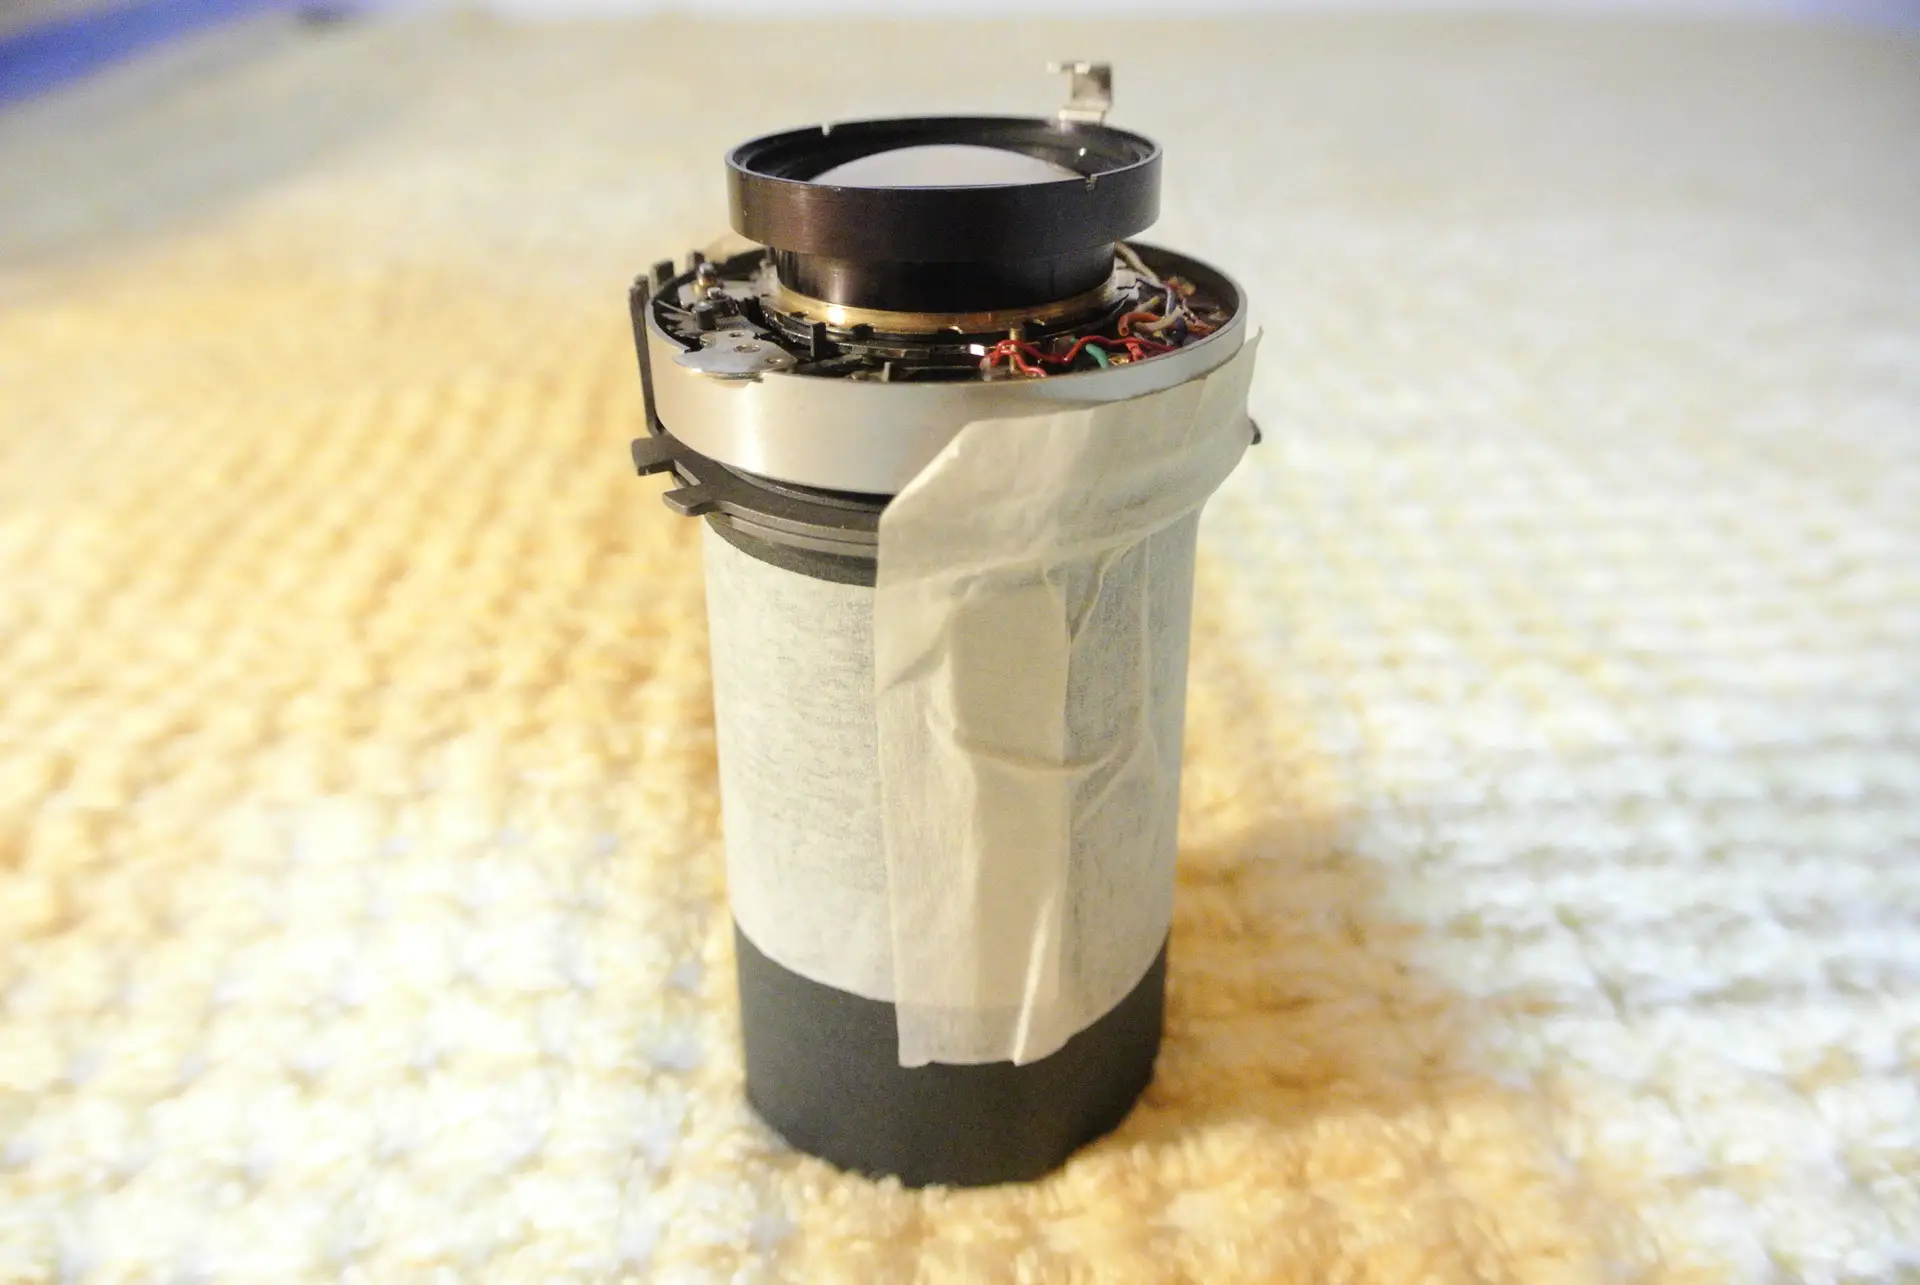
A better option for me was to disassemble the optical block from the rest of the components that make up the lens, so it becomes something much more manageable.
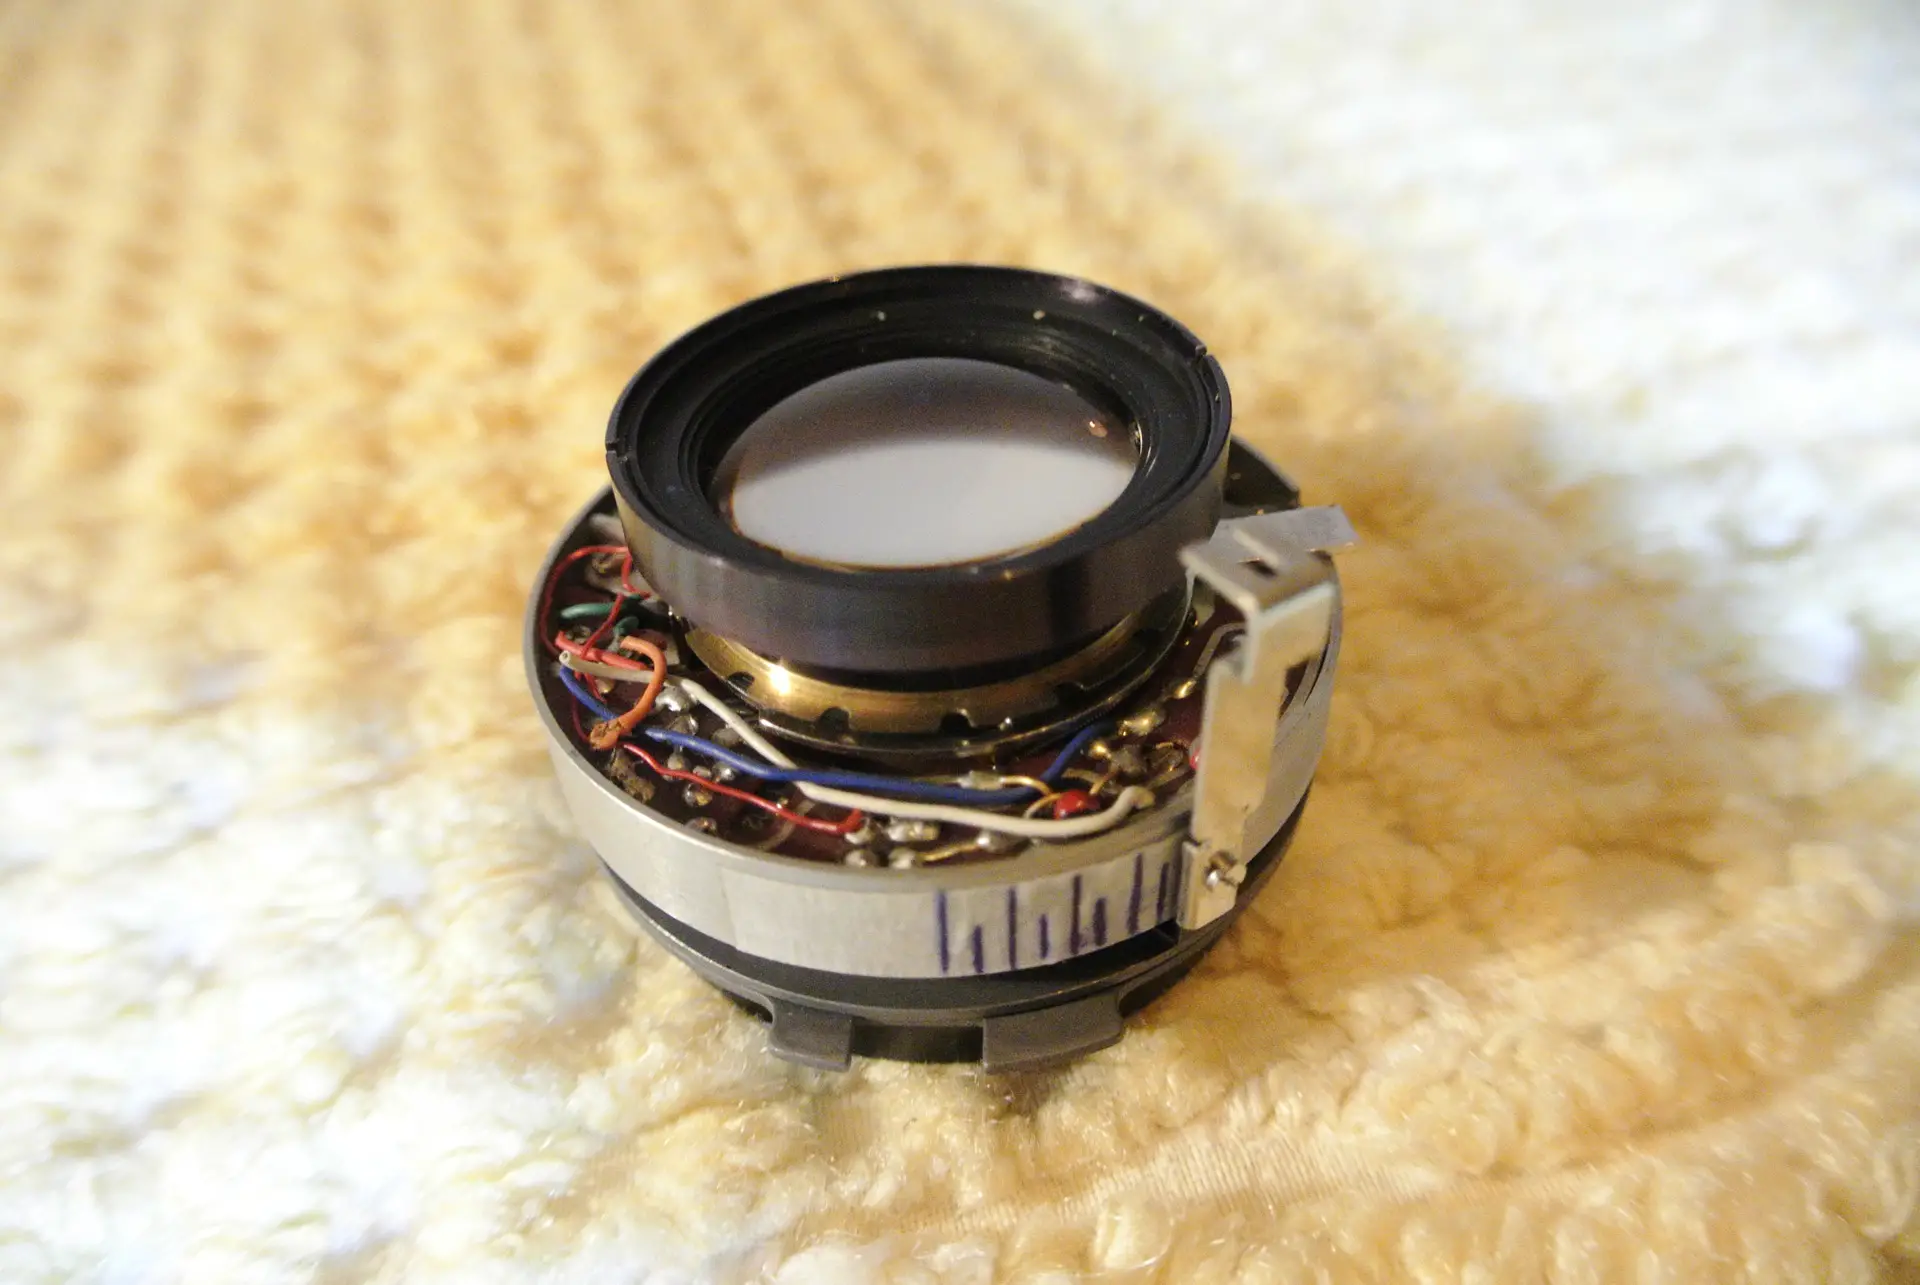
The first thing I did was to find out the markings of the diaphragm by placing a strip of painter’s tape around the perimeter of the optical block. I moved the crank vertically and made lines with a pen (the long ones correspond to whole diaphragms and the short ones to half diaphragms). The diameter of the aperture (viewed from the front of the lens) is calculated by dividing the focal length by the diaphragm. For example for an F4 diaphragm, we divide 100 by 4 which gives us 25mm. I only marked the range from F3.5 to F11 since sharpness is lost at more closed diaphragms.
The next step was to know at what distance from the rear of the optical group it can focus at infinity. For this I needed to build a cylinder of black cardboard with the diameter of the back and paste it with painter’s tape. At the beginning I gave the cylinder a length equal to the focal length of the objective, that is 100mm. I stood near a window and framed a high-contrast object located outside. If you are going to try this, note that the more distant the better. I then brought a white sheet of paper (which acts as ground glass) to the end of the cardboard and I could see the inverted image of the object in a blurred way. Then, testing with smaller lengths, cutting the cardboard until I could see the image clearly. In this case, the appropriate length was 80mm when I focused at about 20 meters.
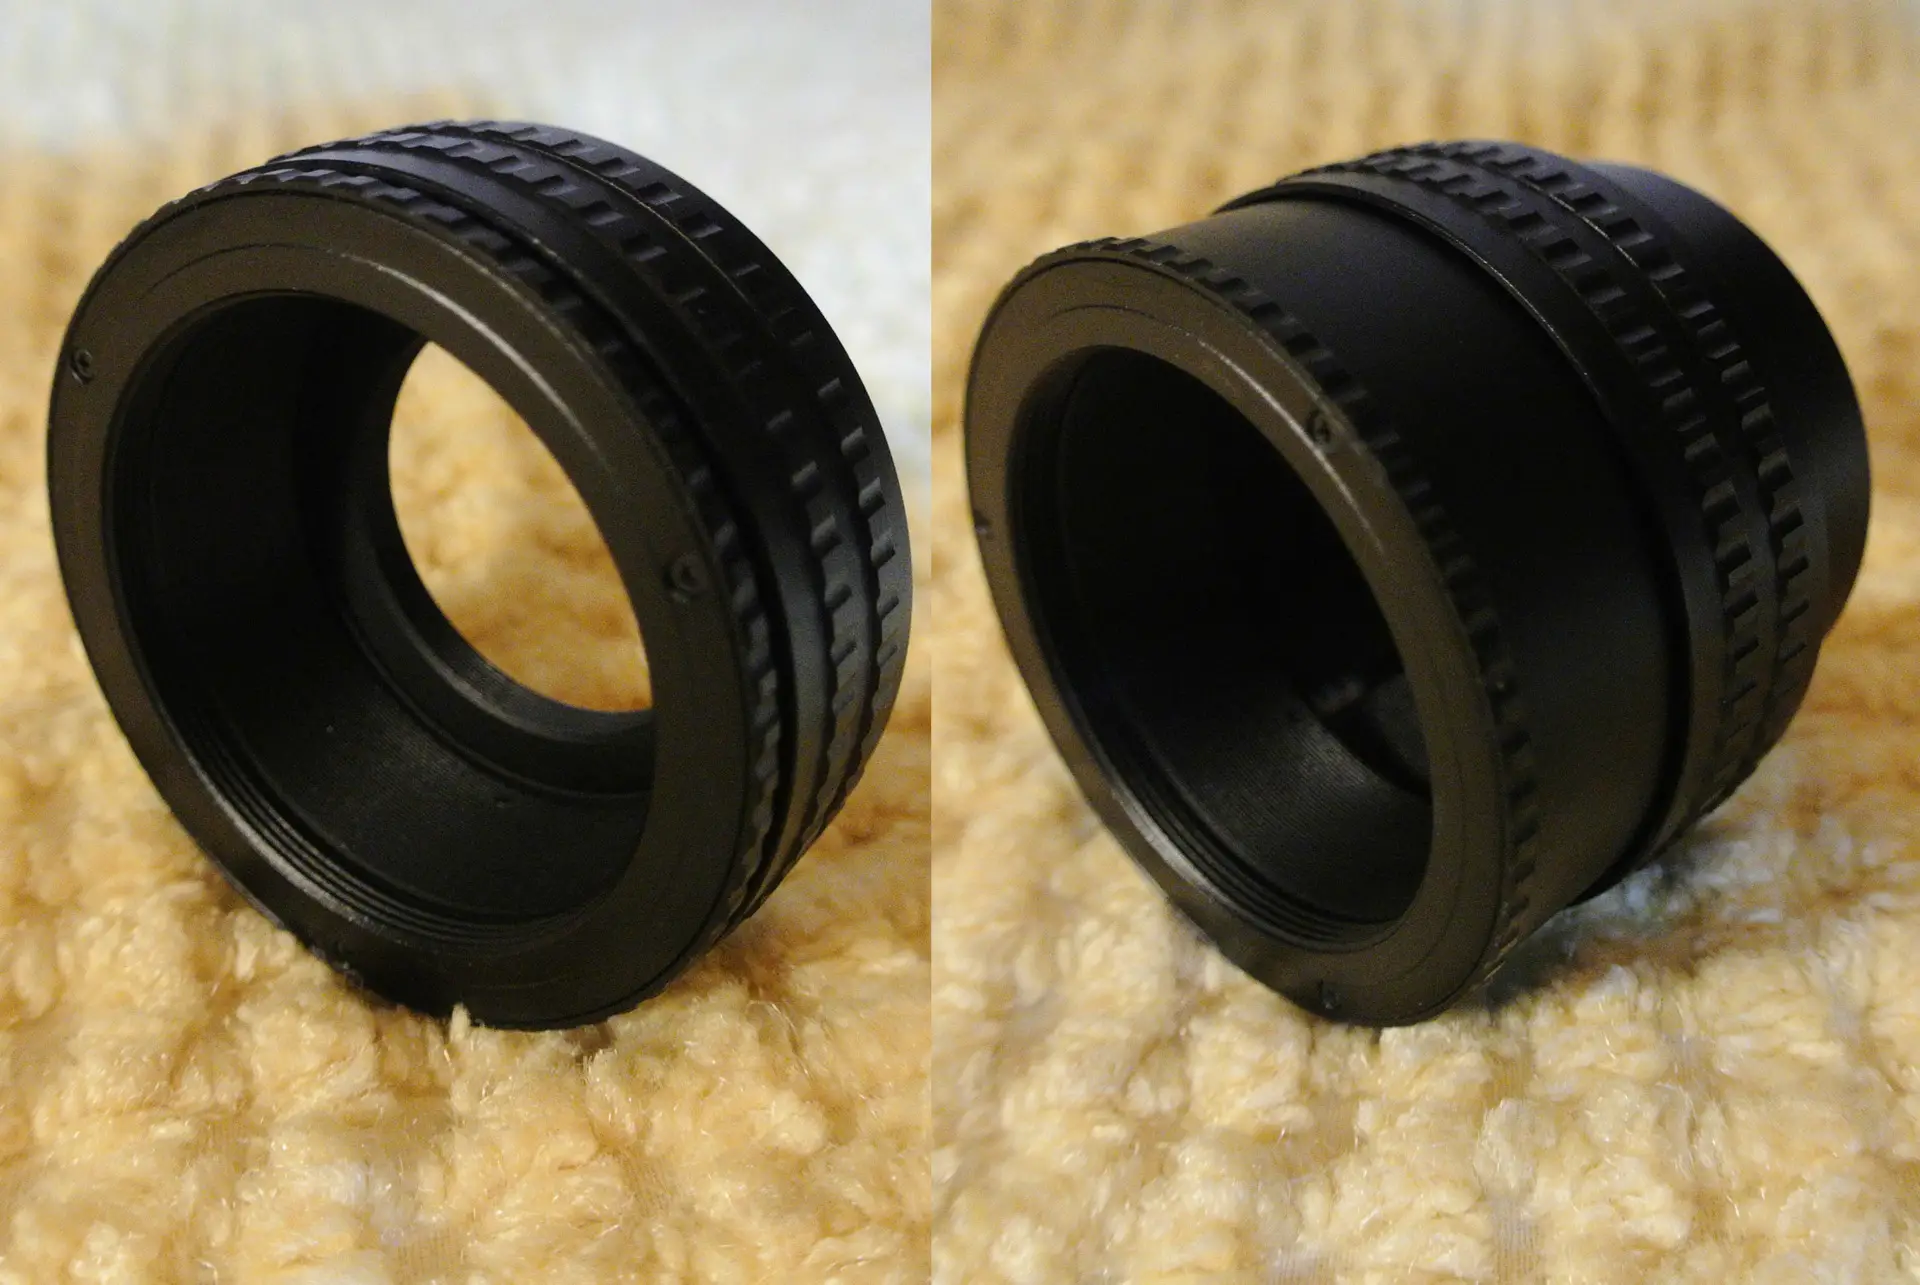
Next I needed to calculate the size of the extendable helical focus ring. I knew that the distance to infinity is around 80mm, so the distance from the photographic film to the camera mount (flange focal length) plus the distance of the unextended focus ring should be less than 80mm. Since the flange focal length of the Pentax camera is 45.46mm, I needed an unextended focus ring smaller than 34.54mm (otherwise it would not be possible to focus at infinity). I selected a brass and aluminum focus ring that covers the 25 to 55mm range. When the ring is not extended it was at 70.46mm, therefore it needed to extend about 9.5mm to focus at infinity. Then, it still had about 20.5mm of extension on the ring for focusing at closer distances. Said extension is greater than in the ring of the original optics, so it can focus at less than 1 meter.
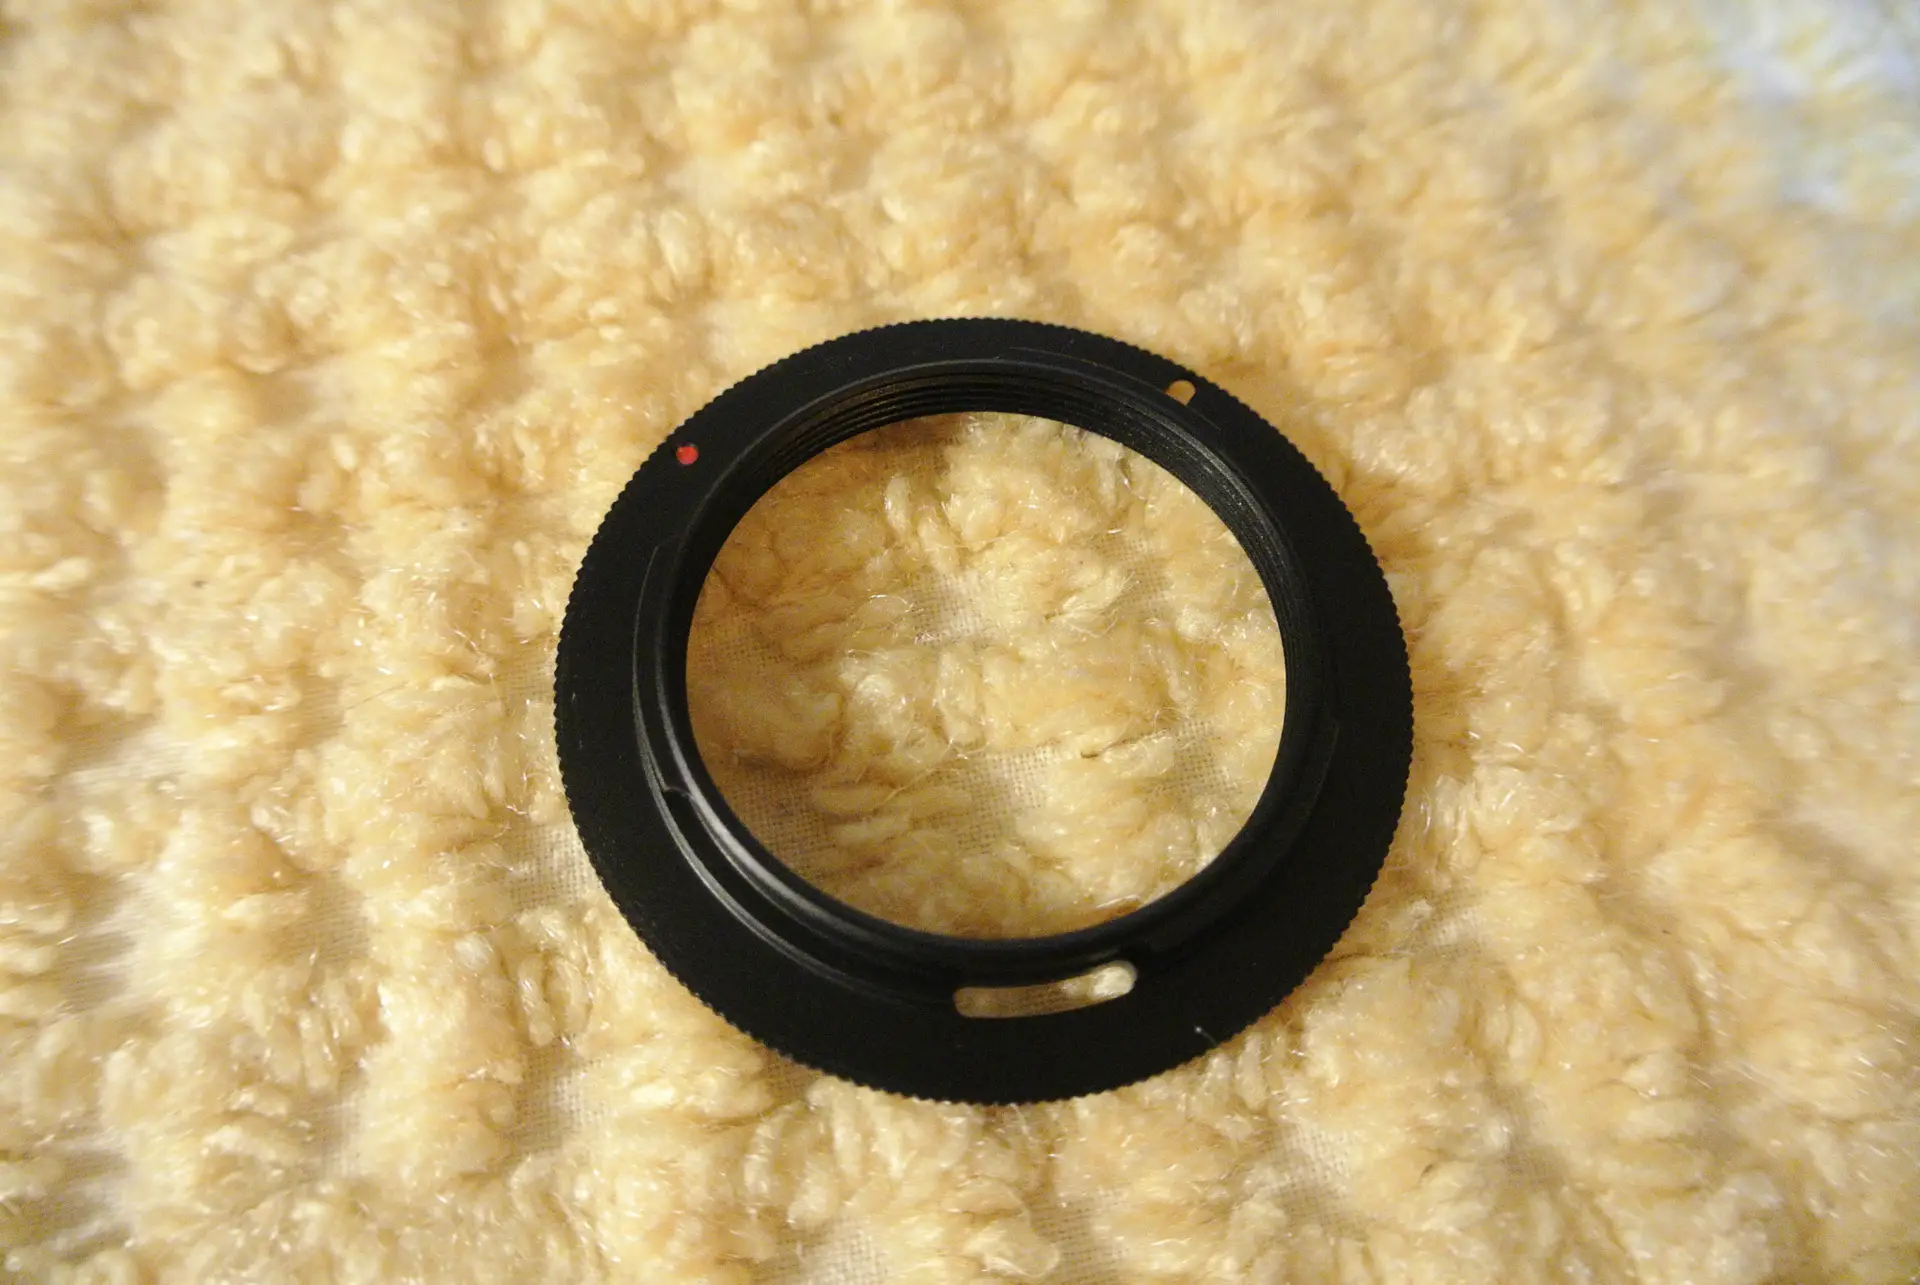
These extendable focus rings have a front and a rear threaded diameter. In this case, the front is M52 (52mm) so that I could enter the rear elements of the lens. The rear diameter of the ring is M42 (42mm) and with an M42 thread adapter to Pentax K bayonet I can mount the ring on the camera. Note: the adapter does not add length to the ring so it does not affect the above calculations.

To join the optical block to the focusing ring I decided that the best solution is to use epoxy in the form of putty for metals: J-B Weld “SteelStik”. The two components can be mixed by hand using impervious gloves and then applied to the joint areas. It dries in about 5 minutes and after 1 hour it is cured. Before gluing the lens, the focus ring was mounted on the Pentax camera and a mark was made on the ring, in the position where the optical block will go with the crank part of the diaphragm facing up. So it’s easier to change aperture.

I had to let the optical block rest against the ring, and then a strip of putty was applied around the perimeter joining the two parts. This is important because if I applied the putty axially on the optical block and the ring, I could have induced some inclination in the optics, which would lead to less sharp areas in the image.
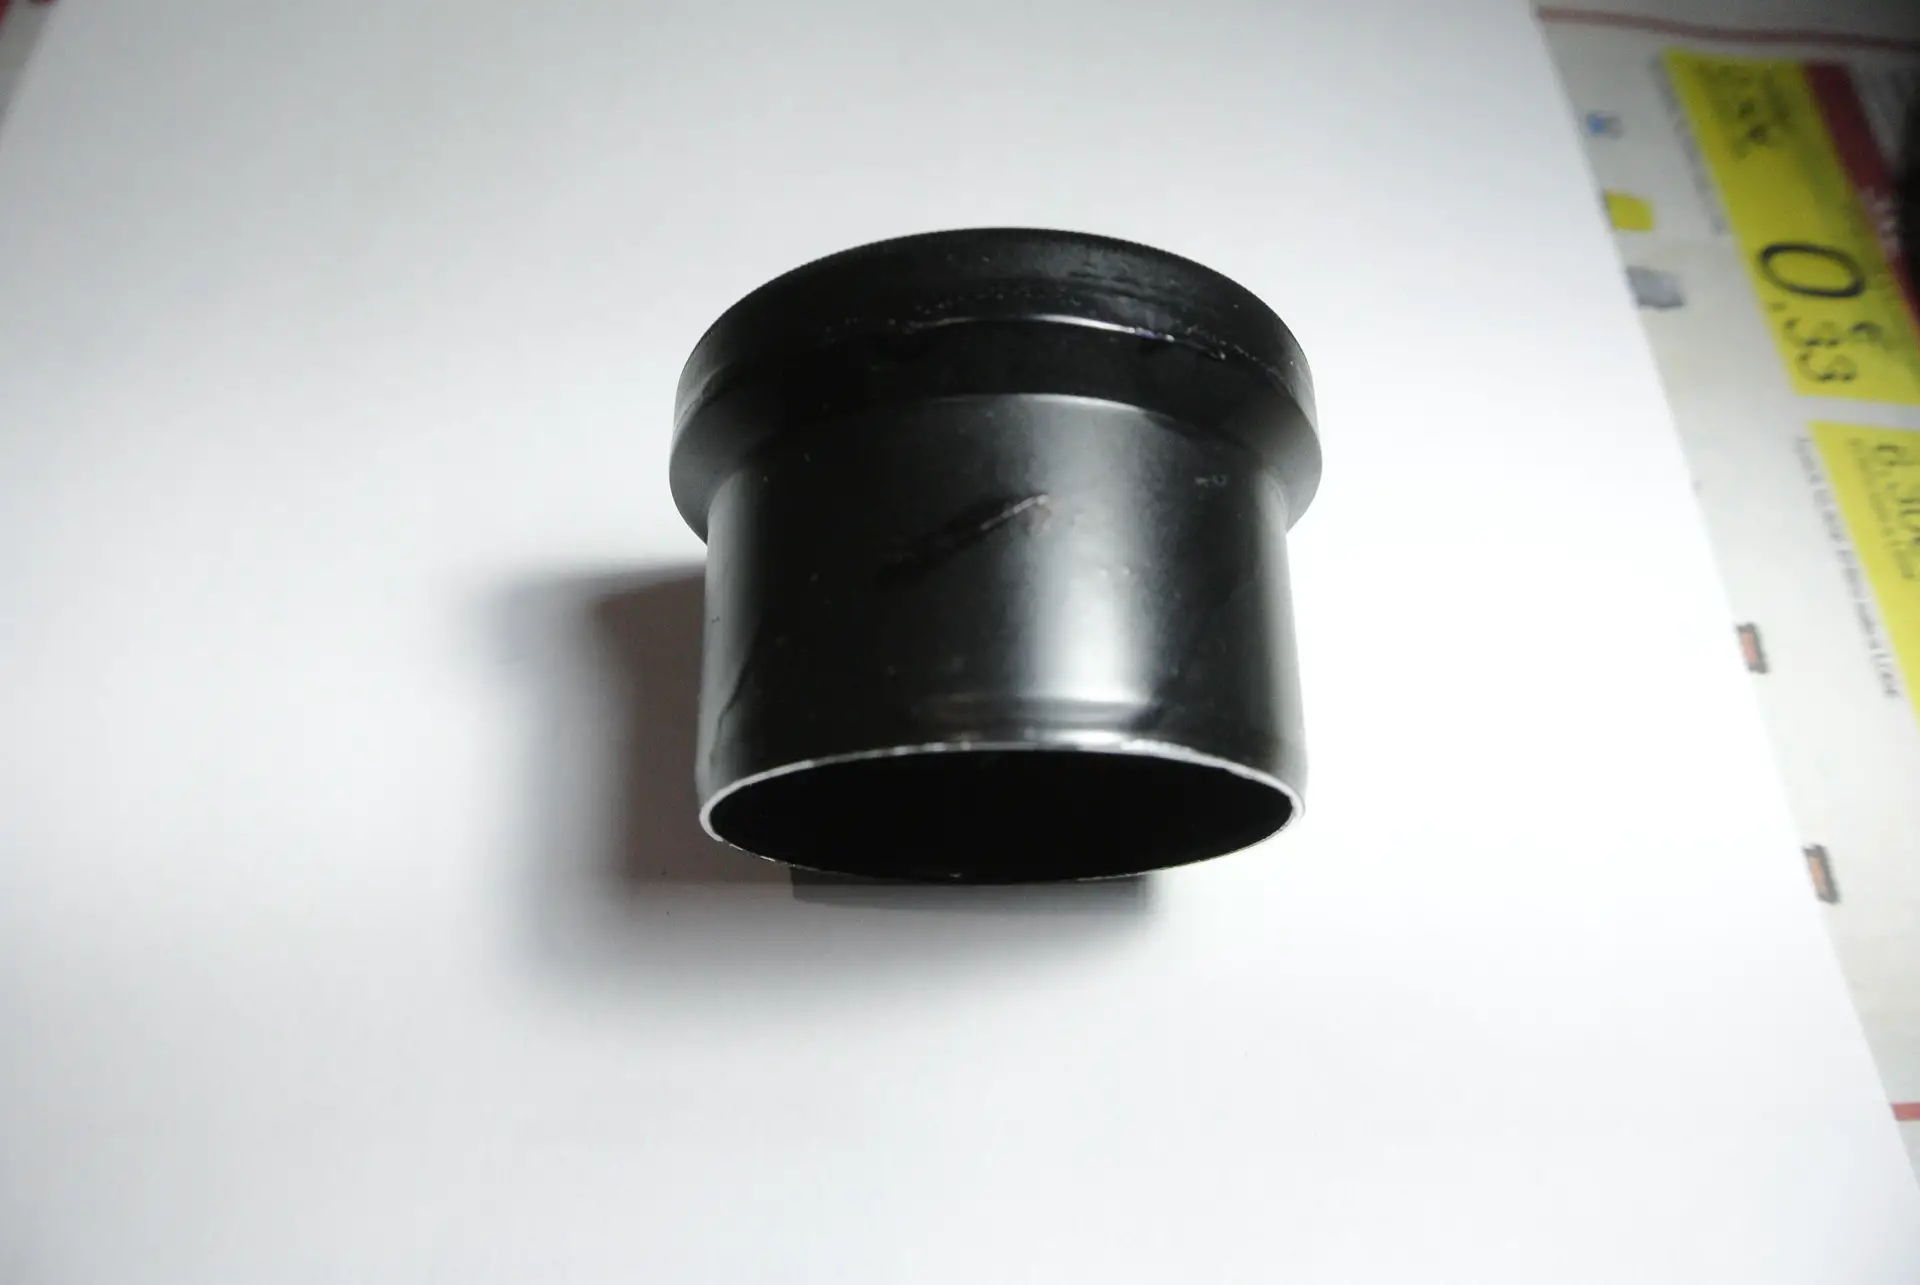
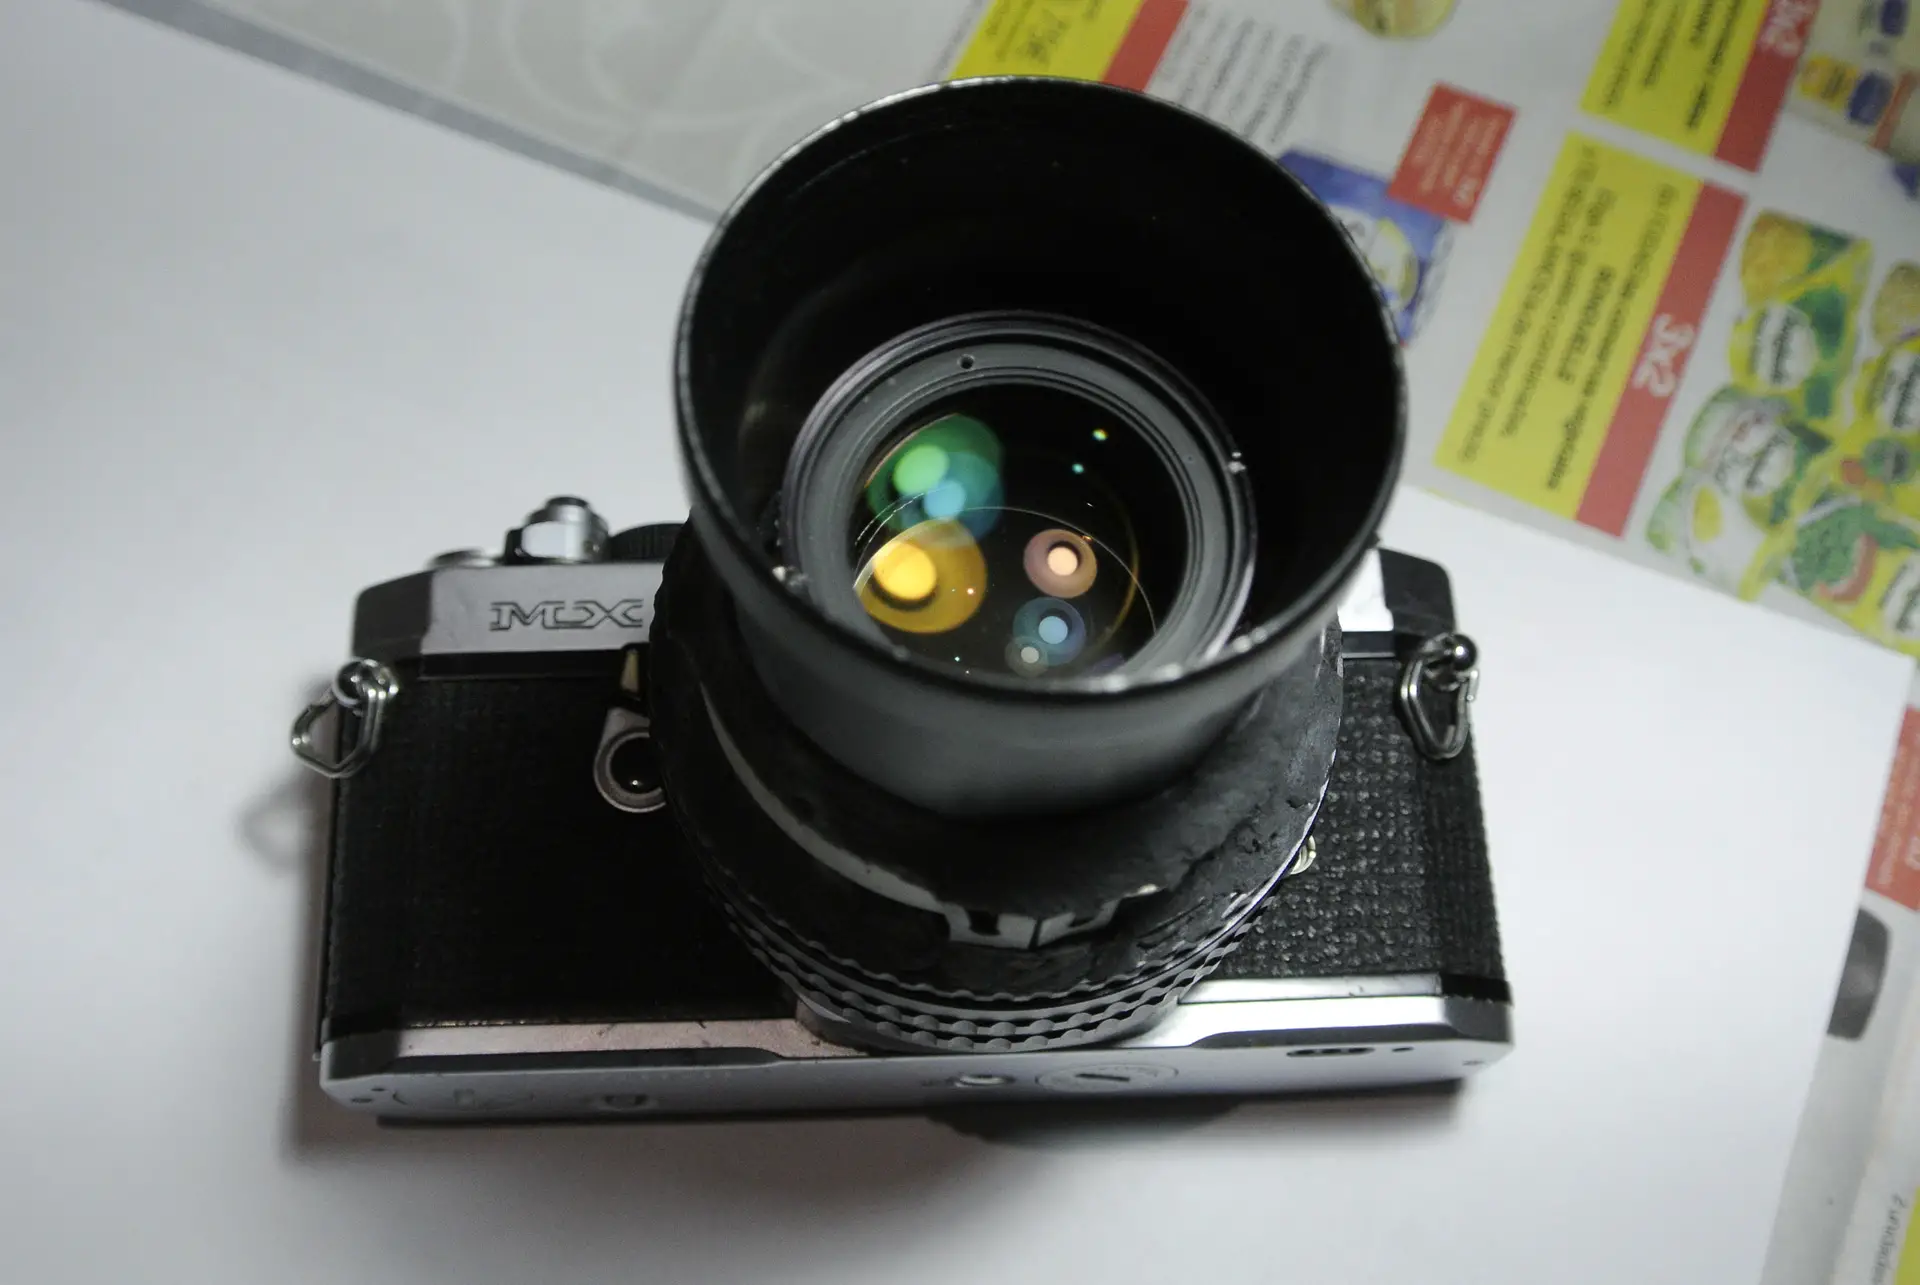
Now I needed to glue a lens sunshade to prevent lens reflections, especially when shooting in bright sunlight. It also served as protection for the front element of the optics. For this, a piece of a projection lens was recycled (although any rigid tube or similar would also work). This piece is made of aluminum and has been painted with a matt black spray. Before gluing it permanently, it was checked through the camera viewfinder that I could see that there was no vignetting in the corners of the image.
Finally I had to add a front cap with the diameter of the lens sunshade, and a rear cap with a bayonet mount. And now I the Fuji-Pentax lens ready with a weight of 340 grams!
Purchase costs via ebay
— Helical focus ring M52 to M42, extendable from 25 to 55mm: 22 euros from China.
— M42 thread adapter to Pentax K bayonet: 10 euros from the United Kingdom.
— J-B Weld “SteelStik” Metal Putty Epoxy: 20 euros from UK.
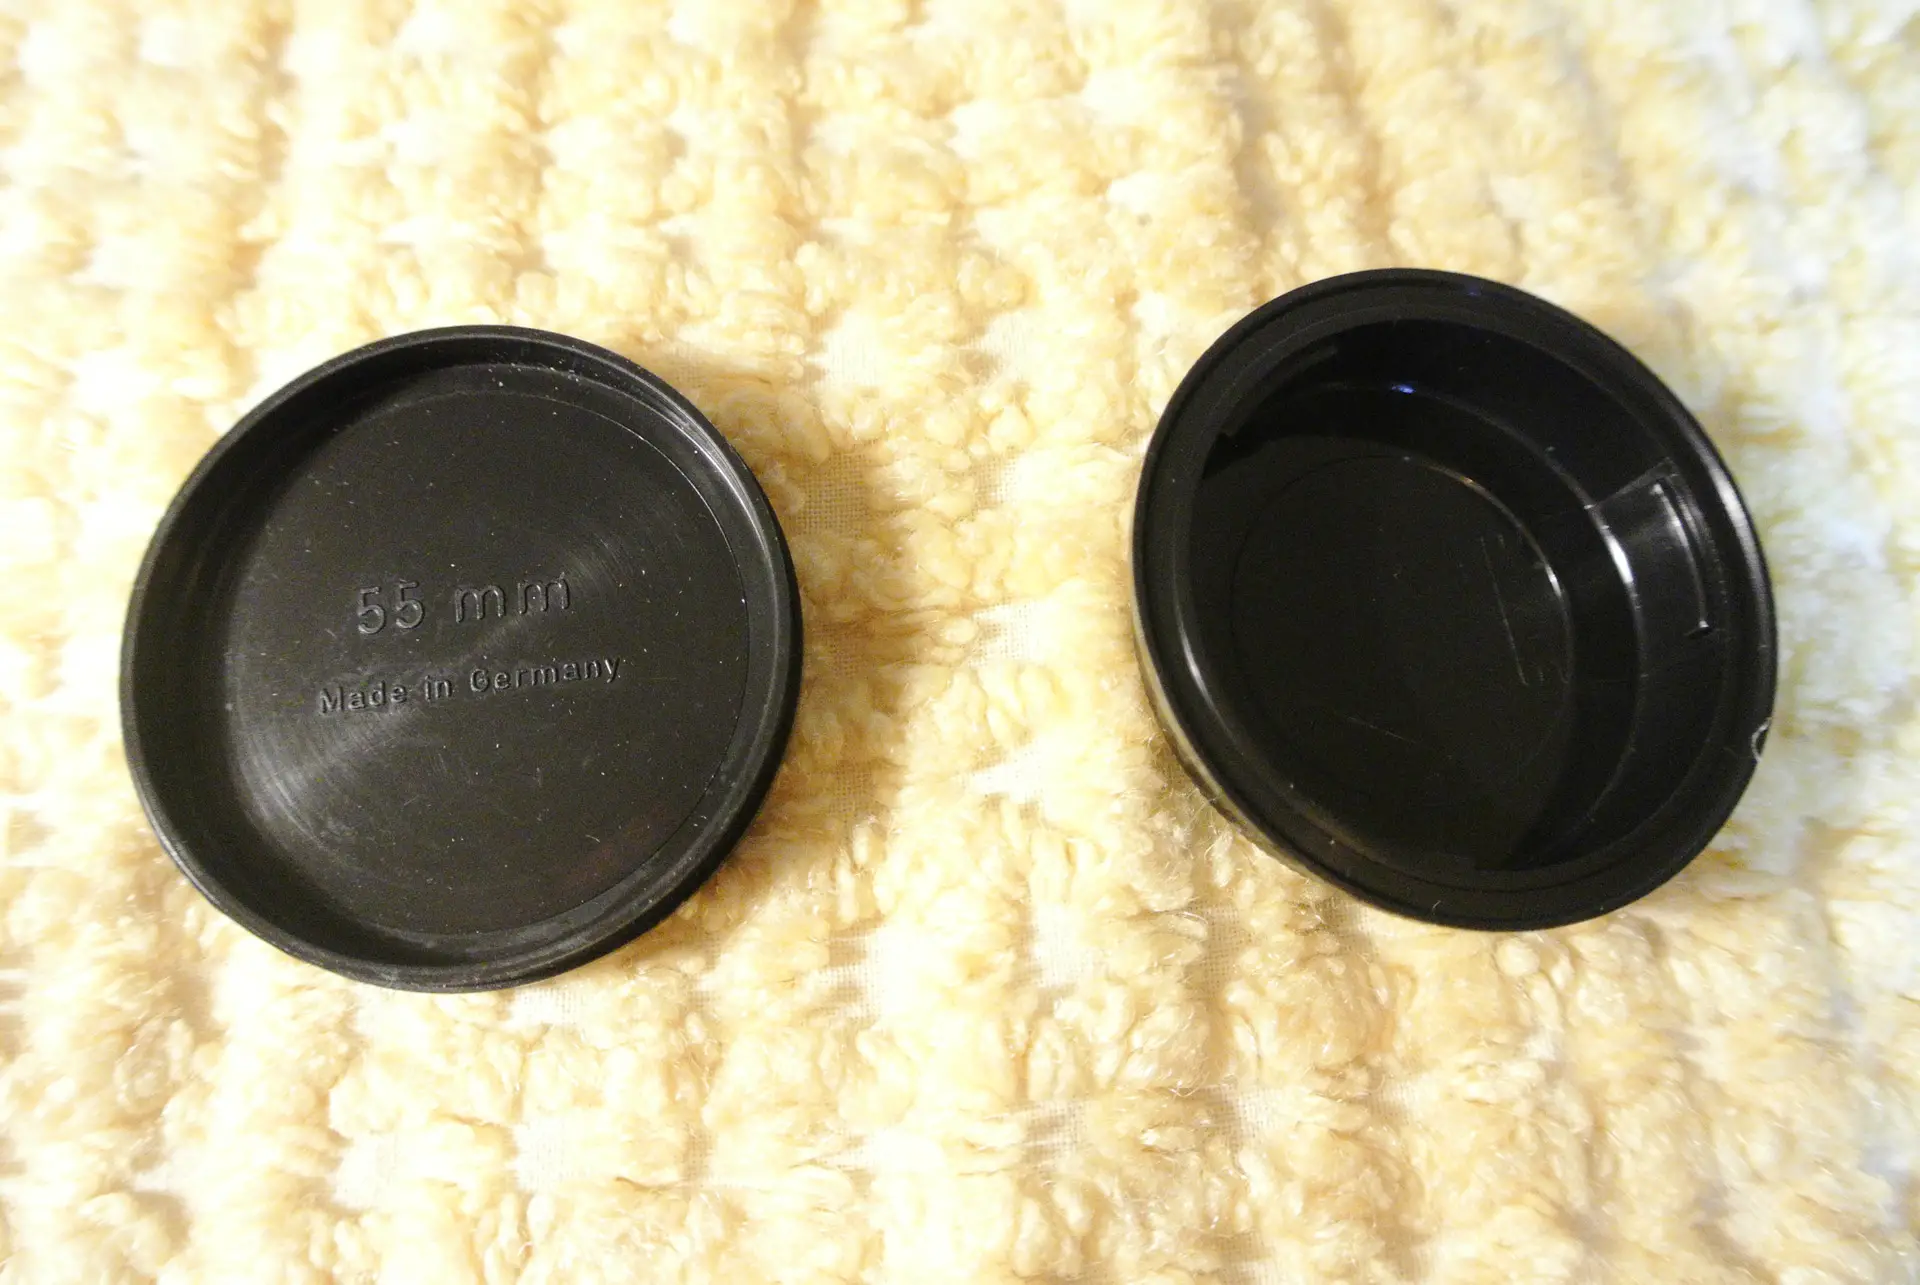
— Lens cap, 55mm inner diameter: 16 euros from Germany.
— Pentax K lens rear cap: 6 euros from Italy.
Total 74 Euros

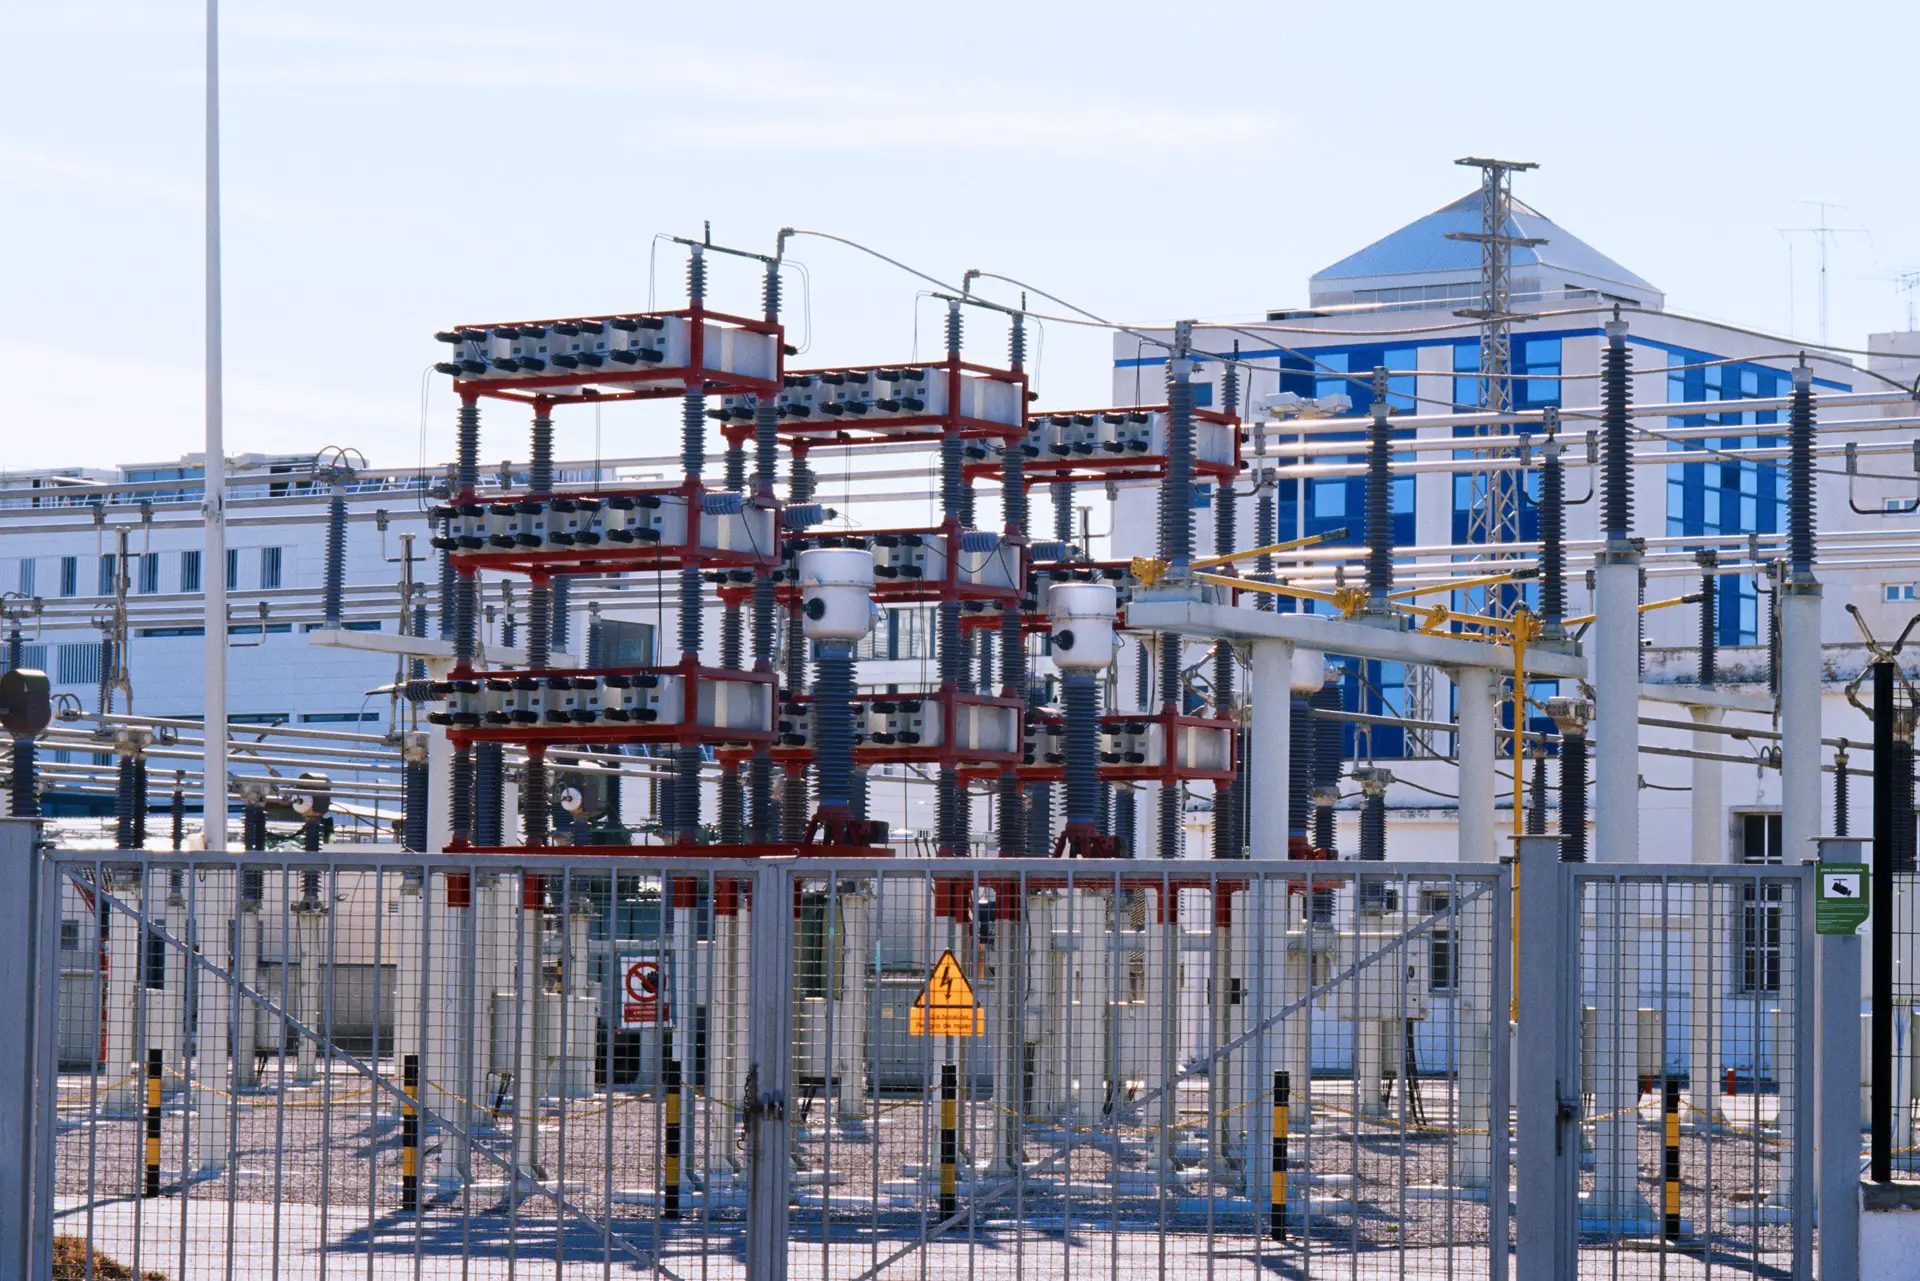
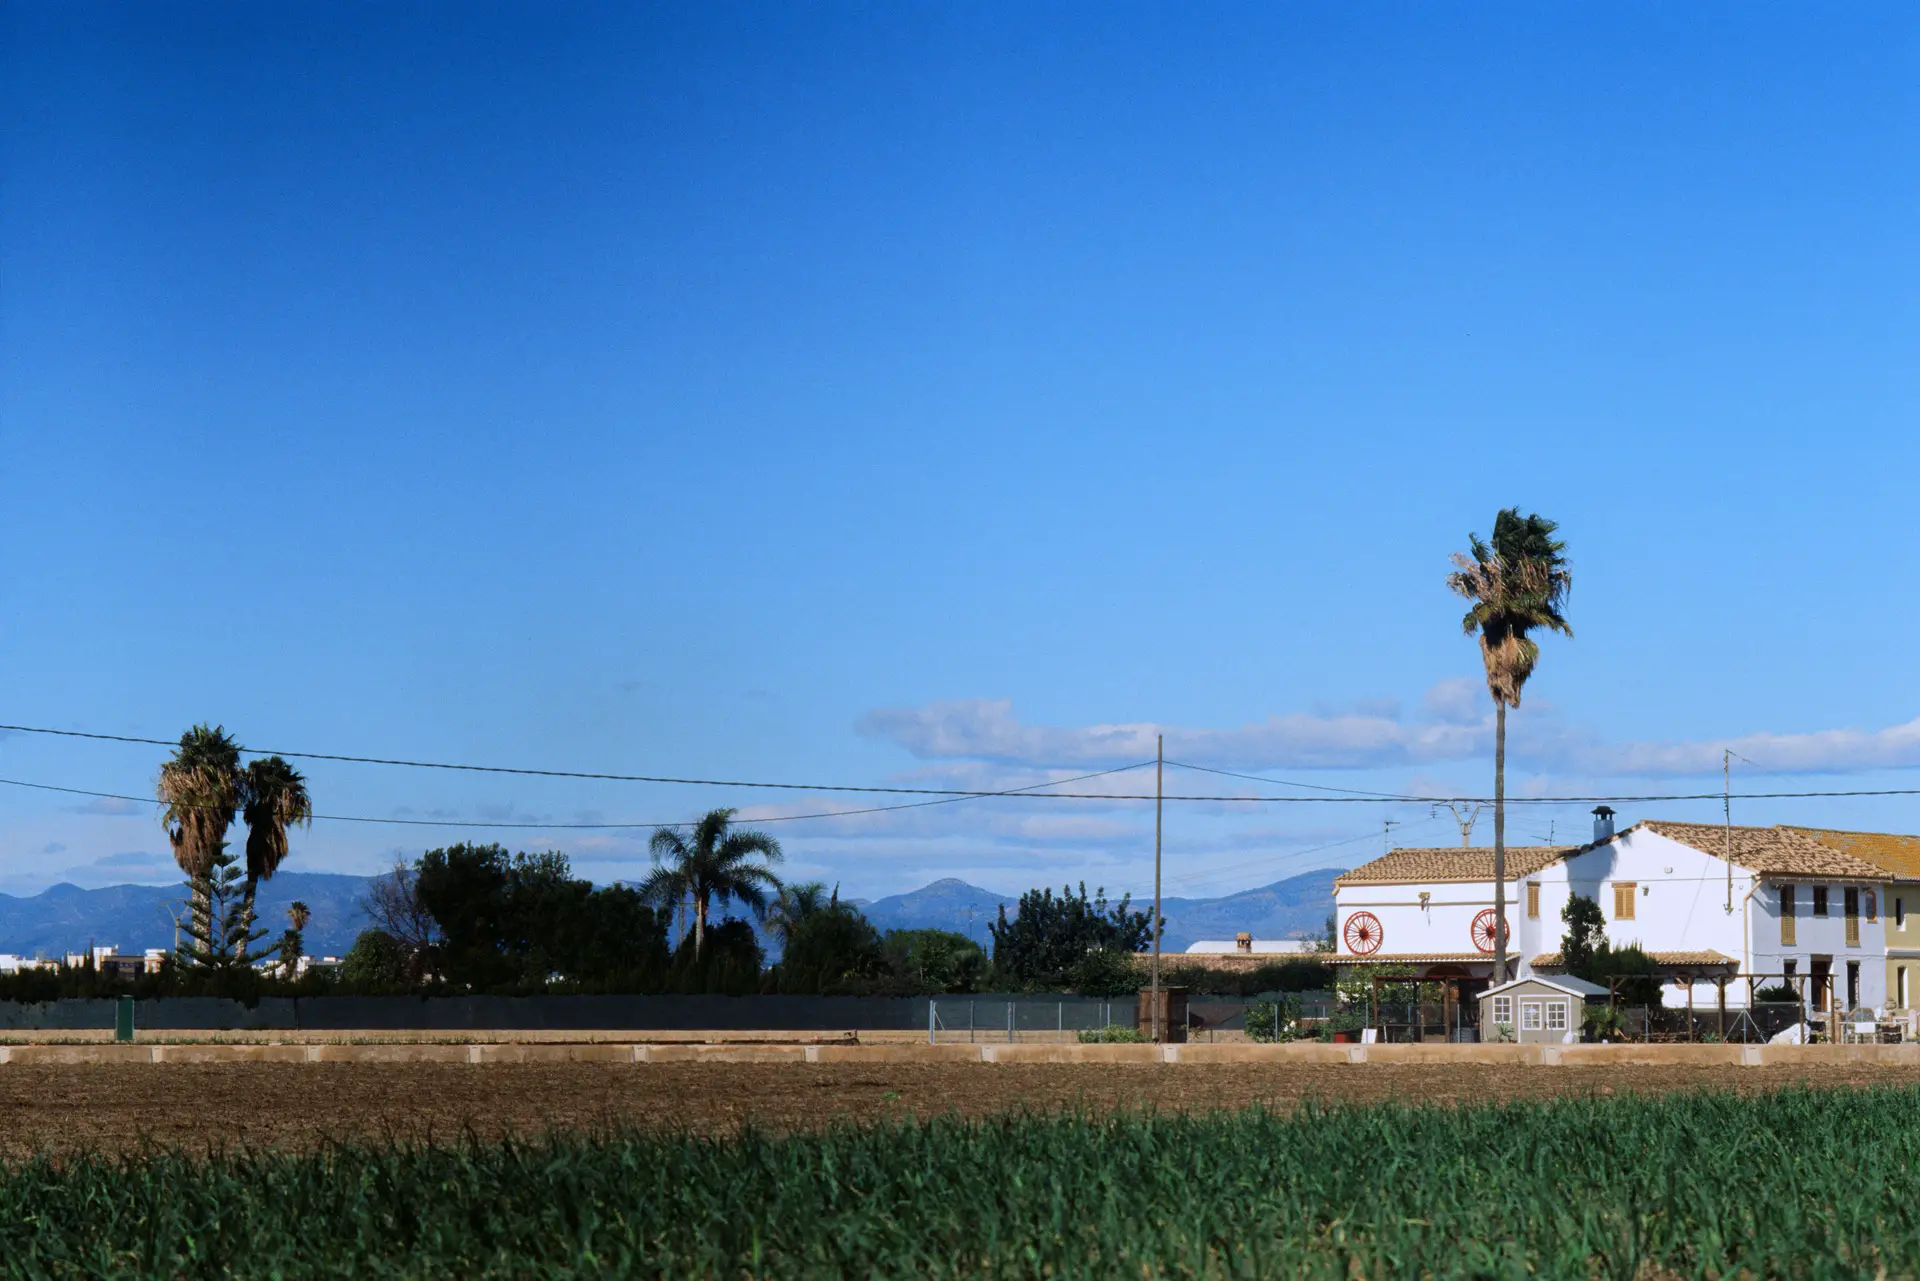
The above pictures taken with Kodak Ektachrome e100 pushed at 200 iso. Shot at f/8
Share this post:


Comments
Murray on Fuji 100mm F3.5 AE Lens (6X9) adapted to Pentax (35mm)
Comment posted: 14/04/2023
Comment posted: 14/04/2023
Simon Foale on Fuji 100mm F3.5 AE Lens (6X9) adapted to Pentax (35mm)
Comment posted: 14/04/2023
Comment posted: 14/04/2023
Ken Rowin on Fuji 100mm F3.5 AE Lens (6X9) adapted to Pentax (35mm)
Comment posted: 15/04/2023
Comment posted: 15/04/2023
Tony Warren on Fuji 100mm F3.5 AE Lens (6X9) adapted to Pentax (35mm)
Comment posted: 16/04/2023
Comment posted: 16/04/2023
Kouhei Shibata on Fuji 100mm F3.5 AE Lens (6X9) adapted to Pentax (35mm)
Comment posted: 09/07/2025
Thank you for sharing this amazing modification project! I'm currently working on a Fuji 100mm f/3.5 AE lens as well, and your post has been very helpful.
I would like to ask if you could share how you disassembled the lens, particularly how to access the shutter unit. I'm trying to reach the shutter mechanism for inspection or repair, but I'm unsure of the correct disassembly steps.
Any advice or guidance would be greatly appreciated.
Thanks in advance!