I have a plan to go on holiday to Paris with my daughter the year of her 10th birthday. I know exactly which (film) cameras I will bring. I have prepared a gift for my daughter for the trip: A Panasonic Lumix GF2 (rest assured: this is not a spoiler – she is not a regular reader of this blog). It’s a very compact M4/3 system camera with a screen but no viewfinder.
Desired lens performance
I bought the camera a few months ago, with which came an adapted Fujian 35 mm C-mount video lens for no additional cost (bless the kind seller). It’s a good lens, and I love using it. However I believe that my daughter is not as interested in composing with shallow depth-of-field as I am, for which the lens is well equipped at f/1:1.6. Neither will she be next year.
Since getting the camera I have been looking for another lens for her, particularly a compact prime/non-zoom equivalent of a 40-50 mm for full frame, since the Fujian is too much of a tele lens on M4/3 (where you double the focal length and get 70mm). Also I want one that can be set for infinite focus (~1m to ∞) for her not to worry about focusing most of the time.
Options and obstacles
Auto-focus pancake lenses by Olympus and Panasonic. Obstacle: Far too costly for my budget.
Fujian 25mm with adapter. Obstacle: Too costly.
Pentax 110 Auto 18 mm lens plus adapter: Too costly.
Using the Industar-69 28 mm pancake lens with an M39 adapter: I may yet try it.
The parts
Finding a lens to modify for a M4/3 camera is a bit of a job since the format “steals” half of the focal length because of the size of the image sensor. A 25mm lens becomes equivalent to a 50 mm on full frame (35mm and digital). A 18mm becomes a 36 mm. A 28 becomes a 56mm. Etc.
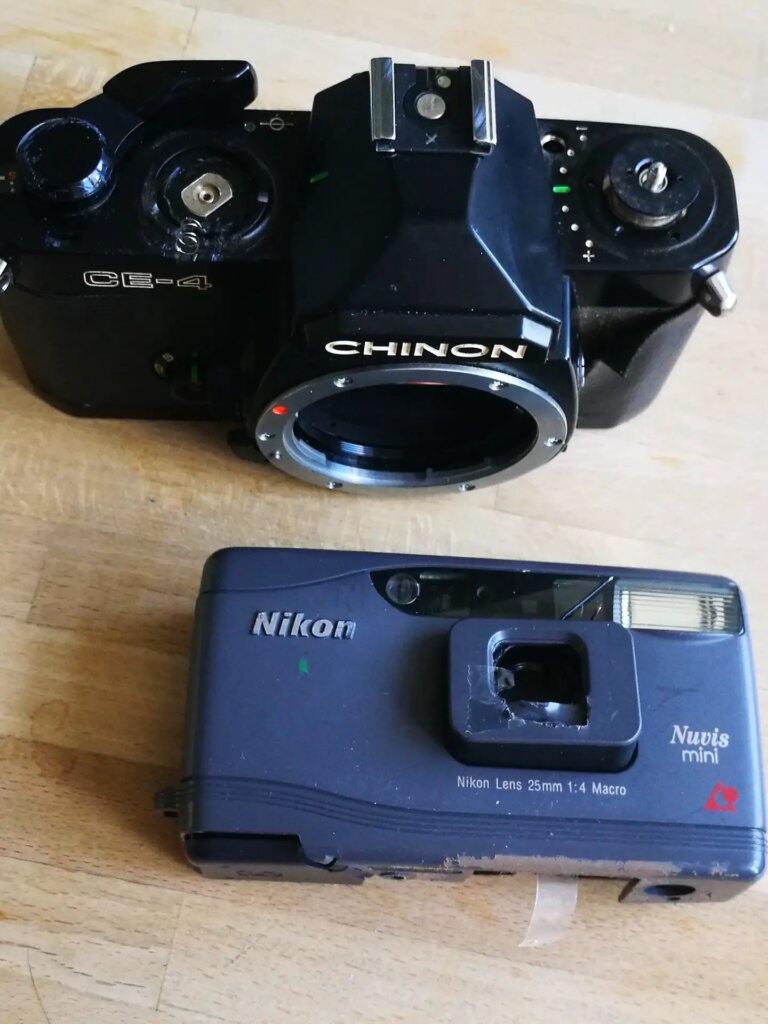
Lucky me to have a Nikon Nuvis Mini APS camera with a motor error laying around. And luck has it that it sports a 25 mm 3 elements glass lens. A great aspect of finding a lens on such a compact camera was that the finished lens would not protrude much from the camera body making the whole kit really compact.
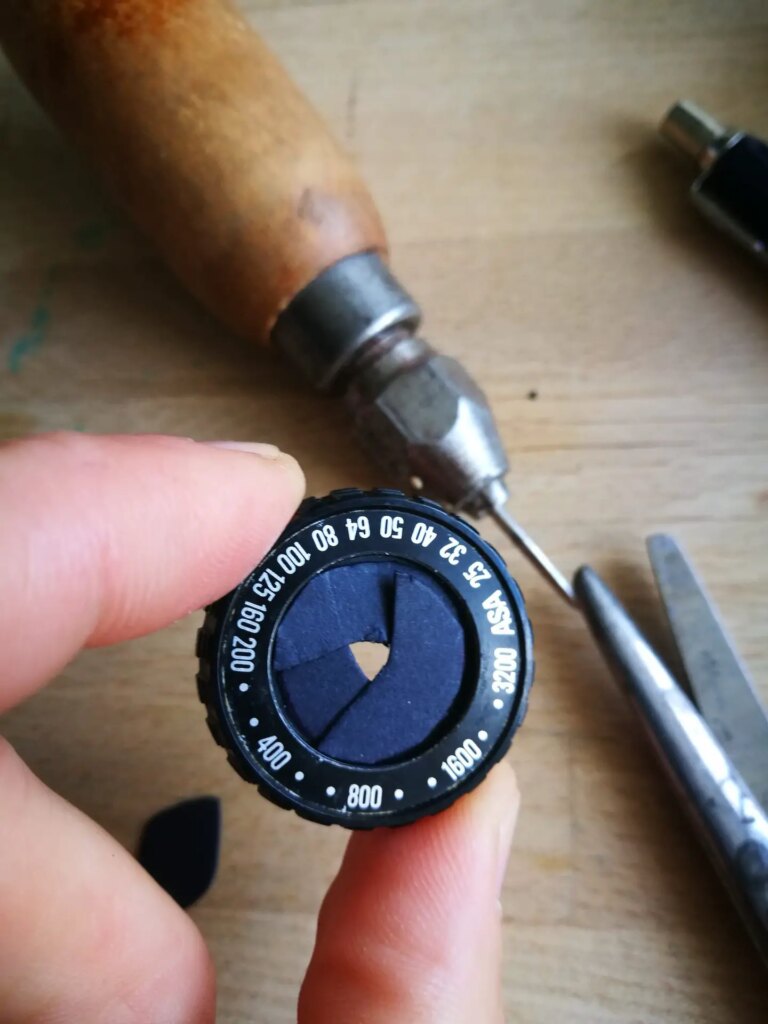
Another not so funny but timely circumstance had me unwittingly buying a defective Chinon CE-4 in the past week. In the process of taking the top section off to try to see if I could find the issue I removed the ASA indicator/setting wheel and shutter control wheel. These two I ended up in my mod after I made the conclusion that resurrecting the CE-4 was not worth the effort.
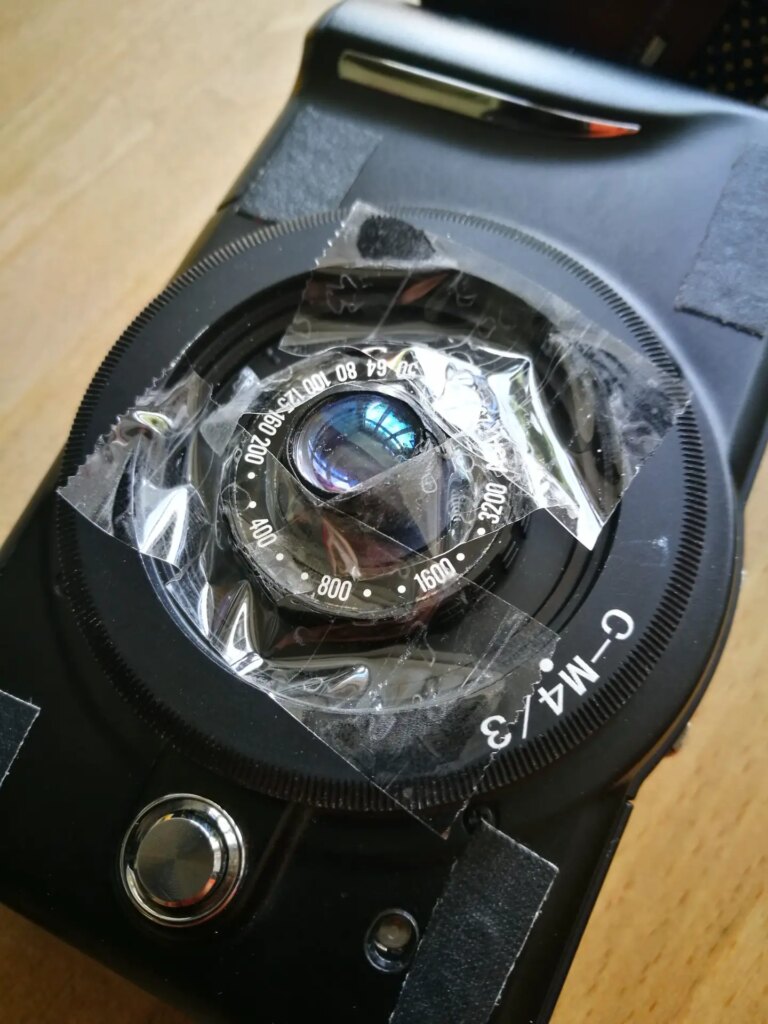
To get at the lens assembly inside the Nikon I simply took out every screw I could see, until the squarish focusing section more or less came out by itself. I then had to cut some plastic to get it out. I used a shrinking rubber tape to fasten the now loose glass sections. It is a great tape which plumbers and auto mechanics use.
The modding
As luck would have it, placing the lens assembly on the ASA indicator ring, and then on my C to micro 4/3 adapter, had it come very close to the ideal flange focal distance (FFD) needed to make it focus on the camera:
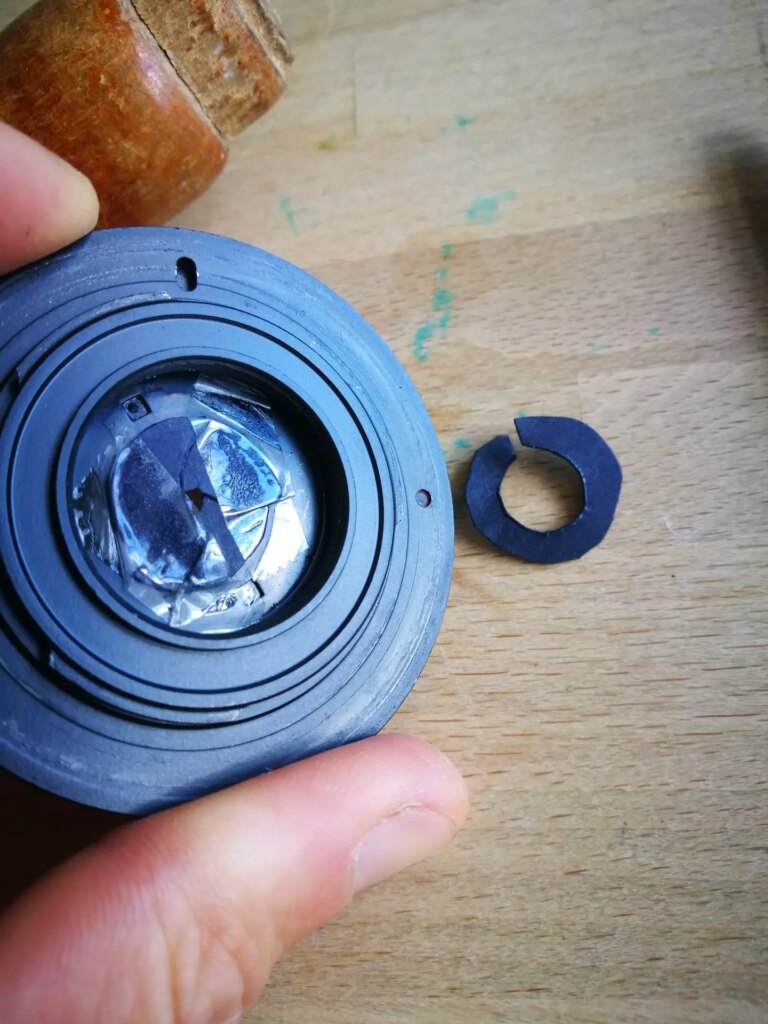
I made several attempts at finding a good aperture size using cut pieces of thick black paper:
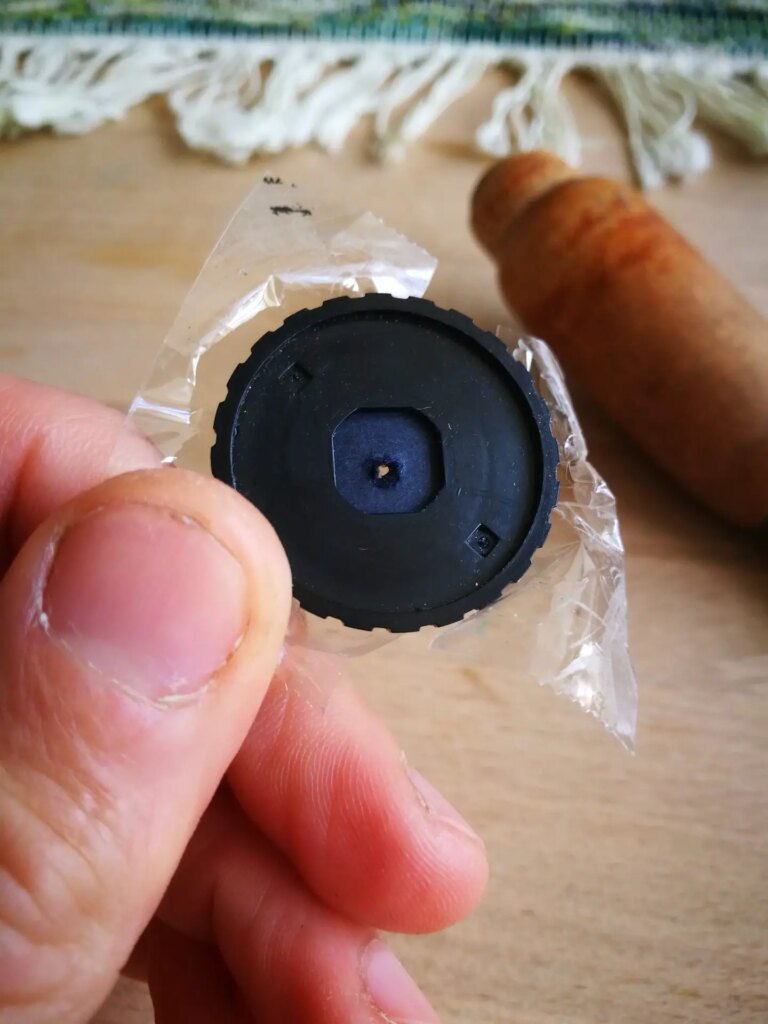
For convenience I moved the aperture assembly to the back of the build:
Two spacers made of paper were glued in place for the lens assembly to come closer to the ideal position:
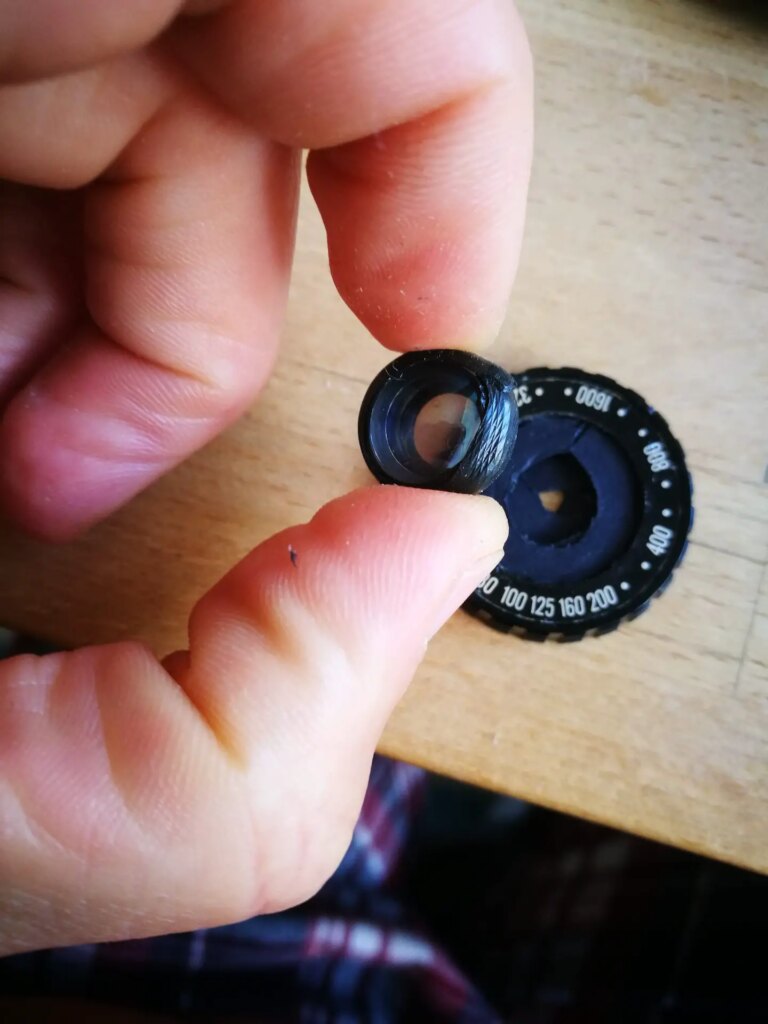
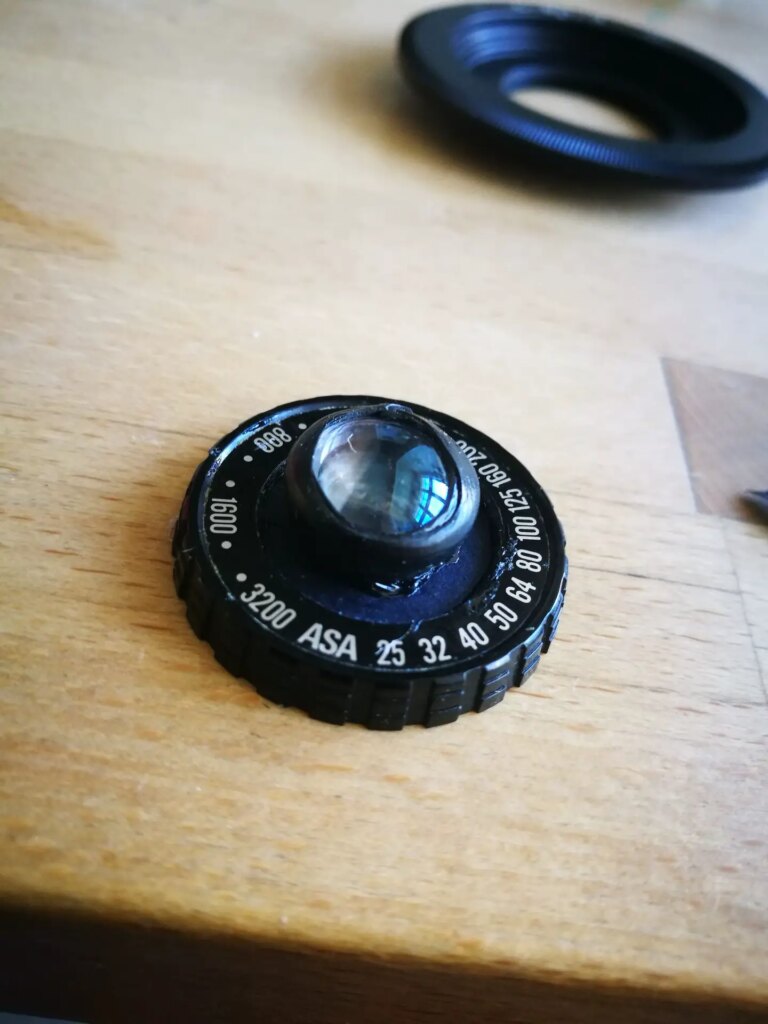
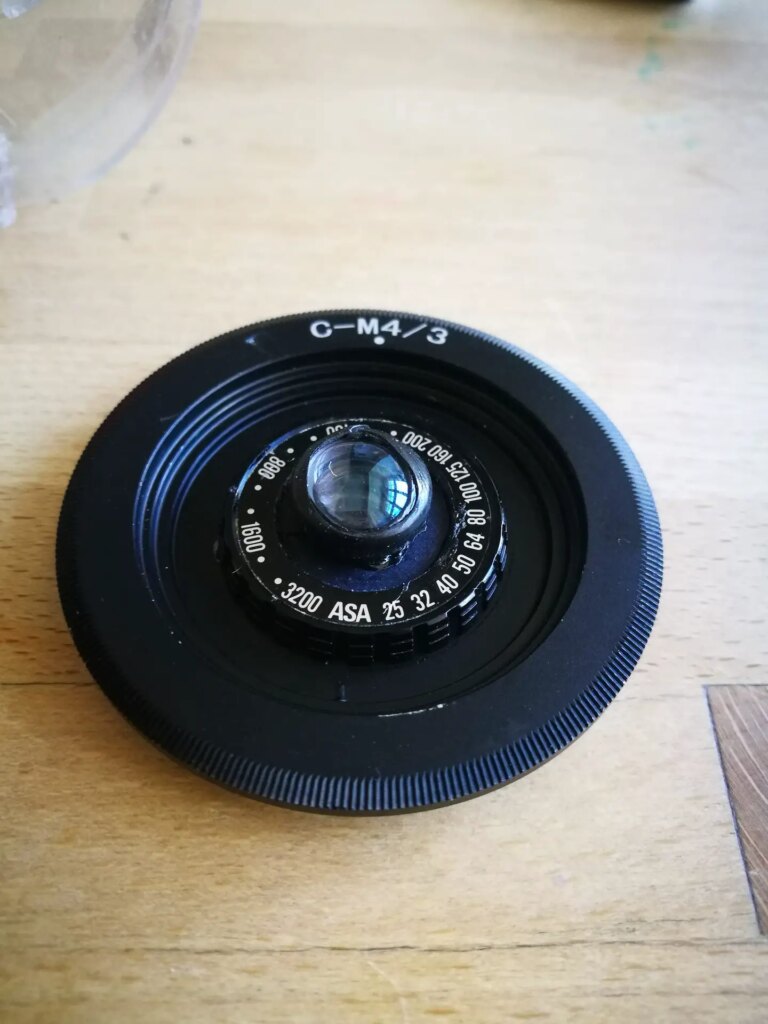
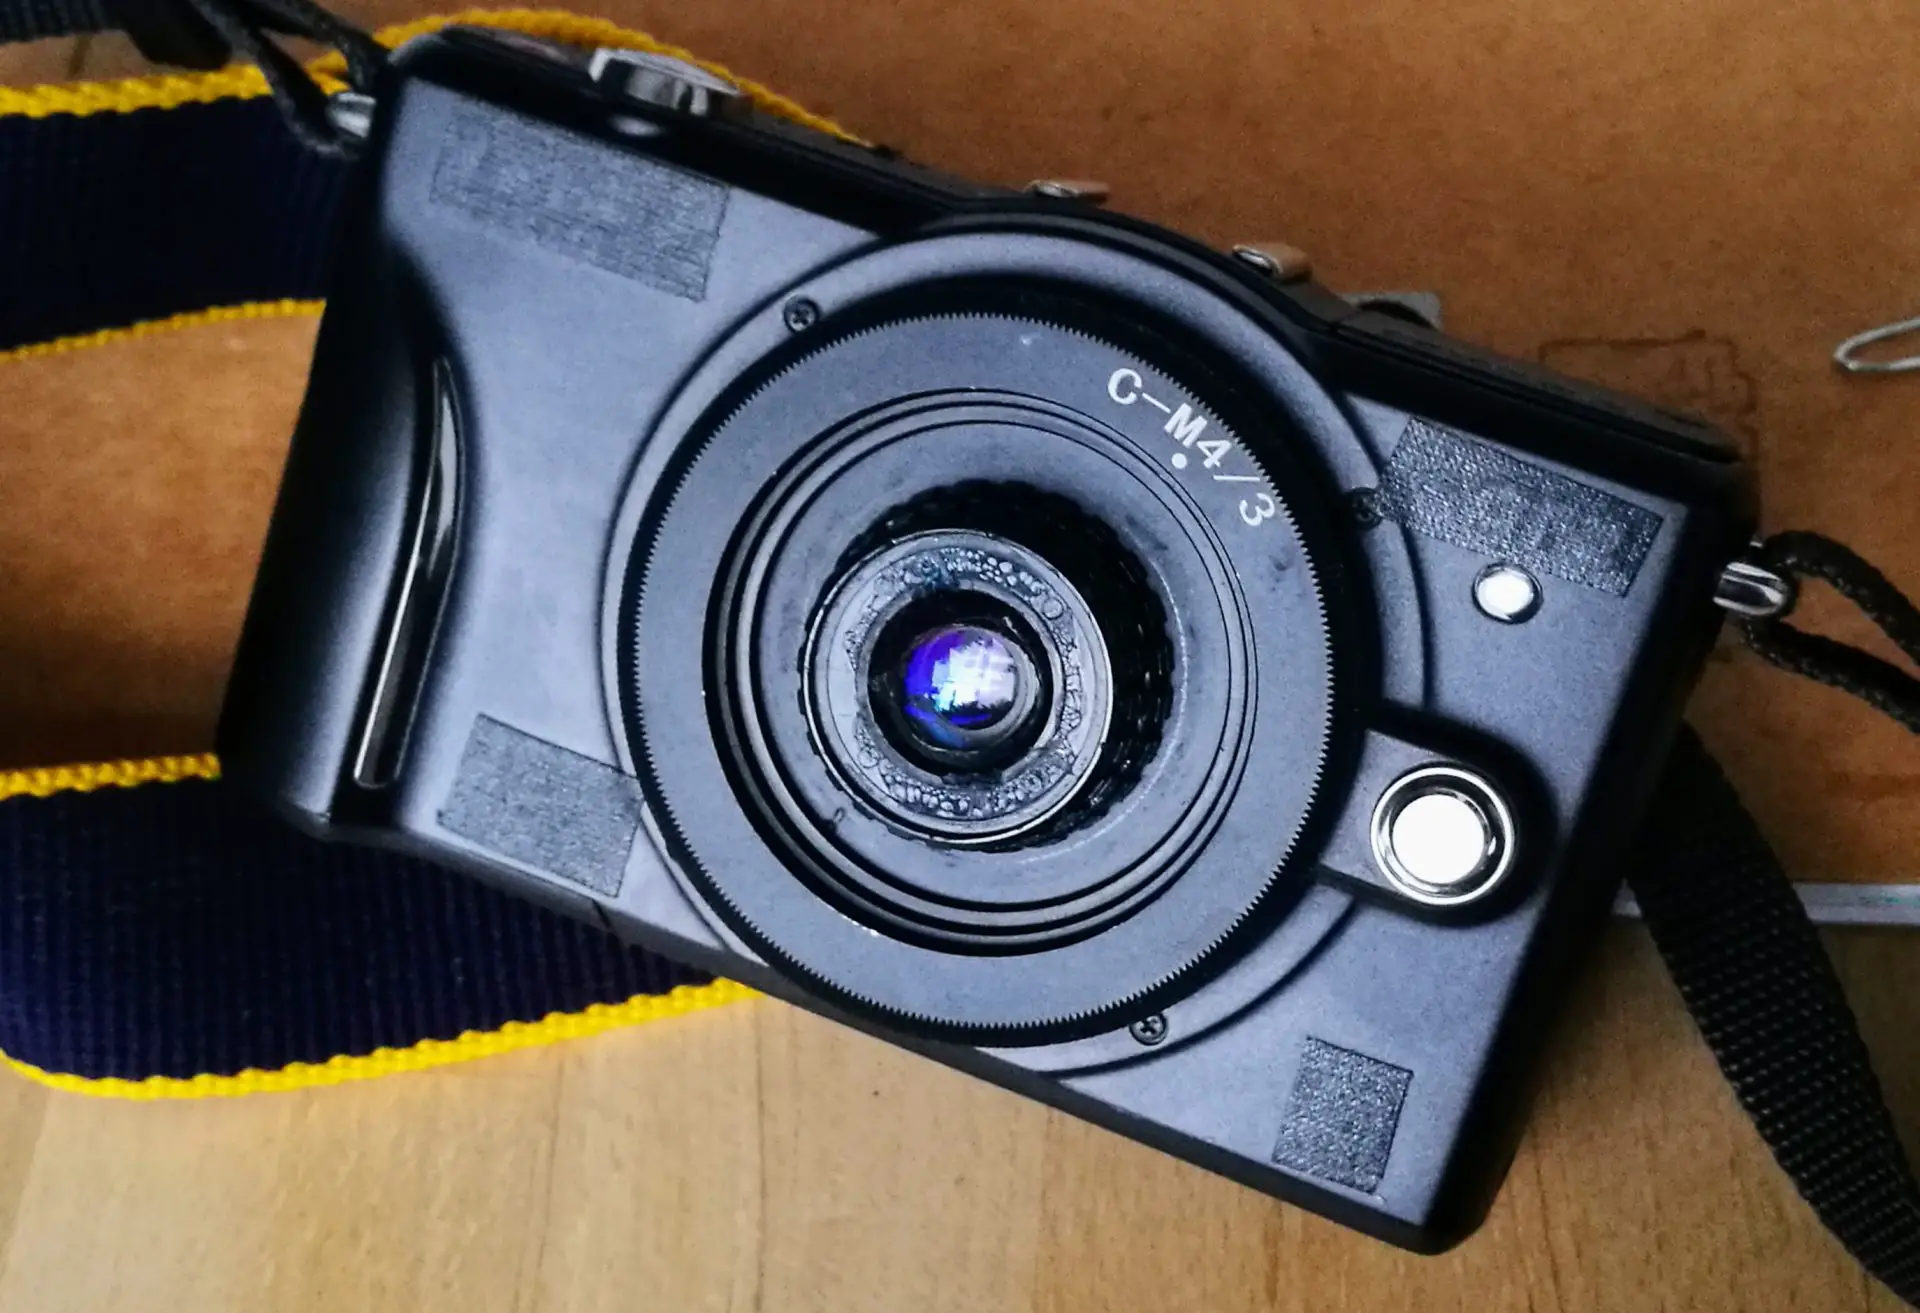
The lens assembly fit perfectly inside the spare shutter wheel from the Chinon CE-4 once I’d removed the shutter button. I glued the three pieces together giving the lens more body size, as seen in the first photo of the article.
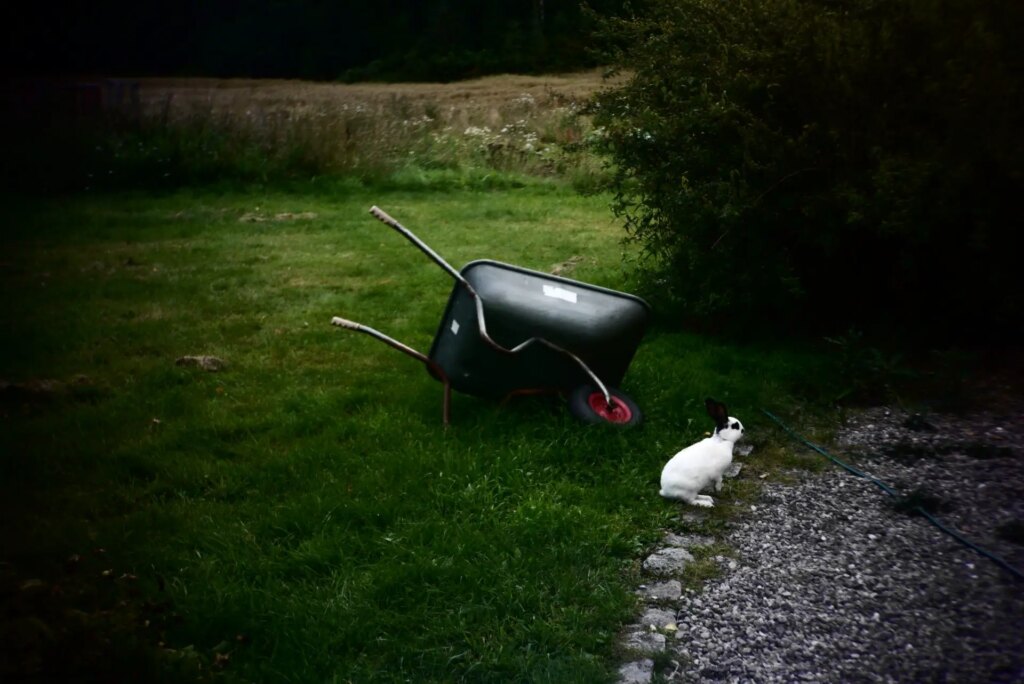
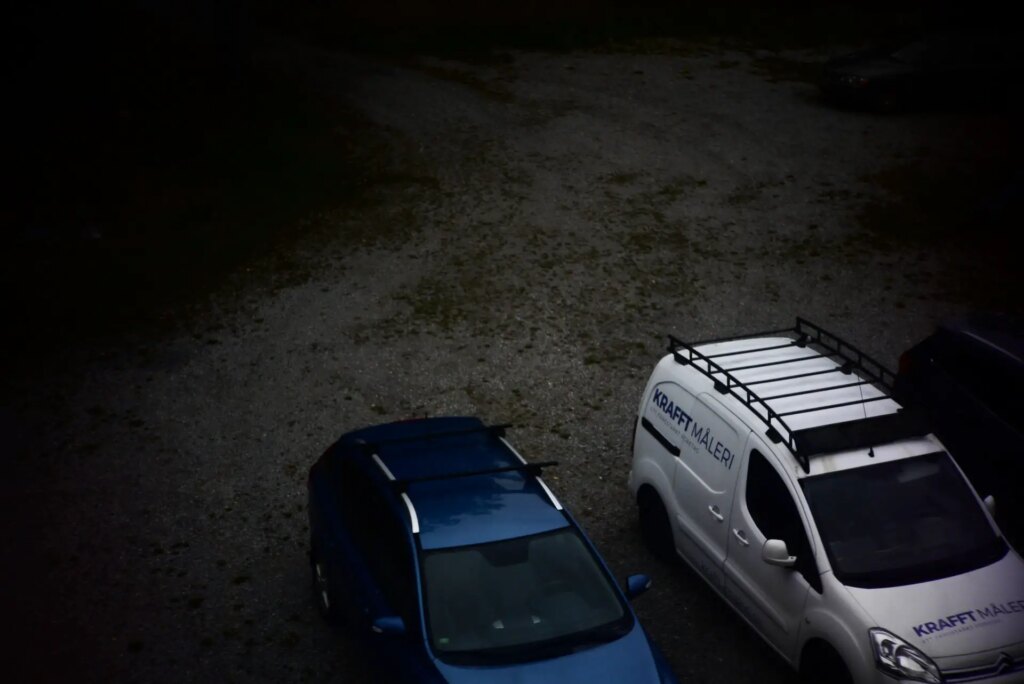
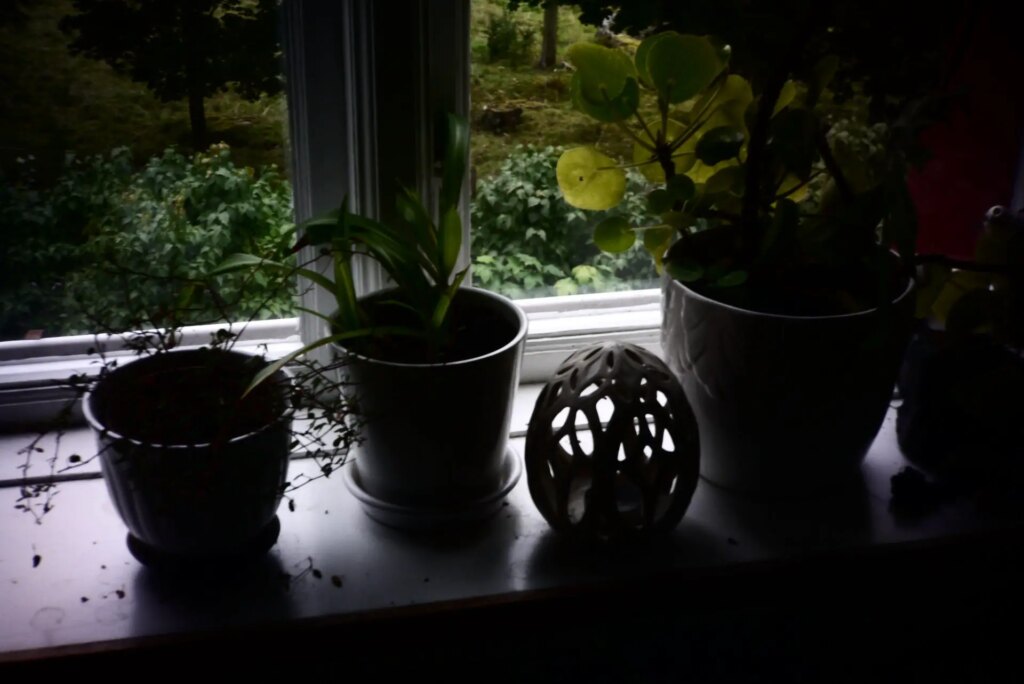
The later part of the process consisted in adjusting the parameters of aperture and FFD to find the position where the lens would focus at ~1 m to ∞. I ended up having to file down less than a millimeter of the back of the ASA ring to find an acceptable compromise to focusing since I’d already glued the spacers and lens body in place. I finished it by using Sugru rubber clay to fasten the whole thing properly to the C adapter. It is now sharp from a bit more than 1 meter and up to somewhere around 15 meters. I may try an even smaller aperture hole, though indoor shutter times will then end up very long. It’s not a super lens, so vignettes in the corners with some focus fall-off on the sides. I will try it in Parisian weather conditions of bright sunshine when the opportunity occurs.
Test photos

Thanks for tagging along!
Read my blog getOBphoto, check out my IG and visit my Etsy shop getOBphoto.
Share this post:


Comments
Wim van Heugten on How I made a focus-free lens for Micro 4/3 – by Tobias Eriksson
Comment posted: 14/10/2022
Comment posted: 14/10/2022
Dave T on How I made a focus-free lens for Micro 4/3 – by Tobias Eriksson
Comment posted: 14/10/2022
Well Done!
Comment posted: 14/10/2022
Andrew Wong on How I made a focus-free lens for Micro 4/3 – by Tobias Eriksson
Comment posted: 17/10/2022
Did you look into the Olympus body cap lenses? They have a 15mm and a fisheye, and I believe 7 artisans has an 18mm. Both are reasonable in cost.