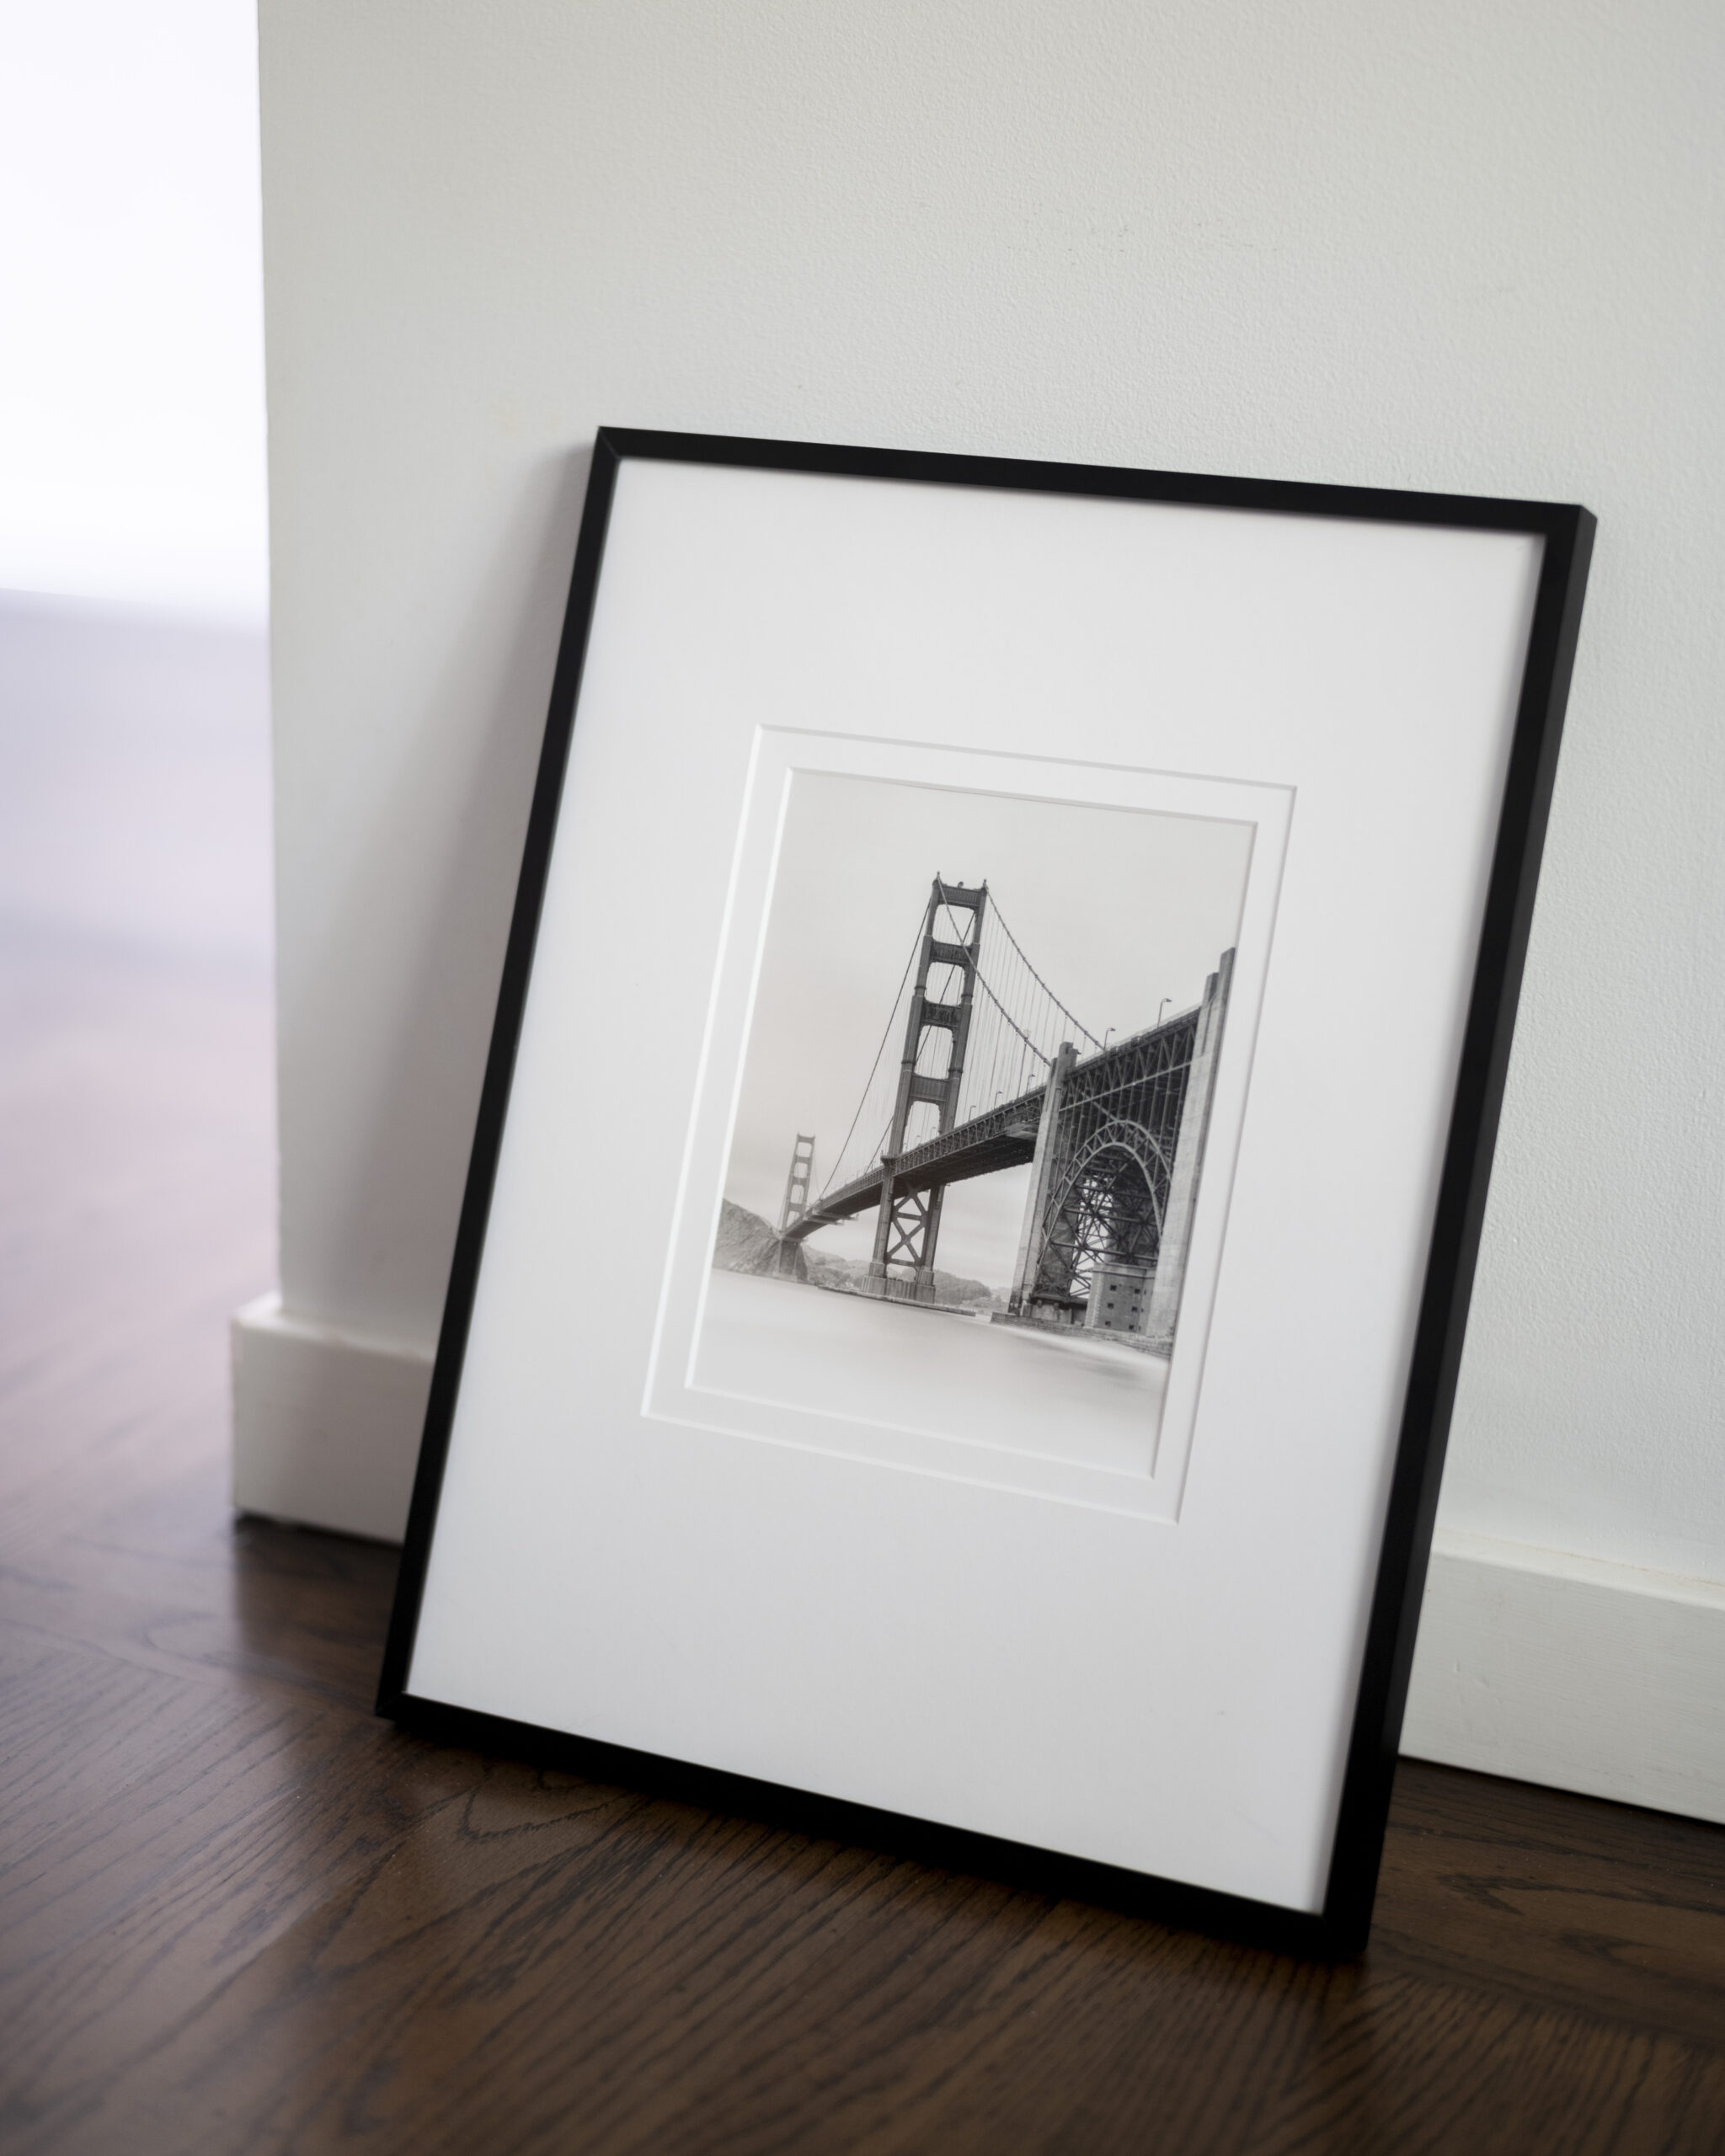
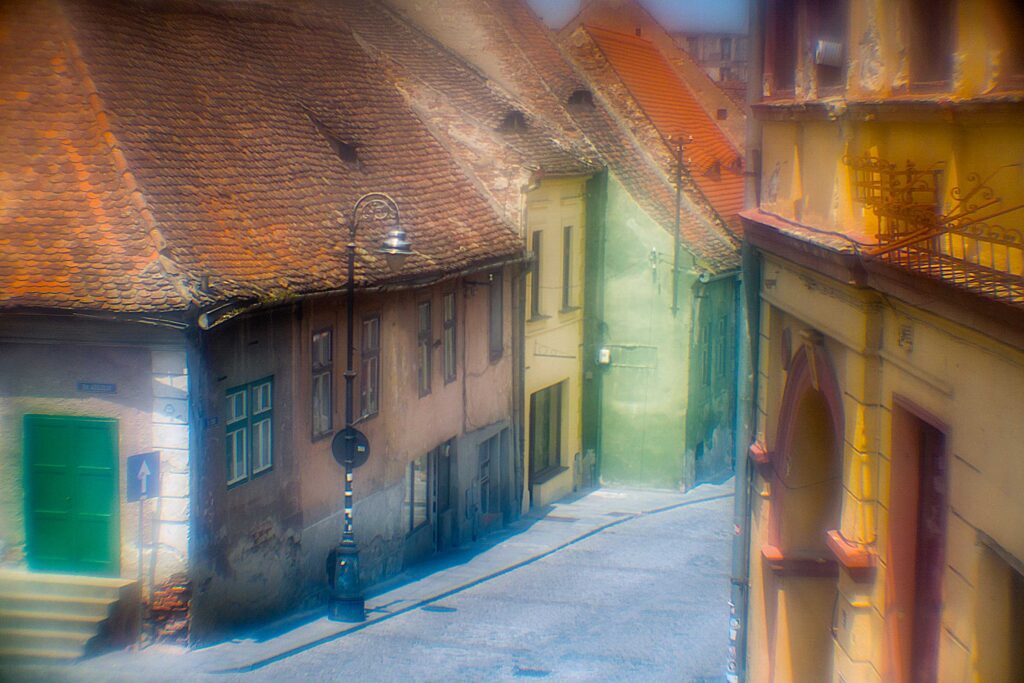
Image above: Golden Gate Bridge, Étude No. 14, San Francisco, USA. 2022.
Most analogue photography enthusiasts, in 2025, are digital/analogue hybrid practitioners. Who amongst film photographers doesn’t end up viewing and sharing their work as scanned, digital images? And then there are those of us, the weird ones, who shoot digital but print using the traditional darkroom silver printing process. This article provides a broad overview of this somewhat esoteric process as I personally practice it.
But first, why? Why would someone who shoots digital go through the trouble of printing in a darkroom? I have spent countless hours over the years viewing the work of photographers in galleries and museums. This has led me to gain a profound appreciation for the printed photograph, and in particular, for the gelatin silver print. A well-printed and toned gelatin silver print is a jewel-like work of art to me. The silver particles are embedded within the gelatin layer, giving the photograph a glowing, three-dimensional depth that simply can’t be replicated with other processes. It is also a relatively time-consuming and challenging process to master, making a beautiful final print all the more rewarding. Spending countless hours in the darkroom perfecting a print is also something that I greatly enjoy. In this digital world we live in, I find great pleasure in holding a tangible, physical darkroom print in my hands, and in viewing my photographs as millions of tiny bits of shiny silver particles on paper. And so, here is my workflow…
It all starts in the computer, where I make some initial edits to the digital photograph. I use Adobe Lightroom and Silver Efex Pro for this. I convert the file to black and white, crop if needed, and adjust the exposure and contrast to taste, aiming to make the file as close to my desired final image as possible. The image is then moved to Photoshop, where it is inverted (turned into a negative), rotated horizontally, and resized. This is a contact printing process, so the negative we create needs to be the same size as our final print. Lastly, a curve needs to be applied to the negative image to raise shadows and lower highlights. This ensures that the negative’s density is calibrated to compensate for how silver gelatin paper reacts to light. I use the same default curve on all images and adjust contrast and exposure time in the darkroom to fine-tune the print. A great resource to learn more about curve creation and calibration is the book Silver Gelatin in the Digital Age by Douglas Ethridge. Once these steps are completed, the negative file is sent to my digital Epson printer to be printed onto transparency film.
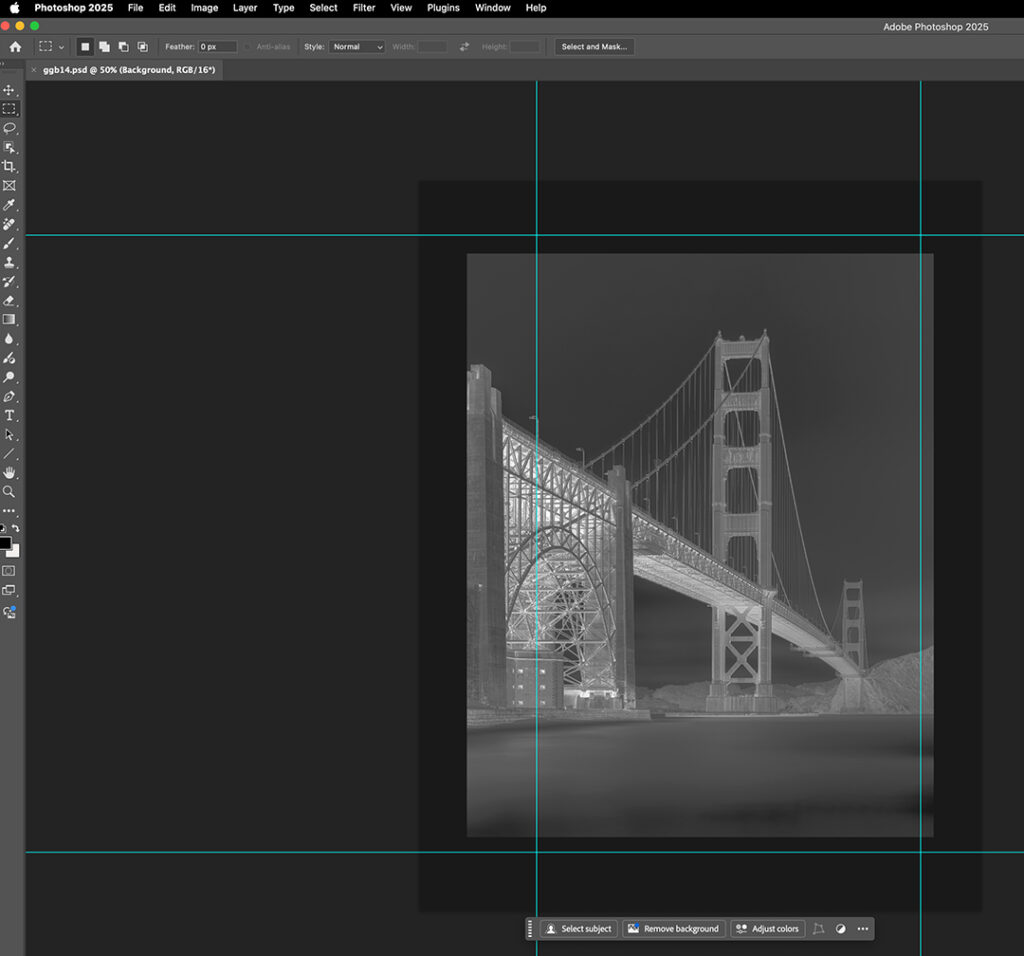
I use Mitsubishi Pictorico Ultra Premium OHP transparency film for this—it is considered the “industry standard” for printing on transparency film, and I’ve had great results with it. Print settings for producing the best possible negative will vary from printer to printer, so some experimentation is needed. A screenshot of the print settings I use with my Epson P700 is included; the general gist is to select the highest output resolution and print at the slowest speed.

Once the negative has been printed, I let it dry completely, and then I’m ready to proceed to the darkroom. Printing, from this point forward, uses the same methodology as your typical run-of-the-mill darkroom printing session, with the understanding that this is a contact printing process: the negative is placed face down against the emulsion side of a piece of light-sensitive darkroom printing paper (I use Ilford Multigrade FB Classic glossy) and sandwiched tightly in a printing frame, then placed underneath the enlarger (I use a Beseler Printmaker 35) and exposed to light. Techniques such as dodging and burning and split-grade printing can, of course, be used at this stage to make aesthetic adjustments to the print and fine-tune the final look. Once exposed, the paper is then processed in wet chemistry using the same methodology that one would follow for any darkroom print.
[Note that this process can also be used by analogue shooters to “rescue” a particularly challenging negative. Suppose you shoot film and occasionally encounter a negative with good potential that is difficult to print as-is. In that case, you could scan the negative, work on the image using digital editing tools, and then proceed as highlighted above.]
Personally, I find that this digital/analogue hybrid approach produces prints of great beauty. In my photography practice, this workflow provides the best of both worlds: the convenience of digital photography paired with the aesthetic beauty of the traditional gelatin silver darkroom print.
Olivier Desmet is a photographer and darkroom printer based in Mill Valley, California. More information about Olivier’s photography and printing practice can be found on his website at www.olivierdesmet.com
Share this post:



Comments
Simon Foale on Printing Digital Photographs Using the Traditional Silver Gelatin Darkroom Process
Comment posted: 15/11/2025
Comment posted: 15/11/2025
Roger on Printing Digital Photographs Using the Traditional Silver Gelatin Darkroom Process
Comment posted: 15/11/2025
I am curious about one point. Do the contrast adjustments in photoshop mean you can always print on the same grade of paper, or do you find you have to experiment with different grades to get the print you want.
Stephen Hanka on Printing Digital Photographs Using the Traditional Silver Gelatin Darkroom Process
Comment posted: 15/11/2025
Charles Young on Printing Digital Photographs Using the Traditional Silver Gelatin Darkroom Process
Comment posted: 15/11/2025
Chuck