
Long ago, I tried to shoot landscapes using a macro-close-up filter as a lens. I taped the filter to the front of two nested cardboard “focusing tubes” and attached them to my Fuji X-Pro1’s lens mount. I did get images, but wasn’t impressed. Though fairly sharp in the center, they blurred massively toward the perimeter. And the cardboard tubes didn’t slide easily enough for fine focusing. So I dropped the idea.
Until last week, when I stumbled across an old forum about removing (and even chiseling) “meniscus” lenses from vintage folders and plastic-fantastics to mount on medium- and large-format cameras. The photographers reported decent results.
It got me thinking (always dangerous). My original macro-close-up “lens” was meniscus-shaped— concave on the back and a little more convex on the front– but it was also proportionately thinner than most of the meniscus lenses in vintage cameras. So what would happen if I simulated a thicker meniscus by screwing one close-up filter onto another?
If the combination proved to be a decent lens, it might also address a problem reported in the old forum. Most of the meniscus lenses harvested from 35mm and medium-format cameras had fairly small diameters… which made them “slow” for large-format shooting. My 55mm macro-close-up filters would be comparatively huge, and produce a faster lens.
Building a Meniscus
My Vivitar close-up set contains three filters with increasing magnifications (or “diopters”) of +1, +2 and +4. The higher the number, the more the filter bulges:
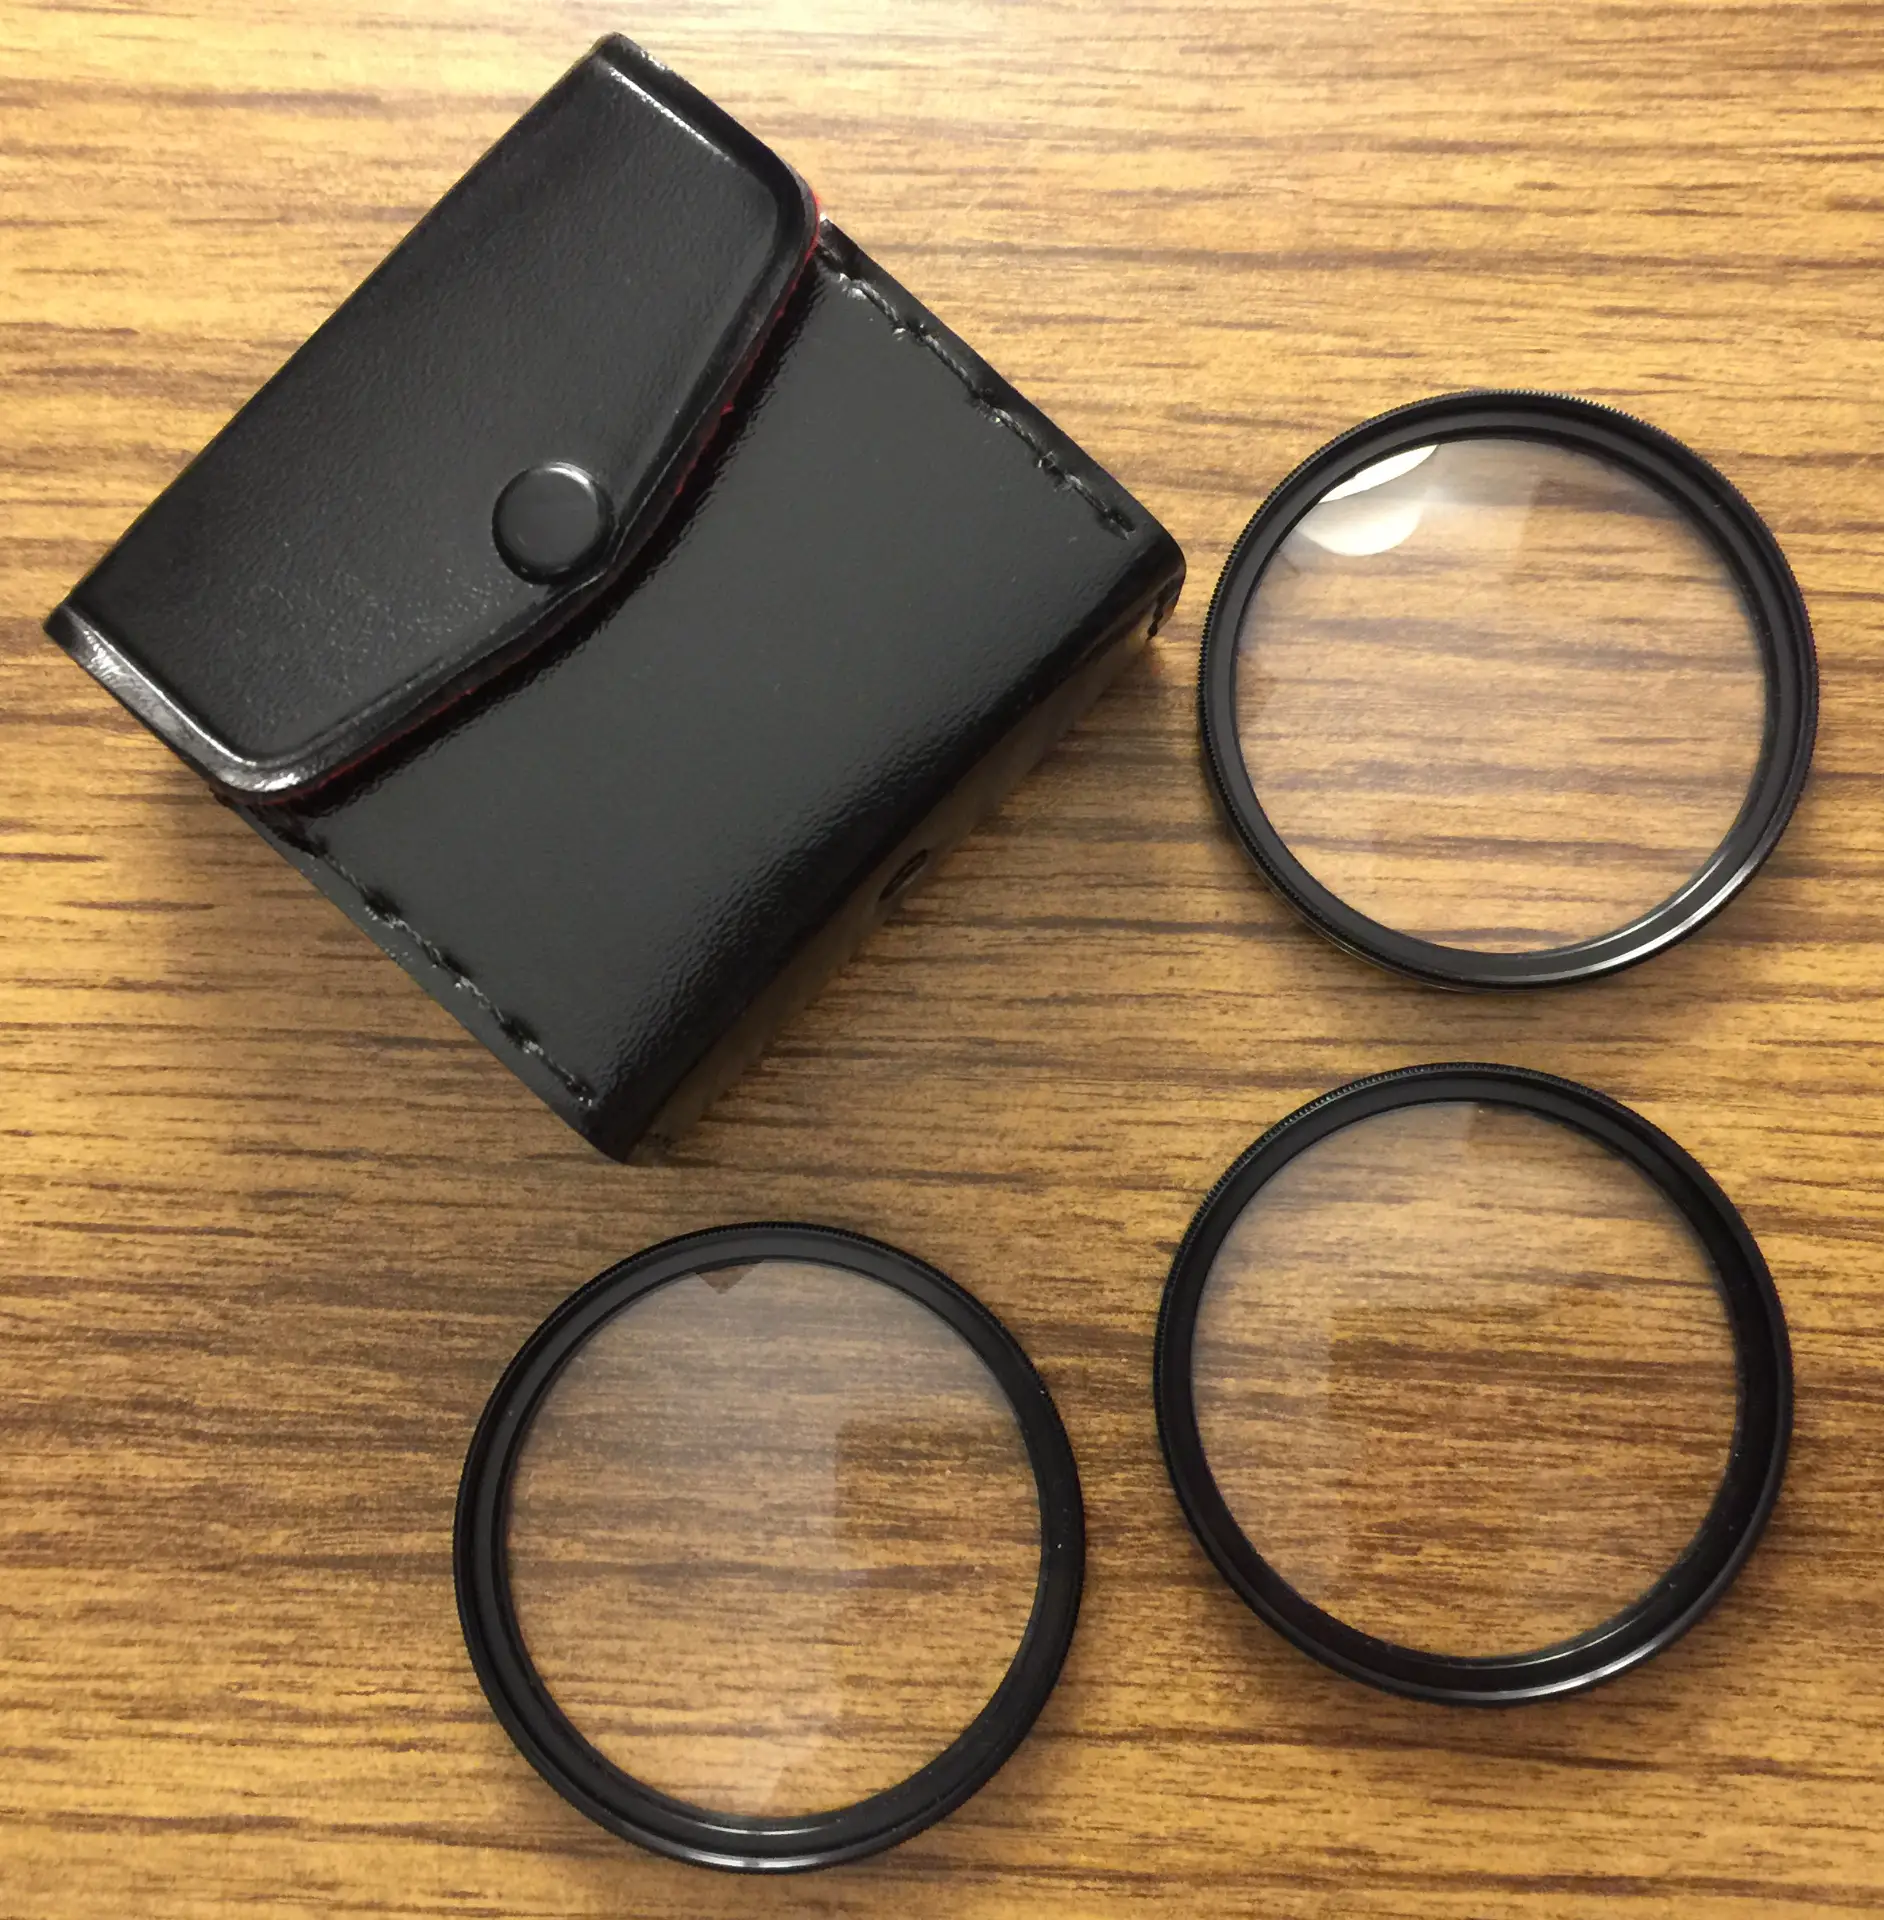
Since a true meniscus is a solid piece of glass or plastic– with a cross-section like a smile– one can’t really build one (except perhaps with a high-resolution 3D printer). But I figured that screwing my +4 filter onto the +2 would simulate a thicker meniscus shape, minimize the lens’s focal length, and produce a faster optic.
But instead of using cardboard focusing tubes, I used double-sided mounting tape to fix the “lens” to a Nikon-mount Formula-5 Bellowsmate… and attached it to my X-Pro1 with a Nikon-to-Fuji adapter (as shown in the opening photo).
Characterizing the “Air-Gap Meniscus”
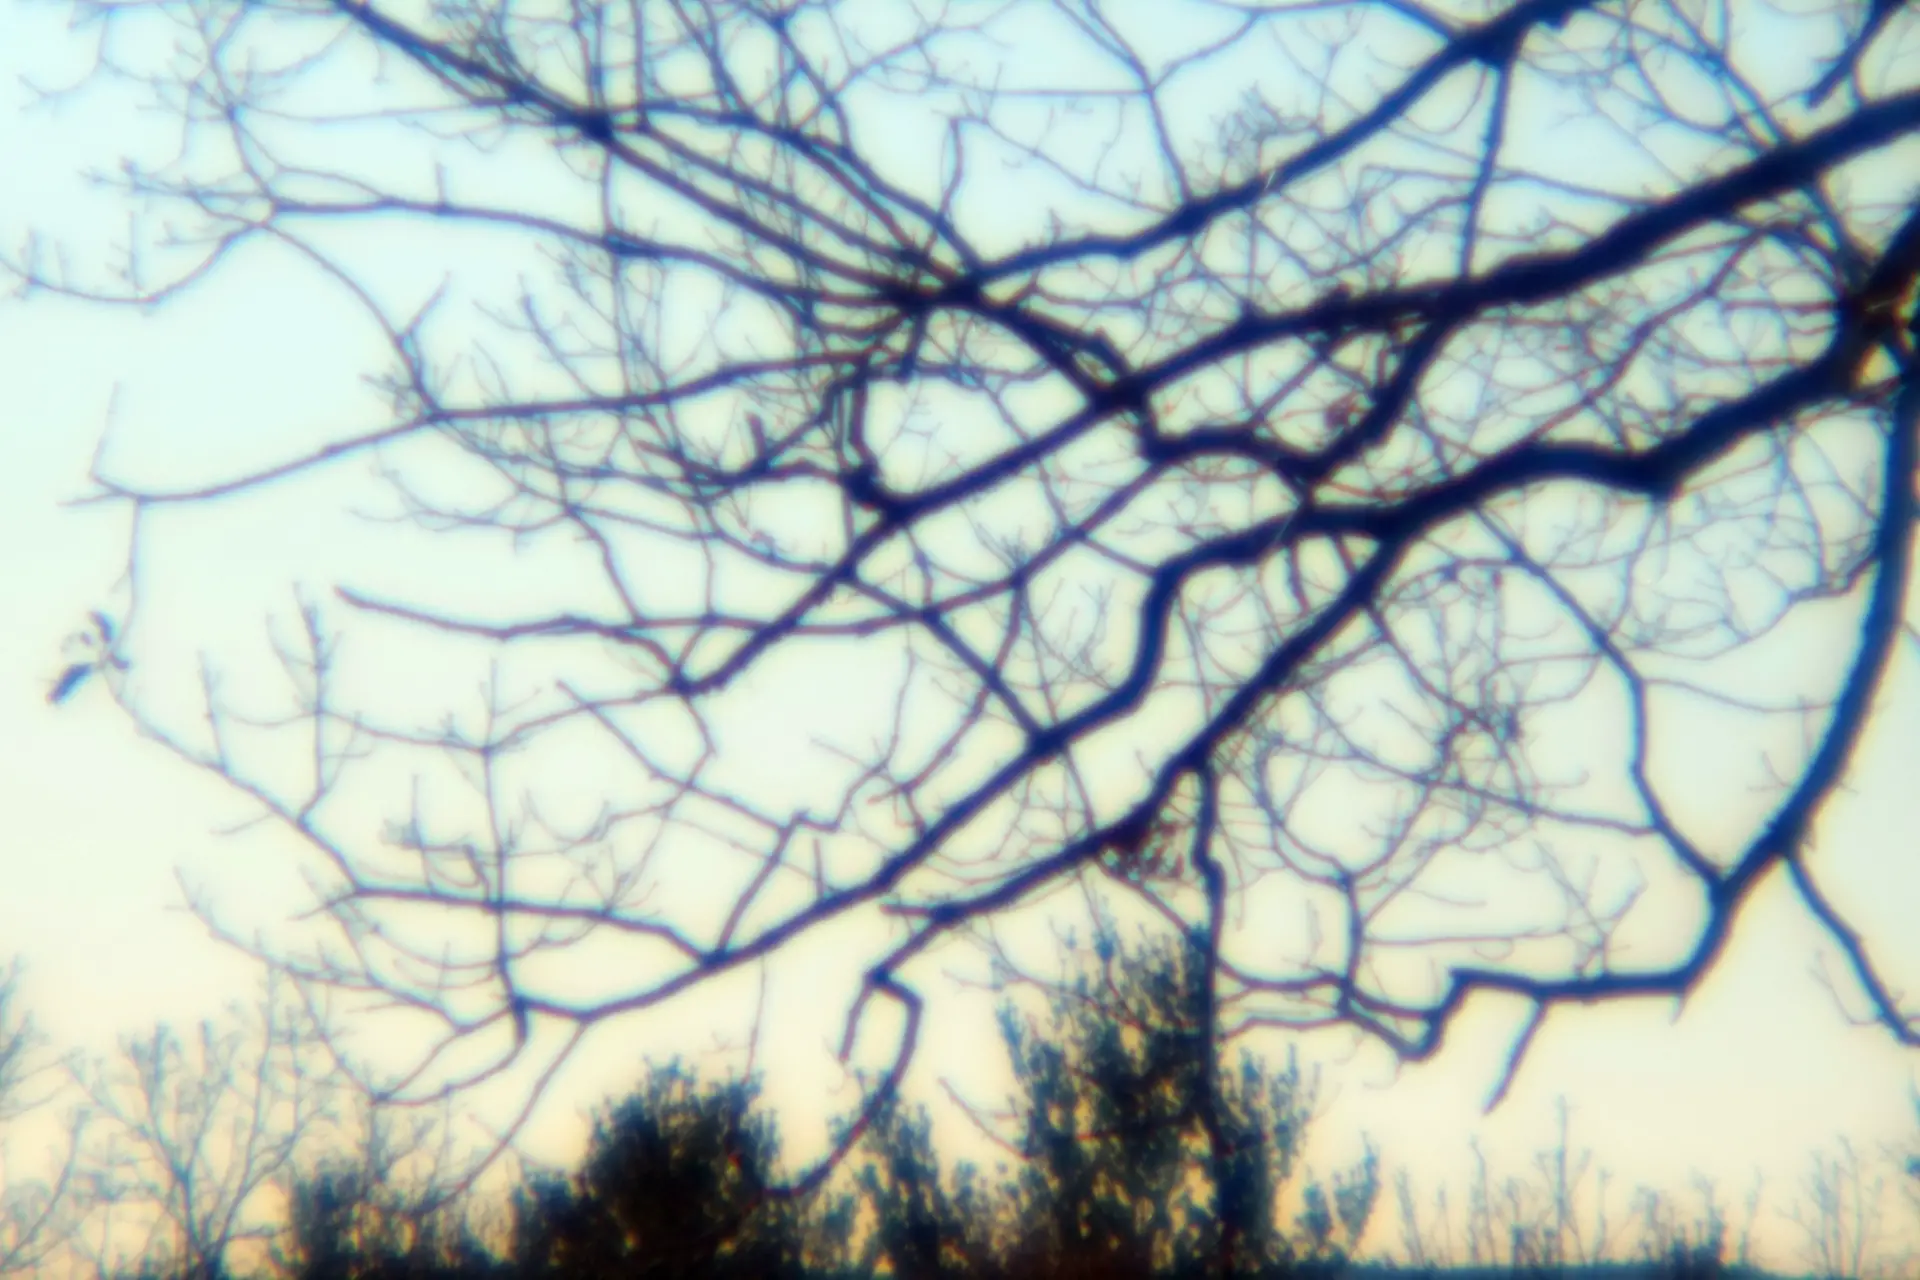
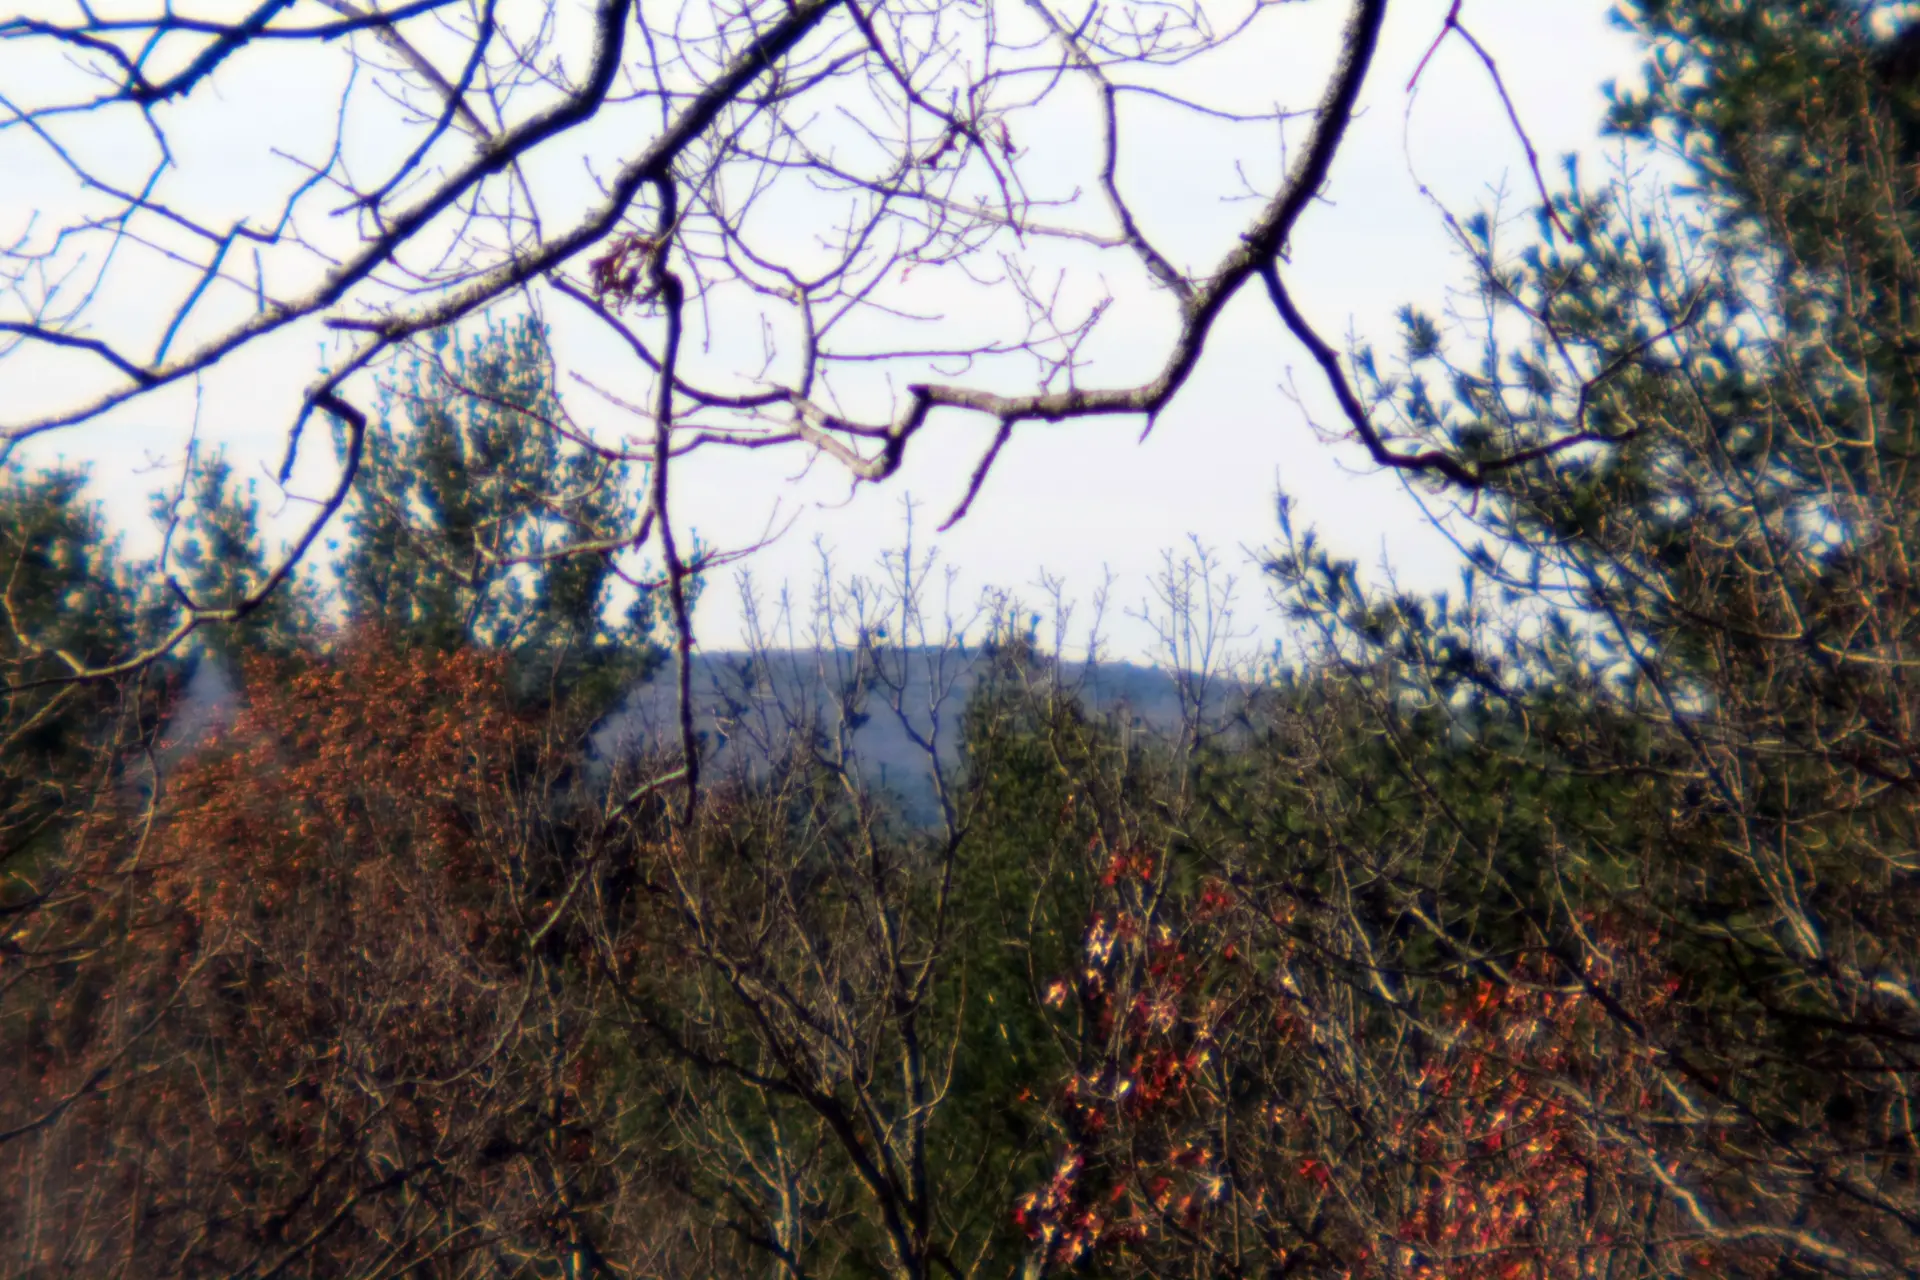
Technically, the “lens” is a 2-element/1-group optic with an air gap inside. The only way to see if this strange combo would work was to shoot. But even using macro filters made of high-quality coated glass, I didn’t expect pin-sharp results. And to be honest, the folks mentioned earlier had adapted vintage meniscus lenses to modern cameras in pursuit of “artistic blur and flare.” My first test images had plenty of that (and amber-colored chromatic aberration too):

But in fairness, I had focused the lens on the far horizon, rather than the trees. (The X-Pro1’s two levels of focus magnification were helpful here.)
When thus focused on infinity, the distance in millimeters from the camera’s sensor to the middle of the lens would be its “focal length.” Assuming its “middle” was the seam where the two filters met, the focal length turned out to be 167mm (with a field of view on the X-Pro1 equal to a 250mm telephoto on a 35mm camera).
And with a maximum aperture of 42mm (the diameter of the smallest Bellowsmate opening), the lens “speed” was 167/42=3.976– or effectively, f/4.
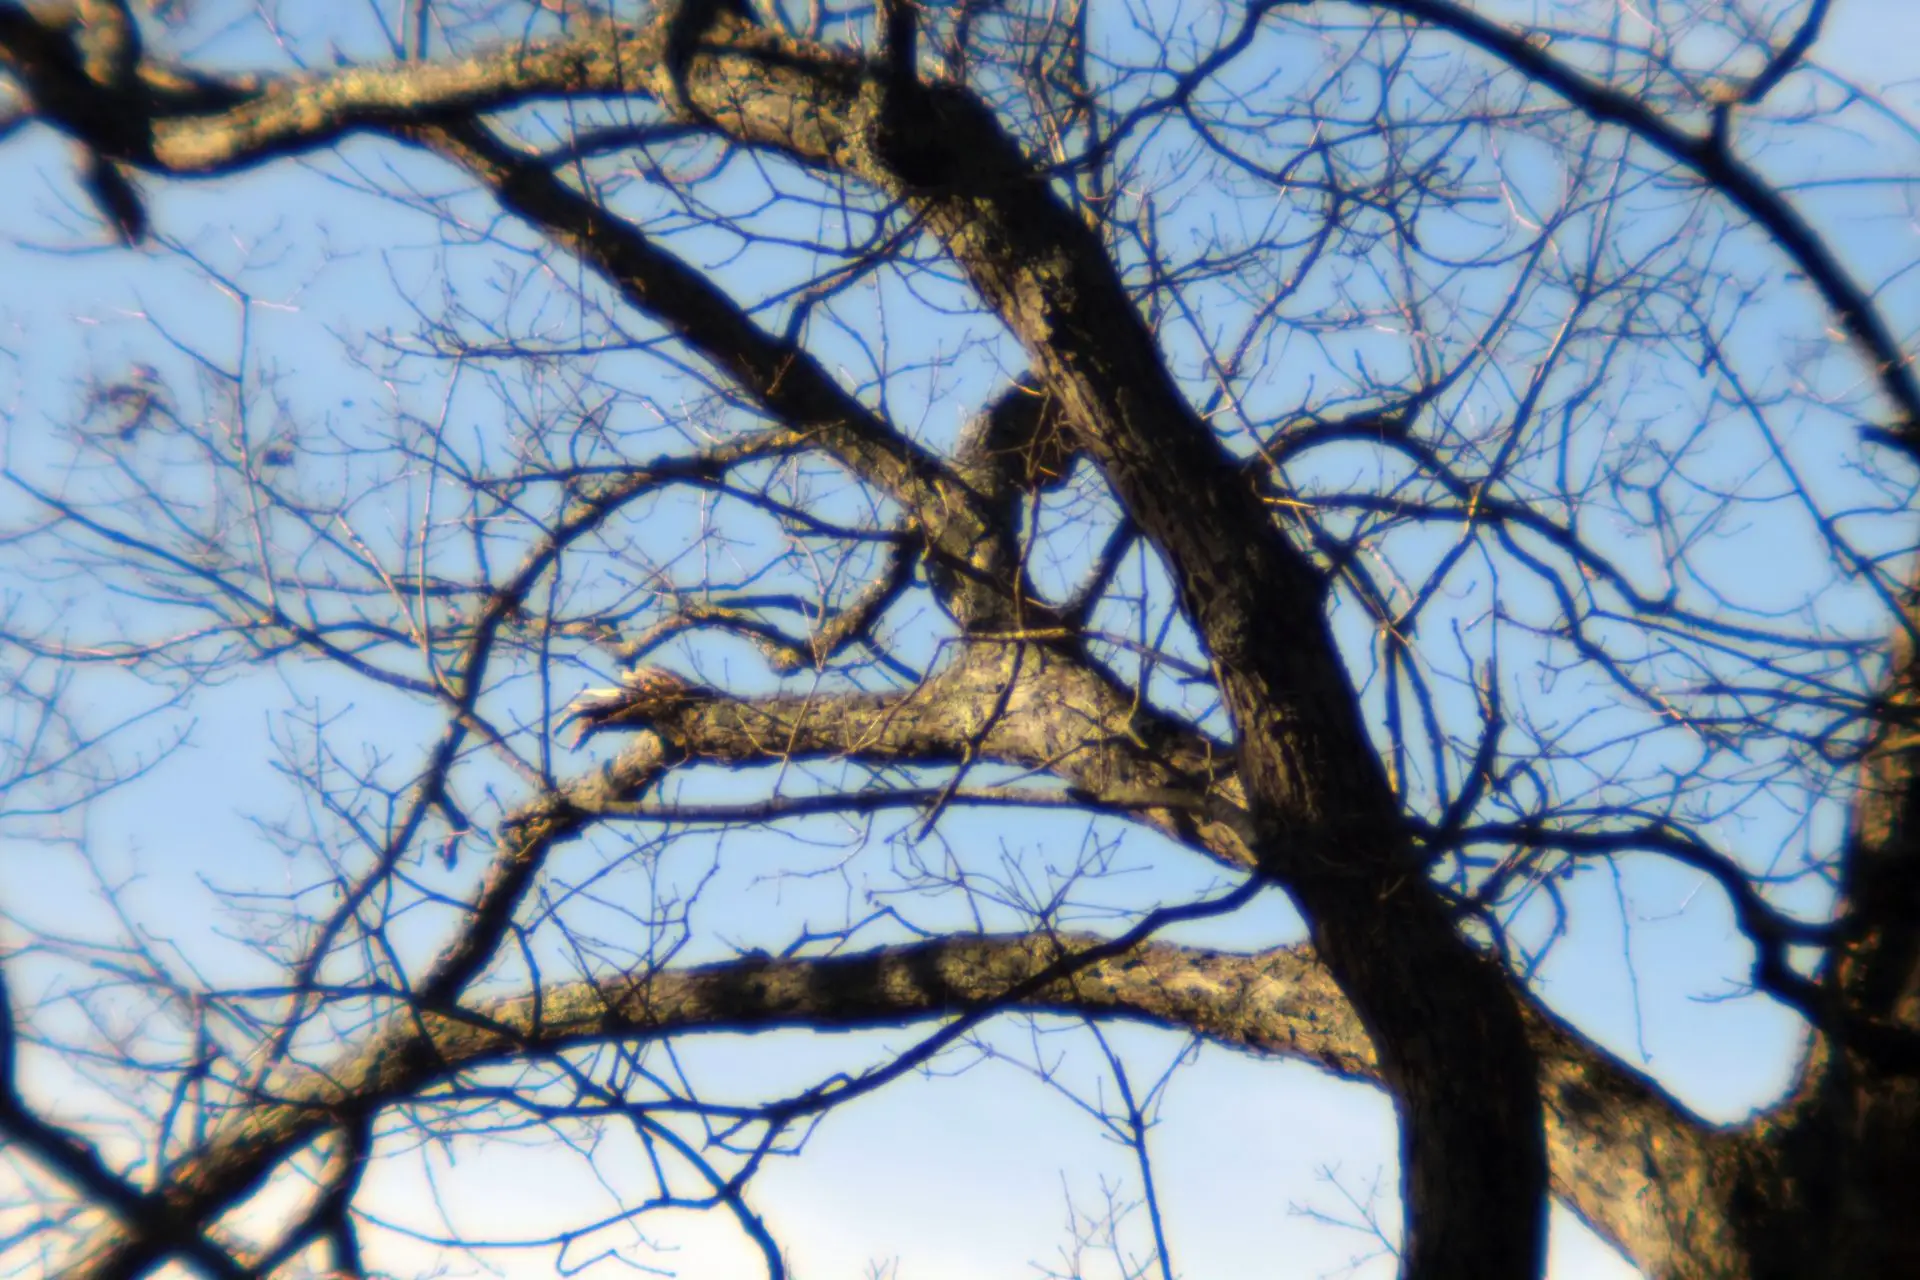
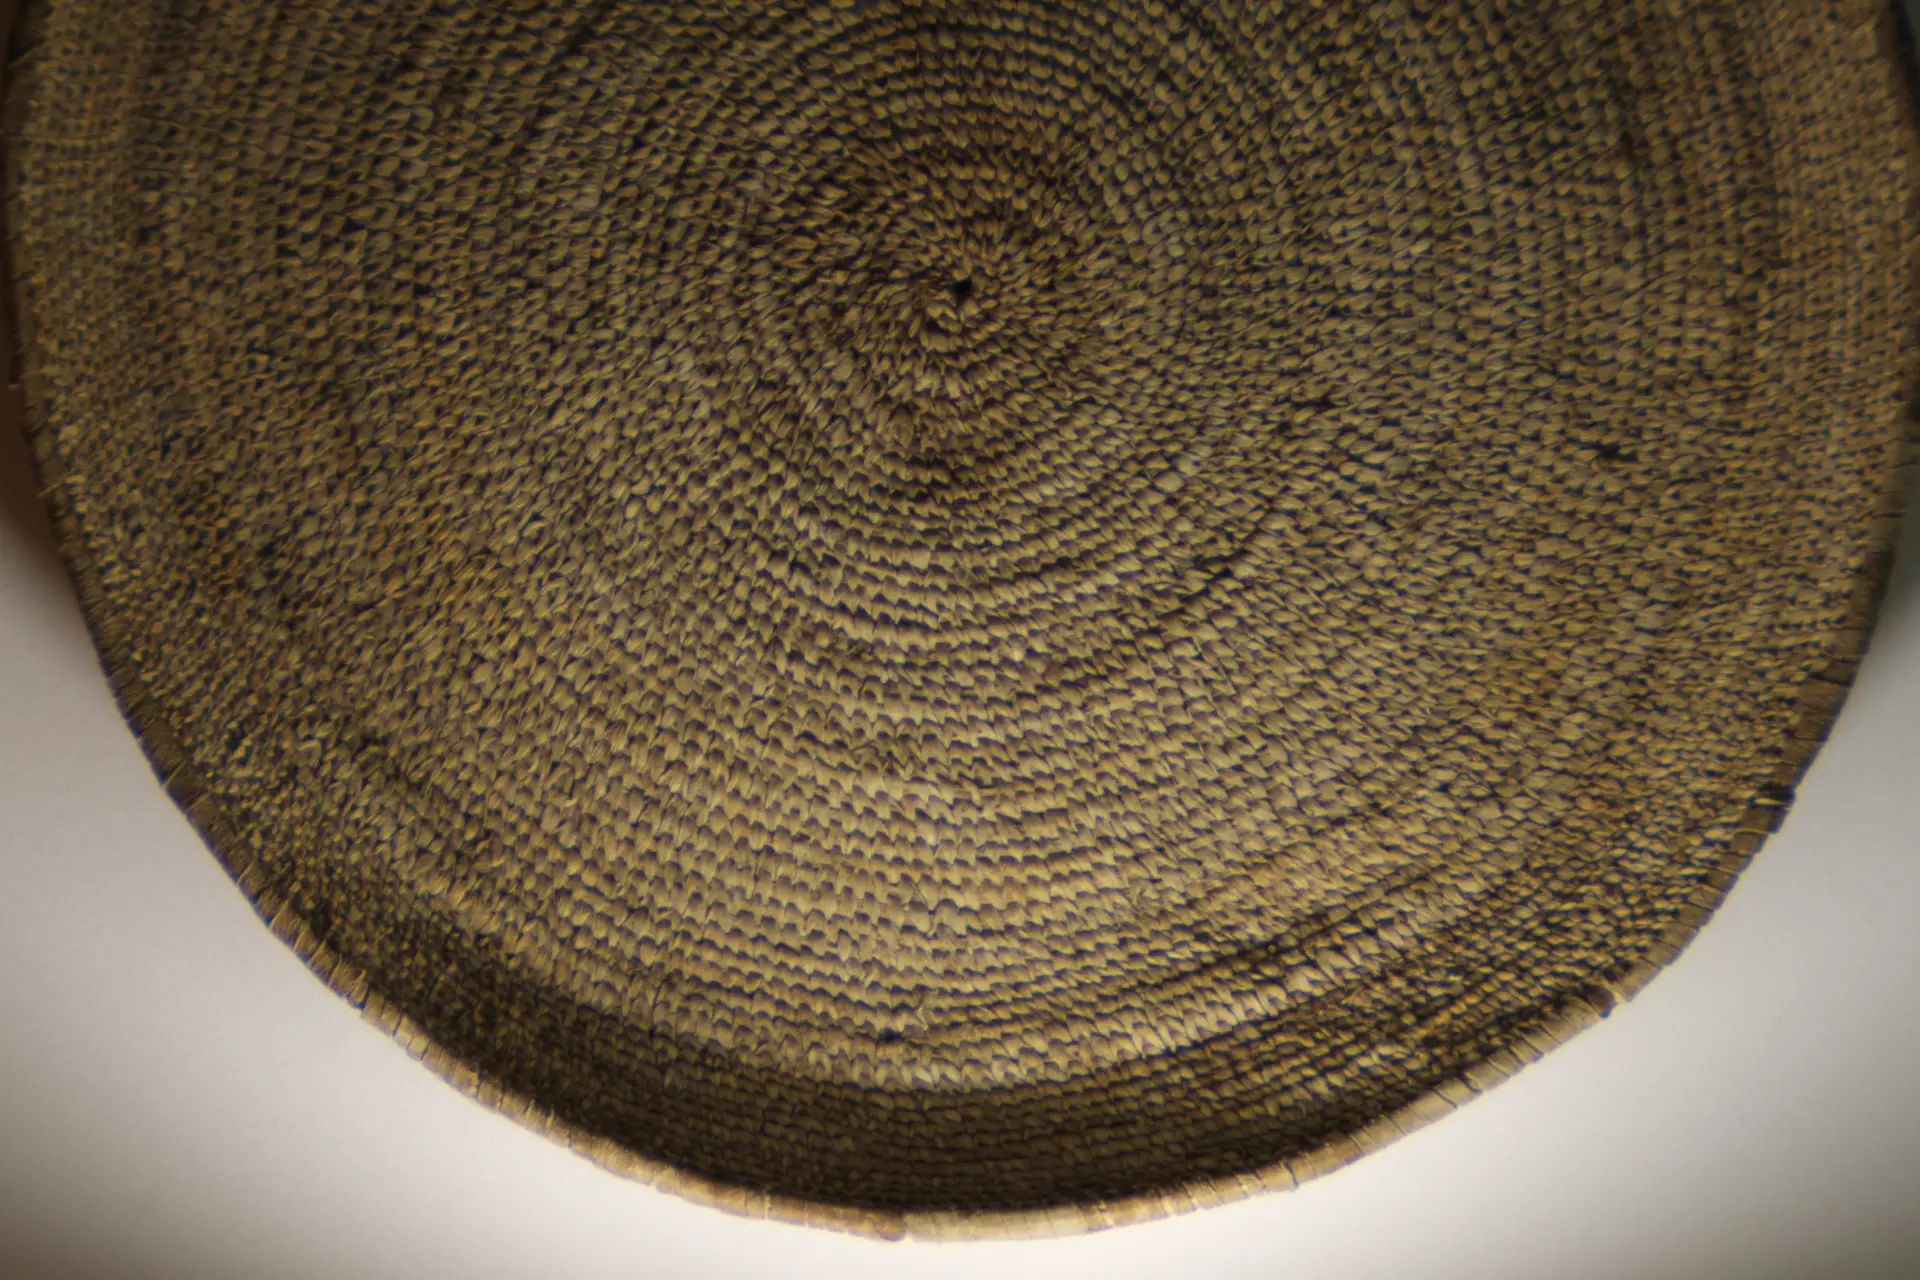
I then shot nearby branches… with their own artistic softness and chromatic aberration:
Sunlight reflecting off wet leaves also produced wild specular highlights, which may have come from reflections on the lens’s interior glass surfaces:
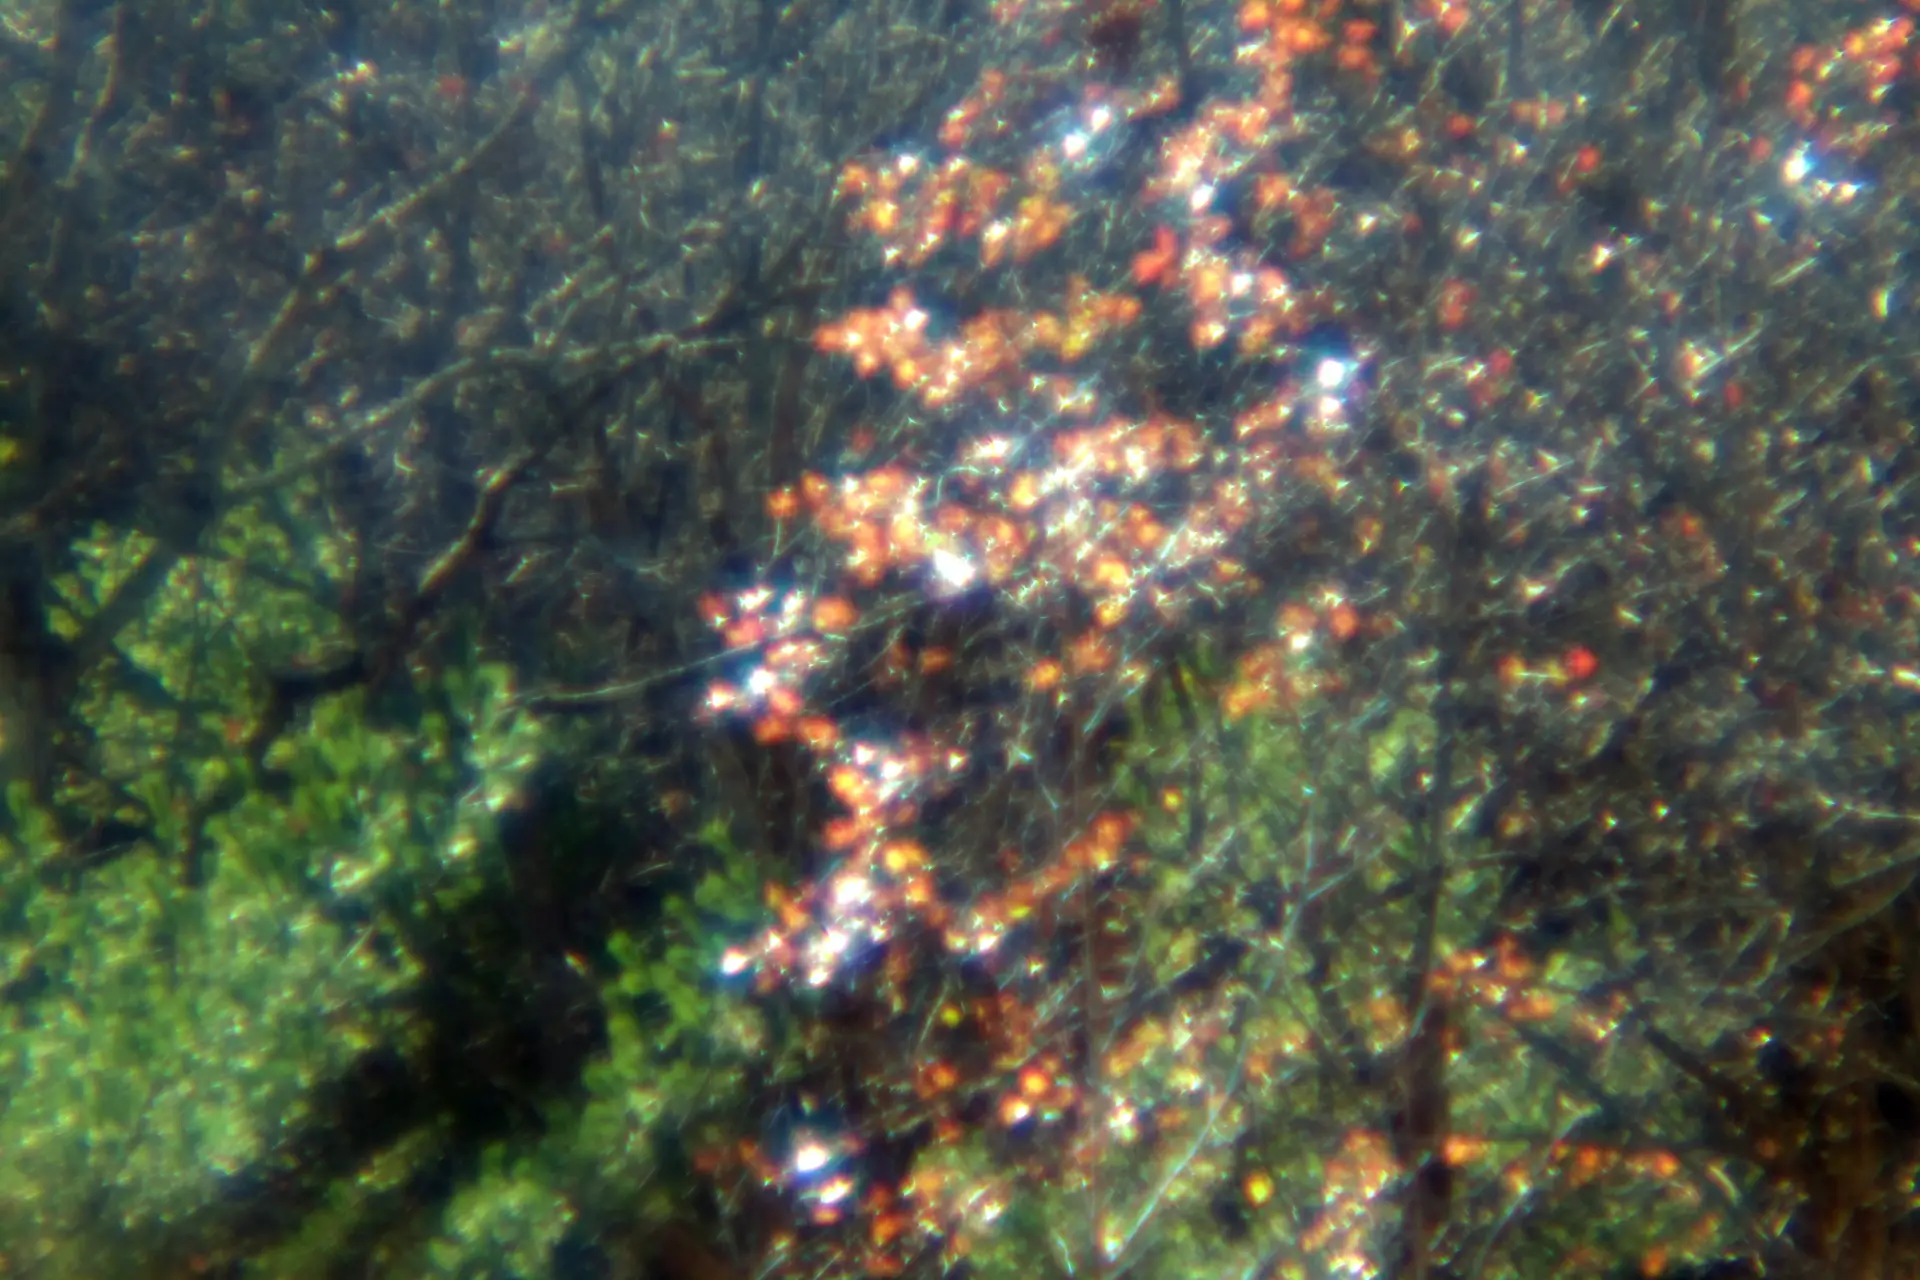
None of it was pretty.
Adding a Waterhouse Stop
A great feature of the air-gap meniscus is the ease with which one can slip a Waterhouse aperture disc into its middle! I decided to start with an f/8 disc, since f/8 is usually within the image-quality sweet-spot of most lenses. But how big would an f/8 hole actually be?
Well, the “wide open” lens has an f/4 opening, f/8 would be two stops smaller than that, and each stop would admit half the light as the one before. So f/8 would admit one-quarter the light as the fully open lens. Mathematically, then, an f/8 aperture hole should have one-quarter the area of the lens’s full 42mm opening.
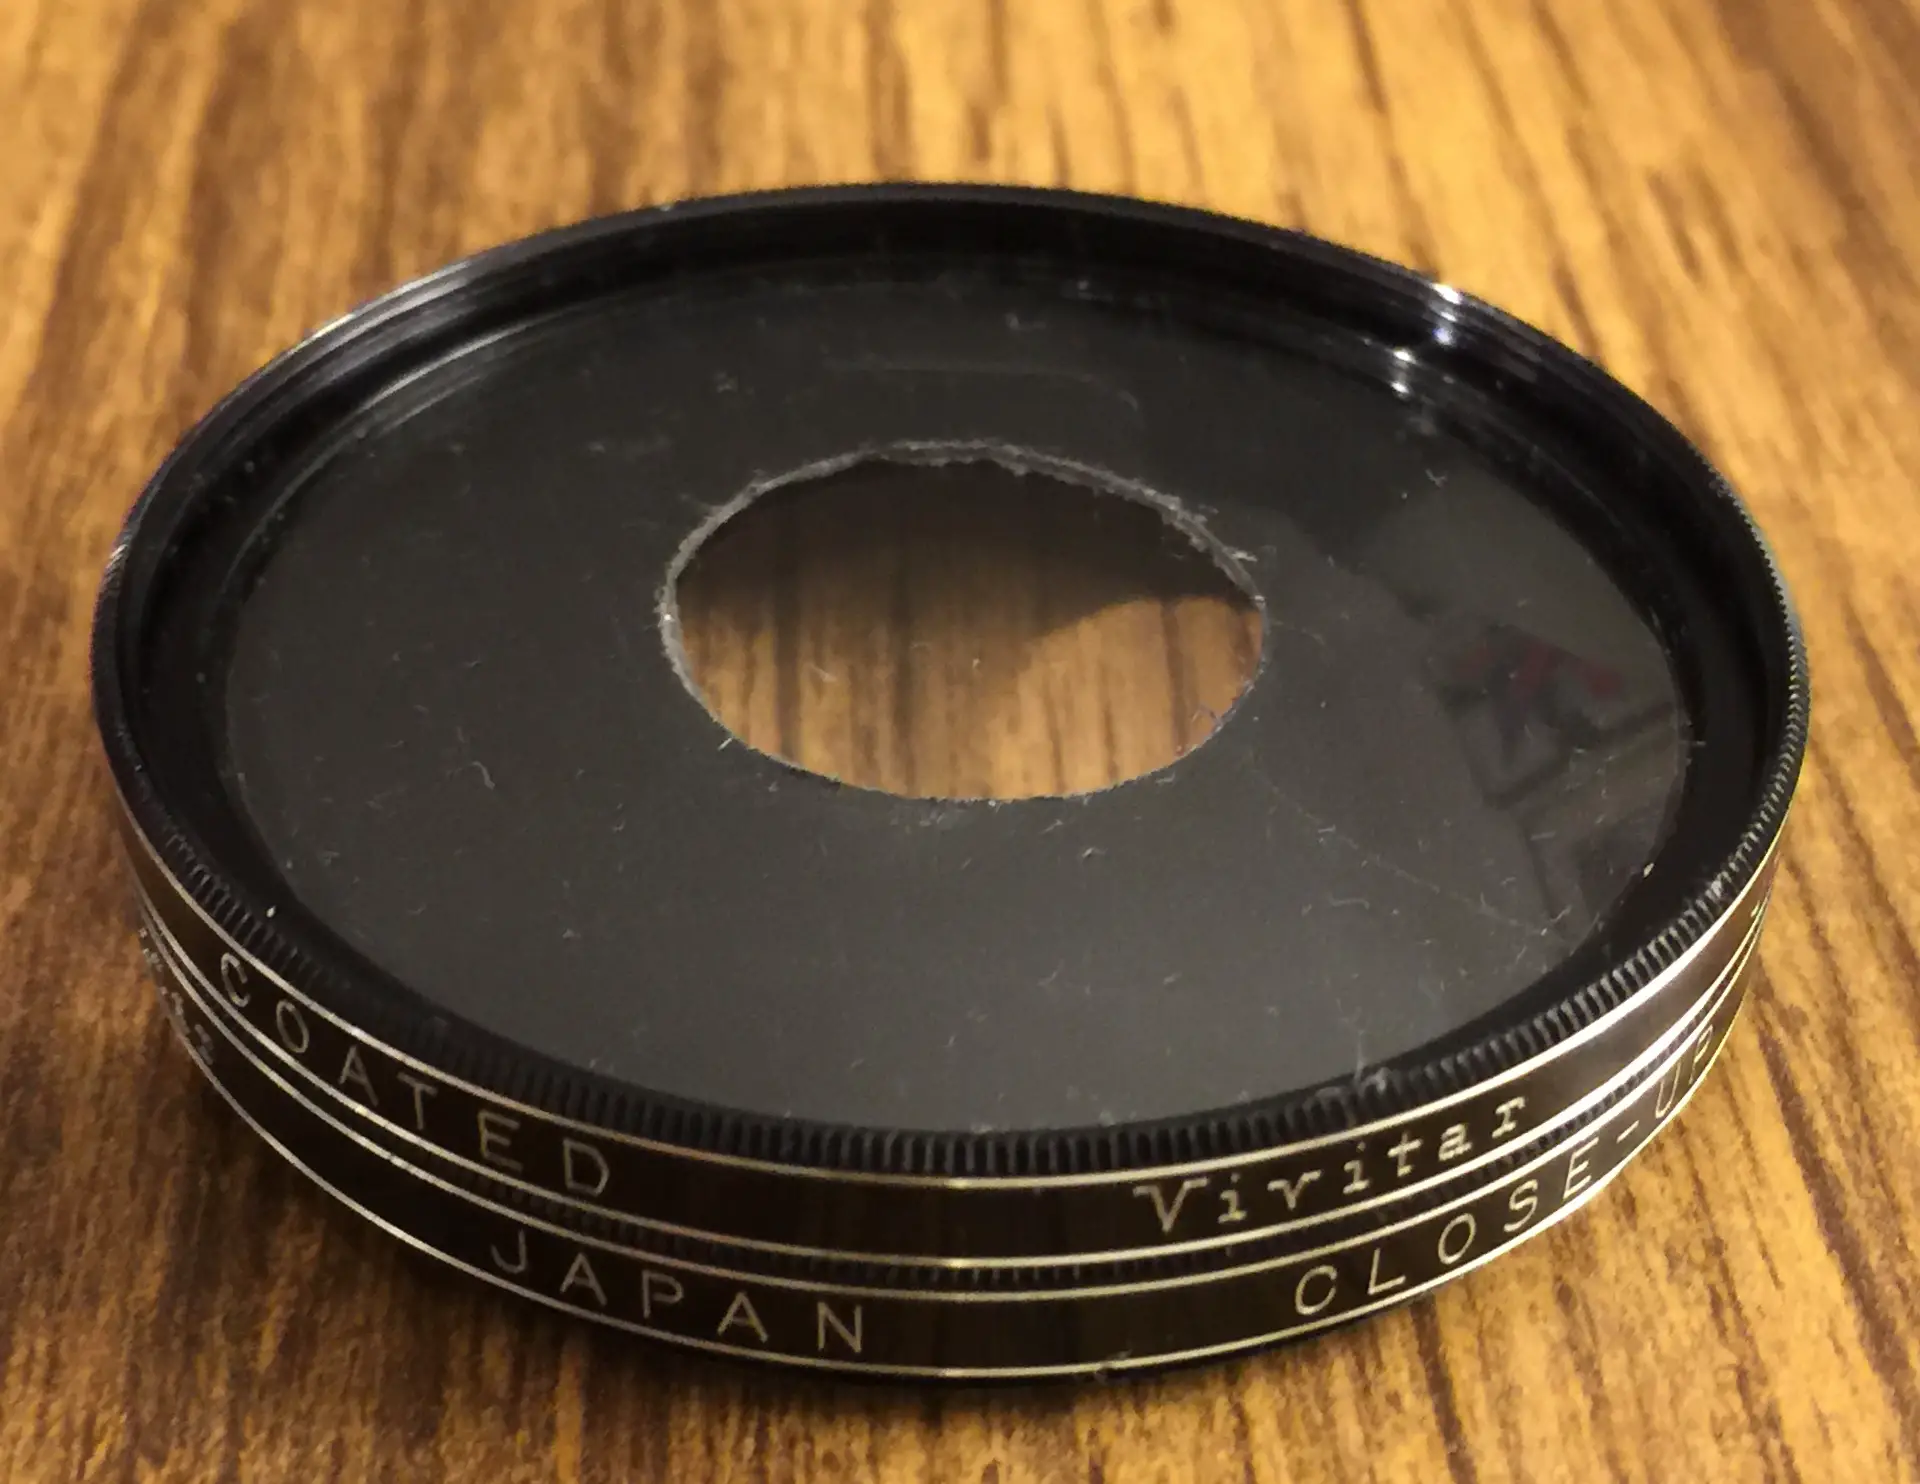
Using the formula for the area of a circle [area = 3.141592 times the square of the radius] and the fact that the f/8 aperture would have one-quarter the area of the f/4 opening, I determined that the f/8 aperture would be 21mm wide. I cut the aperture disc out of a sheet of flexible black plastic and sandwiched it between the filters. It conformed nicely to their curved surfaces:
Refocusing on the horizon, I again checked the lens’s focal length, which didn’t change:
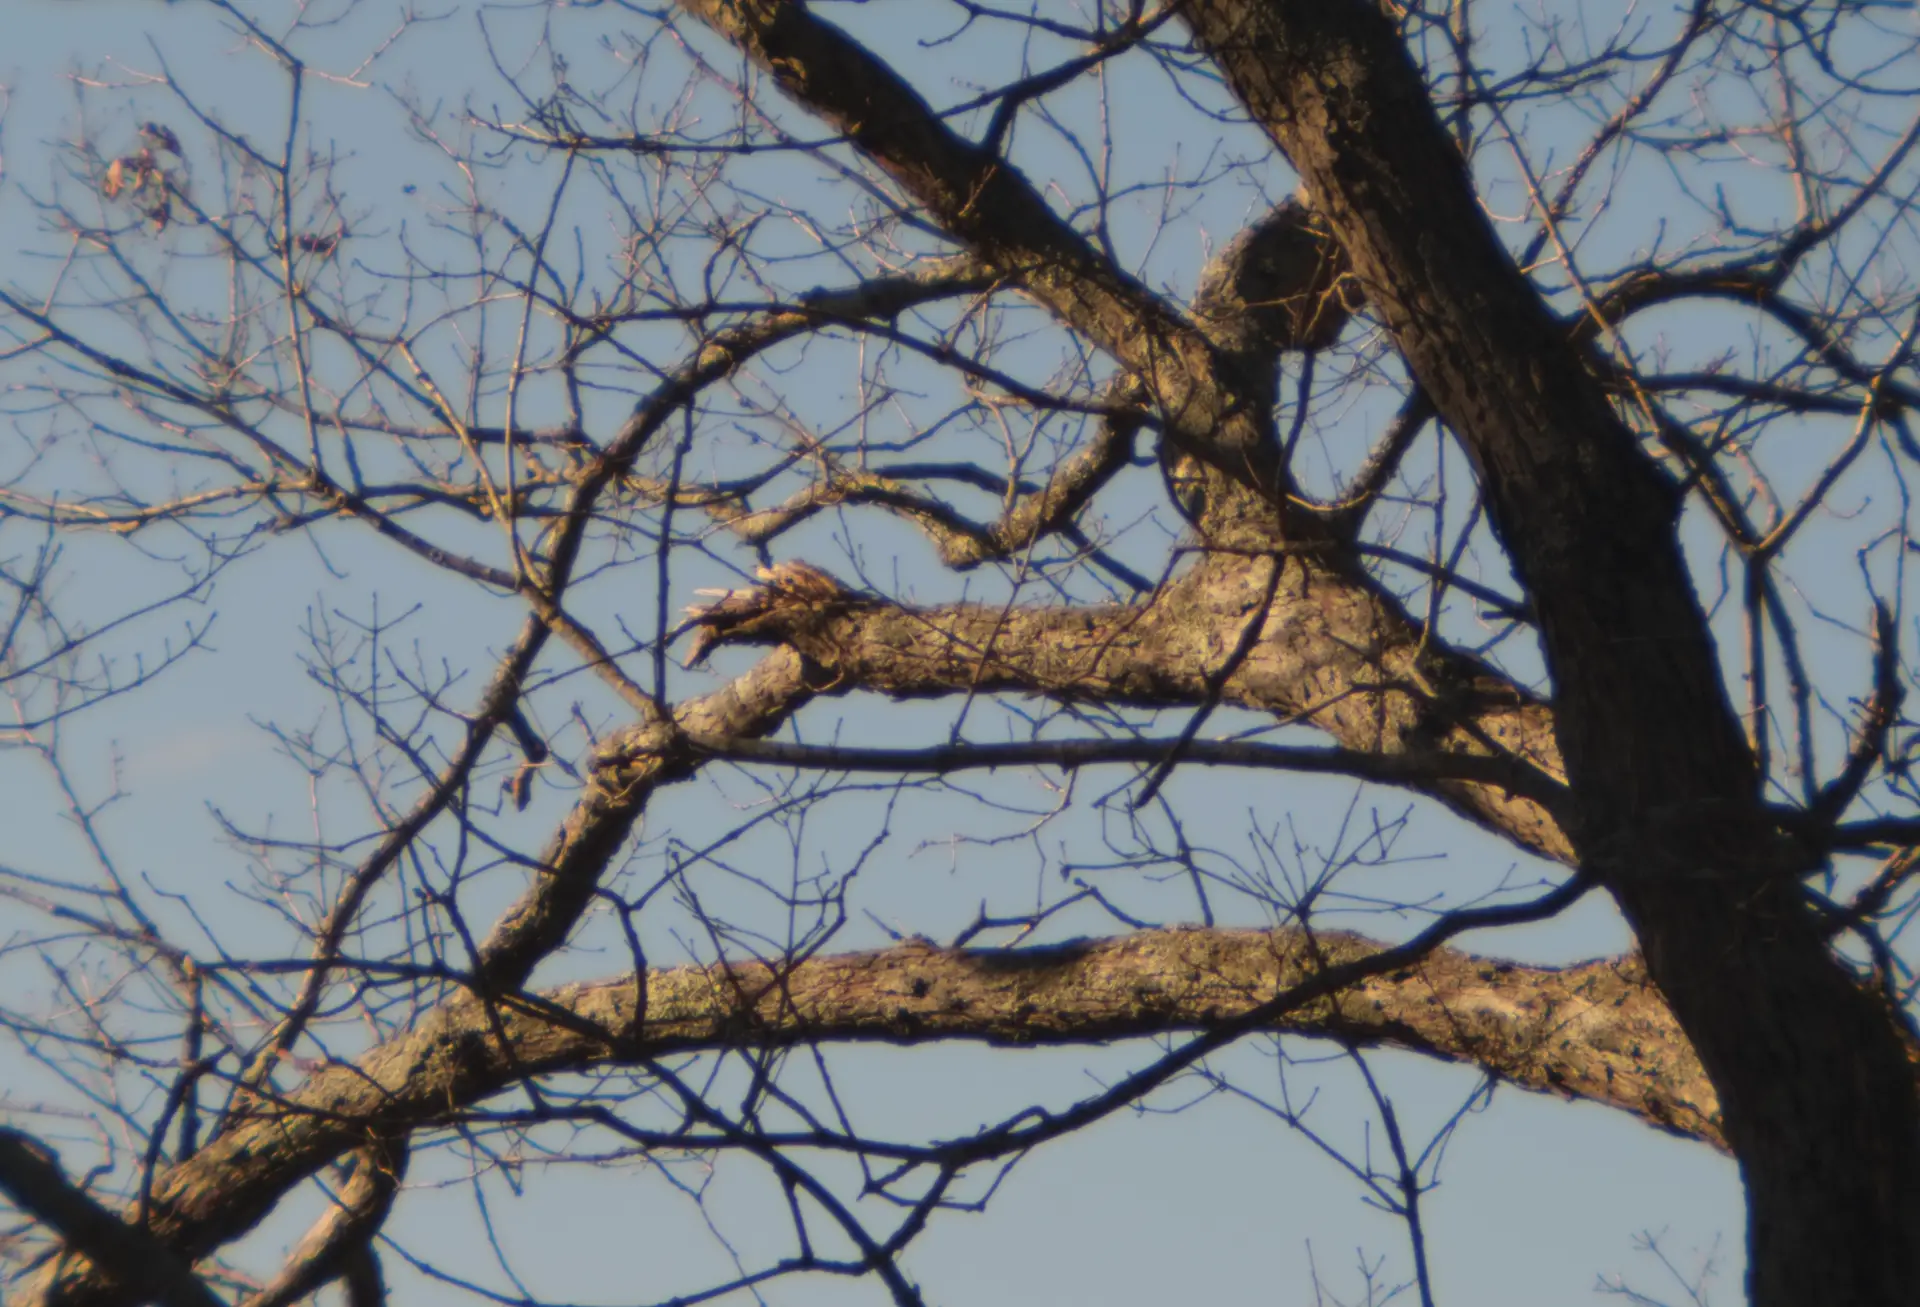
And I again shot sunlit branches:
Much better! But still with artistic softness. And an f/16 Waterhouse disc further improved the view (especially around the perimeter):
I may try f/32 at a later date.
Comparing with an Old-Reliable
But out of curiosity, I then decided to re-stage some late-night still lifes that I’d shot for this article on Jim Grey’s excellent “Down the Road” site. The article described how I adapted a widely respected Kodak Monitor Six-20 Anastigmat Special lens for use on my X-Pro1… and ended up with a cyberpunkish 135mm telephoto that had two levels of macro magnification!
Here are (pretty much) the same subjects, photographed by lamplight with the f/16 air-gap meniscus:
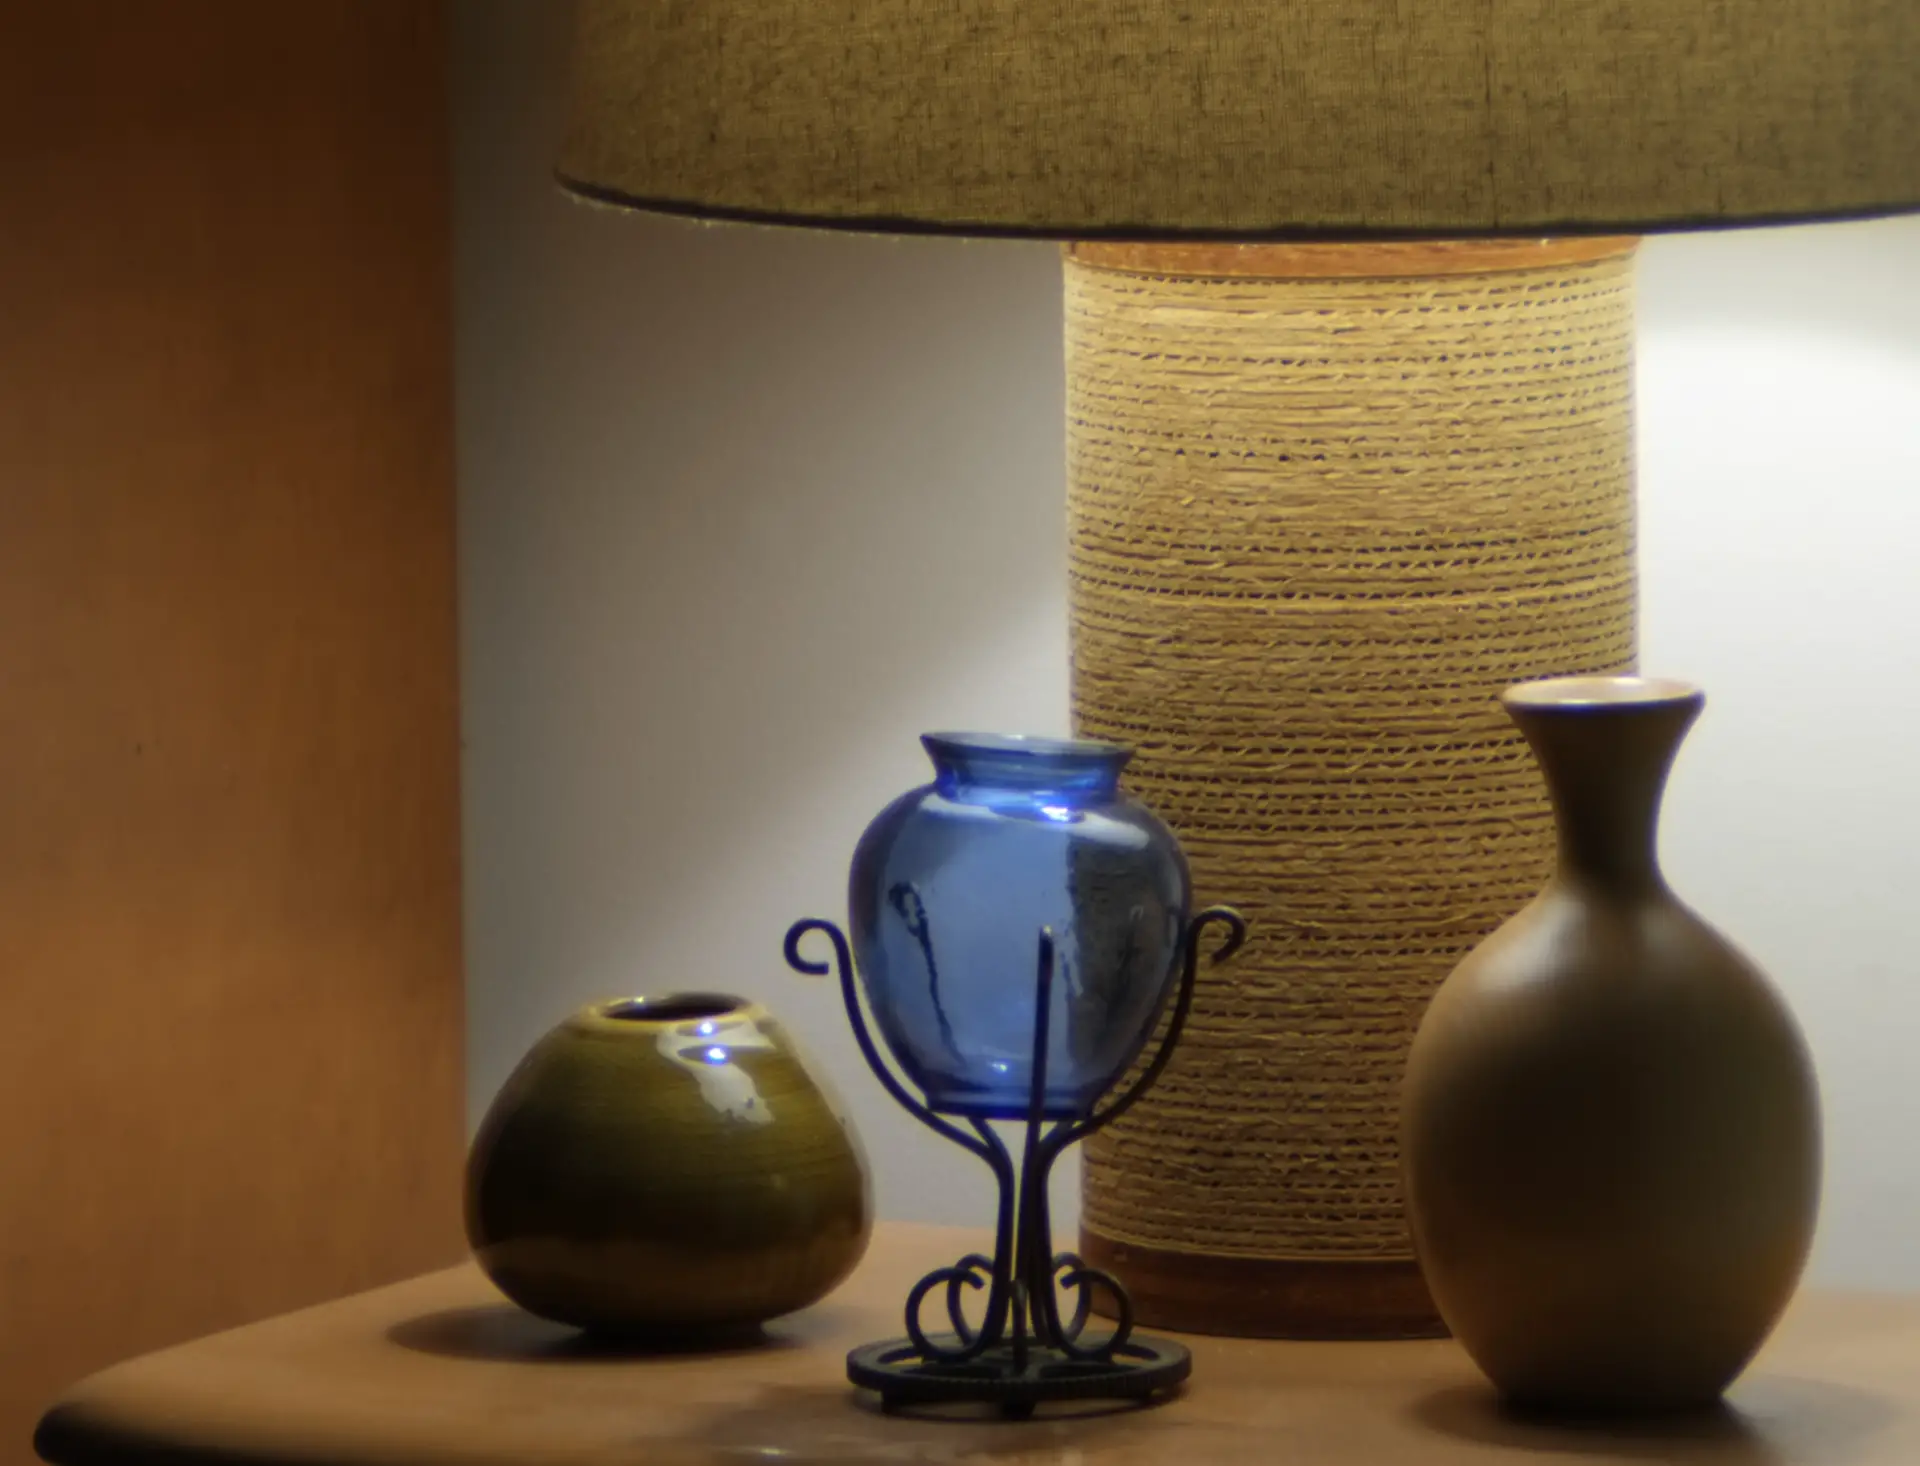

Comparing the shots in this article with those on Jim Grey’s site, my 2-element/1-group “air-gap meniscus” stacked up quite well against the Anastigmat Special ‘s 4-element/3-group Tessar! The meniscus lens’s f/16 Waterhouse aperture nearly eliminated chromatic aberration, and I was honestly surprised at how little lens distortion two macro filters produced. (The above images were not edited or corrected in any way.)
In one way, though, the air-gap meniscus performed even better than the Kodak lens. Sitting farther away from the camera sensor, the meniscus seemed to avoid the “ghosting flare” that plagued the Anastigmat Special shots.
My Next Experiment
True confession: Like many photographers, I’ve come to own more than one set of macro-close-up filters. This article used a 55mm-diameter set from Vivitar. But my other sets are a 52mm from Aetna and a 49mm from SP Systems. Using all of them, I’ll next try to simulate a Cooke Triplet (which might not need to be mounted on an extension bellows, and therefore, could be faster). If it works, I’ll post another piece.
And if you own one or more of these filter sets, try making your own lenses. It’s fast, easy and lots of fun!
–Dave Powell is a Westford, Mass. writer and avid amateur photographer.
Share this post:


Comments
Martin on That Time I Built an “Air-Gap Meniscus” Lens – By Dave Powell
Comment posted: 18/01/2023
Thanks for sharing the story behind them and your knowledge.
Martin in Austria
Comment posted: 18/01/2023
Don Goodman-Wilson on That Time I Built an “Air-Gap Meniscus” Lens – By Dave Powell
Comment posted: 18/01/2023
Comment posted: 18/01/2023
Terry B on That Time I Built an “Air-Gap Meniscus” Lens – By Dave Powell
Comment posted: 19/01/2023
For me, your project raised some questions as I couldn't see any reference in your article, although the image of the waterhouse stop on the closeup lenses did set me thinking.
As you propbably know, using two meniscus lenses - commonly known as a doublet, improves the imaging over a single meniscus, but involves the lenses being in mirror-image alignment with the concave surfaces facing each other. But from the printing on the image of your filter mounts it looks like you've merely attached the lenses in-lign. I feel sure that they could work better if you reversed the rear lens to more replicate a doublet.
Calculating the focal length with a simple lens is relatively easy when one knows the power of the lens. A 1 dioptre has a focal length of 1 meter, 2 dioptres 500mm, etc. So your combined 6 dioptre is 1000/6, which is the result you measured.
Comment posted: 19/01/2023
Simon Foale on That Time I Built an “Air-Gap Meniscus” Lens – By Dave Powell
Comment posted: 19/01/2023
Comment posted: 19/01/2023
Comment posted: 19/01/2023
Comment posted: 19/01/2023
Comment posted: 19/01/2023
Comment posted: 19/01/2023