I thought I would wish everyone a very happy International Stereoscopic Day by introducing how to use a Rolleiflex camera to take stereoscopic (3-D) photographs. If you would like to first check out what stereoscopic photographs are, please see this previous post.
The Rolleiflex, along with its stereoscopic film camera predecessor, the Rolleidoscop, were always my dream cameras, but not within my student budget. I went the backwards way of trying to own at least one of them by first buying the Rollei stereo adapter, which sat on my shelf gathering dust, in the hope that I’d eventually be able to buy the camera for it.
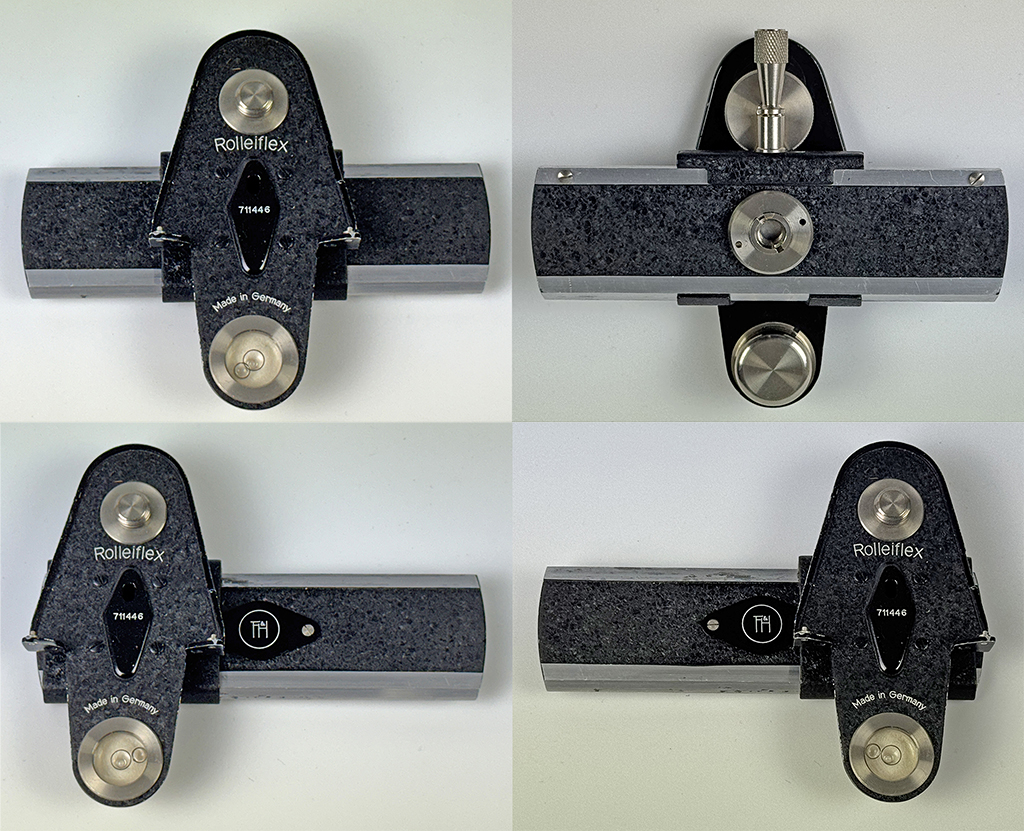
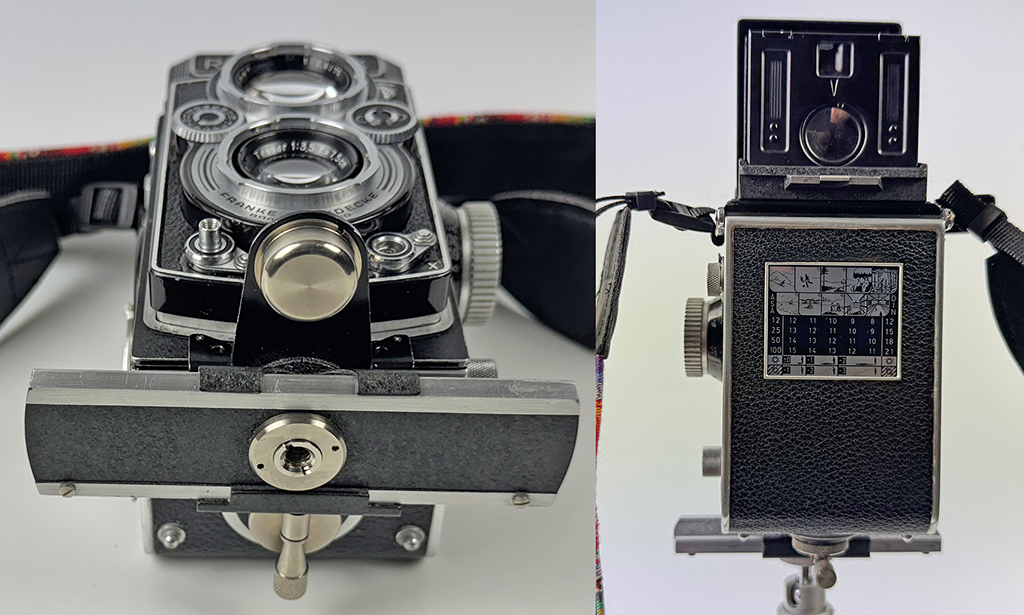
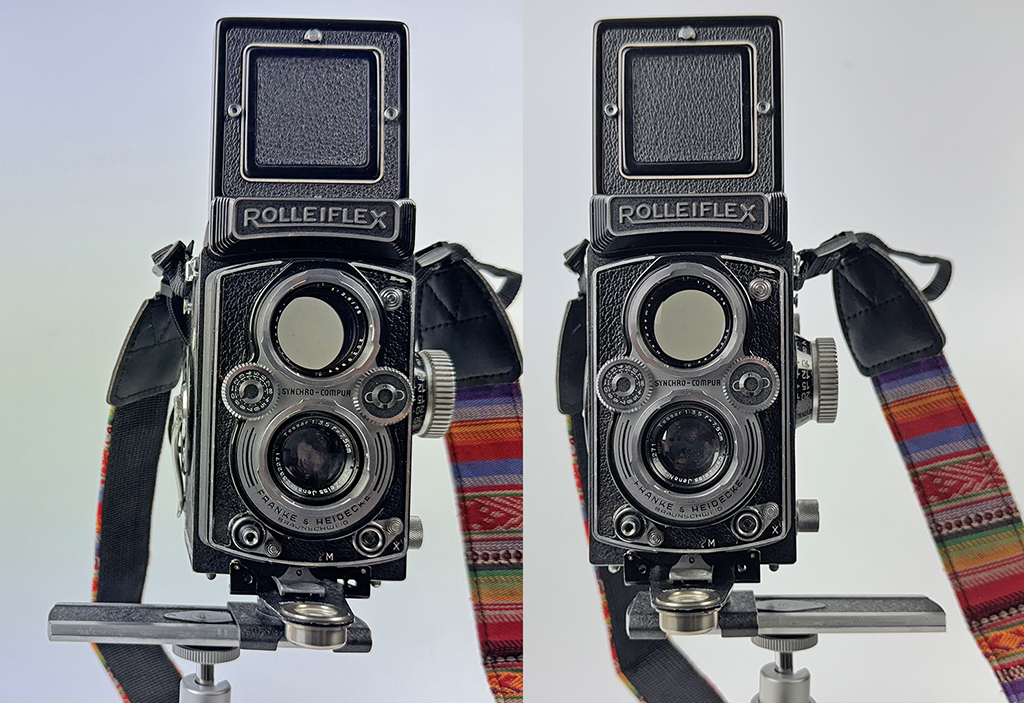
The Rollei stereoscopic adapter, or officially called the Stereo Slide, is a small slider bar which attaches securely with two pins fitting the two metal indents on the front of the Rolleiflex, and a screw for the tripod thread underneath the camera. The Stereo Slide moves the camera from left to right by about 6.5cm, roughly correlating to the distance between the human eyes, allowing you to take the right and left photos needed for a stereoscopic photo, sequentially. It has a clamp-screw so you can secure the camera whilst taking each photo, preventing it from accidentally sliding whilst winding the film on or pressing the shutter release. There is also a spirit-level on the slider, so you can make sure the camera and bar are level for both shots, which is important when taking 3-D photos.
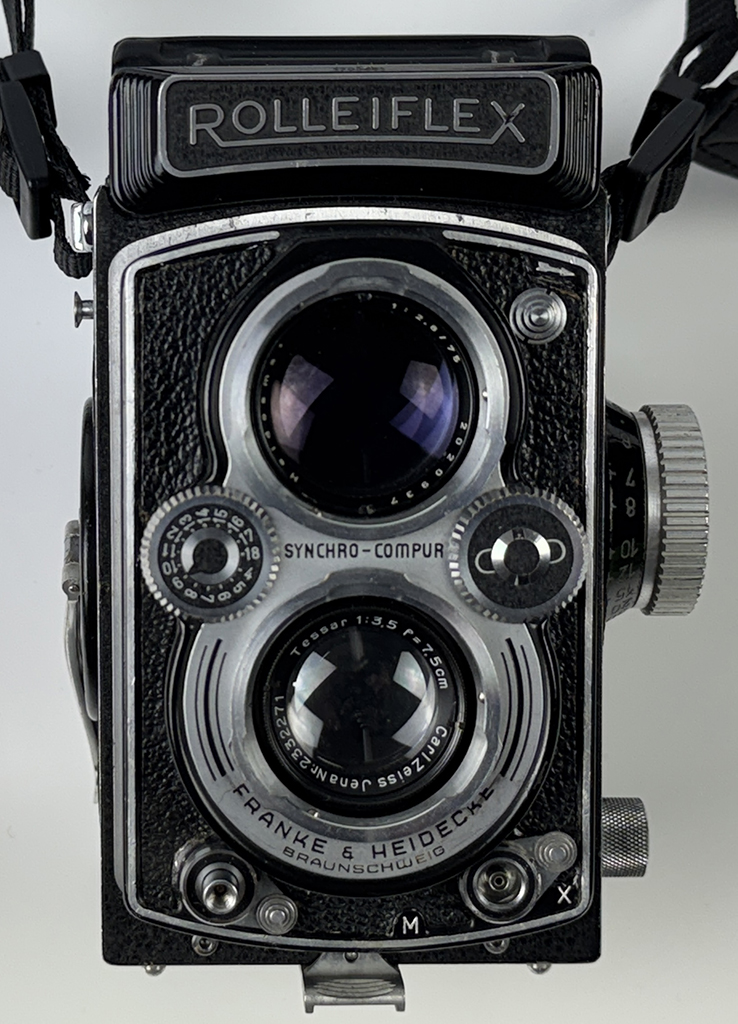
After saving for months, and as I was a complete newbie to Rollei, I contacted Claude at RollFilmCameras to ask if one of the Rolleiflex models he was selling would fit my Stereo Slide. I was amazed he didn’t take the mickey at my weird way of shopping; in fact, he replied with scans from books with sections describing the Stereo Slide. A few days later I was the proud owner of a fully serviced Rolleiflex 3.5B MX-EVS Automat (1955-ish) which, happily, fitted my Stereo Slide. Claude had even very kindly included the 1952 book ‘The Rollei Way’ by L. A. Mannheim, which has a chapter on stereo pictures, written when taking them was the peak of cool.
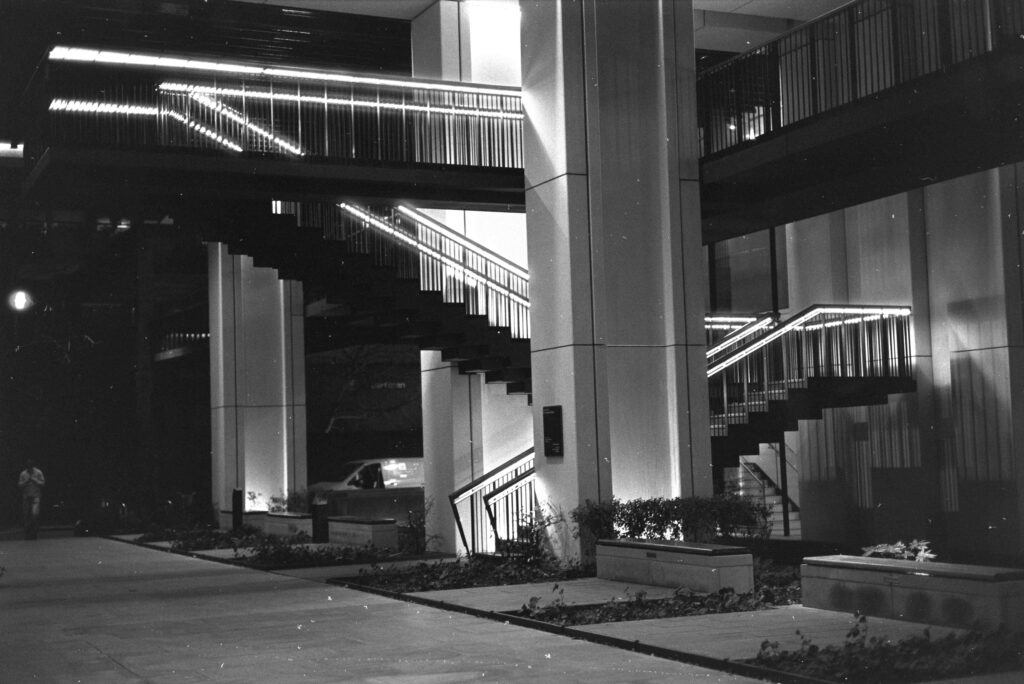
Once I’d followed the instructions on how to load the particular Rolleiflex model with film, I first tested it indoors, so I could get a feel for using it and control the light. As each stereoscopic photograph uses 2 x 120-frames (so 6 stereo-pairs from a standard roll of 120 film), I didn’t want to waste any, and got straight to geeky 3-D work. I used a sturdy tripod to attach the camera and Stereo Slide to, as shifting the camera’s weight from one end of the slider to the other meant my usual quick-release tripod head wasn’t supporting enough of the slider to keep it steady.
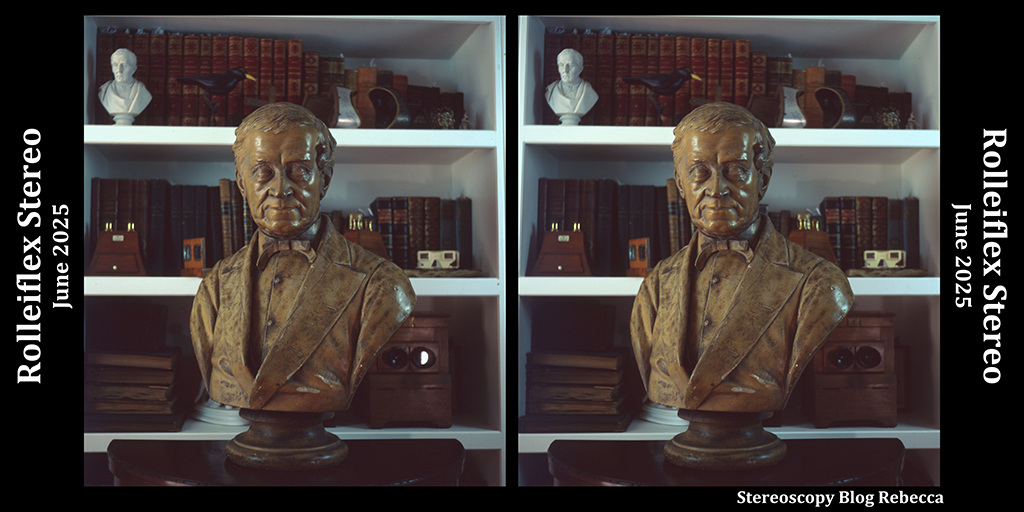
With the distance of the camera moving on the slider between the two shots being 6.5cm, roughly the best distance from the subject for ‘natural’ 3-D depth is about 1m 95cm (according to a rule of thumb, it’s the distance moved between shots x 30), so of course I broke the rule and got closer as I enjoy exaggerated depth when I print or mount the photographs to view in 3-D.
Once the tripod was in place, and following the instructions of the Stereo Slide, I first moved the camera to the middle of the slider bar to set the focus and the exposure settings, and ensured they were kept exactly the same for both shots. I moved the camera on the slider to the left, secured it with the clamp-screw, and took the first photo for the left-eye, then, after winding the film on, I moved the camera to the right of the slider, secured it, and took the right-eye photo.

This is where I have to add that the Rolleiflex exceeded any expectations I had; I find it an absolute dream to use (which I’m sure I do not need to cover in detail for those who are more familiar with the cameras, and also as there are some fantastic, more eloquent reviews on this website). This is coming from someone with years of using cameras such as the Stereo Realist, which, despite persevering, I personally don’t find very intuitive, probably because I’ve tried so many others which are much more enjoyable to use, but the Rolleiflex pips them all to the post.

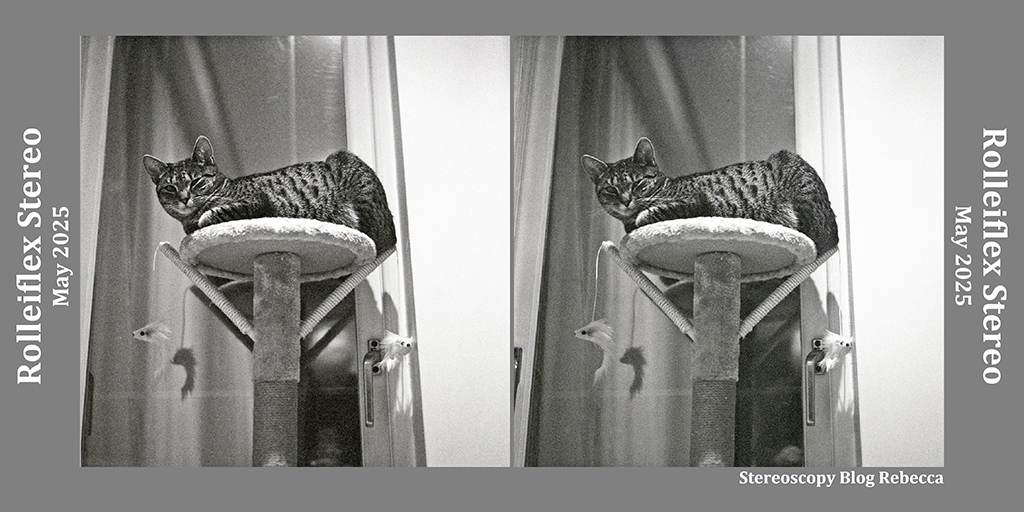
The main benefit of using a twin-lens stereoscopic camera, however, is being able to take instantaneous 3-D photos, whereas when taking sequential photos to make the stereoscopic-pair of images, you must try and minimise movement in the scene between shots. You can see from the stereo of my cat that her head moved between the shots, making her little nosy face recede into the background, whilst everything else is in proper 3-D. Clearly, you have to choose your subject well, or wait until they’re asleep!
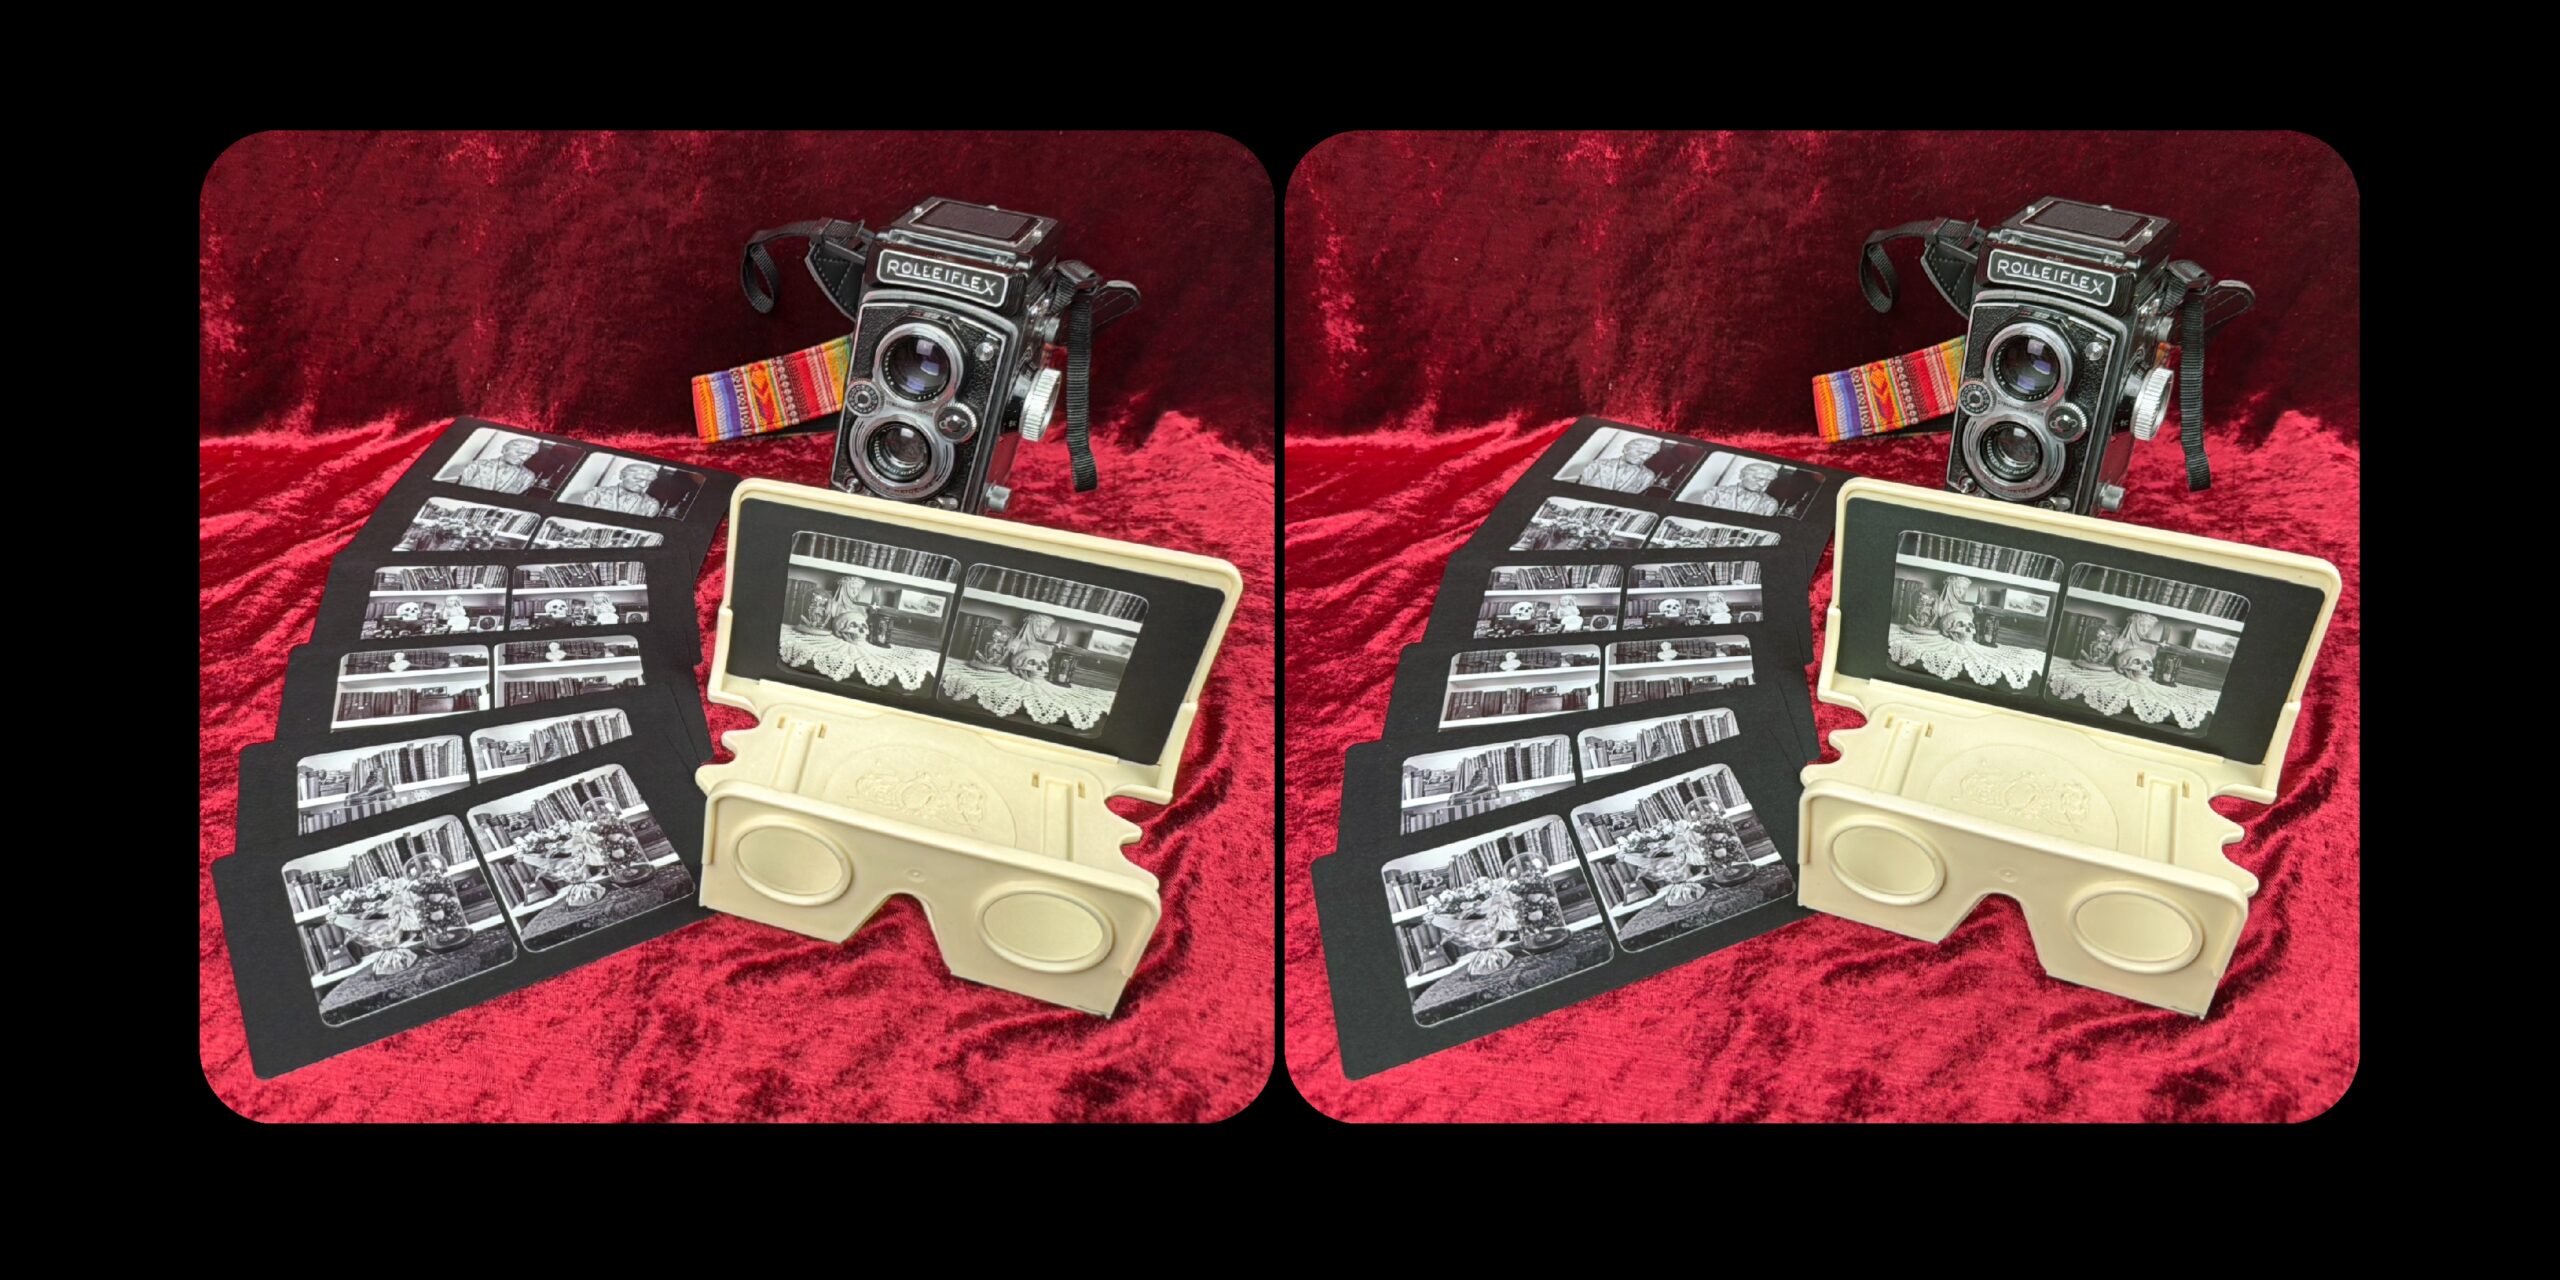
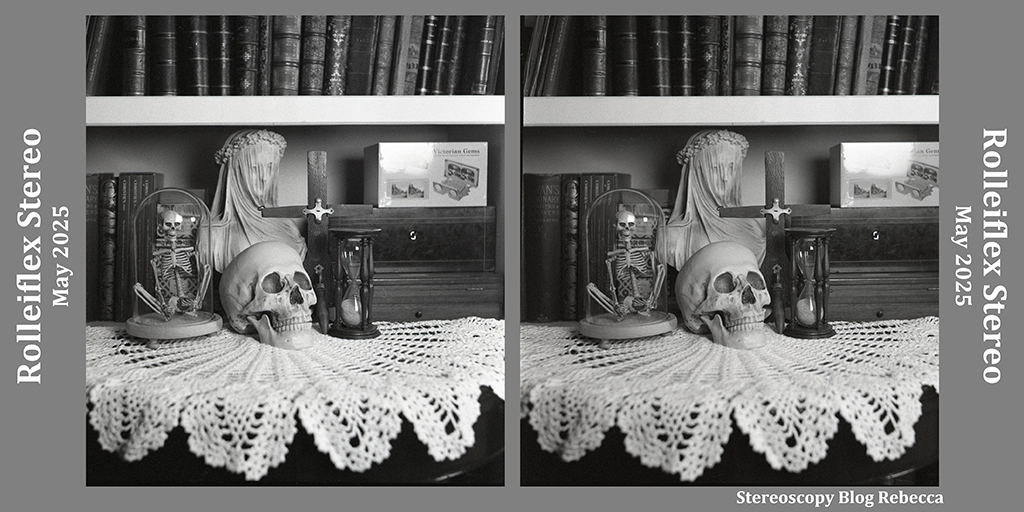
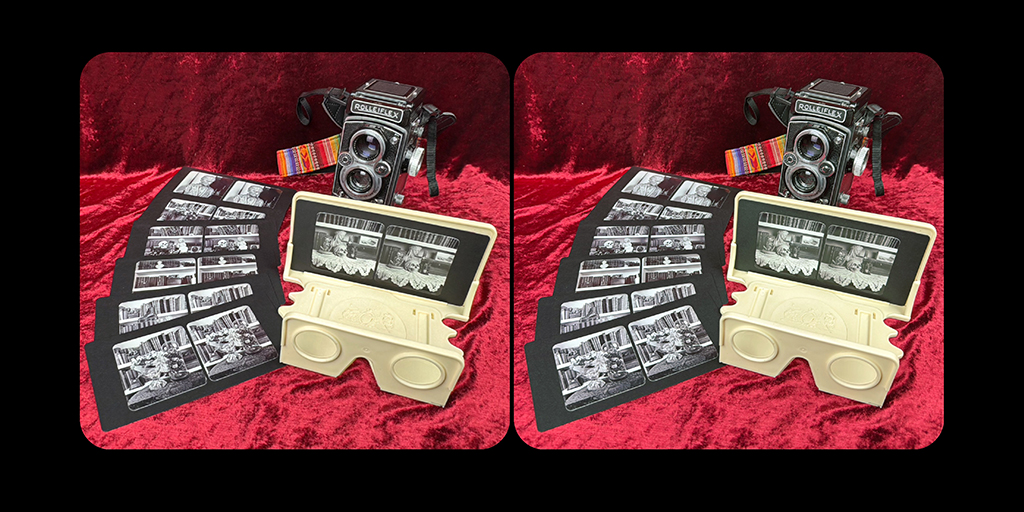
The stereoscopic images I’m including in this post are from scans of the negatives and slides and are meant to be seen as side-by-side stereopairs, either by free-viewing or with viewers, such as the London Stereoscopic Company’s OWL stereoscope. If you need any help viewing the images in 3-D, please see this post. If you’d like to know how to edit your 3-D photographs into digital slides like these, please see this post about using the free software StereoPhoto Maker.
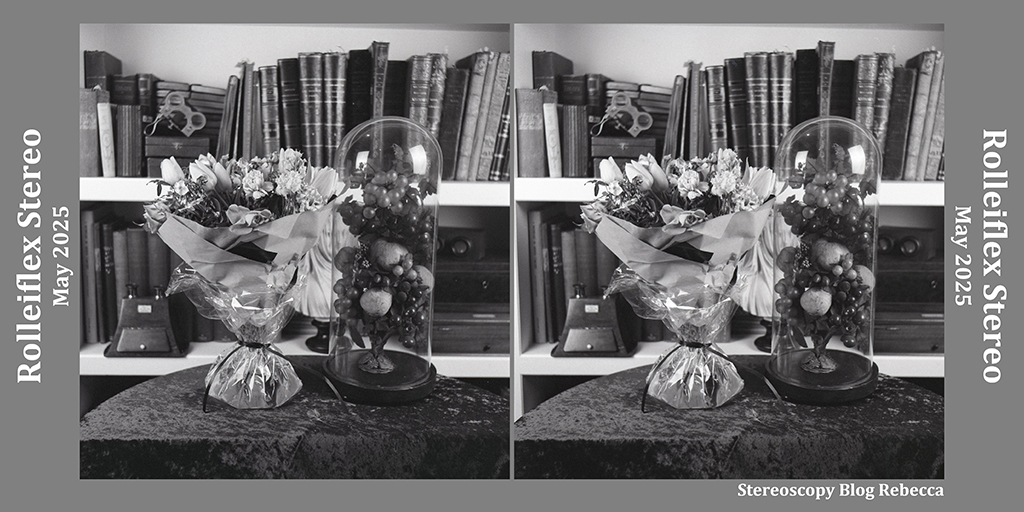
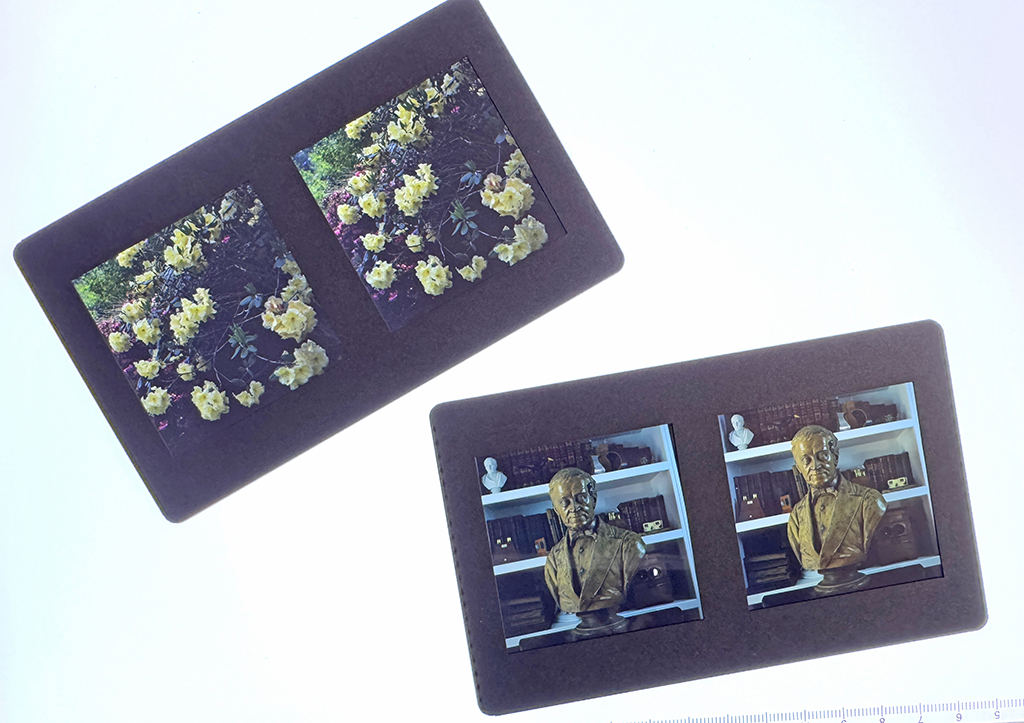
Rest assured, however, that I am also a true analogue geek and have made physical mounted prints from the black and white negatives, and carefully assembled the slides in mounts.
If you’re interested in making your own slides to view in a stereoscope, keep in mind that the left and right prints separately should each be about 6.5cm wide, this is so they match the average distance between the human eyes. Any wider and they will try and make your eyes diverge out, which can be painful. There’s some information about making slides at the end of this blog post about getting started in stereoscopic analogue photography.
The practice of taking one photo for one eye, moving the camera whilst keeping it level and taking a photo for the other eye, can be done with almost any single-lens camera and generic slider bar combination. I just insisted on buying the Rollei Stereo Slide as an excuse for my camera aspirations, and I would say it has jolly well worked out brilliantly. I love the 120-format for the stereoscopic pairs (not so much the price of slide film for just 6 stereo photographs, however) and now I don’t want to put the camera down, which can be inconvenient in day-to-day activities.
Happy Stereoscopy Day!
Rebecca
www.stereoscopy.blog
Share this post:


Comments
Bob Janes on Stereoscopic Photography with a Rolleiflex
Comment posted: 21/06/2025
Comment posted: 21/06/2025
Comment posted: 21/06/2025
John Furlong on Stereoscopic Photography with a Rolleiflex
Comment posted: 21/06/2025
I've also used a Mamiya TLR for stereo using a suitably sized focus slide with a calibrated scale to ensure the correct +/- distance settings
Comment posted: 21/06/2025
Jeffery Luhn on Stereoscopic Photography with a Rolleiflex
Comment posted: 21/06/2025
In a stereo photo class I took in college around 1970, the teacher used two slide projectors and no special glasses. Huge stereo images by having the students control their eyes. After an hour we all had headaches, but the class was fun!
Comment posted: 21/06/2025
Gary Smith on Stereoscopic Photography with a Rolleiflex
Comment posted: 21/06/2025
Thanks for your interesting article!
Comment posted: 21/06/2025
Tony Warren on Stereoscopic Photography with a Rolleiflex
Comment posted: 21/06/2025
Comment posted: 21/06/2025
Geoff Chaplin on Stereoscopic Photography with a Rolleiflex
Comment posted: 22/06/2025
Comment posted: 22/06/2025
Evan Bedford on Stereoscopic Photography with a Rolleiflex
Comment posted: 22/06/2025
Comment posted: 22/06/2025
Comment posted: 22/06/2025
TimberJaxe on Stereoscopic Photography with a Rolleiflex
Comment posted: 23/06/2025
Visit us here: https://timberjaxe.com/
Keep up the great work!
Comment posted: 23/06/2025
Russ Rosener on Stereoscopic Photography with a Rolleiflex
Comment posted: 25/06/2025
Comment posted: 25/06/2025