I rarely bother people for loans of things to review, but scrolling through Instagram I found my eye caught by the EditorKeys Lightroom keyboard cover. I like Lightroom a lot, I use it all the time, but my memory for the shortcut keys is nonexistent!
I’ve actually used Lightroom for about a decade – I’ve flirted with a couple of other software packages, tried to get stuck into Photoshop a bit more now and again, but ultimately always return to Lightroom. Despite this prolonged usage, there’s actually only a few shortcut keys I make use of. These were lodged in my head after having a post-it note hanging off the bottom of an old monitor for an age, but even some of those have been long forgotten.
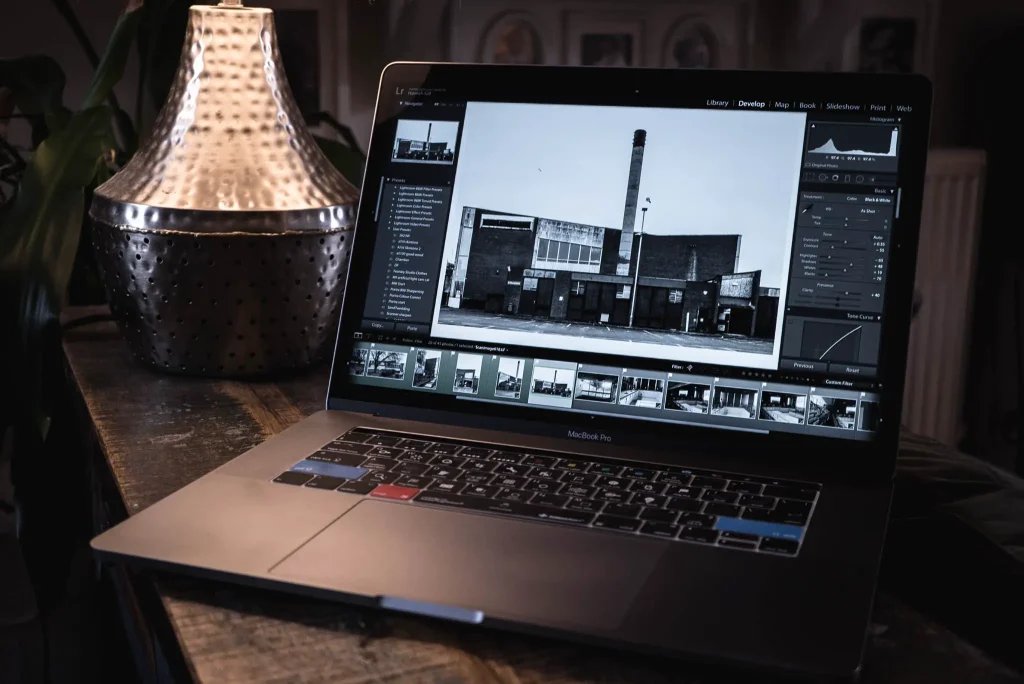
The frustrating thing is, I know full well that were I to learn a few more, I could probably increase my efficiency when I’m batch editing a large set of event photos, or the like. This is why I got so excited when I saw the EditorKeys Lightroom keyboard cover.
At first I assumed it must be a set of replacement keys, but after a bit of reading I discovered it was actually a thin rubber cover that sits over the surface of the keys. Further reading alluded to the fact that thanks to its nature as a keyboard cover, it also helps keep dust and potentially even minor spillages out… ask my colleagues at work about the time I poured most of a cup of coffee over a brand new MacBook Pro in the office, and through their descriptions of my panic, you’ll realise why that feature alone appealed to me.

I got in touch with the EditorKeys, and had a quick a response back from a nice chap named Mark – I asked if I could borrow one for review, and he kindly obliged. It turned up the next day! Mark suggested that I might not want to keep the cover on all the time, but I have been – just to give it a bit of a solid period of testing.
Applying the keyboard cover
Applying the cover the keyboard would turn out to be fairly easy – getting it out of its packaging was harder. It’s such thin rubber it felt like it could tear if I pulled it hard enough – it just seemed to grip the inside of the packaging. It didn’t tear, it came out fine, despite me having to wriggle and pull at it a bit. Once out, I discovered that whilst it is very thin rubber, it doesn’t feel weak.

Placing it on the keyboard for the first time it didn’t feel great – a lot of the key edges were raised. I used it like this for a bit before I noticed there were a couple of keys that hadn’t slotted in properly. I shuffled it about on the keyboard a bit and all of a sudden it slotted properly into place. The keys on the current MacBook Pro are so shallow, with such a small amount of travel that it just hadn’t quite seated properly and I hadn’t noticed. Once seated, it felt much better!
The feel
Of course, the first thing you notice when using it is how it changes the feel of your keyboard. It’s impossible to go from one keyboard to another without the key travel, clickyness and position feeling alien. Adding a EditorKeys keyboard cover has definitely made my keyboard feel slightly different – it sorta makes the keys feel a bit more spongy, but not by much. And, thanks to the keys being largely in the same place as before, it doesn’t take much getting used to.
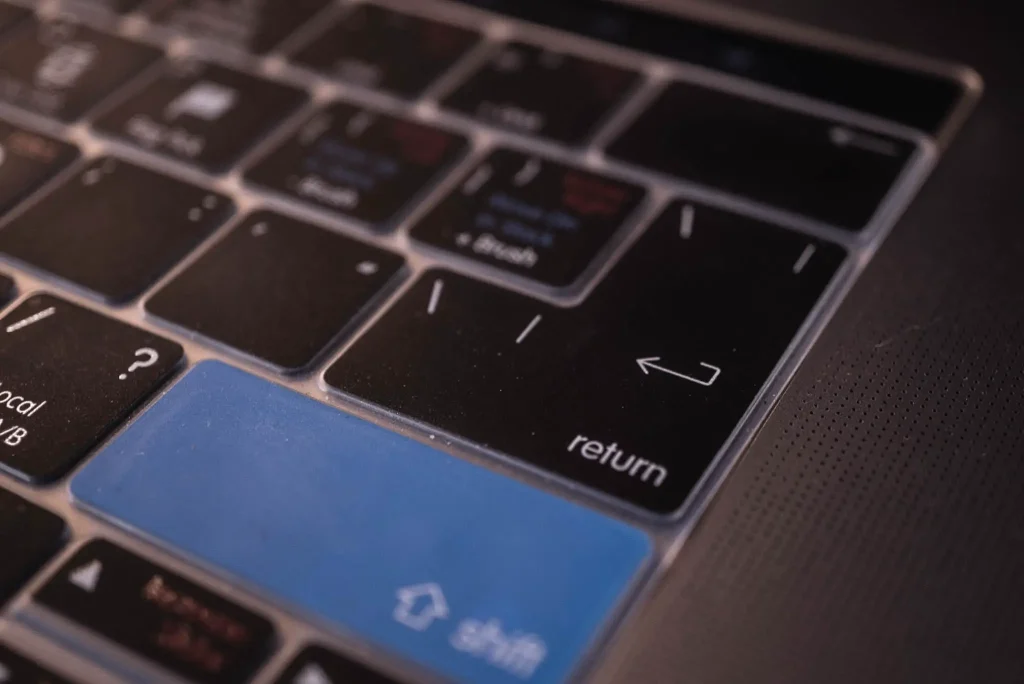
I say largely, as the one thing that’s thrown me is that a couple of keys on the cover are combined. The return and backslash buttons become one, and the shift and grave key do too.
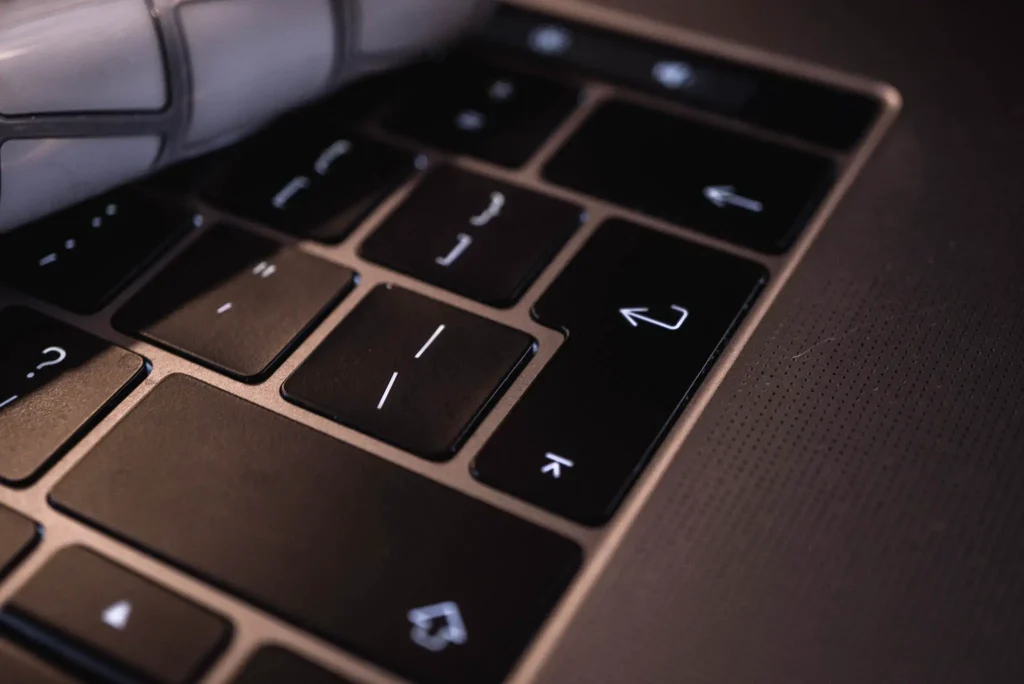
I’m not sure the reason behind this – it’s probably to keep the cover moulding the same over a couple of international variation keyboards – but it’s certainly been the source of my biggest confusion using it. The amount of times I’ve pressed the grave key instead of shift is ridiculous – though it probably points more to how much I look down at my keyboard – all be it subconsciously – when I type. I’m getting used to it now, but it’s taken a little while.
Personal highlight features
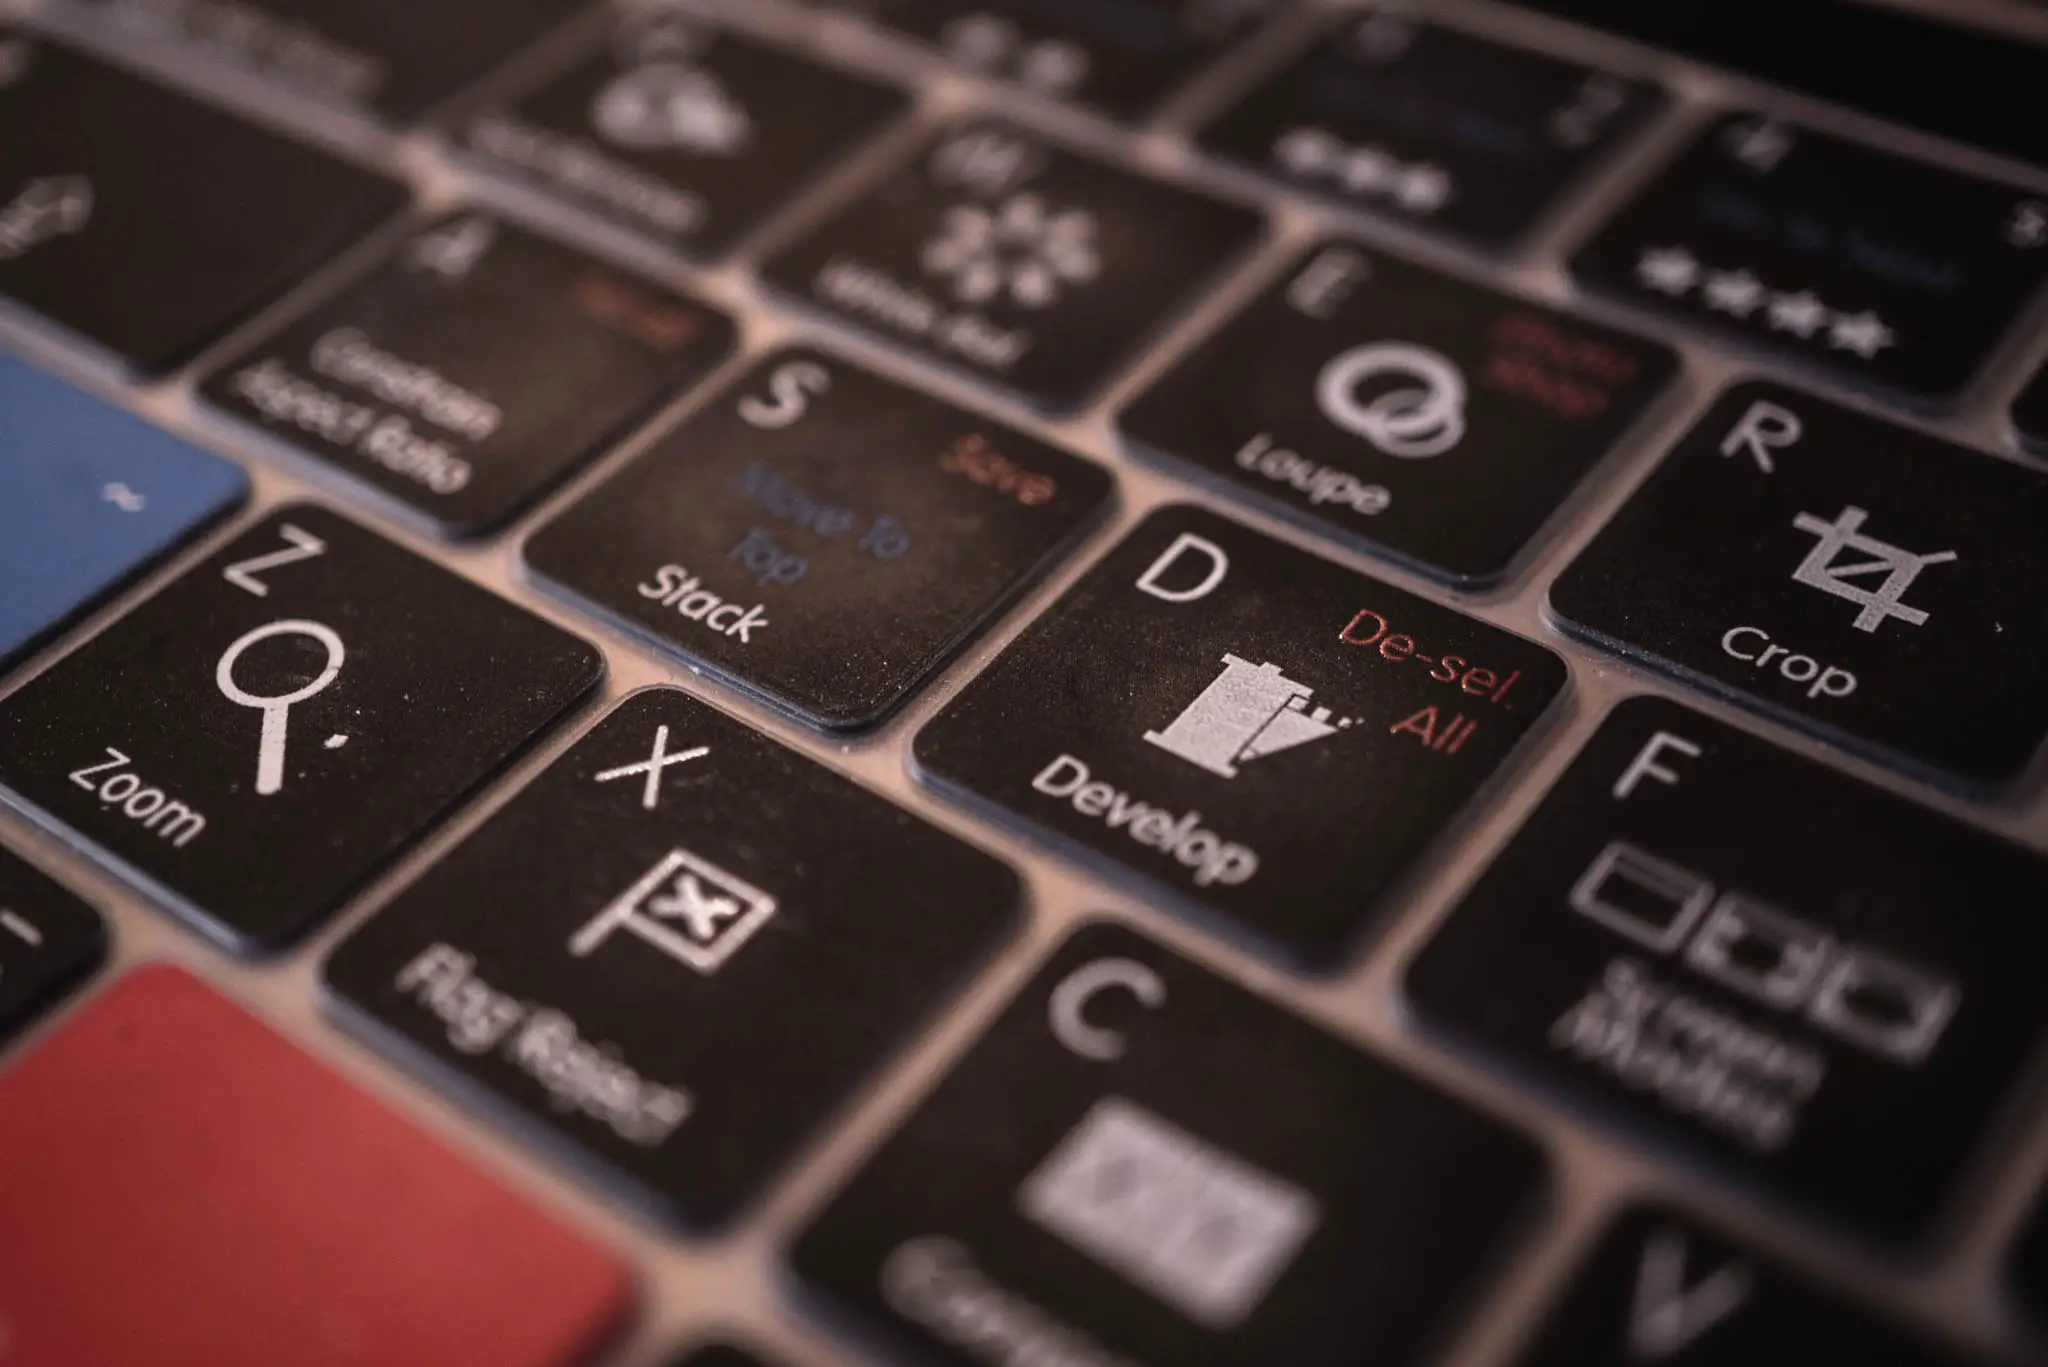
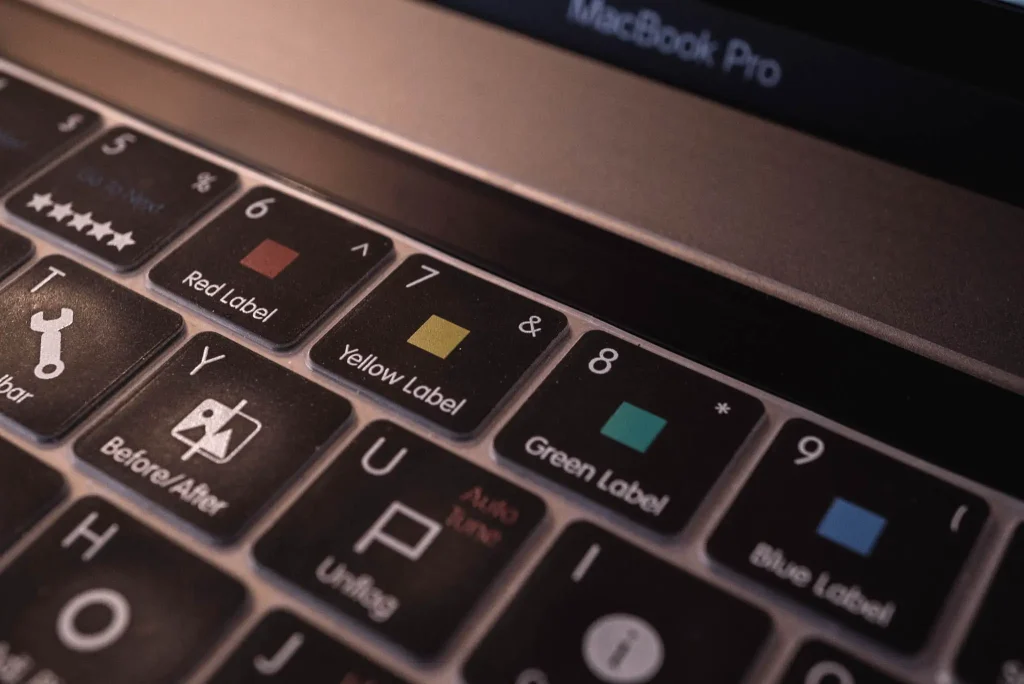
Possibly the highlight feature for me is the colour coding. The shift key is blue, and the command key is red – alongside this, the keys that have secondary functions based on those keys have the functions labelled in the colour of button. These are the shortcuts that I’ve really struggled to remember over the years – I’m starting to pick them up nicely now.
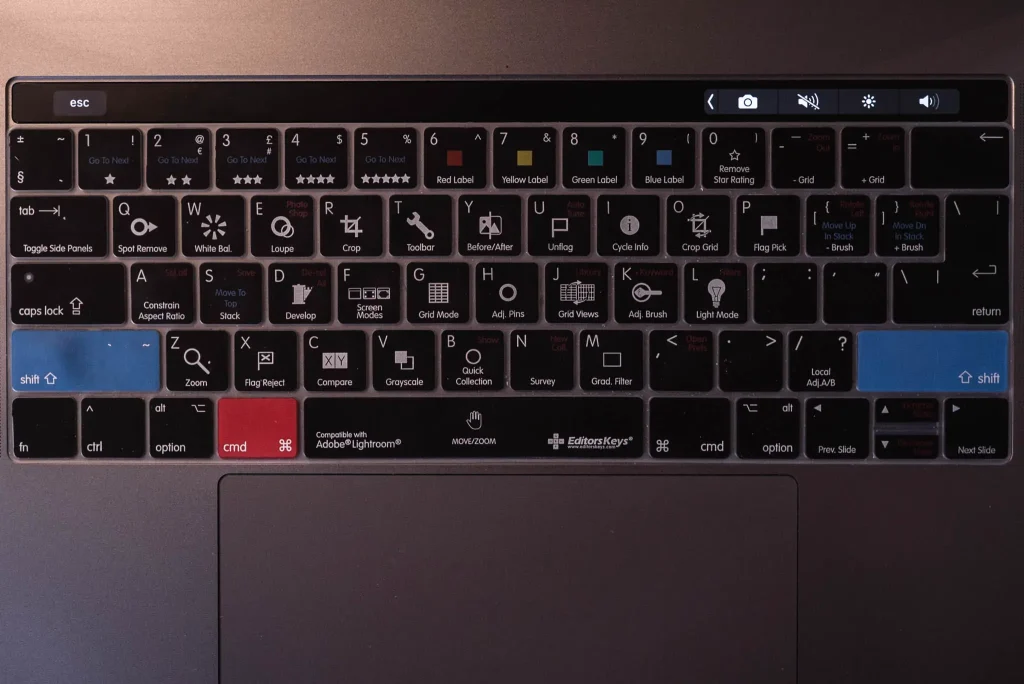
I have also enjoyed having the red, yellow and green tag keys being labelled – I use these keys all the time when selecting images, but always forget which is which, sometimes even in the same sitting.
I also really like the icon on the button you press to enter Develop mode….
Final thoughts
Ultimately, I suspect this cover won’t stay on my keyboard forever. That’s not to say I don’t like it, I really do – The reason I don’t think it will stay forever is that I feel like it’s teaching me to remember which keys are which. I already know that ‘Q’ is spot remove without having to look at the keyboard which I’ve noticed has definitely increased my productivity. The more of these keys I remember, the less I will need the EditorKeys Lightroom keyboard cover – the good thing is, if I do take it off and (probably inevitably) forget some of the shortcut keys, I can always put it back on again…
You can get yours here, but also make sure to have a browse of the whole site if this keyboard cover appeals, they make real keyboards and all sorts of other cool things too!
Share this post:


Comments
No comments found