Lockdown 2020 was a blessing in (a very big) disguise, as it gave me the opportunity to research, build and begin work on creating a darkroom.
My passion for analogue photography stemmed from my final major project at university, in which I spent pretty much a full year in the dark! I fell in love with the process of creating work that I was able to manipulate at every stage, I wasn’t a slave to digital buttons or options on a screen. The more tactile, physical approach to creating an image was incredibly exciting to me. Therefore, it became a dream of mine to one day have my own darkroom.

I hadn’t considered this possible until far into the future as I knew the work it would take, the financial cost and I wanted to wait for a permanent home. But lockdown gave a new perspective on achieving this goal. I realised many things but mainly that eBay was a great friend and the costs weren’t as high as I’d anticipated! Lockdown gave me the opportunity to achieve a dream and go for it!
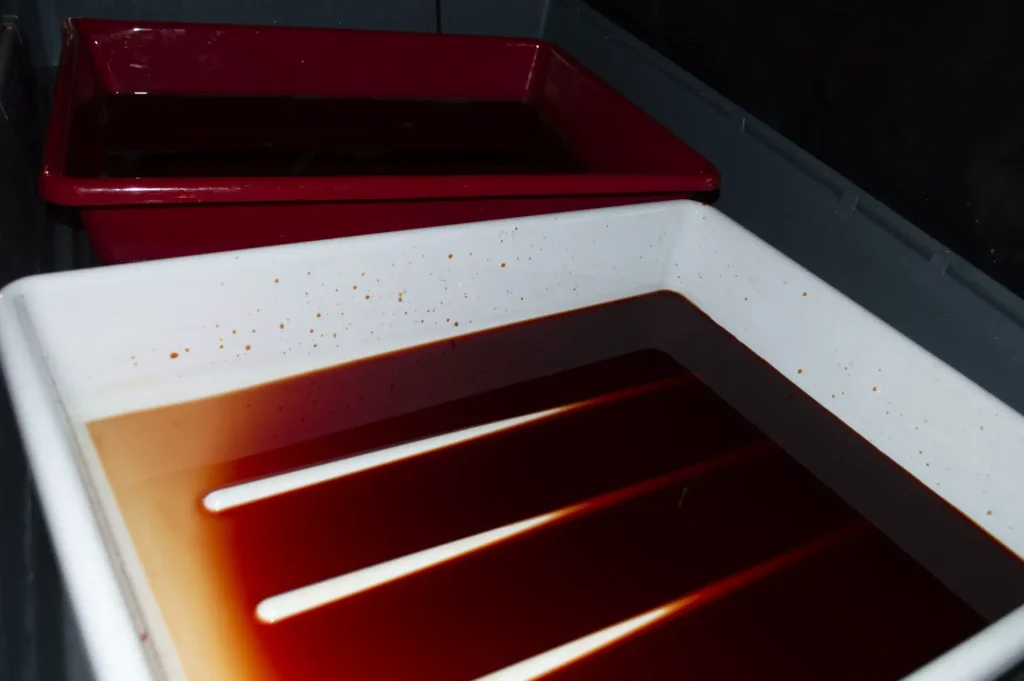
I found a space on the farm I grew up on, in the back of a barn, which was temperature controlled, almost light tight and dust-free. It couldn’t have been more perfect so I got to work. I used any resources I could find on the farm, for example, black pond liner came in handy to cover any potential light leaks, tables, a large plastic tray (which I use for the bath), cupboard space, lamps and chairs.
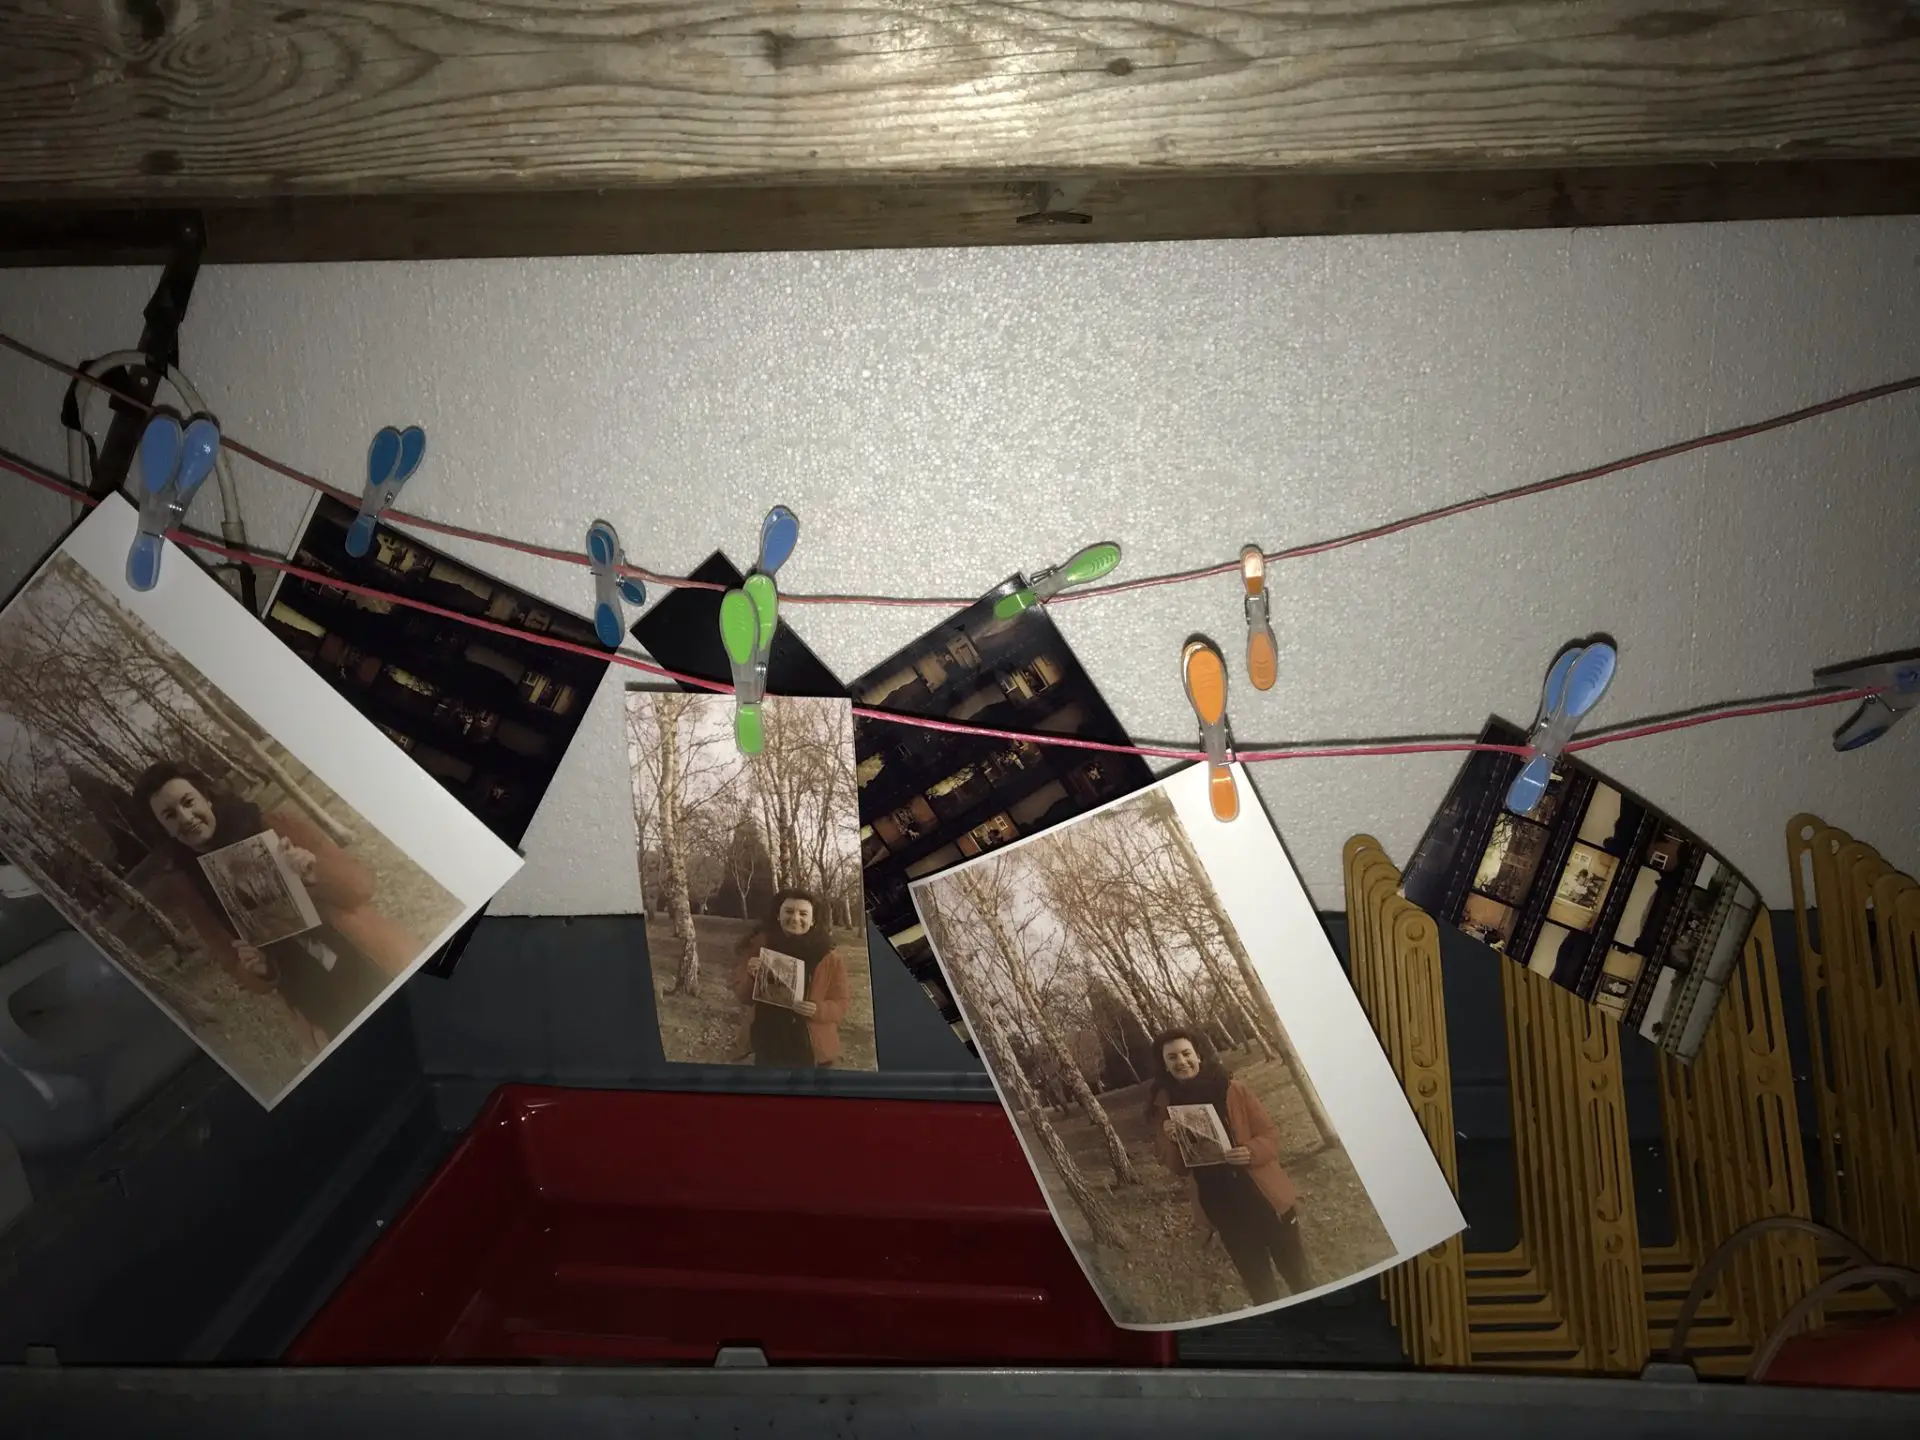
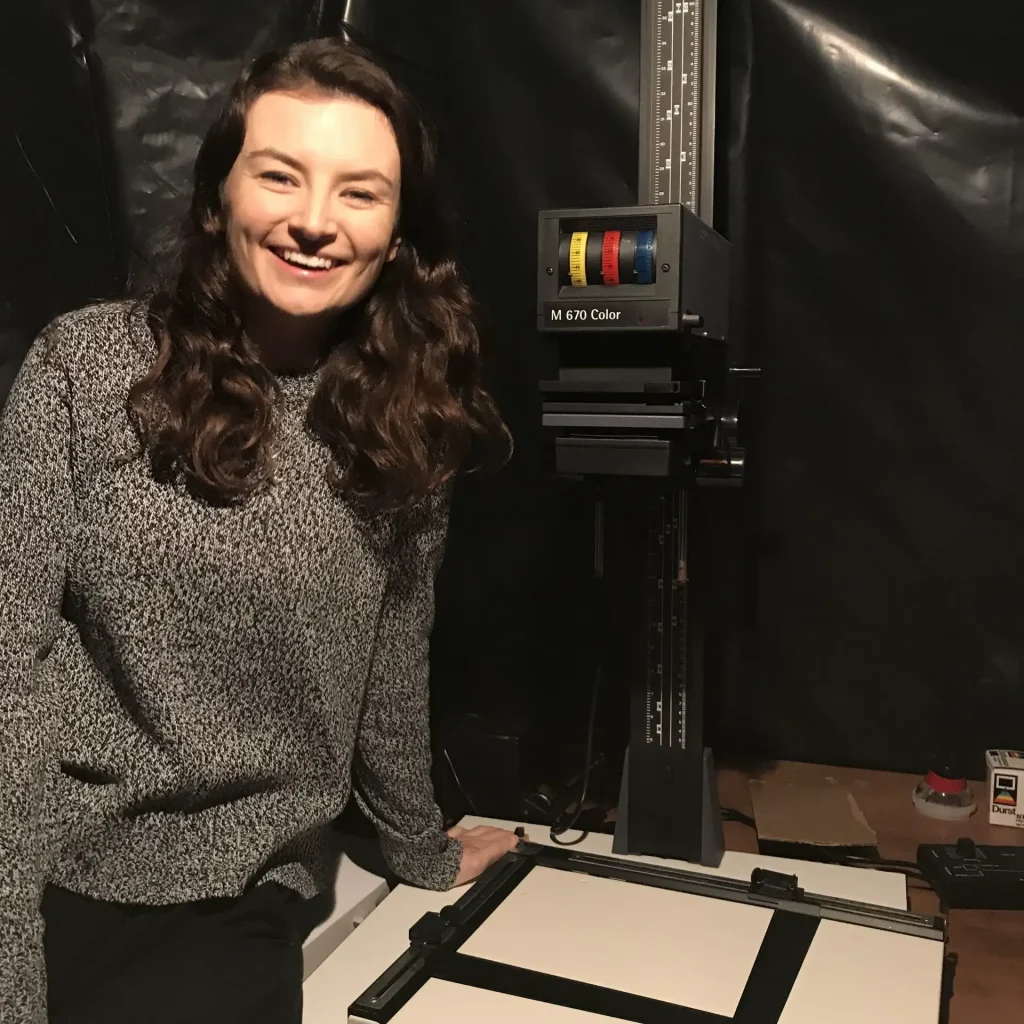
You’d be correct in thinking that this doesn’t sound glamourous, my darkroom is still far from a professional lab, I just needed it to work and to be practical! The rest I found second-hand on eBay, which did not come without any risks. My enlarger was what I was most worried about as this could easily be unusable, but the owner ensured me that he and his son had used it for years. Eventually, the setup was coming together, I separated two sections of the room, one the wet section and the other the dry. The enlarger being in the dry section with plenty of working and cupboard space, the other side for the open baths and drying racks below. Long story short, everything was setup and ready to test.
It worked! It all went to plan at first – I achieved my first print which I cannot begin to explain the feeling of turning the lights on for the first time and seeing the results! I still had a challenge remaining though, to keep the chemicals in the open baths warm enough for a full darkroom sesh! All in all, this was definitely the biggest challenge I faced.
I originally started by bringing in warm buckets of water from the tap, this did not warm the chemicals to the temperature I needed. Next, I bought in my kitchen kettle to add boiling water to what was already in the bath. This worked but not for long as the room was so cold (it was getting on for winter now) I could only print for about an hour before the results were inconsistent. I then found a device on Amazon that boils the water for you, which essentially works the same as the inside of the kettle. At the time this was a eureka moment!
Having waited patiently for it to arrive, I excitedly took it to the darkroom, to be almost instantly disappointed as I realised that this idea was not practical as I would have to stand there holding it into the bath and it would take an hour for the water in the bath to even reach lukewarm temperatures. I should probably mention I needed the temperature to be at least 23 Degrees Celsius or 74 Fahrenheit.
I was starting to seriously worry that I’d not be able to find a practical solution, but eventually I stumbled across a comment on YouTube, to use a fish tank heater. For months I struggled with battling the temperature of the bath to heat the chemicals but this meant I could leave it on pretty much always, as it uses a tiny amount of power, and it would keep the water at a constant temperature. All I needed for the bath was a lid to keep in the heat and a room heater so when working the temperature would remain the same. All of this could have been saved if I’d had invested in a print processing tank, but these cost around £200 and having already spent so much, I was adamant I could find a practical solution instead. It all paid off in the end and I still use the fish tank heater today!
Having tackled the main obstacle, all that was left was to get to know my enlarger, perfect the timings of the chemicals and learn how to navigate the room in the pitch black. An example of a small upgrade that went a long way was attaching two timers to the side of the bath, one for the colour developer and the other for the bleach fix. This meant in the pitch black I was able to time how long the paper needed to be in each bath perfectly at a touch of a button. Before this, I was using a darkroom clock, probably more useful for black and white printing, as you could just about see the hand moving which proved very temperamental as occasionally I would be unable to actually find the clock!
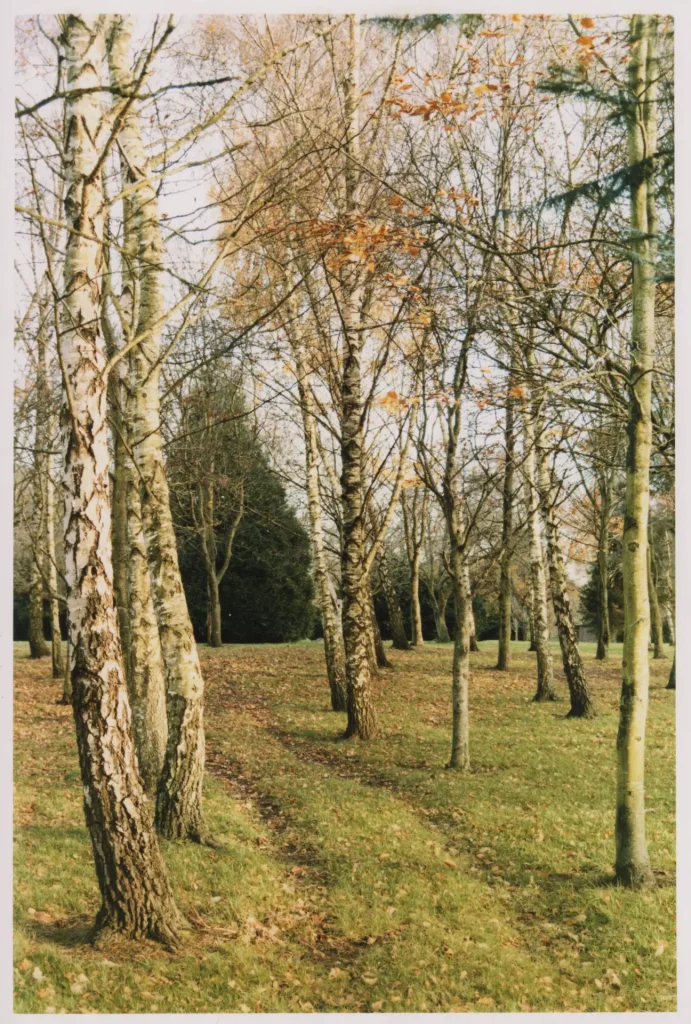
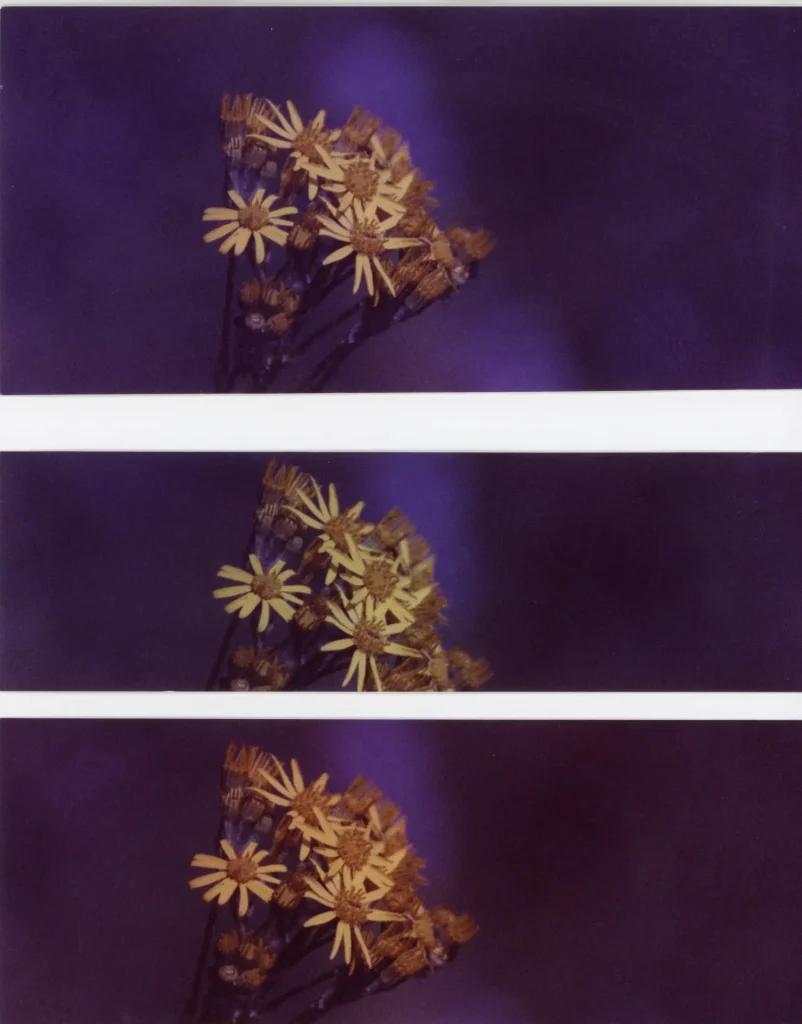
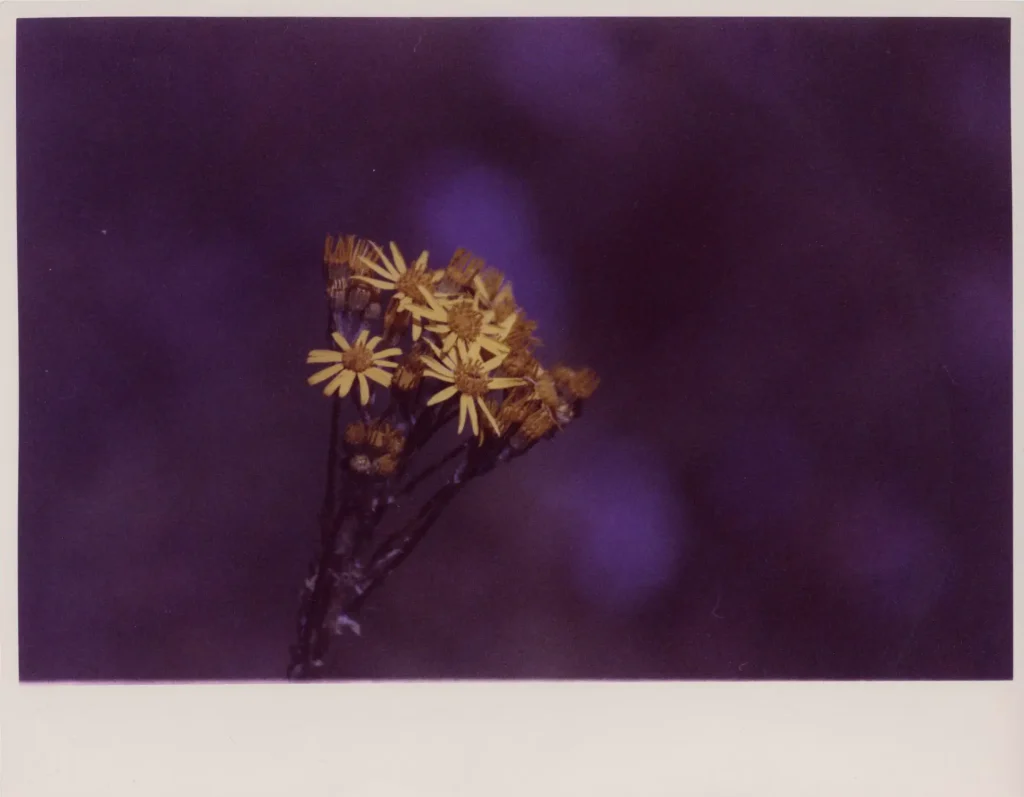
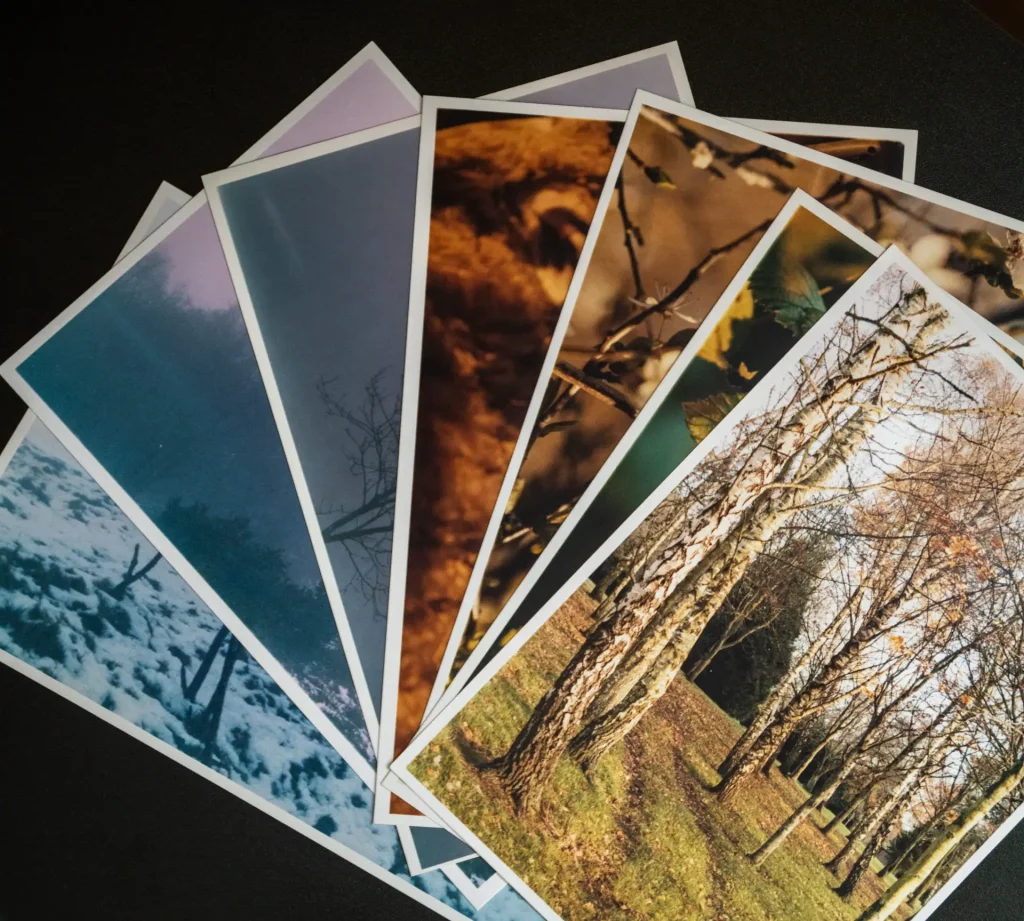
My fondest print would be an image I took during a lockdown walk. Perhaps this is because it was an image I didn’t think much of until I printed it. I was just so impressed with the details and the colours of the shot. I remember turning on the lights and instantly feeling a sense of shock as I had not anticipated it would be so beautiful to me. It was one of the first prints I made in my darkroom so I think it will always be an important one to me. Another print I am proud of today is one I am currently working on, I haven’t thought of a formal title yet so I call it Jessops Flowers.
This was, you guessed it, some flowers shot on Jessops expired film. After home developing the roll it looked like I’d done something wrong. The film looked dark, colourless and slightly faded. I panicked and reached out to many film fanatics who helped determine the issue. It was my first experience of expired film so everything actually was fine and when scanned all the colours were almost correct. I say almost as the mistake I made was that I’d left a skylight filter on the lens. I had imagined the images would be warm, as they were shot in the peak of golden summer sunlight in a meadow. The expired film along with the filter added so much more to the images, creating an emphasis on the shapes and shadows on the plants. I loved it! Therefore, the print I am working on now looks slightly unusual as the background is purple. The stranger the better in my opinion!
In many ways my darkroom journey is still just beginning, I decided that I wanted to perfect the darkroom process so I know exactly how it all works inside and out before I begin working on other things. Now that this has been achieved I would like to become more experimental with the process and upgrade my enlarger lens in order to print 120mm and therefore print on a larger scale. As mentioned earlier, manipulation at every stage means I can be more experimental with my current process.
I have recently launched an online store on Etsy so I can sell my most successful prints, which is something I am beyond excited about after a year in the making. To those not familiar with analogue photography I’d highly recommend giving it a go. I personally find there is magic in analogue photography, especially printing in a darkroom. If I could do this and only this for the rest of my life, I would love nothing more
To join and follow along my journey check out my Instagram page: @DarkroomKT
And my prints: www.etsy.com/uk/shop/DarkroomKT
Share this post:


Comments
Safiyyah on Building a Darkroom From the Ground Up – By Katie Cooper
Comment posted: 26/01/2022
Comment posted: 26/01/2022
Ian Hunter on Building a Darkroom From the Ground Up – By Katie Cooper
Comment posted: 26/01/2022
Well done! It's a tricky process, I haven't done any for forty years. I have a lot of enlarger lenses, email me at [email protected] if I can help or advise. I'm in sunny Staffordshire.
All the best
Ian Hunter
Comment posted: 26/01/2022
Ken Rowin on Building a Darkroom From the Ground Up – By Katie Cooper
Comment posted: 26/01/2022
Comment posted: 26/01/2022
Ralph Turner on Building a Darkroom From the Ground Up – By Katie Cooper
Comment posted: 26/01/2022
Comment posted: 26/01/2022
Tim Bradshaw on Building a Darkroom From the Ground Up – By Katie Cooper
Comment posted: 26/01/2022
And your flowers print is really lovely,
Comment posted: 26/01/2022
Comment posted: 26/01/2022
Comment posted: 26/01/2022
Billy Sanford on Building a Darkroom From the Ground Up – By Katie Cooper
Comment posted: 26/01/2022
Comment posted: 26/01/2022
Daniel J Castelli on Building a Darkroom From the Ground Up – By Katie Cooper
Comment posted: 26/01/2022
Welcome to the world of benign darkness. My hat's off to you for getting into color printing. Working in color brings a different set of challenges to the darkroom. You've seemed to have met each challenge and come up with a working solution.
I wish you good luck and success in your ETSY business.
I have had a darkroom since I was 19 (I'm now 70.) I've set up darkrooms in closets, part of my bedroom, and in outdoor sheds. I had to abandon one back in the mid-1970's because there was simply no room to pack it up and move the equipment. I built my current darkroom in our basement over 36 years ago. I did a refit a few years ago, and I still use on a weekly basis. For some of us, it's a necessary part of our creative process, and it's as important as our cameras and film.
Wishing you many years of creative solitude in your room of darkness!
- Dan
Comment posted: 26/01/2022
Martin Siegel on Building a Darkroom From the Ground Up – By Katie Cooper
Comment posted: 26/01/2022
Thanks for sharing and for the great pics!
Take care
Martin
Comment posted: 26/01/2022
Pete on Building a Darkroom From the Ground Up – By Katie Cooper
Comment posted: 27/01/2022
Pete
Comment posted: 27/01/2022
Bruce P Parker on Building a Darkroom From the Ground Up – By Katie Cooper
Comment posted: 27/01/2022
Bruce
Comment posted: 27/01/2022
Comment posted: 27/01/2022
Milosz Cordes on Building a Darkroom From the Ground Up – By Katie Cooper
Comment posted: 28/01/2022
Comment posted: 28/01/2022
Film Friday: How one photographer built a darkroom from scratch in the corner of her barn: Digital Photography Review – TechReviewJournals on Building a Darkroom From the Ground Up – By Katie Cooper
Comment posted: 04/02/2022
Comment posted: 04/02/2022
Film Friday: How one photographer built a darkroom from scratch in the corner of her barn: Digital Photography Review on Building a Darkroom From the Ground Up – By Katie Cooper
Comment posted: 04/02/2022
Movie Friday: How one photographer constructed a darkroom from scratch within the nook of her barn: Digital Pictures Evaluation - Laptop Ten on Building a Darkroom From the Ground Up – By Katie Cooper
Comment posted: 04/02/2022
Film Friday: How one photographer built a darkroom from scratch in the corner of her barn: Digital Photography Review – Eva News on Building a Darkroom From the Ground Up – By Katie Cooper
Comment posted: 05/02/2022
Movie Friday: How one photographer constructed a darkroom from scratch within the nook of her barn: Digital Images Evaluation - on Building a Darkroom From the Ground Up – By Katie Cooper
Comment posted: 05/02/2022
Film Friday: How one photographer built a darkroom from scratch in the corner of her barn: Digital Photography Review - Marble Tech Store on Building a Darkroom From the Ground Up – By Katie Cooper
Comment posted: 06/02/2022
Film Friday: How one photographer built a darkroom from scratch in the corner of her barn: Digital Photography Review | Technoratz on Building a Darkroom From the Ground Up – By Katie Cooper
Comment posted: 06/02/2022
Hans Zeller on Building a Darkroom From the Ground Up – By Katie Cooper
Comment posted: 06/02/2022
Comment posted: 06/02/2022
Film Friday: How one photographer built a darkroom from scratch in the corner of her barn: Digital Photography Review – Earth Chitra on Building a Darkroom From the Ground Up – By Katie Cooper
Comment posted: 09/02/2022
Dave Ireland on Building a Darkroom From the Ground Up – By Katie Cooper
Comment posted: 16/02/2022
I never got around to doing colour printing back in the day, but I did have a colour Durst M607 iirc, which was a nice bit of kit to use, even if only B&W.
These days I just develop B&W via changing bags, an old Jobo machine and computer print them on a laser. The results are good three-footers, ie, don't get toooo close :)
I've toyed with the notion of building a darkroom above my workshop, because I need to create a light-tight space to re-spool 2000ft of Kodak cine film. Once I've got that built, who knows what will happen next...
Comment posted: 16/02/2022