
Part four of four – the previous post can be found here
I think this is the final part. I believe having crossed the point in which I have a functional film shooting/production arrangement from start to finish takes me past going analog; instead I should say I have gone analog.
Semantics aside – this is what I settled on:
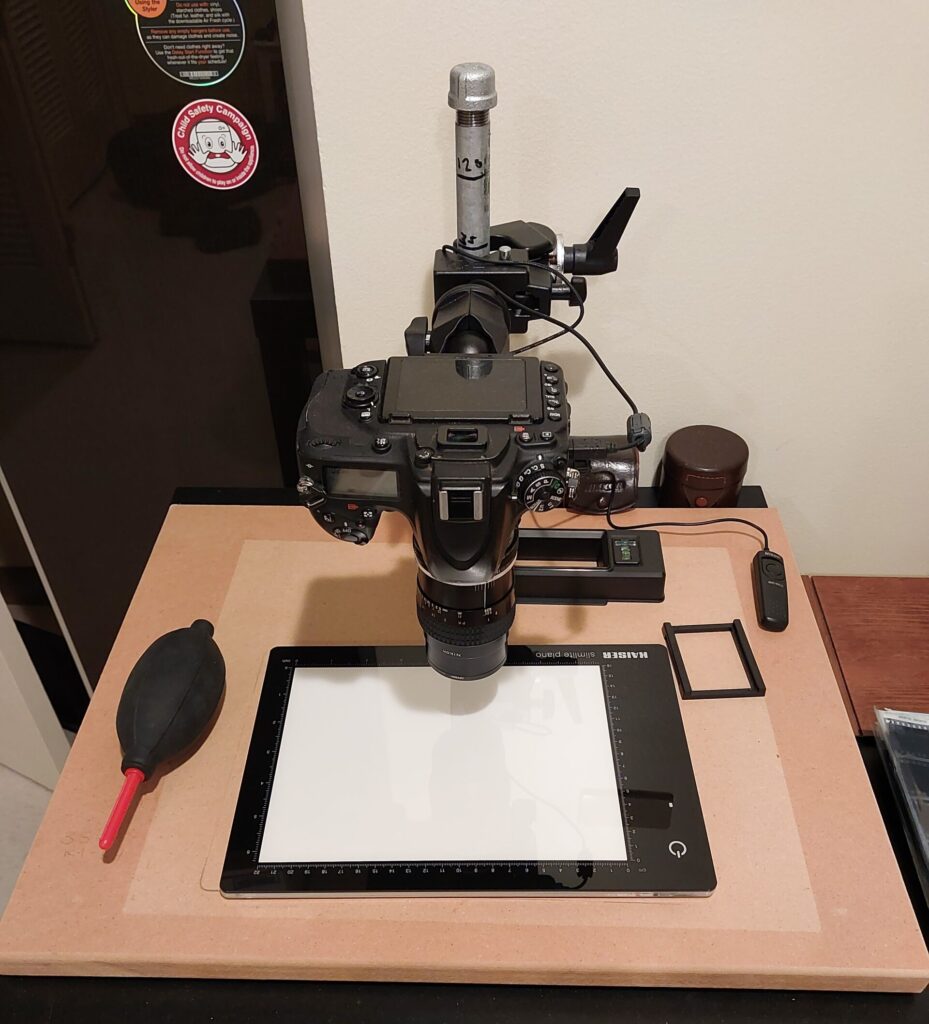
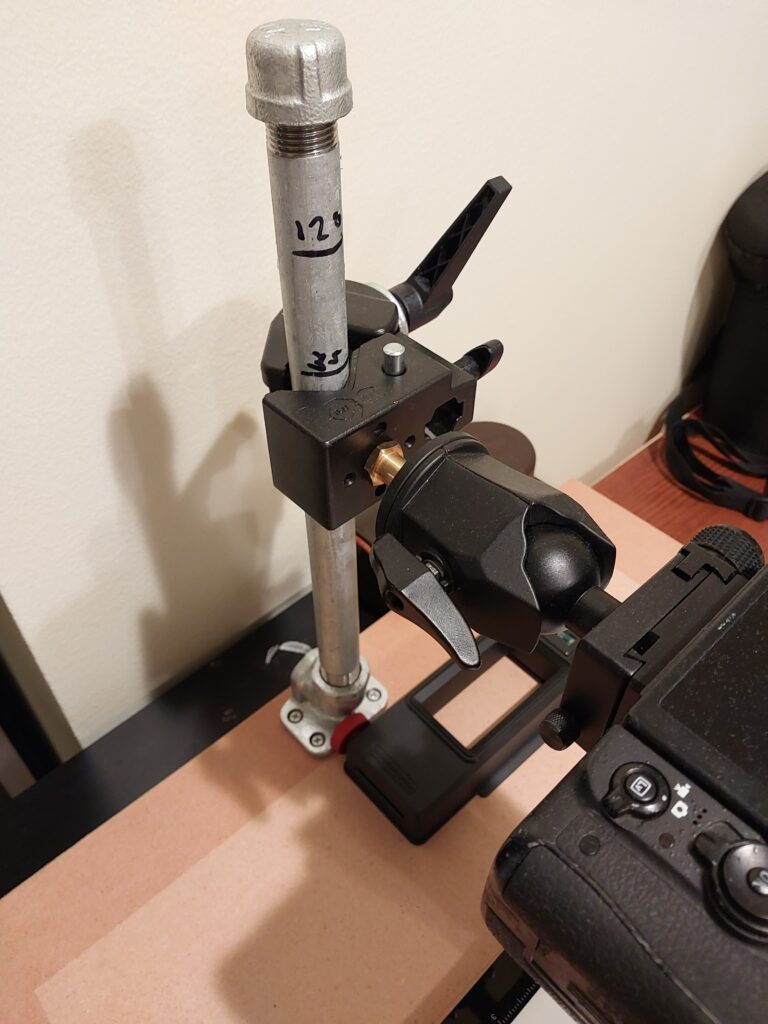
I decided against an expensive copy-stand or kit, instead going for a home-made solution consisting of an MDF off-cut from my local wood shop. I mounted some quarter-inch pipe to the board ($12), bought a Manfrotto Super Clamp ($33) and an old tripod ball head I had lying around, and Bob’s your uncle.
I also picked up a Kaiser Slimlite Plano for my backlight ($160 – pricey!). At some point I’ll route out the MDF so the light slots in and doesn’t move, but frankly that is unnecessary – it has rubber feet that hold fast to the board.
The film holder is a DigitaLIZA+ from Lomography ($75) – note that this includes a 35mm-sized backlight which I do not use (there are much better lights available).
The camera is my trusty Nikon D750 with an old 55mm f/2.8 AIS macro lens on an extender. I don’t count this as part of the cost, since this camera has been with me for years at this point. I am tempted by the Lumix G9 and its ridiculous 80 megapixel mode, but at that point I’d be spending somewhere around $2000 (including a nice macro lens) for something that was literally just taking pictures of pictures. I can’t quite bring myself to do that yet.
Not counting the DSLR/lens, this cost me about $300 to put together. Better than a broken Epson V600, certainly. You could go cheaper if you wanted – there are cheaper clamps/ball heads, and you could use the light that came with the DigitaLIZA, saving almost $200. I went with the Kaiser light because I am considering getting into larger formats and “buy once cry once” remains true in this hobby like many others.
It does involve some setup, but after everything is level, focus is set, and the developed roll is loaded, I can have the whole roll scanned in about five minutes. Editing takes longer – cropping the borders and doing all the usual post work can drag out, but I never find that part anything other than enjoyable. It’s generally identical to my regular digital workflow once it’s on the DSLR’s SD card.
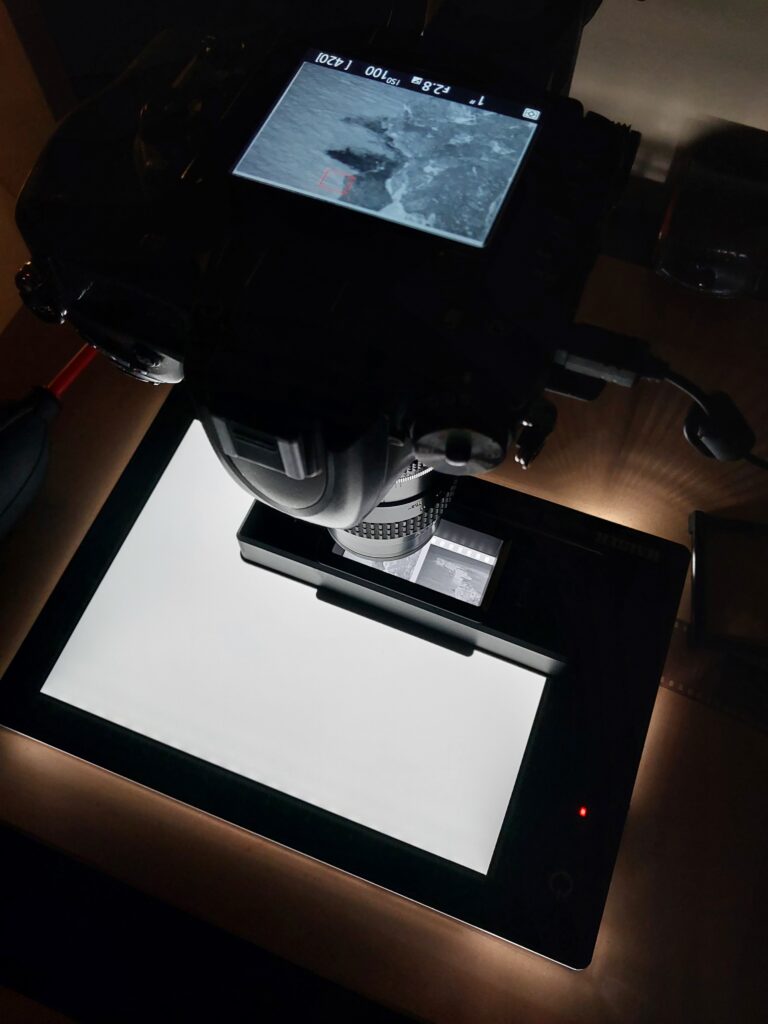
Ignore the f/2.8 on the liveview – the D750 can’t read the aperture through the ancient extender I use. I’ve kept it at f/8 to try to get a balance of extra depth and stopped-down sharpness.
People do get a laugh from my explanation – yes, I use a digital camera to take a picture of my analog photos, that’s the only way I can actually look at them, but I find the results perfectly suitable for now.
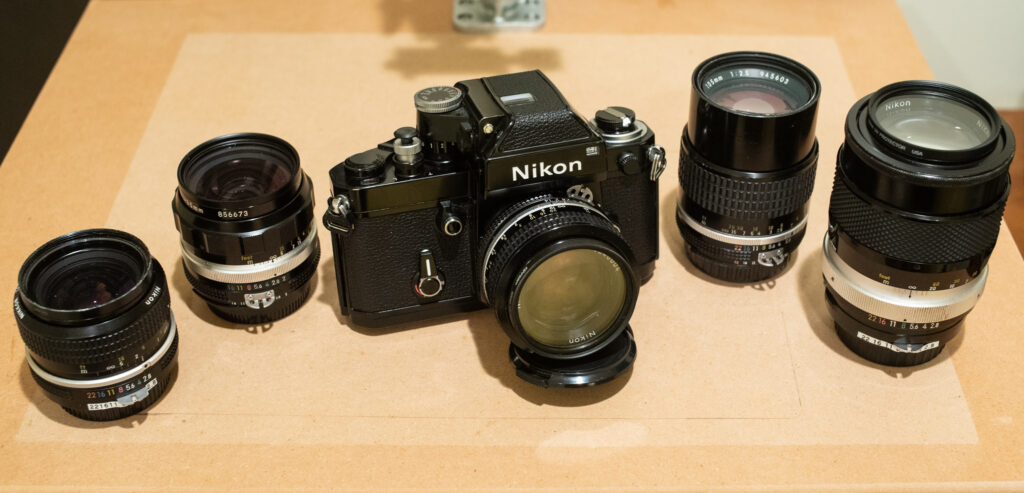
Here’s a few shots from two rolls of Arista Ultra 200 shot at box speed through the F2S and 50mm f/1.4 AI and 105 f/2.5 AIS primes. It was a bright sunny day on the coast:
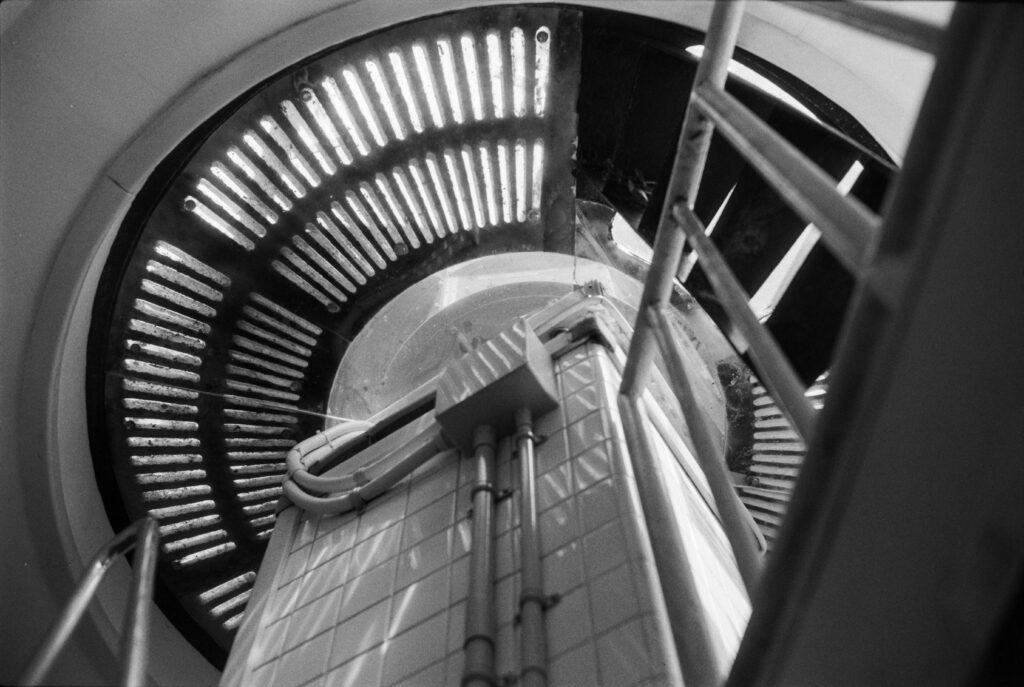
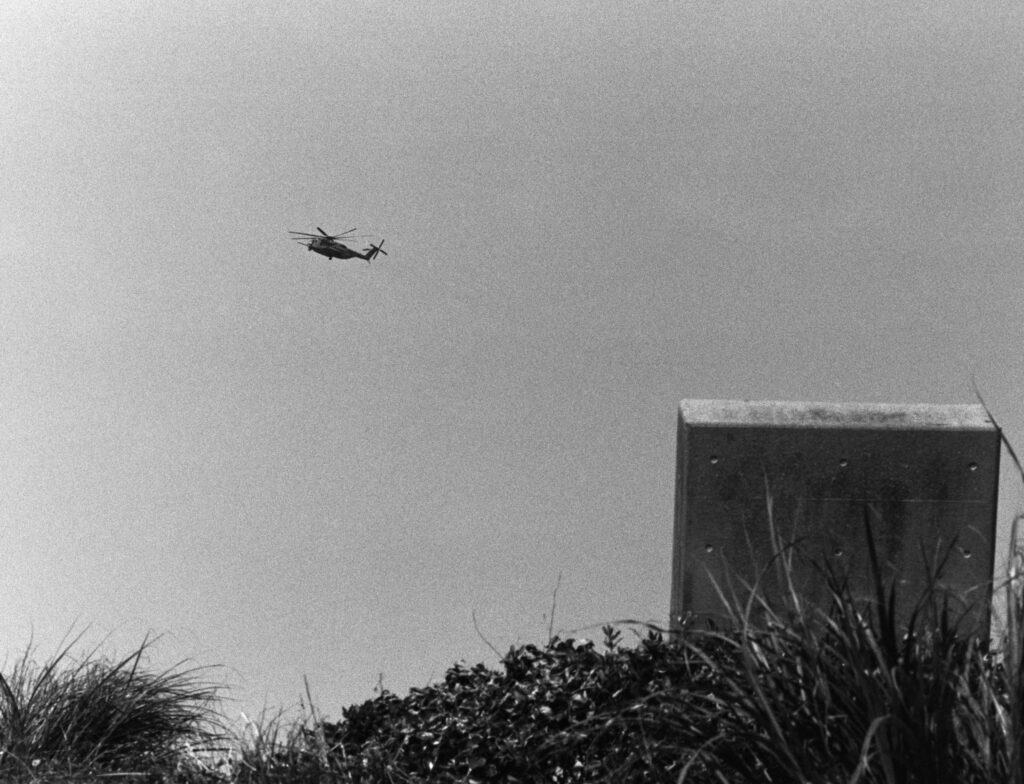

Positives – I absolutely love the 105mm f/2.5. It’s incredible. Compact, with a built-in folding hood, and the classic AI-S solidity (I’ve actually fallen onto it – the filter is effectively fused to the lens now, but it works as smooth as ever!). 4 out of 5 of the above were taken with the 105mm; only the lighthouse interior was on the 50mm.
I think I do not like Arista Ultra. I find I lose the shadows in many of these – the first photo above, the lighthouse with the ship crossing behind, breaks my heart. I had to bring the blacks up a lot in Photoshop to get any detail, which brought a lot of grain with it. The result is deeply flawed. Perhaps I was expecting it to come across like Acros II (as seen in Part II of this adventure) or perhaps like Kentmere, which would probably develop itself perfectly if you asked it nicely, and then apologize afterwards (I will have to write a poem about how much I love Kentmere).
There are many what-ifs – I could have metered for the shadows, but I think it would have been blown out everywhere else (maybe?). I might have overdeveloped it (see part II of the series). Or perhaps D-76 is too coarse in combination with Arista? Or is Arista better pulled a stop and shot at 100?
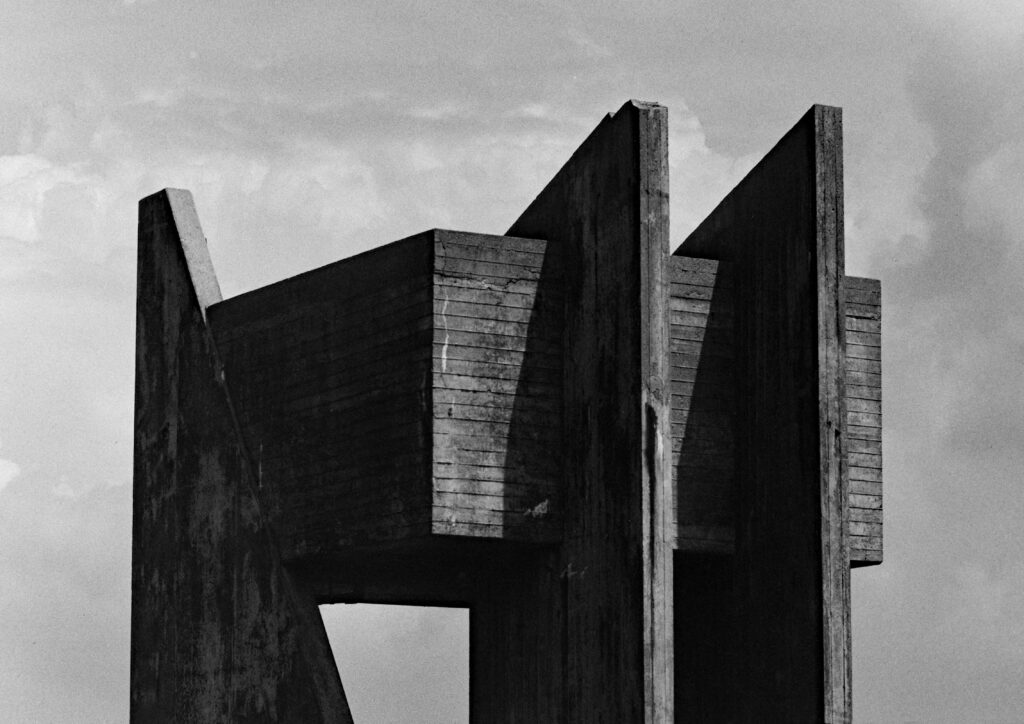
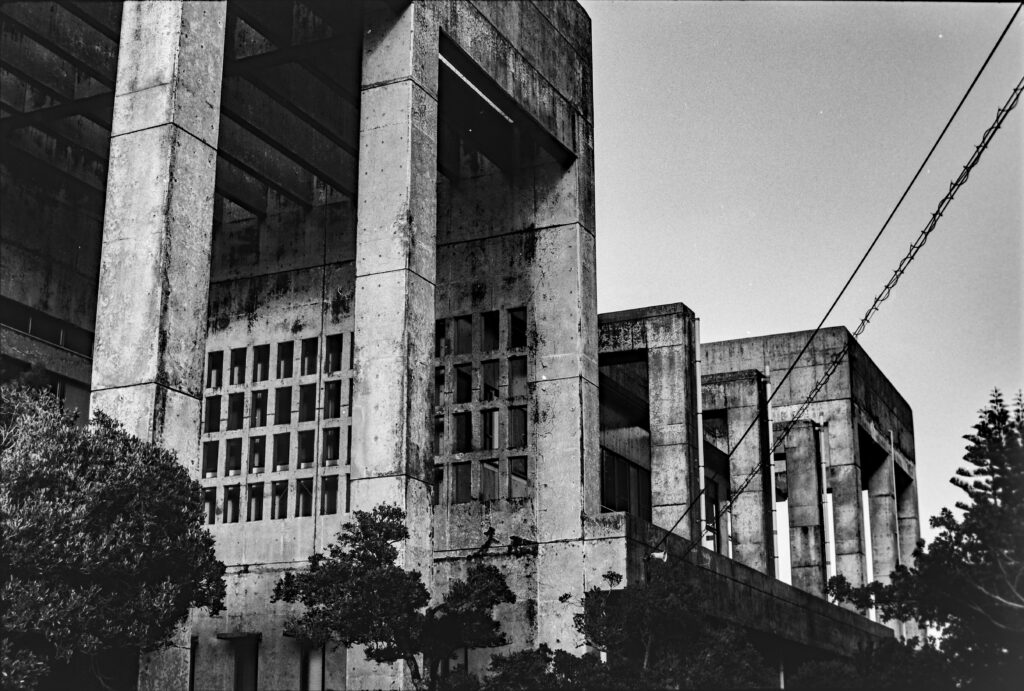
But at the same time, the water tower and the lighthouse interior shots were just about right – details remain in the blacks. Both these rolls were developed together, same solution, same paterson tank, with a very different result. What must have done it was my exposure settings when I took the picture.
Either way, what’s done is done. I’m tempted to swear off Arista at this point (at least not in bright sunlight). But only an incompetent man blames his tools. This might be part of why film has re-enlivened my photography – I have taken well over ten thousand digital photos, to the point where my framing and approach to a scene has become automatic. As I mentioned in Part I, when I found myself in one of the most stunning places I had ever been, surrounded with incredible vistas, I never really considered what I was doing with my D750. I was just taking pictures.
Almost like a pistol draw on the shooting range – camera up to eye, lever flicked to “on”, focus dialed until the viewfinder green spot appears, full press shutter. All in about two seconds. And the result would be serviceable. But the process was reduced to almost nothing. It was done almost without conscious thought – as soon as my brain noted something visually interesting: camera up, shutter. I was no longer much of an active participant in the process.
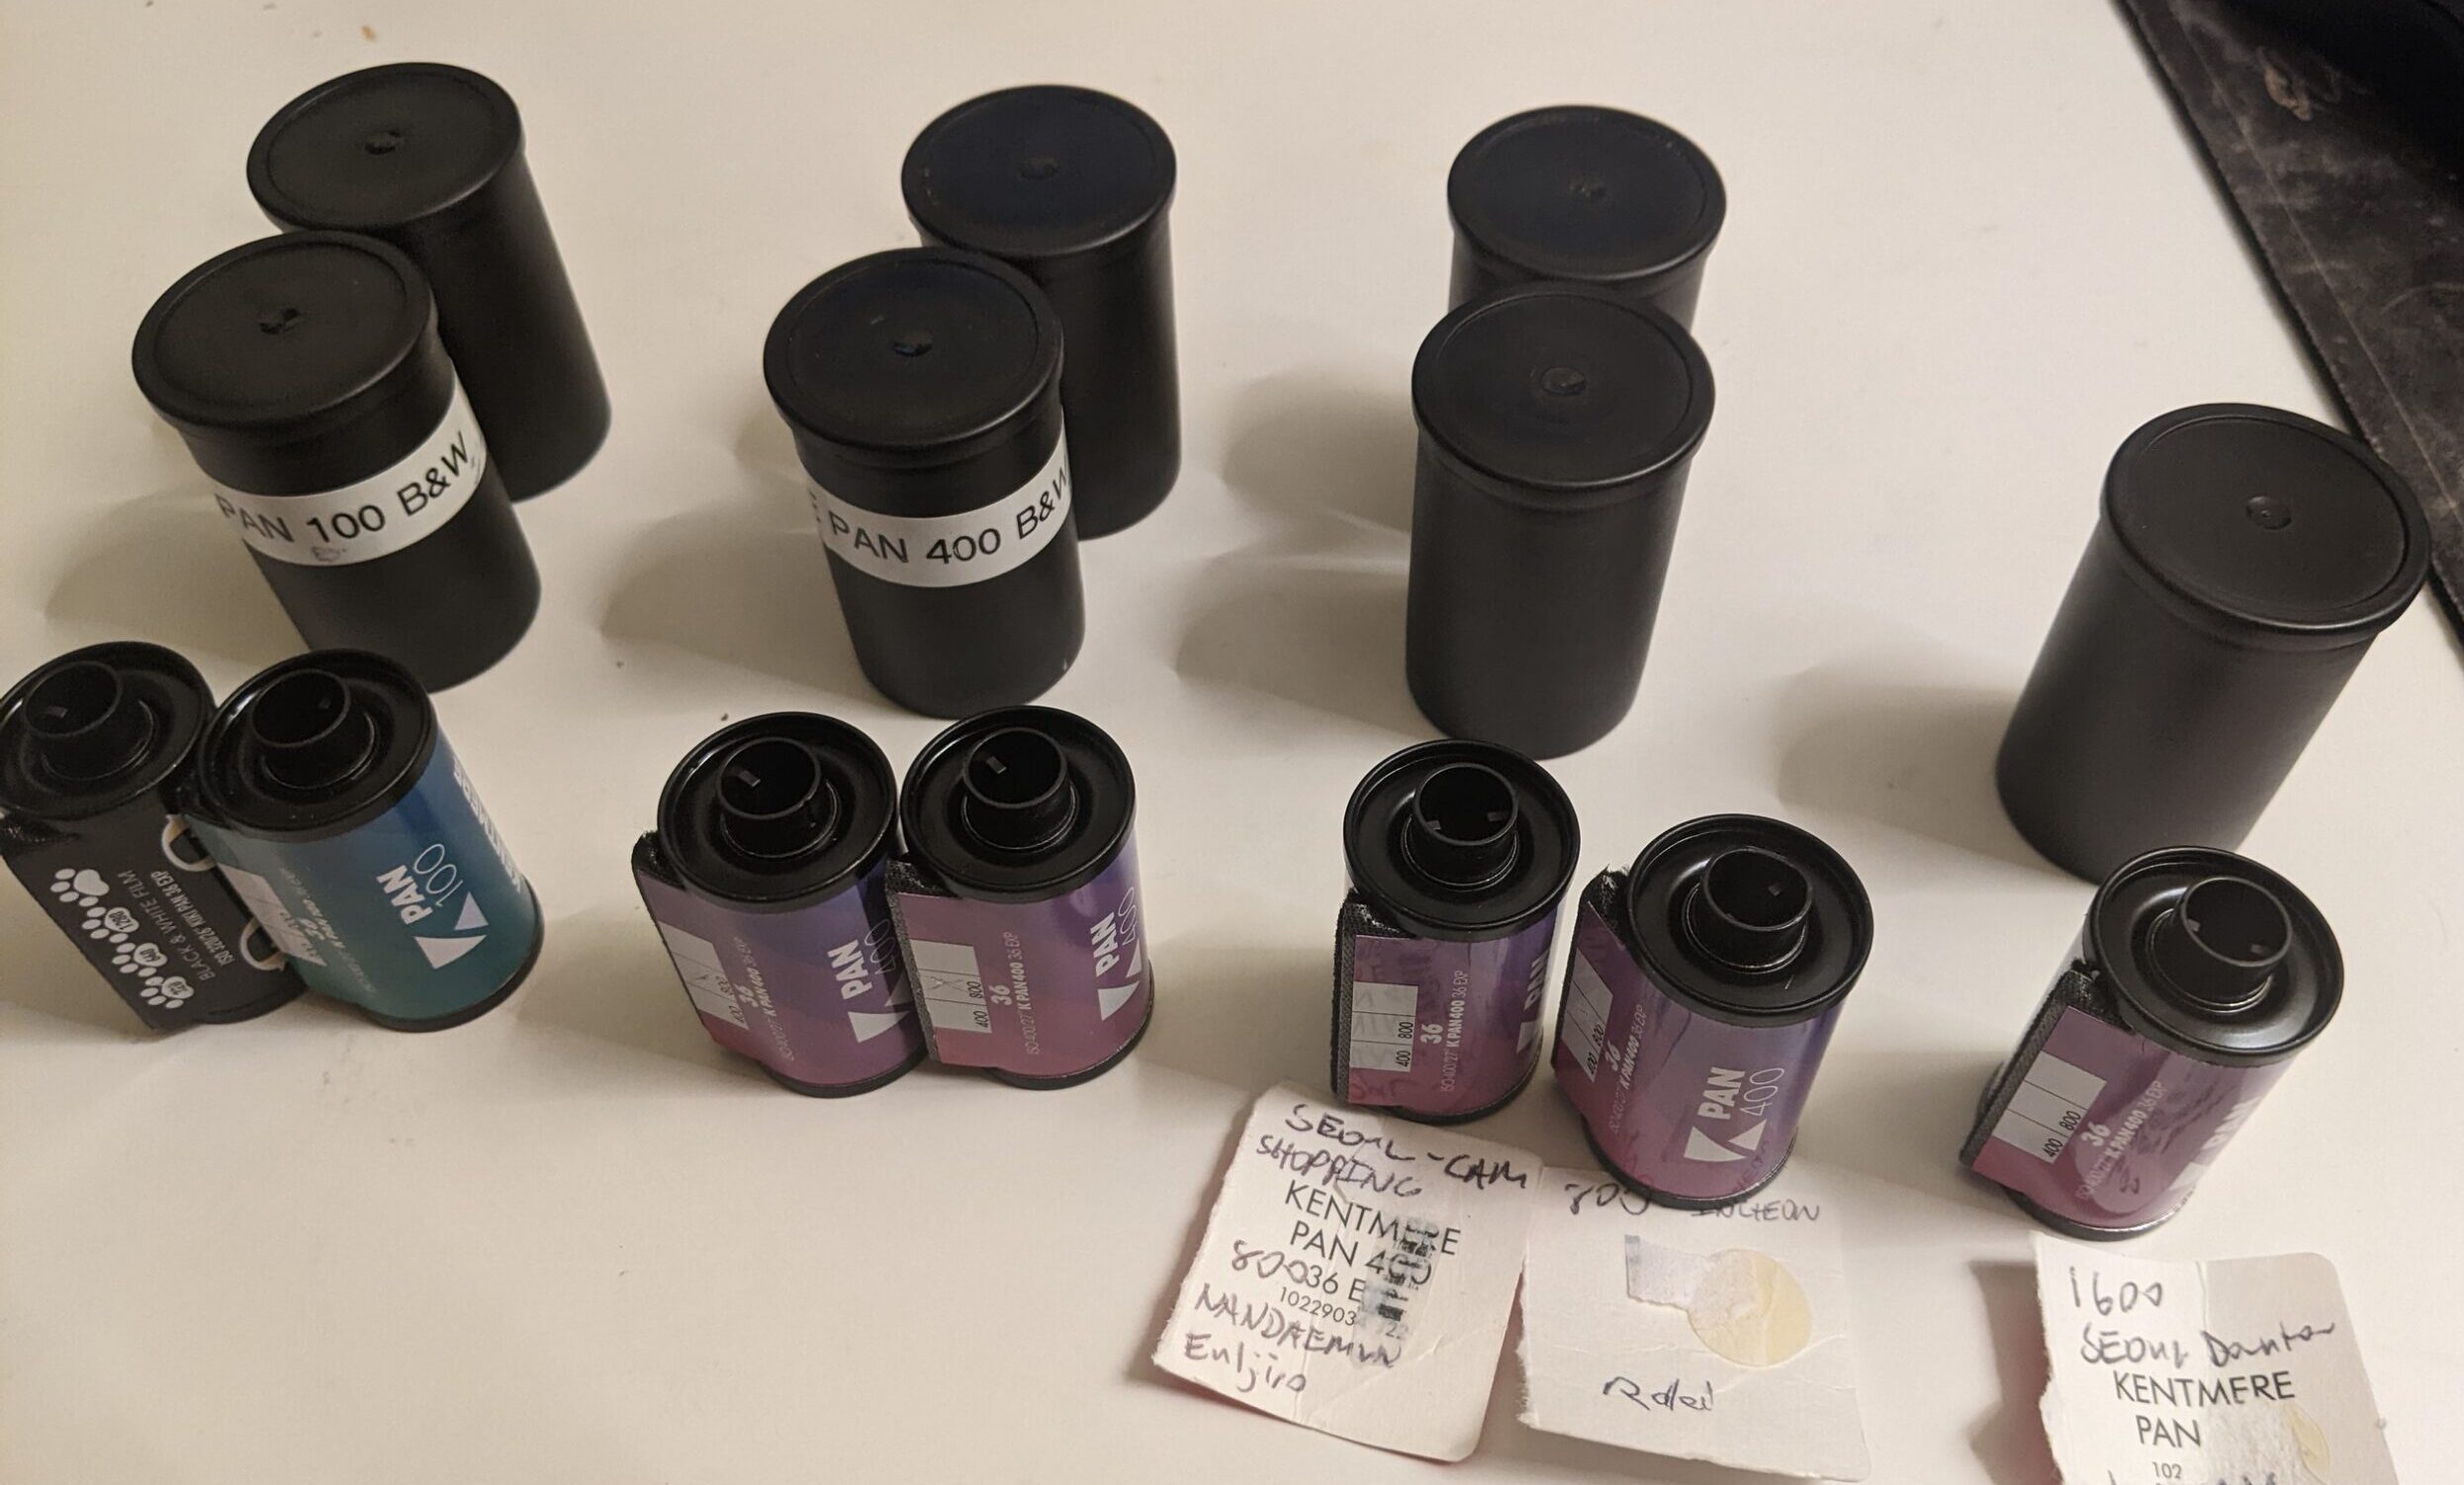
This is what people mean when they say “film forced them to slow down.” Now before, during, and after shooting, I have more things to consider. I have to pick which stocks to bring and decide whether I will push or not. During shooting, especially with old pre-matrix metering cameras like the F2, I have to try to visualize how it will turn out. And then after – development. Pulling up the massive dev chart, using their temperature conversion tool, deciding what dilution. Seeing if any of my rolls are close enough to put in the tank together.
All said, this is profoundly enjoyable and I wish I had started sooner – sometimes I go back through my dozens and dozens of trips, and wonder how I would have done them differently if I had been there with a film camera. But better late than never.
There’s still so much for me to learn when it comes to development techniques – I’m am thinking about trying a different developer and different technique. I also am tempted to start going back to color photography again, now that I am thoroughly comfortable with the process. Suffice it to say, as I mentioned in my first article – photography is new and interesting again.
Thanks to everyone who read through the series, hope it was interesting!
To see more of my work (mostly digital – but the analog portion is growing!) visit my website:
http://www.ourbriefsojourn.com
Share this post:


Comments
Bob Janes on Going Analog on Okinawa – Part IV – DSLR Scanning
Comment posted: 27/04/2024
Apologies if I’m teaching my grandmother to suck eggs - a few suggestions on copying setups:
If you find any issues with dust on the light panel, you can elevate the film holder to put the light source even further out of focus.
For negative holders, the best I've found for 135 film are the ones from the Plustek Opticfilm 135 - these are available as spares for about £25 - they are really good.
If you find any issues in squaring up the camera and the negative/film holder, place a mirror on top of the film holder and lock the camera in place when the centre of the lens is dead-centre of the viewfinder - then you are dead-square to the plane of the negative.
Comment posted: 27/04/2024
Comment posted: 27/04/2024
Comment posted: 27/04/2024
Peter Kay on Going Analog on Okinawa – Part IV – DSLR Scanning
Comment posted: 27/04/2024
Great post. I look forward to your next adventure :)
Pete Kay
Comment posted: 27/04/2024
Jeffery Luhn on Going Analog on Okinawa – Part IV – DSLR Scanning
Comment posted: 27/04/2024
to try Rodinal at 1:100 for about 30 minutes. Agitate like heck in the pre-wet and then gentle for the first 15 sec of development. After that, try gentle agitation for 5 sec every 2 minutes. The shadows will build well while the developer around the highlights exhaust. The unexposed base of the film with fog, further reducing contrast. This 'still development' approach is discussed in numerous blogs. It helps my students, who have exposures all over the map! I use it too. D-23 is great too, but you have to mix it from scratch. All developers become compensating at high dilutions and long still developing times. Keep shooting and writing, Brother!!
Comment posted: 27/04/2024
Gary Smith on Going Analog on Okinawa – Part IV – DSLR Scanning
Comment posted: 27/04/2024
Comment posted: 27/04/2024
Ibraar Hussain on Going Analog on Okinawa – Part IV – DSLR Scanning
Comment posted: 28/04/2024
Makes life so much easier being able to scan in batches rather than singularly. Scanning is the most tedious and boring things ever. So hats off to you for patience with DSLR scanning !
Comment posted: 28/04/2024
Comment posted: 28/04/2024