I grew up in an era where SLRs were dominating. My interest in photography wasn’t as ingrained as a kid as I am now, mainly because I could not find the “resonance” before. Finding the resonance is a story for another day. Long story short – along the way, I stumbled upon the mechanical rangefinder camera and my whole perspective changed and that was how I came about to what I would like to discuss here.
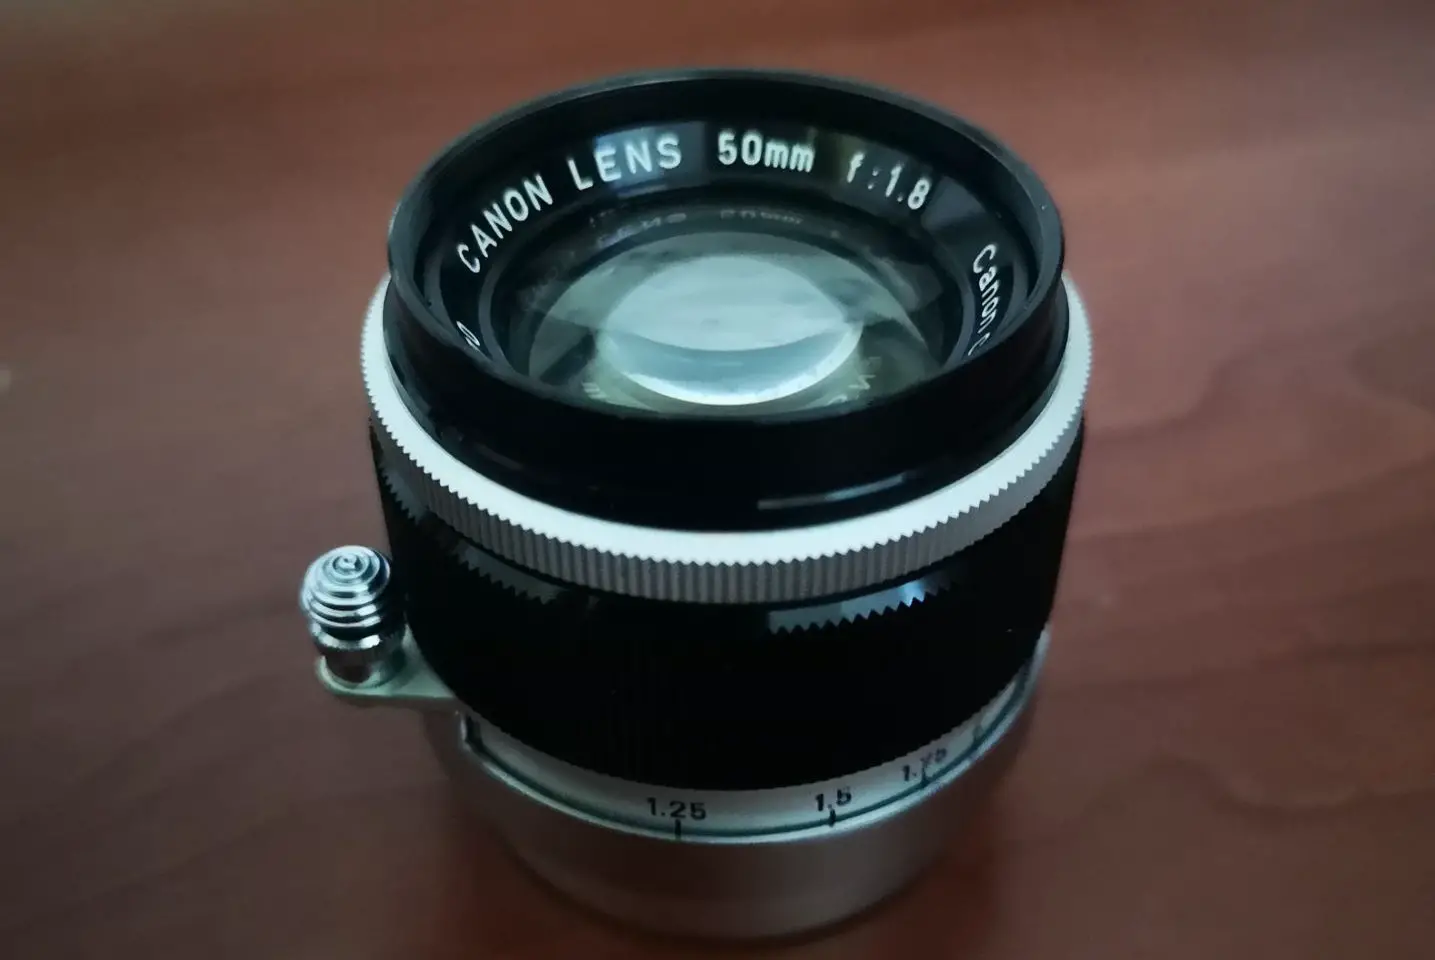
While exploring the world of screw mount lenses, I got to know about the leica thread mount Canon Serenar 50mm f/1.8. Not the earlier chrome version, but the slightly later version in black and silver. The black part looks like plastic, but is actually anodised aluminium. I had read good reviews about this lens and that generally, Canon lenses of that era are pretty much as “Leica” as you can get with non-Leica lenses, in terms of image quality to price ratio.
I was considering picking one up. However, there seems to be a haze problem with most of the f/1.8 or f/1.2 lenses. I felt that f/1.2 was too fast for my liking, the f/1.4 version was good but pricey, and the f0.95 version is just too bulky and even pricer. Me, being the scientific nerd, decided that I should just get a hazy f/1.8 copy and work to get rid of the haze, and so I did.
I found one for about US$50 on Ebay (one of the last few with bad hazing problem selling around US$50, and the rest were picked up in the next 2 months) and set about to remove the haze. I chose this copy not because it had the worse haze. All probably had equally bad hazing, but this was the one with the most mint-looking body. Most people have claimed that the haze is etched into the glass. That I can confirm.

When I first had the lens dismantled, all the elements look pretty good, with only some small scratches that doesn’t affect imaging. Using the well-known “torch light” test, I finally found the problematic element.
Just for the curious, here’s a quick introduction of the different part of the lens.
Item 1a is the main housing for the whole group of elements, which includes the aperture blades in the middle of the housing, and the aperture control levers on the end touching the blue towel.
The items forming 1b is the aperture ring with the click stop mechanism (top row) and a retaining ring when the whole setup is rejoined with 1a.
Item 2 is the sub-housing holding elements 1 to 3.
Item 3a is the rear sub-housing seen here with element 6 secured in place.
Item 3b are elements 4 and 5 (5 on top)
Item 3c is the retaining ring for item 3b when it rejoins item 3a.
Item 4 is the outer helicoid housing to move the 6-element set back and forth focusing on the film plane.
The whole lens setup is inserted into item 4 from the front and secured with a retaining ring 1c from the rear.
For those familiar with the Serenar design, it is based on the Zeiss Planar 6 elements in 4 groups Design (see photo).
3 elements are located in front of the aperture ring and are built into a front section (the 3 left elements in the schematic), and the other 3 after the aperture ring (the 3 right elements in the schematic), built into a rear section. For ease of understanding, I will name the front element as element 1 (left most), and the rear element as element 6 (right most) . The hazy problem lies in element 4 on the front facing concave surface adjacent to the aperture (forgot to take a picture before working on it). The rear facing surface of element 4 is actually bonded to element 5.
The hazy surface of element 4 felt rough. So, I started off using chemical means to remove the haze, since there was a rough feel to the lens surface. Acetone did not work, but the black coating covering the lens edge was being dissolved away. Not an issue. Can be resolved using enamel paint. Then I tried a self-concocted detergent using ethoxylated hydrocarbon surfactant mixed with water and acetone.
This chemistry is formulated for removing tough organic stains, especially grease and oil stains and silicone contamination, without harming the surface that the organic contaminant is sitting on. A similar commercially available solution is known previously as 3M Skywash by Elixair. It is no longer under the 3M brand as Elixair was bought out by Socomore in 2018. Soaking in this concoction actually removed the roughness on the element surface, so now the hazy surface is mirror smooth, but the haze remained.
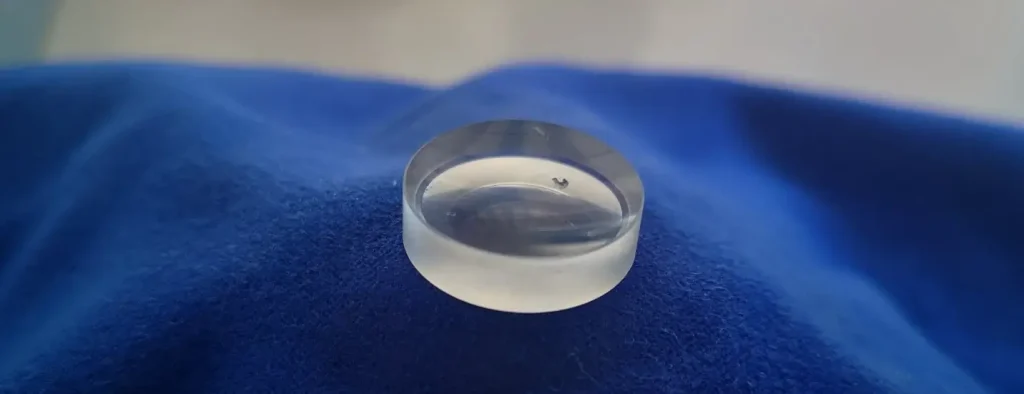
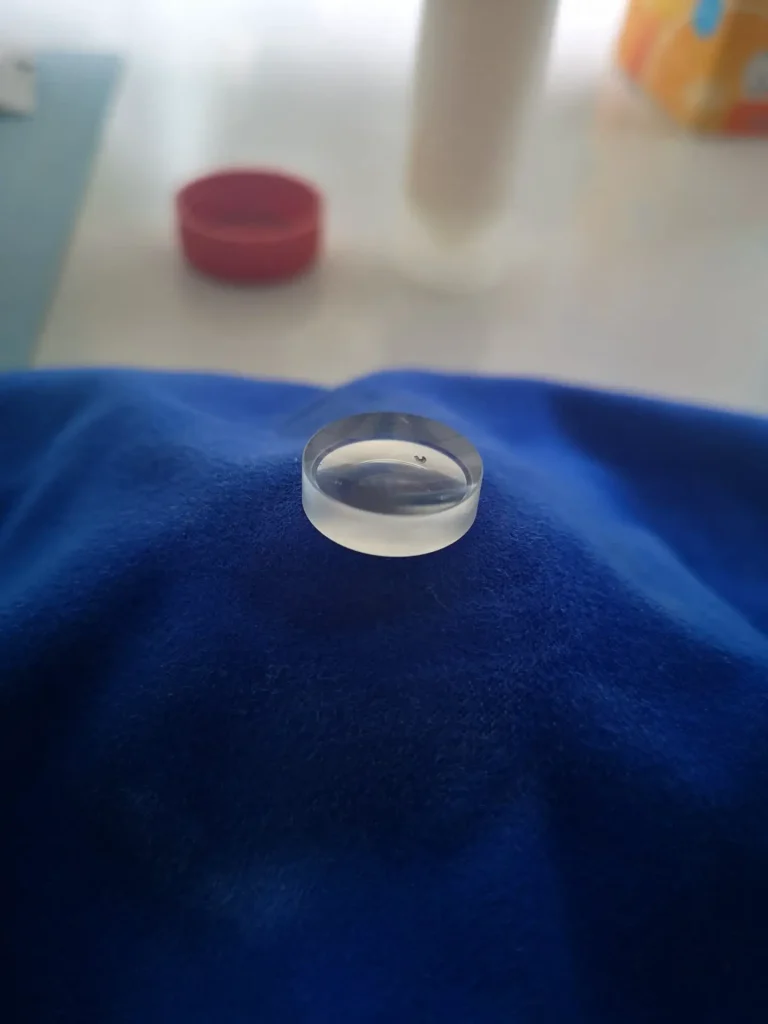
Stains or scum (most people believe that it is from the aperture setup) on the element surface was removed, but whatever diffused into the glass had to be removed using other means, i.e. by polishing. You can see how glossy the surface is in this picture, but I can swear that the haze is still there.
My background in metallurgy and semiconductor processing proved to be useful this time. There is a process known as chemical mechanical planarisation (CMP) used in silicon wafer processing that uses a colloidal silica-based slurry for glass removal at very high rates. As silicon integrated circuits (ICs) are very delicate, this technique used does not generate any scratches, as scratch debris can easily killed ICs. The slurry used is Klebesol from DuPont and has a hazy appearance to the liquid. Kind of like unrefined rice wine. As the process name suggests, glass (amorphous silicon dioxide) is removed in 2 ways, one by a chemical action, and the other by mechanical action. The removal rates are high for wafer processing for food throughput, so the slurry plus polishing would remove approximately 3 nm or 0.000003 mm of glass per minute. I spent about 10 minutes or so in total of polishing time, so I probably removed about 30 nm or 0.00003 mm of glass.
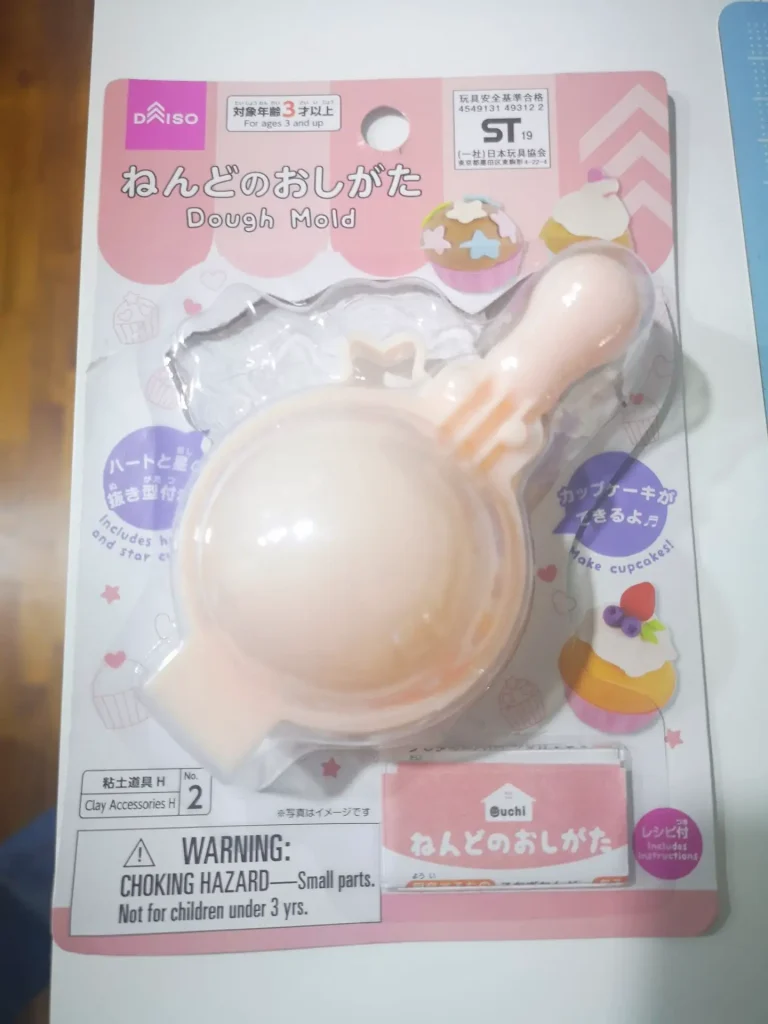
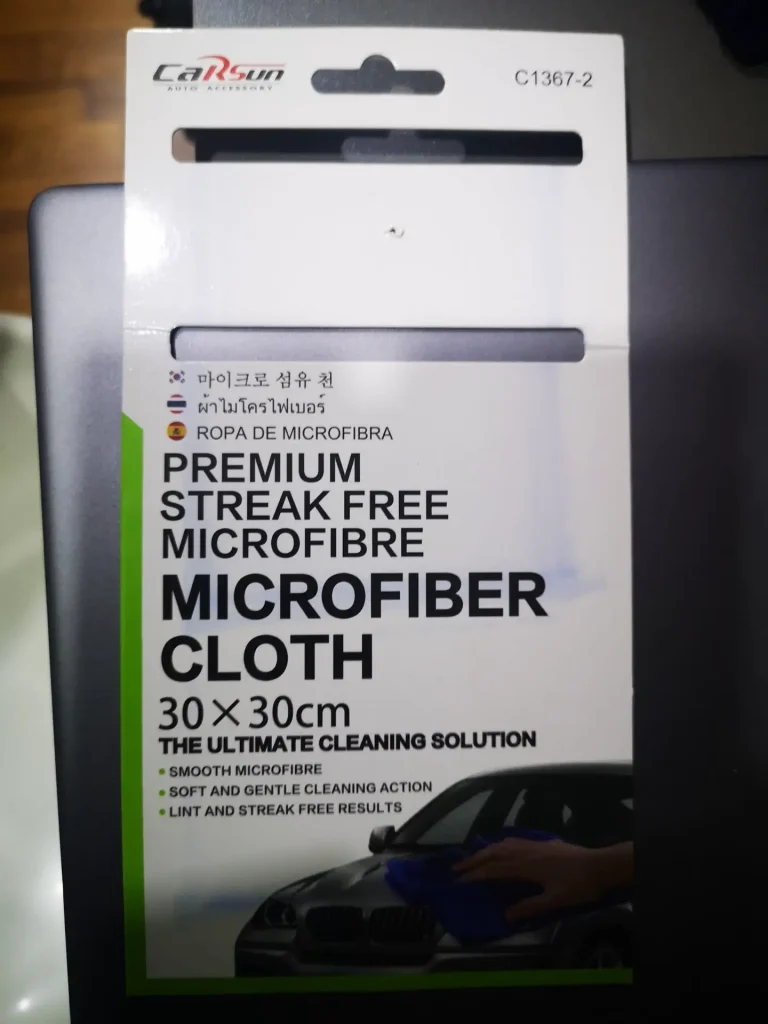
I had used a dough mold with a dome-shaped top as a backing (from Daiso) where I placed my automotive microfiber cloth (for car surface detailing) for the polishing.
I dropped a few drops of the slurry onto the microfiber cloth and placed the lens onto the domed cloth surface and started polishing the lens using swirling motion and applying some evenly-spread pressure while polishing. The slurry is seen in the background, looking more like milk.
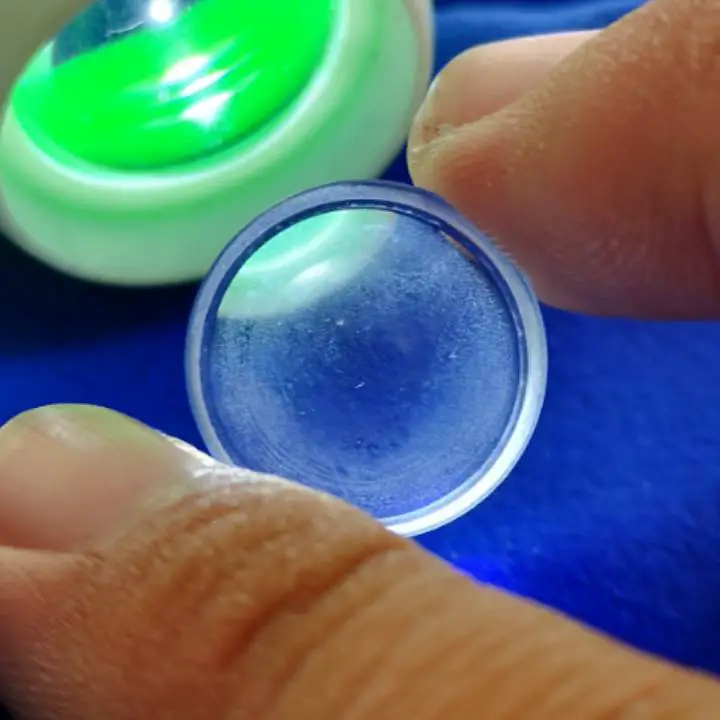
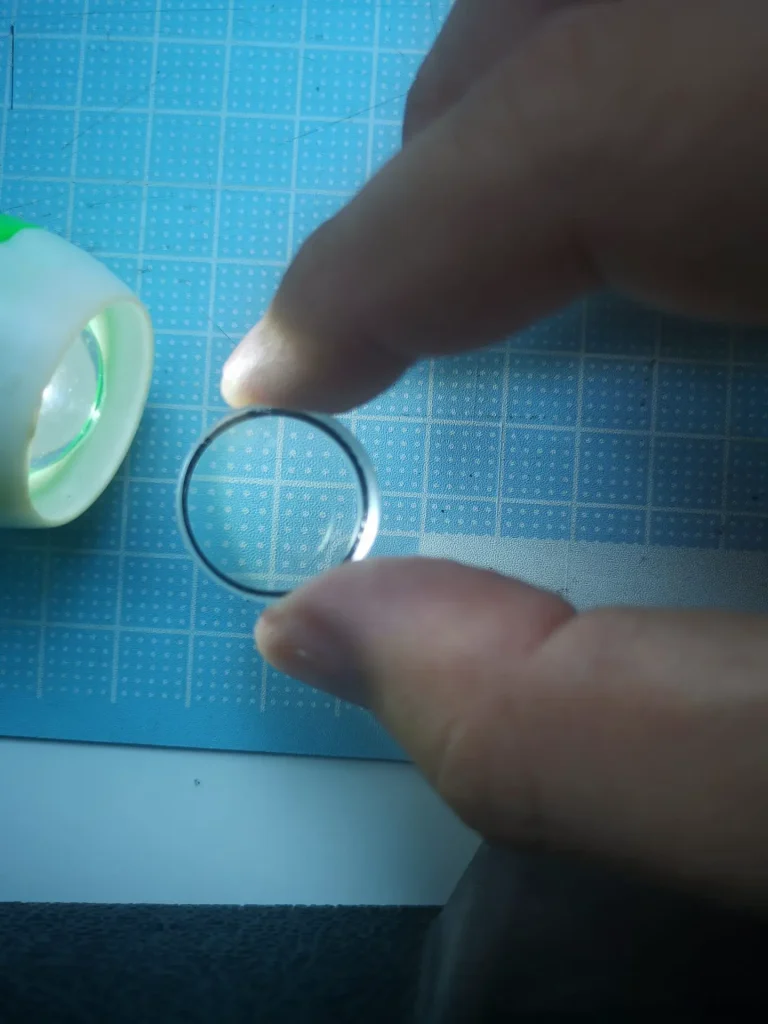
I am showing how it looks like 25% through the polishing. The haze at the centre has been removed.
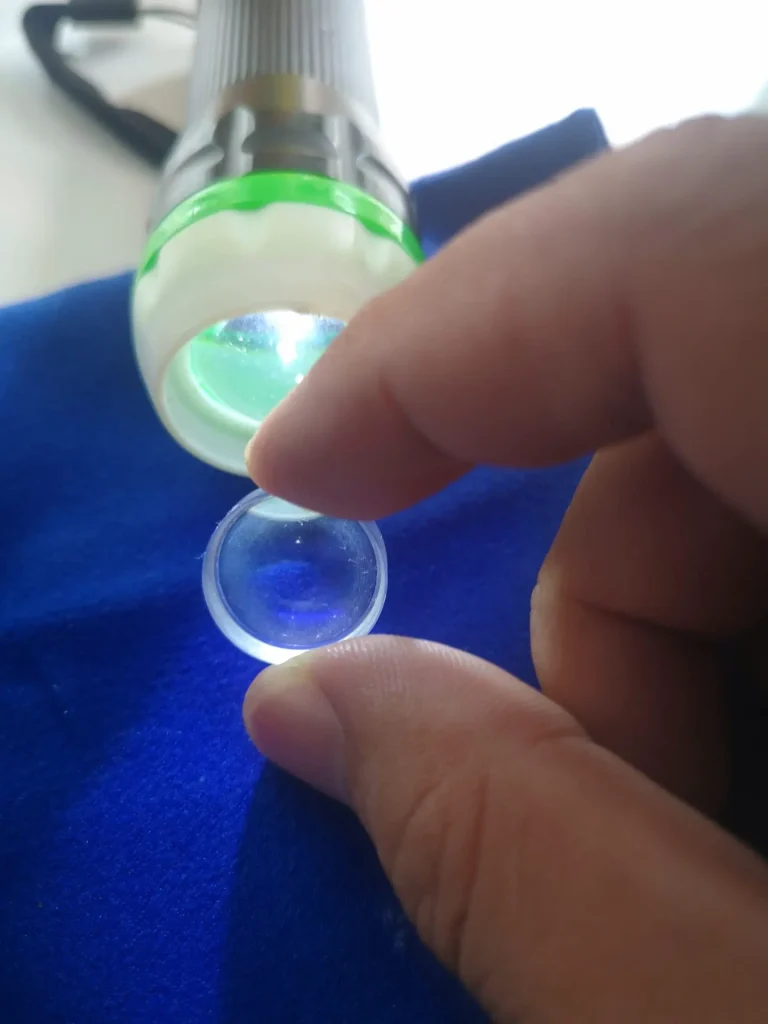
I would expect maybe some effect on chromatic aberration, as I cannot guarantee that the surface curvature is maintained. If there is slight change in curvature, chromatic aberration would be obvious. Other optical properties should largely remain unchanged. But hopefully contrast is recovered. Finally, I got all the haze out. The pictures are showing you what is probably about two-thirds done, and then finally completed. You probably did not notice that I had debonded the 4th element. After the haze removal, I had to bond elements 4 and 5 together again and paint the edges of the glass black again, with enamel paint from any hobby shop.
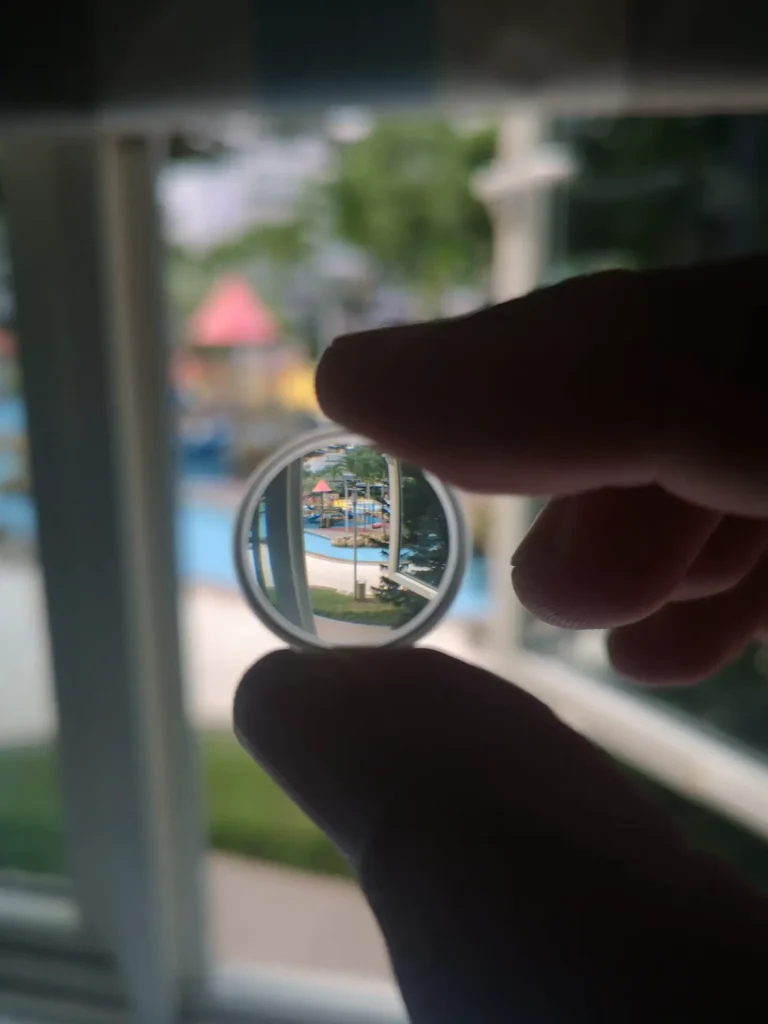
Here is a picture taken by the lens before haze removal, wide open.
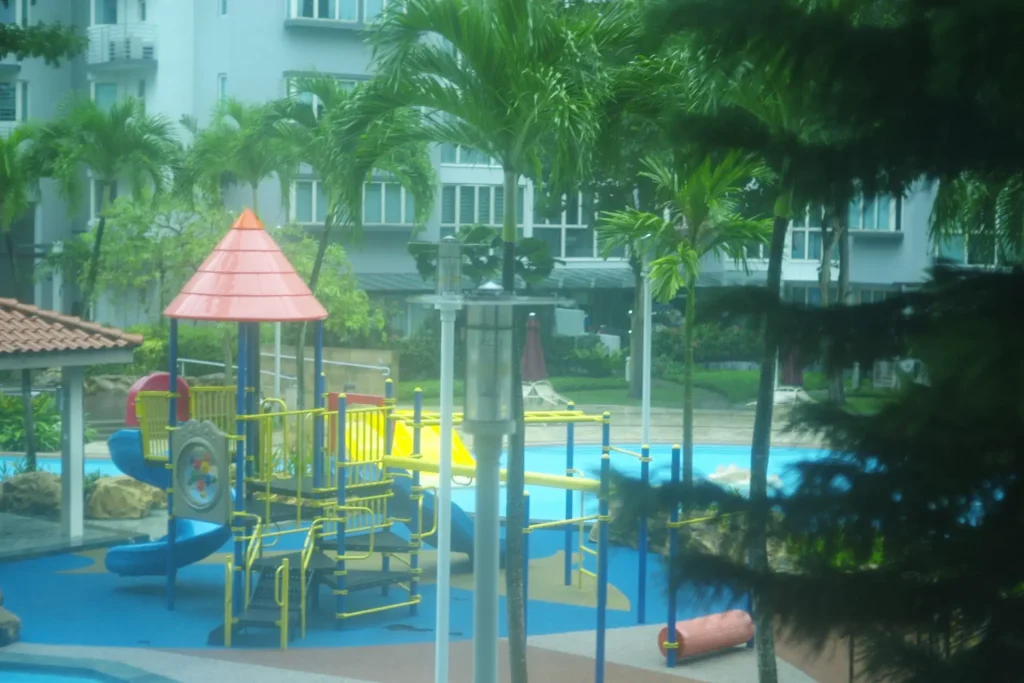
Here is the same scene after haze removal, wide open again. Contrast seems to have improved slightly, but somehow not very much better. I had heard rave reviews about this lens, but is quite disappointed with the contrast. Or maybe it is this particular copy that is not doing so well. The focus is also off, if you notice the in-focused areas in both pictures are slightly different. I corrected the focus after the haze removal, so I don’t have a correctly focused imaged with the haze still on. Correcting the focus is a story for another day.

I decided to check the lens against another that I own, the Chiyoda Kogaku (Chiyoko) Super Rokkor 50mm f2, which is based on the Zeiss Sonnar design. The bokeh is definitely less intense with f2.

It seems, with the comparison (all taken wide open), that the Serenar is a bit on the softer and less contrasty side. All pictures are taken with a Leica M8.2. I wouldn’t be surprised, since the Planar design is older (designed in 1896) than the Sonnar design (designed in 1929). But my copy of the Super Rokkor is definitely older than the Serenar. My eyes are not good enough to identify if there is any colour aberration, so I probably can conclude that I did not mess up the curvature of the element 5 surface.
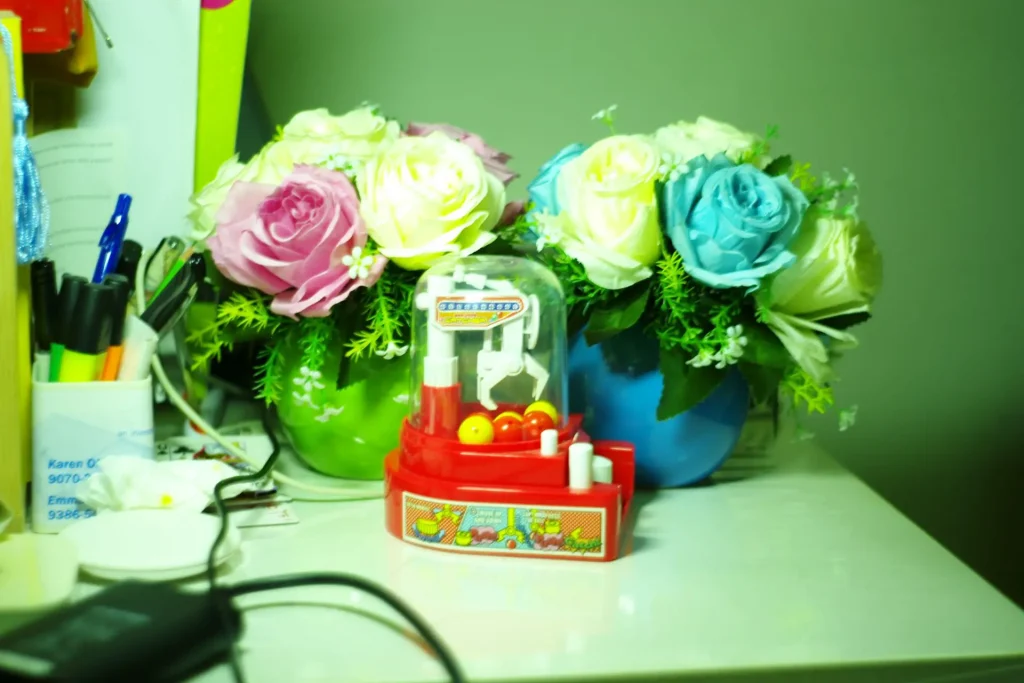
Here’s another comparison with an indoor setup. I would let you guess which is the Super Rokkor and which is the Serenar.
For an enthusiast, this episode was a very enjoyable one, and one that I learned a lot from, about how the lenses are designed and how aberration is corrected, and how haze counteracts or adversely affects the aberration correction made by the element shape.
I hope this information will be helpful to those who are as crazy as me in willing to put your dearest equipment under situations where certain death may be imminent. For those who are curious, I did kill a Lumix-Leica lens by breaking a flexible circuit and it is still sitting around waiting to be send off to the service centre, which is why I dabble only with vintage lenses since. No electronics means less risk.
Share this post:


Comments
Bill Mattocks on Canon Serenar 50mm f/1.8 Repair – Hazy solution to a hazy problem – By Boon Kiat Lim
Comment posted: 30/10/2020
Comment posted: 30/10/2020
John on Canon Serenar 50mm f/1.8 Repair – Hazy solution to a hazy problem – By Boon Kiat Lim
Comment posted: 30/10/2020
Comment posted: 30/10/2020
Wim van Heugten on Canon Serenar 50mm f/1.8 Repair – Hazy solution to a hazy problem – By Boon Kiat Lim
Comment posted: 30/10/2020
Regards, Wim
Comment posted: 30/10/2020
Andrew Craig on Canon Serenar 50mm f/1.8 Repair – Hazy solution to a hazy problem – By Boon Kiat Lim
Comment posted: 31/10/2020
Makes me want to find a patient and the materials to follow your guidance...
Comment posted: 31/10/2020
Dan on Canon Serenar 50mm f/1.8 Repair – Hazy solution to a hazy problem – By Boon Kiat Lim
Comment posted: 02/11/2020
Comment posted: 02/11/2020
Chris on Canon Serenar 50mm f/1.8 Repair – Hazy solution to a hazy problem – By Boon Kiat Lim
Comment posted: 02/11/2020
I like how you understood the chemistry at hand, and was able to come up with a solution that mitigated any damage to the glass.
There is another method of removing etched on haze, that involves the usage of cerium oxide, but its much harder to pull off correctly, since the cerium oxide can remove the glass surface also if one is not careful. Your method seems much safer then the cerium oxide path I’ve read about in various forums.
I think what you've done is the best anyone can hope to do, as a DIY solution, without access to expensive equipment that optical companies have on hand.
Comment posted: 02/11/2020
Ben Garcia on Canon Serenar 50mm f/1.8 Repair – Hazy solution to a hazy problem – By Boon Kiat Lim
Comment posted: 02/11/2020
Comment posted: 02/11/2020
Pablo García on Canon Serenar 50mm f/1.8 Repair – Hazy solution to a hazy problem – By Boon Kiat Lim
Comment posted: 06/01/2021
After seeing the result, I checked the lens, that exact same lens of yours, and it was all fogged. I disassembled the lens as far as I could, and I cleaned the hazed element with a microfibre cloth. I looks clean now, I hope it will perform better next time, if it doesn't, that info you've wrote about the polish is super helpful. Thanks for sharing it!
Cheers!
Comment posted: 06/01/2021
Brian on Canon Serenar 50mm f/1.8 Repair – Hazy solution to a hazy problem – By Boon Kiat Lim
Comment posted: 17/07/2021
Comment posted: 17/07/2021
Gibbs on Canon Serenar 50mm f/1.8 Repair – Hazy solution to a hazy problem – By Boon Kiat Lim
Comment posted: 10/05/2022
I tried cerium oxide and some circle motion with a microfiber cloth . it is still not coming out
im wondering how do you use to dough mold . Do you only put the mold on the table and then the cloth and then put in solution then circle around with the lens by hand?
Thanks so much
Comment posted: 10/05/2022
Boon Kiat on Canon Serenar 50mm f/1.8 Repair – Hazy solution to a hazy problem – By Boon Kiat Lim
Comment posted: 17/05/2022
Sam Gustafson on Canon Serenar 50mm f/1.8 Repair – Hazy solution to a hazy problem – By Boon Kiat Lim
Comment posted: 06/06/2022
Comment posted: 06/06/2022
Robi on Canon Serenar 50mm f/1.8 Repair – Hazy solution to a hazy problem – By Boon Kiat Lim
Comment posted: 29/12/2022
I bought 2 serenar lenses in the hope that i will remove the haze only by cleaning them. I didnt know that it is so difficult until i find your article. Unfortunately i found your article after i bought the second one :( . What other subtitute do you recomand for the slurry that is easy to find ? The only coloidal sillica solution that i found it is some vegan water with coloidal sillica ( it.s the same thing but maybe with different concentration?) I understand that cerium oxide should be ok?
Comment posted: 29/12/2022
Pierre on Canon Serenar 50mm f/1.8 Repair – Hazy solution to a hazy problem – By Boon Kiat Lim
Comment posted: 12/06/2024