Just as 1066 was a significant date in English history, 1888 had a similarly profound influence on the history of photography. A recent article I posted started me thinking about the very first consumer cameras, introduced by Kodak in 1888. It stands alongside the Leica I and the Exacta and Contax D SLRs causing something of a revolution in the world of photography. A significant successor to the original box was the Box Brownie No. 2 introduced in 1901.
An example of an improved version from 1924, 23 years later, a Brownie Model 2 F recently came up on the local auction site here in New Zealand so I thought I would give it a whirl. A little nostalgic too being something similar to my very first camera over 70 years ago.
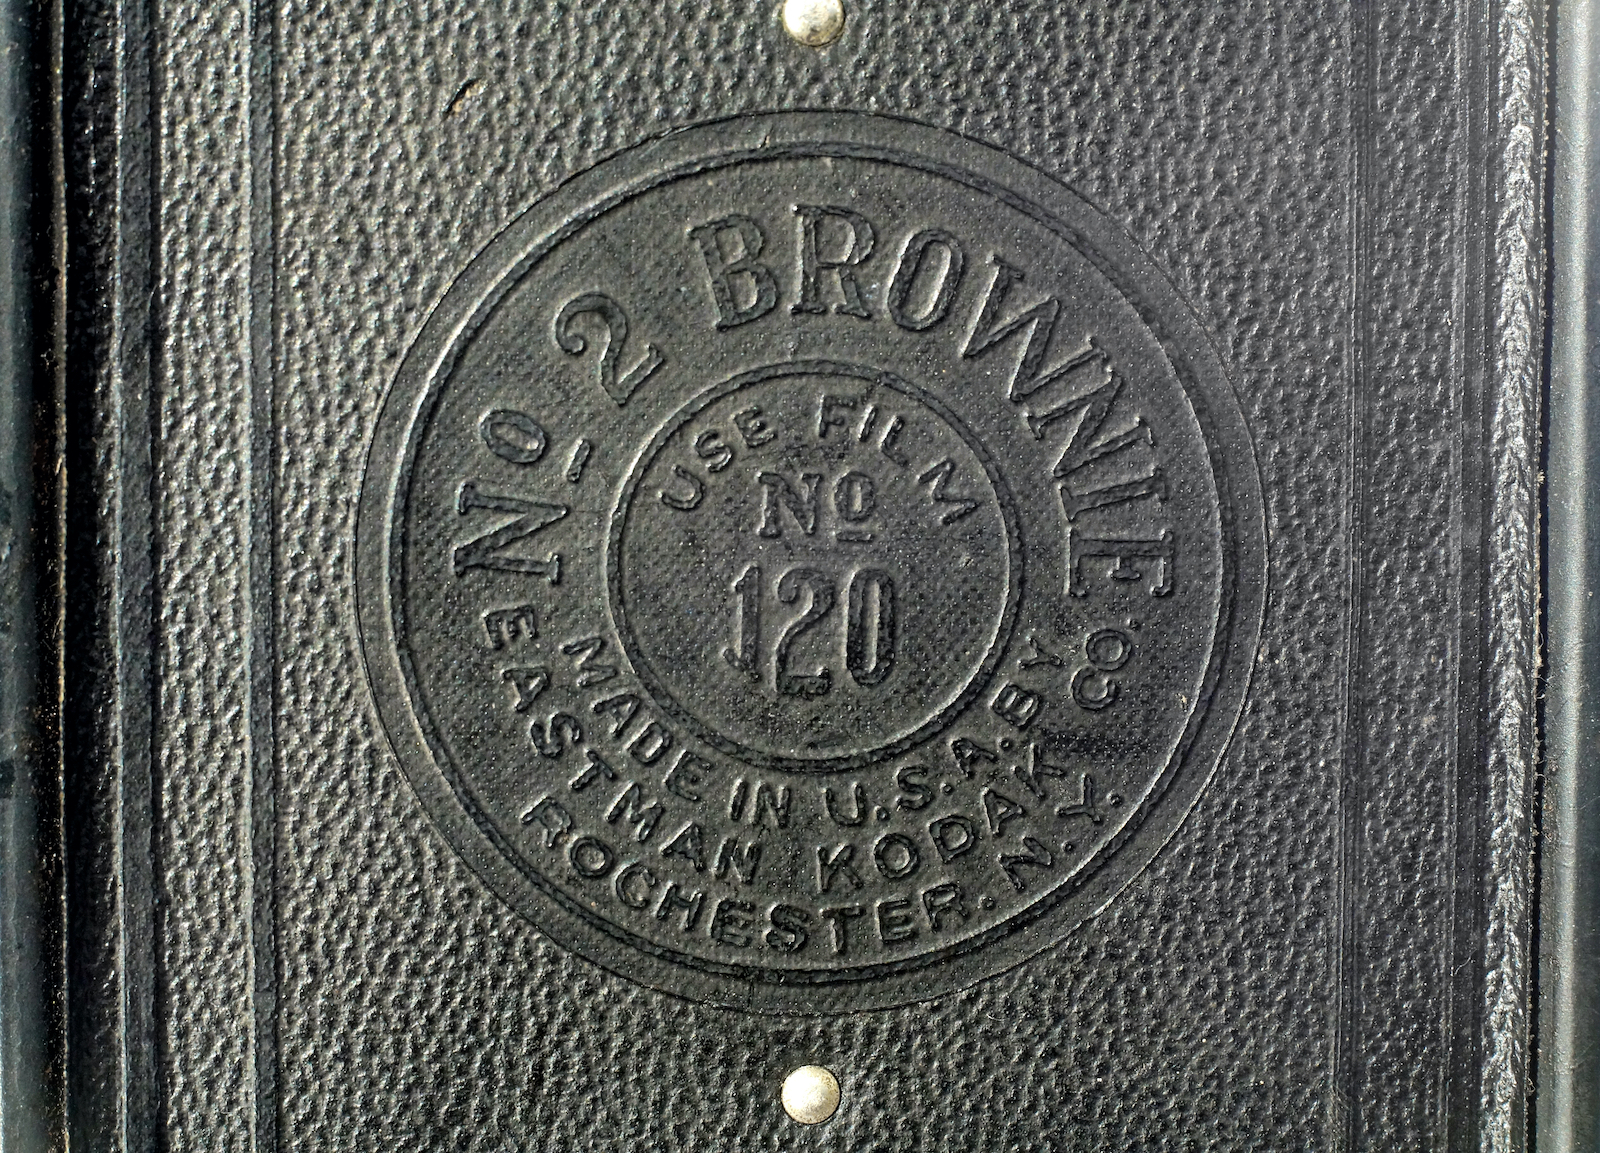
Taking 120 film it is still a viable option with the film readily available. In fact the Brownie model 2 was the first camera to use 120 film and was sold in various model numbers/letters from 1901 to 1935. Other cameras of similar design took other sizes of film, e.g. 116 and 130, both producing a larger negative.
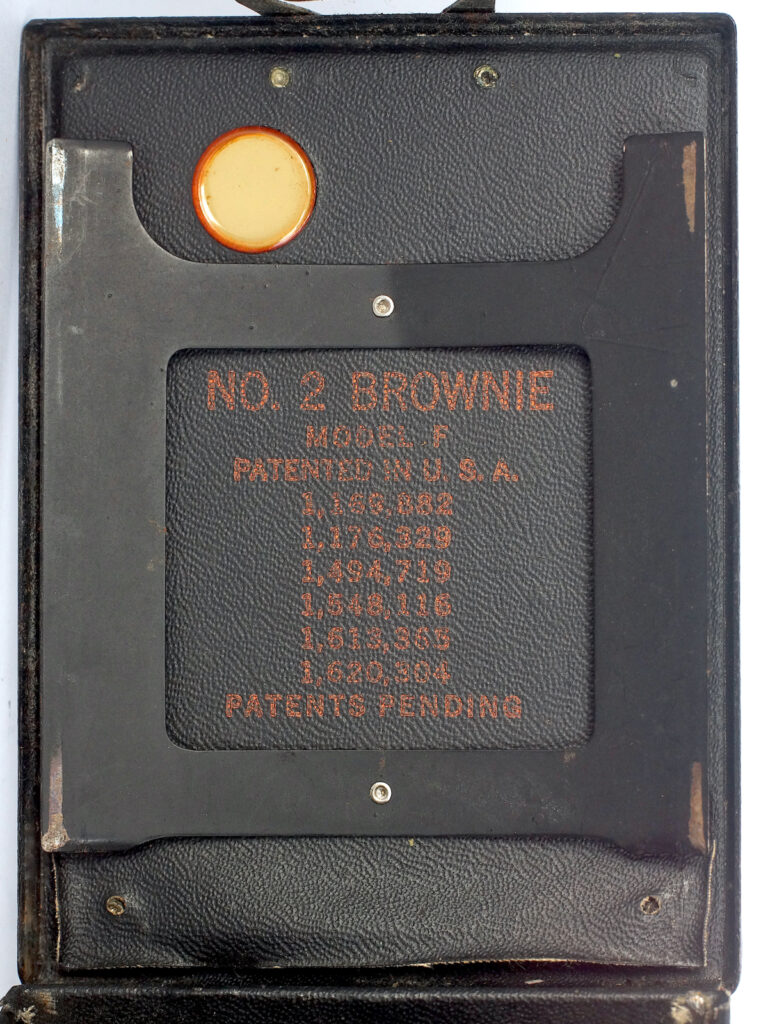
Produced between 1924 and 1931 this is the model F, which is printed inside the back with patent information, and an American made model, others being produced in Canada and the UK at various times and in various colours. The differences between this and earlier models are mainly that it has an aluminium body in place of the original cardboard and the provision of tripod sockets. I have found these details in the information provided by The Brownie Camera Page online (https://www.brownie-camera.com/35.shtml), a mine of information on all the various incarnations of the name.
The camera
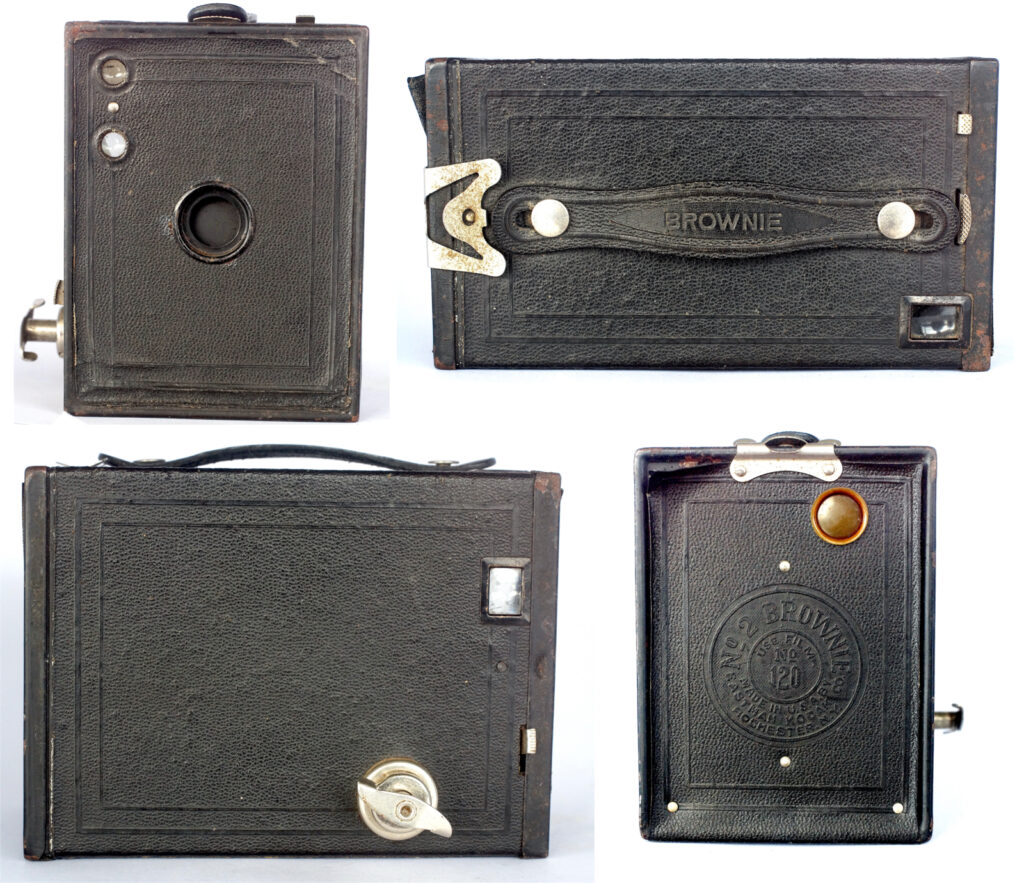
As it came to me, the camera was in not too bad a state cosmetically. They have the reputation of being almost bullet-proof so I had great hopes as I removed the front panel, rather like taking the lid off a biscuit tin. Squeezing the body and pushing with the thumbs slides it off.

Construction generally is very basic with a block of wood that carries the working parts mounted inside the front section. The exterior is finished very simply with painted surfaces and leatherette. The aluminium outer case is probably the most significant upgrade from the original apart from details.
The main problems that I have read about are accumulated dust and dirt plus sometimes erosion of the finder mirrors. Mine had some peeling leatherette too which I hoped wasn’t a sign that someone had already been tinkering, but doesn’t in fact hide anything on these cameras. The peeling is entirely the result of ageing adhesive and easily repaired.
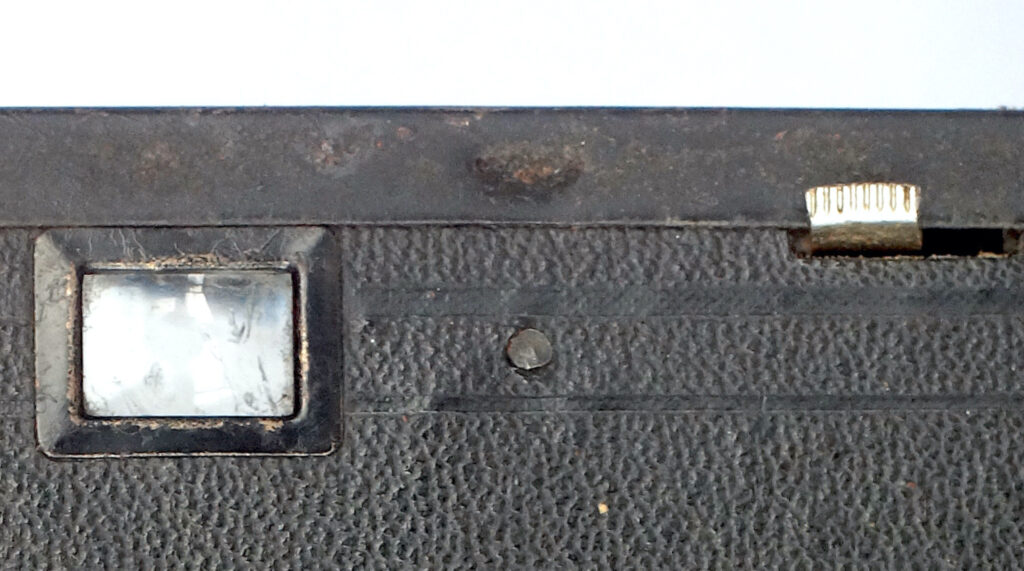
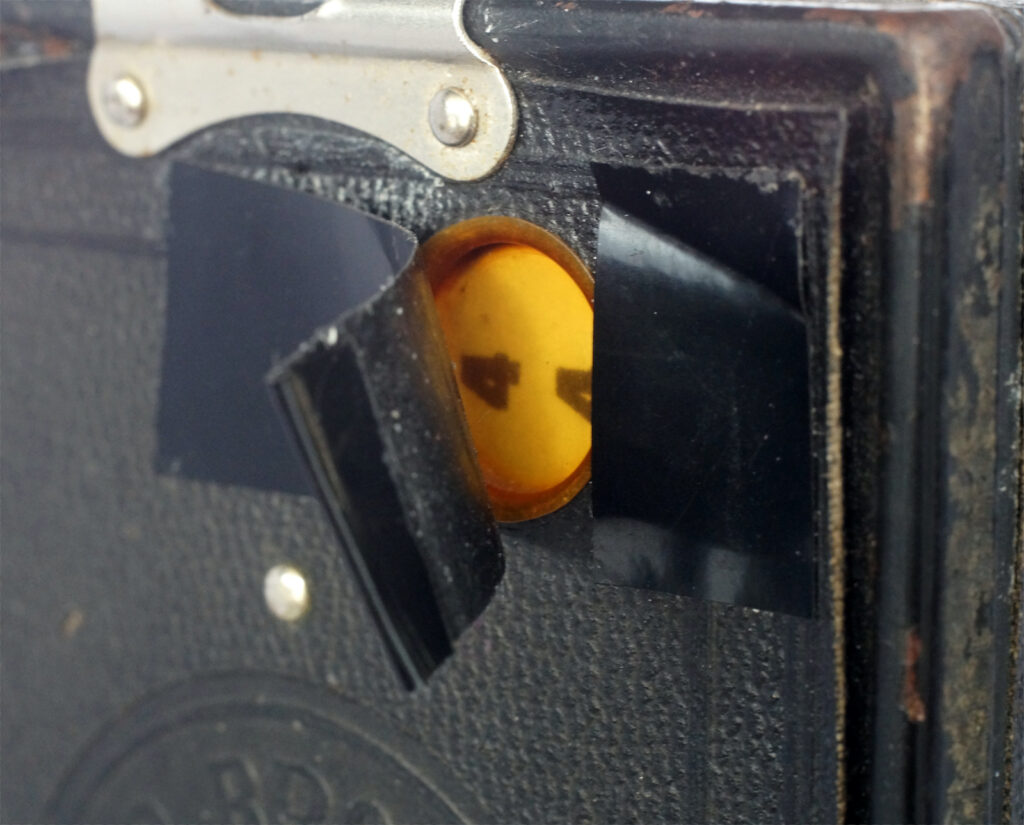
First inspection did show one finder blank and a shutter that wasn’t working. Both finder mirrors were loose and one, the blank one, had fallen out of its holder. The rotary shutter’s actuating spring had come loose and just needed reattaching in position. Cleaning the finders and relocating the mirror glasses completed the job. The red window looks very faded and may need attention if any fogging from it shows but I taped it over and only exposed it whilst winding on.
I applied tiny drops of sewing machine oil with a cocktail stick to pivot and sliding points to make things go more smoothly and the camera was ready for the fray.
Controls are basic with two pull-up slides that control a T(ime) setting on the smaller one and three apertures on the larger of f11, f16 and f22. The release moves across a slot, making an exposure each time it is operated, i.e. in both directions. The rotary shutter’s single speed is generally held to be 1/50th second and saw no reason to think this was too far off the mark.
Film and loading

The general design is the same for the range at the time so film loading is the same rather fiddly process. Because 120 film was specifically produced for this camera possibly explains the long lead in section of the backing paper, needed because of the way the film passes across three long sides for loading.
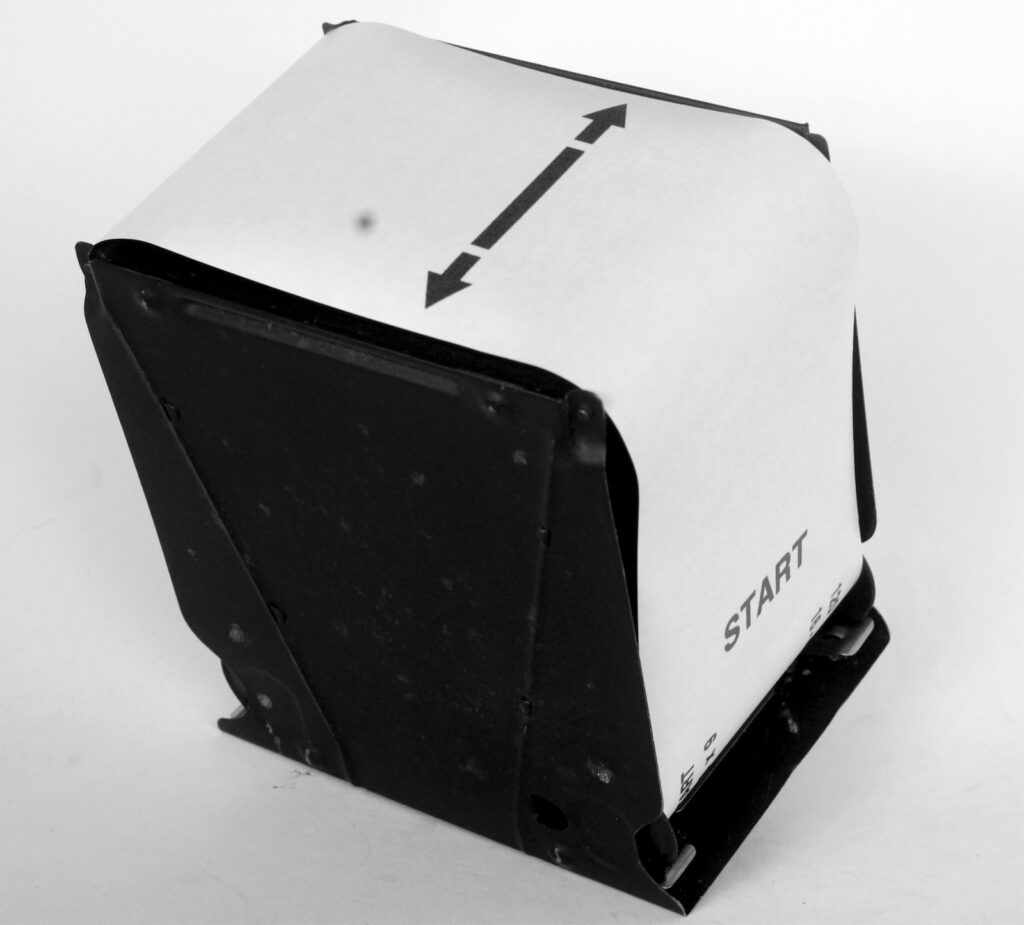
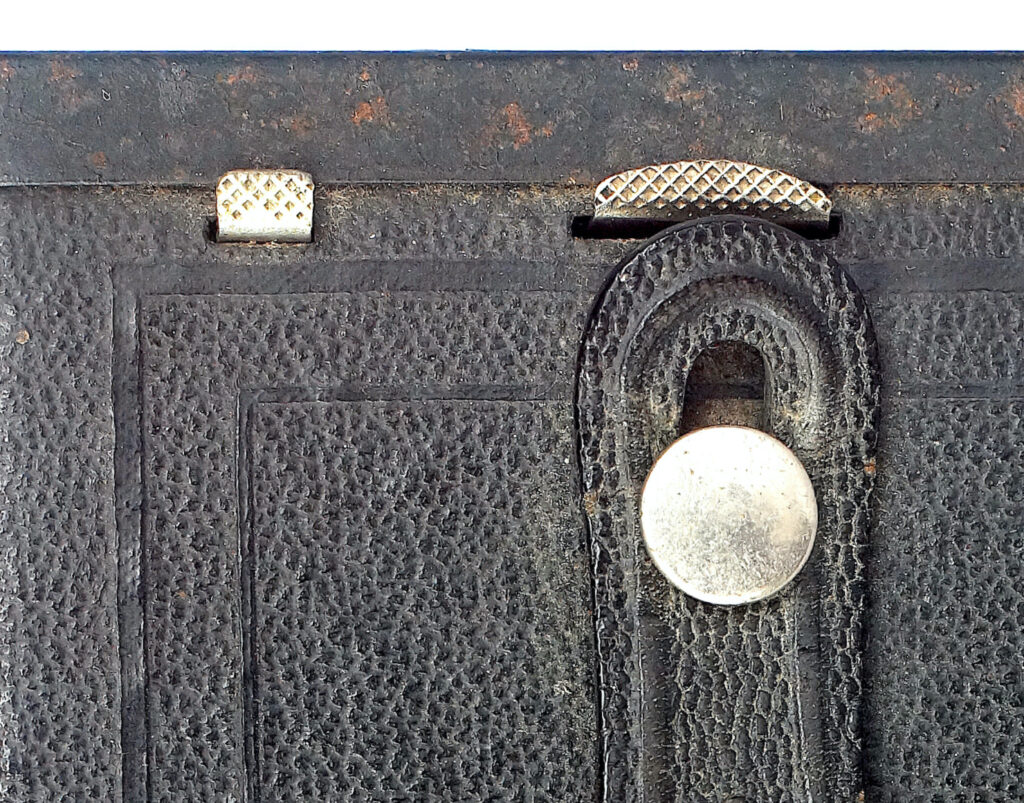
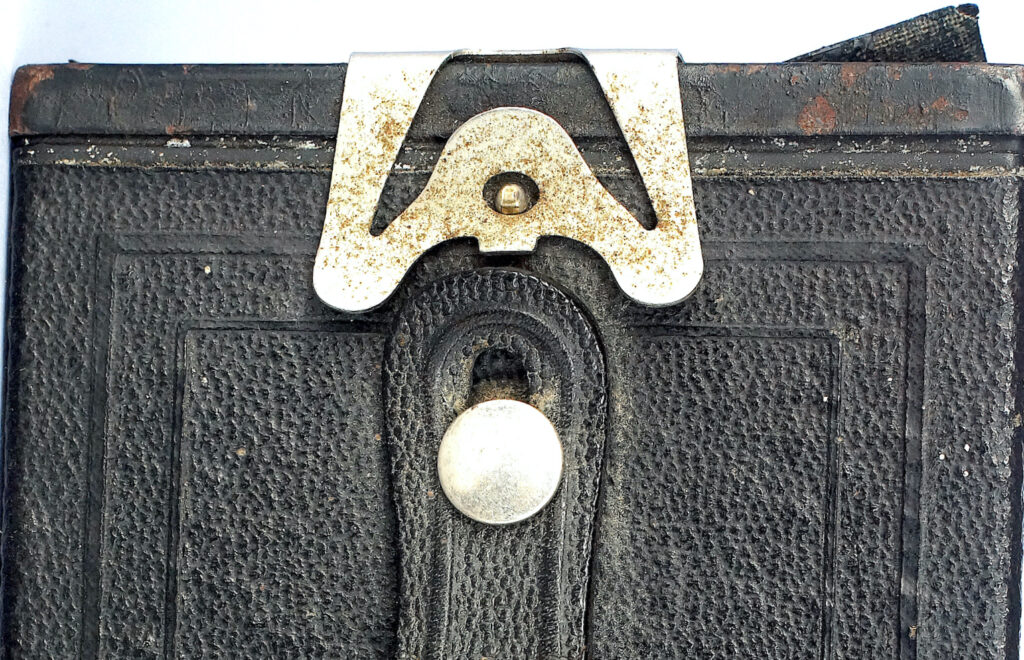
Spools are held by a sprung plate and the spool simply needs pressing into position with no spindles to engage. Only the winder needs to make contact with the spool which it does when the inner section is in place and it is pushed in to lock it to the outer body. The rear door is then closed, hinged on this model, with a positive sprung catch to secure it.
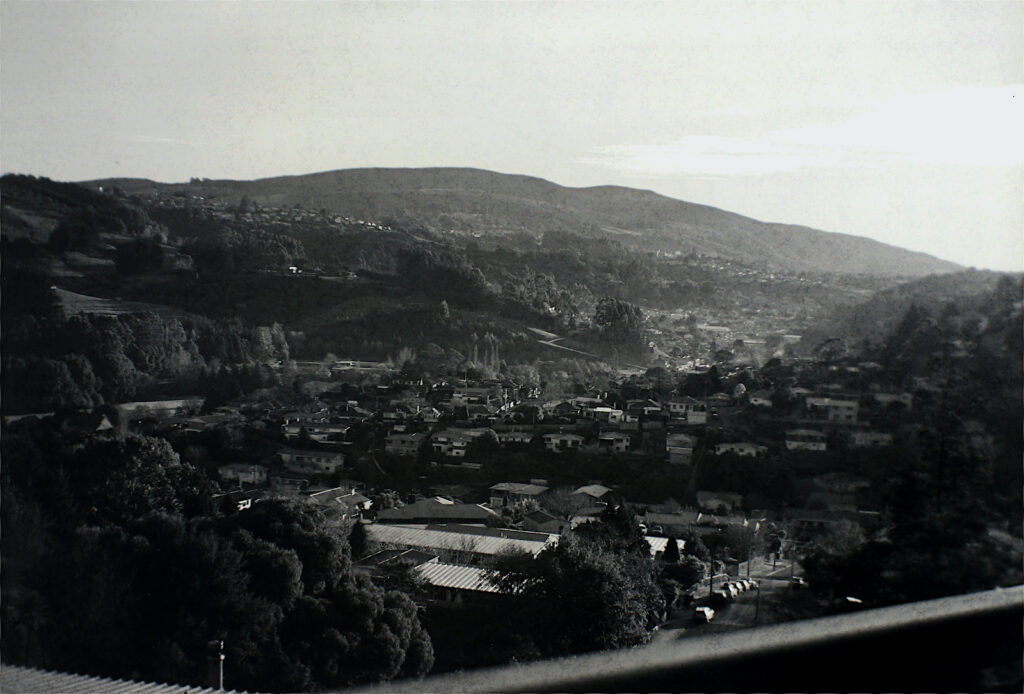
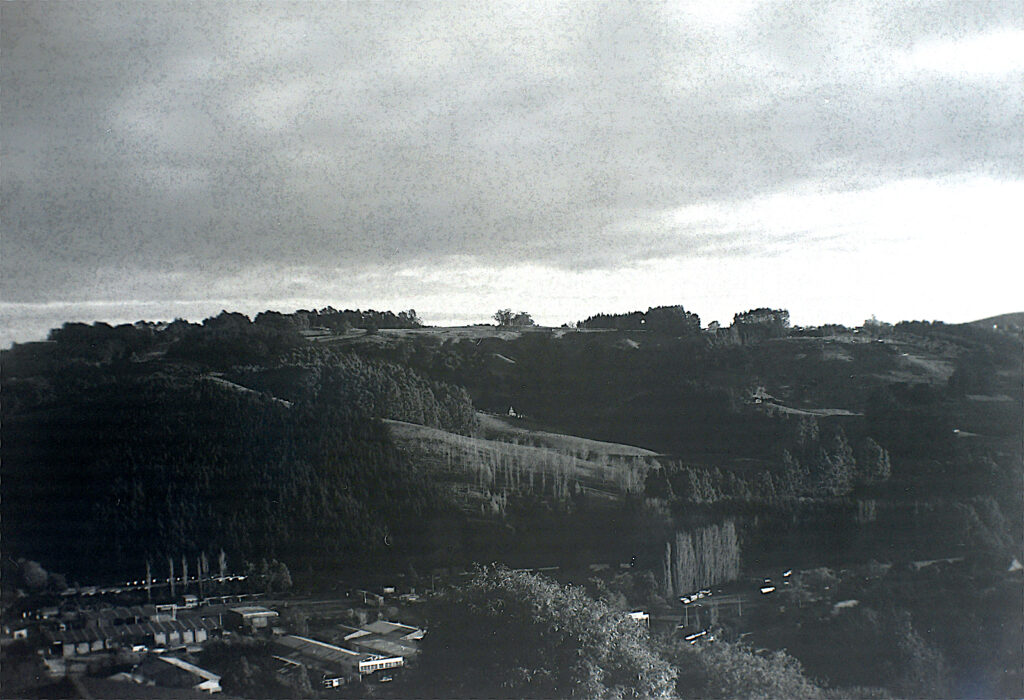
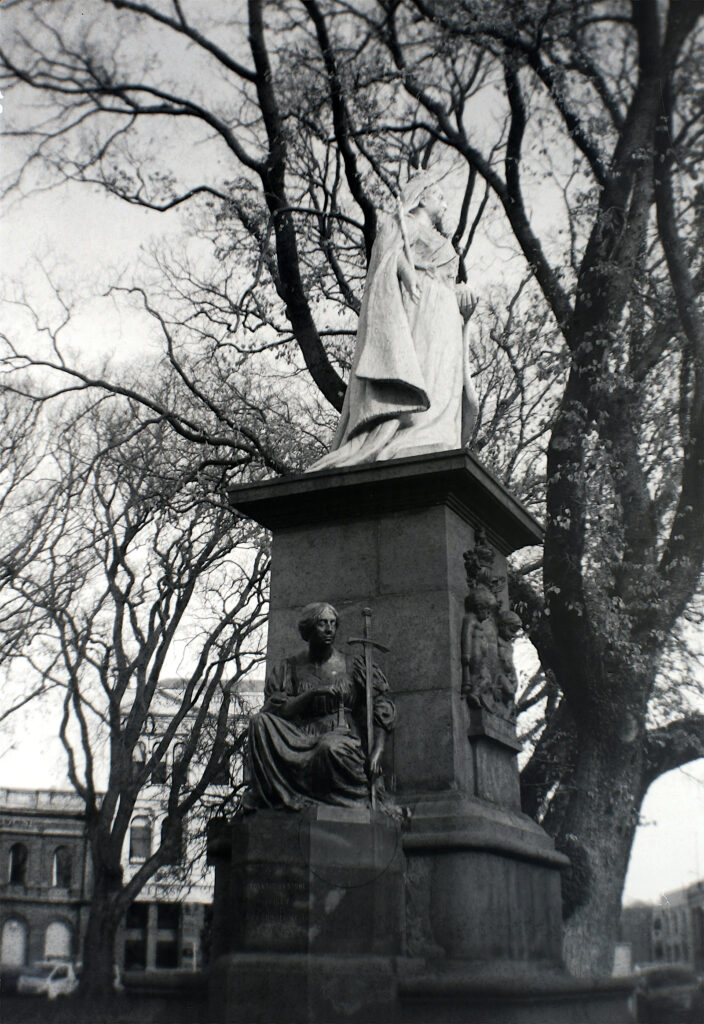
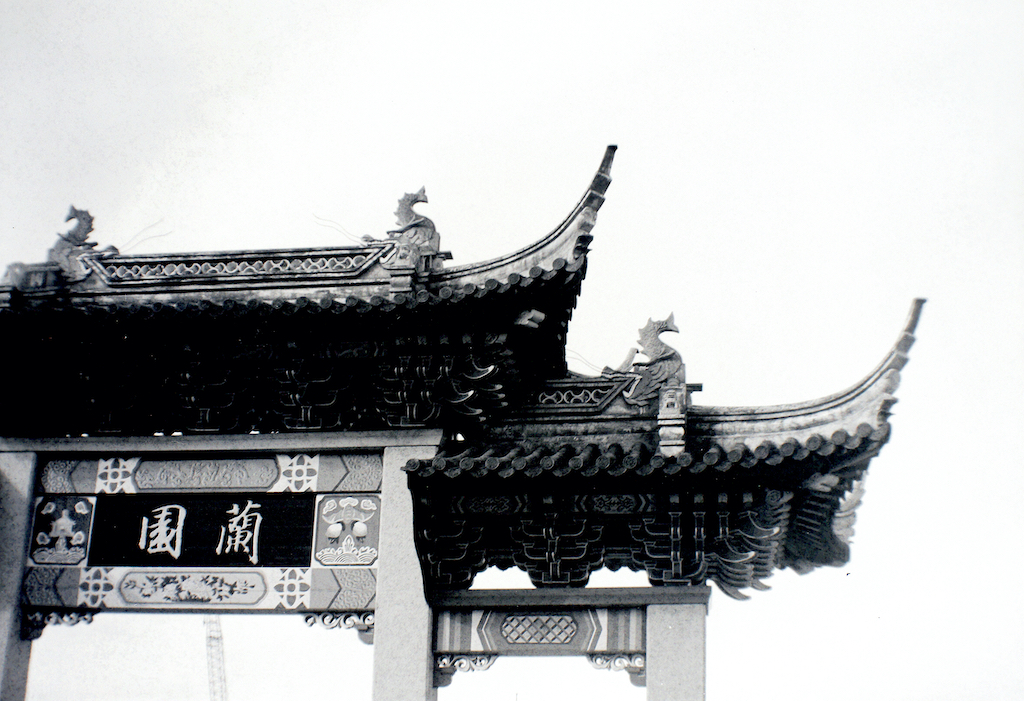
With 120 film still readily available, for this exercise I used some 120 Fomapan 400 which can be rated at a very wide range of speeds. According to the Massive Development Chart, http://www.digitaltruth.com/devchart.php, this is between ISO 100 and 6400, and for anything between 7 minutes to 90 minutes! Here I used it at ISO 100 processed in RO9/Rodinal 1:50 for 7 minutes. A “sunny 16” exposure of 1/50 at f22 is the equivalent of 1/50 at f11 with ISO 25 film. The recommended general setting in sunny conditions when it was new was the largest opening according to the handbook, probably assuming the slower speed film, with dire warnings of failure if smaller stops are used.
One thing I noticed was some mottling in thin areas of the negatives. I have had this before with 5×4 Pan F+ in Rodinal. It is there in the fully exposed negs but only noticeable in thin areas. Close inspection of an earlier Foma 400 rated ISO100 showed similar mottling but less noticeable. This was processed in original Rodinal so RO9 might be exaggerating it for some reason, or simply fresher materials? I will rate the next one at box speed to see if it appears.
Results
Trying not to be 21st century critical, I must say I found the rather tiny, reflex finders trying. But they worked provided you concentrated. The shutter release needed care too, the movement across the camera in landscape tending to induce a little movement and is the most awkward aspect. Overall though, it wasn’t too bad an experience using the camera.
I experimented a bit using filters held in front of the lens by hand. Some of the filtered frames were too thin but some were useable and I had a few good negatives to consider.

And finally
This has been an interesting project. Seen in the context of its time, why this type of camera was so popular is clear. There is little to understand beyond framing and releasing the shutter for the sort of photos most people would have wanted, i.e. records of holidays and outings when sunny conditions would be normal. And the boxy shape and the finders lend themselves to a quite secure hold. There was the possibility of taking things a little further if the bug bit, the owners’ manual covers the things needed for processing and printing your own films and how to use them before making the step up with better equipment. But for most, the album prints it produced with so little effort would satisfy most. The image below is 252px wide, the equivalent of a 6x9cm / 3 1/4” x 2 1/4” print at 72dpi on a background 1024px wide, the size of the other example and showing how much it is enlarged relative to the actual appearance in an album.

It is somewhat ironic that the film format introduced for use with this very basic, beginners’ camera eventually became the staple fodder for a large proportion of the professional sector, that is until high quality digital eventually took over of course.
Share this post:


Comments
Jonathan Leavitt on Box Brownie No. 2 – 1888 and all that
Comment posted: 21/07/2025
Comment posted: 21/07/2025
Comment posted: 21/07/2025
Comment posted: 21/07/2025
Jim Palmer on Box Brownie No. 2 – 1888 and all that
Comment posted: 21/07/2025
Comment posted: 21/07/2025
Gary Smith on Box Brownie No. 2 – 1888 and all that
Comment posted: 21/07/2025
Thanks for another great article, Tony!
It sounds like you completely agree with the success of this point-and-shoot?
Comment posted: 21/07/2025
Geoff Chaplin on Box Brownie No. 2 – 1888 and all that
Comment posted: 22/07/2025
Comment posted: 22/07/2025
Jeffery Luhn on Box Brownie No. 2 – 1888 and all that
Comment posted: 25/07/2025
Thanks for a very interesting posting. I have a red box brownie. Yes, red leatherette! I've shot photo paper through it and made contact prints. About 1 1/2 second exposure in the shade with the aperture at #2. Fun!
Comment posted: 25/07/2025