There are many methods to scan and convert film negatives into positives. One common method is to scan into a raw file with a scanner or, more commonly, a digital camera. The process inverts the negative while mitigating the affect of the film base,
But first how we got here to this post.
The journey
Several months ago wrote a post on programs that converted negatives into positives. Each program had different options and approaches to do a valid comparison.
And then there was the pesky matter of not including scans with digital cameras. At the beginning of the scanning journey, standalone scanners were de rigeur. But now digital cameras are the go-to, at a significant cost in time and money.
Scanning and converting was an iterative process, the result of being dissatisfied with the results. Since the scanner came with bundled software, I started using that until it was obviously inadequate, the colours were not as expected, the dynamic range not as great. You know the drill.
I bought Silverfast software for scanning. Initially pleased with straight scans, I eventually became disenchanted. Switched to scanning to tiff as positives while manually inverting, in Gimp. When Silverfast introduced scanning to dng. I decided to take the plunge even though it meant converting to tiff. I briefly considered freeware DarkTable. But just didn’t bond. RawTherapee, could do just that and it was free. Problem solved.
Even using dngs was too complicated. Although recently Gimp supports DarkTable, it does not work well for me. Even RawTherapee has become problematic. You guessed it. I had to embark on a quest for a standalone program to invert dng scans directly and then let Gimp tweak the result (curves, colour temperature) This resulted in even more research and testing.
SmartConvert
So here is the lowdown on SmartConvert from Flmomat. It’s not free but, as you will see, it is simple to use and effective and the best, for me, of three standalone programs I tested.
Disclaimer: Filmomat provided the software at no cost in exchange for an unbiased review here. The software is available for a 14 day free trial and with a monthly, yearly or lifetime subscription.
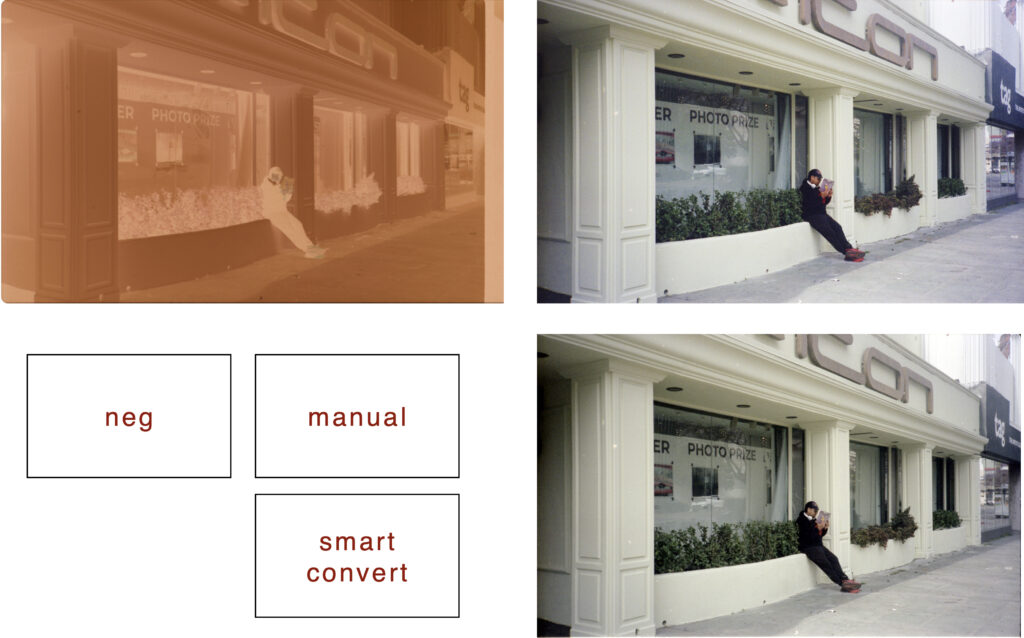
I will include some manual conversions to demonstrate how SmartConvert fares in comparison to manual inversion.
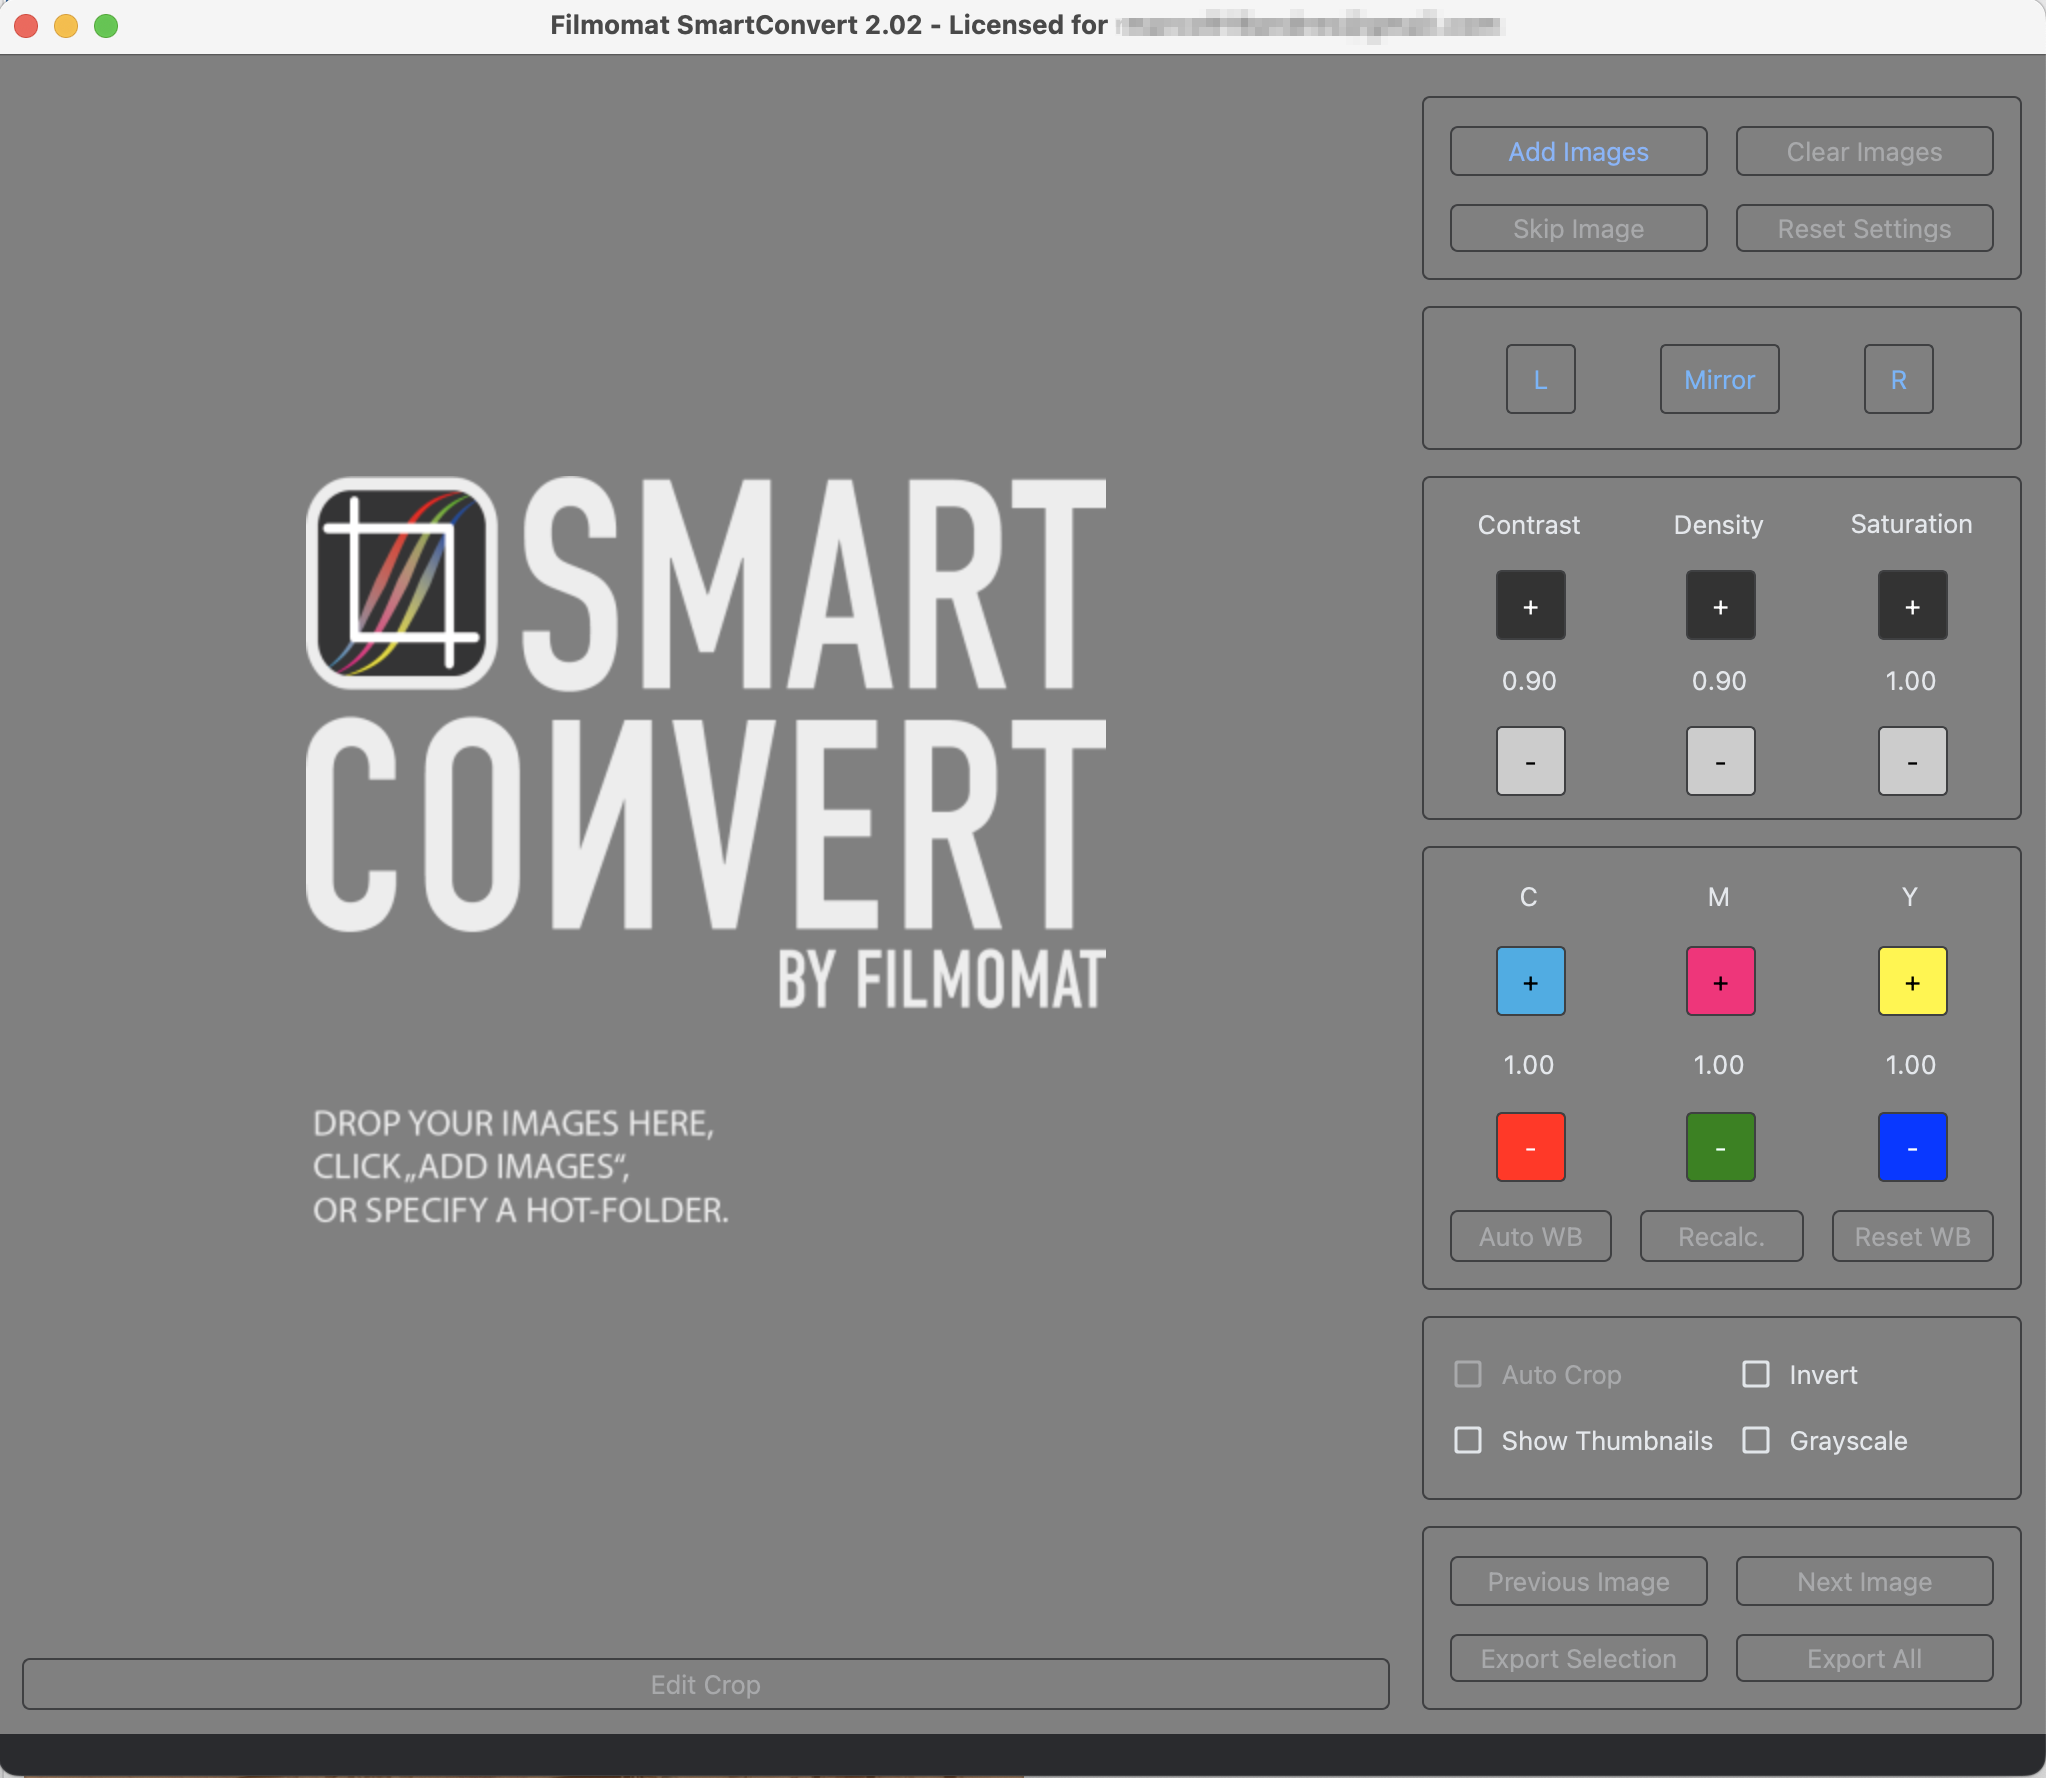
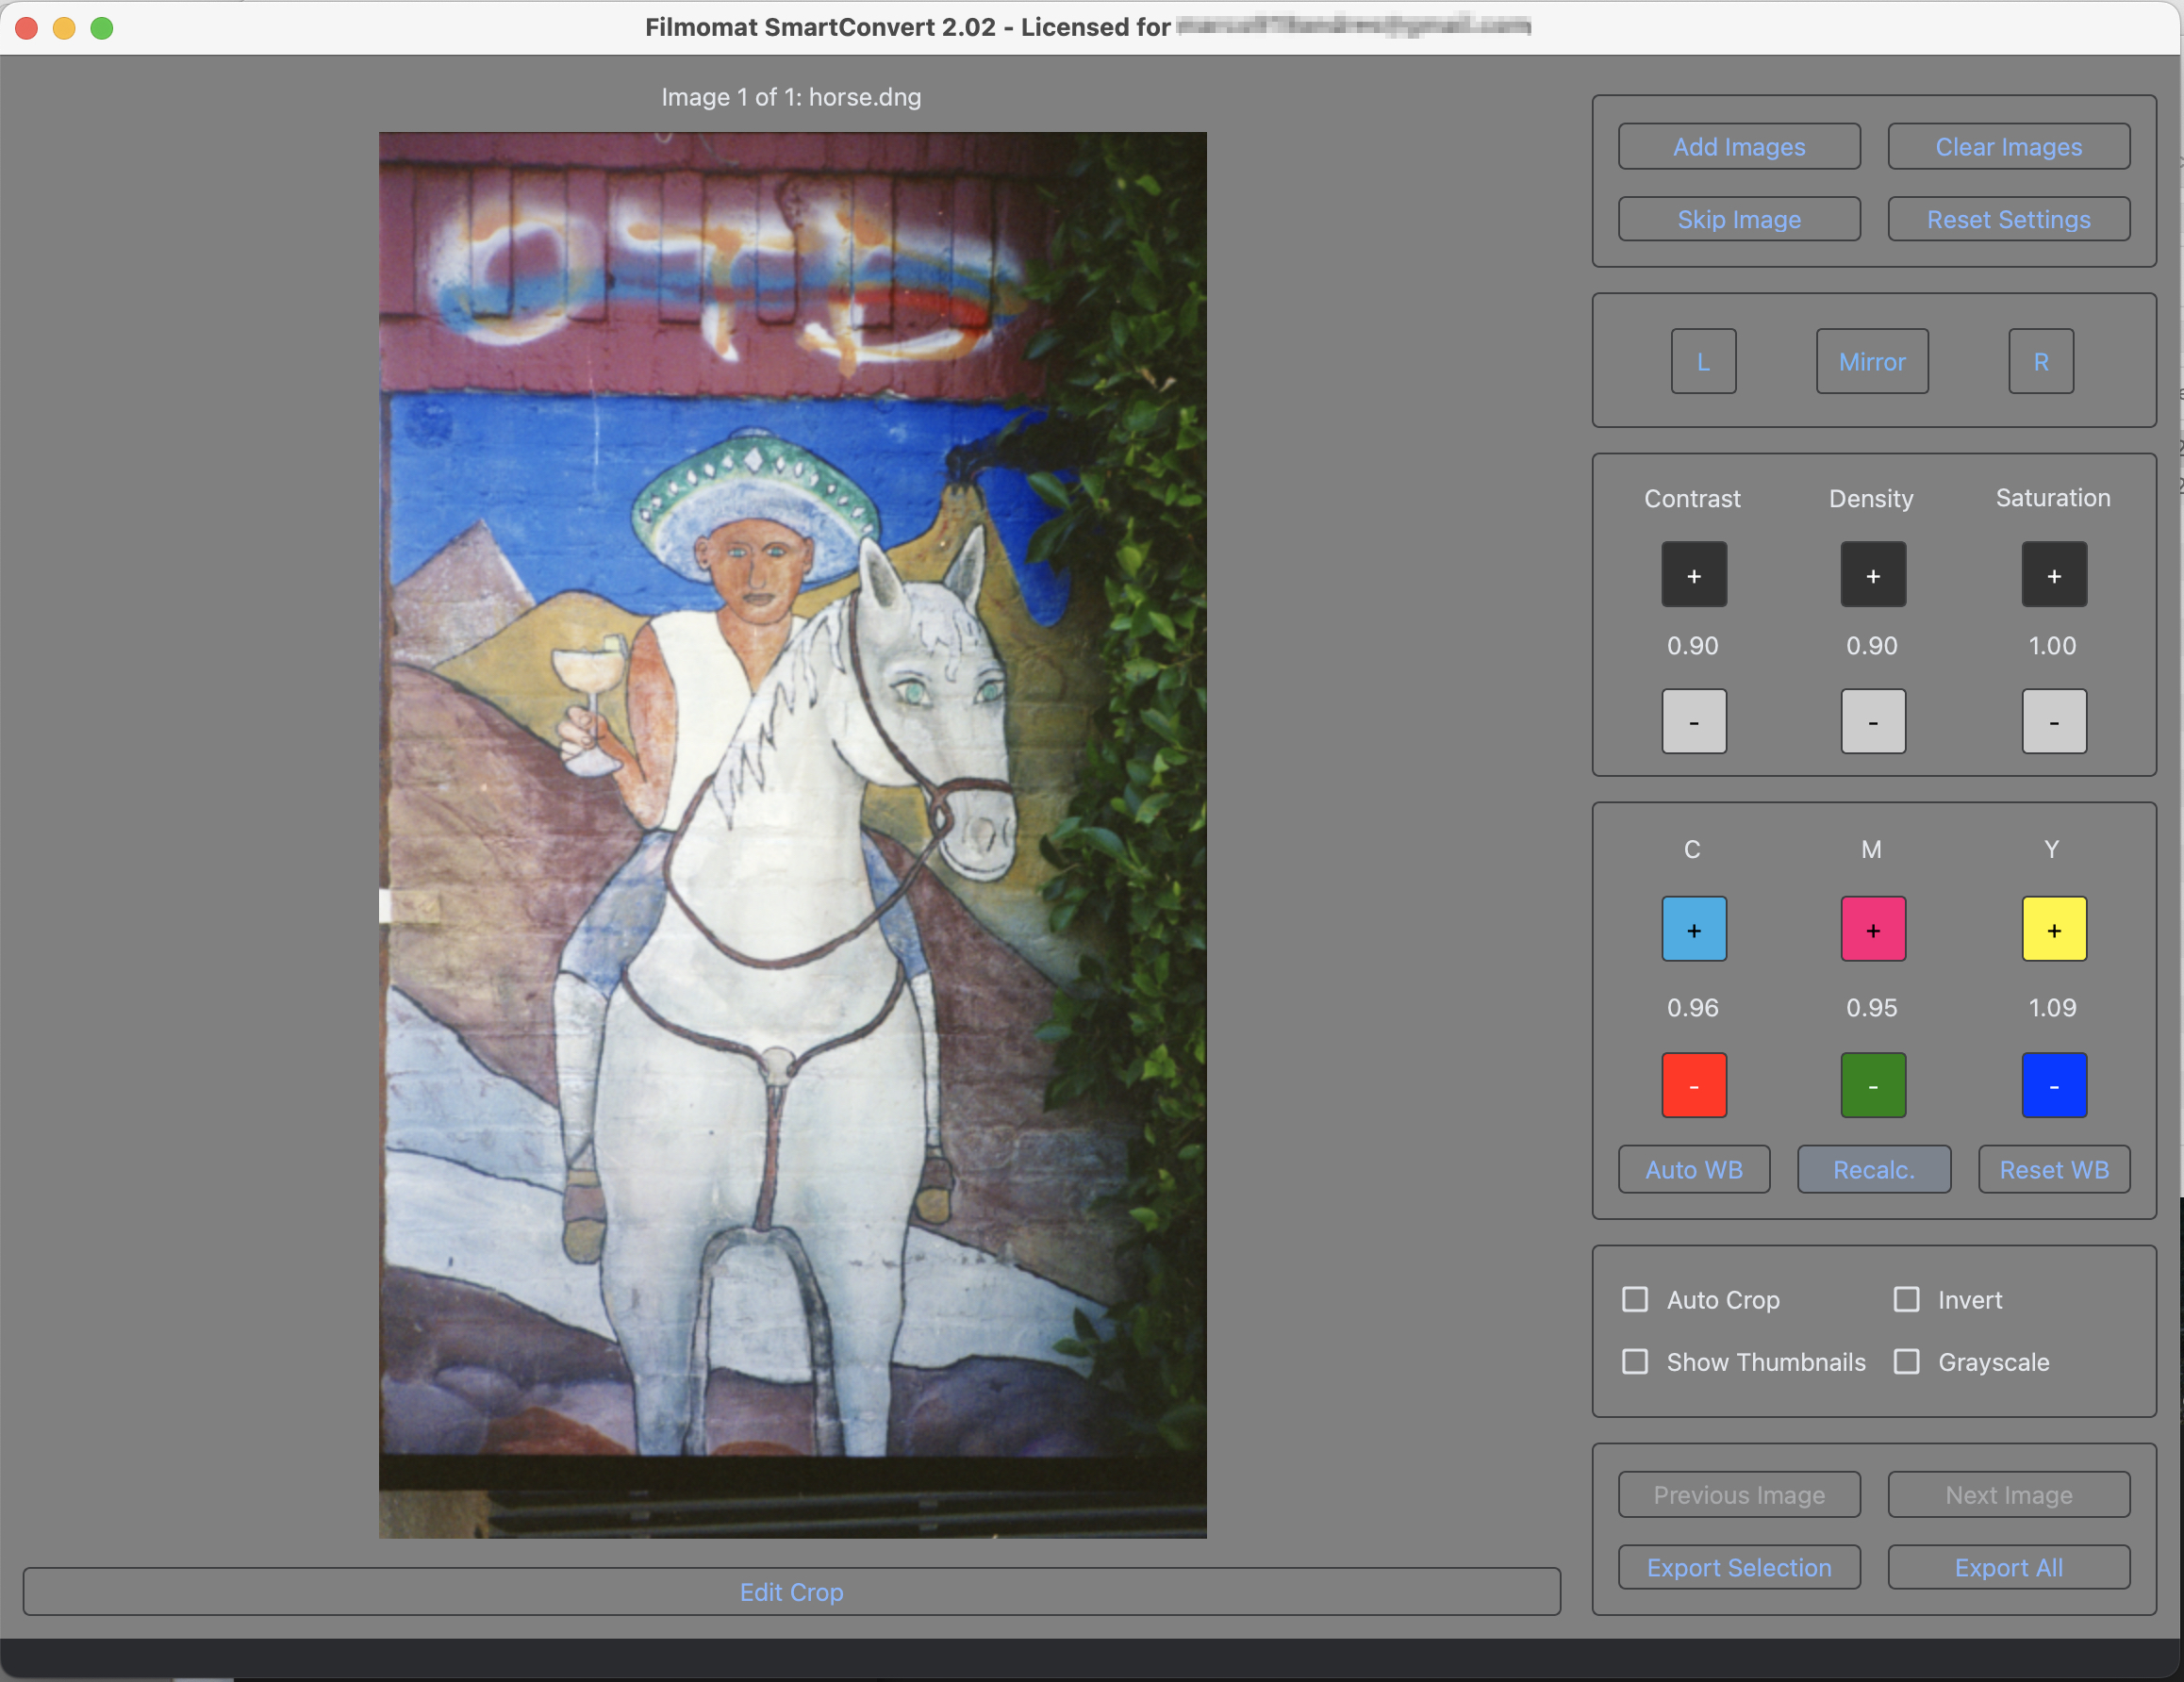
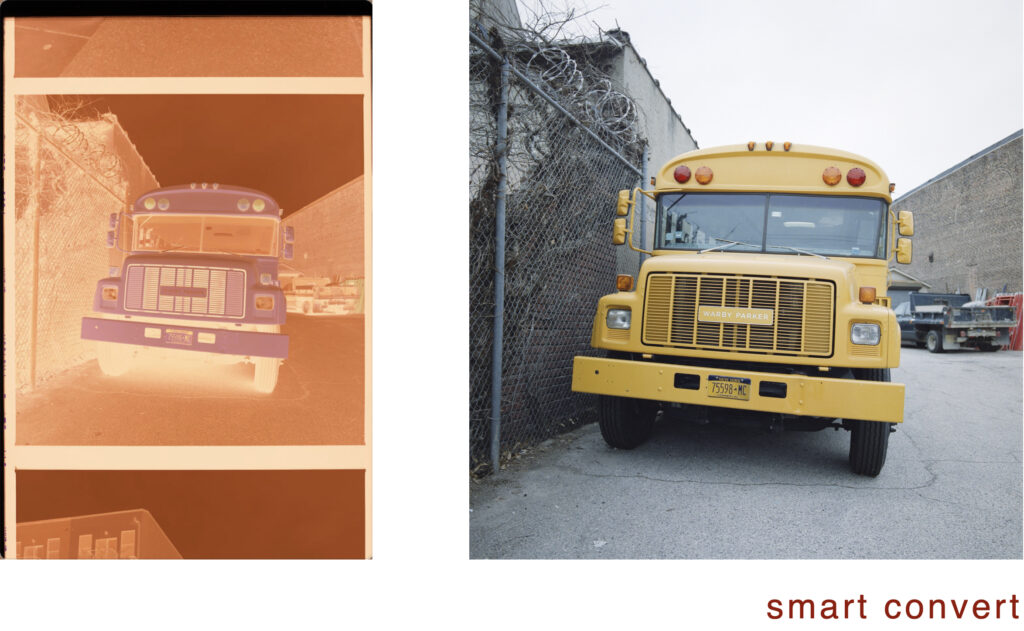
To process a negative, just drop file into the pane with the Smart Convert logo or click Add Images button (top right) to add image or all images in a folder.
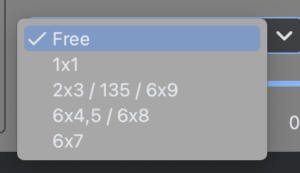
SmartConvert automagically inverts and fixes colour negatives, adding the ‘Edit Crop’ button beneath change the aspect ratio via a pulldown on the left with ‘Free’ being the first option and ‘Apply’ applying the crop and rotations.

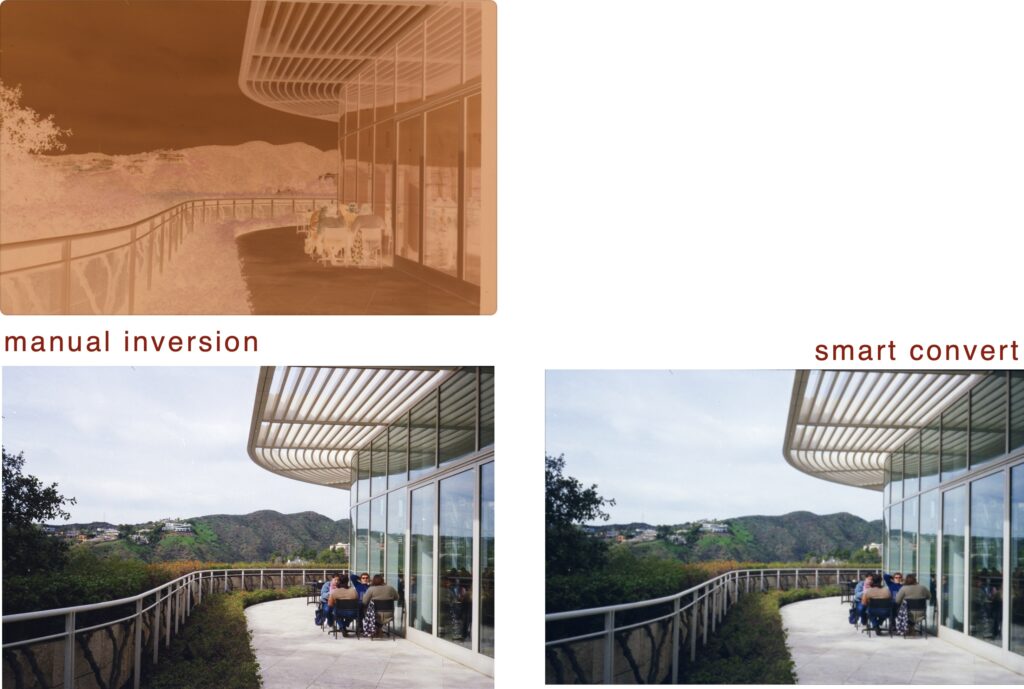
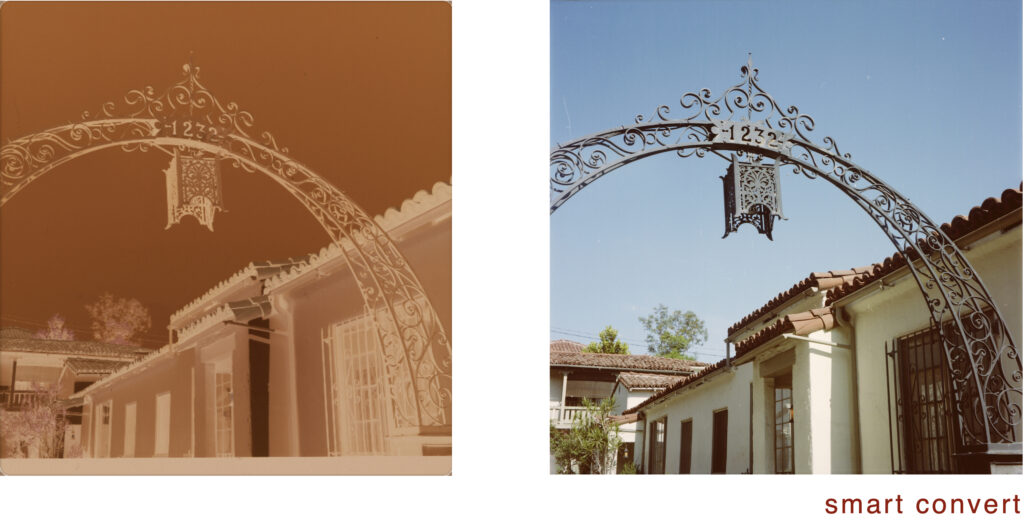
SmartConvert produces a result that is very similar to manual inversion, while removing the bluish colour temperature cast.
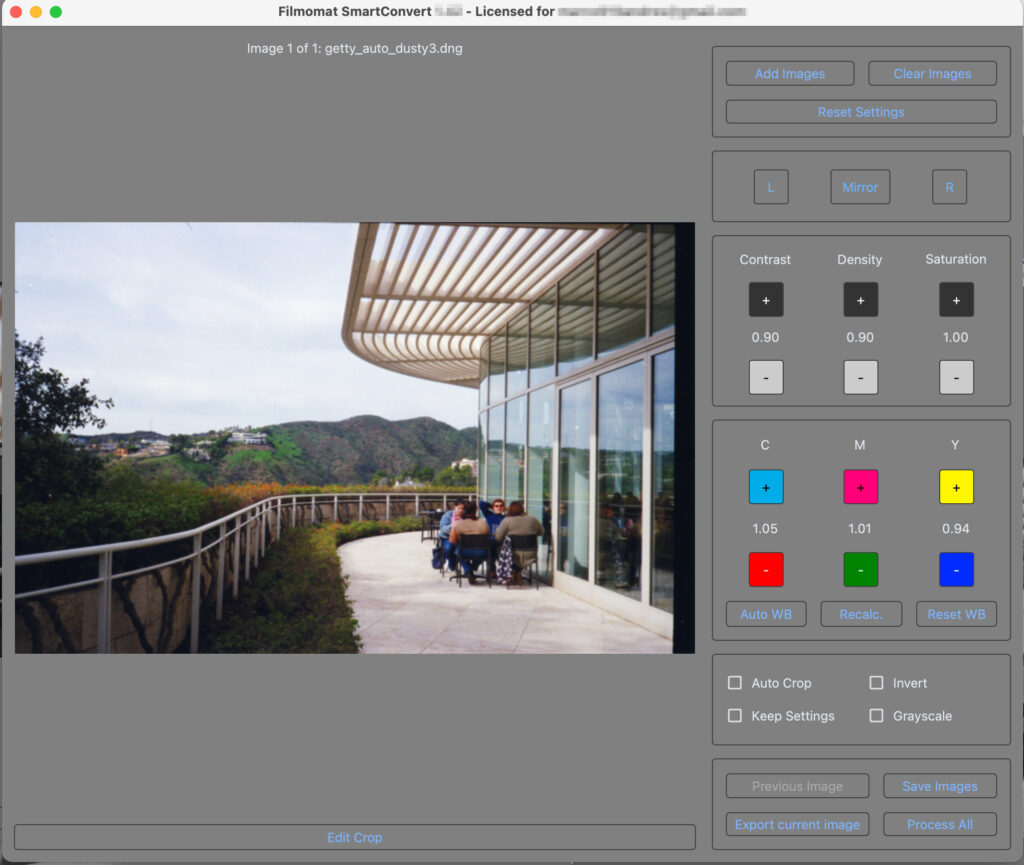
Converting Camera scans
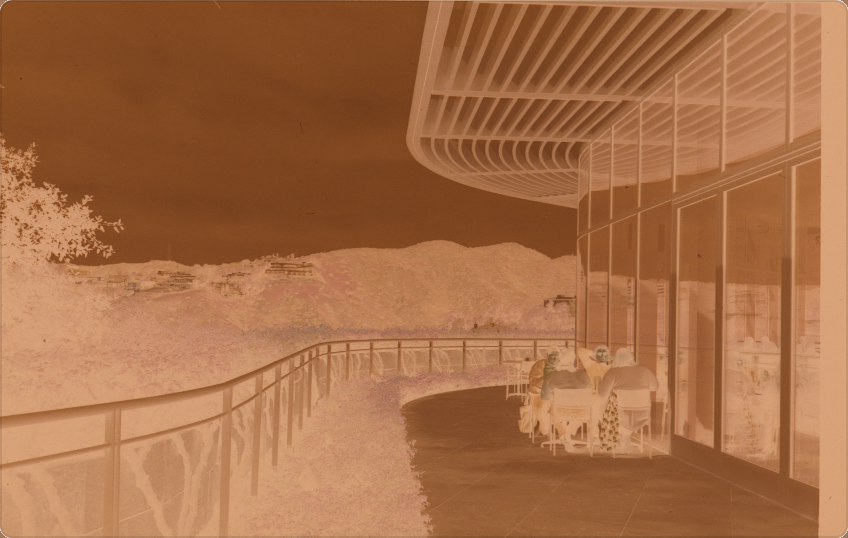
Fortunately, I found some raw scans shot with digital cameras. To say that the digital camera scanning procedure is complex is an understatement – in my opinion, at least. The source for these was a Raw Fuji scan.
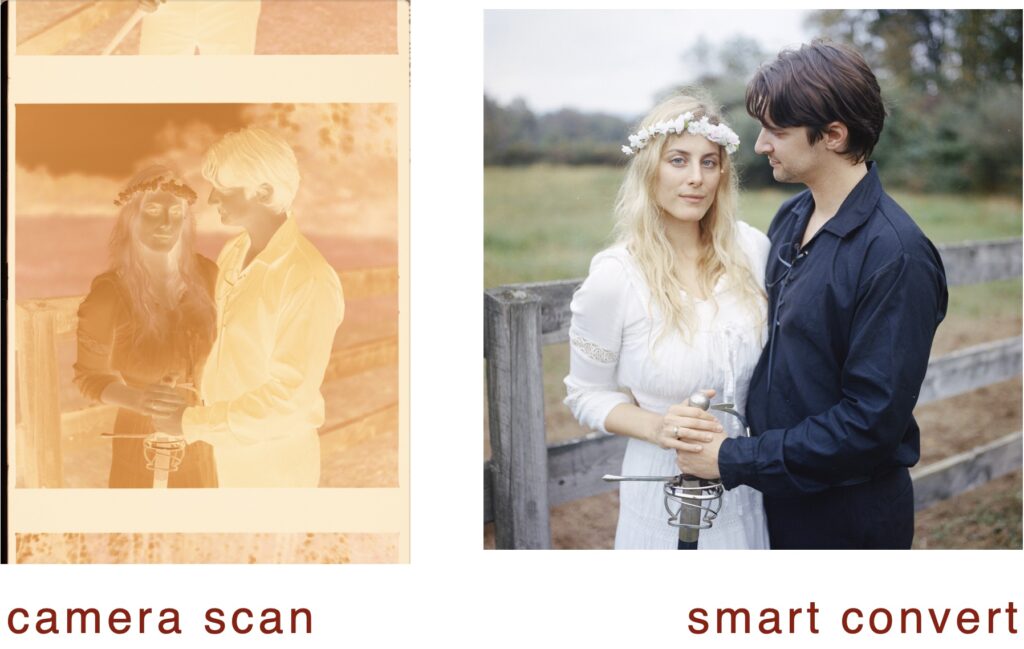
Let’s just not manually convert any more negs scanned with a digital camera…
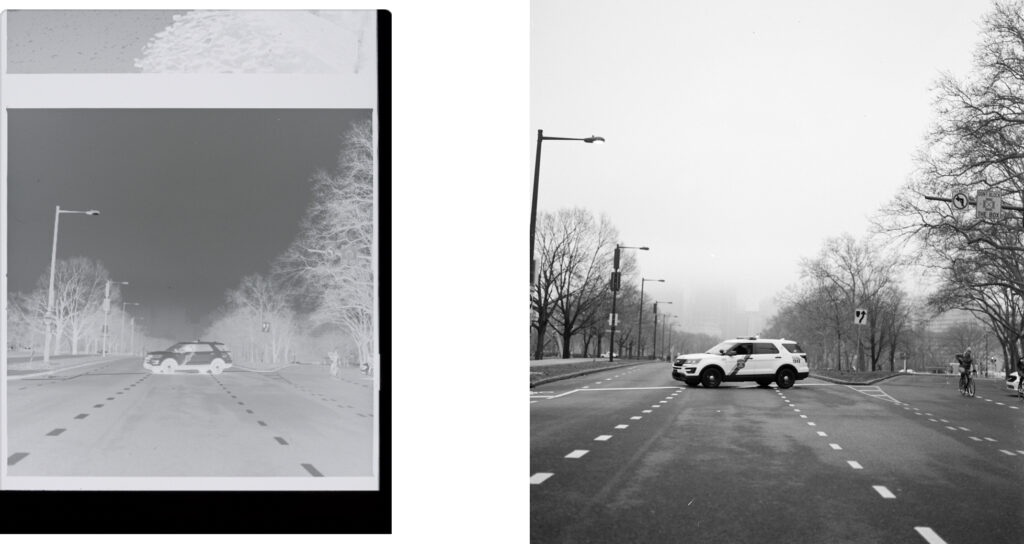
Two monochrome negatives
A Nikon file. Cropping allows you to specify the boundaries of the negative and to adjust for skew by entering the rotation in hundredths of a degree. Invert to crop more easily and then uninvert.

And this one is a scan of another b/w negative, this time in Fuji RAF format.
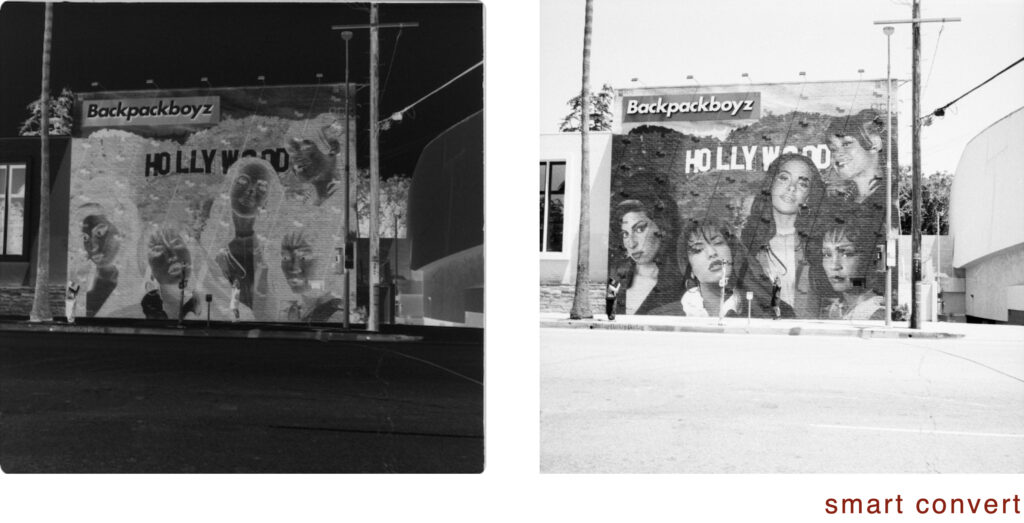
Converting images from a scanner
Here are three colour images

And two monochrome images
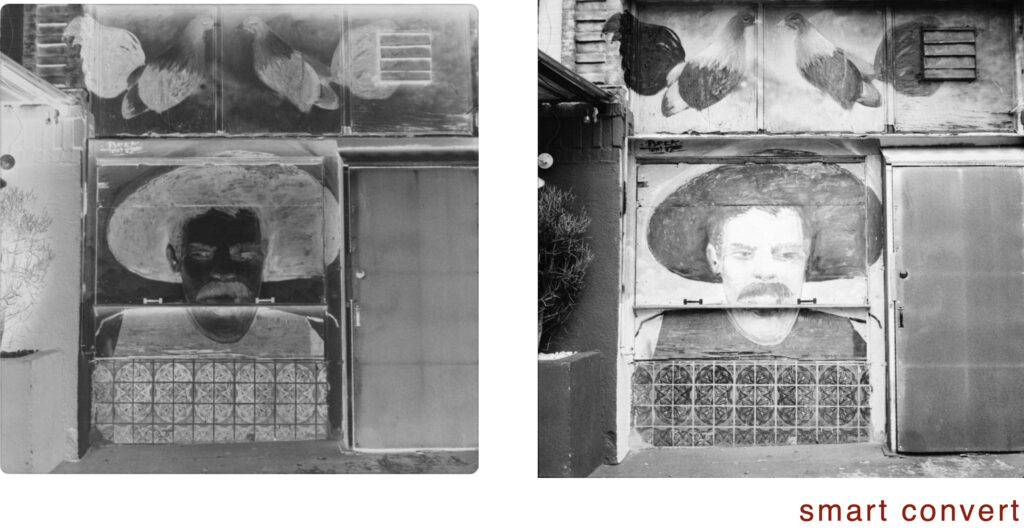
Controls
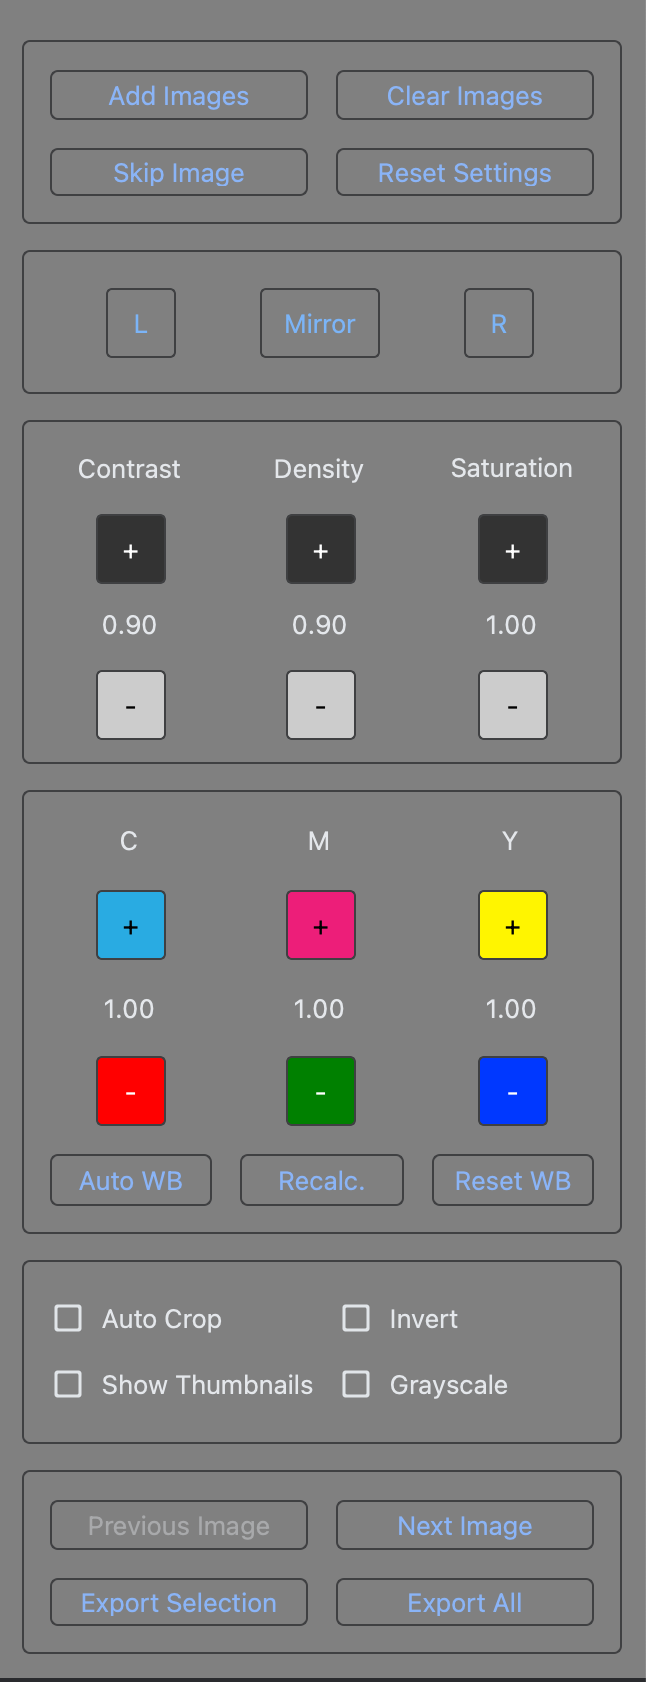
Basic controls for transforming an image. I will cover them briefly; starting at the top.
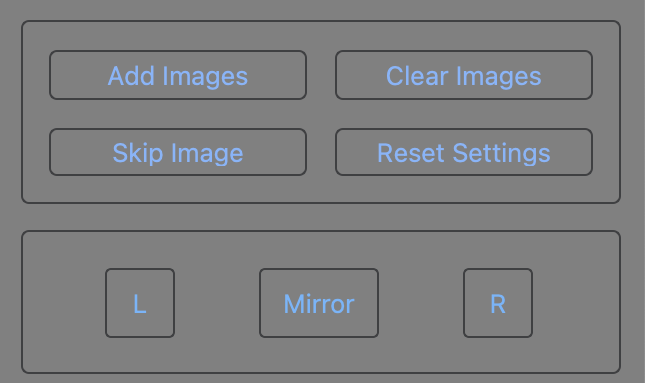
‘Add Images’ – click to add a file or a folder of images
‘Clear Images‘, ‘Skip image’ – basically do not process
‘Reset Settings’ – Obvious
‘Mirror, L & R’ – rotate 90 degrees or Mirror
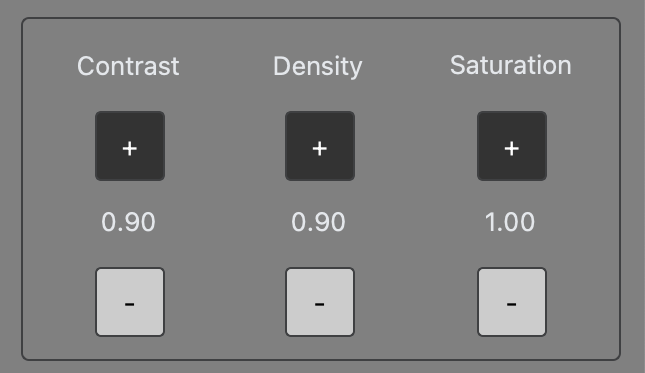
Manipulate Contrast, Density or Saturation.
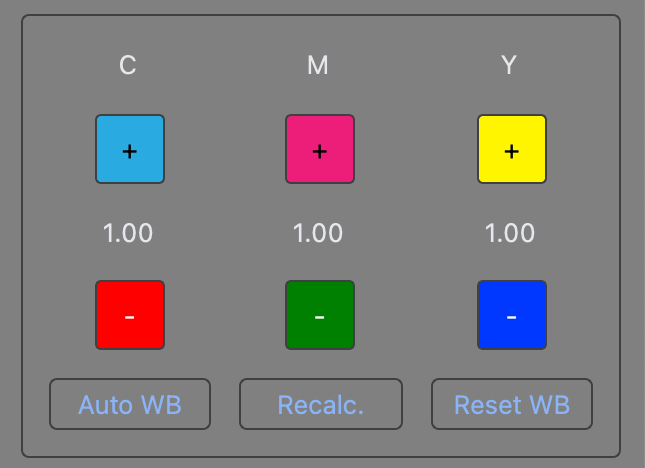
Manipulate colour balance in CMY or RGB space, Auto White Balance, Recalc or Reset White Balance. I usually just do either Recalc or Auto White balance.
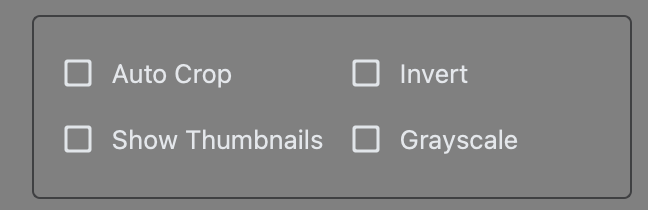
Auto Crop, Invert, Show Thumbnails (takes up too much real estate), Grayscale
Previous Image, Next Image, Export Current Image, Process All (converts and exports all).
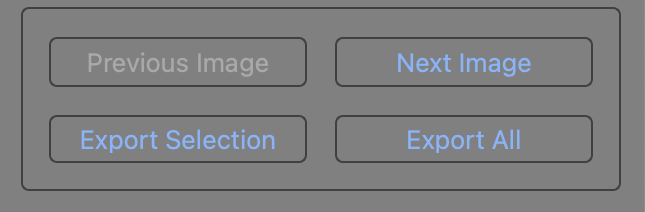
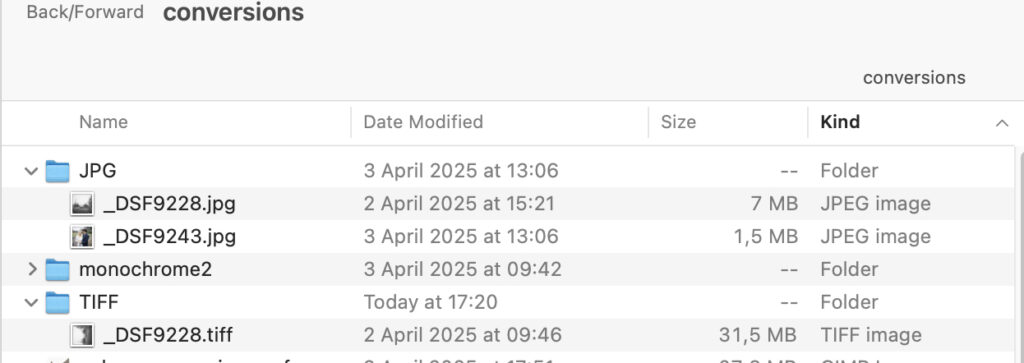
SmartConvert exports jpg and tiff into separate folders within the specified folder and overwrites any file with the same name.
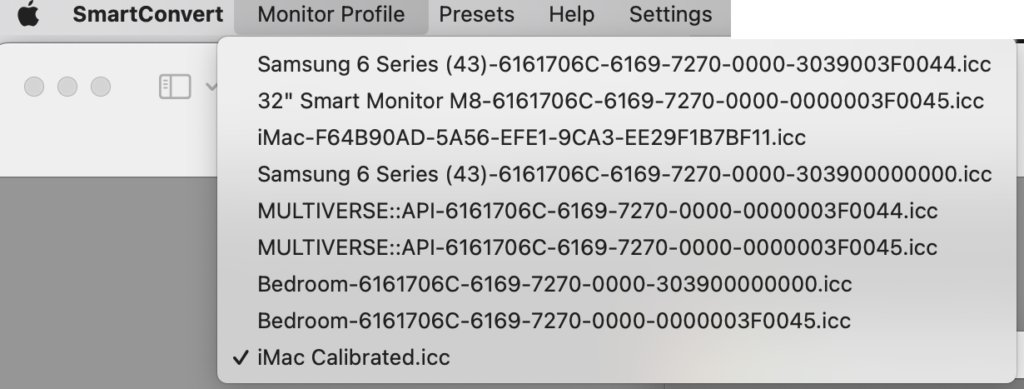
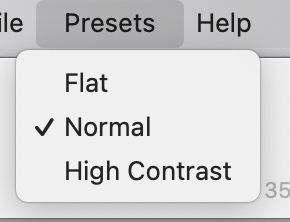
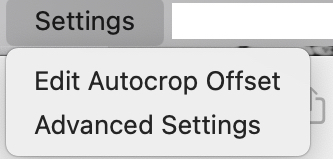
Menu Options
To be honest, I have not used any of these. Some of the menu options:
Conclusion
SmartConvert more than adequately converts scans from flatbed scanners and from digital cameras. Where I find manual inversion of digital camera scans to be problematic.
Preferring to use film in a camera, I’ll pass on digital cameras with their planned obsolescence, high cost and, frankly, ugly (utilitarian) look/feel. Yes there are some beautifully designed digital cameras (pricey) but I’ve had enough with screens and pixel peeping, preferring the leisurely pace of film photography. And yes, I make digital images with an iPhone. Sure, it’s clumsy to use but it does the job and it’s thre whenever I go out IRL It’s well worth the tradeoffs.
SmartConvert is elegantly designed and simple. It is better in my experience than the commercial competitors I have tried (Filmlab and ChemVert). Although most of my work is monochrome, I still use SmartConvert, since it is simpler and has a better workflow than manual conversion.
Having purchasing colour chemistry, plan to do more colour work once I select a sous-vide heater. I am well aware that the shelf life of colour chemistry is considerably shorter than b/w, particularly Rodinal, which seems to keep forever. And yes, colour film is more expensive to purchase and process.
Bottom line: converting with SmartConvert is certainly faster than manual inversion, requires less effort than manual conversion with results that are either comparable to manual inversion or even better. I’m not going back.
At the time of publication, SmartConvert is now on version 3.10,
Share this post:


Comments
Jeffery Luhn on SmartConvert – Inverting negatives smartly
Comment posted: 28/07/2025
Thanks for this article/tutorial. I have a flatbed scanner but do my critical work with a Sony body and Nikkor 55mm macro lens. I have never made a conversion from a color negative that I liked! So your suggestions could be exactly what I need. Thanks!!
Comment posted: 28/07/2025
Gary Smith on SmartConvert – Inverting negatives smartly
Comment posted: 28/07/2025
Unlike you Marco, I happily shoot digital alongside my recent foray back into the film realm. My film excursion has prompted my return to self-developing and scanning. I have to admit after fooling with doing developing in a cramped corner of the garage that it would be a whole lot easier if I had the room to set up a wet darkroom (like I had 50 years ago). I only recently did a few rolls of color here and while the use of a Sous Vide device for water temperature control makes the criticality of water baths/chemistry temperature easy, the fact that I have to set-up my limited space and pack it all up afterwards makes it somewhat of a pain. My last roll of color I just sent off to a lab. Time consuming and certainly expensive (when compared with what film developing cost 50 years ago when there was a PhotoMat in almost every parking lot).
I looked at Filmomat prior to deciding on FilmLab s/w. Filmomat has an entire ecosystem of film handling that seems geared towards going into the film processing business. You description of the color inversion s/w was thorough, but I have to say that I prefer the FilmLab s/w.
That said, color is all about personal preference and taking into account the individual characteristics of the film.
I suspect any of my future color film will be lab processed and scanned (which argues in favor of a pure analog approach to film skipping the entire digital portion and going directly to wet-processed prints rather than digitizing the negs).
Comment posted: 28/07/2025
Comment posted: 28/07/2025
Melonie San Filippo on SmartConvert – Inverting negatives smartly
Comment posted: 30/07/2025
Overhead Door™ Company of Sacramento has been providing Sacramento and surrounding area with expert garage door service since 1953. We are part of the Overhead Door™ Corporation that was established in 1921. We are the only authorized Overhead Door™ distributor in Sacramento, Placer, Yolo, Solano, Yuba, El Dorado, Amador, Nevada, and Sutter counties.
Paul Taylor on SmartConvert – Inverting negatives smartly
Comment posted: 31/07/2025
I find this is only true of people who don't really nail down their setup, or don't have a dedicated set-up. My camera-scanning setup is fast, easy, and reliable to use. Way faster than my Epson V550, and way easier (no fiddling about with the crappy Epson negative holders.) I have a dedicated stand, camera & macro. My light box (Sunray box III) is mounted to the base of the stand. Nothing moves on the whole set-up other than the camera's elevation to allow for different formats (I "scan" everything from Minolta 16 to 4x5 with this set up) I can scan an entire 36 frame roll of 35mm before my flatbed has scanned 3 frames. It took my about two hours to make my stand, get everything set-up - and once that was done I haven't had to touch it in years.
As a 70% Linux user - I will say Gimp, Darktable, and RawTherapee are (and have been) supremely disappointing to use. I check back every couple years to see (hope) they have managed to at least match other "paid" photosuites from 5 years ago - and they are still way behind in usability and feature. It is disappointing that Linux (and open source in general) is such a barren wasteland for artist/creatives. Till that issue is remedied I will always have to have one windows machine so I can have Photoshop/Lightroom/Negative Lab Pro.
I tried SmartConvert a while ago, and I was "meh" on it. However, Filmomat's automated negative carriers have had my attention for a while (especially now that they have a 120 sized one.) I would imagine SmartConvert, an autocarrier, and their macropad for SmartConvert is an awesome system to have. I have been resisting the urge to spend the money, as my existing solution works really well for the amount of film I shoot (5-10 rolls a month.)
Great article on using SmartConvert, I may have to give it another go.
Roger on SmartConvert – Inverting negatives smartly
Comment posted: 01/08/2025
Though I use an Epson flatbed scanner, I found that having an JJC adapter that fastened the neg carrier directly to a macro lens, with a built in lcd light made copying with a digital camera very easy. Consistent lighting and no problem with movement. Sometimes I prefer the Epson results; sometimes the Sony camera ones. With colour negs I’ll typically start with the Sony and then use SmartConvert.
David Ludington on SmartConvert – Inverting negatives smartly
Comment posted: 11/08/2025
I really enjoyed your article. Like you, I use Silverfast for scanning negatives (with a Plustek OpticFilm 8300 Ai scanner), and I'm interested in working SmartConvert into my workflow. The one thing I can't figure out is how to manage dust removal without it turning into a big hassle. I spent a little while playing with the SmartConvert demo, and I found that if I use Silverfast to create a DNG file of the scan (which doesn't apply Silverfast's dust removal tool or other adjustments), and then import the file into SmartConvert, there are a ton of dust marks and it would take ages to deal with them in Lightroom.
Could you walk through your Silverfast/SmartConvert workflow, and how you manage dust removal?
Again, great article.