
After a few years of shooting, and 2 or 3 hundred rolls of film I felt my experience was growing, and my GAS with it. I’d been shooting a lot of wide angle lenses, and wanted to shoot something a little longer. I tried a Yashica Electro with a 45mm Lens (a long lens for me) and although I had been confused about the field of view, it gave me a 3D pop I had not seen in my images so far. Especially in landscape shots.
I still liked the idea of a longer lens, but became interested in the idea of altering the format. What if I could shoot the longer lens and have the feel of a more normal focal length on the height of the frame, but widen the frame to that given by something more like a 35mm lens. I soon found myself interested in the process of modifying cameras. I then read the FauXPAN story on 35mmc. I like the Project very much and the photos are great!
As a first step, I took an extensive look into the stock of my local second hand camera dealer. What a pleasure! Searching for a low budget camera, with a big-enough body for enlarging the frame was a fascinating process.
The first camera I found was a Voigtlander Vitessa T with a 50mm Color-Skopar lens. Not a beautiful camera but beautifully built and very easy to disassemble. I cut the film gate to 50mm width, so a 48×24 negative could be perfectly cropped. A few days later I went out shooting with my first 2:1 frame camera. Film advancing was done by pressing the film advance button twice twice – I’d unlocked the mechanism, so had to remember to advance the film after I took my shots so as not to double expose.
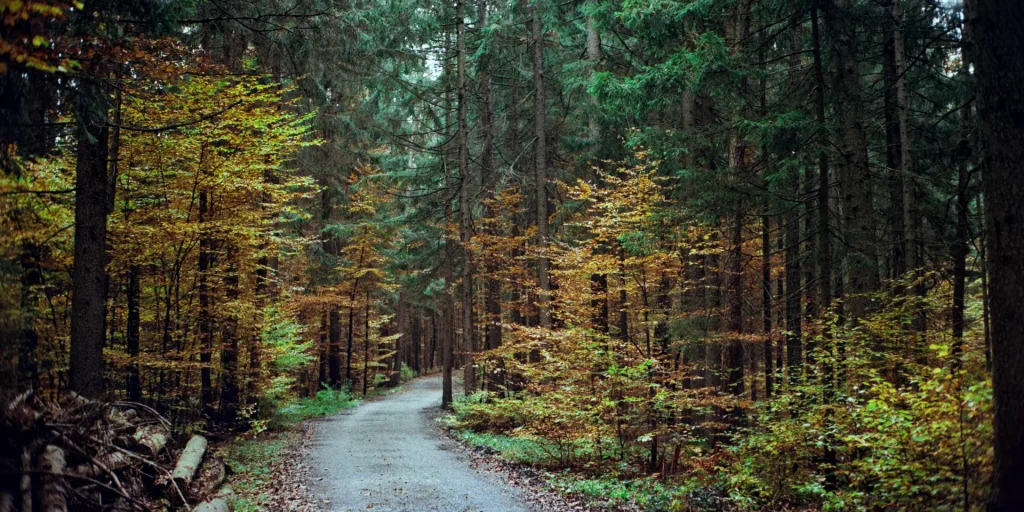
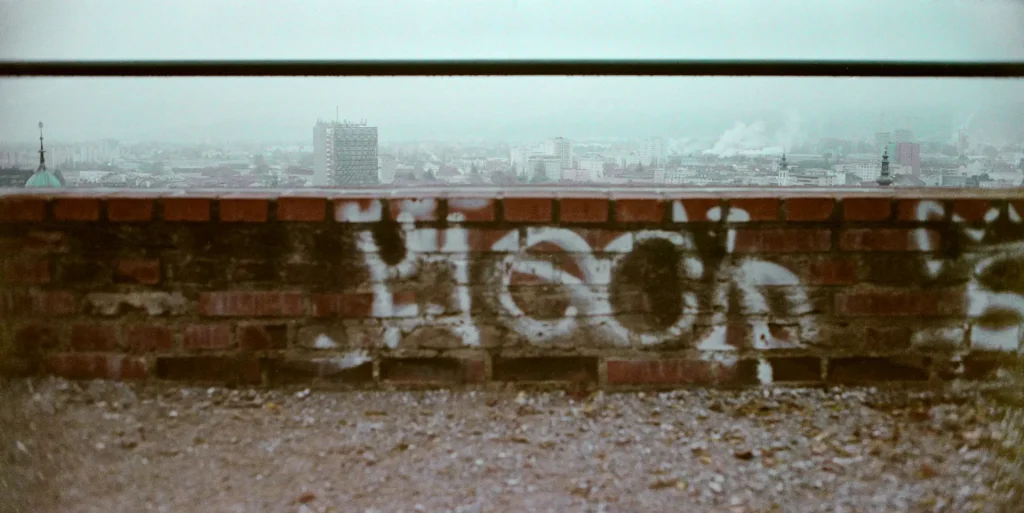
This photo came out of my first roll, I was very happy!
It was a success. But a next step was in my head. I wanted the camera to be more compact so I could carry it with me all the time. This time, I modified a folding Vitessa. This was more tricky because I had to build a custom bellows. The result was not good at all. I think I could have done it better if I had the patience to order the appropriate materials. With every new film loaded, I had to hope it would be light tight. Nevertheless I had lot of fun with the Vitessa this summer. Especially as the Color Skopar lens is excellent!
This folder is kind of compact – I could almost carry it in the back pocket of my jeans. But it is a 700g camera, and that is a lot. But even if it was lighter, I still would have found another reason to go on working on the next project. I started again thinking about a lighter, better or just different material to take this to the next level.
At this point, a made the mistake of thinking all those simple, tessar-like lenses can cover an image circle of about 55mm as the color skopar can. I was wrong. At least a Mamiya 35 body, a retina-xenar lens, some other stuff and hours of time went to the dustbin, because the lens was not at all sharp or bright enough in the corners of the frame, or it was badly built by myself. One shot of the combi Mamiya 35 and Retina-Xenar lens. I like this one, but with the xenar no frame was ever sharp anywhere on color film.
At this point, I knew i had to be a little more careful in growing an idea and starting something new. This is where the Olyversal Project began.
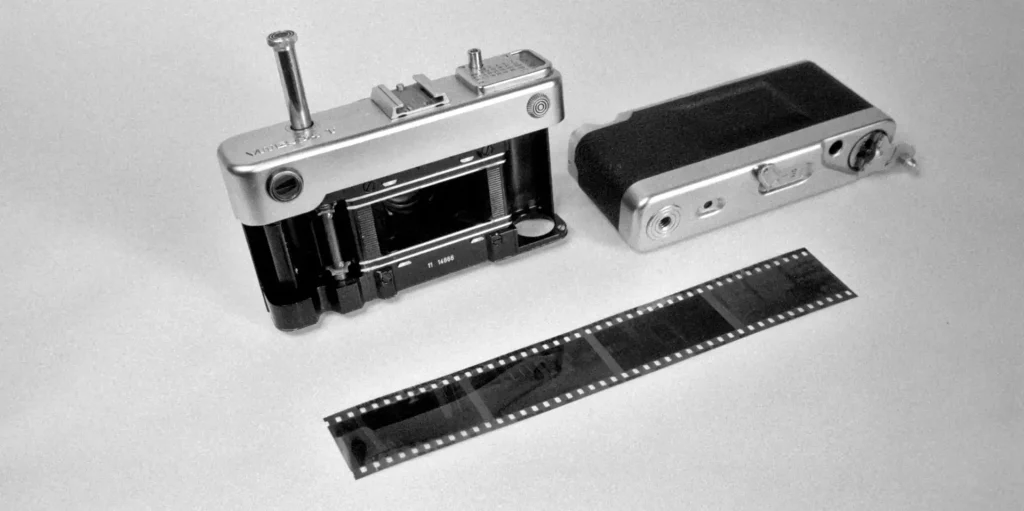
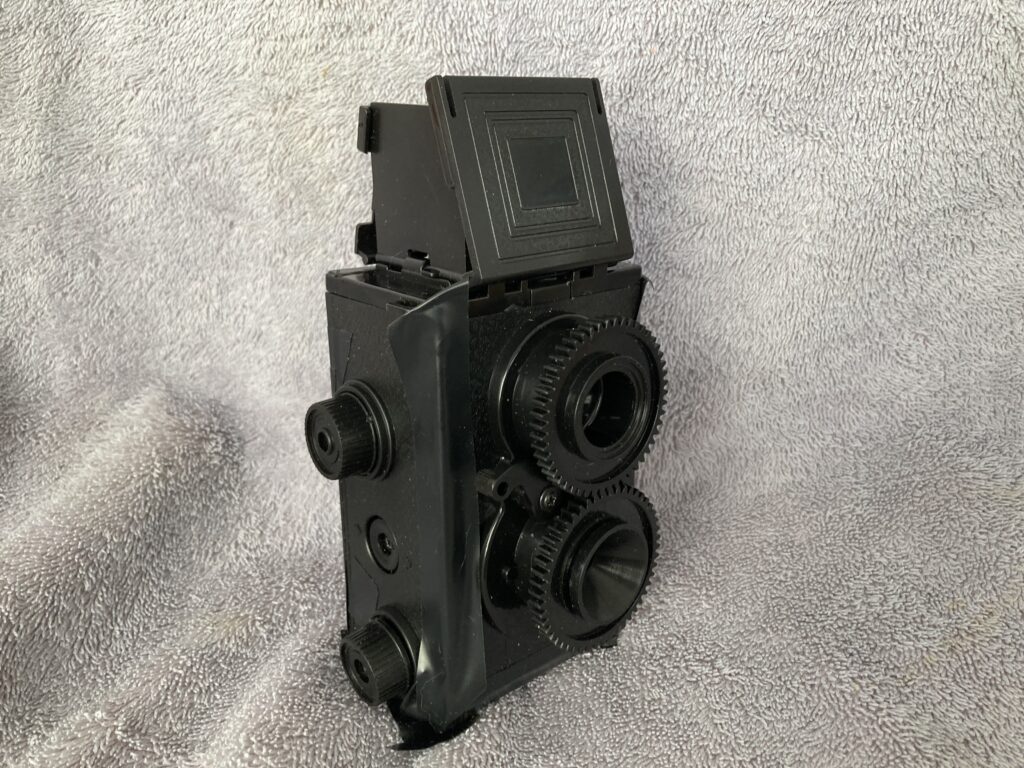
It should be an aluminium-body. The front-plate should be easily demountable. And most important of all, there should be a mounting system for different lenses. I knew it before, but I didn’t dare to think about cutting an Olympus OM2n. I remembered that I kept one defective body for spare parts. So I did it. Lots of work. This time I tried to take my time. I cnc milled two little gear-wheels for having a film-advance-stop mechanism at 57mm. This is the basis of the body.
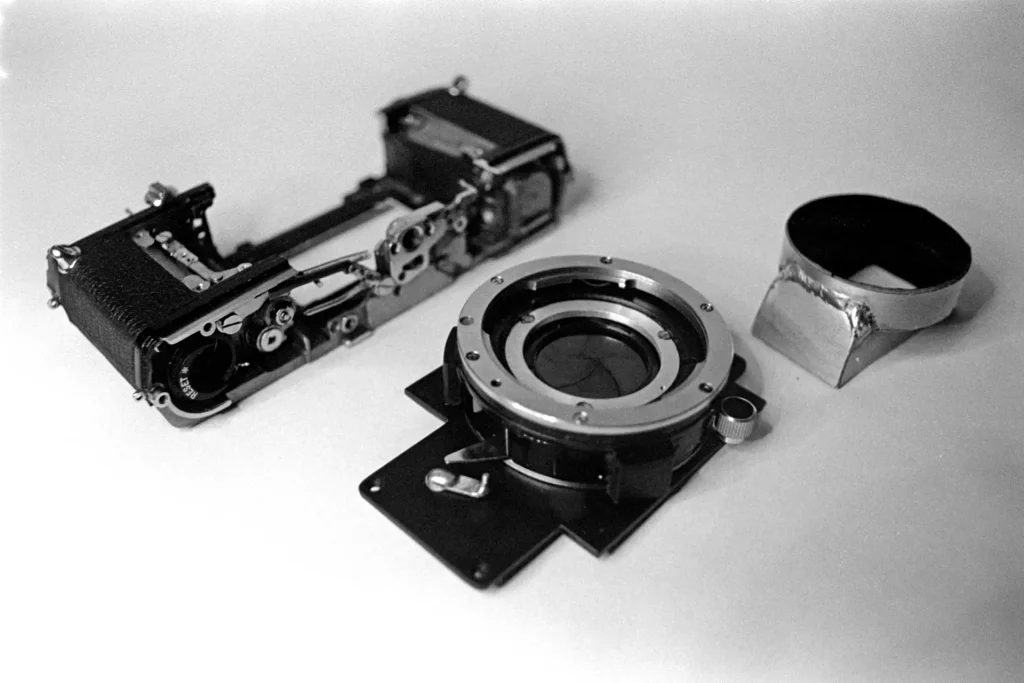
The next step again was not so well planed. but afterwards I was lucky that everything found its way together in a nice way. I bought a nice-priced Mamiya press 90/3,5 lens because of its 25mm leaf shutter. Seiko. Very nice. I also bought a something-3000 pentax plastic SLR because of its K-Mount ring and an SMC 50/f2 lens. It took me some very exited days to fit the seiko shutter and the bayonet-ring to the plate including a 0,02mm tolerance for the 45,46 flange back distance.
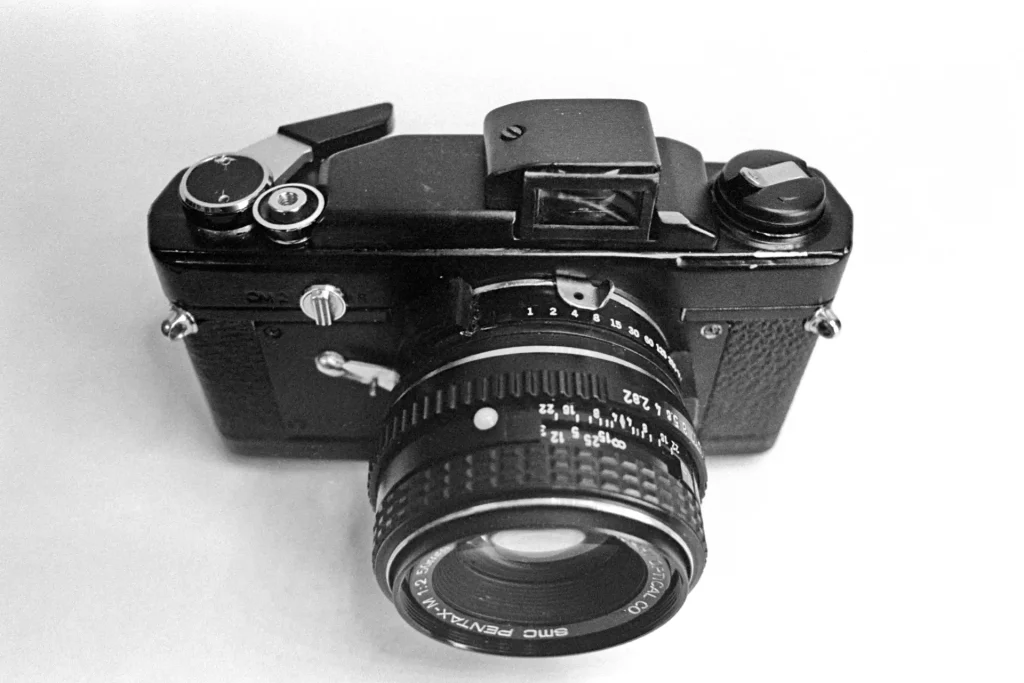
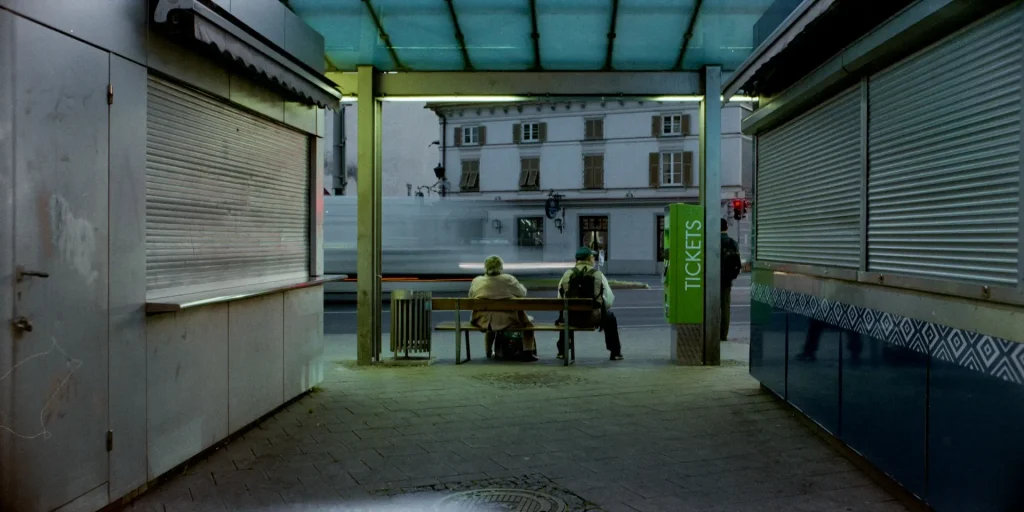
So everything went together and the camera appeared. (the photos taken with my other OM2n)

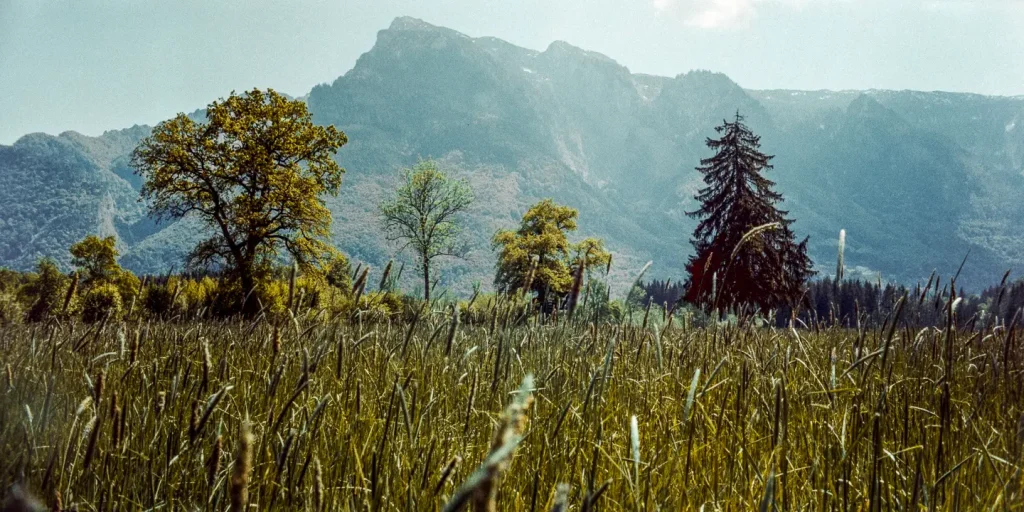
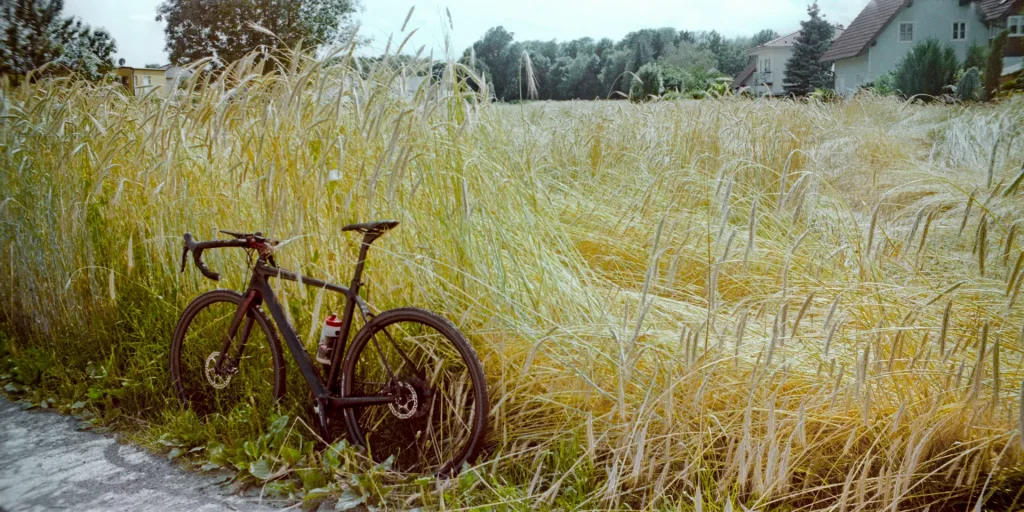
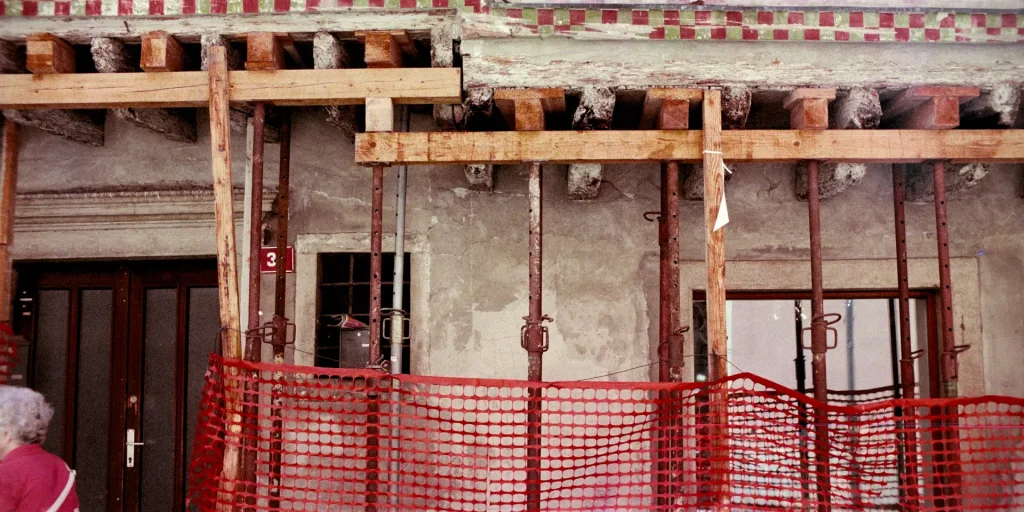
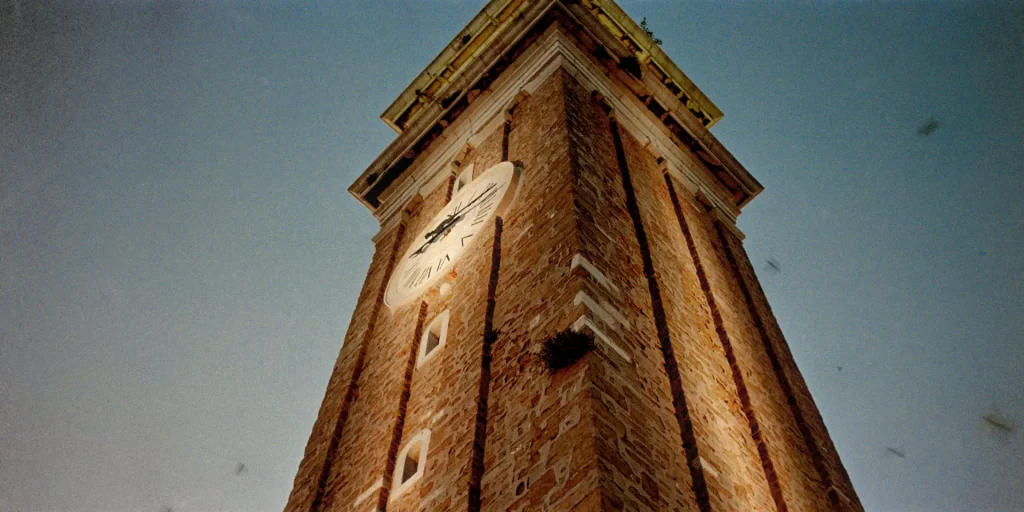
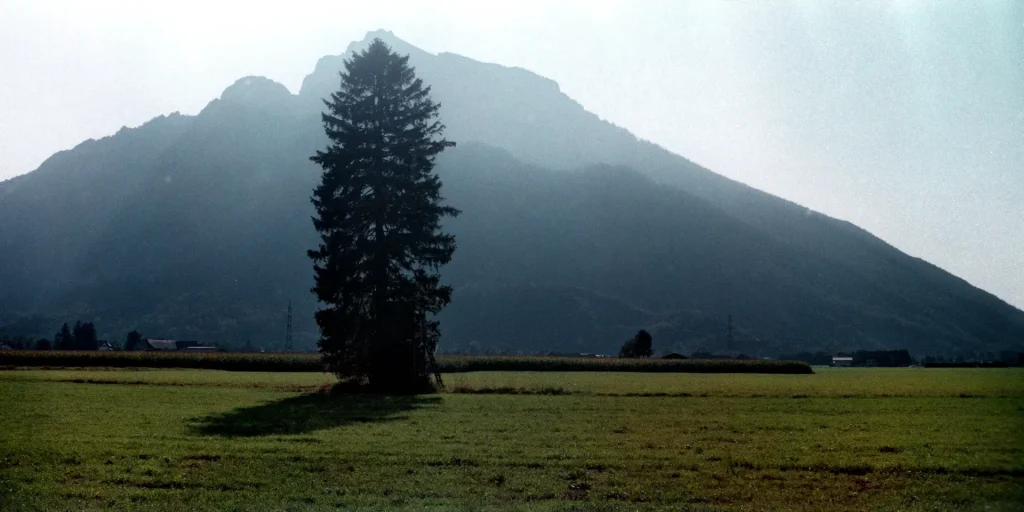
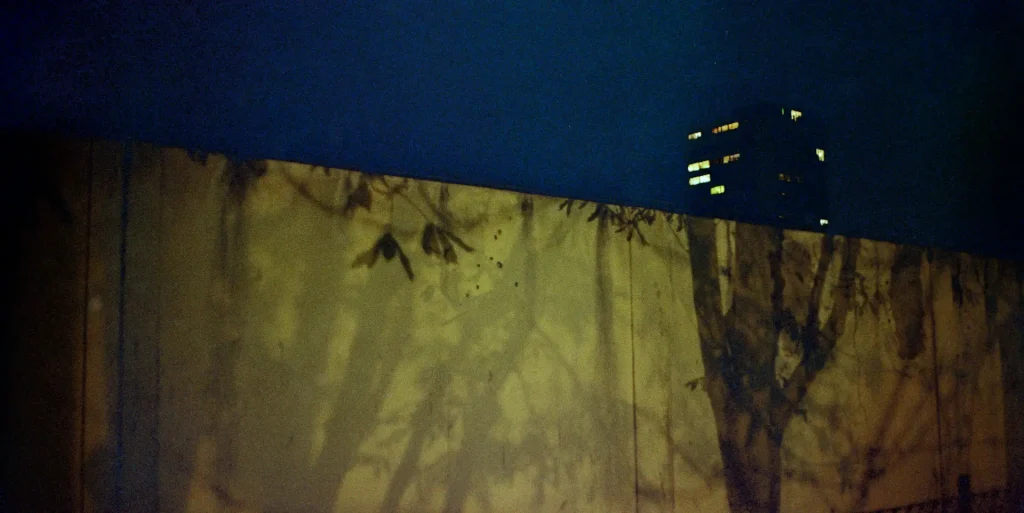
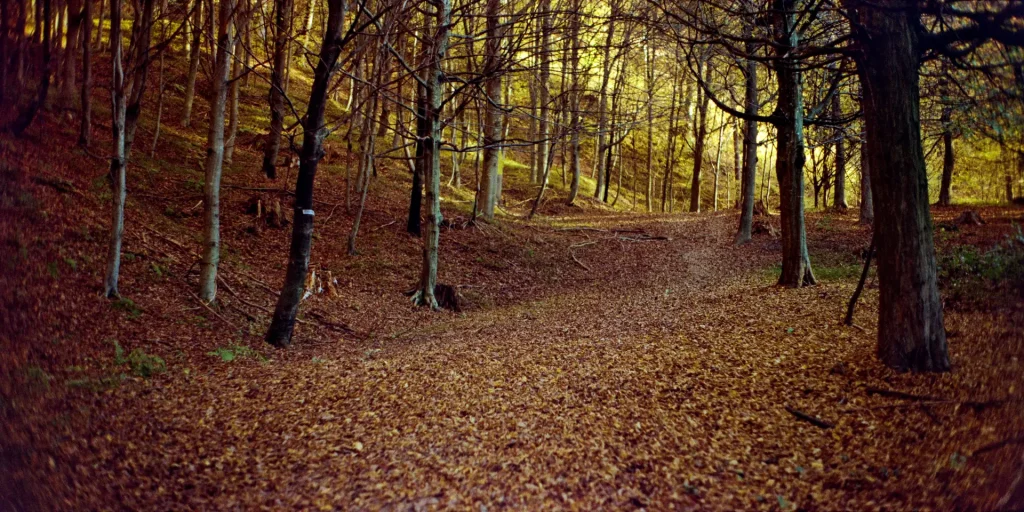
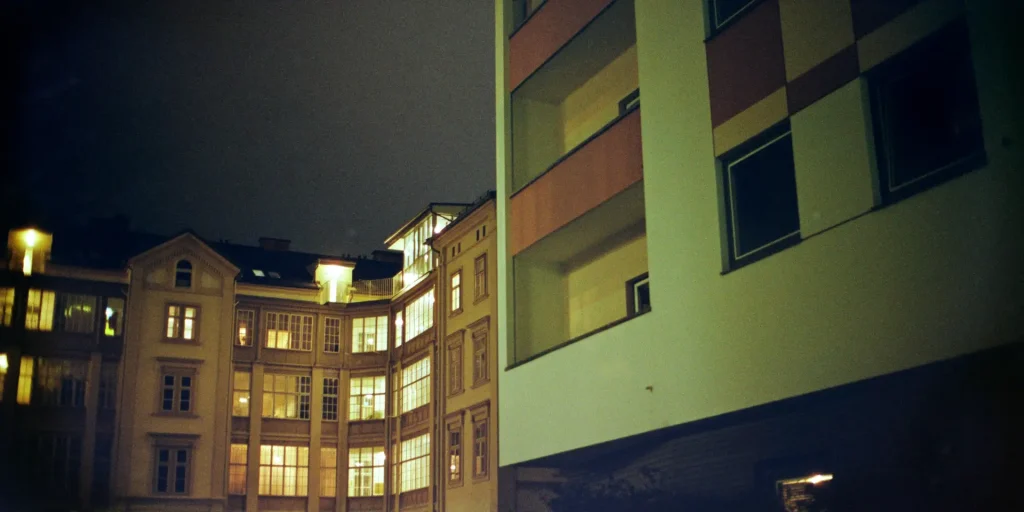
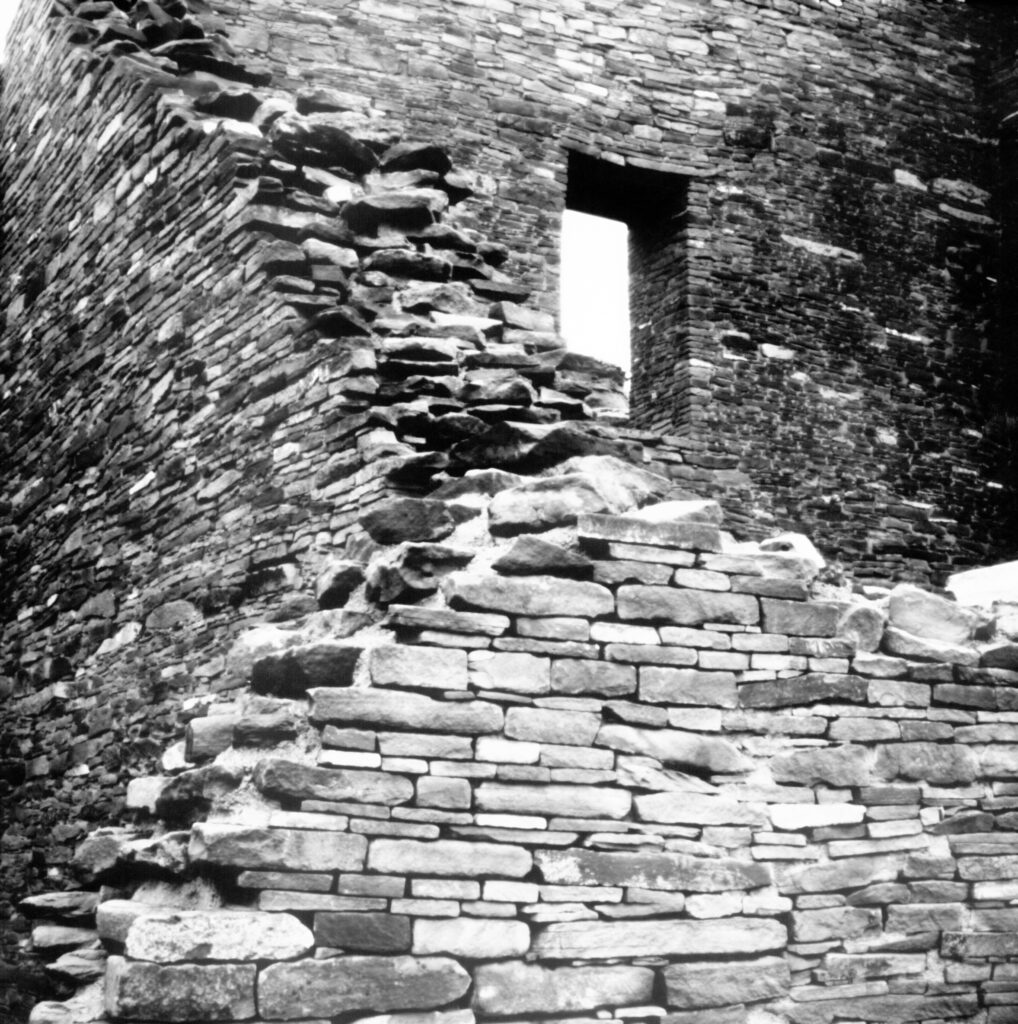
There are a lot of lenses to try for the future. Sharp to the corners, non vignetting, light weight. Whatever. I will see – it’s easy to try now, so I can experiment. Here are some Olyversal photos.

I struggle to get this into words and think about what the point of this project really is. I tend to get a little insecure when thinking about all this machining stuff in the context of my photography. Is it really needed when I could just take out an Olympus XA and everything be good anyway? I don´t know… But for now at least, I feel inspired by my creation. The Olyversal is the camera I want to shoot when I want to shoot, so I think that is what matters!
Share this post:


Comments
Wim HH van Heugten on Olyversal 2:1 Frame Camera Project – By Alexander Seidler
Comment posted: 07/12/2020
Comment posted: 07/12/2020
Phil Snaps on Olyversal 2:1 Frame Camera Project – By Alexander Seidler
Comment posted: 07/12/2020
Comment posted: 07/12/2020
Mark C S on Olyversal 2:1 Frame Camera Project – By Alexander Seidler
Comment posted: 07/12/2020
Comment posted: 07/12/2020
Ben Garcia on Olyversal 2:1 Frame Camera Project – By Alexander Seidler
Comment posted: 07/12/2020
Comment posted: 07/12/2020
Khurt Louis Williams on Olyversal 2:1 Frame Camera Project – By Alexander Seidler
Comment posted: 07/12/2020
Comment posted: 07/12/2020
Sacha Cloutier on Olyversal 2:1 Frame Camera Project – By Alexander Seidler
Comment posted: 08/12/2020
Comment posted: 08/12/2020
jeremy north on Olyversal 2:1 Frame Camera Project – By Alexander Seidler
Comment posted: 08/12/2020
Great photos by the way. I like your bike!
Comment posted: 08/12/2020
Aivaras on Olyversal 2:1 Frame Camera Project – By Alexander Seidler
Comment posted: 08/12/2020
Comment posted: 08/12/2020
Rick on Olyversal 2:1 Frame Camera Project – By Alexander Seidler
Comment posted: 08/12/2020
Comment posted: 08/12/2020
Kurt Ingham on Olyversal 2:1 Frame Camera Project – By Alexander Seidler
Comment posted: 11/12/2020
Comment posted: 11/12/2020
AJ on Olyversal 2:1 Frame Camera Project – By Alexander Seidler
Comment posted: 07/02/2021
Comment posted: 07/02/2021
Comment posted: 07/02/2021