Over the past few years, I’ve become enamored with late 60s/early 70s rangefinder cameras. Not the Leicas, mind you — budget won’t allow — but I have found great joy in shooting Canonets, Minolta HiMatics and even a Kodak Retina Iic (more on that in an upcoming post).
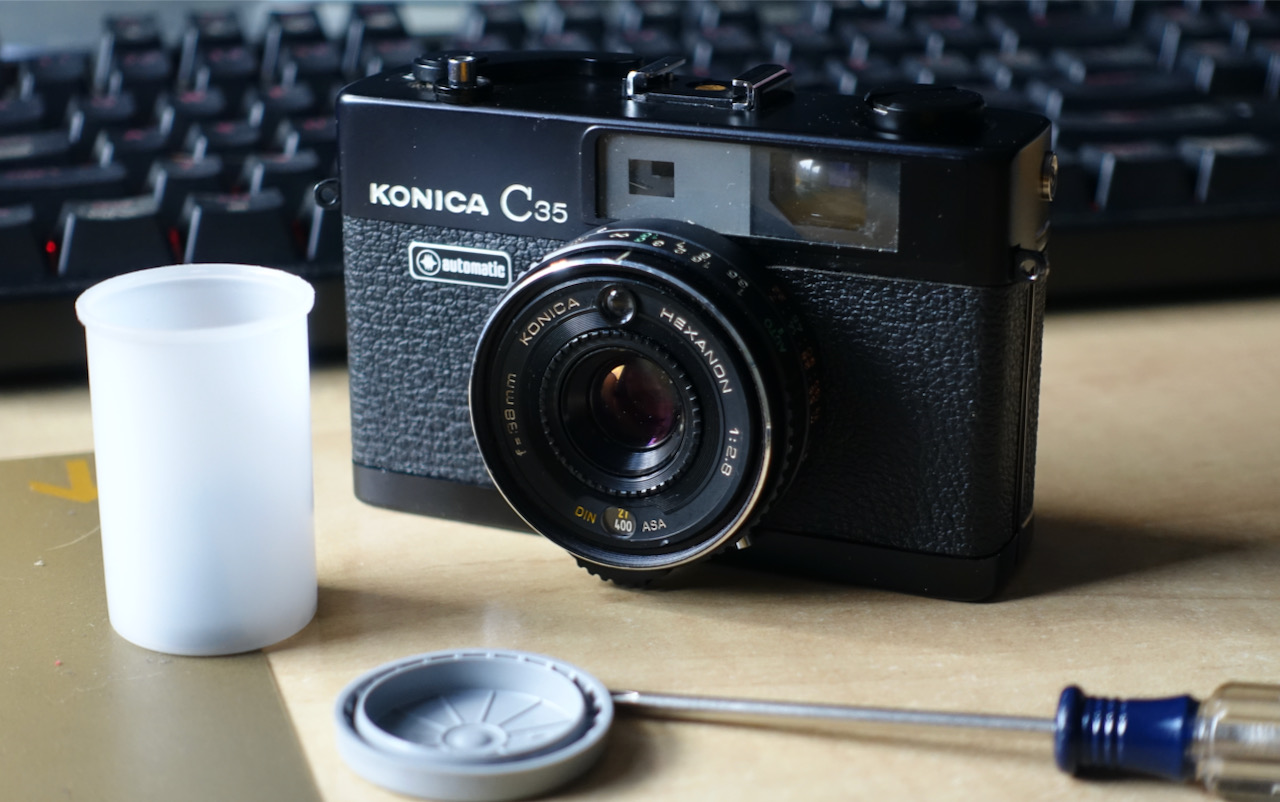
So when a Konica C35 presented itself in a lot with an Olympus Pen EES-2 (again, more to come on that one), I grabbed it. I didn’t know much about the Konica, but an actual focusing rangefinder with a 38mm f2.8 lens piqued my interest. Plus, it just looked cool in all black. Into the cart it went.
The Konica C35 was first introduced in 1968. There were quite a few iterations of this camera — mine was an “Automatic,” which I believe was a sort of version 2.0 of this particular line. This version, arriving in 1971, added more advanced flash control, and was known as the “Flashmatic” in Japan. C35s were also available in a “V” version, which was zone focus, and in a higher spec version with a faster lens.
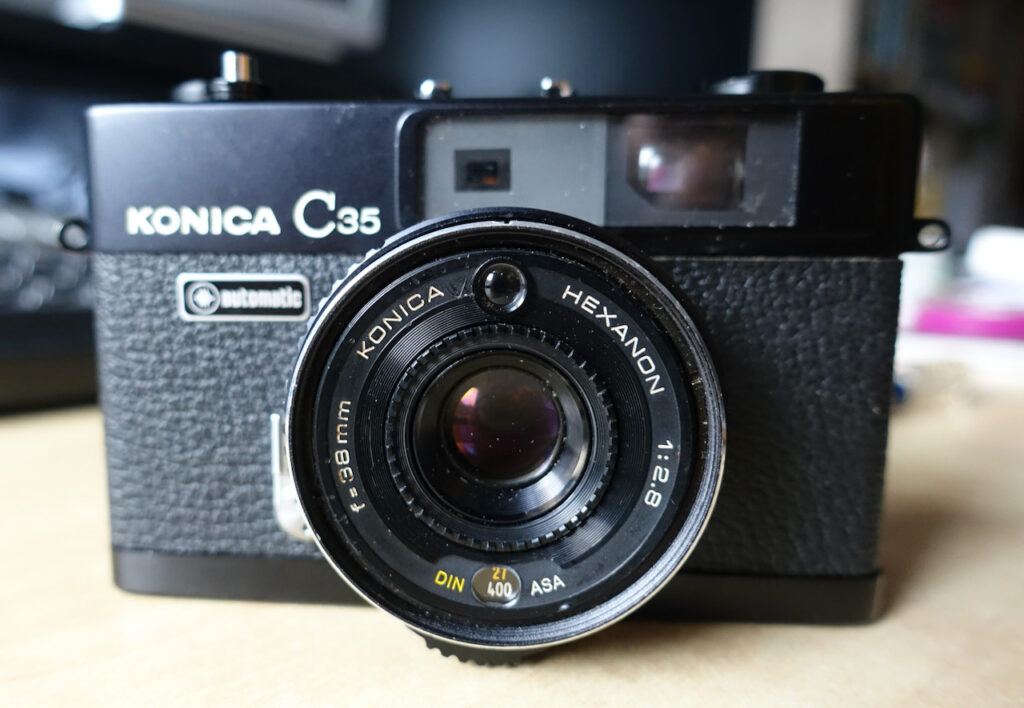
The Konica C35 Automatic features a four-element, Hexanon 38mm f2.8 lens. Its shutter speeds range from 1/30 of a second to 1/650. Exposure is entirely automatic (thus the name); it has a CdS meter, with the meter window located just above the lens opening, so 46mm filters can be used.
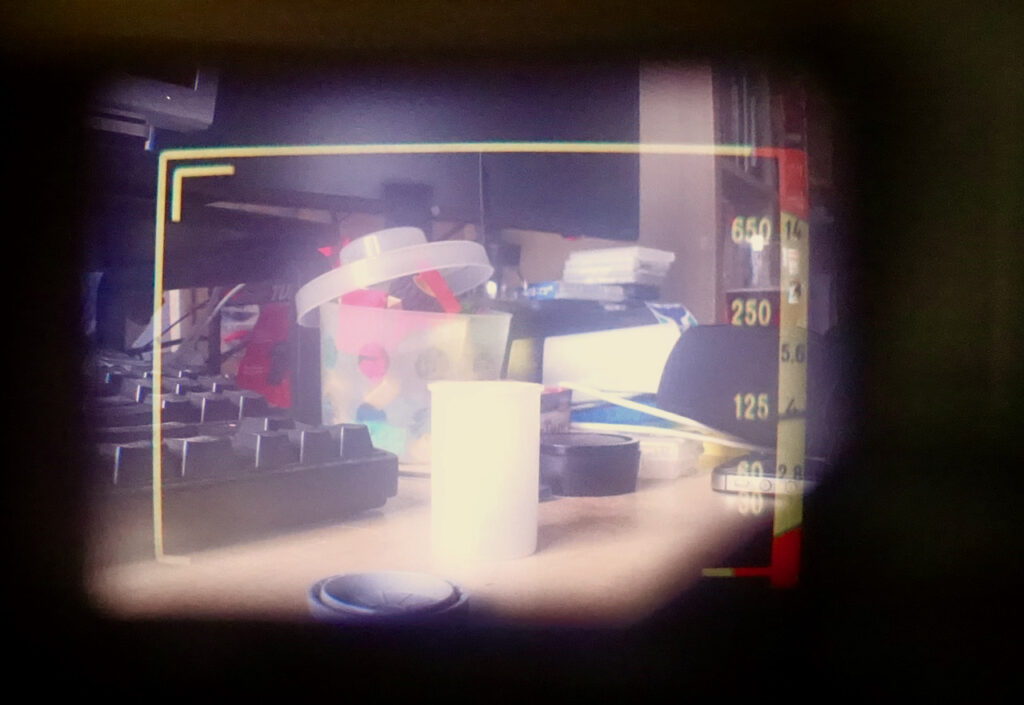
There is no way to set either aperture or shutter speed — the camera is in complete control — but there’s a needle in the viewfinder that provides a rough estimate of the aperture and shutter speed the meter is reading.As long as the needle isn’t in the red at the top or bottom of the gauge, it will take the photo. It can use film from 25 to 400 ASA (ISO).
The viewfinder is relatively bright, with a distinct yellow focusing patch. Bright lines help you frame, and there’s indication for parallax Close focus is 3.3 feet.
You can learn more about the C35 here and the manual can be found here (thanks Mr. Butkus!)
When my Konica C35 arrived, I was excited to try it out. It’s a very cool looking little camera — “little” being the operative word — and at the time of its introduction, it was advertised as the “world’s smallest, lightest, rangefinder 35.” I think my Olympus XA is the only smaller focusing rangefinder in my collection.
The C35 uses the dreaded Mallory PX675 mercury cell, at 1.35v. I have had very good luck using zinc air 675 hearing aid batteries in older cameras like these — the voltage is 1.4 v, but less extreme than the 1.55 LR/SR 44 batteries. So to get started with this camera, I installed the 675, only to find no response from the meter. I tried a few different batteries, but still no response. Looking into the battery chamber, I noticed something rattling around — it appeared one of the contacts in the holder had come loose. Not wanting to shelve the camera, I decided to investigate even more, and pulled the bottom cover off. Yep, the solder joint on the battery holder was broken.
Now, I have some experience with a soldering iron, but the little bits inside this camera were too fine for me. I tried several different solutions, none of which would give me the room to work in such tight quarters. Frustrated, I put the little bits into a film container, close up the camera, and set it aside. It sat in a little tin next to my desk for a good year and a half…until last week.
One night after work, I pulled out the bits and pieces and tried to figure out how I could resolder everything. Add lengths of wire? Not enough room inside. Try to solder the little wires still in there? No way to make that work with my limited capabilities. Back into the tin it went.
It’s funny how our brains can sometimes keep working when we’ve put a project aside. As I was drifting off to sleep that evening, I had a thought — what if I just soldered the wires directly to a battery? That would power it, right?
The next evening after work, I decided to give things a try. To test the concept, I managed to tape the wires to the appropriate poles on the 675 battery — red to positive, black to negative — and the meter jumped to life… this idea might work! But the more I pondered this idea, I was loathe to solder a battery that would eventually exhaust itself into the battery chamber. Plus, I had no idea what the heat would do to the battery itself. So then I reasoned, why not just tape the battery in place! After several (very frustrating) attempts, I was able to tape the wires wires more securely to the battery. I looked into the viewfinder and viola! The meter needle moved. Had I fixed it well enough to shoot with?
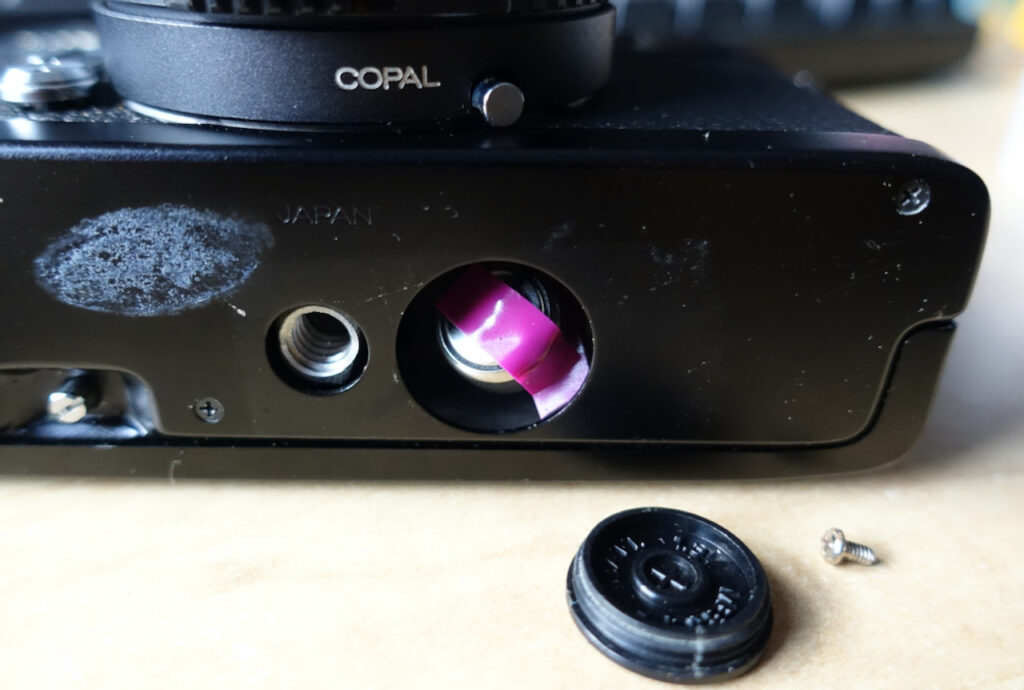
I carefully replaced the bottom cover, put a piece of purple tape over the battery hole, and pointed the camera at different parts of the room to see if the meter was actually responding. Lo and behold, it was…and with the right sort of response, too!
Then came the real test — would it actually work with film? My usual protocol for testing out a camera is a 24-exposure roll of either Kodak Gold 200, Ultramax 400 or Kentmere 400 As the weather was calling for cloudy and rainy for the next few days and I wanted color, I went with the Ultramax.
I was anxious to get as many test shots in in a short period of time, so I tried some of my usual haunts. I shot indoors and outdoors under a grey sky, nothing too remarkable, but things seemed to be working.

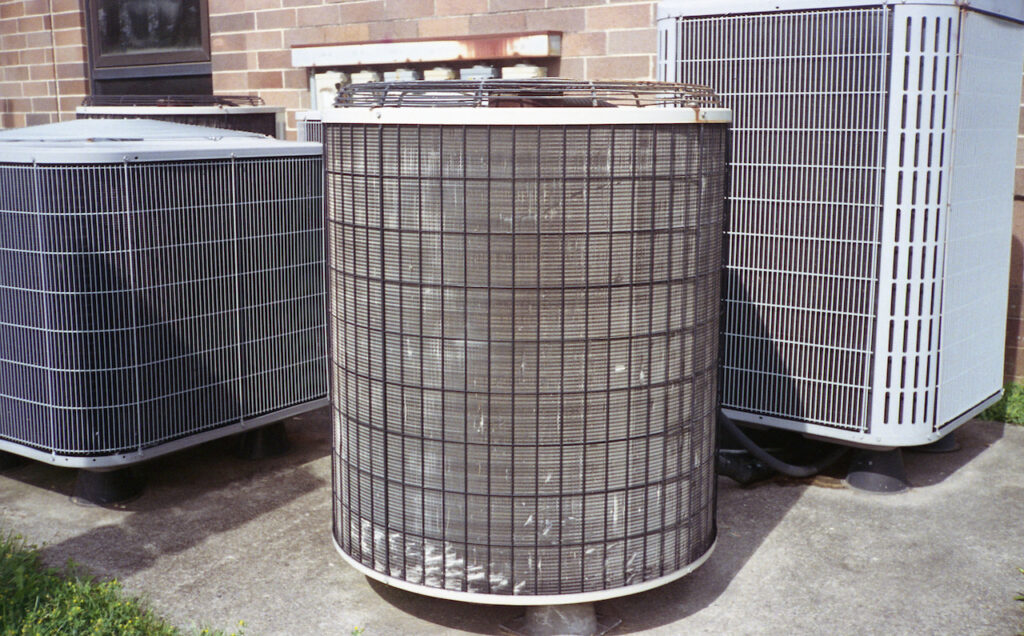
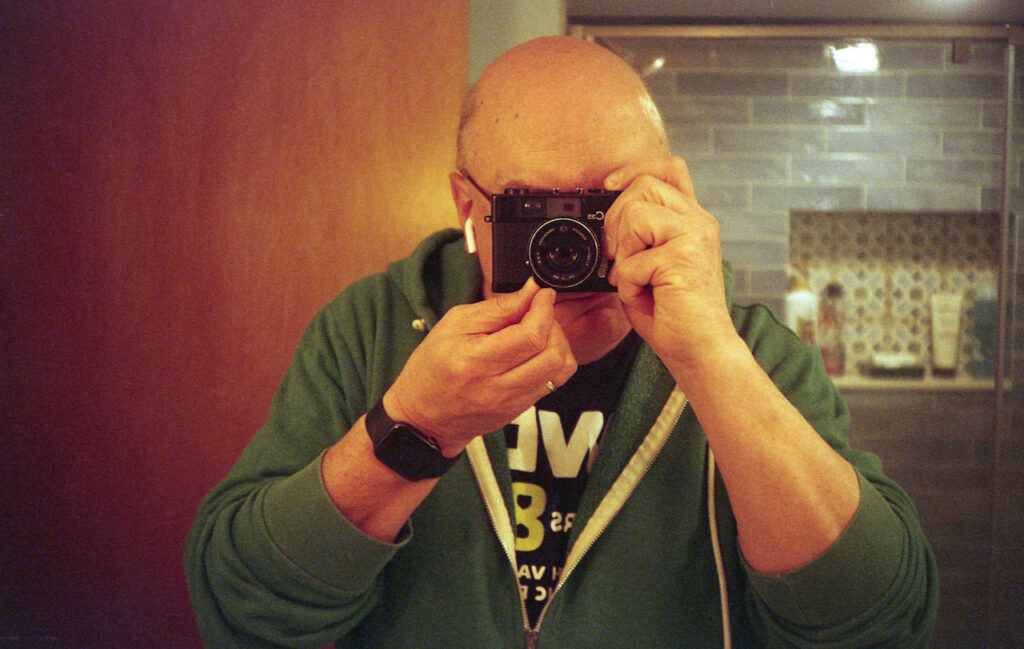
I was then blessed with a golden evening at the old Bethlehem Steel (one of my very favorite places to shoot) which offered a bunch of good subjects and nice light.




The camera is a joy to use. The meter needle lets you know what aperture you’re shooting at and approx shutter speed (I haven’t yet found the EV chart that shows how it calculates what it uses), the bright lines help with the framing and the focusing is relatively easy (as rangefinders go…) The shutter makes a nice, quiet click, the film advance is vey smooth and the size is practically pocketable. Not knowing how sturdy things would be, I didn’t pocket it, however.…
All in all, I think I gave the Konica C35 a good workout. I did find a few issues — it took a while to get used to the framing (I usually shoot with an SLR) and the meter needle did jump around a bit; my guess — the connection to the battery wasn’t all that secure. And not knowing exactly how the meter was setting the exposure — and not having any control over my aperture or shutter speed — limited creative control.
When the roll was finished, I processed in CS41 (thanks, Cinestill!) and scanned with my Epson V550. I got 26 exposures on the 24 roll (well, 25-1/2)…ALL of which came out properly exposed! I know Ultramax can be pretty forgiving, but these negatives looked good and scanned well. Plenty of detail, good color, solid images.



I will keep shooting this Konica C35, next time with a roll of black and white, to be sure it’s worth holding on to. I may look into getting an intact copy, because I’m really impressed with the images I got…and how easy it was to use. For now, though, I’ll use this in its taped-up condition!
Share this post:




Comments
Bob Janes on Konica C35 – Bringing a 60s rangefinder back to life with a bit of tape
Comment posted: 08/08/2025
Curtis Heikkinen on Konica C35 – Bringing a 60s rangefinder back to life with a bit of tape
Comment posted: 08/08/2025
Gary Smith on Konica C35 – Bringing a 60s rangefinder back to life with a bit of tape
Comment posted: 08/08/2025
Hopefully I'll get as good from my recent acquisition!
7 exposures to go... maybe I'll know by tonight?
Thanks for sharing.
David Pauley on Konica C35 – Bringing a 60s rangefinder back to life with a bit of tape
Comment posted: 08/08/2025
Comment posted: 08/08/2025
Geoff Chaplin on Konica C35 – Bringing a 60s rangefinder back to life with a bit of tape
Comment posted: 09/08/2025
Leon Winnert on Konica C35 – Bringing a 60s rangefinder back to life with a bit of tape
Comment posted: 09/08/2025
Love the steel works shots. To me there is something very appealing about shots of abandonment and decay.