For the last 6 months I’ve been getting back to film photography with new found enthusiasm after a 15 year break. Usually I’m quite quick to create routines and preferences for all my activities, but with film I’m really putting a deliberate effort to avoid that. After all, why dabble with such a vintage technique, if not for all the quirks and possibilities it brings with it? If I’d want systematic results and a clean process, shooting digital would be the best choice.
However about a month ago I realized the old habits were kicking in and I was already settling for a certain setup that I really liked. There’s nothing wrong with that, and I think of it as my strength to be able to find things that work for me so fast. Still, to keep myself experimenting and to mix things up a bit I decided to do a test I’ve been wanting to do for a while: develop color film with my black and white process.
I had a few candidates in my fridge and I decided to try an expired Kodak ColorPlus 200 and a cheap My Heart film from China. I guess the available options show that I’m really not a color film connoisseur. The My Heart film turned out to be rebadged (and probably dated) ColorPlus 200, so in the end I had two rolls of it. I set out to shoot in the harsh spring sun to get some good contrast in the pictures to have even a theoretical possibility to print them on B&W paper.
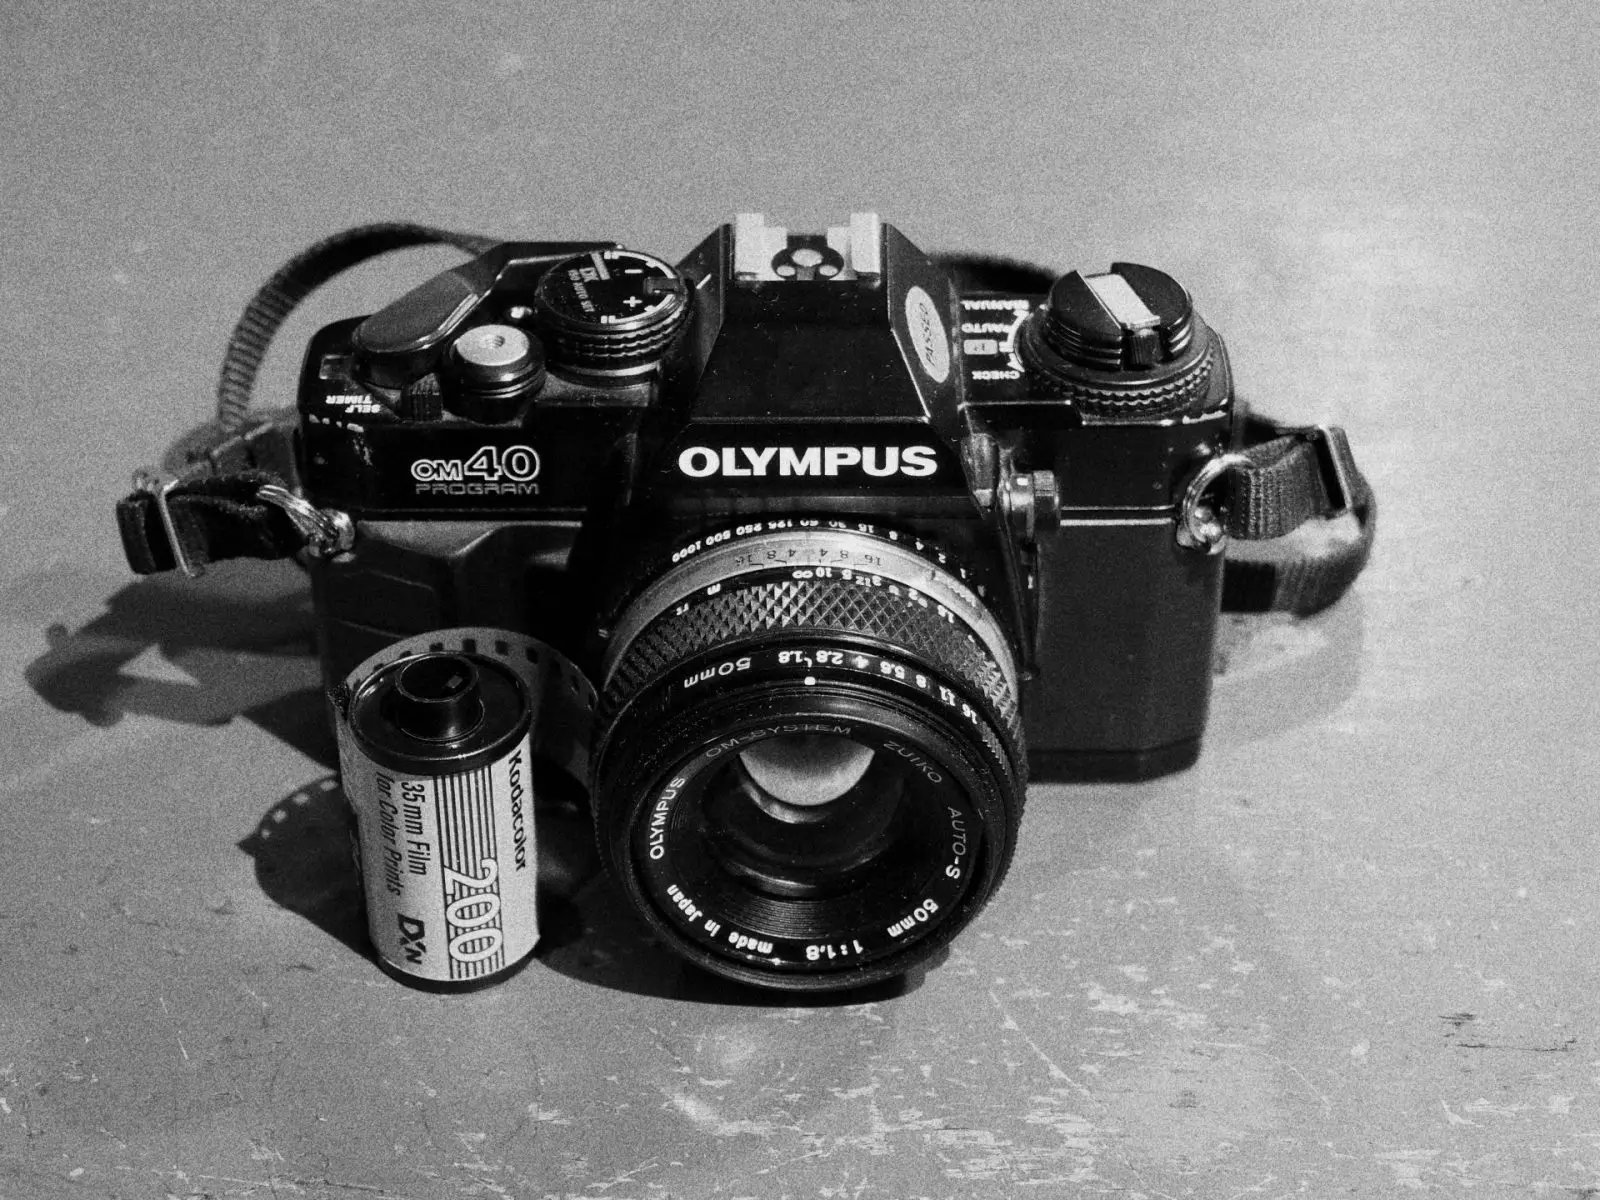
While shooting the My Heart film I thought my Olympus OM40 got jammed, since at around 18 shots I could no longer advance the film. I tried several tricks, but nothing helped, so I just rewound the film and admitted defeat. Unfortunately I had thought it to be a 36 shot film, since the canister under the rebadging said so, and therefore didn’t bring the second film with me. I had thought it odd that the rebadging said the film would be 20 shots, but had just disregarded it as a mistake in the label.
A few days later we were going on a walk to the forest nearby, so I loaded the other film in the camera. Wanting to take a few shots with a lower contrast to see how it worked for those the forest was the perfect destination. I ended up taking just a few of those low contrast shots and mainly focusing on higher contrast shots at the lake. Everything was fine until the camera jammed again! Or so I thought at the moment and rewound the film angrily. I took out the film and realized that it was a 24 shot roll, so the camera had not jammed. That made me hope that the first one was not a jam either.
Having read multiple conflicting recommendations on how to expose color film for b&w development I had decided to bracket all my shots with a meter recommended shot and one stop to both directions. That meant that I really didn’t have as many different shots for comparing the film in different conditions as I had initially hoped for. All in all I got just 15 shots with three different exposures on most of them.
Taking what I had I went to the darkroom with both good and bad anxiousness. I had come to the conclusion that using the recipe for developing Tri-X would be a good starting point for my tests since it seemed to be the average of what people were suggesting and someone had already tried it with success. While trying many things with films I’ve kept my development process quite the same to have less variables when comparing results. For now I’ve been developing all films in 1+3 ID-11, stopping with water and fixing with 1+4 Ilford Rapid Fixer.
I have to say that opening the tank and seeing if I had screwed something up or if there were indeed pictures on film is always thrilling and even more so this time around. Much to my joy there were shots on both films and everything looked good! The density of the shots seemed good and nothing seemed totally off. The orange mask of the film on the other hand seemed a lot darker than what I’m used to. That is probably due to the development process being different, but I’m no expert in that. Upon closer inspection I found out that the My Heart film was quite curious: the frame numbering started from 20! I guess they buy expired film, cut it in two, wind it and rebadge it.
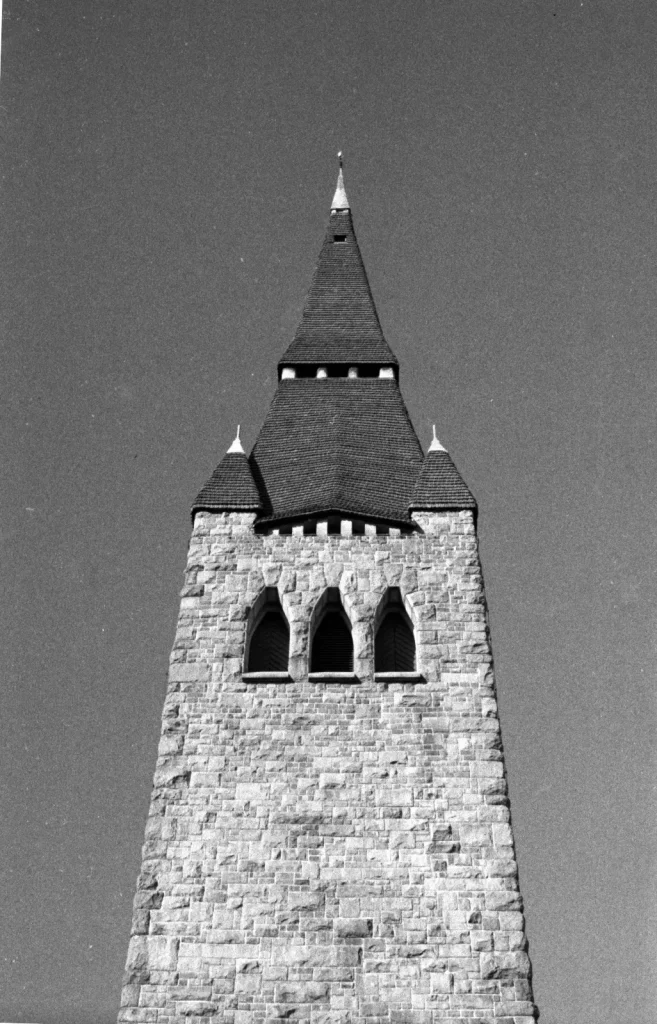
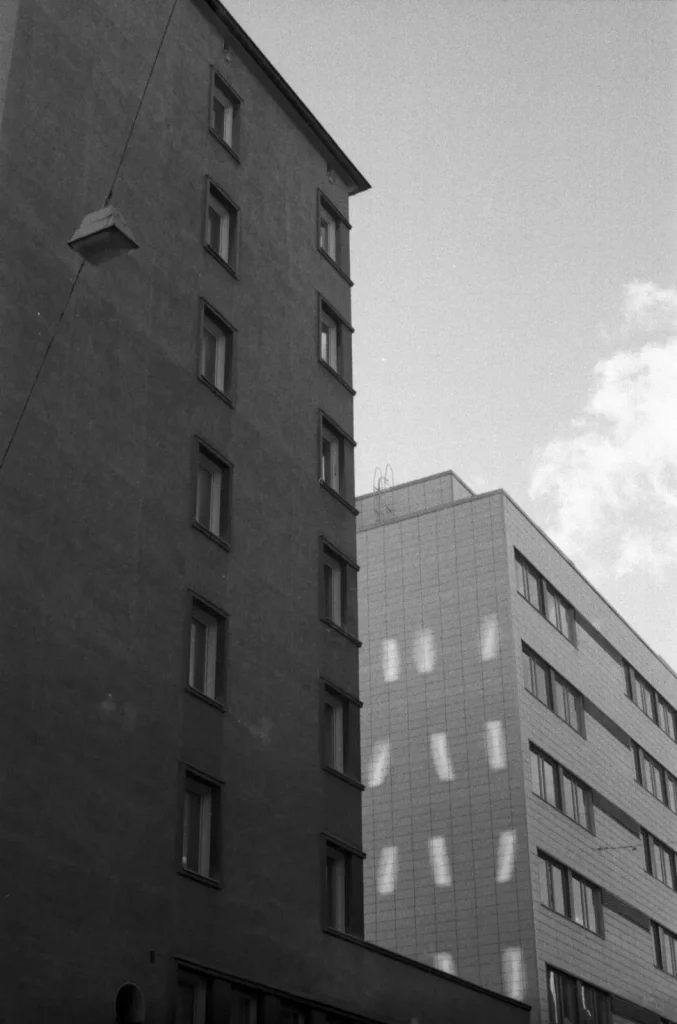
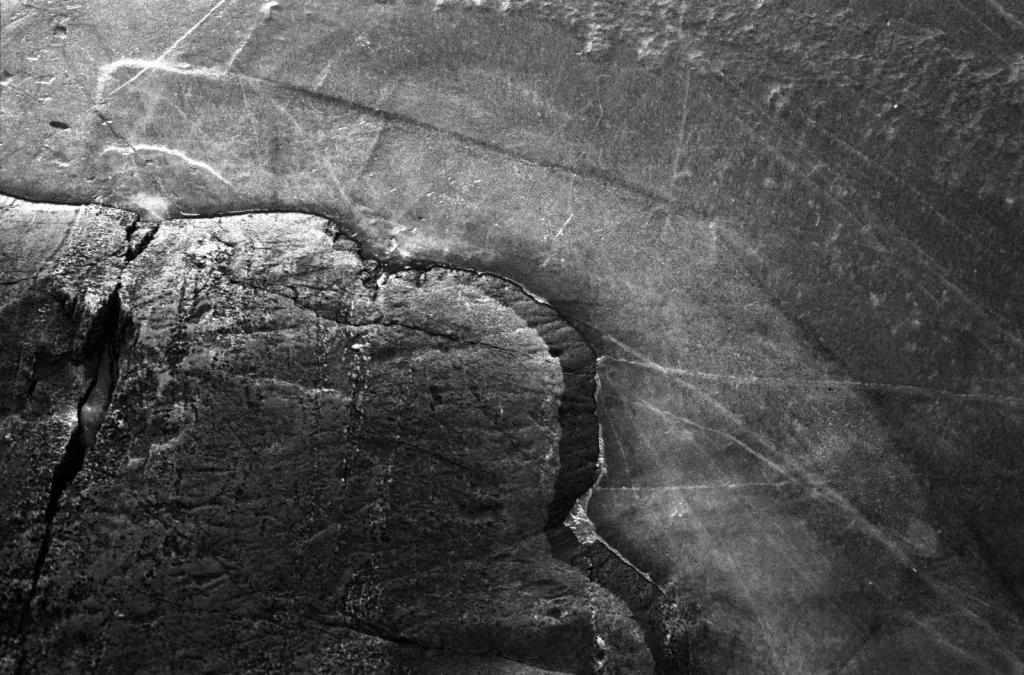
When the films had dried for the night I eagerly took them to the scanner and had a look. To my surprise the results were very pleasing! The tones were good and I really loved the grain. I also tried to scan them with colors, but I didn’t really like the outcome, so I just skipped that since b&w was the goal anyway. The bracketing was a good idea, just so that I now get a better picture of the film’s capabilities. I found that I usually preferred the overexposed shot, or the metered one.
To sum it up, the hiccups in this test were totally unrelated to the cross-processing itself and were mainly due to the weird My Heart film giving me paranoia about camera jams. Other than those setbacks, this was a very good way to mix things up a bit and try something new. In all honesty, in the process itself I actually saw very little to no changes, but the differences in the medium made me look at things in a totally different light (pun intended).
I honestly didn’t expect the results to look so good. On top of being a fun experiment this gave me some good photos and a new tool in my repertoire. I don’t think I’ll be doing a lot of this in the future, since I suspect making prints from these negatives with the dense orange mask is going to be a pain in the rear, but truly had fun with the experiment and it gave me a lot of perspective in regards of what can and what can’t be done. So if you too want to try something new, I highly recommend this!
Thanks for reading my very first post here on 35mmc.com! If you liked what you saw and are interested in seeing my past and future experiments, please find me at my flickr and my instagram.
Share this post:


Comments
Sam on Kodak ColorPlus 200 and Olympus OM40 – Developed as B&W – by Teemu Matilainen
Comment posted: 18/10/2020
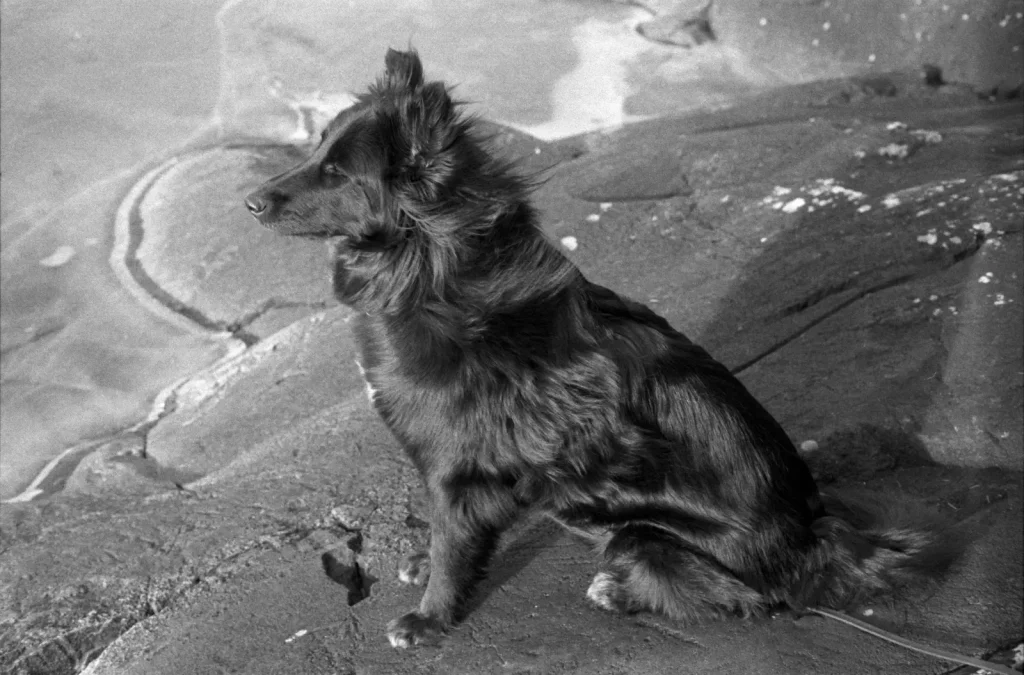
Enjoyed the photos and explanation of how you did your experiment. The fur and lighting on the dog is so interesting.
Do you take notes when you take the photos or when you get home?
Where do you get the film My Heart? Why did you chose to use this film rather than a regular commercial product? Would you buy again and if so how would you plan to use?
Enjoyed your article on 35mm in 120 camera too.
Would something like painter masking tape on viewfinder help with framing?
Keep experimenting and writing
Comment posted: 18/10/2020