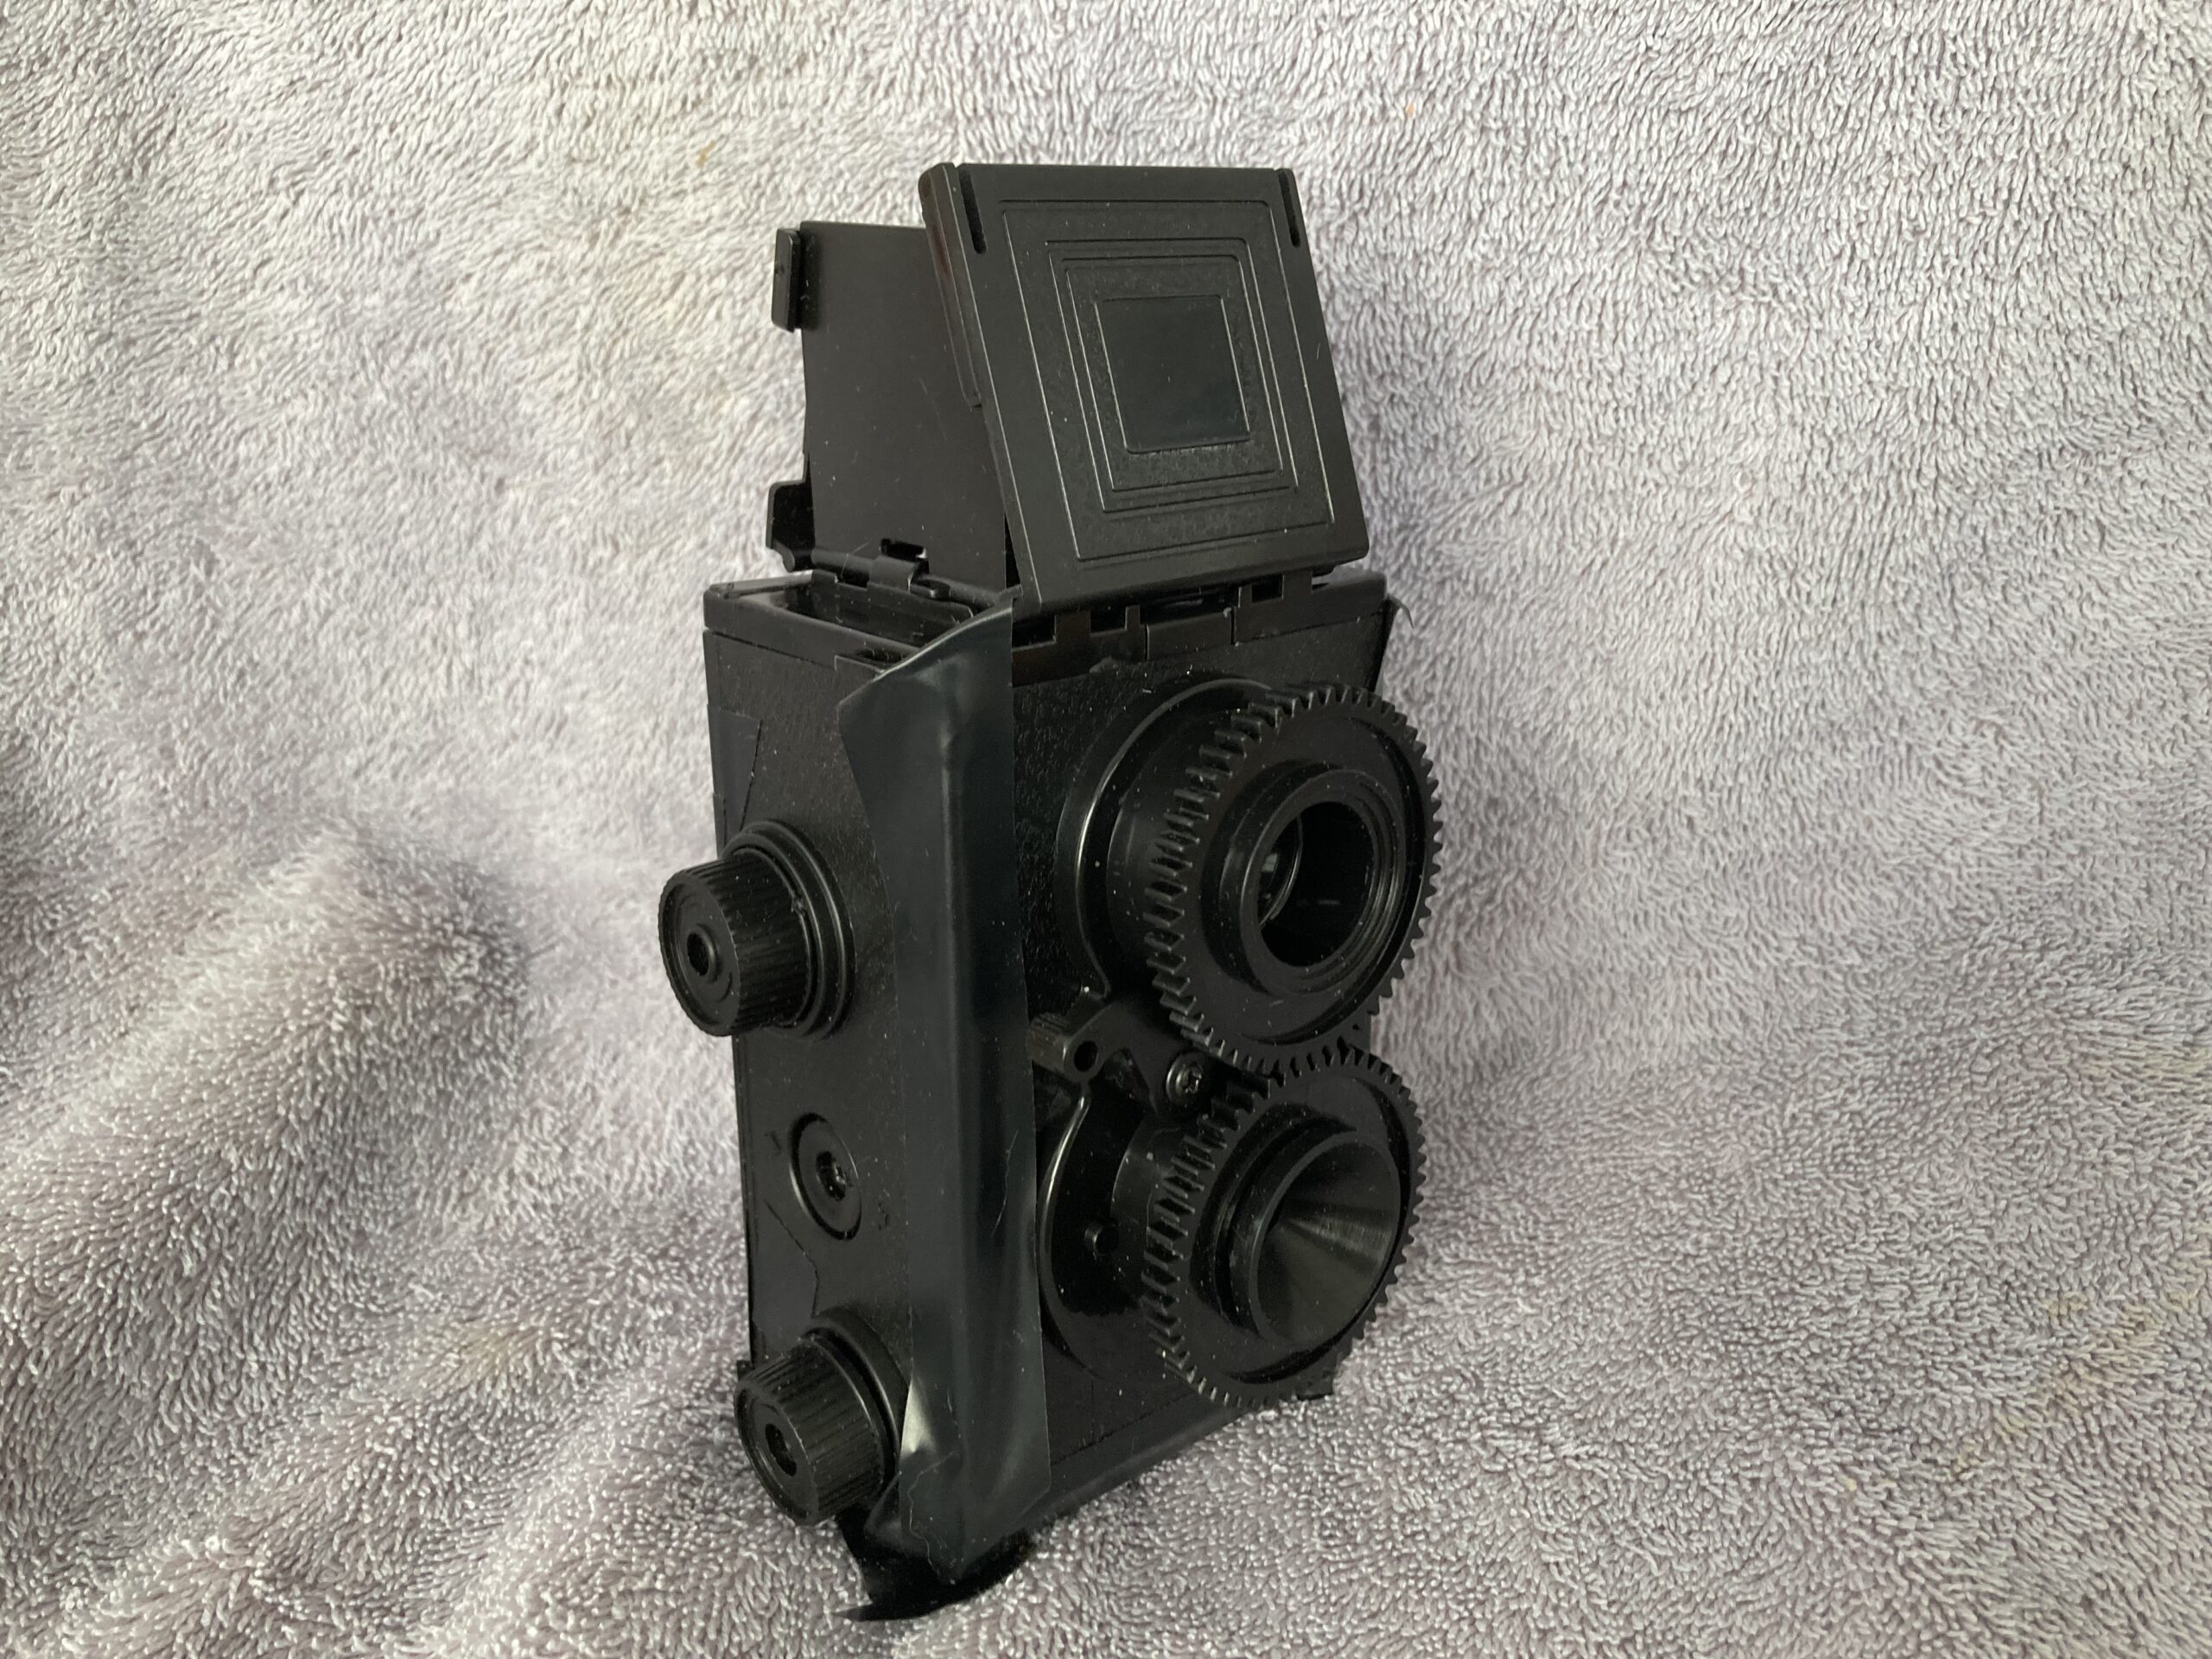
This cheap camera kit is both low in price AND quality! Related product names, reviews, and photo galleries are given below. It is advertised on several URLs and has been appearing in annoying pop-up ads. The English language instruction manual is labelled “Twin Lens Reflex Camera”. It is essentially a 35mm TLR “nearly a box camera” that can be focused, with two aperture settings. It was originally produced for a Japanese hobby magazine. (Fans of Diana and Holga cameras might really like this product!)
I have seen the kits advertised for less than $10 and for as much as about $90. It is a plastic TLR kit with plastic meniscus lenses and a plastic “ground glass” viewing port. The camera has one shutter speed (reported about 1/100 second). Two F-stops are available; wide open and “stopped down” (reported f/11 and f/16) by means of a washer manually inserted in front of the main lens. The big news is that the camera can be focused but no distance scale is provided! The two lenses are gear-linked; the focus is adjusted by turning the lenses. The range of motion of the lenses is about 4mm or 1 1/2 turns of the gears. If the lenses are unscrewed more than that the lenses become uncoupled and you have to align them over again.
Assembly Notes:
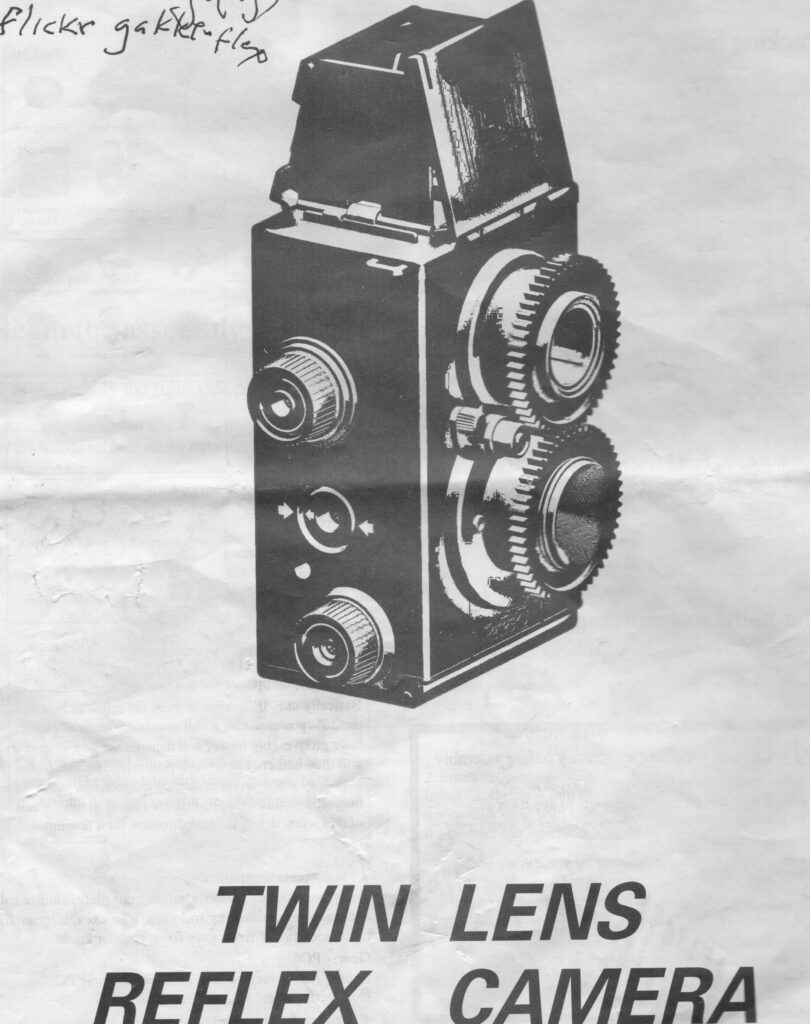
The kit comes in a foam box with multiple partitions. The English language instruction manual has a map with labels for the parts in the partitions. In addition to the plastic parts there are metal shutter parts, and four springs that work the shutter (kinda poorly labelled!). For me, the shutter release is kind of odd. When I push down on the shutter release lever, the shutter only operates when I return the release lever to its original position. Other builders have been able to make their shutter release operate properly (maybe by carefully adjusting the screws for the shutter parts), but I have given up on the task.
The instruction manual says that assembly time is one hour. Very funny! I am an old guy with some hand tremors; I spent about 5 hours assembling the camera. It was an interesting, but physically challenging project.
Most all of the camera is plastic held together with two kinds of little screws (with and without washer heads). The main assembly tool is a small Phillips head screw driver (not included). Most of the screws were pretty hard to screw into their sockets.
I found it essential to:
1. Use tweezers or long nose pliers to hold the screws.
2. Use a magnifying headset to see the tiny parts better.
3. Put a bit of lubricant (Vaseline or soap) on the screws to make them easier to insert in the sockets.
Conclusions and Use Notes
The “frame counter” doesn’t really count the frames. It just indicates that you have advanced the film to the next frame.
The recommended film ASA is 200.
I intended to use ASA 400 film, for low light situations, and use a 2-stop red filter for sunlight/cloud photos.
My first test roll of film was dominated by light leaks. Not worth showing here.
For my second roll of film, I taped all the joints on the camera.
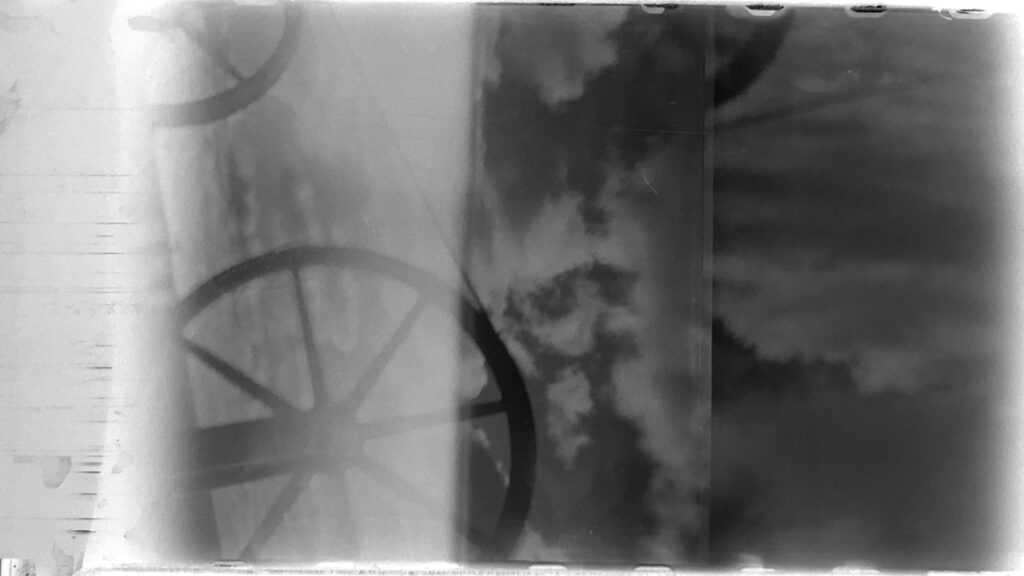
I am showing the only recognizable image from the second roll of film. The image is an accidental multiple exposure of some mining equipment and sky with clouds. The clouds stand out better because I used a red filter held in front of the lens. Obviously the film advance and “frame counter” is not working properly.
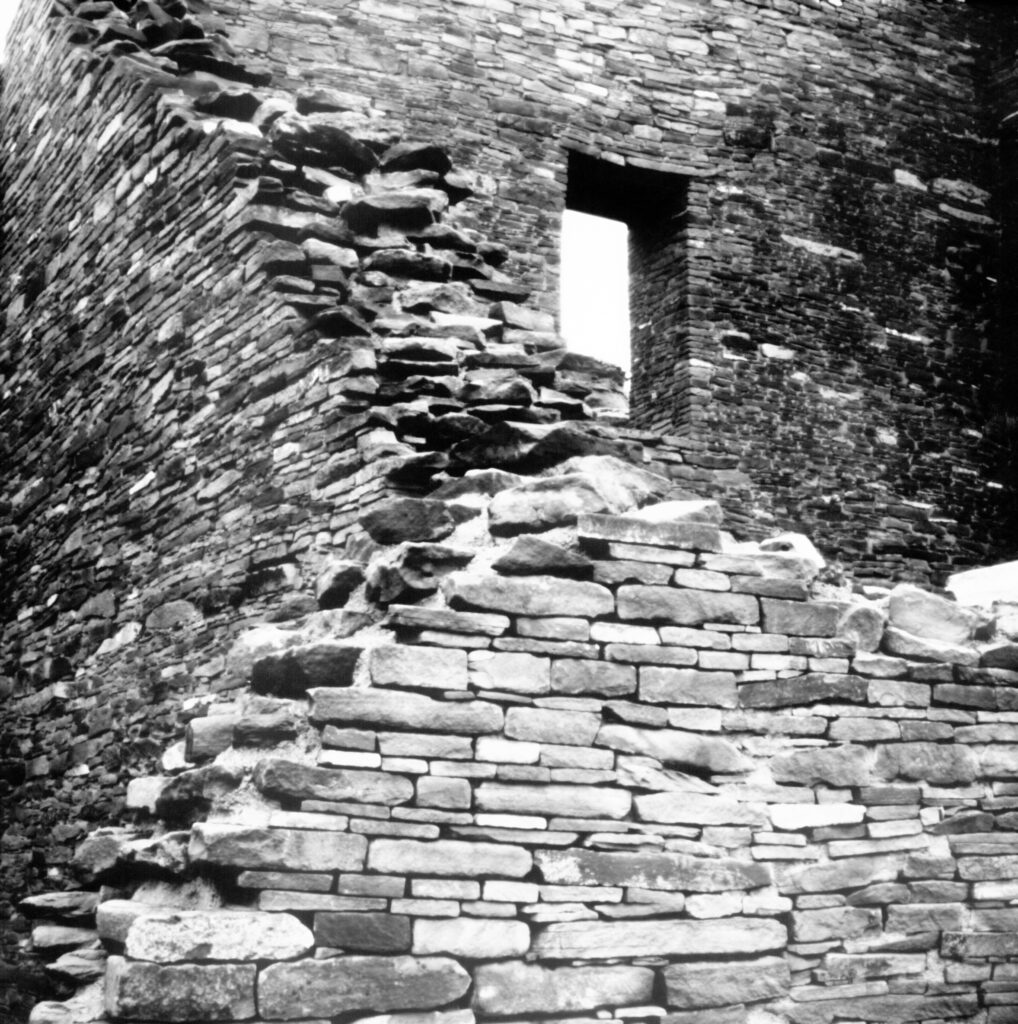
I have exceeded my patience on this project. Some galleries show photos with quality similar to box cameras and cheap “focus free” (fixed focus) cameras.
This kit might be satisfying for those who might want to understand the insides of a simple TLR. My box cameras and self-made pinhole cameras take better pictures than this kit camera.
URLs, Discussions & Galleries
Recesky (kit)
Complaints etc here – Many OK photos – some problems with focus and underexposure – can all be found in the gallery there too.
Another version, the Gakkenflex – with another flickr gallery here
Build and use notes and gallery here. Many OK photos. Photos show underexposures, vignetting, occasional misalignment of frames.
And a video by Chris Edgecombe
Share this post:


Comments
Scott Gitlin on DIY Twin Lens Reflex Camera Kit Review
Comment posted: 15/02/2026
Jeffery Luhn on DIY Twin Lens Reflex Camera Kit Review
Comment posted: 15/02/2026
I'm normally a killjoy on the subject of these plastic lens cameras, but lately I've been enjoying reading the posts. Not enough to take the time to collect and shoot with them, except for my Agfa Clack. IMO the best part of the genre is seeing people find the right lighting conditions and getting the best results. Clever.
Comment posted: 15/02/2026
Jeffery Luhn on DIY Twin Lens Reflex Camera Kit Review
Comment posted: 15/02/2026
Additional comment: You sent me the info to make diazo paper and one of my students followed the text with good results. Thanks! Now she is trying to coat frosted glass plates. She graduated and moved away, so I haven't seen the results yet. She's very smart and determined like you.