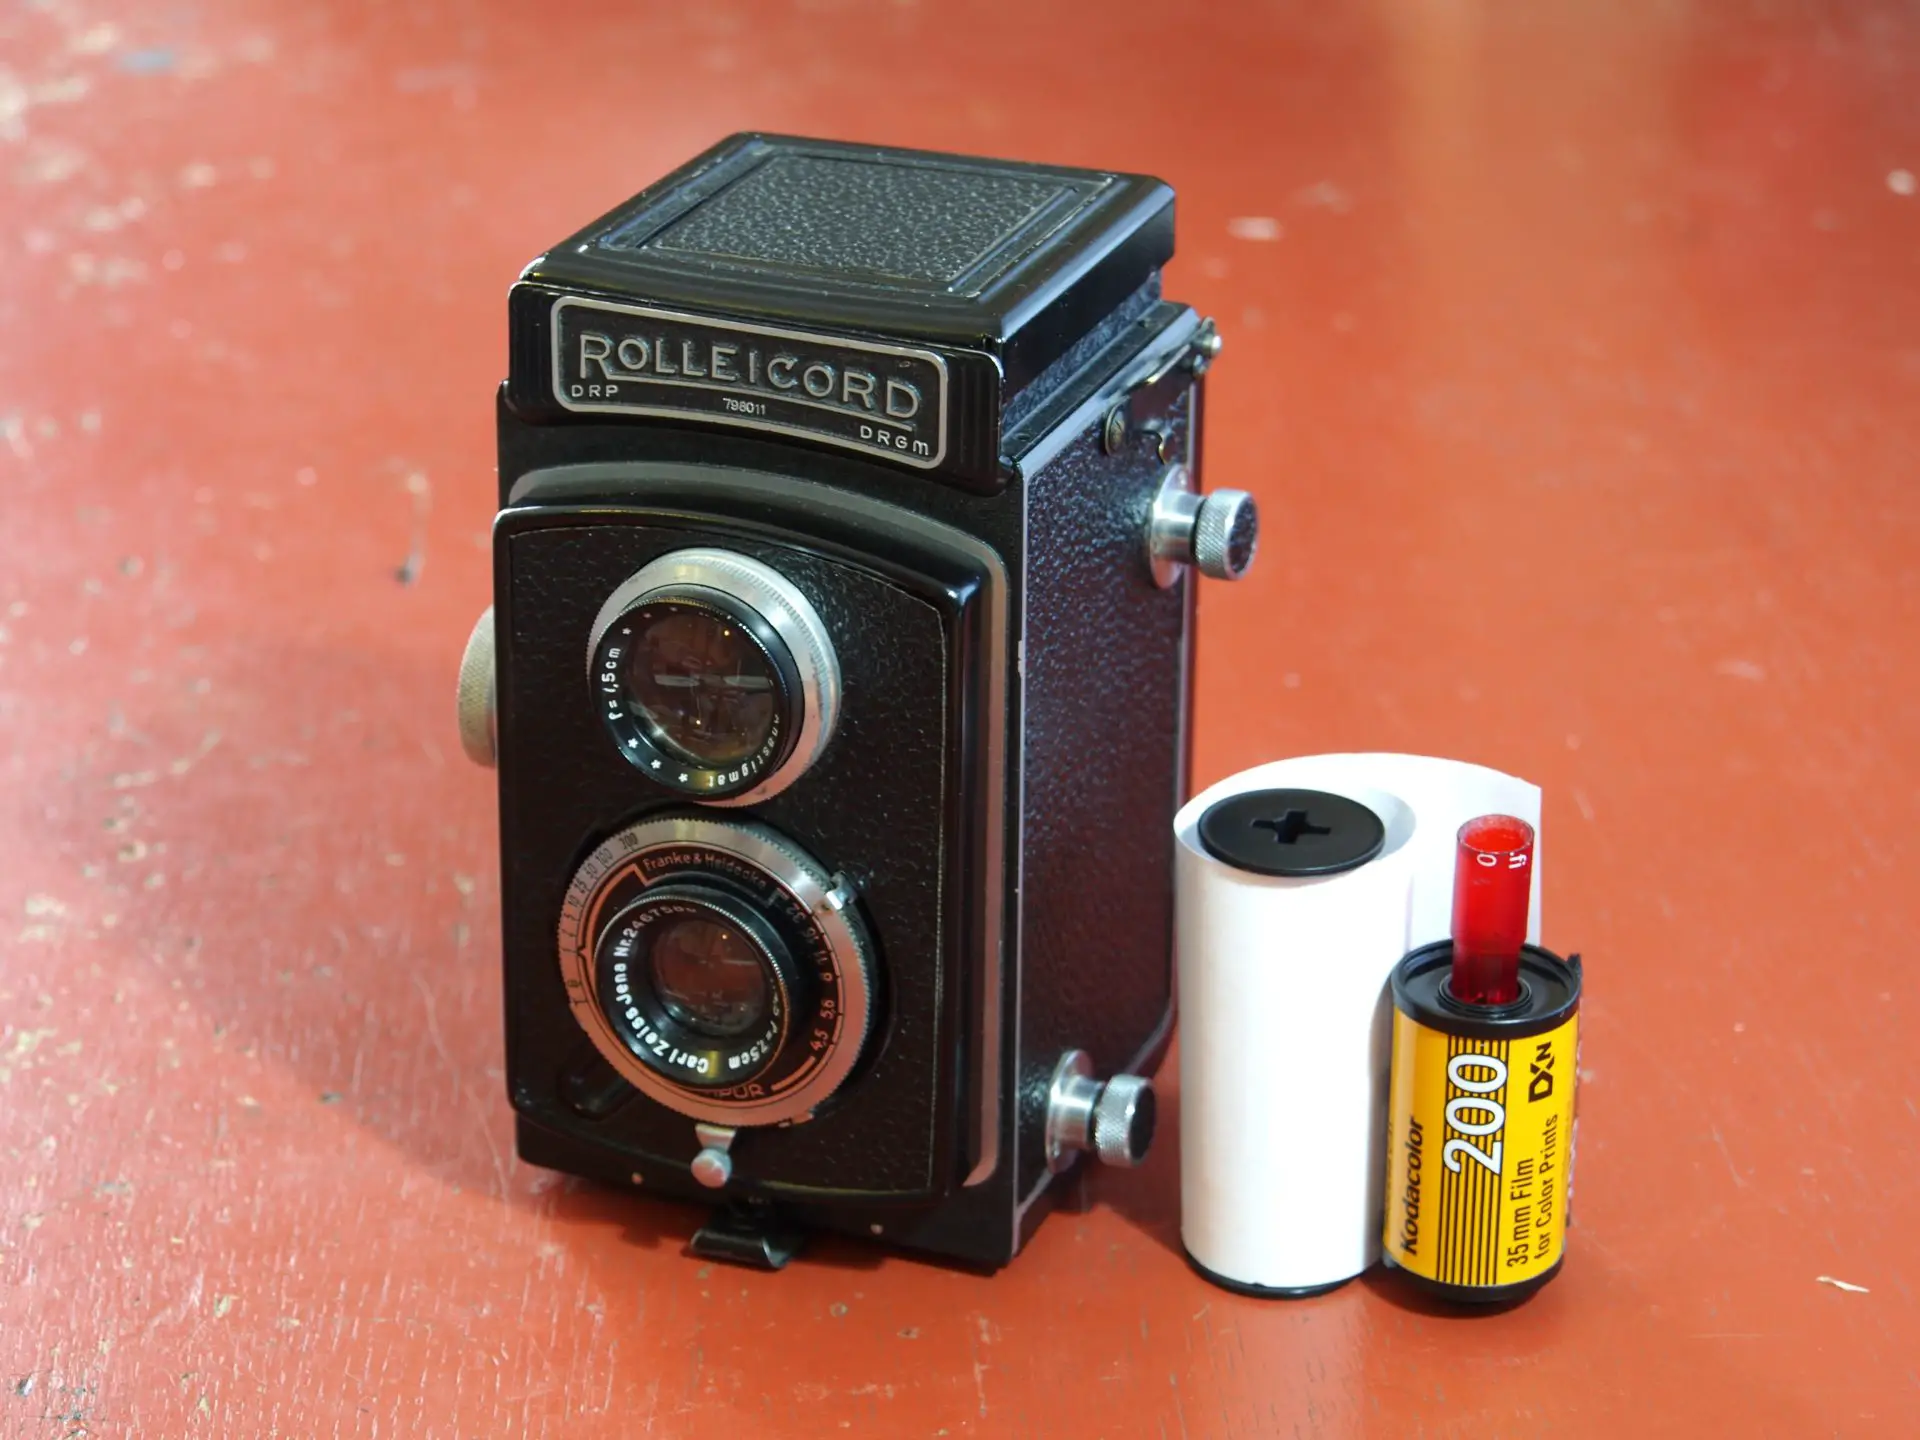
Since getting back to film photography I’ve been wanting to try out some medium format photography. I had previously only shot a few rolls during my first studies in the beginning of the 2000’s. An opportunity presented itself when a friend loaned me a Rolleicord TLR.
BUT being me, instead of doing the obvious thing and shooting 120 film, I decided to start by experimenting with shooting 35mm film with it. Now I’ve since heard that there are devices meant for doing just that, but again, being me I decided to DIY my way around it.
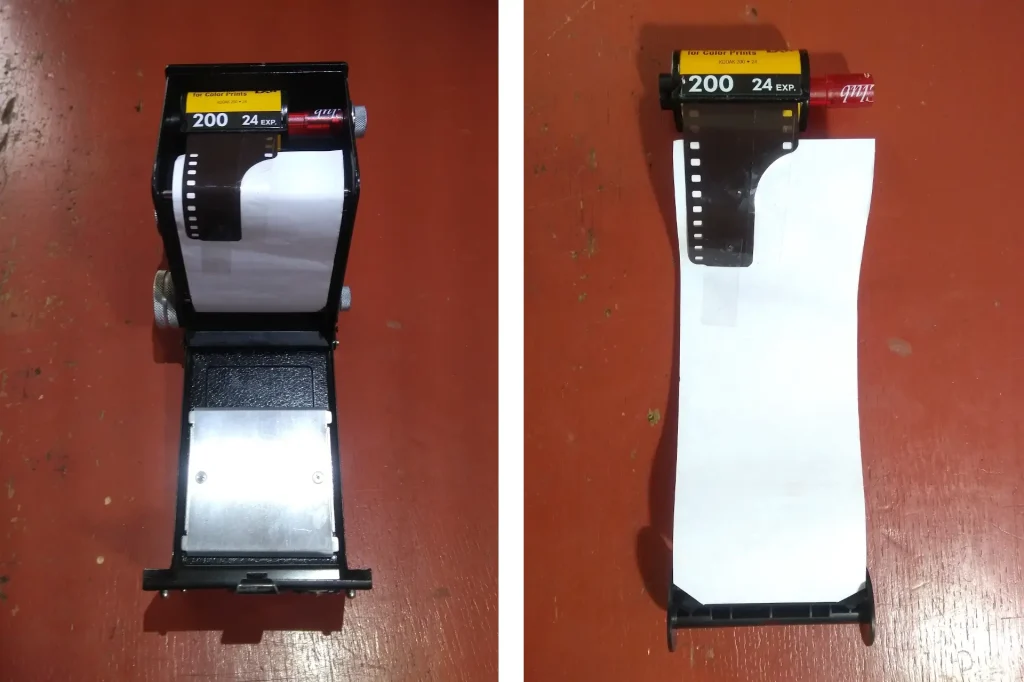
First I needed something to hold the smaller 135 film cassette in the spool slots. I experimented with a few things, but finally found that I could fashion a perfect adapter by cutting a suitable piece from an old pen and making a slot in it that locks to the spool in the cassette.
The second part was to make some kind of a leader to minimize the wasted film. I cut a long piece from ordinary printer paper in the size of 120 film and cut a smaller part on the other end. The smaller part was inserted in the slot in the take-up spool and the film leader was taped to the other end. With the leader tightened in the take-up spool I could close the back cover and load the first frame.
The first problem with all this was that the frame counter on this camera didn’t work (even with 120 film). I had therefore estimated that winding the film three half rotations would advance it approximately one frame. The actual amount seemed to be a bit more and vary greatly, leading to quite big gaps between frames. That combined with some surprisingly low-framed chinese respooled film (see my previous post for more info) lead to getting very few frames from the two rolls I shot with it.
The second problem was kind of related to that. I do not know if the camera even has some sort of multiple exposure prevention, but at least it didn’t work now that the camera wasn’t registering the film advancement. Because there was nothing stopping from cocking the camera without first winding the film, I ended up with many accidental multiple-exposure shots. Soon I started winding the film immediately after taking the shot, as to not forget it.
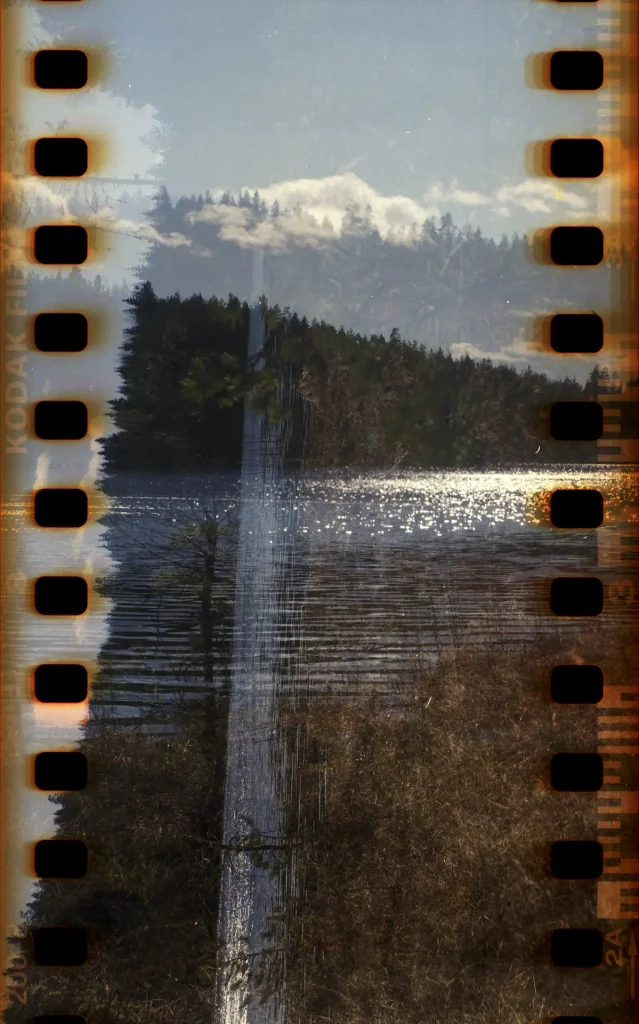
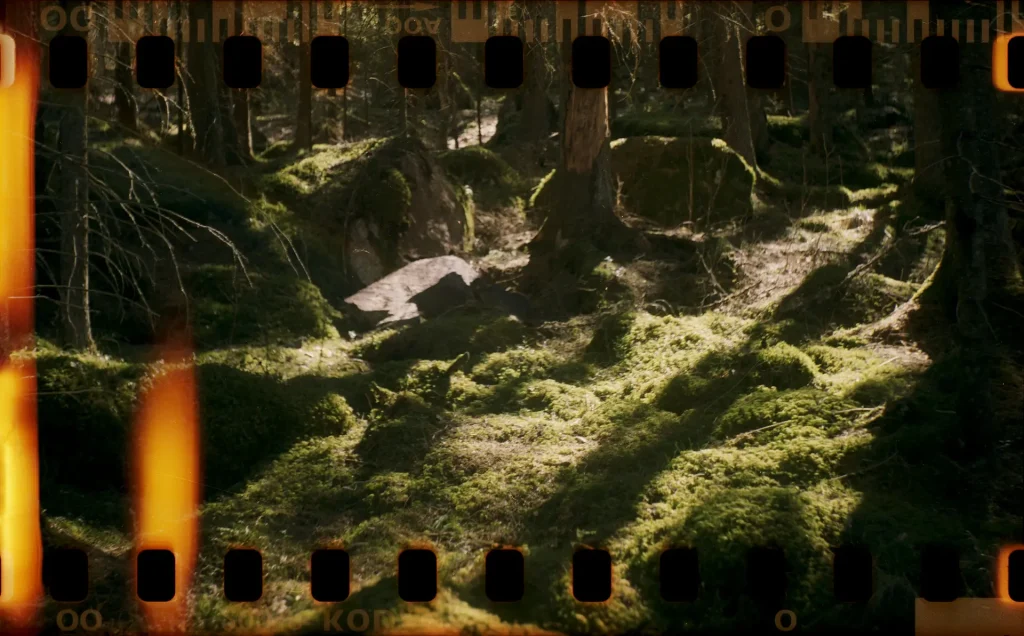
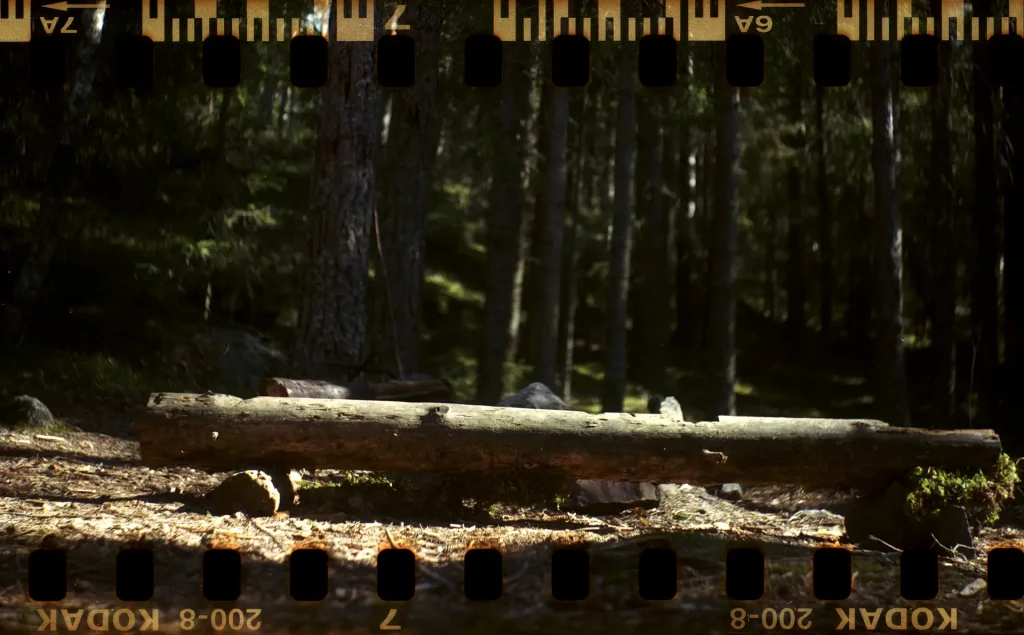
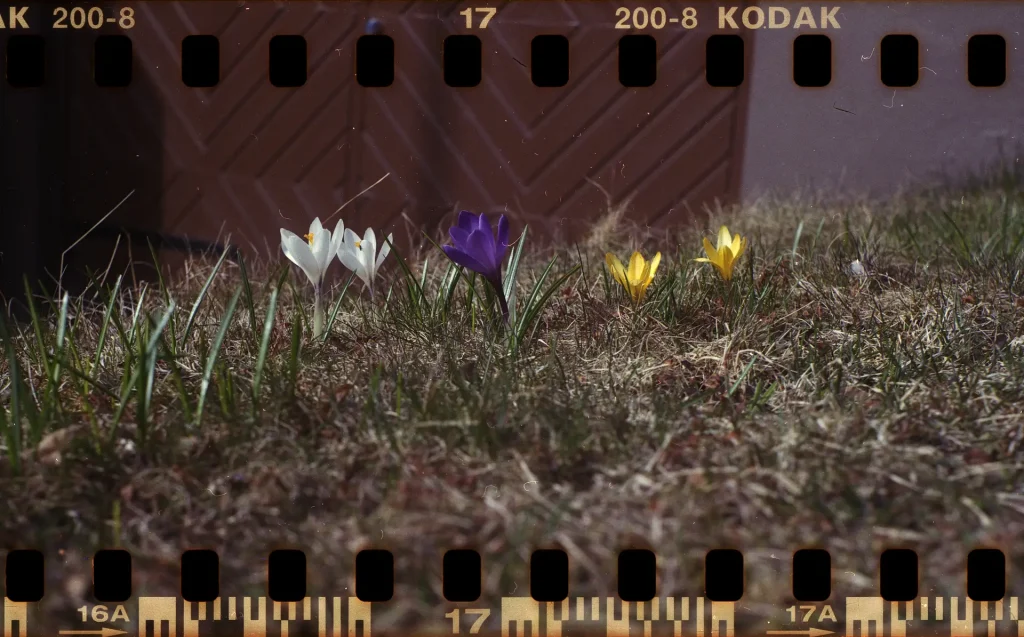
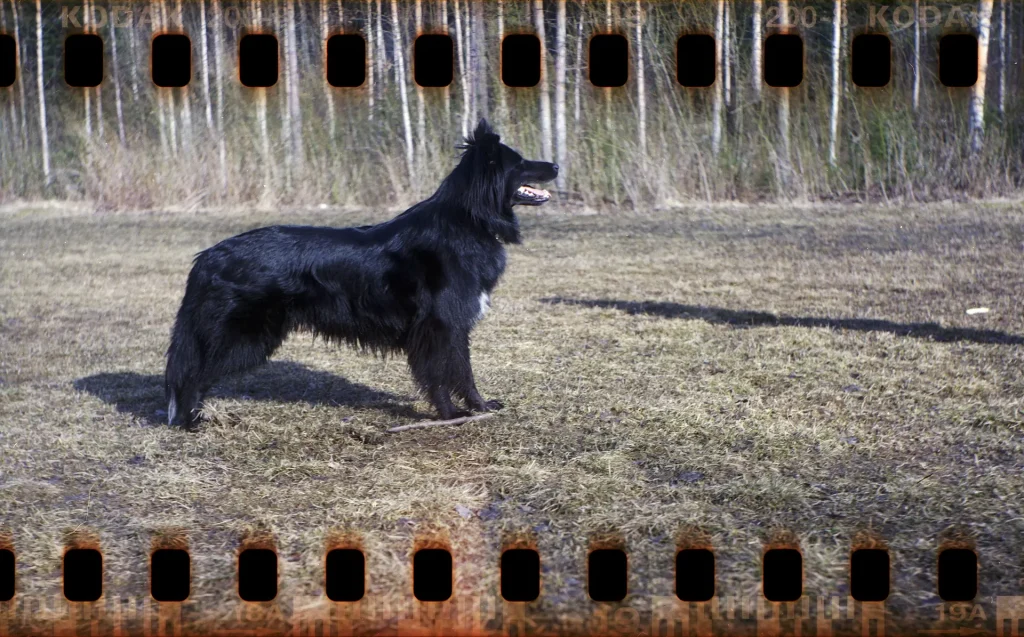
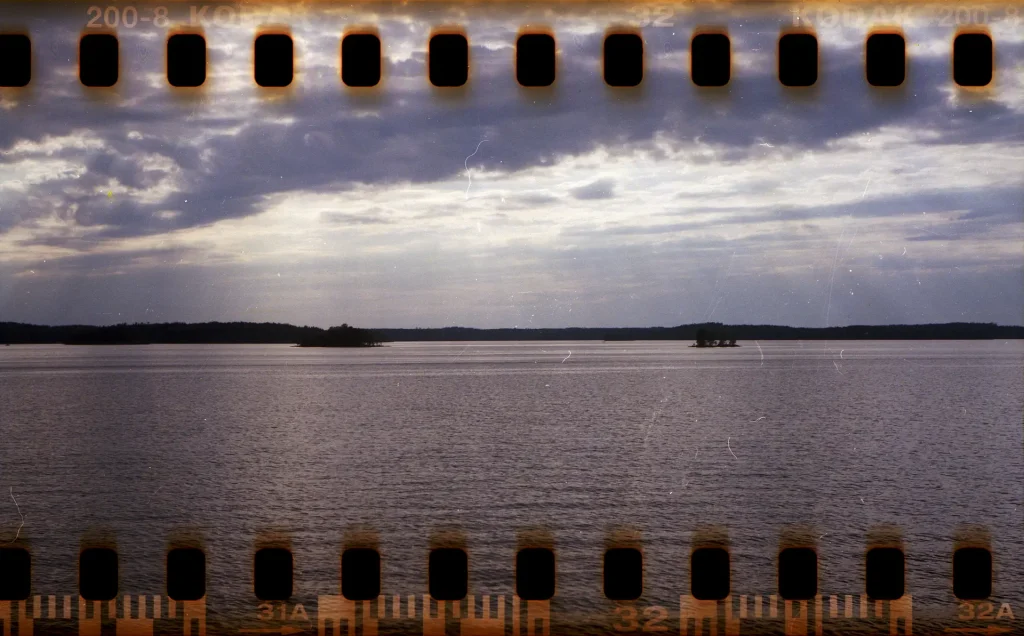
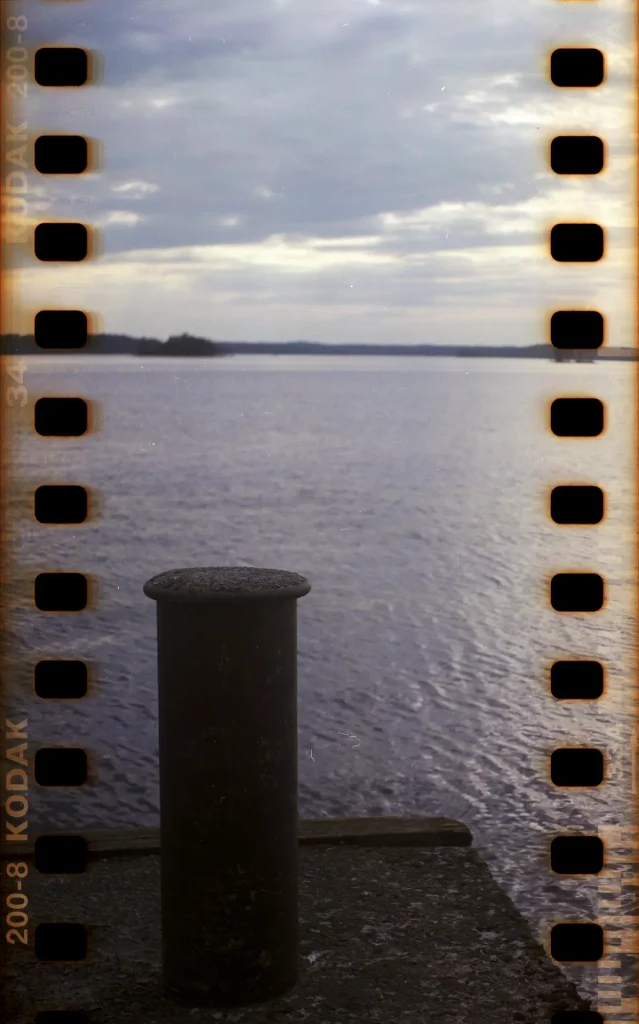
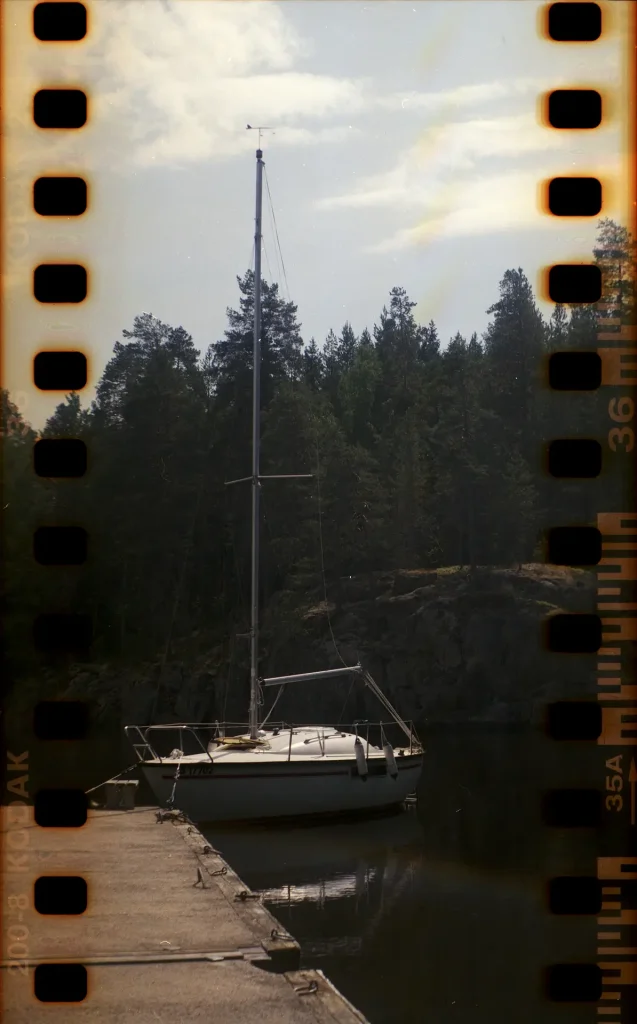
The actual shooting was also problematic in many ways. First of all there was the fact that the viewfinder did not match the film area since the 35mm film is a lot narrower. I needed to estimate where the film would be in the view and also where the sprocket holes would be. On top of that the frame area is far from a square like it would be on 120 film, so if I wanted to take a horizontal picture I would have to tilt the camera on it’s side. It was clear that the camera wasn’t meant to be shot in this way, since not only was the view mirrored, it was also upside down!
The viewfinder on these cameras is quite dim and that brings an extra challenge on top of all of this. These things combined ensured that many of the shots were failures in terms of composition. There were tilted photos, things in the wrong places, subjects getting punctured by the sprocket holes or missing totally.
The film had to be removed in total darkness, since there is no way to wind it back to the cassette in the camera. Once the back was open, the piece of pen that aligned the cassette could be used to wind the film back. Not a huge difficulty, but this meant that I couldn’t change the film anywhere and anytime I wanted.

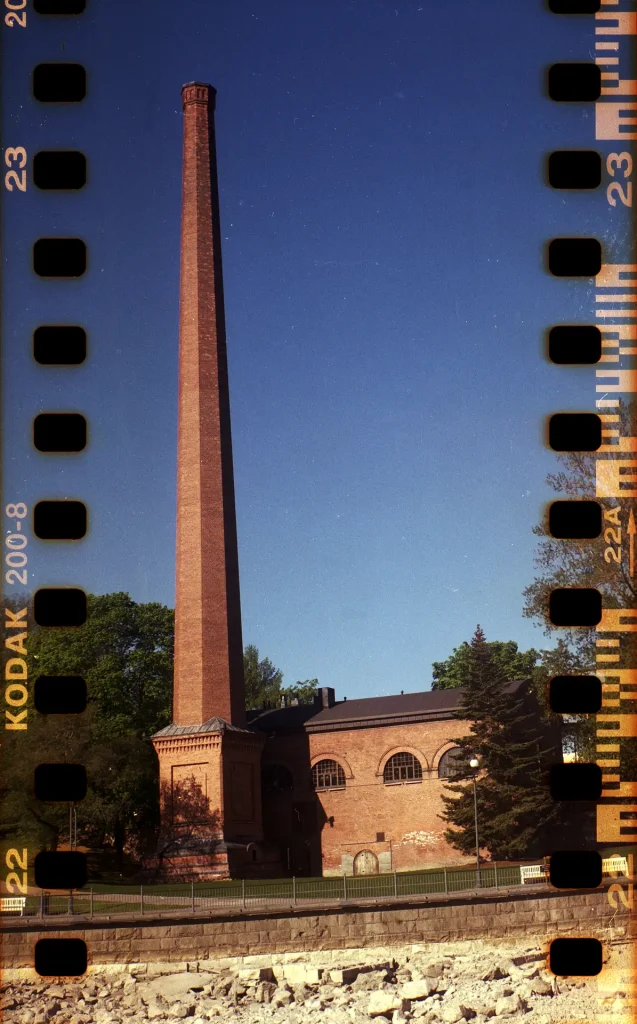
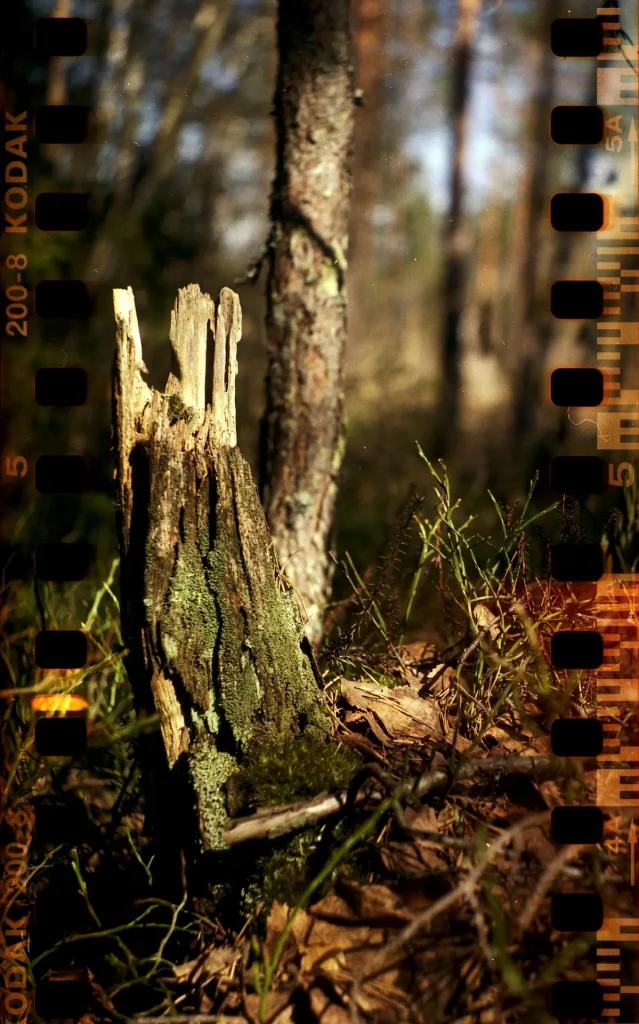
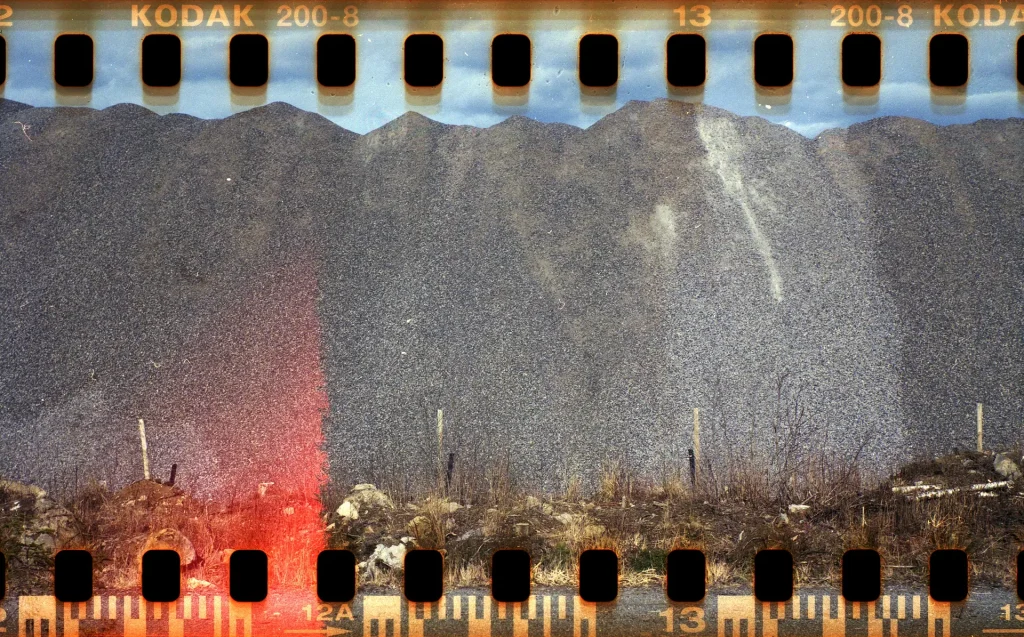
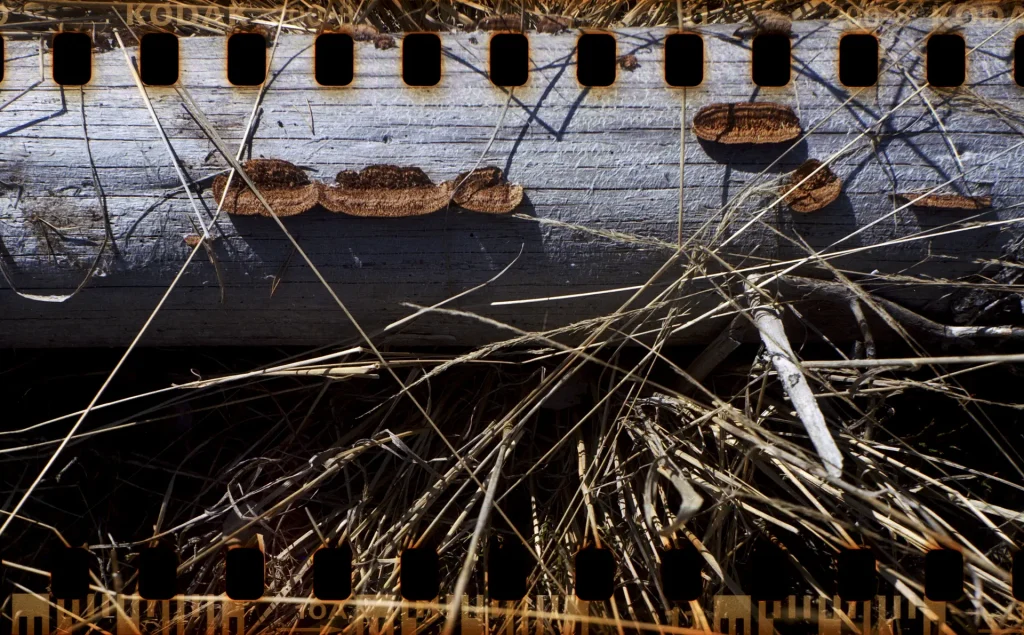
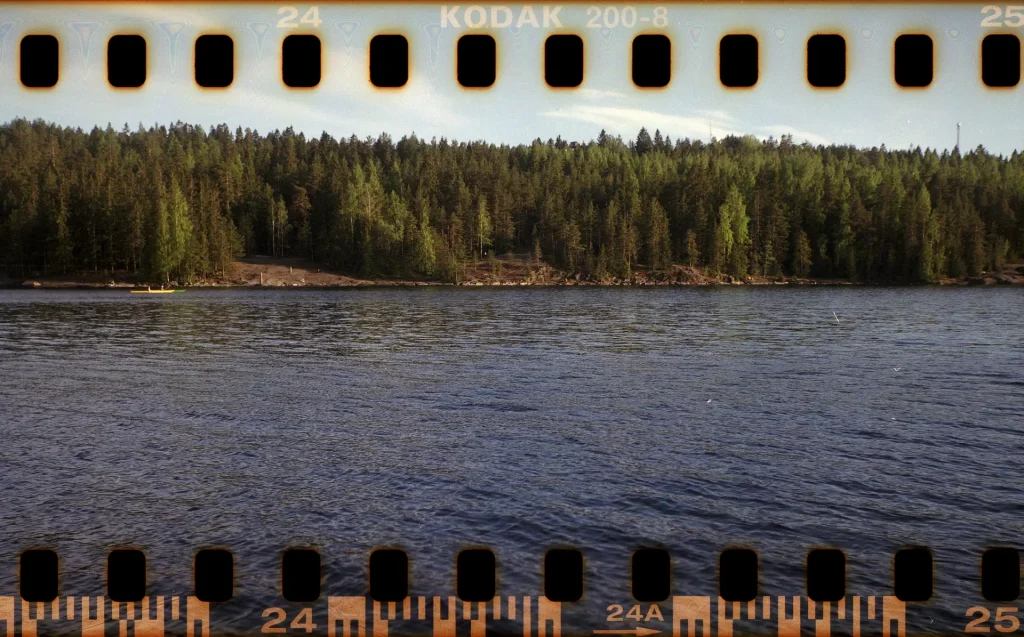
I shot two color films with the camera and I got 14 somewhat successful shots out of those. I have to say that I’m really glad of those good shots. The sprocket holes and overall look is somehow refreshing and at least it’s good insta-hipster material. There were some minor light leaks, but I think they fit in the aesthetics quite well.
I realize that these posts might seem to someone like I’m complaining about all the hardships. This really is not the case, and I love overcoming all these problems and just making these very haphazard tests work. Maybe that’s what draws me to try these experimental things instead of the tried and true methods. All in all this was quite a tedious process, but at the very least the successful shots are very interesting and the sprocket holes do give a nice effect. Not something I’ll be doing again soon, but it was a very nice thing to try out!
You can find more of my experimental and non-experimental shots from my flickr and my instagram. Thanks for reading!
Share this post:


Comments
Bob Janes on That time I shot 35mm film in a Rolleicord – by Teemu Matilainen
Comment posted: 16/10/2020
1. Although I like the frame numbers and film type along with the perforations, bar codes just get in the way - so I have tended to choose cheaper films that don't include barcodes (Fomapan & Kentmere)
2. If using a TLR, it helps if it has a sportsfinder for framing.
3. If you want the wording and numbers on the negative to be the same way up as your pictures you need to be careful which way aruond you hold a TLR, and ideally if using a folder, you want the film running from left to right as you view the back (or be prepared to shoot with teh camera inverted).
My most successful attempt was with an old folder from AGILUX with the red window heavily masked and guessing the number of turns to give the winder - it is very easy to get overlapping frames.
Comment posted: 16/10/2020
Tom on That time I shot 35mm film in a Rolleicord – by Teemu Matilainen
Comment posted: 16/10/2020
Comment posted: 16/10/2020
Comment posted: 16/10/2020
Kurt Ingham on That time I shot 35mm film in a Rolleicord – by Teemu Matilainen
Comment posted: 16/10/2020
Comment posted: 16/10/2020
John S on That time I shot 35mm film in a Rolleicord – by Teemu Matilainen
Comment posted: 16/10/2020
Comment posted: 16/10/2020
Graham Orbell on That time I shot 35mm film in a Rolleicord – by Teemu Matilainen
Comment posted: 23/10/2020
I used to often shoot 120 Ektachrome and trim the transparencies down to 4cm X 4cm and mount them in special 2” X 2” slide mounts that were available then. They projected perfectly in normal 35mm slide projectors and were absolutely glorious filling the screen. Now that Kodachrome is no longer available there is not much reason to shoot 35mm in a Rollei, but still an interesting experiment. The viewfinders were a bit dim but that can be very greatly improved by using a Maxwell screen from the USA. I have one for my Rolleicord and another for my Rolleiflex of similar vintage. Hopefully Maxwell is still making the screens.
Comment posted: 23/10/2020