
When I have nothing else to do, I like to browse the reddit r/analog section, and one day I suddenly saw an image with a very special color, which was amazing. At the same time, I saw a word in the title of the image that I had never heard of before: Trichrome (I have to admit, I didn’t upvote the post thus I didn’t leave a record of which image it was, but it was really a great image, so please use your imagination). After a little bit of Googling, I was instantly intrigued by the concept. What a genius idea to use black and white film to create color photos! The next question was, could I try it too?
I’ll just try it.
Equipment Preparation
I’m not going to write too much about all the science and theory in this article, because there are already many articles and YouTube videos that explain Trichrome photography very clearly. I’m here to talk more about my personal experiences and mistakes.
Filters
According to Google, to get the best Trichrome results, you’ll need to use Red 25, Green 58, Blue 47 filters to shoot three black and white photos, and then put them through Photoshop into corresponding RGB channels to finally get color photos.
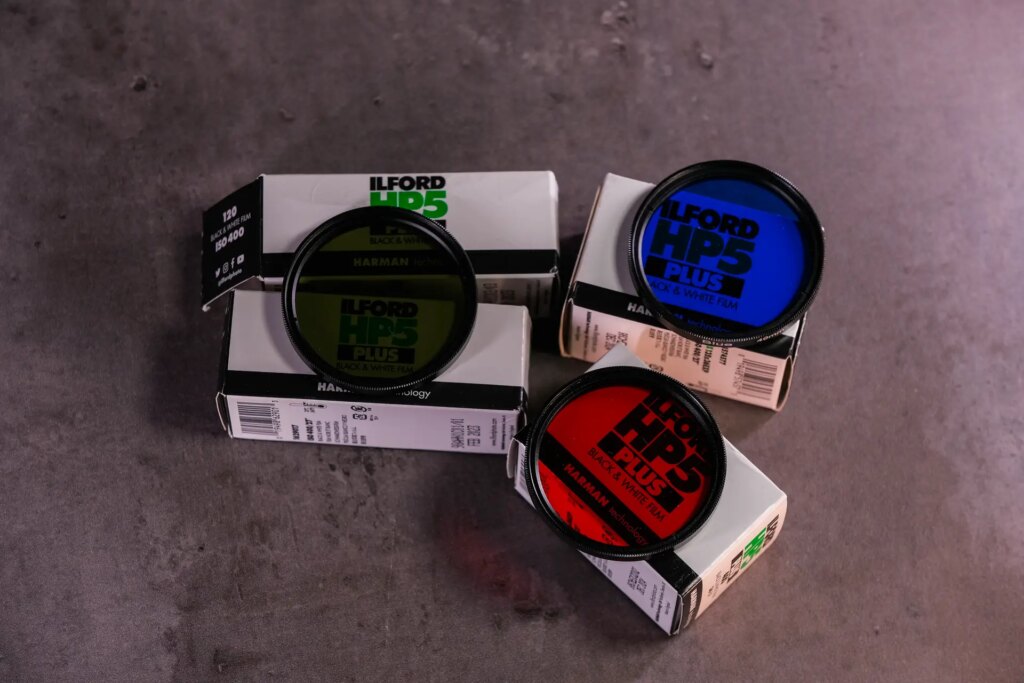
This is where the first problem arose: I simply could not find a place to buy these three filters. After searching the Internet, I found that no one sells these professional filters from where I live. I could buy them from overseas, but then I’d have to wait for more than a month, and the cost is very high. But the fire of desire burning inside me (to take trichrome pictures, of course) really cannot last that long, and my wallet is really not very bulging, so I can only be backward compatible. I bought a bunch of cheap plastic filters for 2 dollars each. But they do look, indeed, in the exact colors of red, green and blue, whatever.
Tripod, shutter cable, light meter
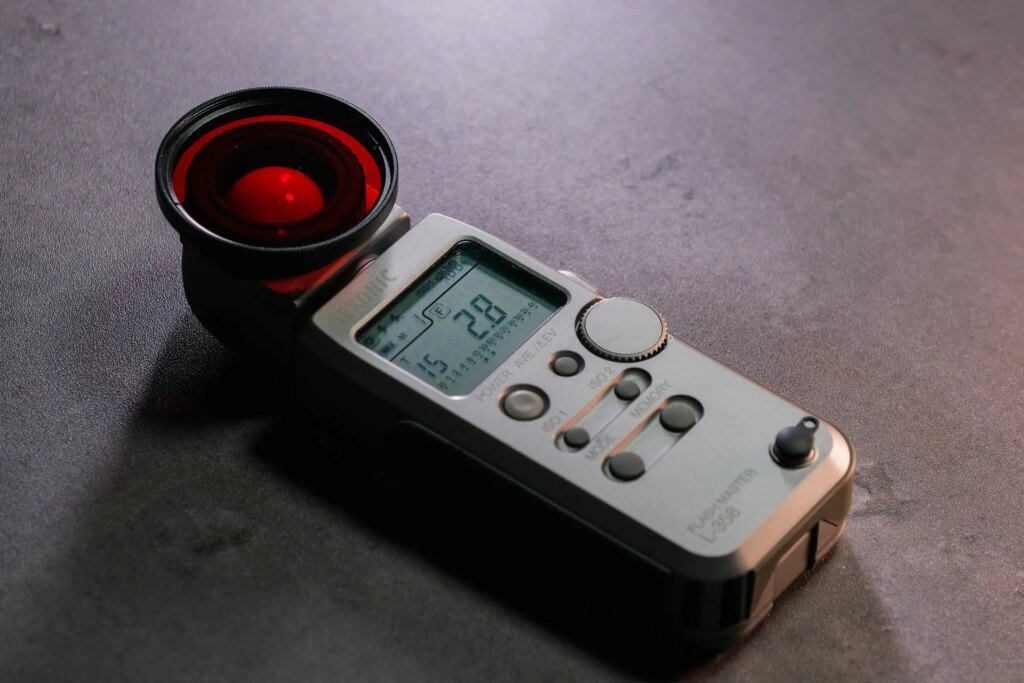
In post-processing, the three black-and-white photos taken with different filters are stacked on top of each other, so it is especially important to keep the camera perfectly still during shooting. You’ll definitely need a tripod and shutter cable. Also, metering is a big problem because of the different light transmission rate of the different color filters (I’ll talk more on that later). I got myself an incident light meter, the Sekonic L-358.


First Time Shooting Experience (with Mamiya C330S)
The Mamiya C330S is one of my favorite cameras, and I’m always pleasantly surprised by the photos I get from it. To be honest, I rarely take it out to shoot, but rather use it at home to shoot some life scenes. This time I made up my mind, called the gym to cancel my class for the next week, and took it out with me with my bare hands.
Metering
Generally speaking, my metering method is relatively simple: use the incident light meter to take a reading of the shadow, and that’s it. But now I need to determine the exposure for different filters (because they are so cheap, they are not even marked with a filter factor), I put the filter on the retracted Lumisphere to take a reading, keeping the aperture constant and see how the shutter speed changes. After some testing, I found that I’d need to compensate 3 stops for the red filter, and 2 stops for the green and blue filters.
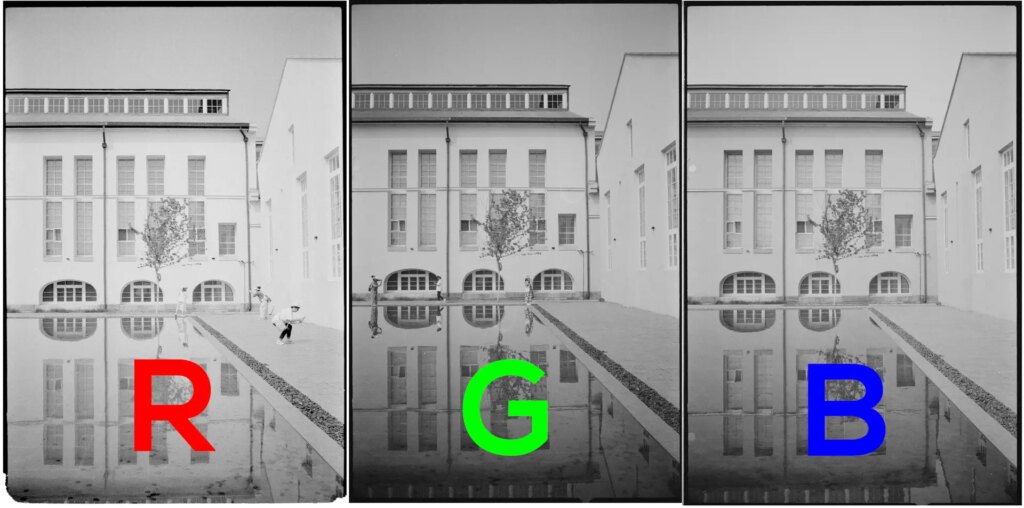
Shooting Trichrome
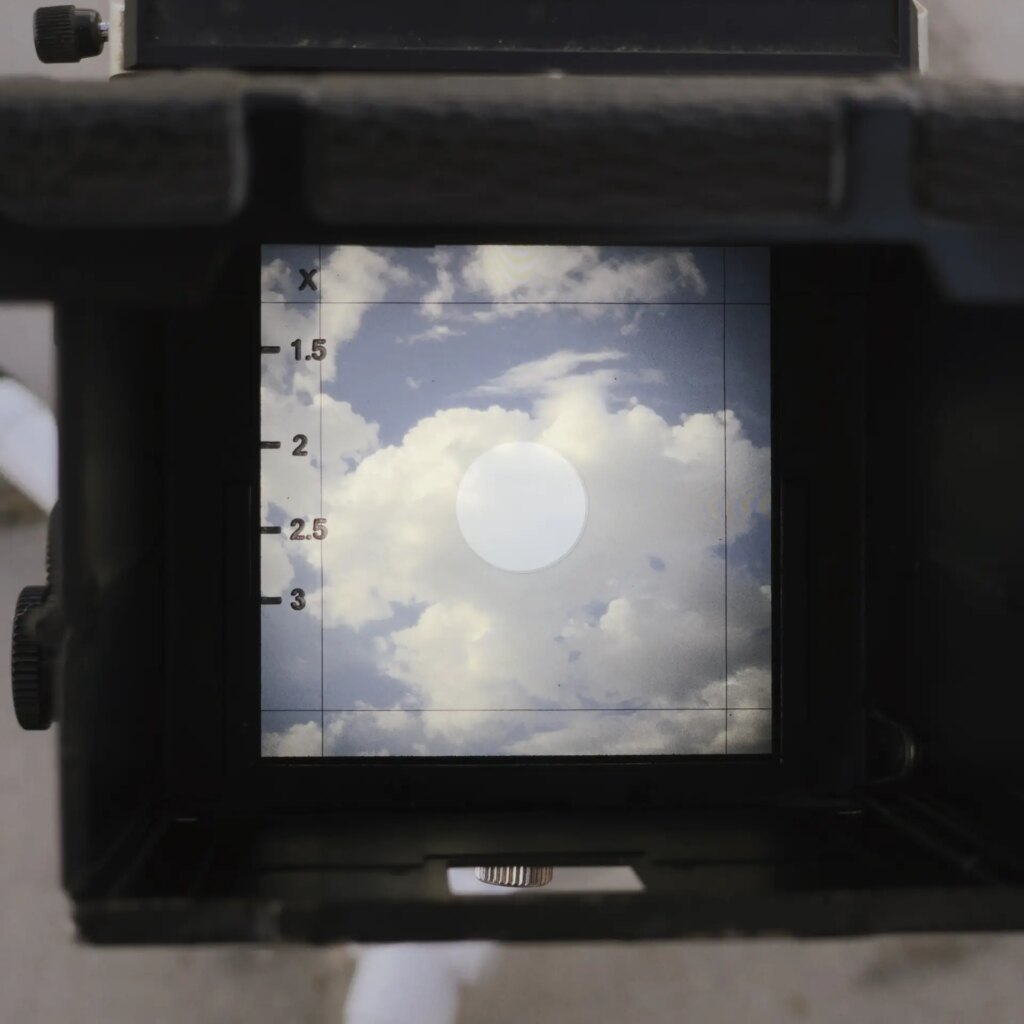
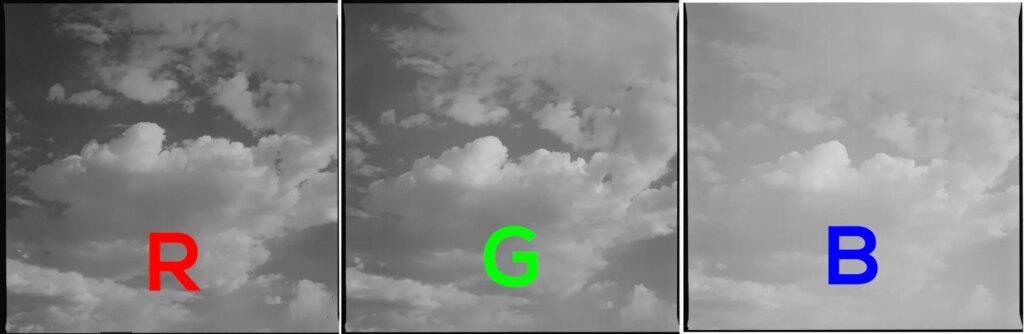
To make my post-processing easier, I decided to follow the R-G-B sequence to shoot. For the first scene, I chose to shoot a cloud (Yes, sometimes I don’t even understand myself. I just saw a beautiful cloud and I wanted to take a photo of it.) This was the first mistake I made, because the clouds were really moving too fast and my process of metering, change filters, setting aperture and shutter speed, shooting were too slow. This made it almost impossible to stack the three shots perfectly in post-processing.
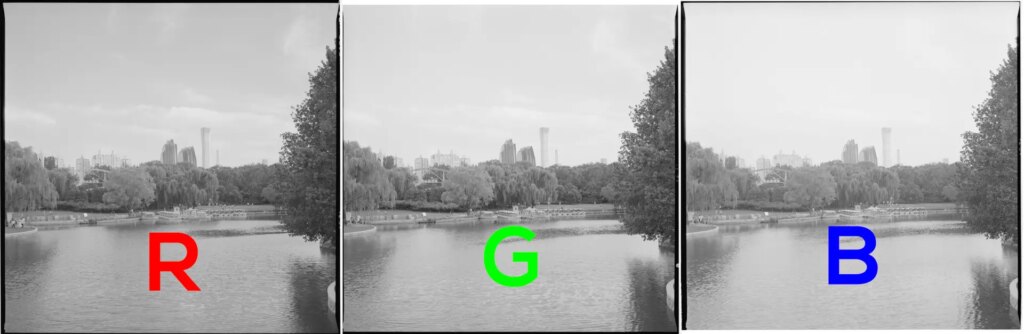
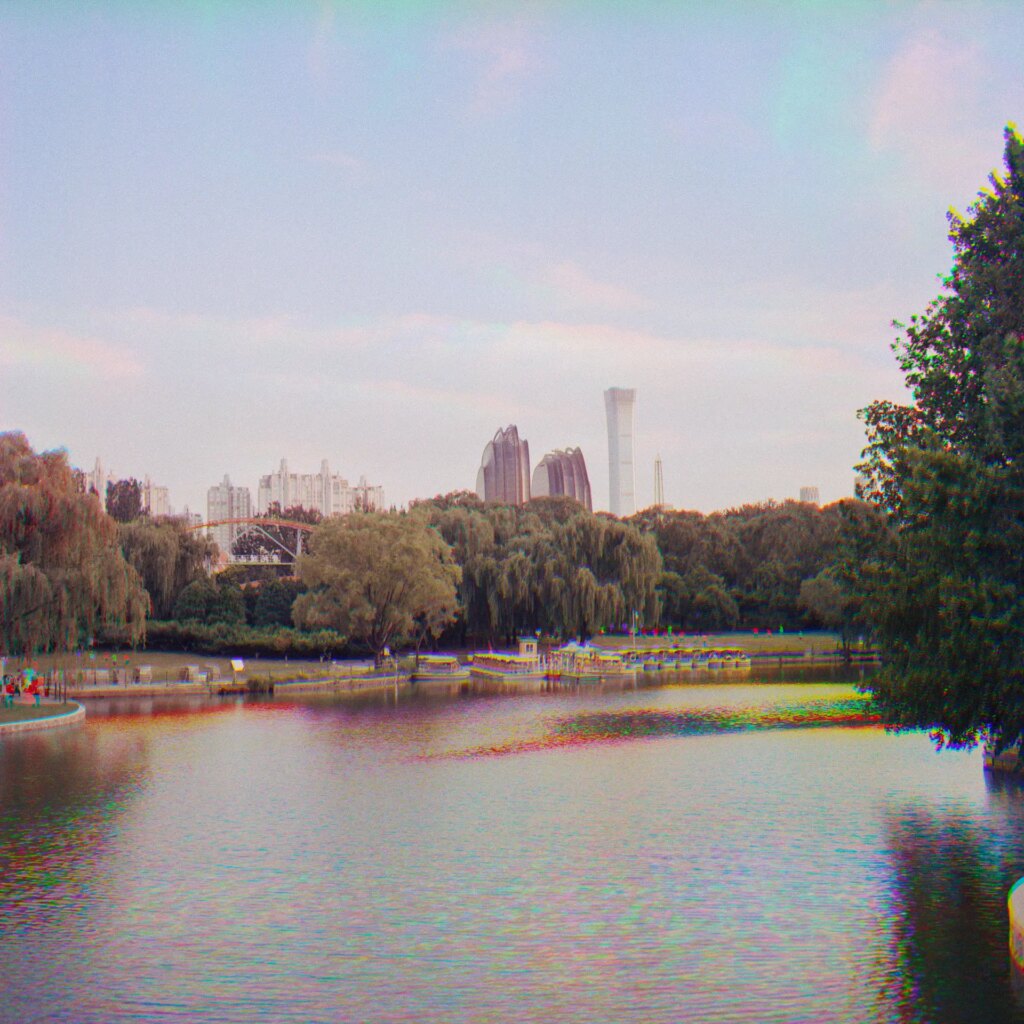
For the second scene, I went to a park and photographed the lake at sunset with the woods and buildings behind it. Here I made another mistake, the sunset light changes too quickly, so by the time I had finished shooting with the red filter and had just put on the green filter, the lighting conditions had changed dramatically. So, all I could do was take the green filter off and take another metering reading. And the reading told me that I had to consider the reciprocity of the HP5+ film. I quickly pulled out my phone to google the reciprocity data about the HP5+, open the calculator to type in the equation, and then use the exponential equation to calculate the exact exposure time. I did it. When I saw the calculated value on the display, I couldn’t help but think of all my math teachers, big thanks to them! But now 5 minutes have passed, the sky has darkened even more, and I have to measure again and repeat the whole process! I tried my best to hold back my tears and finished the rest of the shots.
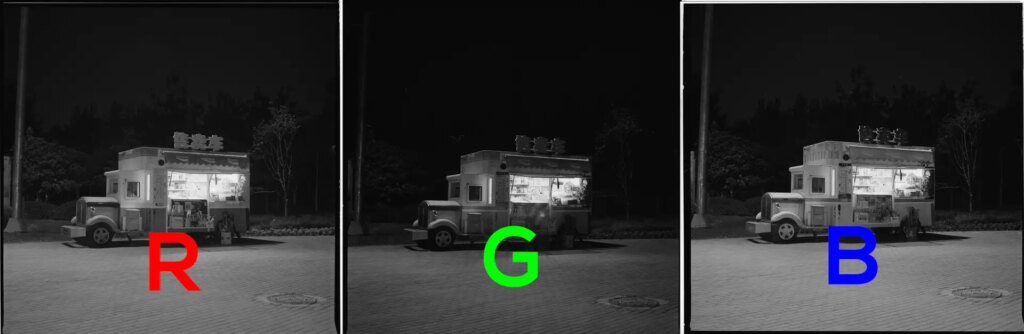
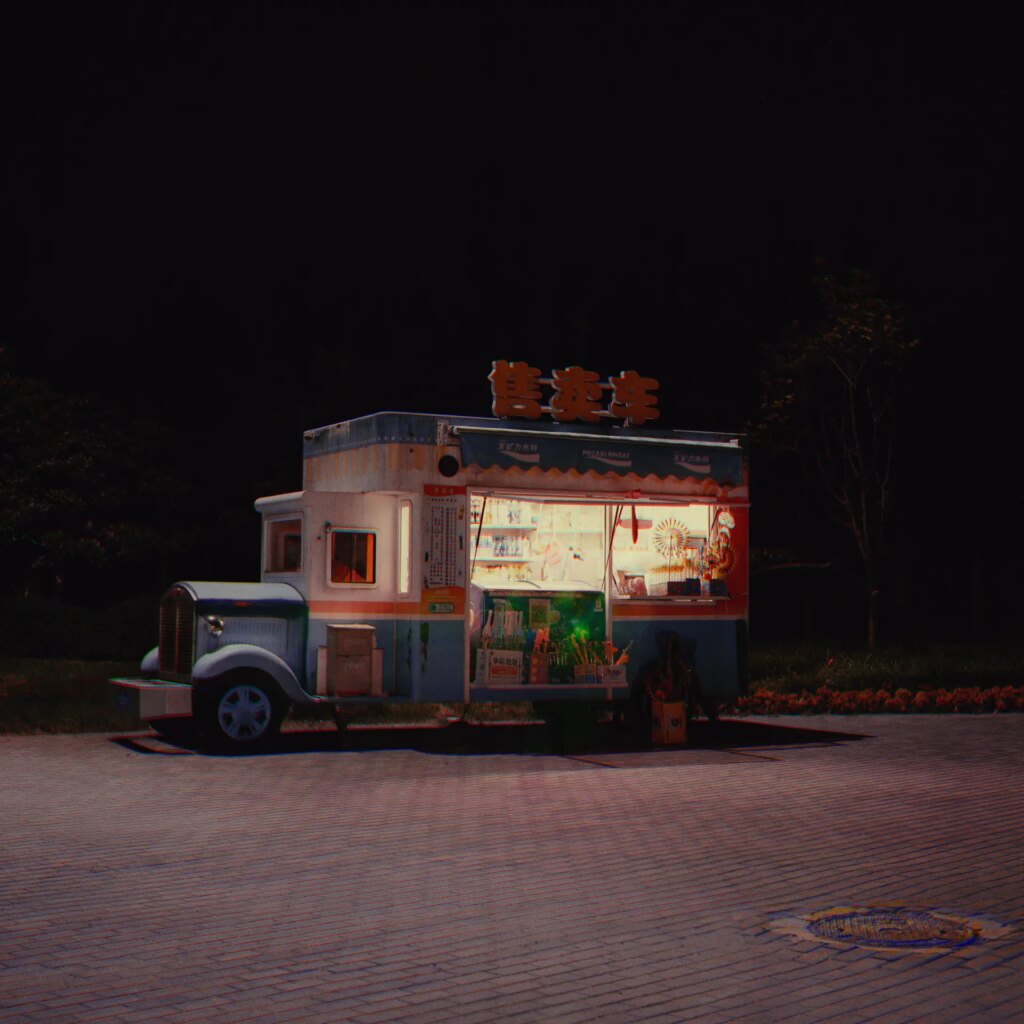
For the third scene, I saw a very nice blue truck on my way home, it gives a kind of Wes Anderson vibe. The only problem is that there is really not much light, so I could only try to shoot with some guessing in focusing. I didn’t expect this one to end up being one of my favorite photos in the series.
Post-processing
Since there are many related articles, I will not elaborate on the technical details of Trichrome here. I ended up adjusting the color balance of each layer in PS, and I also slightly adjusted some HSL-related settings in the final color photo that was generated. Although there were a lot of problems during the shooting process, but all three scenes gave me results that I’m happy with. The final color photos of the truck also made me “wow”. It’s not about how good the shots were, it’s just that I didn’t expect the $2 cheap filters to give me these kinds of results.
Photos
Here are the final color images:

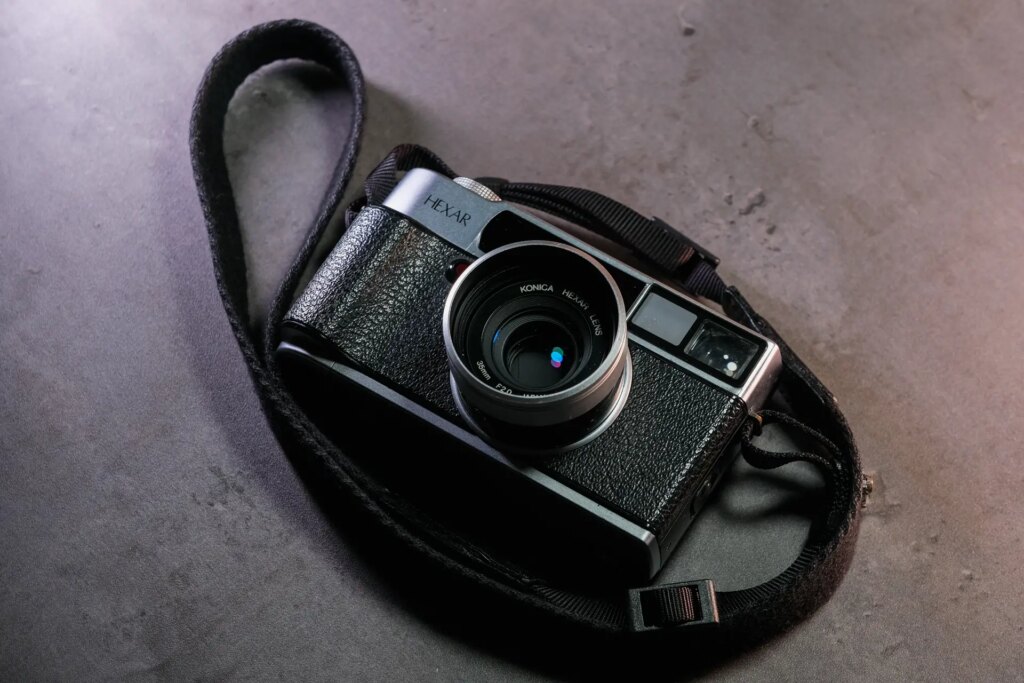
Second time Shooting Experience (with Konica Hexar AF)
After my last shooting experience with the C330S, I’ve been wondering if I could repeat the process with a 135 camera. I only had a Konica Hexar AF that was compatible with these filters, so I didn’t have many other options. This camera has a very special meaning to me, it was originally my good friend’s and I borrowed it to document the birth of my son. It did not disappoint me and delivered some great pictures, so I bought it from my friend and hope that I could pass it on to my son when he grows up (if it hasn’t turned into a brick by then).
Metering
The advantage of choosing the Konica Hexar AF is that it’s a P&S camera with rangefinder features, so its focusing process is not affected by filters attached (which I’m pretty sure of, since I always forget to take lens cap off a few shots per roll), but this also means that the camera doesn’t take the filter into account when metering. The M-mode setting on this camera is pretty fiddly, so I decided to lock the aperture at f8 and control the shutter speed by adjusting the ISO setting. I shot the red filter first at ISO 50, and then the green and blue at ISO 100.
Shooting
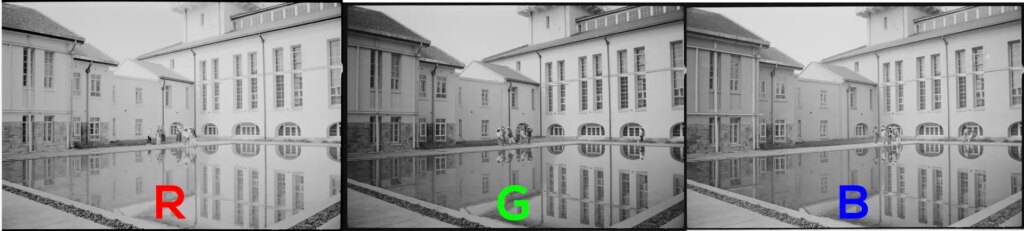
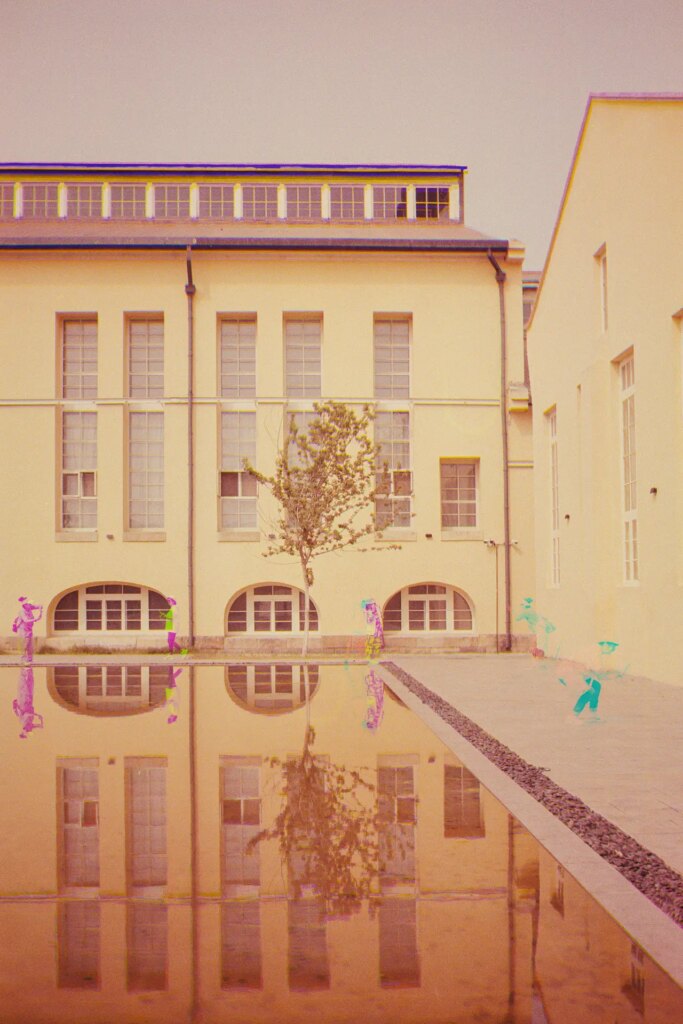
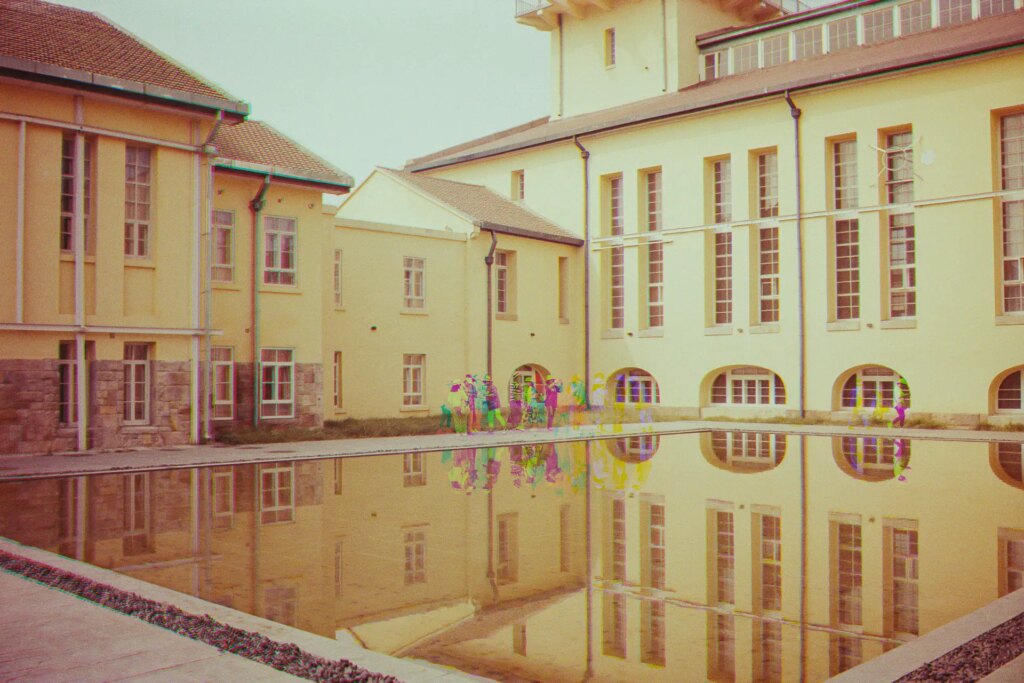
The location for this shooting was a building with distinctive yellow walls and lots of tourists. This time I wanted to make the most of the Harris Shutter Effect, which creates a rainbow of colors around any object that moves within the frame.
While I took the shots, some tourist were moving in front of the camera, just as I planned.
Here are the final color images:
What’s Next
I still recommend using a fully manual camera to shoot Trichrome, as it would be much easier to set all the parameters. In addition, I used cheap filters to get at least satisfactory results, but there were indeed some color shifts, and the final images still look a bit different from the real scene. Next, I would like to try using color film to do Trichrome photography, that is, using RGB filters to expose three times on the same negative frame, so that in the final images any movement will be represented in Harris Shutter Effect. This may make some interesting photos, or more mistakes, let’s see.
Thanks for reading!
This is my personal website, mainly about toys and daily life. And you could find me on Instagram (not very active there).
Share this post:


Comments
Agata Urbaniak on Creating Trichrome Color Photos with Ilford HP5+ – My Experiences and Mistakes
Comment posted: 18/05/2023
Ibraar Hussain on Creating Trichrome Color Photos with Ilford HP5+ – My Experiences and Mistakes
Comment posted: 18/05/2023
Wonderful dreamlike photos
Thank you sir
Don Goodman-Wilson on Creating Trichrome Color Photos with Ilford HP5+ – My Experiences and Mistakes
Comment posted: 18/05/2023
Murray Leshner on Creating Trichrome Color Photos with Ilford HP5+ – My Experiences and Mistakes
Comment posted: 18/05/2023
I had assumed this process involved hand-coloring with pigments and brushes, which would be outside my ability.
I also like that the cost savings for the inexpensive color filters may have offset the expense of the Sekonic light meter, which has additional utility.
Well done.
Nicholas Howe on Creating Trichrome Color Photos with Ilford HP5+ – My Experiences and Mistakes
Comment posted: 18/05/2023
Bill Thoo on Creating Trichrome Color Photos with Ilford HP5+ – My Experiences and Mistakes
Comment posted: 18/05/2023
Nicholas Clarke on Creating Trichrome Color Photos with Ilford HP5+ – My Experiences and Mistakes
Comment posted: 18/05/2023
Graham Orbell on Creating Trichrome Color Photos with Ilford HP5+ – My Experiences and Mistakes
Comment posted: 19/05/2023
About 100 years ago Technicolor movies were made using a cine camera exposing 2 rolls of film simultaneously through one lens and a beam splitter. One film was exposed through a red filter the other a green filter. As I understand positive film prints were projected and aligned on to a cinema screen through similar filters. Technicolor was gradually developed over the years using several different processes. Worth checking out their different processes for anyone who wants to experiment with using B&W film to make color images.
Stage lighting often makes use of perhaps red green and blue spot lights adding together on the stage to form multiple colours on the fringes with white in the middle.
Geoff Chaplin on Creating Trichrome Color Photos with Ilford HP5+ – My Experiences and Mistakes
Comment posted: 19/05/2023
Phil Hodgkinson on Creating Trichrome Color Photos with Ilford HP5+ – My Experiences and Mistakes
Comment posted: 19/05/2023
Also I have a Mamiya TLR....a wonderful beast..... Well done with your endeavors.......
David Dutchison on Creating Trichrome Color Photos with Ilford HP5+ – My Experiences and Mistakes
Comment posted: 20/05/2023
I saw a tri-colour still-life print (a dye transfer to be specific) that was made by Edward Steichen in 1909. Fundamentally it's the same idea of three B&W exposures through 3 filters. I was astounded by the brilliance and fidelity of the colours, it looked like it had been shot yesterday. I would say that within the limitations of the process, it has the potential to produce outstanding colour images - really fun to see this still being perused.
Simon Cygielski on Creating Trichrome Color Photos with Ilford HP5+ – My Experiences and Mistakes
Comment posted: 23/05/2023