I’ve been shooting film for almost 5 years now and was very lucky to have a father that introduced me to film photography – one of the greatest lessons he’s taught me is the intertwining of photography basics and the spirit of science. To that end, I thought I’d share one of my favourite film projects to date. For a while now I’ve been fascinated by the look of Infrared (IR) film.
I was working in Los Angeles for a month and had some free time to do some sight-seeing. With google at my finger-tips, I began to devise my experiment. However, there were some questions needing answers: When? Where? How? What else do I need? Will it work?
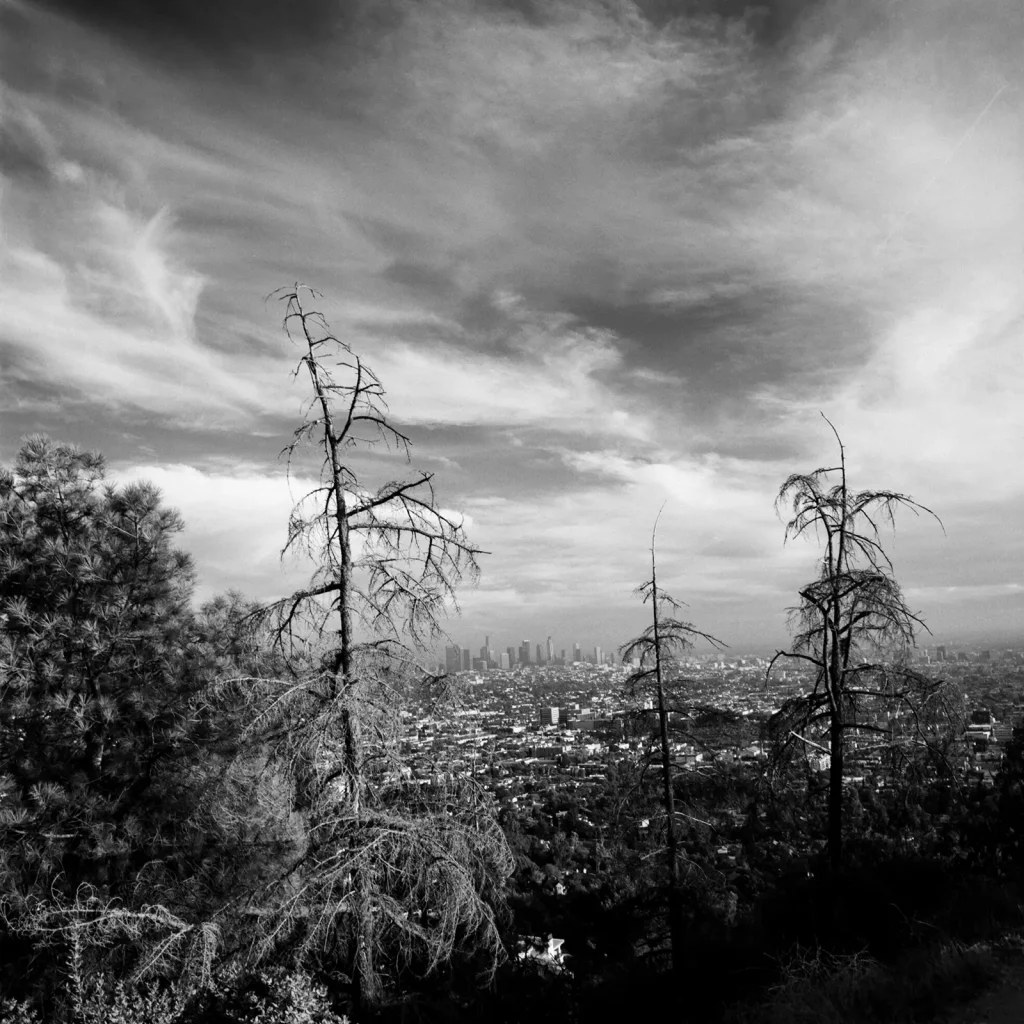
Whether it’s the archaic style, a post-apocalyptic feel at times, or just the fact it senses a different wavelength of light – I thought it was cool.
When
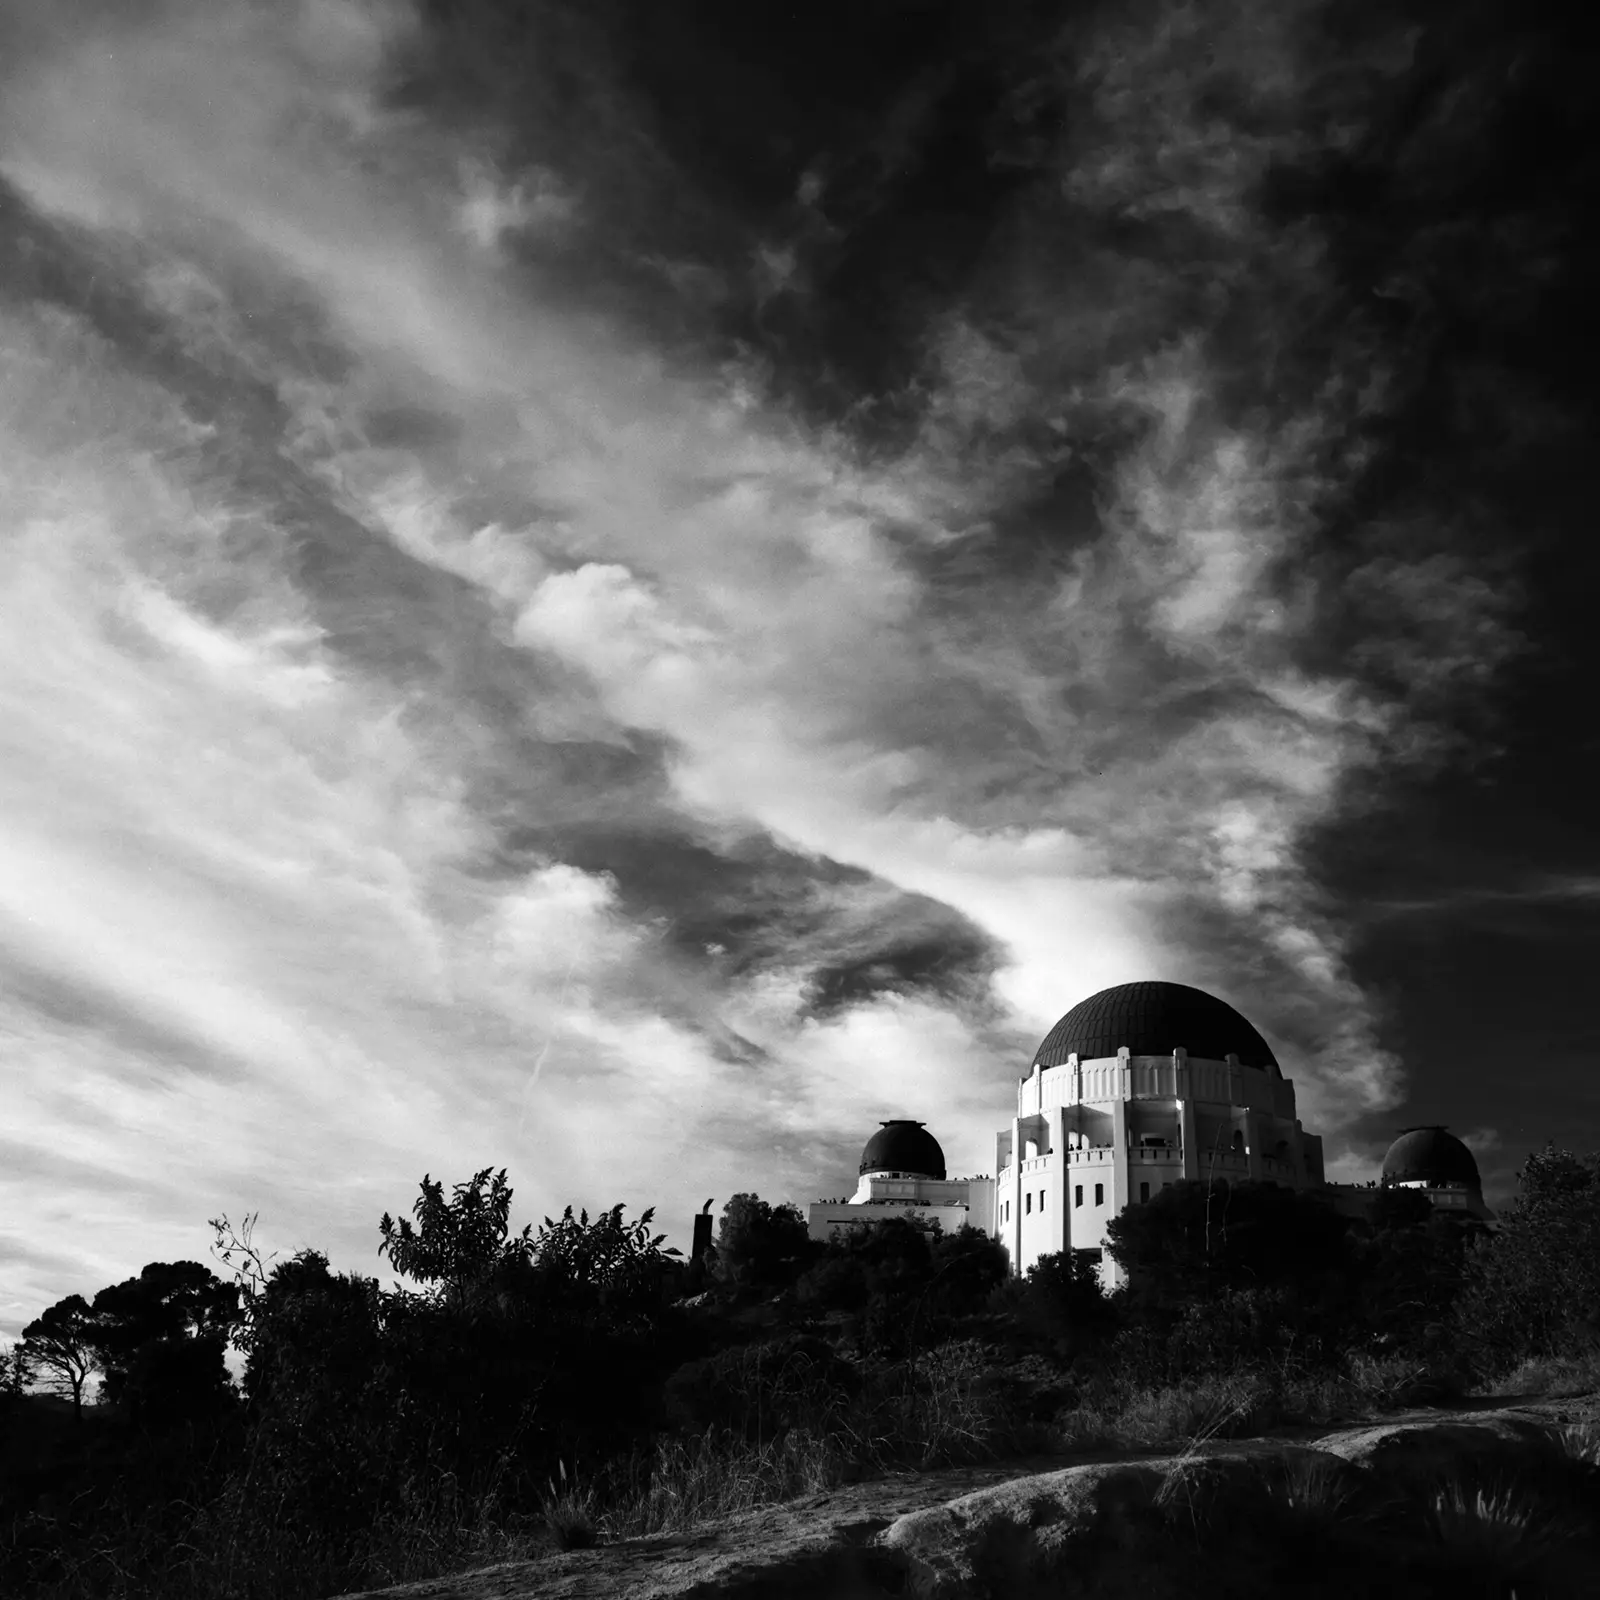
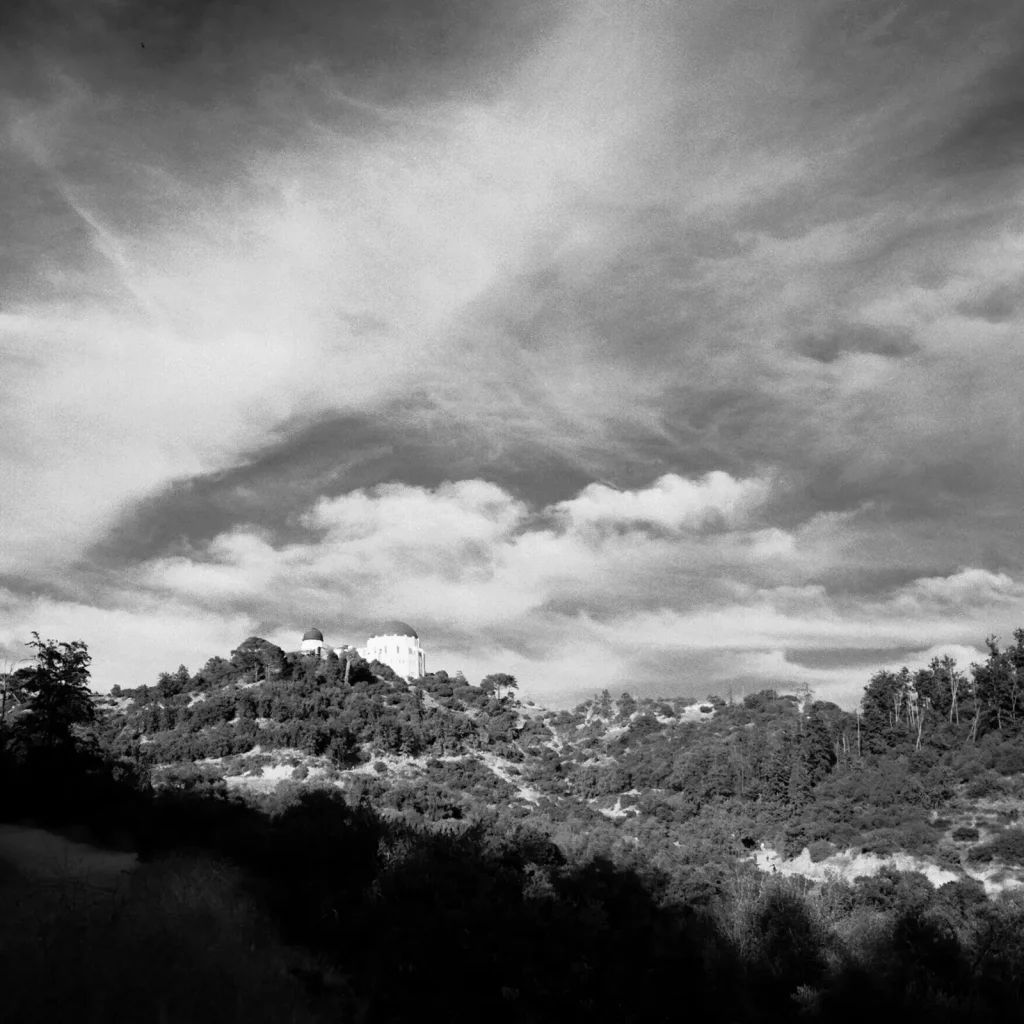
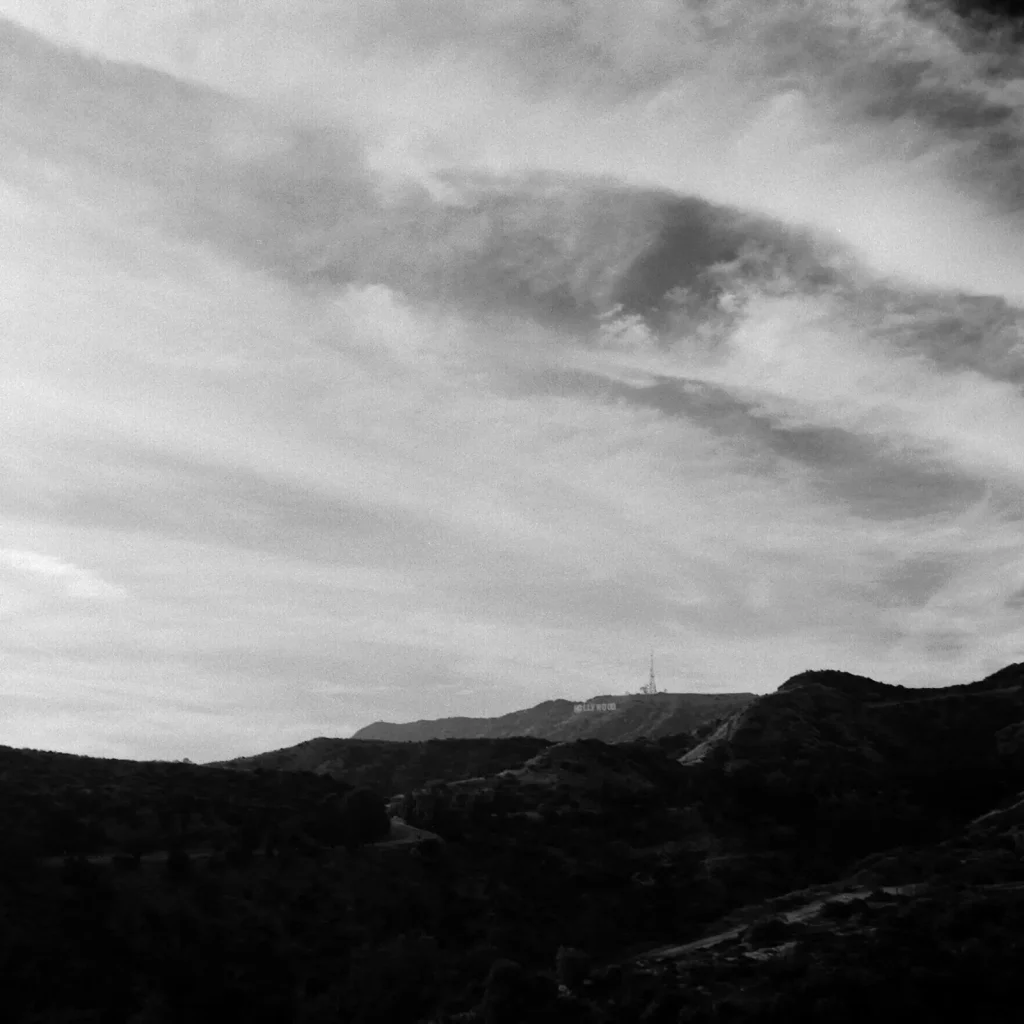
Just by looking at other film enthusiast’s IR work, it was clear that the drama of the image came from the contrasting clouds and the blue sky behind. This turned out to be my biggest timing issue, LA doesn’t get cloudy as often as I thought…

Where
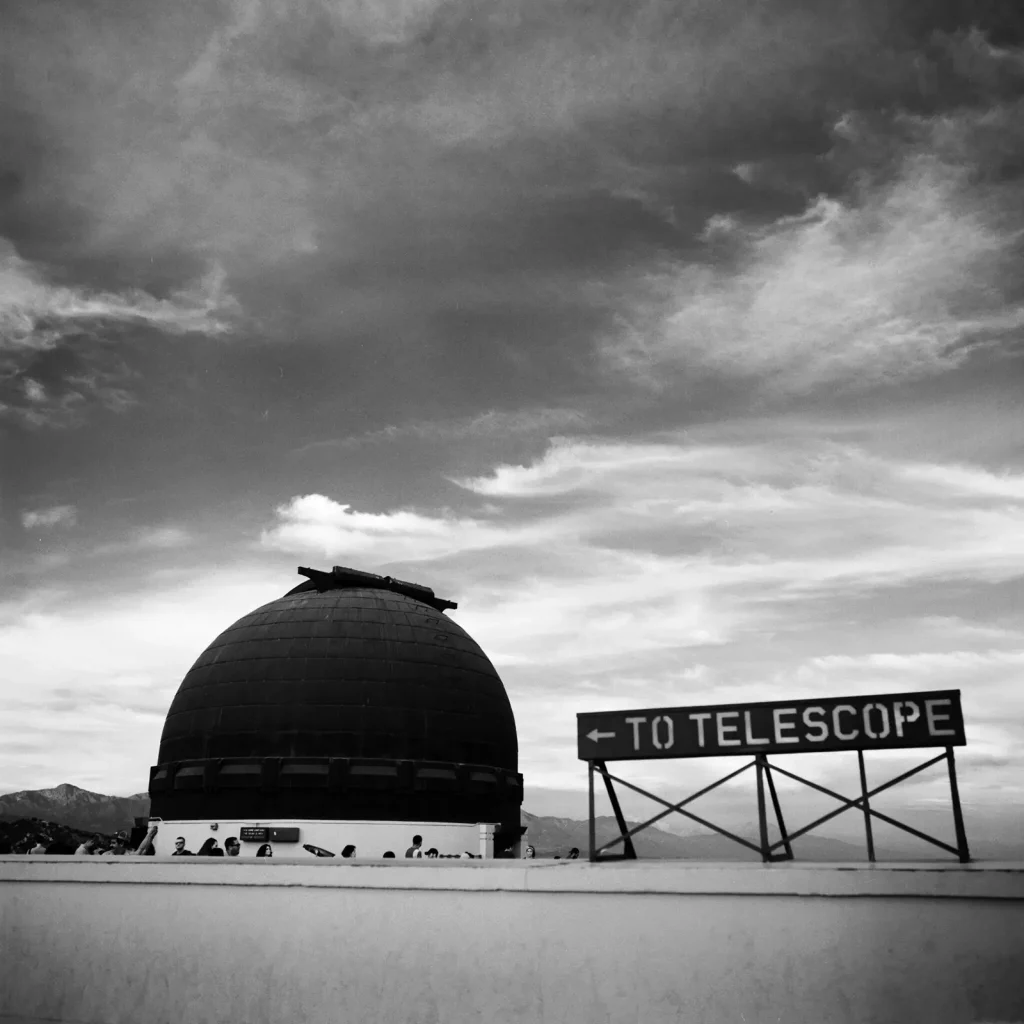
This was pretty easy, The Griffith Observatory. I thought of the coolest place I had yet to explore and if the setting would work for the look I was hoping to achieve.
How
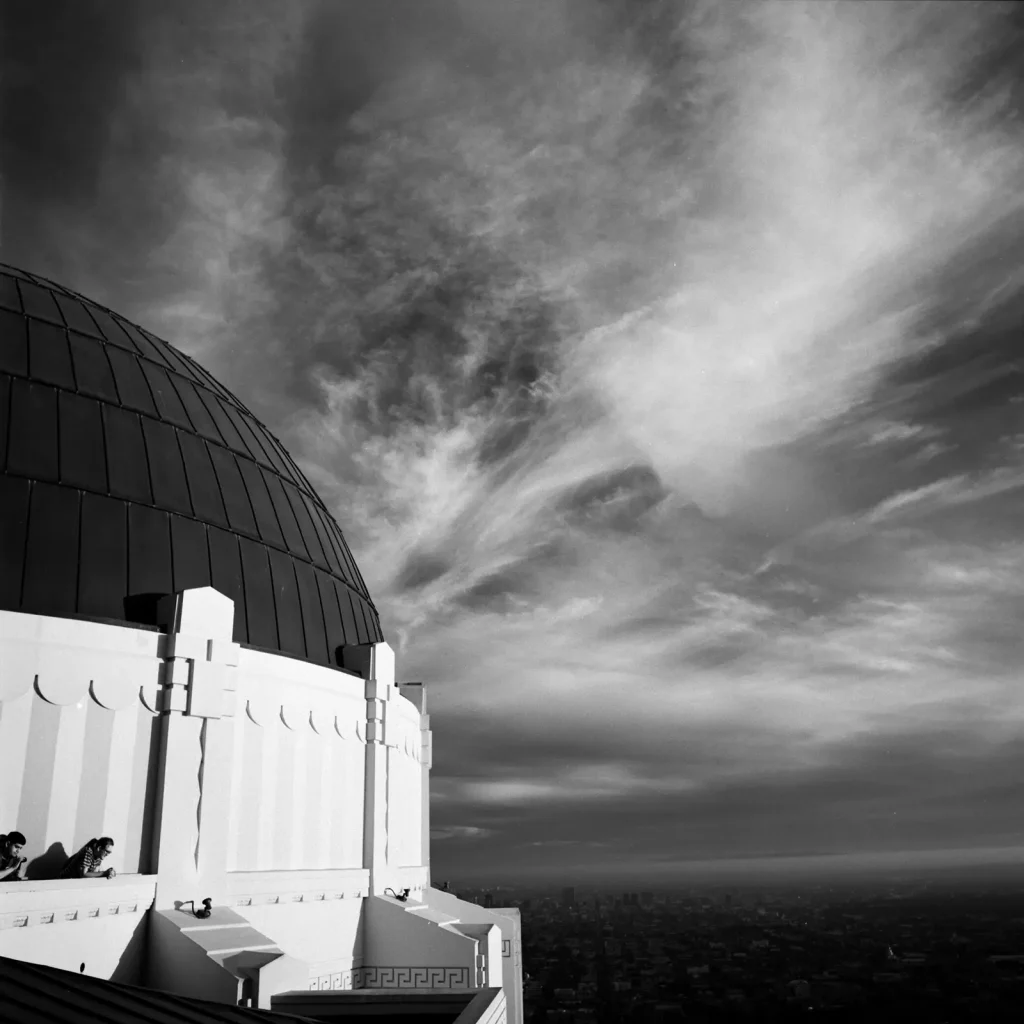
I had purchased a roll of Rollei Infrared 120 film and pre-emptively loaded up my Hasselblad. A week or so later, an early evening sky had some clouds coming in from the west. I grabbed my bag and began the hike up through Griffith Park.
For the gear heads, I decided to go with my 50mm wide-angle lens and a Red #25 filter (in lieu of not having a dedicated IR filter – seemed to work for me) for the film. I used my spot meter every other shot as I was walking around, knowing the light was changing fairly quickly as the sun was setting.
A couple of things I learned: Don’t shoot directly into the sun with IR film, the dynamic range of the film is not as vast as your TMAX-100. Although I develop at home, I didn’t want to risk botching the film processing – so I decided to take this roll to The ICON Film Lab in LA, and I’m glad I did!
Also, take your time – some shots that I’m most proud of were only possible by waiting for other tourists to move out of the way.
Overall, I think I have found a new artistic avenue when it comes to film photography. However, at $9 a roll it will have to be for specific projects until I can afford to shoot it frequently.
Thanks for reading, and don’t stop shooting!
-Max Wagner
Follow on Instagram – @maxwellsilverhalide
Share this post:


Comments
Matthias on Rollei IR400 Infrared Film – First Roll – By Maxwell Wagner
Comment posted: 22/04/2020
Comment posted: 22/04/2020
Ken Burg on Rollei IR400 Infrared Film – First Roll – By Maxwell Wagner
Comment posted: 22/04/2020
Comment posted: 22/04/2020
Babak Farshchian on Rollei IR400 Infrared Film – First Roll – By Maxwell Wagner
Comment posted: 23/04/2020
Comment posted: 23/04/2020
Robert on Rollei IR400 Infrared Film – First Roll – By Maxwell Wagner
Comment posted: 23/04/2020
Thanks
Comment posted: 23/04/2020