I’ve got a bit of a habit for not just picking up a camera and shooting with it. Instead, I spend a lot of time thinking about how I can modify them to improve the styling, ergonomics or functionality. The beauty of analogue photography is that there are so many unloved cameras available that it feels like I’m giving them another chance after they’ve been set aside or left in a drawer for years.
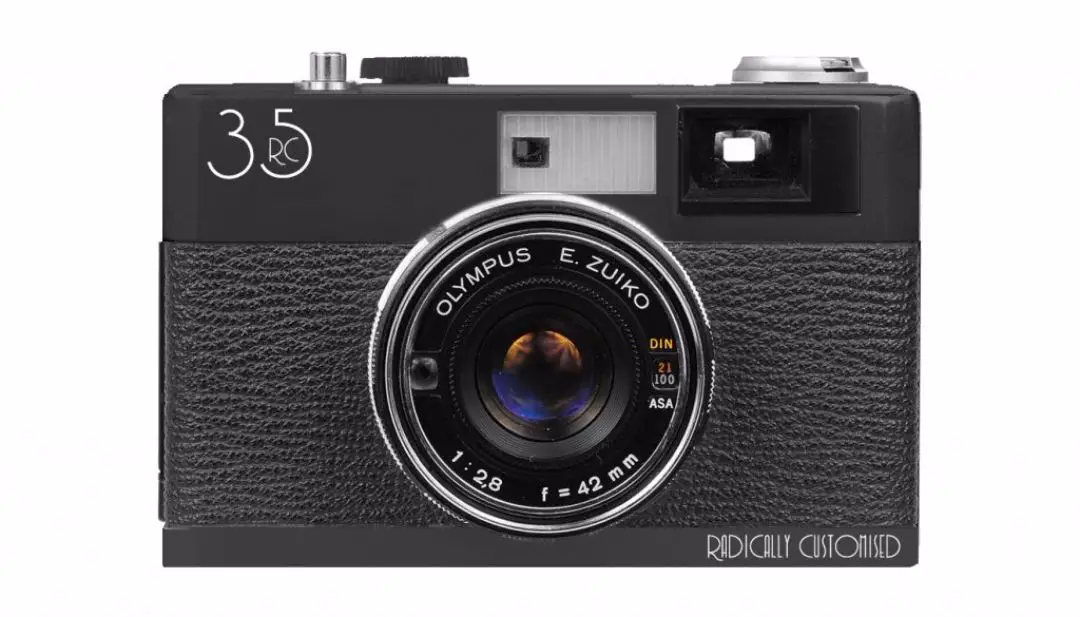
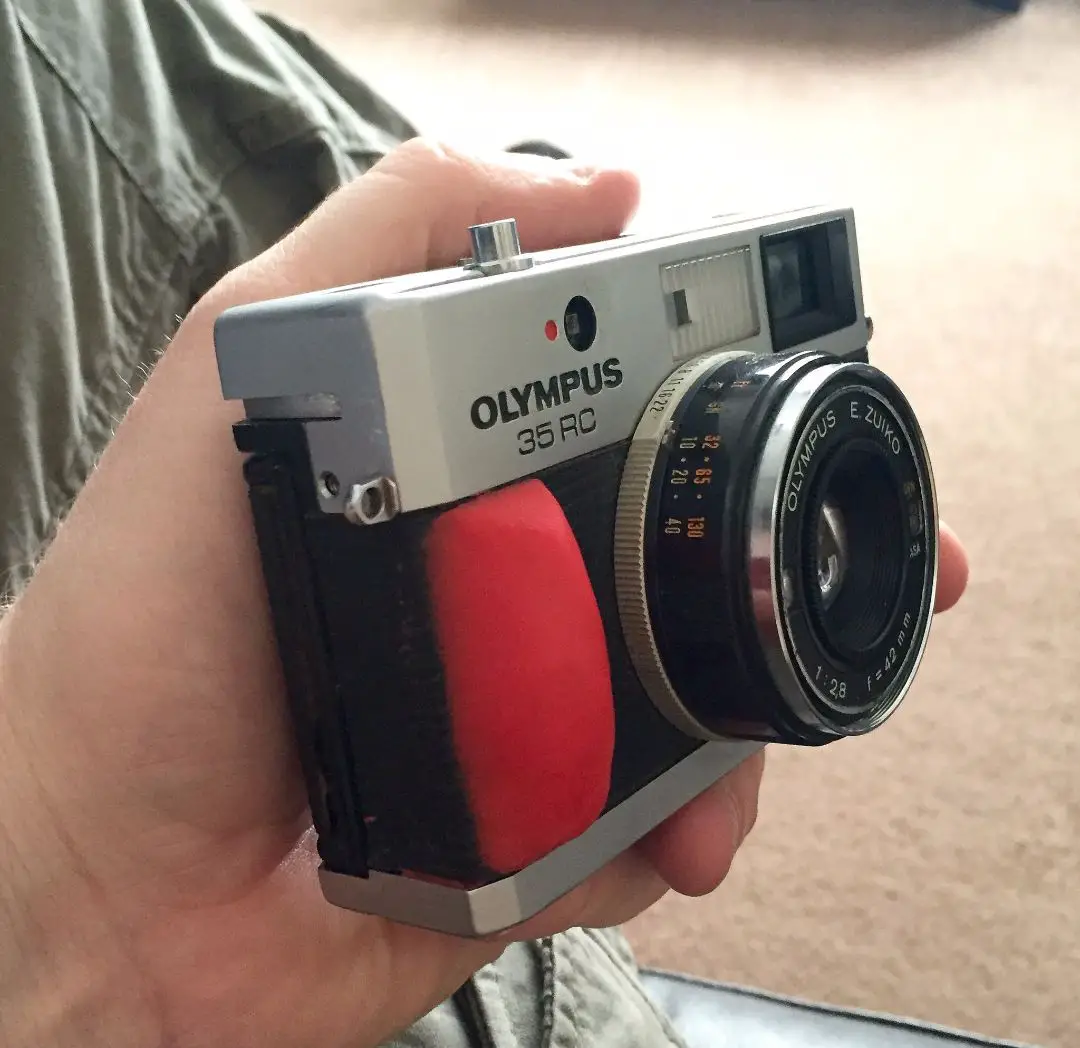
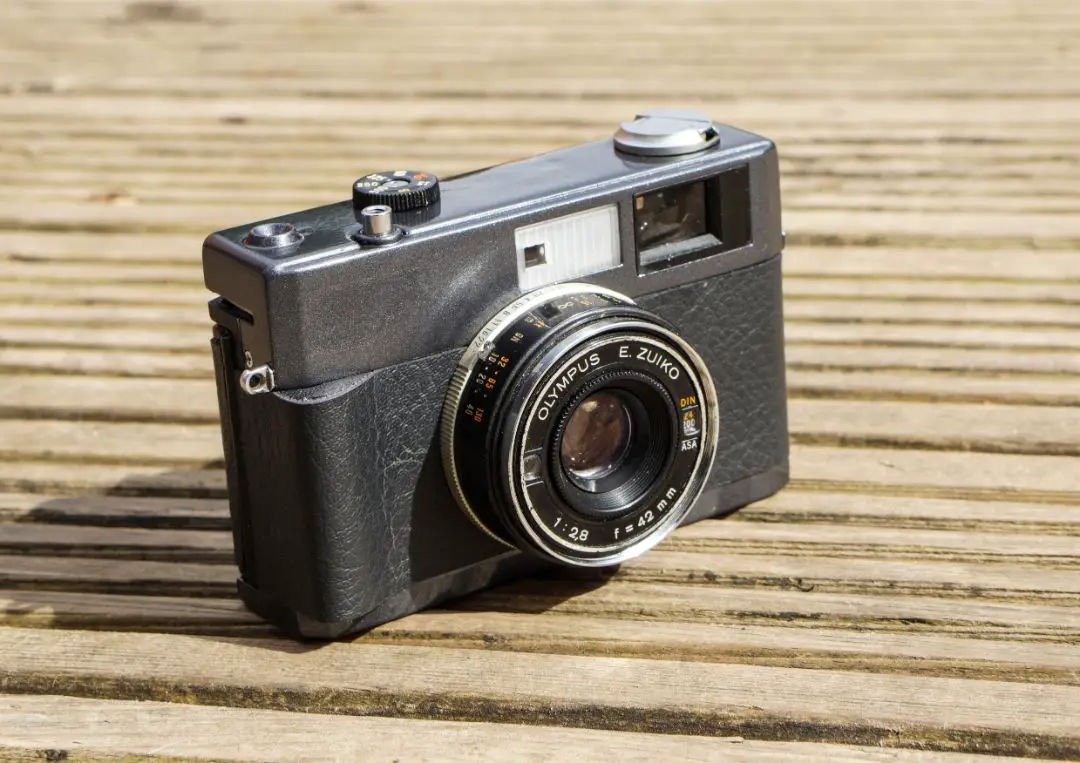
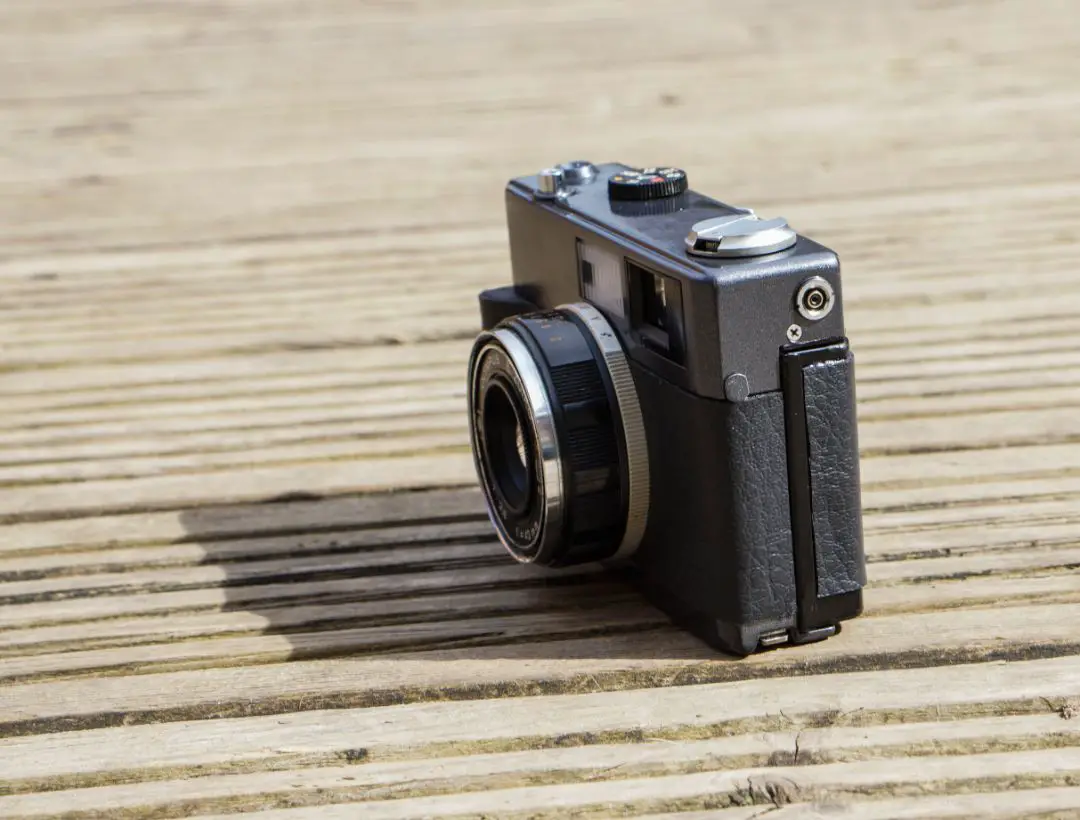
All my life I’ve been a ‘modder’, which started when I was very young along with my brother. My dad taught us both how to use tools as soon as we could pick them up and has spent his life building scale models so it was a natural progression. I started with RC cars and boats and then moved up to real cars when I turned 17 with a host of Minis, Volkswagens and Japanese cars and finally cameras. Up to now I’ve built custom 35mm, medium format, Polaroid and large format cameras but always seem to come back to Olympus 35RC’s because of their classic styling and great handling. At last count I think I’ve owned 4 of them over the last 6 years but who’s counting!
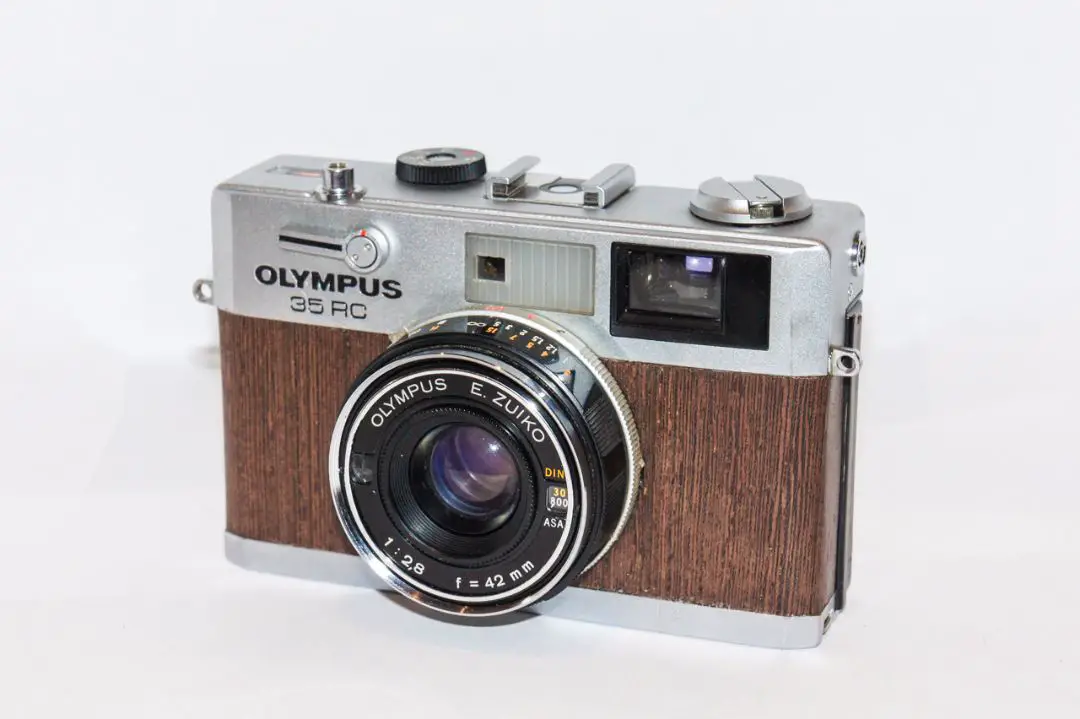
Earlier this year, after seeing a Kanto Olympus Titan M1 on the JCH website, I decided that I’d like to build a smoothed 35RC and respray it in a similar dark gunmetal grey. The only problem was that I didn’t currently own one and already had more than enough cameras! As a result, I turned to the Film & Conventional section of Talk Photography and pitched my idea for a new project with a slightly dodgy MSPaint render for the plans I had to see what they thought.
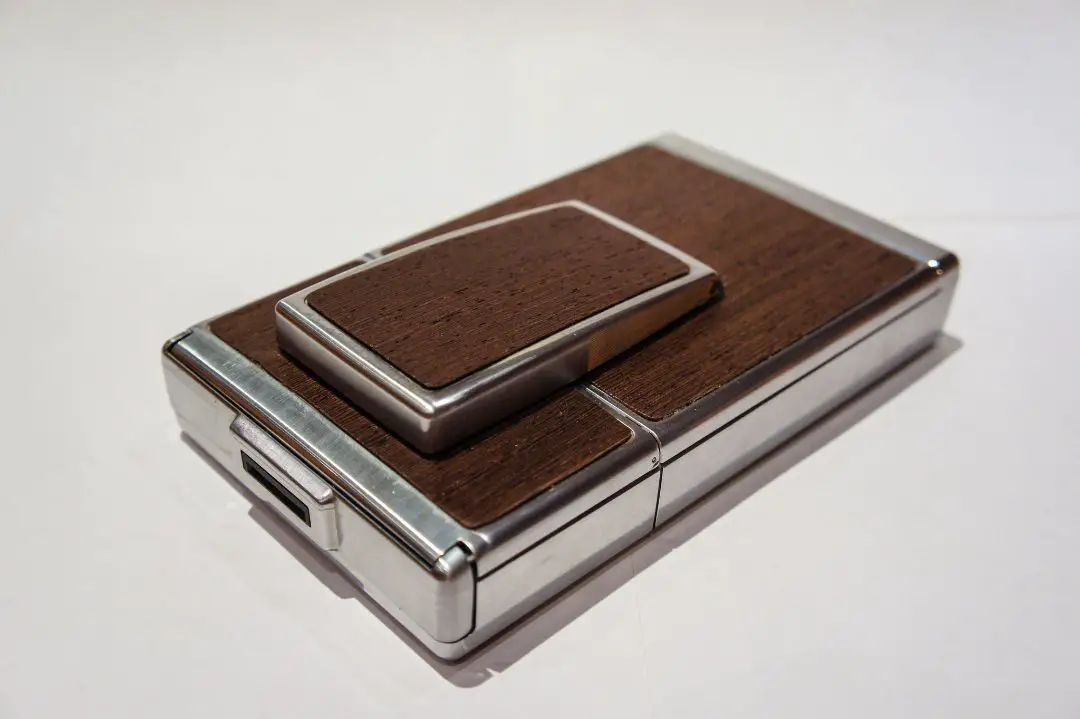
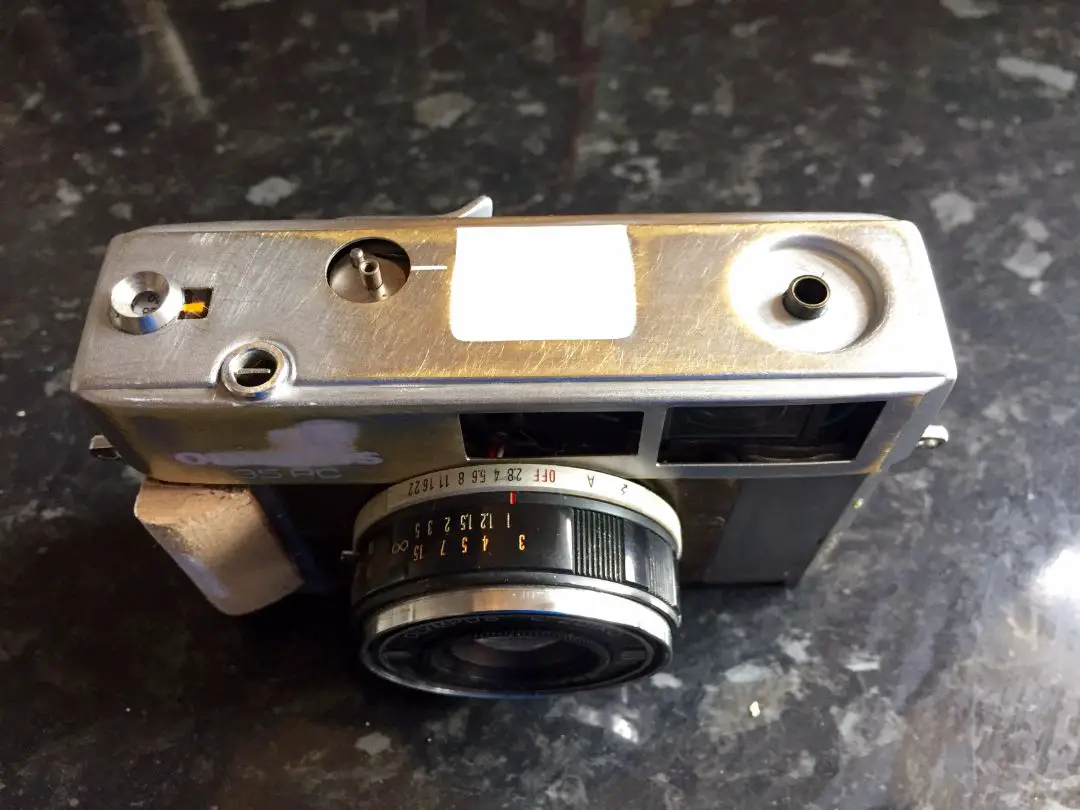
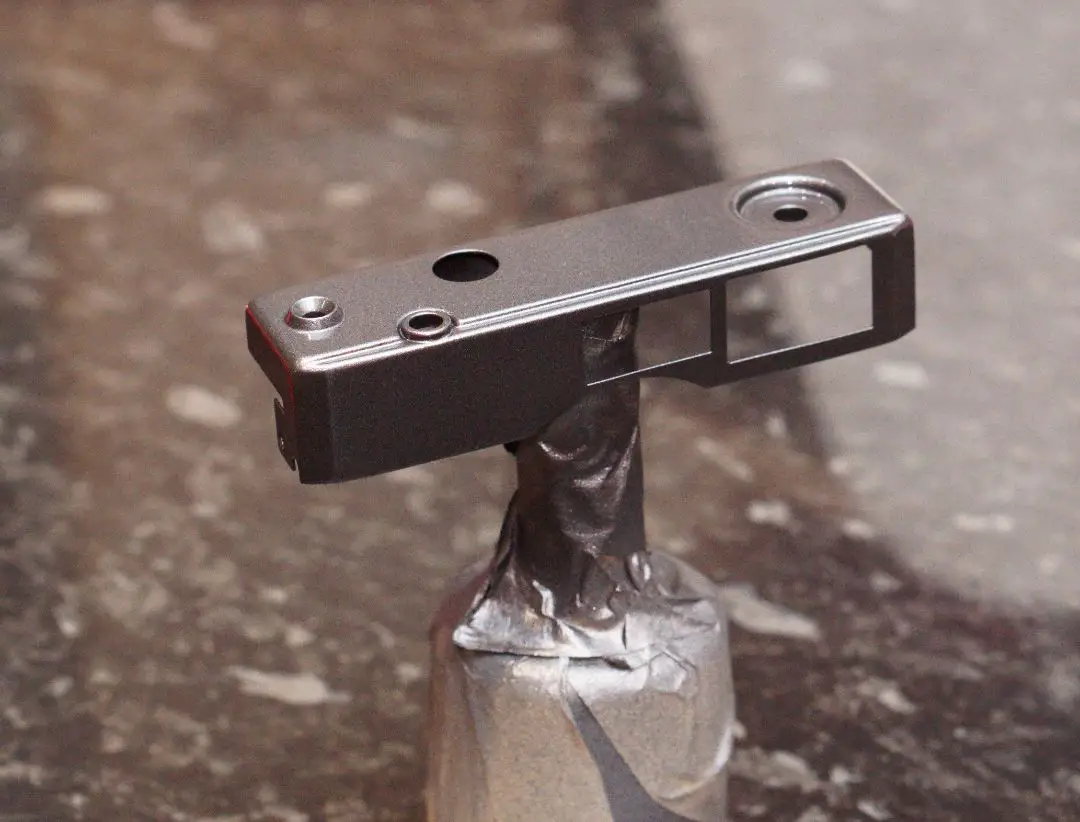
My main goal was to smooth out the camera top plate as much as possible and just leave the ‘critical’ features. I’ve never used a flashgun with any 35RC so the hot shoe was the first part to go, followed by the embossed logos on the front.
After seeing this and my previous projects, another photographer was kind enough to offer his 35RC as a donor. At first, the idea of making permanent modifications to someone else’s camera for my vision is a bit daunting but Baz was happy to trust my judgement (thanks Baz). His parting comment was, “Whatever happens, it will be a one off, a template, an original, prototype, and as such I will be pleased as punch!” which was enough reassurance for me to make a start.
While I was waiting for the camera to arrive, I started bouncing some ideas back and forth with Baz. As this was his camera, I wanted it to fit his own ideas as well as mine and, as he is a fan of all things Art Deco, “Project Deco” was born.

When it arrived, I started by removing the top plate and giving the camera a basic CLA (Clean, Lubricate, Adjust) to get the viewfinder/rangefinder clean and make sure the lens was tightened up. It’s amazing what a difference just cleaning the mirrors internally can make to a camera that was essentially mint already.
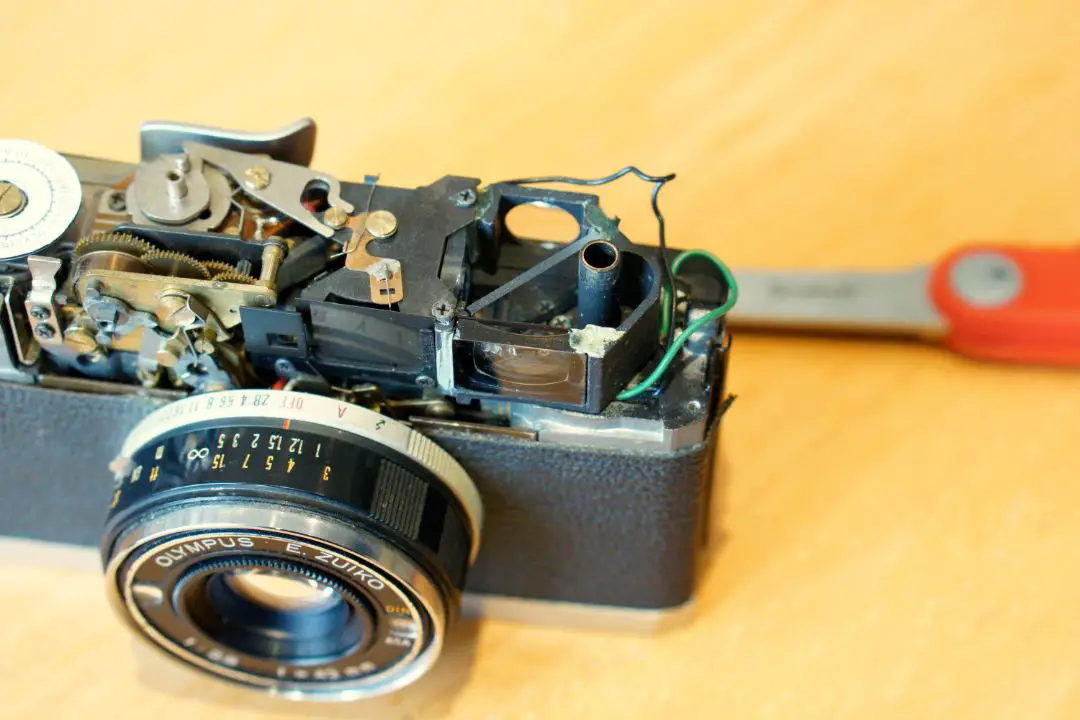
With the top plate removed, I made a start on my first task, removing the hot shoe and original logo with a combination of filler, fine filler, sandpaper and a lot of effort!
I wanted to get the finish blended into the original rear edge of the plate because once it was sprayed, it needed to look like it had always been like that.
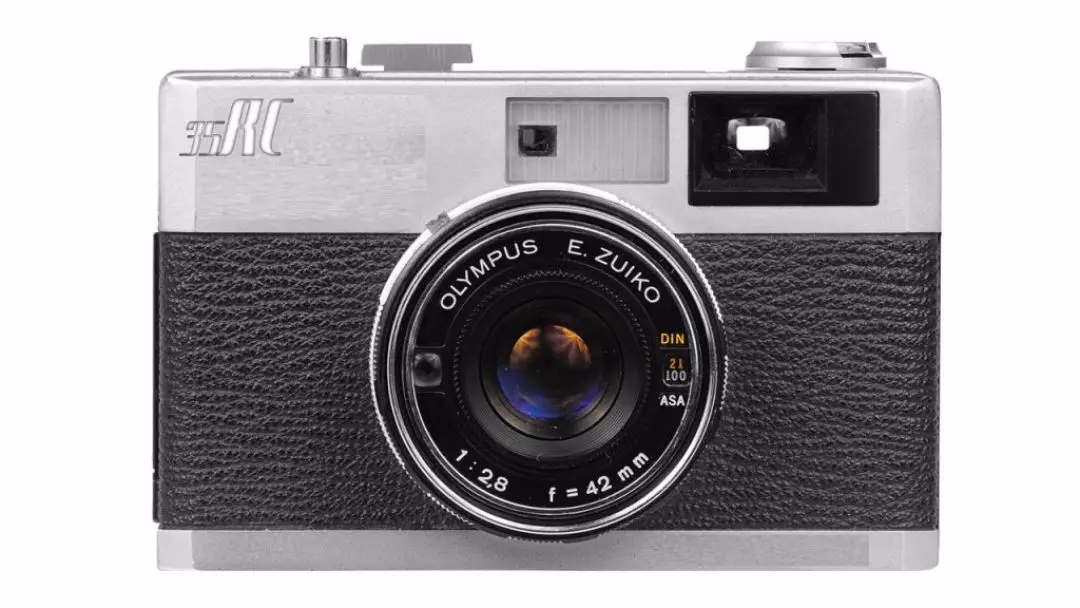
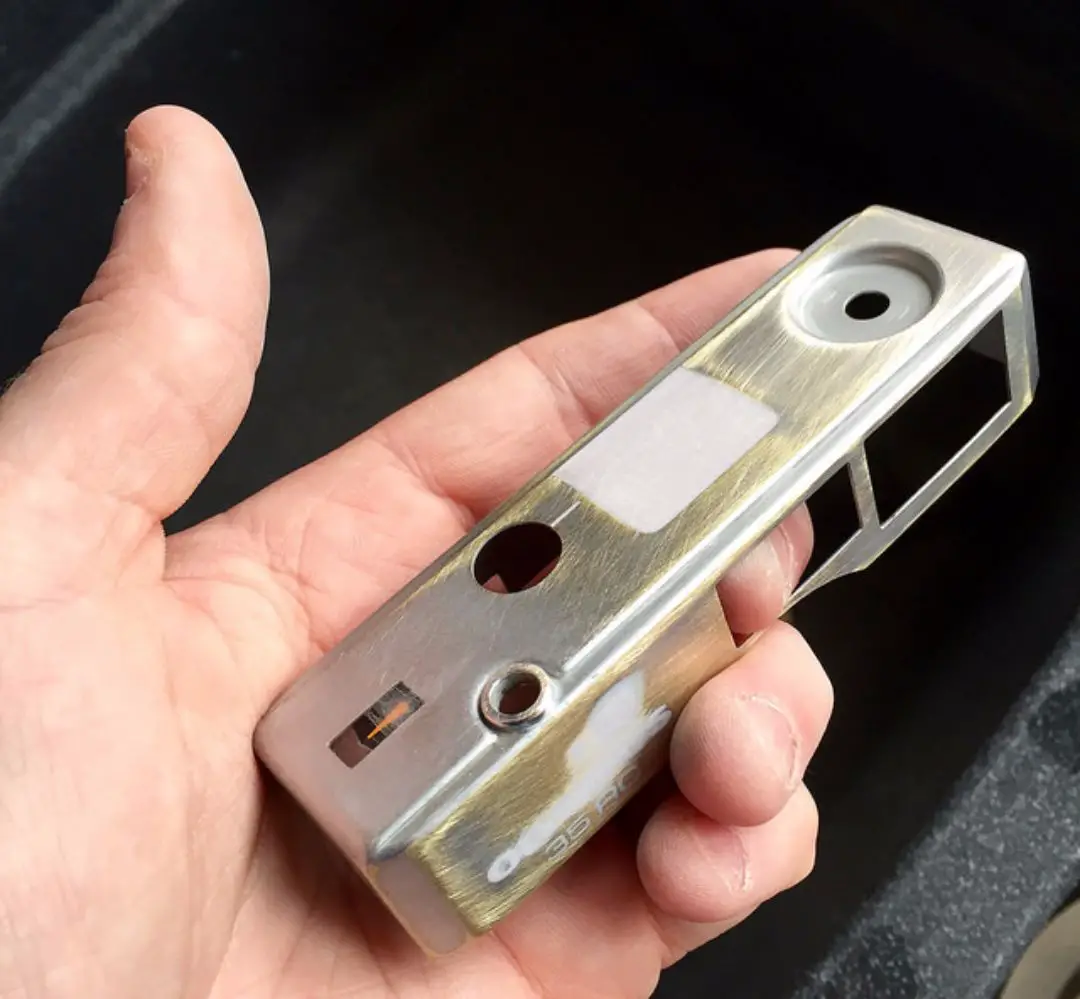
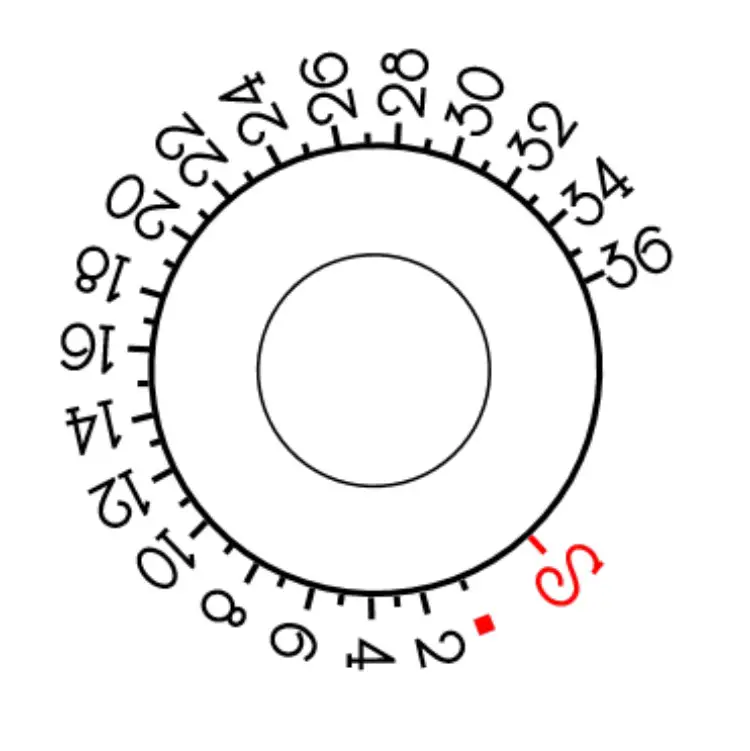
Once I was happy with the overall finish, I moved onto the frame counter. As standard, the frame counter and window on a 35RC is basically, ‘functional’. It’s a rectangular window with a bright orange triangle pointing to white on black numbers. I’ve always been a fan of the bubble windows on Leica M3’s so decided to emulate one, along with inverting the counter colours and a suitably art deco font. After trying some different layouts and fonts, we came up with a style that fitted the theme and the new round window I wanted to fit. I then scanned the original frame counter disk to get the spacing right and drew up the new version in Photoshop. I then printed a copy and bonded it to the original counter disk in the camera.
Once the counter was ready, I moved on to the surround and started looking at ways to mirror the classic Leica bubble. I eventually came across stainless steel cup washers that were the perfect diameter and bonded one to the top plate. This was now ready to be primed and finished.
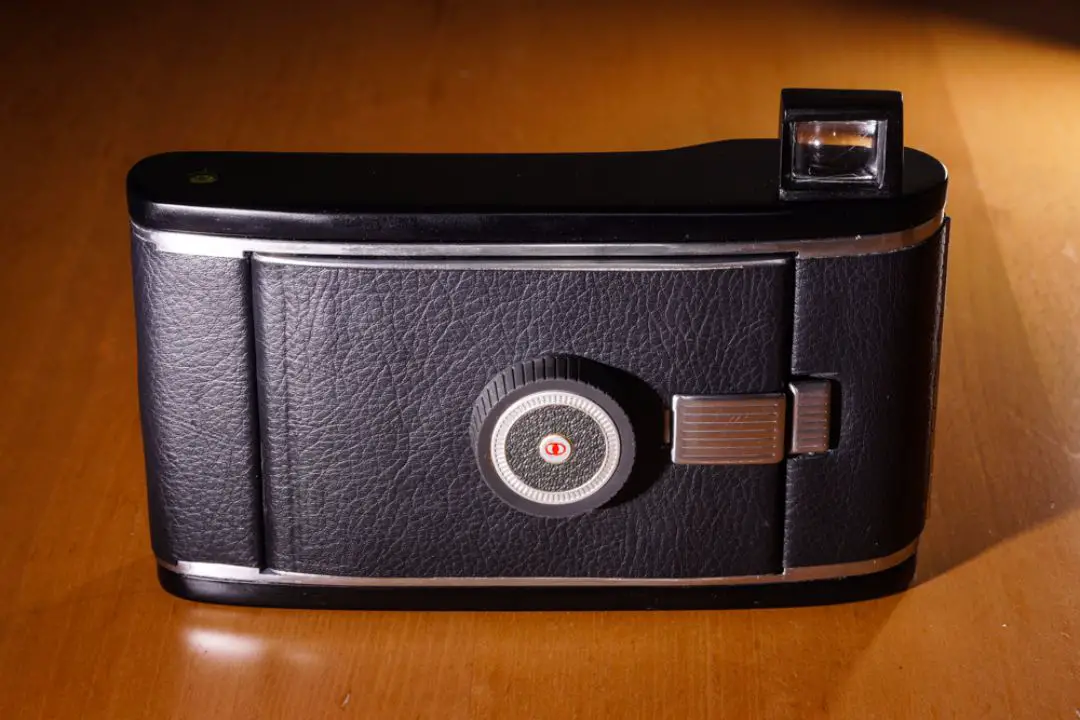
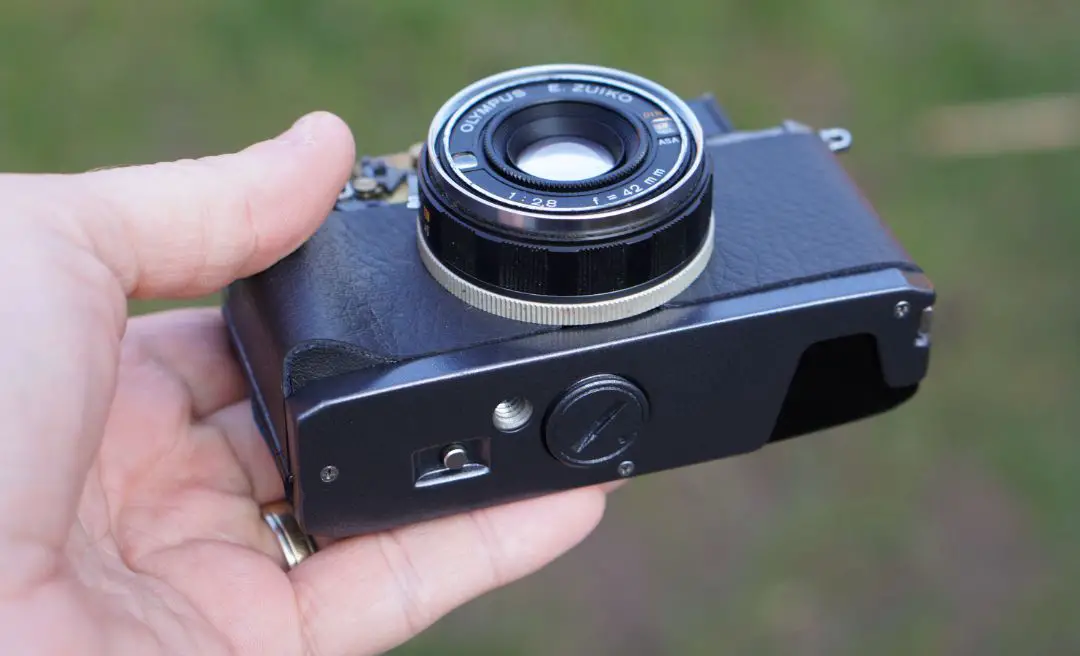
As I was planning to fit a new leather skin to incorporate a better grip, I moved on to the main body and removed the original vinyl skin, which I would use as a template. I really like the styling of the Konica Hexar AF, particular the right hand grip so I started to shape a similar style on the 35RC using PlayDoh as a trial piece.
After trying a few different styles and sizes, I settled on one and shaped a piece of MDF with a file and sandpaper until I was happy with the overall contours and it fit smoothly to the body. This was then bonded to the body and smoothed in using fine filler.
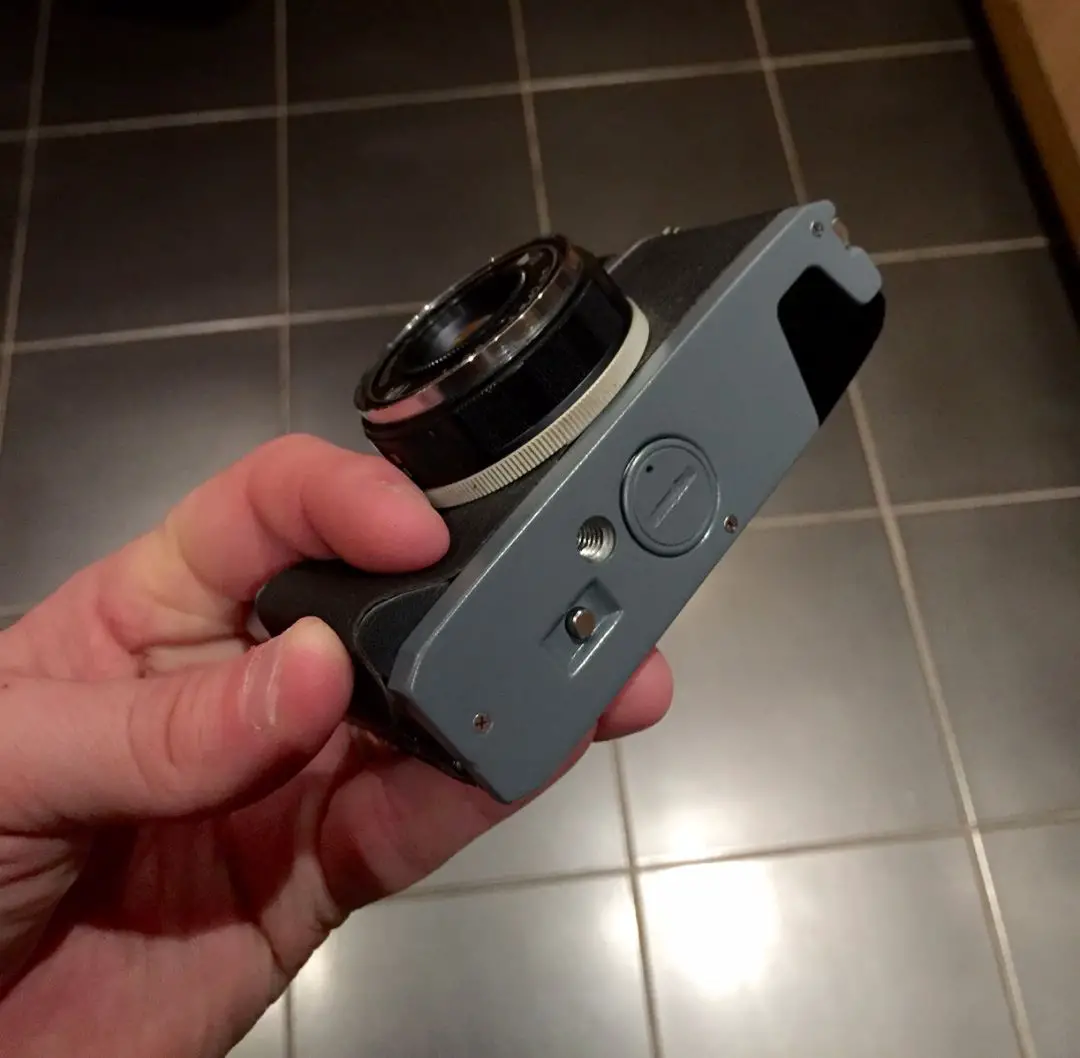
The added grip gives just enough extra size to the camera to allow me to hold it with a small finger loop meaning it can be kept close without getting in the way. As I was intending to use it without a strap, I carried on the smooth theme and removed the left side strap lug entirely with the delicate application of a grinding stone…
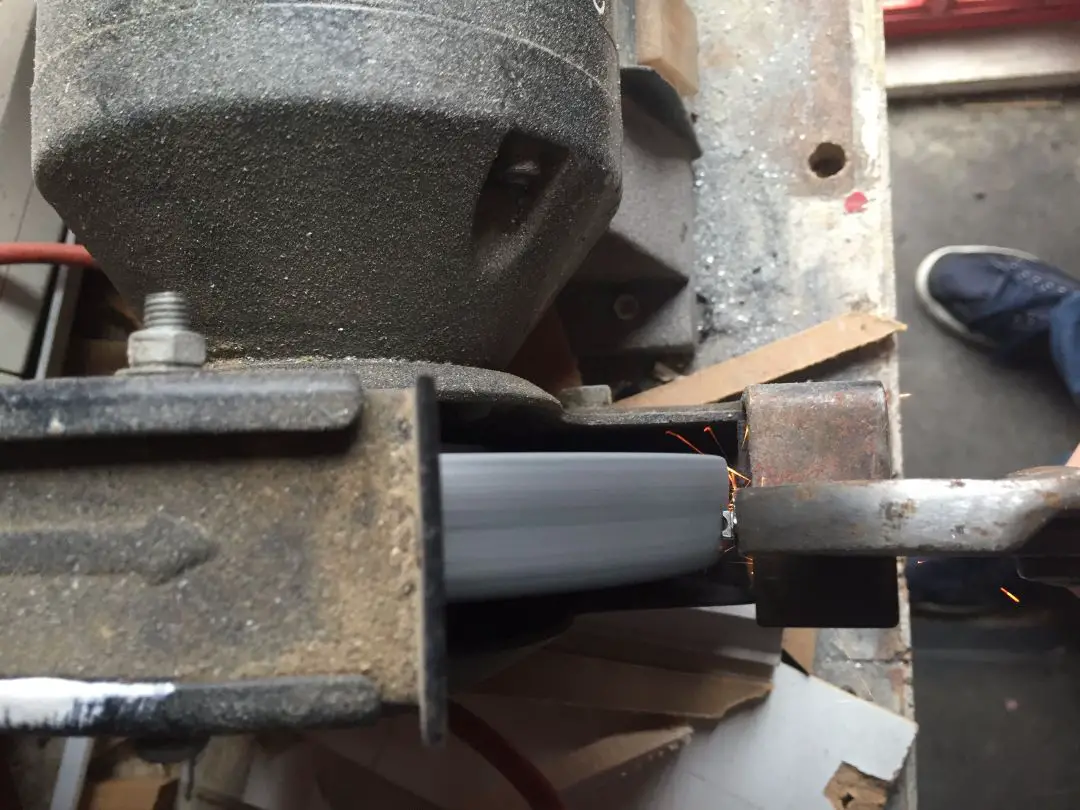
The lug itself acts as a light baffle and without it there would be a wide opening into the film chamber. Rather than just remove it completely, I had to grind off the metal loop and leave the flat plate. This would eventually be sprayed the same gunmetal grey to match the top and bottom plates.
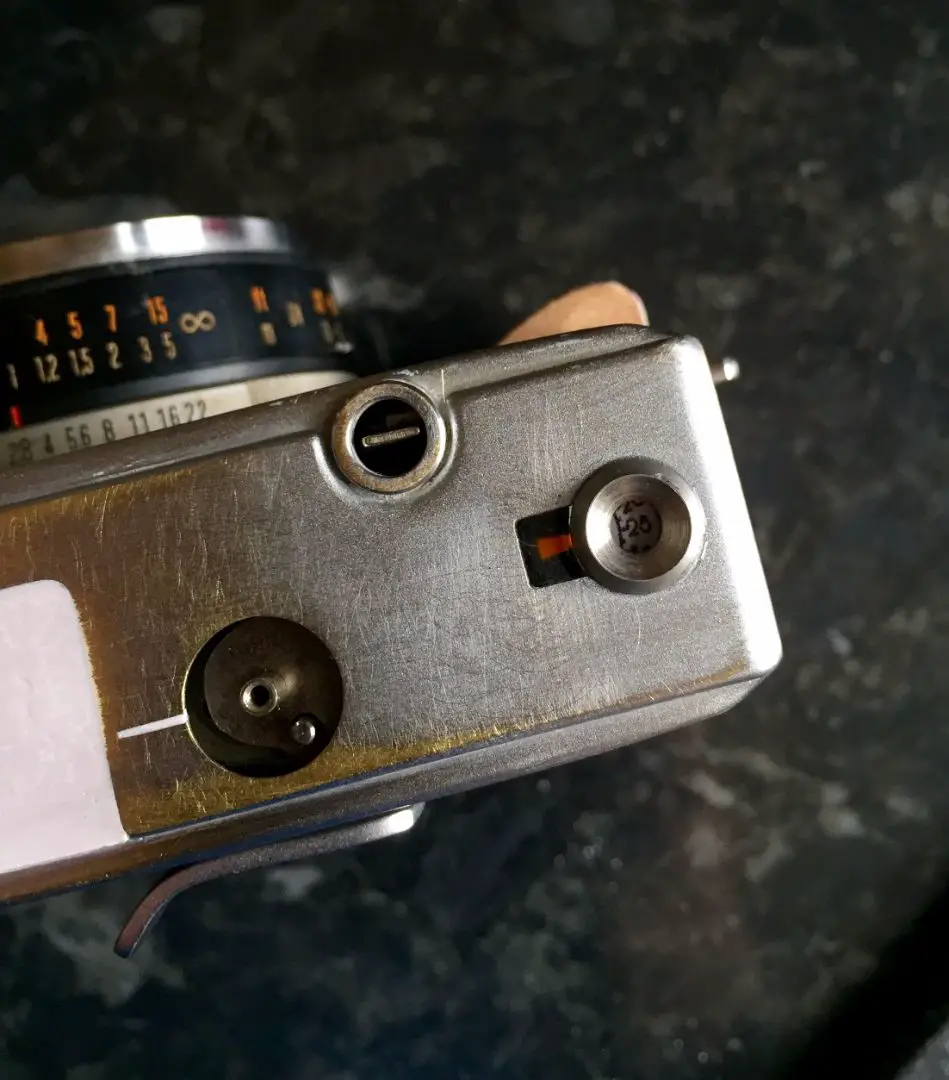
I then moved on to the bottom plate and used the same fine filler as before to remove the original serial number and “Made in Japan” text that are stamped into it before giving it a coat of primer to check for high spots.
Now that the top and bottom plates were complete and primed, I moved onto cutting and fitting the new leather skin. Using the three original pieces, I cut a new piece for the back door and left side of the camera then bonded them in place. The piece for the right side of the camera needed to be longer than the original to fit around the newly formed grip so I cut a template out of card and curved it around to fit. Once I was happy with the fit, I cut the main piece of leather and a top and bottom piece to cover the grip and bonded them to the camera. It was starting to take shape and looking like a mini Hexar!
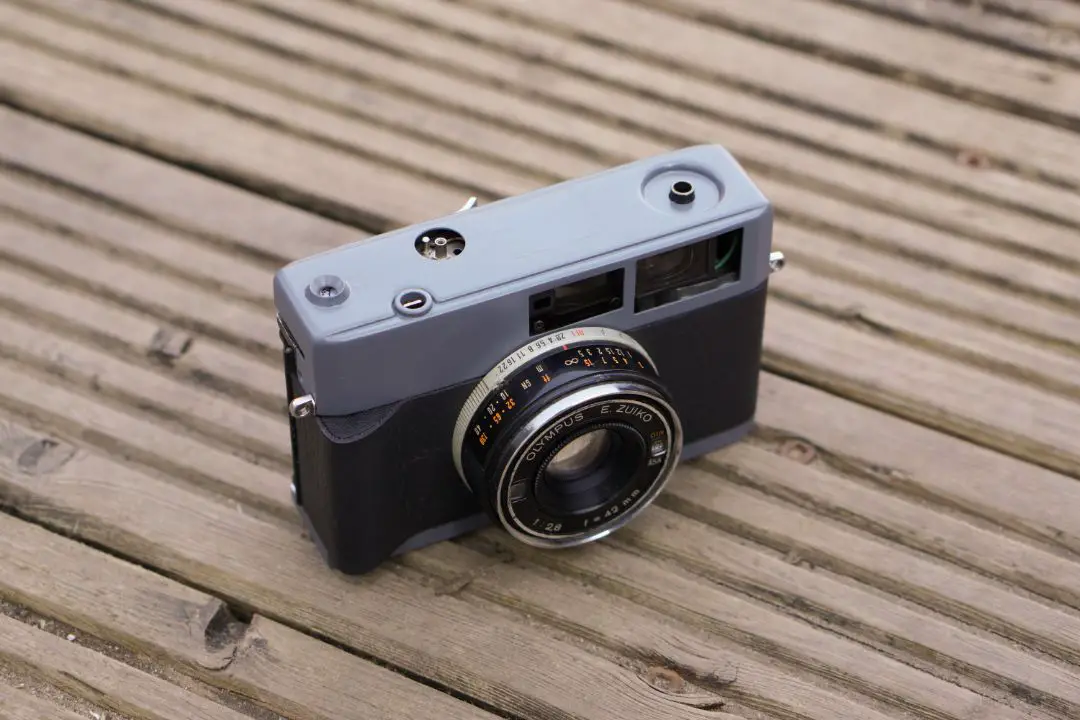
At this point, I needed to get the primed parts ready for their topcoat with some fine grit sandpaper and then make the tough decision on what paint colour to actually use. If anyone has ever had to make a decision like this, they will know just how hard it is and how similar all 157 (roughly…) different variants of dark grey metallic paint start looking on the shelf! In the end, I decided to go with Ford Magnum Grey and started spraying.
After four layers of topcoat and three of lacquer, it was ready for the final re-assembly.
As a final touch, I designed a new deco-inspired 35RC logo. I then tasked my mum with embroidering it onto a custom leather drawstring bag to match the camera using one of her digital sewing machines (I told you my family are the reason I build custom cameras!). This finished off the custom job nicely and I hope the camera has many years of use to come.
There are more pictures of the conversion in my Flickr set here – https://flic.kr/s/aHskwm8tyj
Thanks
Steve
Share this post:


Comments
jeremy north on Building a custom Olympus 35RC – “Project Deco” – Guest post by Steve Lloyd
Comment posted: 23/07/2016
Comment posted: 23/07/2016
Frank Lehnen on Building a custom Olympus 35RC – “Project Deco” – Guest post by Steve Lloyd
Comment posted: 23/07/2016
Very nice job indeed!
Comment posted: 23/07/2016
Baz on Building a custom Olympus 35RC – “Project Deco” – Guest post by Steve Lloyd
Comment posted: 23/07/2016
I cannot praise Steve and his talents enough, he has done a superb job on the camera and I cannot see myself parting with it, ever!
Thanks also go to his Mum, for the brilliant job she did with the bag, I could not be more pleased with the style and finish!
I have made a couple of changes to the camera (don't worry Steve!) but only by adding a different soft button, lens hood, and a finger loop I made myself. I will post a couple of images later (if I can on the comments!)
You can follow his conversions, he has two going at the moment, on the TalkPhotography forum, well worth a look in my opinion!
Cheers Steve!
Barry Smith.
Comment posted: 23/07/2016
Comment posted: 23/07/2016
Marty Cutrone on Building a custom Olympus 35RC – “Project Deco” – Guest post by Steve Lloyd
Comment posted: 23/07/2016
Comment posted: 23/07/2016
ethan sprague on Building a custom Olympus 35RC – “Project Deco” – Guest post by Steve Lloyd
Comment posted: 23/07/2016
Comment posted: 23/07/2016
Andrew on Building a custom Olympus 35RC – “Project Deco” – Guest post by Steve Lloyd
Comment posted: 23/07/2016
David on Building a custom Olympus 35RC – “Project Deco” – Guest post by Steve Lloyd
Comment posted: 23/07/2016
David S. de Lis on Building a custom Olympus 35RC – “Project Deco” – Guest post by Steve Lloyd
Comment posted: 23/07/2016
Gavin Go on Building a custom Olympus 35RC – “Project Deco” – Guest post by Steve Lloyd
Comment posted: 24/07/2016
If not worth saving Im still hoping I can grab the glass and modify it to M. An impossible feat I think but worth wasting timeü No aperture just always wide open which is how I usually try to shoot.
Chris Cohen on Building a custom Olympus 35RC – “Project Deco” – Guest post by Steve Lloyd
Comment posted: 25/07/2016
Steve Lloyd on Building a custom Olympus 35RC – “Project Deco” – Guest post by Steve Lloyd
Comment posted: 25/07/2016
Sean Fisher on Building a custom Olympus 35RC – “Project Deco” – Guest post by Steve Lloyd
Comment posted: 25/07/2016
Can you send me an email?
Sean
Comment posted: 25/07/2016
Christian Irving Cayetano on Building a custom Olympus 35RC – “Project Deco” – Guest post by Steve Lloyd
Comment posted: 02/08/2016
Comment posted: 02/08/2016
Marcello on Building a custom Olympus 35RC – “Project Deco” – Guest post by Steve Lloyd
Comment posted: 09/12/2016
Comment posted: 09/12/2016
Comment posted: 09/12/2016
Marcello on Building a custom Olympus 35RC – “Project Deco” – Guest post by Steve Lloyd
Comment posted: 11/12/2016
thank you anyway, I'll keep use it in manual mode :)
Comment posted: 11/12/2016
Chroma 5x4 Technical Field Camera Launches on Kickstarter - 35mmc on Building a custom Olympus 35RC – “Project Deco” – Guest post by Steve Lloyd
Comment posted: 09/02/2018
Hans on Building a custom Olympus 35RC – “Project Deco” – Guest post by Steve Lloyd
Comment posted: 25/06/2022