I’m going to kick off this review by saying that I think the Keks M-Meter is definitely the best shoe mount meter I have used on my Leica M4-P or anything other meter-less Leica M camera for that matter.
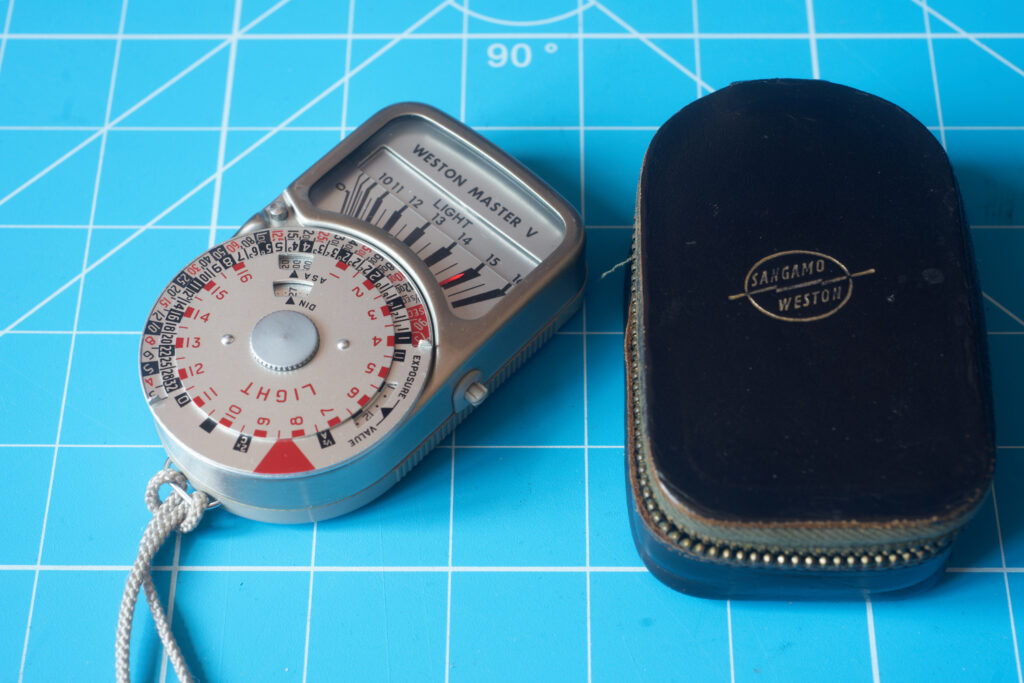
Donald (the chap that runs Keks) told me about this idea of his a while ago now, and I have to say, I was very pleased to hear it was in the works. I have played with a lot of shoe mount meters now, including all the Keks meters. But really the meters that have always made the most theoretical sense for a meter-less Leica M camera are the ones that Leica designed and produced themselves. The thing that makes them make sense is that they mechanically interface with the camera so when you change the shutter speed on the meter, it also adjusts the shutter speed on the camera. The result of this is a metering and shooting experience that feels more logical. In use, once a reading is taken, you can simply adjust the shutter speed dial and aperture until a combination of settings works to your needs. It feels a lot less like you’re transferring settings from one device to another in the way it does when you use either a handheld meter or more conventional shoe-mount meter. That is to say, the original Leica meters feel much more like they are part of the camera, rather than a device just stuck to the top. Unfortunately, the original Leica meters aren’t known for reliability these days. The MR and MR-4 are more reliable being battery powered rather than the selenium cells of the earlier models, but even these aren’t without risk when buying today. They are also dial-based which some people might prefer, but it’s hard to argue with the idea that the modern digital readout meters are somewhat more instantaneous in their display of readings and indeed in how quick they are to read/understand.
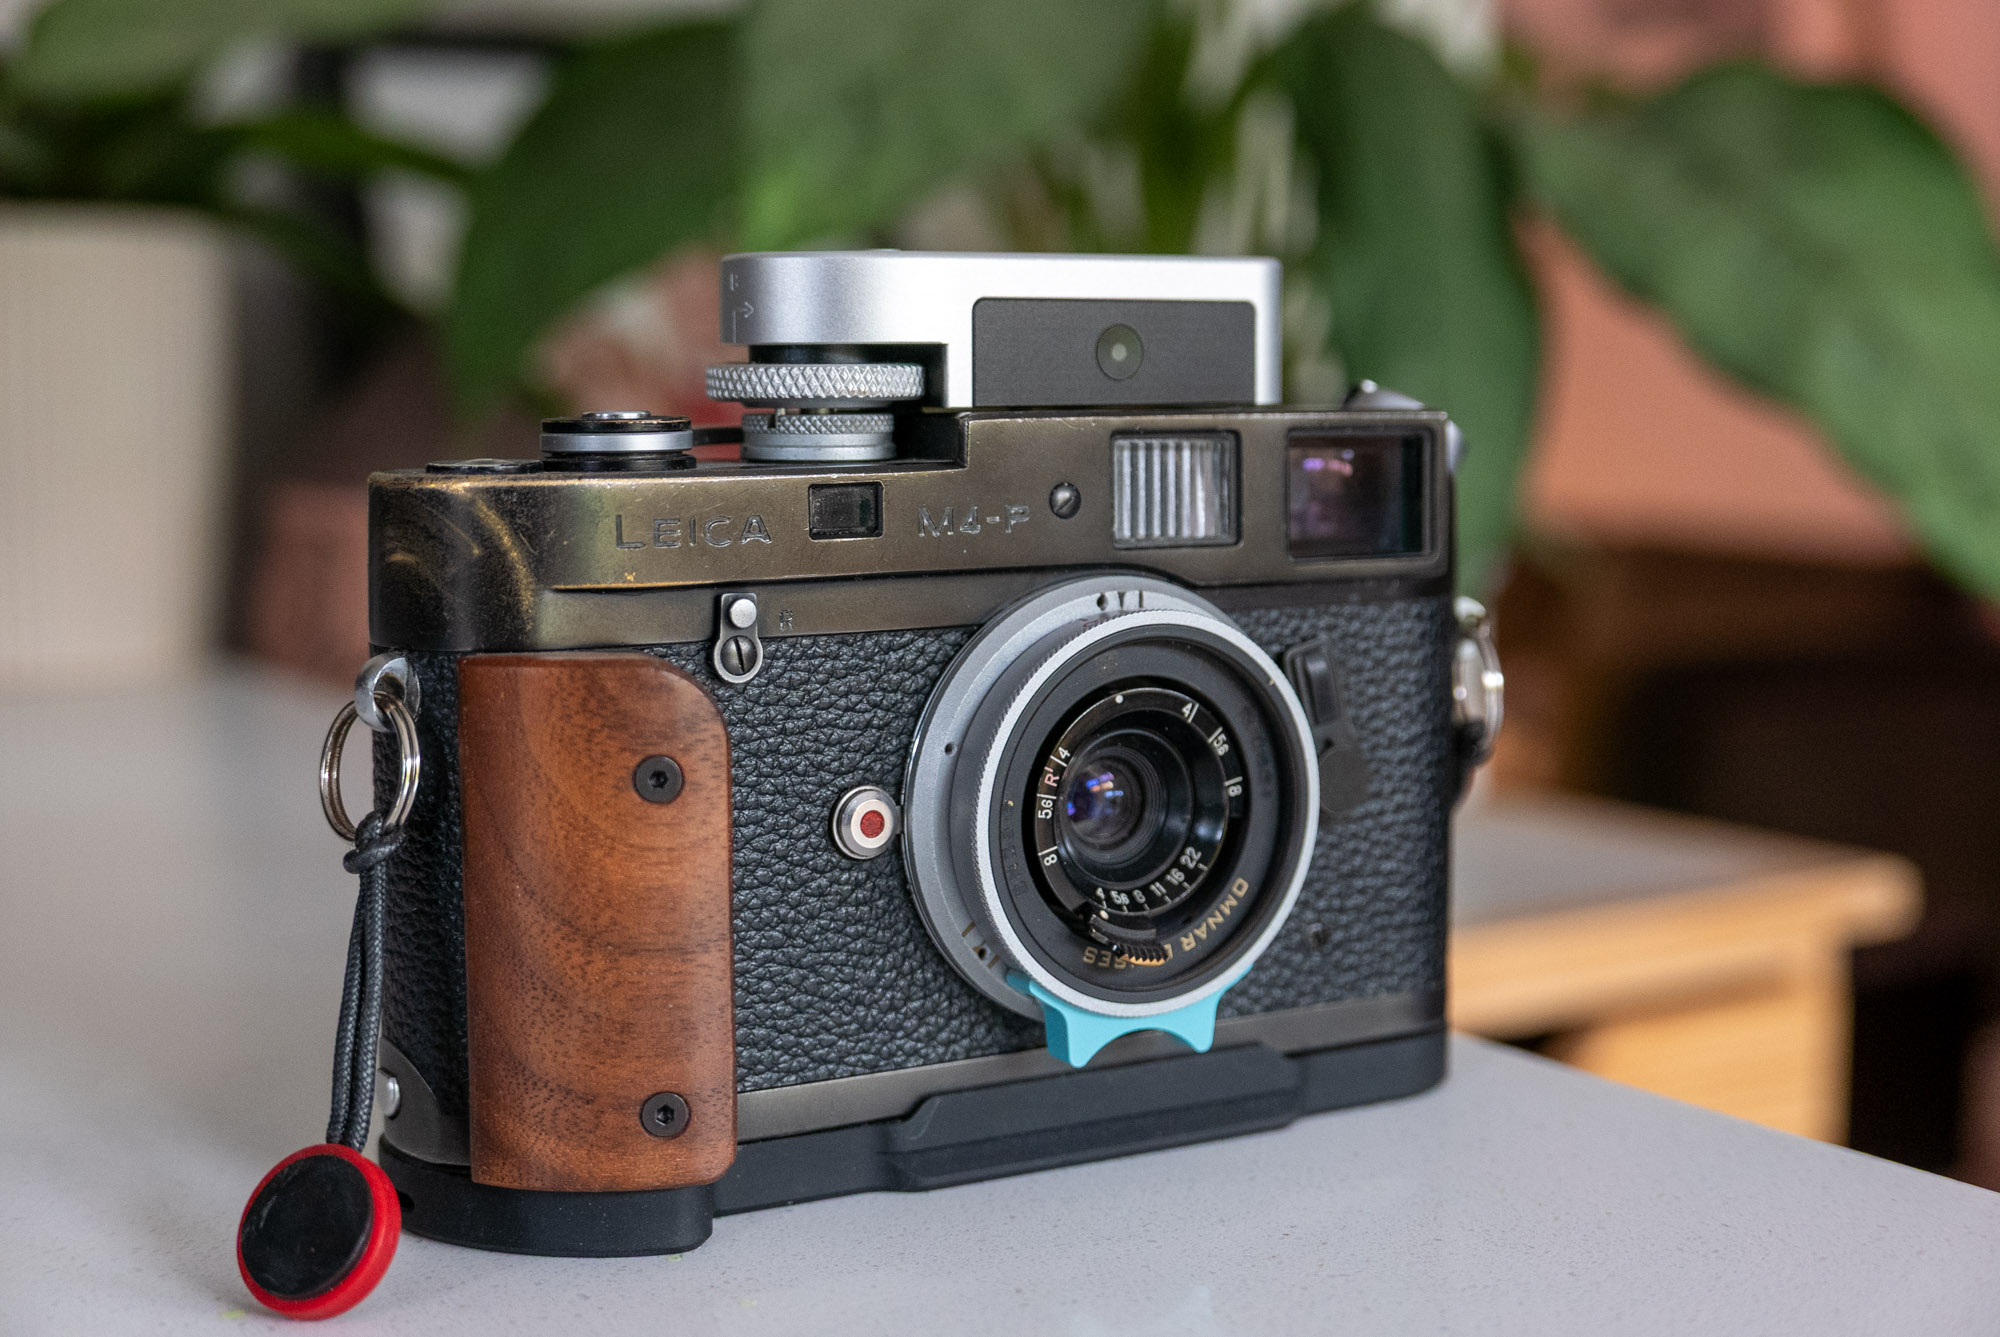
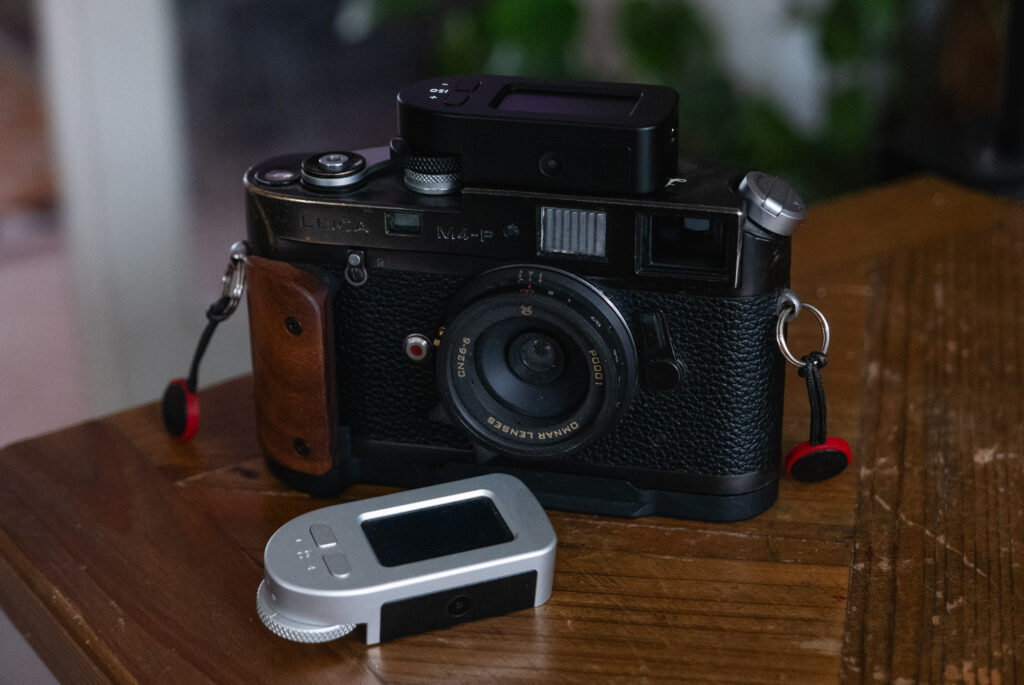
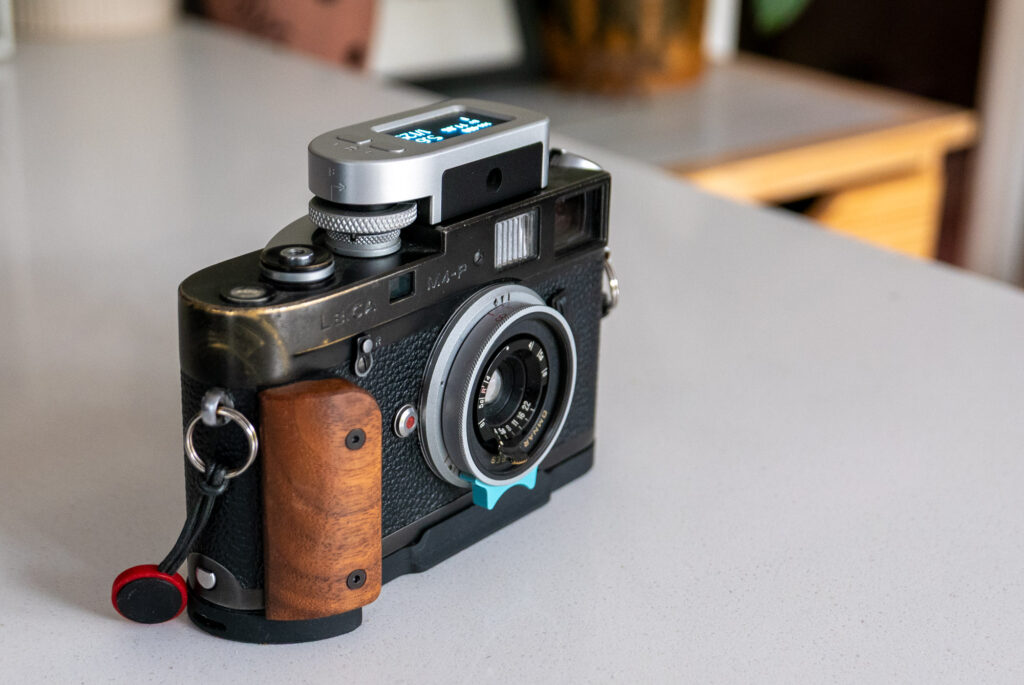
Which is where the Keks M-Meter comes into play. It’s a brand new meter with a warranty and a much more modern design with an OLED display, yet it still retains the mechanical interface of the older Leica meters. It is essentially a remake of the old M meters with a modern twist. It works a treat too! It comes in black and silver too!
Keks M-meter design and build
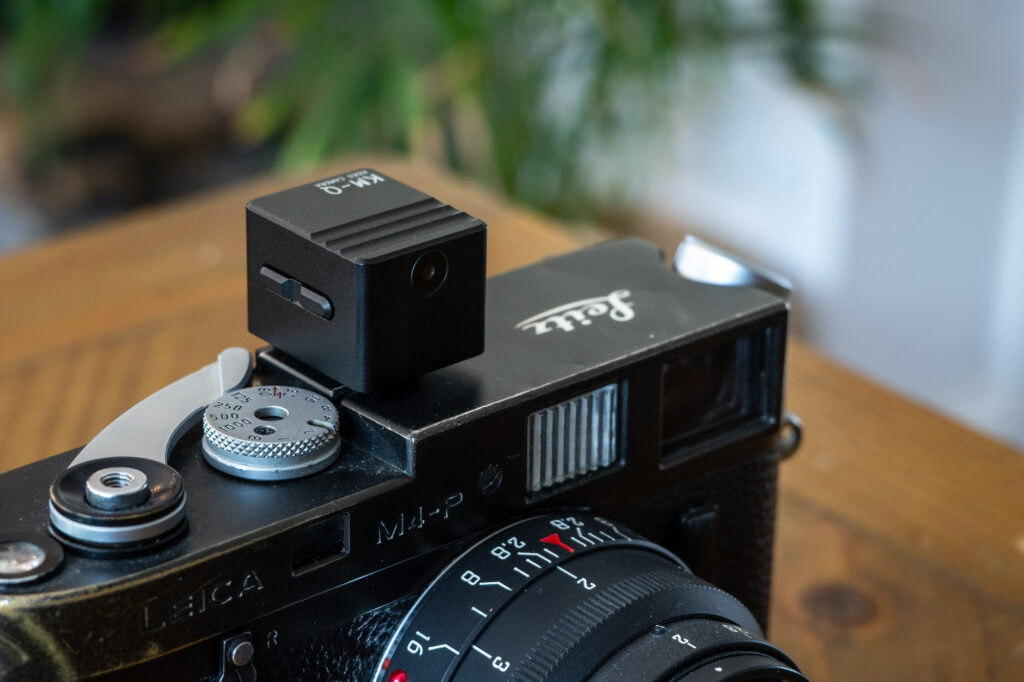
The Keks M-Meter, like all the other Keks meters feels really good quality. Unlike most of the previous meters which I believe were brass, this one has an aluminium upper housing with a plastic base and aluminium shoe mount. Though this doesn’t in any way detract from how good quality the build feels – the fit and finish is nigh on perfect with all the joins and edges matching/connecting exactly as they should. The control wheel has a really nice knurled grip and all the buttons click satisfyingly.
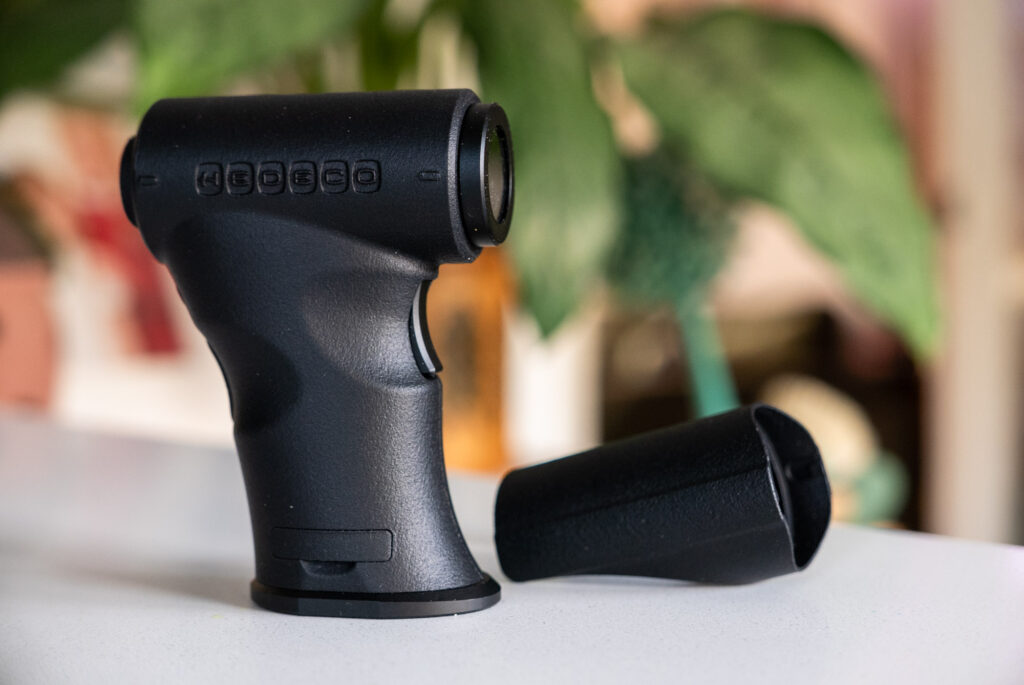
The fit on the camera – on my M4-P at least – is very nice too. To mount it you set the camera’s shutter dial to bulb and then rotate the dial on the meter all the way in the one direction. Once rotated, the dial lifts upward to move out of the way of the shutter dial on the camera. I’ve found I can hold it up with my forefinger as I mount it to the camera – it’s pretty easy to mount this way, though perhaps slightly fiddly until you get the knack of it.
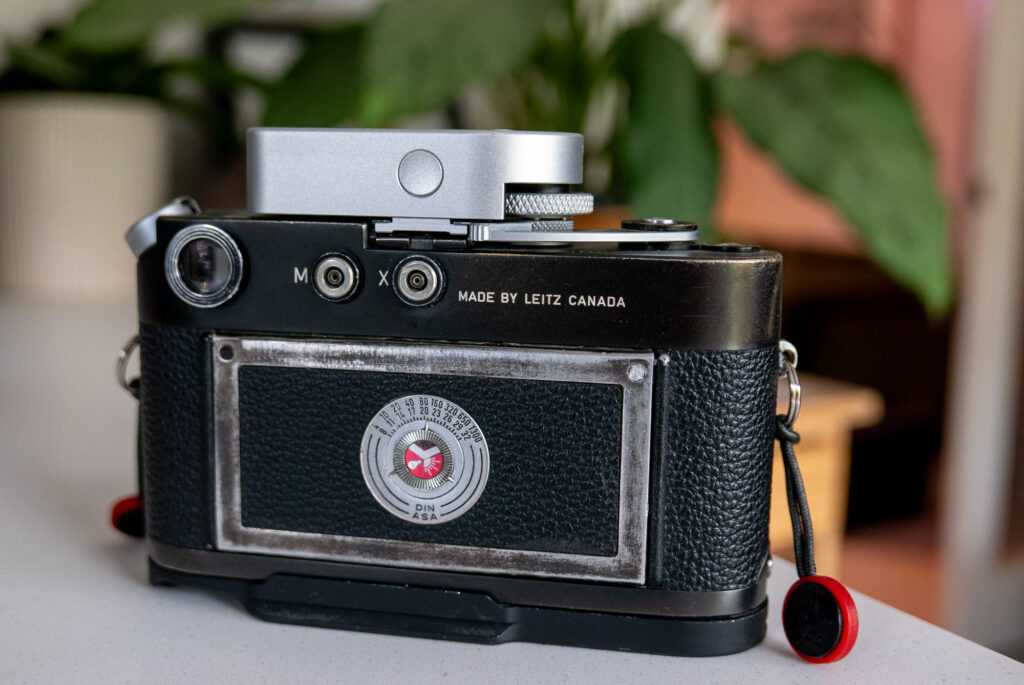
Once on the camera the dial drops into place locking into the slot that was designed for the original meters. At which point the previously loosely spinning wheel takes on the satisfying click of your Leica’s own shutter control dial.
Unlike the original meters that needed to be adjusted so at not to scratch the top of your camera, this one seems to have enough clearance not to cause any issues. Though that’s not to say the gap is big, it sits very nicely on to of the camera.
If I was to make any comment at all about the look of the thing on the camera it would be perhaps to just say that it looks a little tall. I think it would be a little more sleek if it were just as tall as the black part on the front. But that’s a minor criticism really, as otherwise the design is very neat.
Keks M-Meter modes
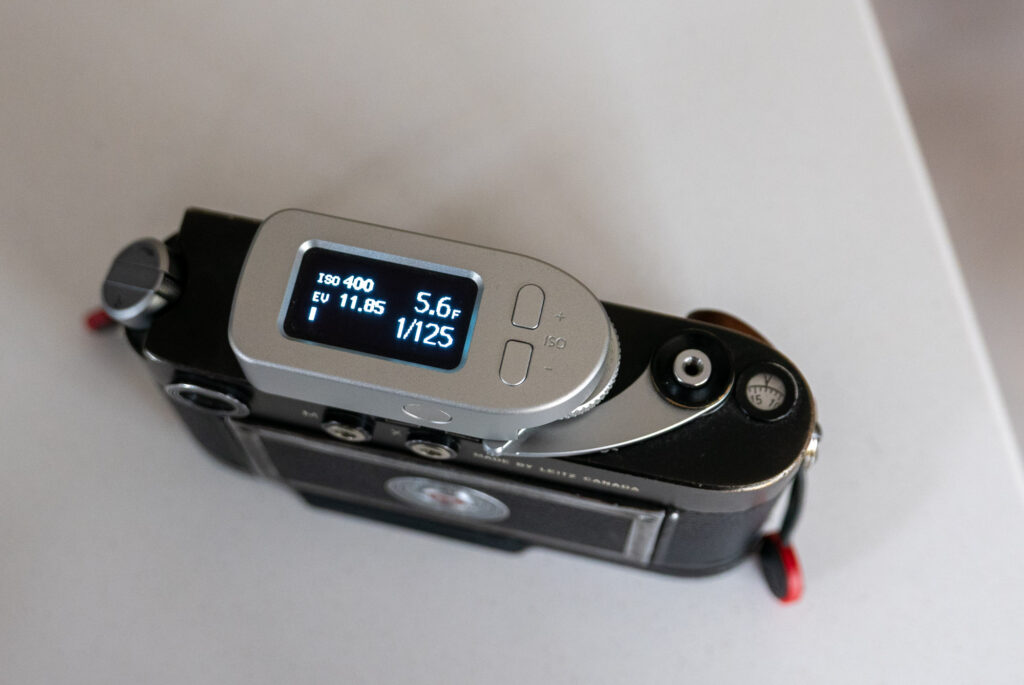
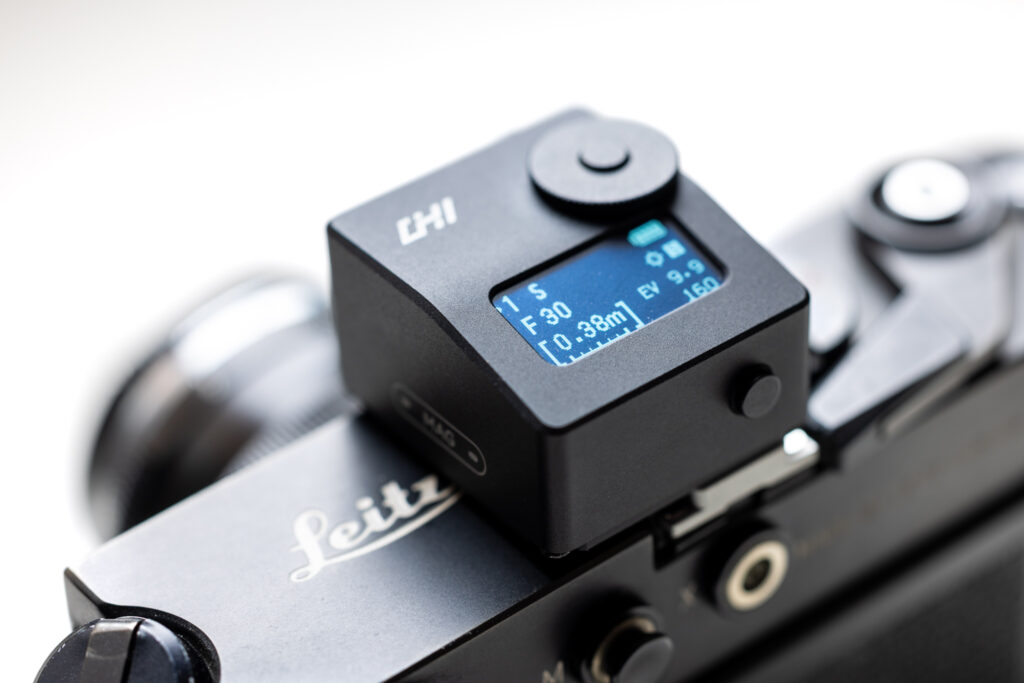
The Keks M-Meter is a very simple bit of kit. Of course like all the Keks meters it does have some slightly hidden functionality, that I will get to in a second. Its basic functionality is very easy to understand though. To turn the meter on and take a reading, you simply press the button on the back of the meter. There are up and down buttons for selecting your ISO which is displayed top left on the screen. You then simply rotate the shutter speed dial to a speed you wish to shoot at which is displayed bottom left of the screen, and an aperture readout is displayed above. Alternatively, you can rotate the shutter dial until an aperture is displayed that you want to shoot at, and your shutter speed will then be selected. Either way, the only thing you then have to remember is to make sure the aperture on the screen is then also set on the lens to match and you are ready to shoot.
The only other thing you need to be aware of really is that when the shutter speed is set to a setting that’s too fast or slow for an appropriate aperture reading to be selected it displays 3 little dashes. If this happens, you just rotate the shutter speed dial until an aperture setting is displayed.
The final thing to point out about the standard shooting mode is that there’s an EV readout on the display. For some this will be superfluous, but. Since there’s the space on the screen, and it’s useful information for some people, it’s a welcome feature, I think.
The display also has a battery charge meter. More on the battery in a mo…
Continuous metering mode
As standard the Keks M-Meter works in a way that the settings are locked in at the click of the button. One click pointed where you wish to meter from and the settings are displayed and held whilst you rotate the shutter speed dial. If you prefer a continuous metering mode this is accesses by simply double clicking the metering button.
Further options and settings
There are then a series of other options in the settings menu. This is accessed by pressing the button on the back and the ‘-‘ ISO button at the same time. Once in the menu, it’s a fairly typical Keks button puzzle to navigate, but you get used to it, and fortunately there’s no much in the settings that should need to be accessed all that often.
Exposure compensation
The first thing in the menu is exposure compensation. There’s 3 stops up and down and when anything other than zero is selected you get a little symbol on the home screen to remind you.
Aperture settings
Next in the menu is the aperture settings. These allow you to set your stops between full, half and thirds. There’s also the option to set your minimum and maximum apertures to match the range on the lens. I just have mine set between 1.4 and 16 as that covers all my lenses to the degree I need it to.
ISO settings
There’s only one thing in the ISO settings and that’s to set the stops between full, half and thirds. I have mine just set to thirds as it’s no great shakes to skip through a few extra settings when initially setting the ISO.
Screen
Next up is the screen settings with the two options being brightness and rest time. Brightness has a few options and an auto. I have found leaving it on auto to be perfectly adequate. The rest time option allows you to adjust in seconds how long you like the screen to stay on. This can be set between 15 seconds and 300 seconds with another option to have the screen stay on all the time. I assume the less it’s on the better the battery life, but again, more on the battery in a minute.
Calibration and reset
Finally, there’s a series of options for resetting the settings as well as calibration of the shutter speed dial in case it becomes out of sync with the camera. There’s also a setting to allow you to switch the shutter speeds to the older speeds found on the earlier M3 cameras. I haven’t needed to delve into this as it’s all worked fine so far and my M4-P of course has the more modern standard speeds.
Accuracy
Like all the Keks meters I have ever tested, the Keks M-Meter accuracy seems to be pretty much spot on. I certainly have no complaints here.
Battery
The Keks M-Meter battery is a built in rechargeable one. I have no issues with that as such though I know some people do. With that said, the main complaint people have is the e-waste issue i.e. what happens when the battery packs in…? Fortunately, the battery is apparently user replaceable in this meter, though I haven’t investigated this.
It’s also worth noting that if you have an early copy of the Keks M-Meter you might find the battery runs down quite quickly – 2-3 weeks – even if it isn’t used. Fortunately, since then, Keks have updated the meter so the charge holds a lot longer. It will still discharge, even when it isn’t being used, but it lasts a good bit longer than it did – 1-2 months apparently. This is still worth bearing in mind that you can’t leave it unused indefinitely and expect it not to need a charge, but in my experience it now lasts a a good while before needing a top-up.
Another thing to note, if you have an original version, it is possible to get a replacement PCB from Keks to upgrade it! I have been through this process myself and it was easy. More details will apparently be announced on keks website soon.
Final thoughts on the Keks M-Meter
Knowing I review lots of shoe mount meters a mate of mine got in touch when he saw this meter was coming out to ask if i had tried it and if he should buy it. I think I’d only had the meter for a day or so when he asked and I told him that he should definitely buy it. That was before the PCB upgrade to help with the battery drain too.
The Keks M Meter is of course pretty much useless to anyone who is looking for a light meter for a camera that isn’t a Leica M. But, for anyone with a Leica M camera that doesn’t have a built in meter, it really does feel like the perfect shoe mount option. Until something better comes along – which is quite hard to imagine – it will be my meter for my M4-P. I really do struggle not to recommend the Keks range these days! Another win!
You can find more about the Keks M-Meter on their website here
You can also find all my reviews of shoe mount meters linked via this post
Share this post:


Comments
Kodachromeguy on Keks M-Meter – A Leica-Dedicated Shoe Mount Meter
Comment posted: 24/12/2025
I agree with you that the Keks unit looks a bit tall.
Curtis Heikkinen on Keks M-Meter – A Leica-Dedicated Shoe Mount Meter
Comment posted: 24/12/2025
Comment posted: 24/12/2025
Comment posted: 24/12/2025
Craig Wantuch on Keks M-Meter – A Leica-Dedicated Shoe Mount Meter
Comment posted: 25/12/2025
Walter Reumkens on Keks M-Meter – A Leica-Dedicated Shoe Mount Meter
Comment posted: 25/12/2025
Why do I need this attachment with an OLED display on an M4-P? It is totally unsuitable for a purely mechanical analogue camera. Why do I use third-party lenses when it is well known that the special Leica colours depend on the Summicron or Summilux lenses, and that the lenses alone make the difference?
I recently purchased a Canon Populaire, which, according to several rangefinder specialists (service workshops), is at least equivalent to the Leica M3 in terms of technology and handling. It came with a functioning original selenium exposure meter shoe attachment. I put it aside immediately.
Comment posted: 25/12/2025
Comment posted: 25/12/2025
Comment posted: 25/12/2025
Comment posted: 25/12/2025
Arthur Gottschalk on Keks M-Meter – A Leica-Dedicated Shoe Mount Meter
Comment posted: 25/12/2025
Art Meripol on Keks M-Meter – A Leica-Dedicated Shoe Mount Meter
Comment posted: 28/12/2025
Thanks for all you do.
Bradley Newman on Keks M-Meter – A Leica-Dedicated Shoe Mount Meter
Comment posted: 29/12/2025
In concept, I absolutely love it. It looks great, and gives me exactly what I feel my beloved M3 lacks. Operationally, it's been a bit of a mixed bag. Hopefully, we will learn to work together better.
Mario on Keks M-Meter – A Leica-Dedicated Shoe Mount Meter
Comment posted: 28/02/2026