When I decided to look at an early box camera, similar to the one that started me off taking photographs so many moons ago, I found myself looking out for examples of the type. The first to appear turned out to be a fair example of the Kodak Brownie model 2, the camera that introduced 120 film to the world in 1901, and something I wrote about recently.
Six years later the Model 2A appeared which took 116 film that had been introduced 2 years earlier than 120 in 1899. This film produced a larger negative than 120, producing 6.5 x 11 cm negatives. A 130 version was also made later, in 1916, producing 7 x 12 cm negs.
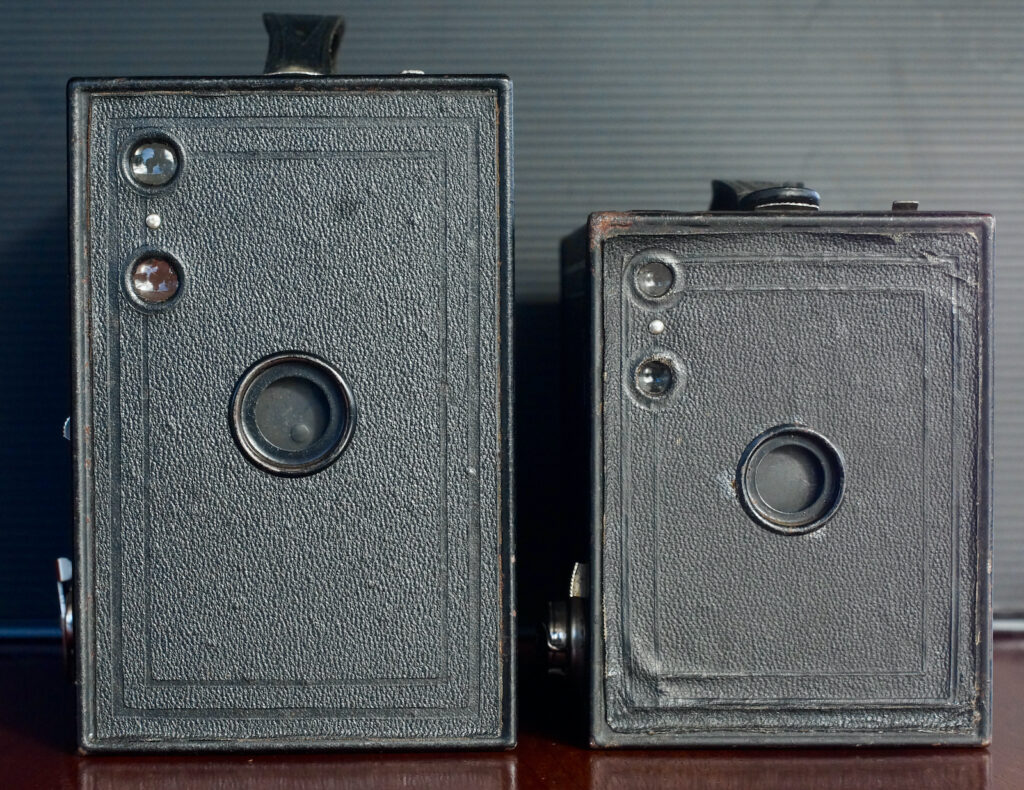
Just after the “2” came up for sale here in New Zealand this “2A” appeared for sale just across town from me so I thought the comparison might be interesting.
My Brownie 2A model C
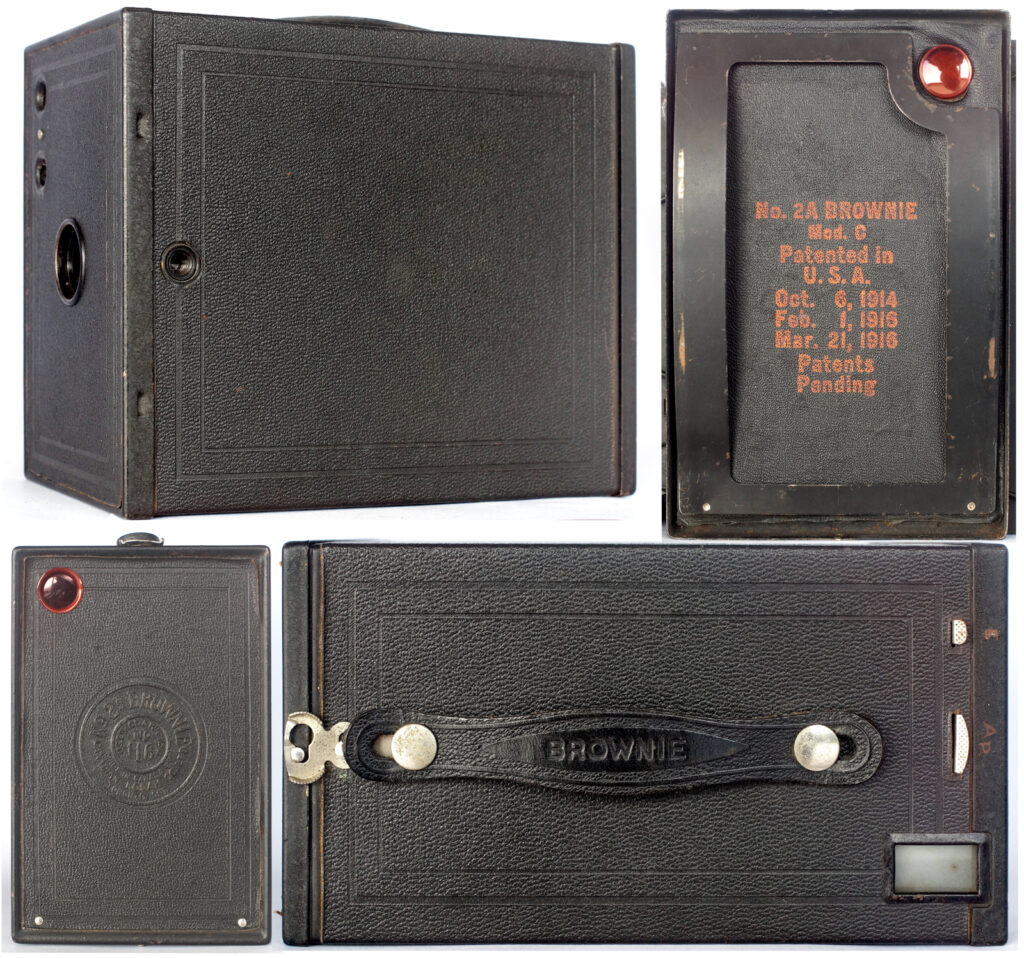
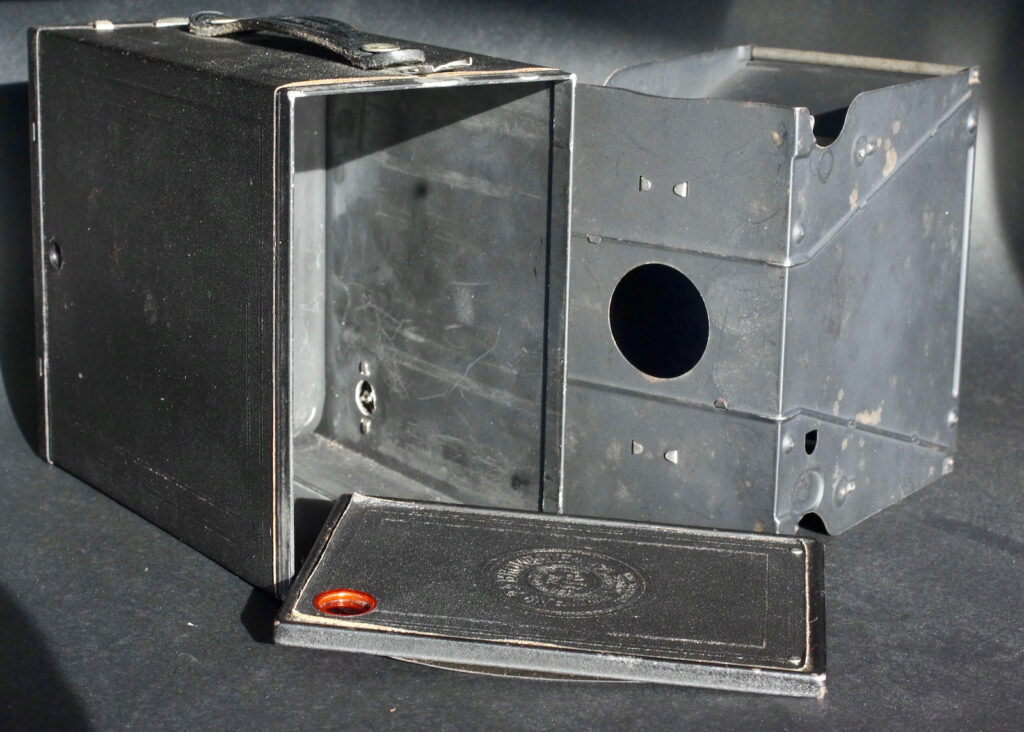
The camera is a Box Brownie model 2A model C which went into production in 1924, this one was made in Canada and the same year as my “2”. Others were produced in the US and later in the UK in the 30’s. It is essentially almost an exact twin of the 120 version, just larger. The model C replaced the cardboard body with aluminium and added tripod sockets. The Brownie Page (https://www.brownie-camera.com/35.shtml) says this model has a hinged back but mine has a rather fiddly seperate one and a different catch. My 120 “2” has the hinged back and a simpler spring catch but it seems a little random as to which is fitted. There is so much interchangeability throughout the range that it could simply have depended on what inventory was on hand at the time. Mine could be from early in its production run when unused stock was being used up in Canada.
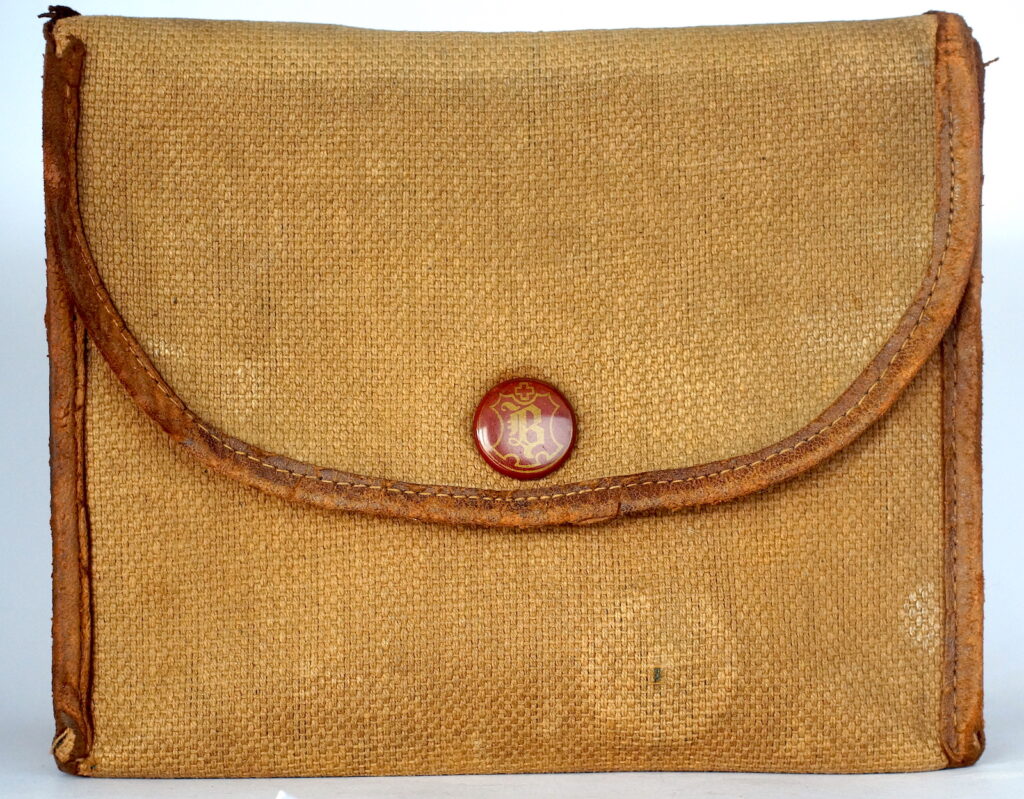
It is in pretty good, clean condition for something around 100 years old with little rust or paint loss. Some of the covering is lifting a little around the edges but far less than my 120 version and the finders have lost some of their silvering but are still serviceable. The canvas case is also in good condition, possibly accounting for its general condition today. I like the stylish monogrammed press stud button. Must be the deluxe version.
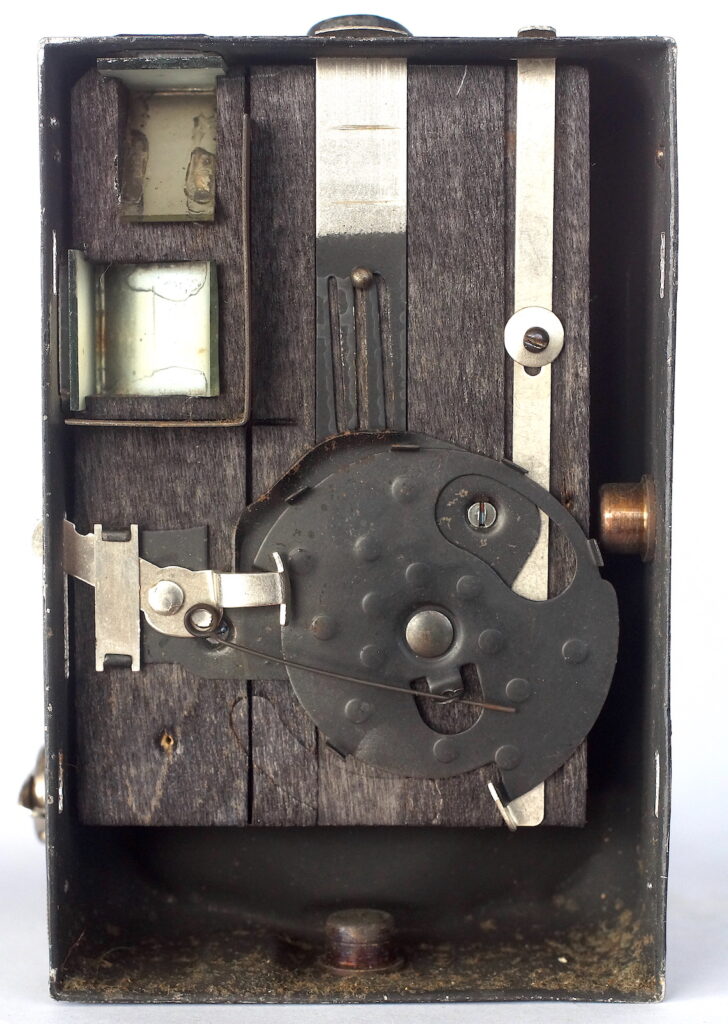
Construction generally is very basic with a block of wood holding the shutter and the T/aperture sliders fixed under the front cover. It seems to be the same size as the one in the Model 2, 120 version, just with a different focal length lens and matching stops. The lens is described in early Kodak literature a “meniscus achromat” it has two elements.
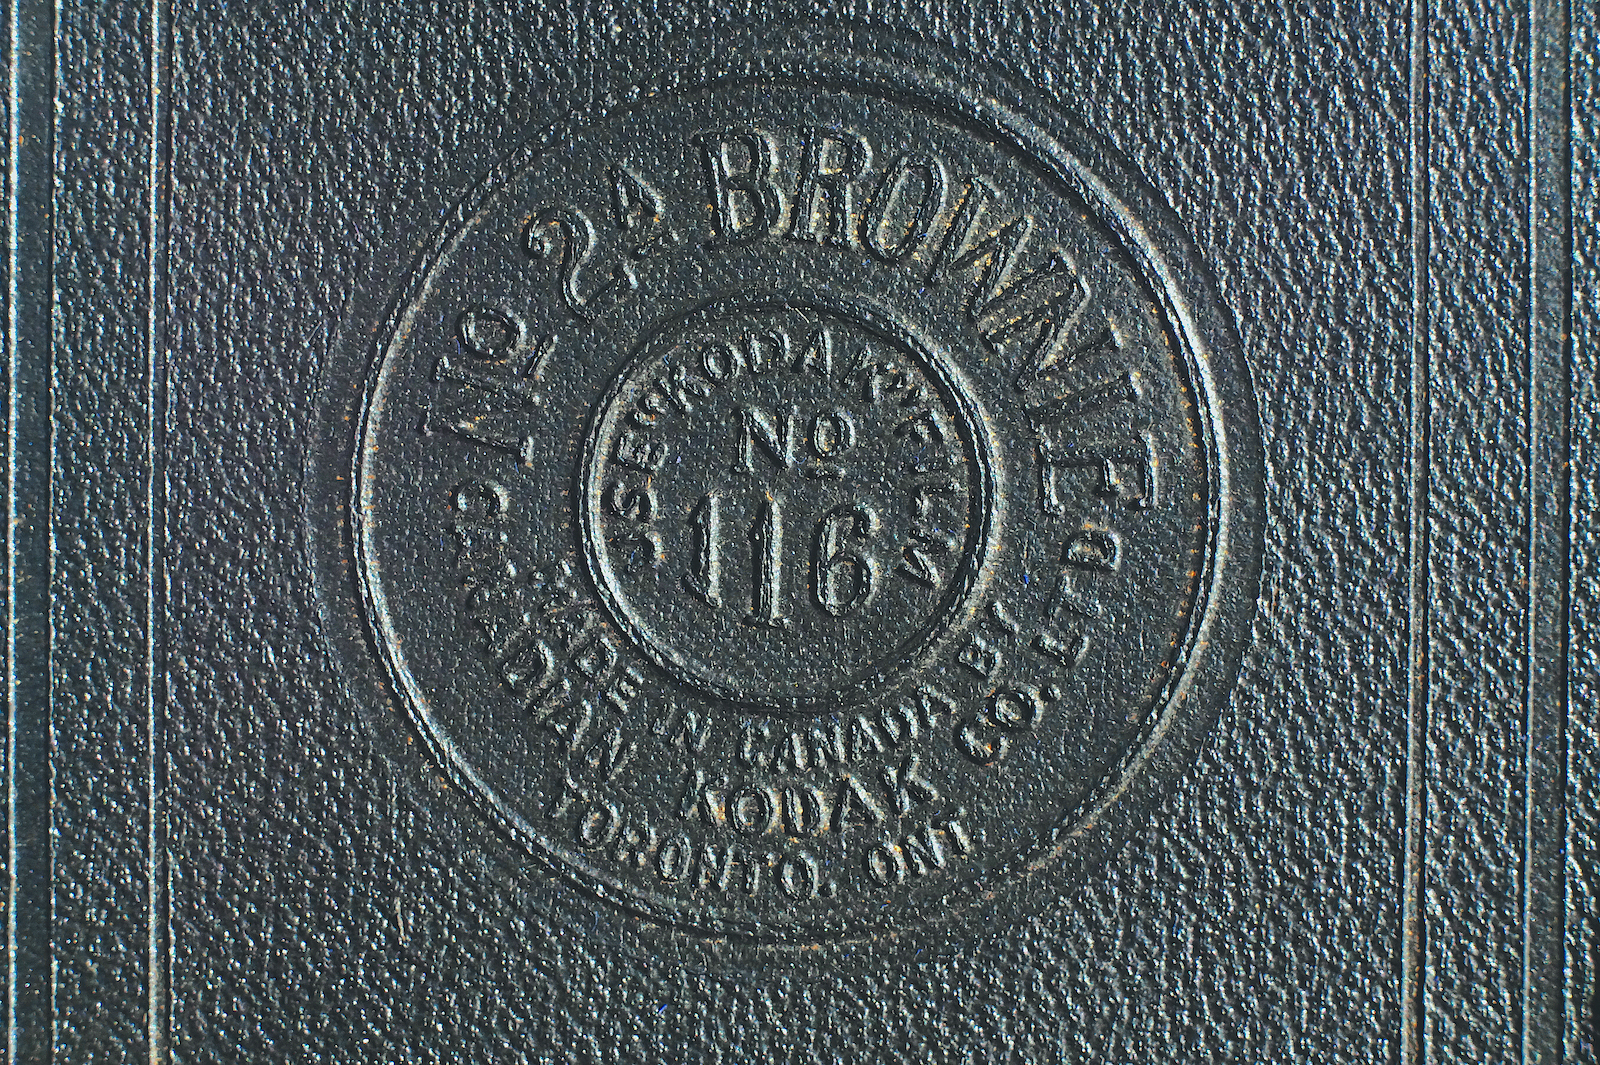
The exterior is finished very simply with painted surfaces and leatherette, most graphics are embossed onto the supporting materials. The aluminium outer case is probably the most significant upgrade from the original apart from details. The rotary shutter is designed slightly differently, basically very similar in operation to the 120 but a different actuating spring makes it impossible for the fault that I found with my “2” to occur. I am confused as to which came first, the “2A” shutter looking more foolproof yet the same design is shown in a user manual for the “2” dated 1910.
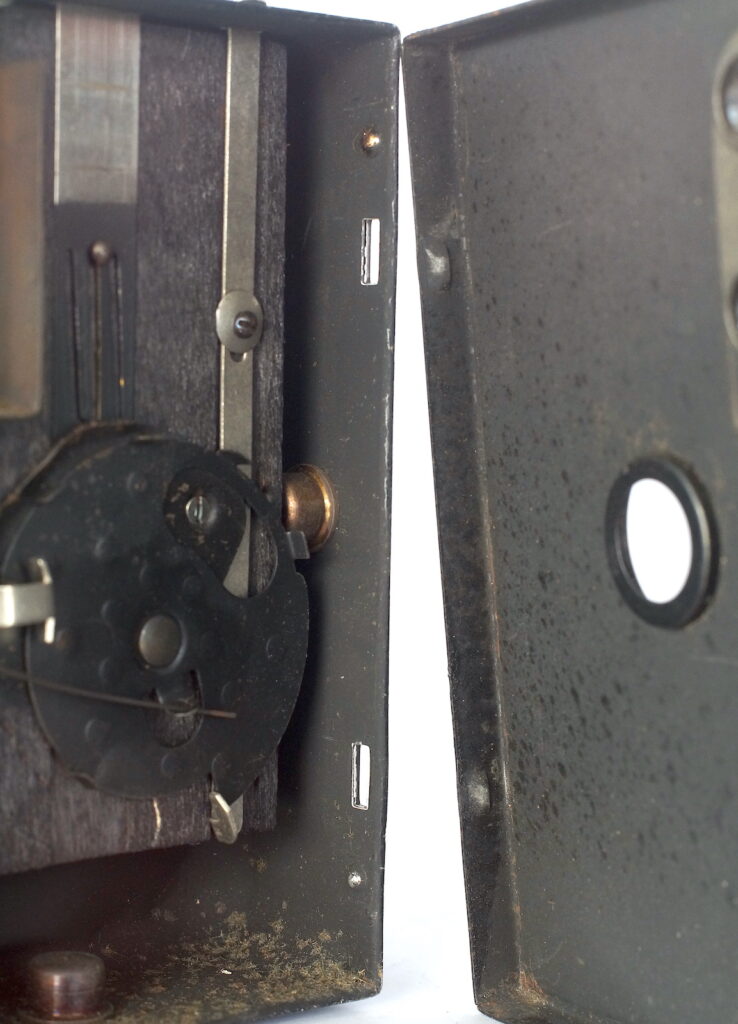
Access to the shutter and lens/finders is again quite simple, rather like opening a biscuit tin, held with indents and slots. Squeezing the body and pushing with the thumbs slides it off.
The shutter release was quite sharply serrated, uncomfortable and stiff to use. With the front panel off, I dripped a tiny amount of sewing machine oil onto the sliding and pivoting points with a cocktail stick which freed things up nicely and made the release feel less sharp. At the same time I cleaned the finders and the lens.
Film and loading
Unfortunately the film was discontinued in the 1960’s, though outdated rolls can be found on ebay but way beyond my budget when shipping down here to New Zealand is taken into account. It is 70mm in width so bulk film of that gauge, perforated or unperforated, could be used but I decided to use adapters to use 120 and produce a 6.5cm x11cm negative. This is fairly straightforward in some ways and tricky in others. It makes me want to own a 3D printer but I thought I would try traditional materials which might do the job. Only the winding end of the take up spool needs physical connection to the camera, the other three locations simply need spacers to fit the 120 spool ends and match the spool locating system used. The take-up needs to have everything Araldited together though for positive wind-on.
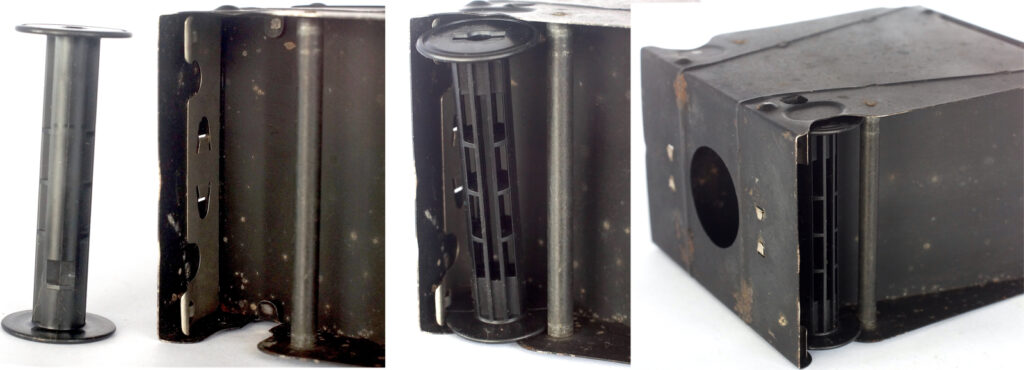
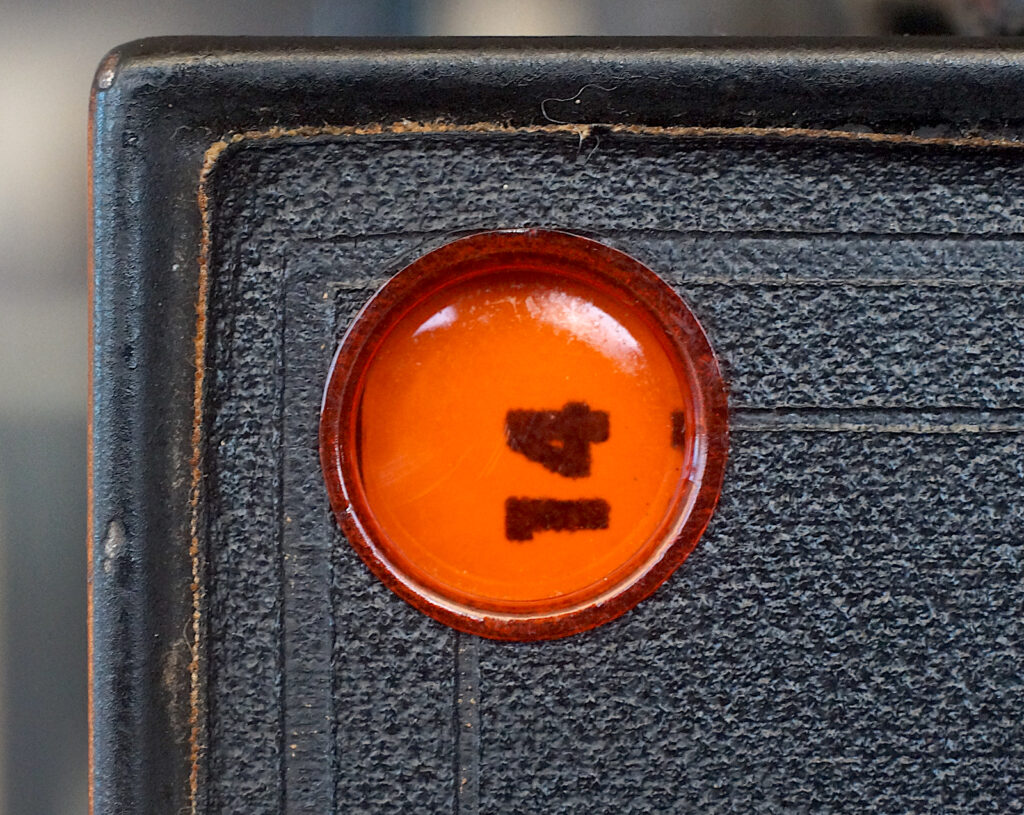
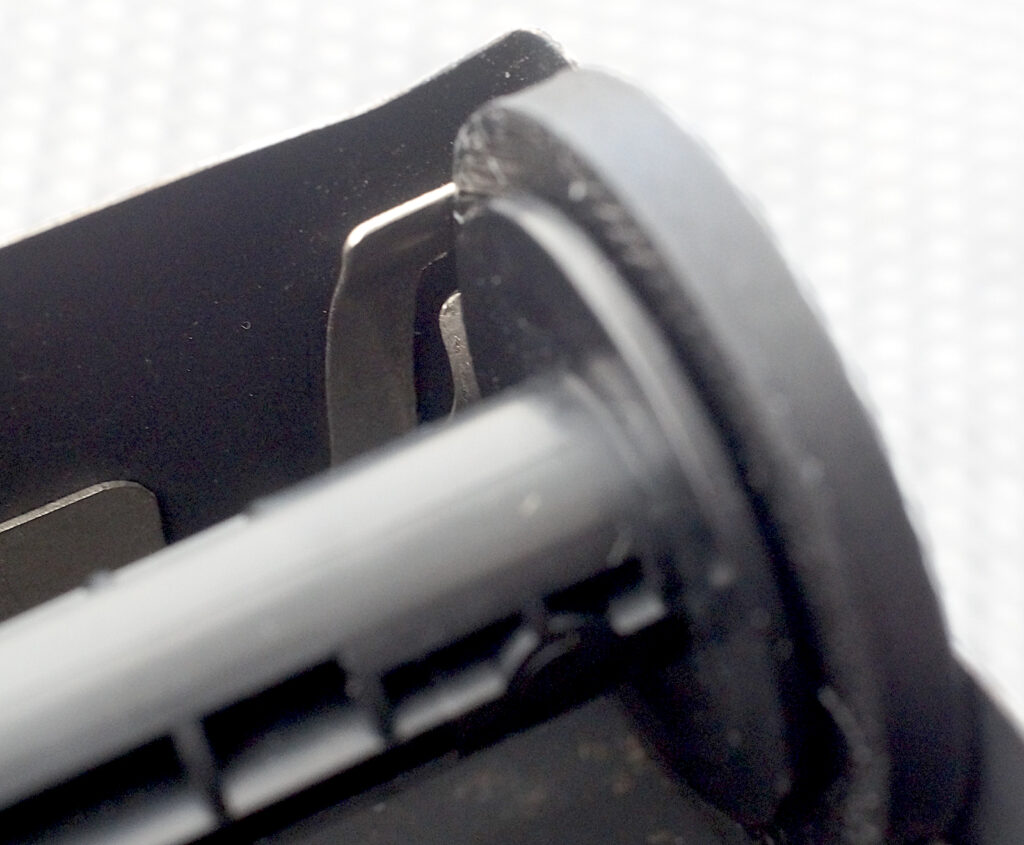
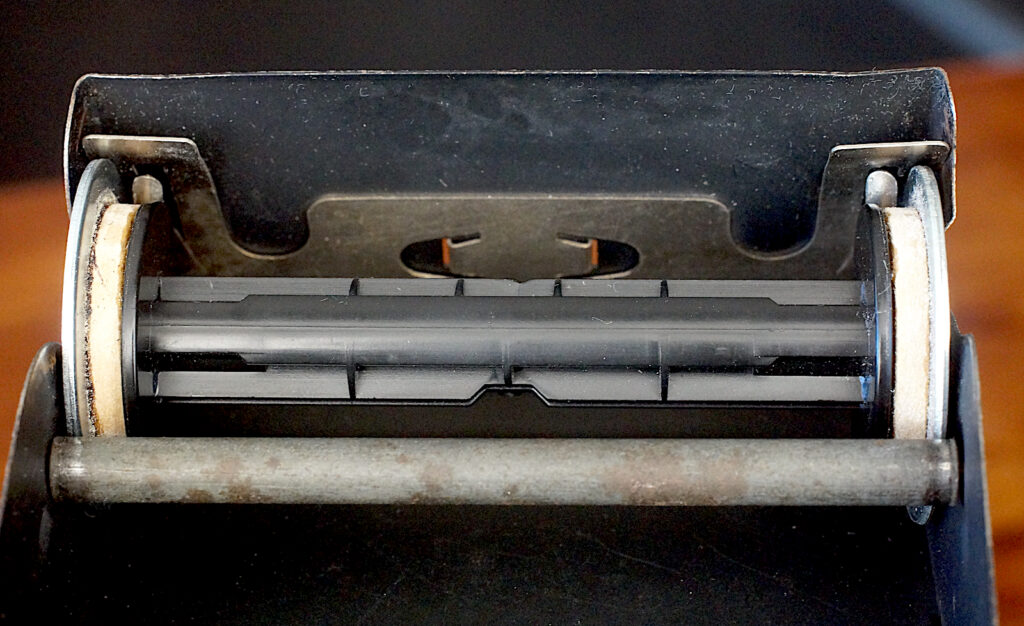
The method of inserting a roll of film is really clever and does away with the spindles of other models making insertion a very simple operation. The spools slide into place under sprung plates which hold them securely in position under a film guide bar. The springs bear on the edges of the thin metal rim of the 116 spool though so any adapter has to be the same shape to fit into the shaped plate and maintain tension on the film. The 16-on numbering of the backing paper shows partially in the red window with FP4+ but very clearly with Fomapan. This made it easy to take 5 exposures per film without overlap using frames 2/5/8/11/14. I revised this to 3/6/9/12/15, the first frame of this, my first film, cut off by the adhesive tape fixing the start of the film.The adapters worked well with the film winding on to the take-up smoothly and not slack or over-tight.
I decided to accept that there might be some curl along the edge of the frame because there is no support for the edges of 120 film at just over 6cm wide, but I thought it shouldn’t be too detrimental and I could make a mask later if it was too bad.
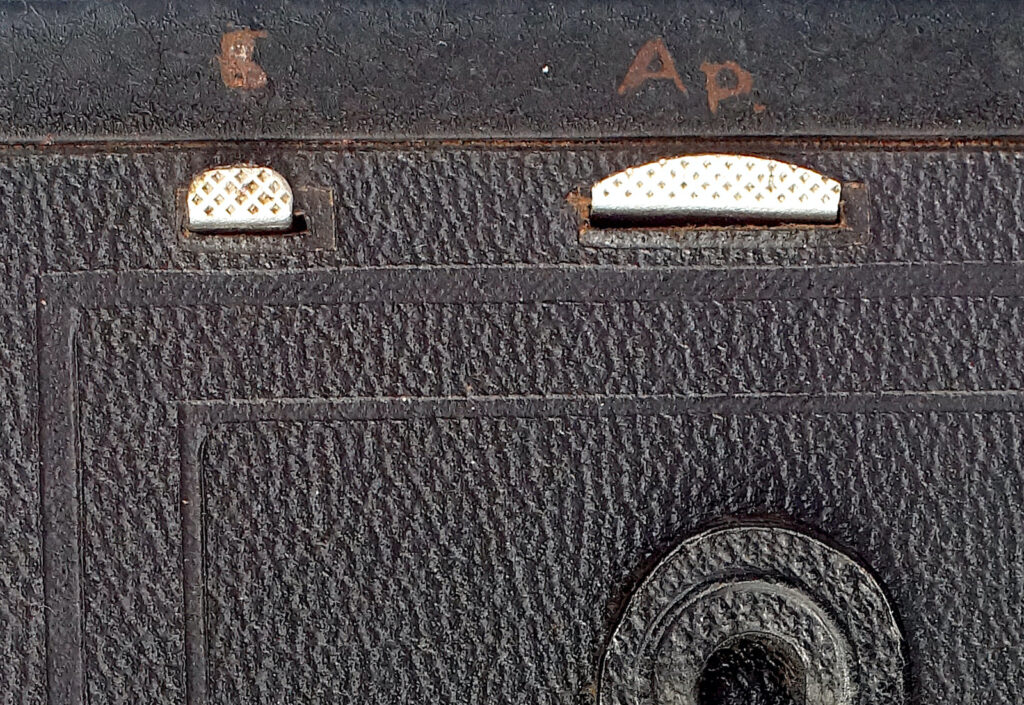
Like the model 2, the Box Brownie model 2A controls are basic with two pull-up slides that control a T(ime) setting on the smaller one and three apertures on the other of f11, f16 and f22. The release moves across a slot, making an exposure each time it is operated, i.e. in both directions. The rotary shutter’s single speed is 1/50th second, giving the “Sunny 16” exposure at f11 for the ISO 25 speed films of the time. f11 is the recommended aperture for general shots outdoors in good light in the owner’s manual with dire warnings against using either of the smaller ones.
The adapters
The very specific method the Box Brownies use to secure the film spools poses equally specific problems when designing adapters as mentioned above. The majority of the ones offered online seem to assume the more usual spindle on a sprung arm or pull out knobs to hold each end of the spools as found in most models taking this size film when thickness is not critical. So, how to match the design?
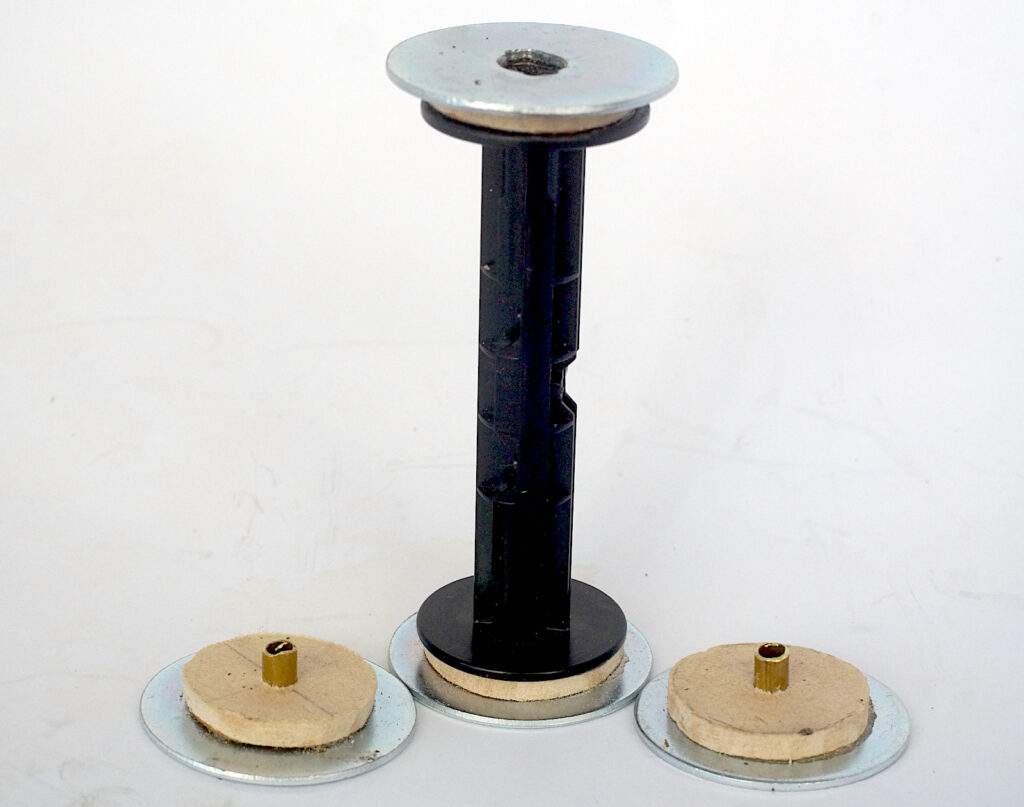
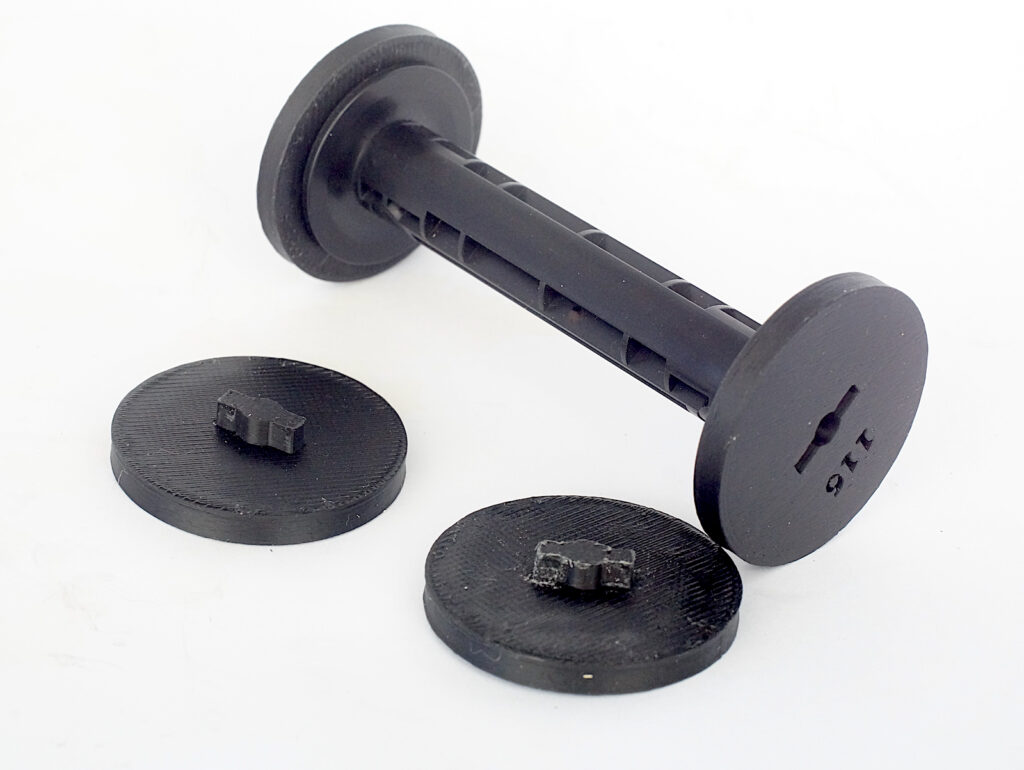
A favourite source of bits for my projects is the local DIY store. It was my saviour again, the hardware section in this case. A metal washer seemed to me to be a good substitute for the end plate of the 116 spool and something I found called a mudguard washer of one particular size proved to fit the bill. At the same 1 1/4 inch diameter and a little thicker it matches the end plates of the 116 spool nicely.
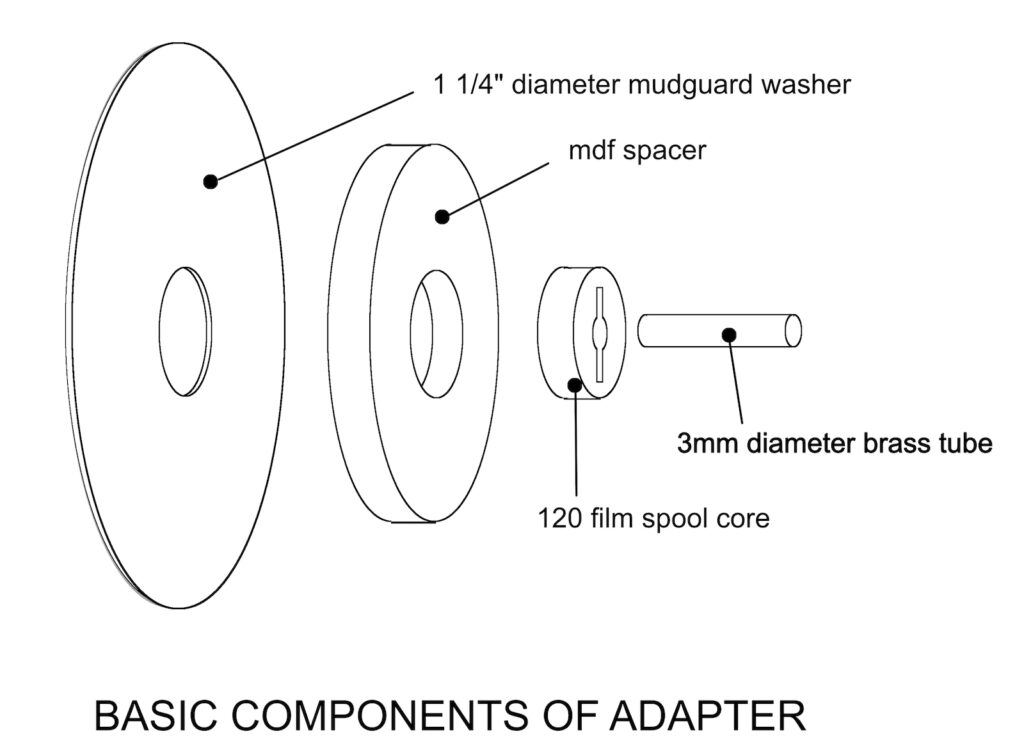
Several experiments had shown that I needed a 25mm diameter mdf disc and a 3mm diameter brass tube as the basic spacer all Araldited to the washer. One spacer is drilled out to 11mm or so to take a 120 spool core section to engage the winder. The other three only take the brass tube to make positive alignment between the adapter and the 120 spools. The tolerance allowed for commercial reels nicely accommodated my slightly longer concoction with less than 0.25mm to spare, helping provide the friction necessary to keep the film reasonably taught.
The washer centre hole is notched to match the spool core slots at the winder point. The take-up spool components are all Araldited together as a unit for a positive take-up. This spool must be retained for re-use, to be remembered if trade processing is used especially.
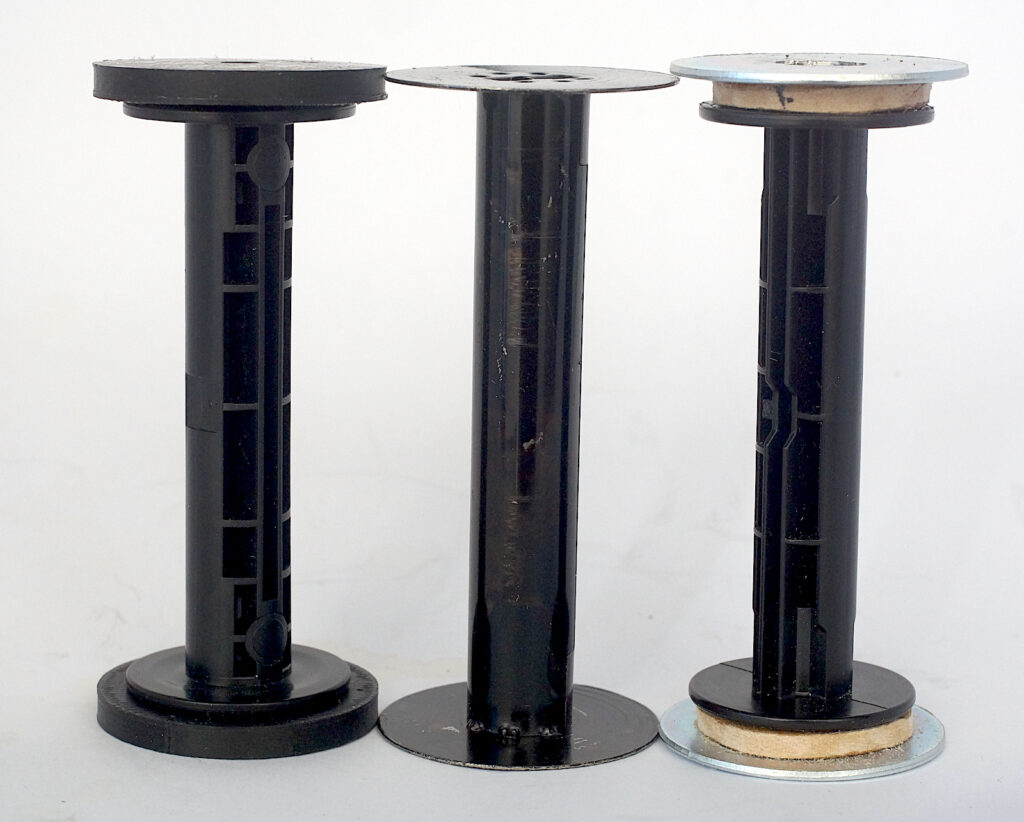
As a postscript to all this, I had ordered a set of 3D-printed adapters which took over a month to arrive from Poland, giving me plenty time to experiment. When they first arrived I found that they needed quite a bit of force to fit them to the ends of a 120 spool helped by a little easing with a craft knife. That was not the only difficulty, however. The disc of the adapters, though the correct diameter to match the 116 end plate, are much thicker than the spool end plate and cannot be inserted into the film chambers of my box camera, the projecting guides in the spring plate to assist location prevent fully seating them in the correct position. I can probably improve both these areas and make them fit better but for now I shall go with my home made ones for this exercise.
Results
With 120 film still readily available, for this exercise I used 120 Fomapan 400 rated at box speed speed having had some poor results pulled to 100 ISO and decided to use filters if needed to control exposure. Sunny 16 would have to be reduced 3 stops so my orange, red or 8xND filters would be needed. The approximate exposure would then be 1/50 at f16 or f22 and trust to latitude for small corrections in post.
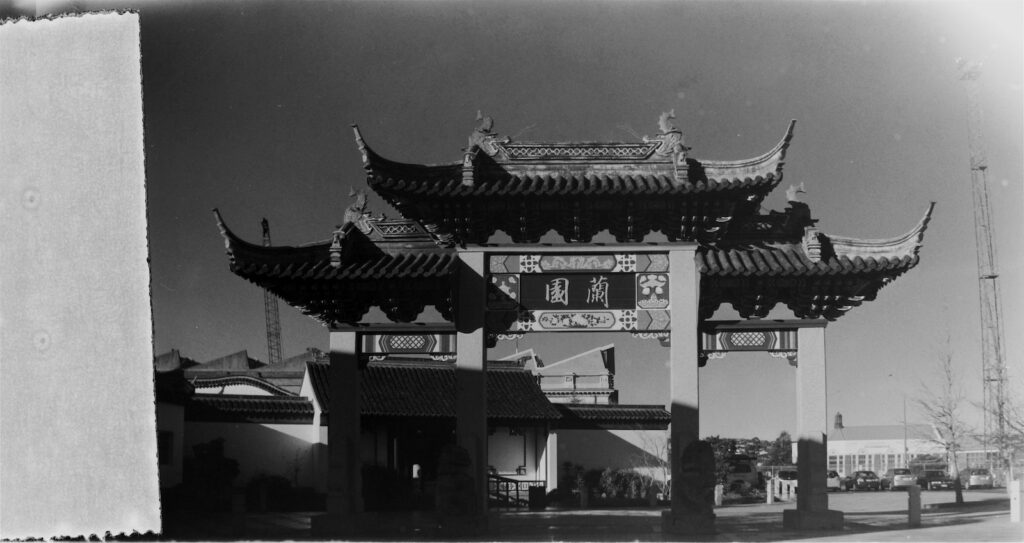
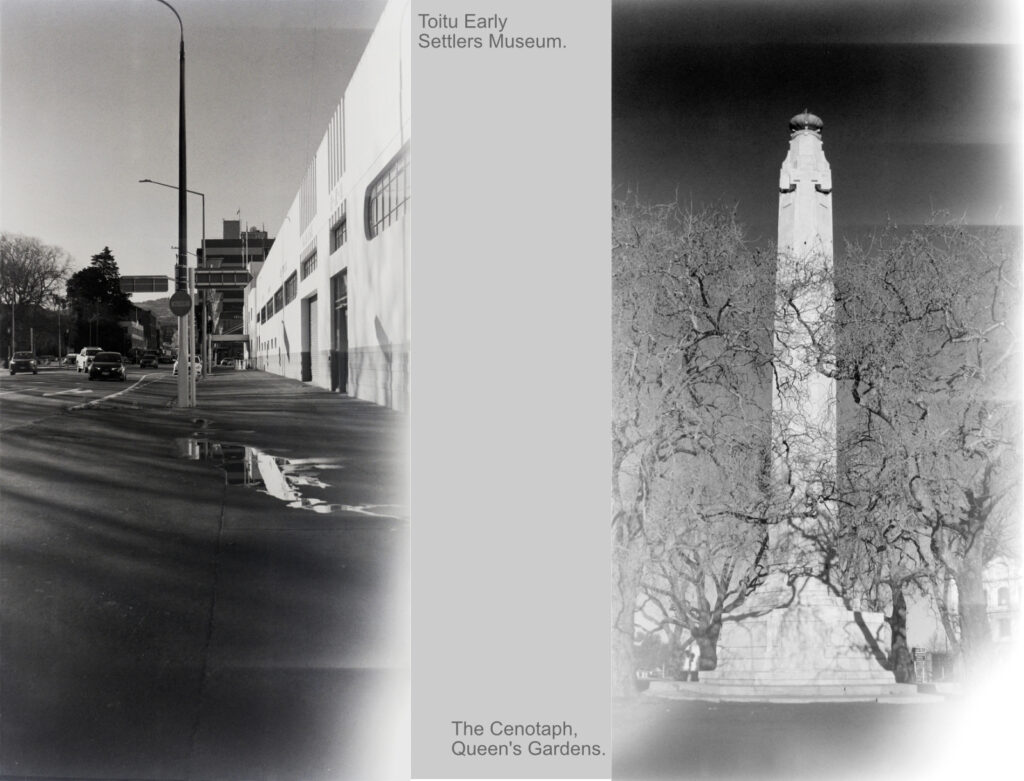
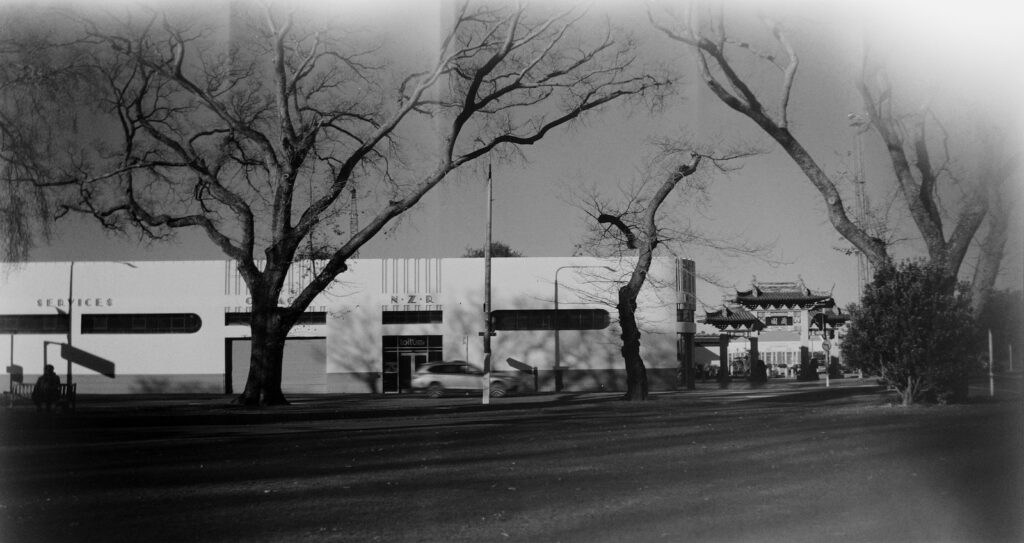
The results from the first film were affected by quite extensive fogging but I decided to press on with them, warts and all. As is often the case when something should be obvious it took a while for the penny to drop. The “red” window is in fact a mid-tone orange when compared to my 6x red filter. Two things then compound the problem further, the extended red sensitivity of the Foma emulsion and the small gap left between the 120 film width and the image opening of 116. The first frame is least affected because it was exposed for a very short time, the rest are worse. I will make a mask to fit in the image gate which should be effective and I may also tape the red window over as I had to do with the “2” I wrote about recently. It may lead to a “five frames” follow up.
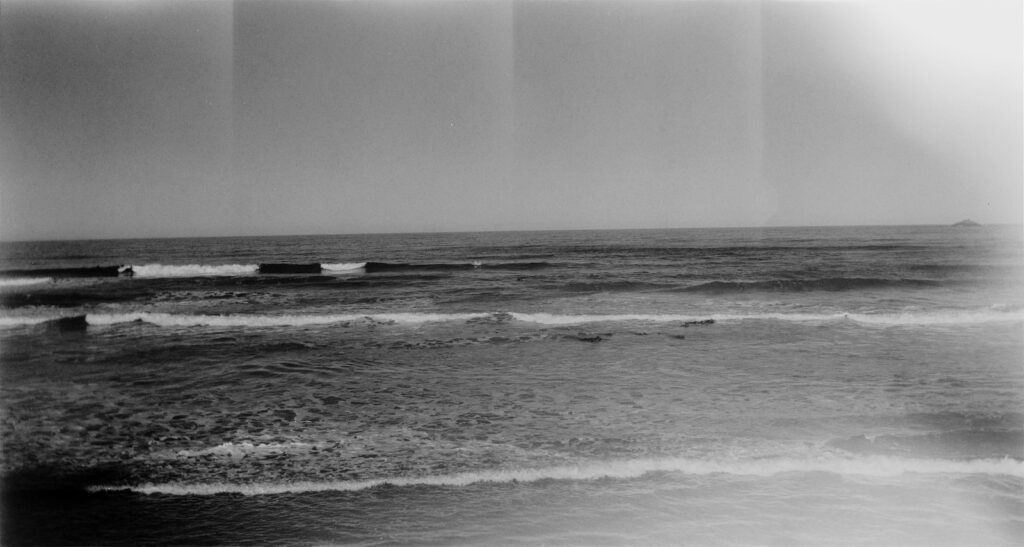
All that apart, the results are useful. The shots at f16 with the yellow filter are just that bit sharper than the final one at f11 through the red. I think this to do with reduced depth of field rather than lens performance. The closest waves are pretty sharp, only softening as distance increases. Overall, the lens is pretty good for such a basic camera. I have only applied a very small amount of sharpening, 0.3/0.9/0 in Affinity, to all the examples.
Final comments
The Box Brownie model 2A is effectively a big brother to the model 2 but is a bit of a dinosaur, harking back to days before enlargers and enlargements were commonplace. If a large print was required a large camera was used. Things like banquet cameras giving a 7”x17” or 12”x20” image were the usual option if, for instance, a shot of the top table at a wedding or the like was needed where everyone could be clearly identified. This isn’t that extreme but its main rationale was for larger album prints I would guess.
Using this camera now is more about “because I can” as much as anything else. In fact there is a difference between this and the 120 version in terms of quality of results so the “meniscus achromat” is a worthwhile improvement.
I have read one account of using it to produce near 6×12 images with a mask but I already have a camera of that format so this is more of an academic exercise to discover some of the history and capabilities of the model and just leaves the fogging to be resolved.
Share this post:


Comments
Simon Bohrsmann on Box Brownie model 2A.
Comment posted: 01/08/2025
Comment posted: 01/08/2025
thorsten on Box Brownie model 2A.
Comment posted: 01/08/2025
I can see a coffee table book in the making here…
or images like »With the front panel removed« on the wall of a gallery, or a collector.
Excellent post.
Comment posted: 01/08/2025
Gary Smith on Box Brownie model 2A.
Comment posted: 01/08/2025
I remember that my parents had box cameras (likely not the Kodak Brownie).
I'm waiting for my next film camera to arrive (hopefully this week).
Thanks for your post Tony!
Comment posted: 01/08/2025
Comment posted: 01/08/2025
Comment posted: 01/08/2025
Comment posted: 01/08/2025
Leon Winnert on Box Brownie model 2A.
Comment posted: 02/08/2025
Comment posted: 02/08/2025
Alexander Seidler on Box Brownie model 2A.
Comment posted: 02/08/2025
Comment posted: 02/08/2025