I love creativity of all kinds. But it has taken me down some strange rabbit holes (like here, here, here and here). This article is another. I hope you find it interesting and ...

Try it! The most salient learning of my soft-focus foray was a greater awareness for light! With hindsight, that alone was worth it. But I enjoyed so much more in my journey fro...
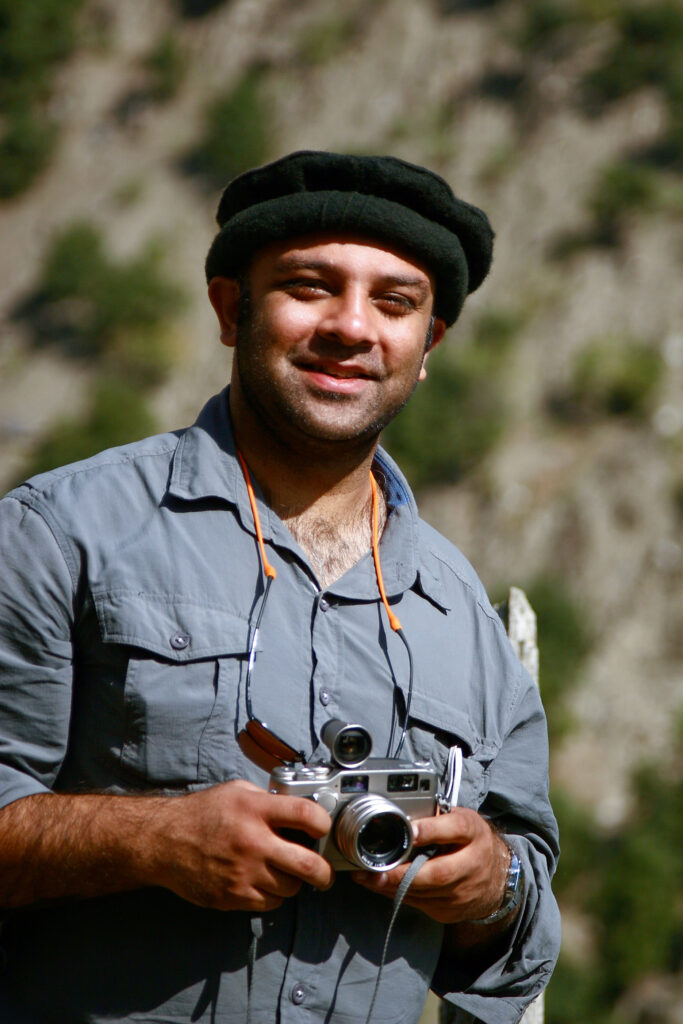
My Instagram (Title Photo – only one of two photos of the G2 unfortunately with me in it! Yuk! 2009) This will be my last post on a Contax G2 I used to have (last but one)...
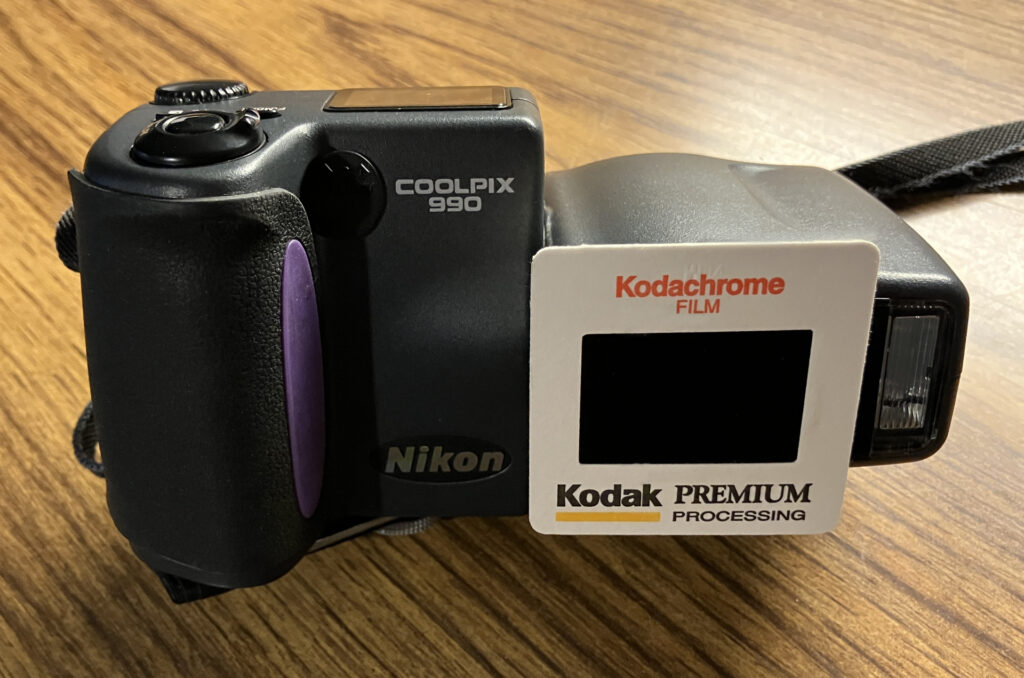
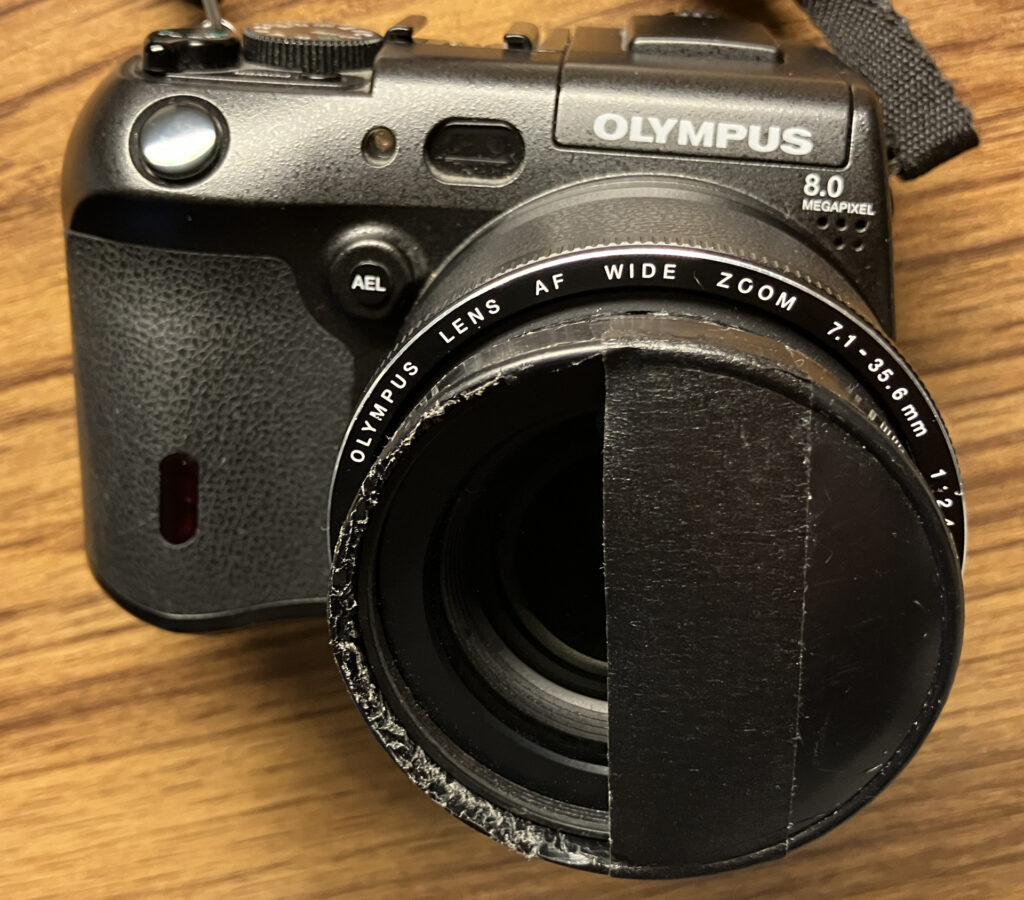
Are you interested in trying digital-infrared photography, but put off by the expensive glass filters that are apparently required? Hesitate no more. We can spare you THAT expen...
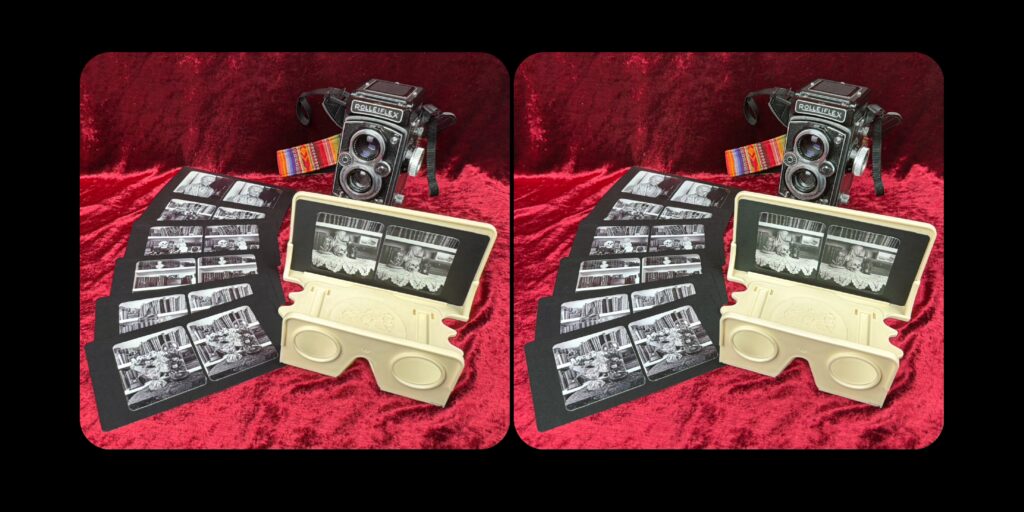
I thought I would wish everyone a very happy International Stereoscopic Day by introducing how to use a Rolleiflex camera to take stereoscopic (3-D) photographs. If you would li...

“Being nervous isn’t bad. It just means something important is happening.” — Michael Jordan Asking someone on the street for their portrait is a bit like asking someone on a dat...
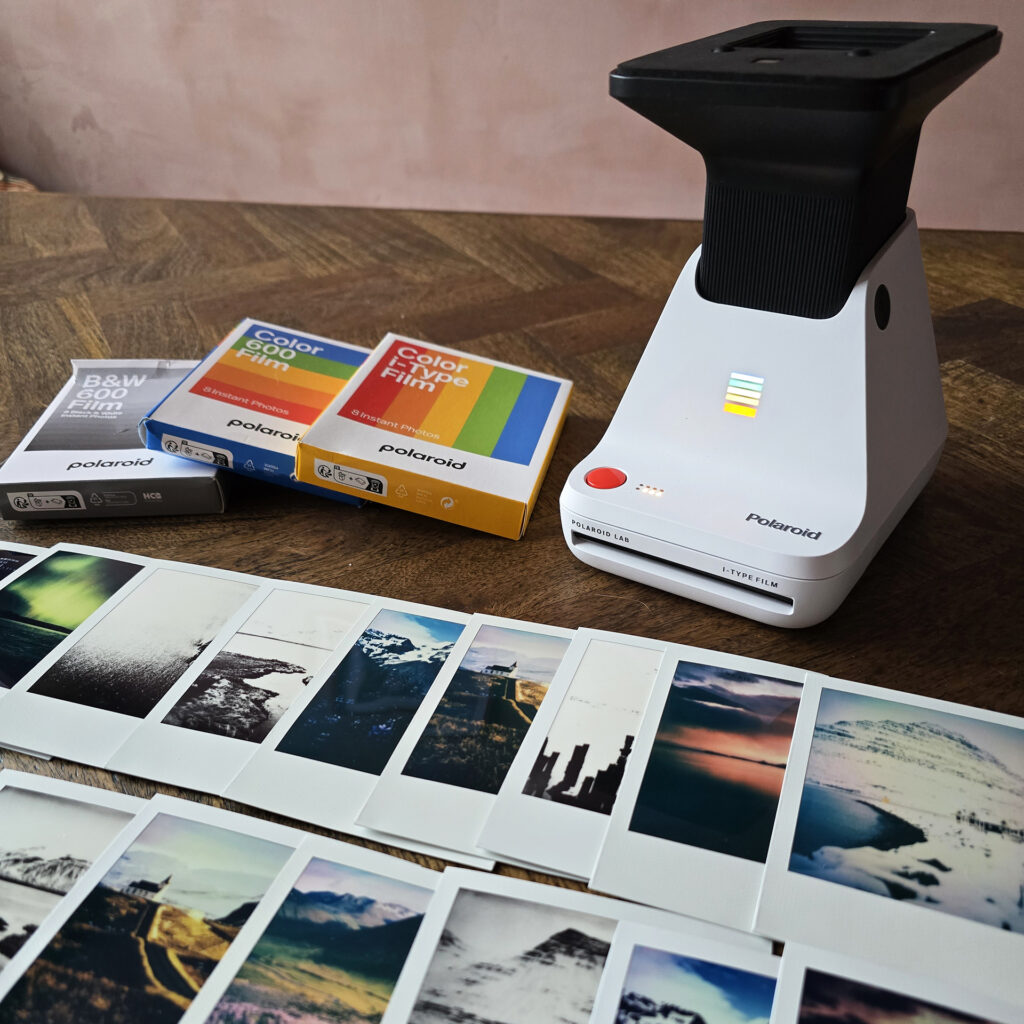
Here we go again and by jove this time we have achieved lift off! Polaroid lift off that is. Let me take you on a messy journey through my first attempt at this beautiful medium...
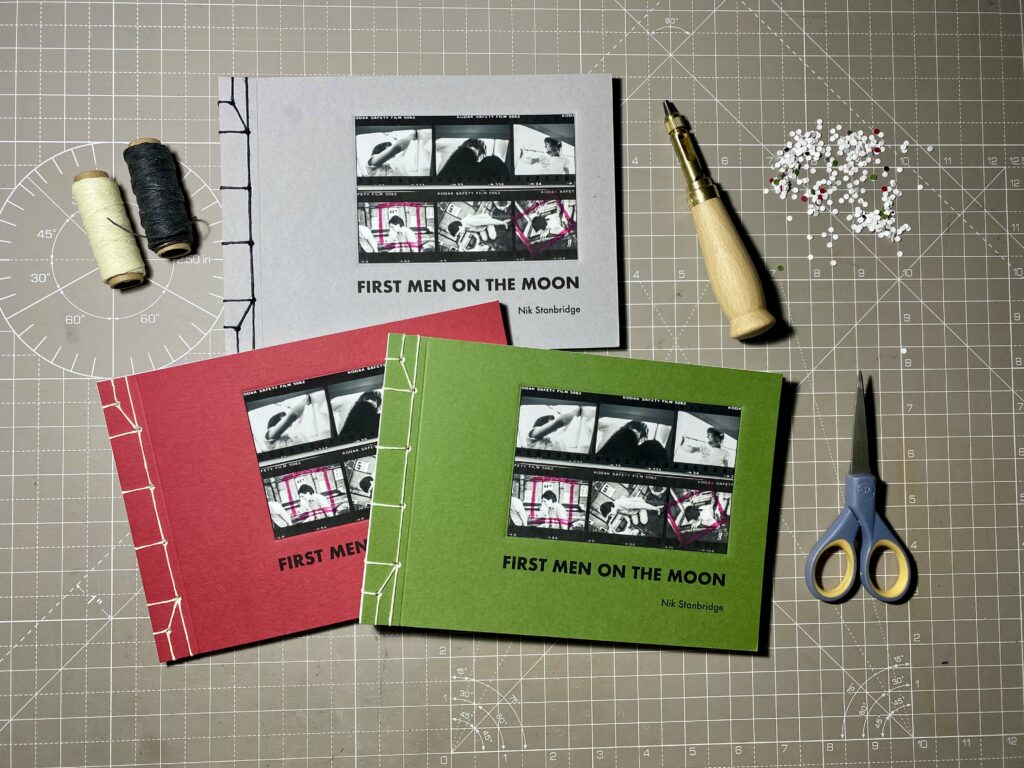
I’ve created and published quite a few photobooks in the past but I’ve always wanted to make the process easier, cheaper, quicker and much more predictable and repeatable. All t...


