When I was young, every bus or railway station, airport, Woolworths, Boots, shopping centers and department stores all had a Photo booth. These booths allowed the sitter to have 4 pictures taken, in return for a suitable deposit of coins, followed by the actual silver gelatin black and white photographs in a strip about 1.5 inches wide and 5 inches long. The pictures were accepted by the passport office and were of great quality.
Some of the machines were also capable of producing a single portrait or 4 mini portraits in a square as well as the more common strip of photos described above.
I used these machines to have my photo taken and the little strips of photos were prized treasures.

How did the booth work though? At the time I always thought they magically worked like a normal camera, expose a negative, develop and fix, and print. How daft an idea is that? The reality is remarkably simpler.
The truth is that they used photographic paper and reversal processed it to produce the positive image. It seems obvious when you think about the mechanics.
This process lends itself to automation and is consistent in finished photographs. The following describes Black and White photographs only.
- Expose photographic paper in camera,
- Develop paper as a normal negative in B&W chems
- Rinse paper
- Bleach paper to remove negative
- Rinse paper
- Fog paper with light
- Develop paper a second time in B&W chemicals
- Rinse paper
- Fix paper
- Final Rinse
- Use a warm air blower to dry the print (though in practice they usually needed more drying).
I still have many of the photos that I had taken in a Photo booth and they are as fresh today as they always were.
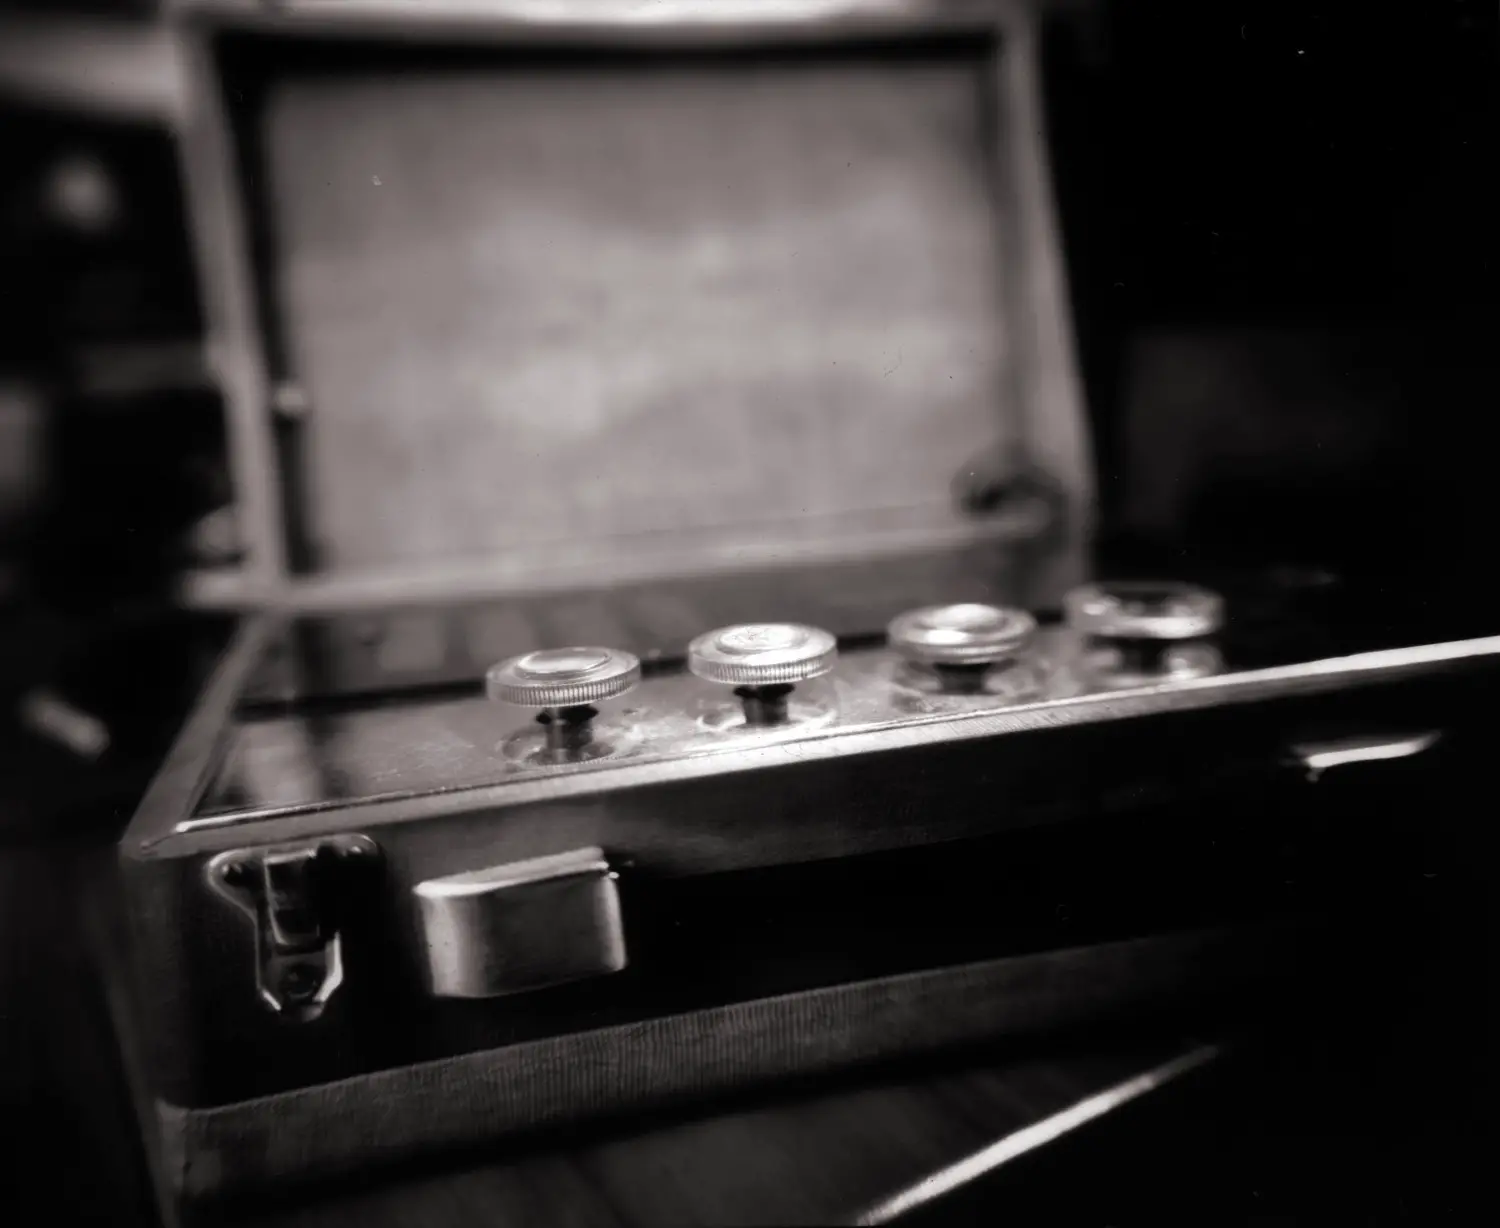
So roll on 40 years or so and I now have a 4×5 camera. It is a Chroma Camera Snapshot.
Film for any camera is great when you have the time to give to its shooting, development, scanning. Large format is even better, beautiful negatives at 4×5 are a wonder to behold.
But what if you want to do a quick shoot to try something or you just don’t have time to do the faffing about with film. Well paper negatives are a cheaper method of shooting 4×5. The photographic enlarging paper is sensitized like film, just with a much, much slower emulsion. The emulsion is also Orthochromatic rather than Panchromatic, which means that you can develop under safe light and see what goes on.
Paper negatives are cheaper than film, but you are still left with a problem in that you still have to scan the neg or contact print to make a positive.
Hence the recollection about Photo Booths. How did they work? They were fast, great quality and produced a positive image all automatically.

A bit of googling produced some information and so I set to producing an old style positive photograph by hand.
What follows is my process to produce a photograph.
Note: All pictures will be back to front as you view them. This is more obvious where words or numbers are present in the image (see photo of Kodak Cresta camera shown below). For still life and portrait it is of no consequence. The original photo booths had mirrors to correct the image orientation.

Important Note: Extreme care must be taken when handling chemicals. Always read the safety instructions and always handle with appropriate precautions.
Stuff you need
- Safety goggles
- Apron
- Nitrile Gloves
- Black and White Photo Paper (Ilford Multigrade Resin Coated)
- Black and white paper developer (Ilford PQ Universal)
- Potassium Permanganate
- Sodium Bisulphate
- Sodium Metabisulphite
- Rapid Fixer
Bleach
To produce the bleach you will need to make 2 solutions as described below. Once mixed each component of the bleach, part A and part B will keep for a month or so.
- 4g of Potassium Permanganate in 1 liter of water (part A), bottle for use
- 34.5g of Sodium Bisulphate in 1 liter of water (Part B), bottle for use
Once you mix equal quantities of part A and part B, the bleach has a really short working life, measured in hours rather than days. I can mix my bleach and use for an afternoon without issue (about 10 4×5 pictures per 250 ml of mixed bleach.
Note: It is recommended that you mix 250ml of bleach using 125ml of Part A and 125 ml of Part B just prior to starting the development work.
Clearing Solution
The clearing solution removes the yellow and red tint added by the bleach.
- 30g of sodium Metabisulphite in 1 liter of water, bottle for use.
Use 250 ml per developing session.
Method
- Expose photographic paper in camera, using ISO 1 as a base line for exposure when using studio lights inside. Outside in the spring or summer the ISO is faster at 3.
Under Safe Light
- Develop paper as a normal negative in B&W chems. 2 minutes in Ilford PQ Universal at a dilution of 1+9.
- Rinse paper for 30 seconds in clean water.
- Bleach paper to remove negative image for about 1 minute using freshly mixed bleach.
- Rinse paper for 30 seconds in clean water.
- Immerse paper into clearing solution, 10 seconds. The paper will look white as if it had never been exposed.
Turn on the room lights
- Fog paper with light for 30 seconds
- Develop paper in B&W chems for 2 minutes
- Rinse paper for 30 seconds in clean water.
- Fix paper, 2 Minutes
- Final Rinse for at least 3 minutes.
I manage to do several exposures in series, so that when the first one is being rinsed the second one is in the developer. The trick is to ensure that all pictures being processed have been bleached before you switch the room lights on.
Examples of Photos taken and processed using this method.


The quality of photograph that is produced is as good as film and the speed with which a positive image can be produced is pretty fast. You end up with a one of a kind, hand processed photo for which no negative exists (if you’d like a negative you can make one by contact printing).
You end up with a unique physical item, a real photograph that will last for decades.
Share this post:


Comments
Michael J on Positive Memories – Creating Positive Images Inspired by the Photobooth Process – By Andy Smale
Comment posted: 01/02/2022
Assuming that we are allowed to have proper parties ever again I intend to roll out a Photo-Me gimmick at some point for the bemusement of others...
Matthias on Positive Memories – Creating Positive Images Inspired by the Photobooth Process – By Andy Smale
Comment posted: 01/02/2022
Scott Gitlin on Positive Memories – Creating Positive Images Inspired by the Photobooth Process – By Andy Smale
Comment posted: 02/02/2022
A short video showing how a vintage photo booth processed film.
https://youtu.be/q377Stfri-0
Andy Smale on Positive Memories – Creating Positive Images Inspired by the Photobooth Process – By Andy Smale
Comment posted: 02/02/2022
Incidentally when the finished strip of photos is delivered the borders of the photos are black, indicating a reversal process.
Great video.