The best camera is the one with you, and yet most photographers, including myself despise smartphones as photographic tools. There are some good reasons for that, but for me personally it boils down to two things: neither the process nor the result is fun. Basically the opposite of analogue photography, which is neither easy nor technically perfect and yet more satisfying than any smartphone (or digital photography in general).
This post is about M-Kamera – my attempt to fix smartphone photography, i.e. to make both the process of taking pictures and the results look and feel more analogue and similar to my beloved M4-P with Summicron-C 40 attached. To clarify what I really mean by that, here’s a quote by Hamish after he first tried the app:
Haha, well… I quite like the fact that I fucked up a “roll” through not paying attention to the exposure settings.
And I think that is the highest praise M-Kamera could get. I think of it as a camera app for people who miss wasting frames — and who enjoy celebrating the frames that work because of their own effort, not because the phone made every decision. Made in Germany by a slightly mad scientist; spending this much time on something this niche is definitely not normal, and yes, I am an actual astrophysicist.
The process
Taking a picture with a film camera is just as easy as with a phone, you just press the shutter button. Getting ready, getting around the limitations of the film and mechanics, and getting anxious about whether the pictures turned out any good is the fun part. For me personally, the quintessence of analogue photography is old mechanical rangefinders where these fun factors are, arguably, maximized.
To take a picture you need to choose, buy, and load the film, advance the frame, assess the light (either by eye or with a meter), set the shutter speed and aperture to get the exposure, background blur and amount of motion you want, estimate distance to the subject (either by aligning the rangefinder patch or scale-focus) and depth of field around it, compose, and finally shoot. Mostly blind, i.e. you only see the result when you develop the roll, so ideally you also want to remember the settings, the light and the story to reflect on those when printing the results a week later. In the case of my M4-P I also need to keep in mind that 1/500 is more like 1/1000 and 1/1000 is more like 1/750, but that’s only because I’m too lazy to get it serviced.
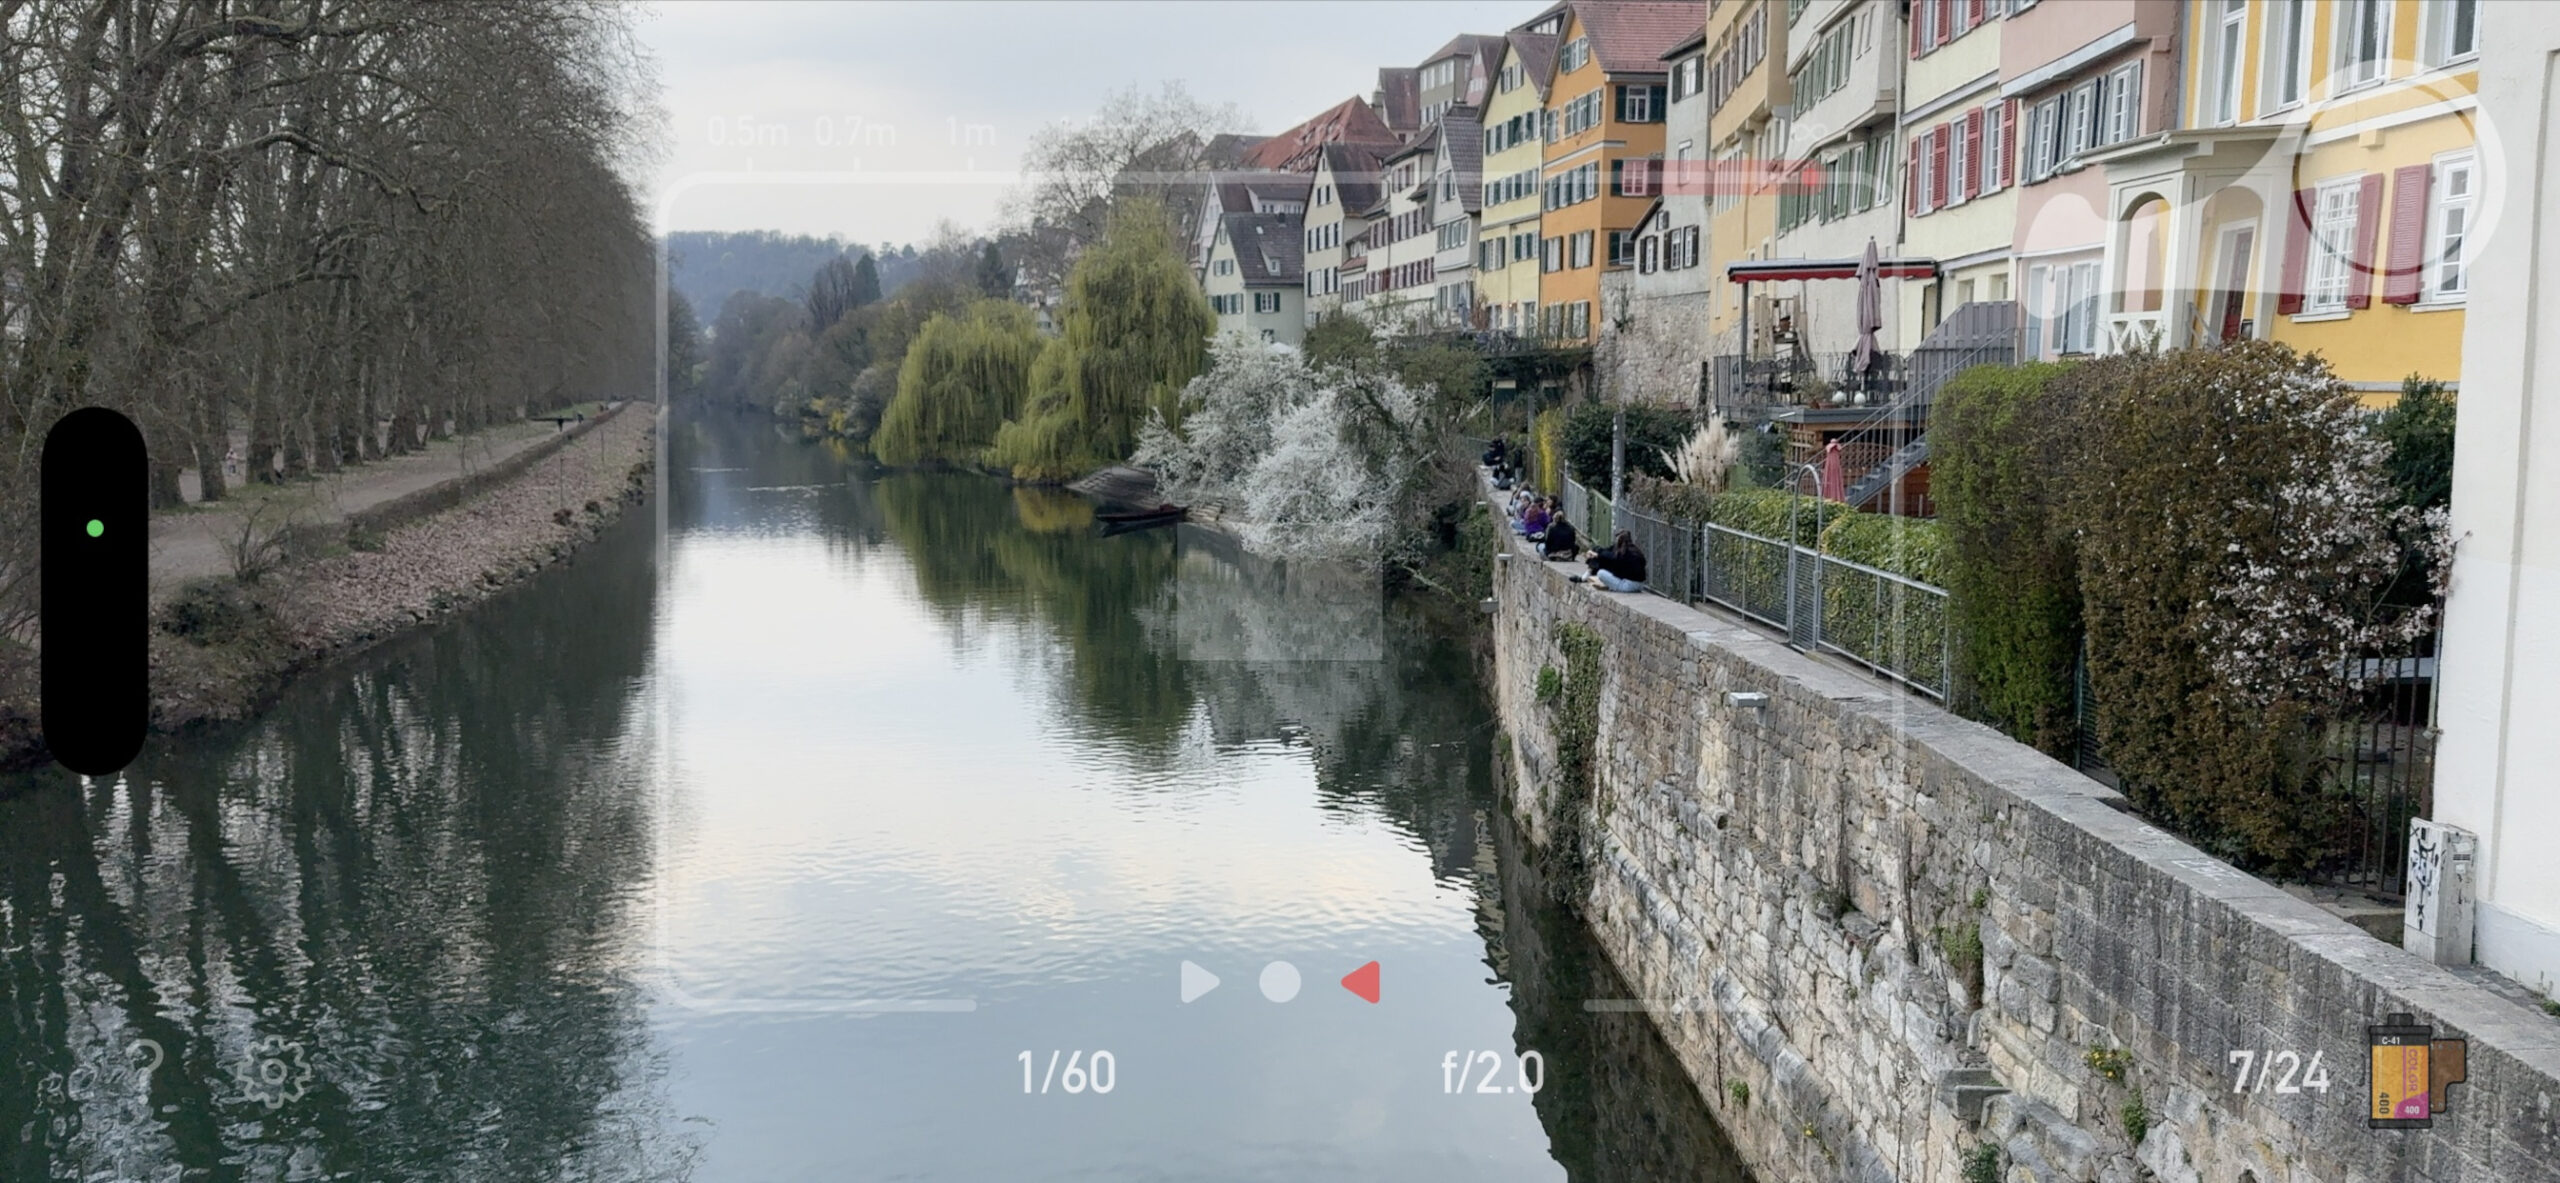
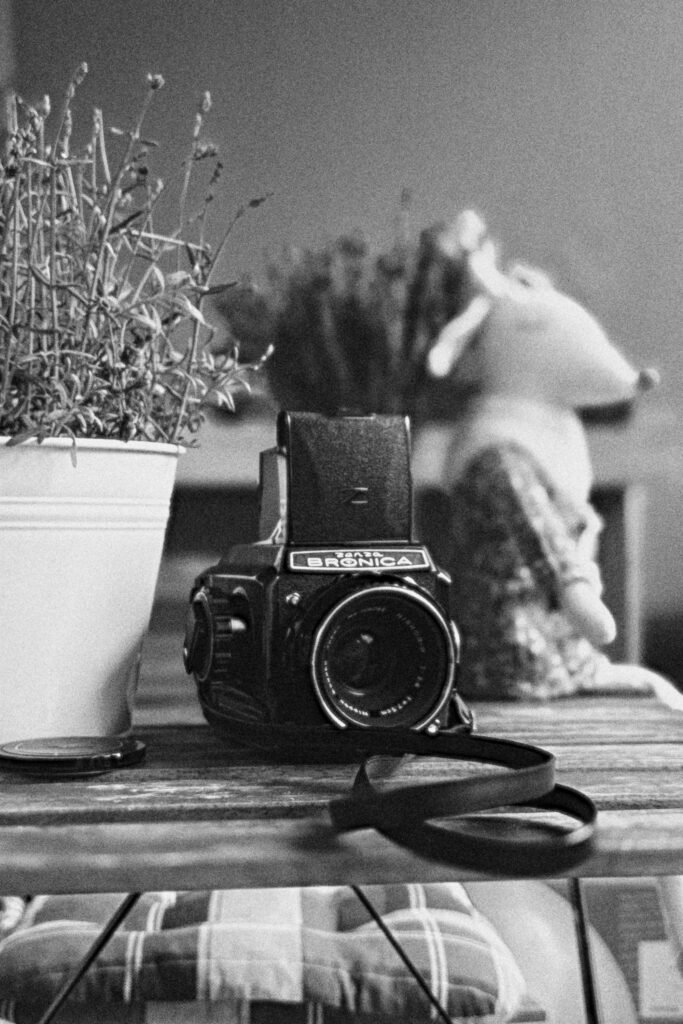
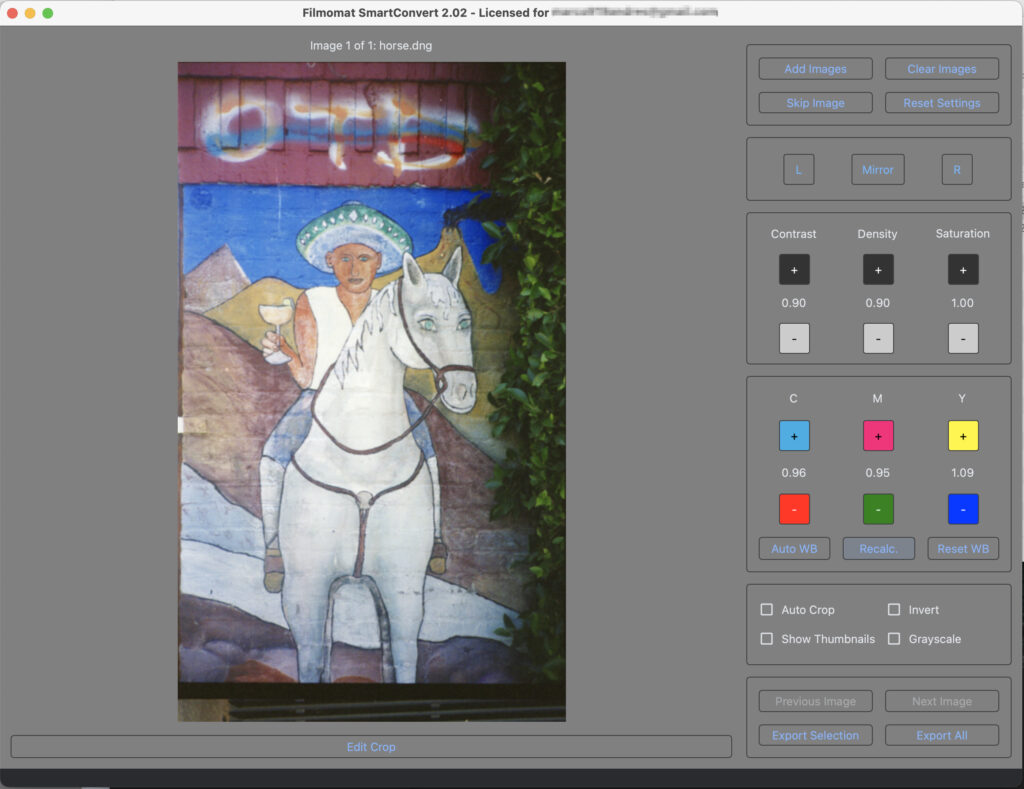
But that’s what makes shooting fun and each frame valuable, and that’s what M-Kamera also does. Yes, including the rangefinder focusing, to my knowledge, the first true coincidence-rangefinder-style focusing interface on a phone! You can see the main UI above.
The aperture and shutter are controlled by horizontal and vertical swipes in the left half of the screen, and focus by horizontal swipes in the right half of the screen which move the red depth of field indicator along the distance scale at the top and also the central coincidence rangefinder patch in the centre (but obviously, you can also scale focus). The lens focal length is fixed to a classic 50mm and that’s the area within the frame lines you see. The other classic focal length, i.e. 35mm is coming up in the next update, so stay tuned!
To take a picture, you need to advance the film, set the aperture, shutter and focus aided with the classical “Lichtwaage” light meter and rangefinder, and then take a picture by tapping a shutter or using camera control. The snap is accompanied with a tactile and acoustic feedback designed to mimic a real rangefinder (for instance, shutter sounds reflect the selected speed).
All you see at this point is the advance lever snapping back and the frame counter increasing with no interruption to the live feed, just like you do with a real rangefinder (and unlike SLRs). That lack of interruption was, actually, very important for me (and quite tricky to achieve!) as that’s one of the things which makes rangefinders truly special. That’s also one of the reasons why M-Kamera is currently iPhone Pro exclusive. Unfortunate, but reliable, responsive, and uninterrupted rangefinder focusing and manual controls, as well as physically accurate bokeh rendering proved to be impossible with a dual camera setup without LiDAR due to hardware and software limitations (I tried hard!). Note that I am currently working to enable P&S mode on non-pro iPhones which will hopefully be released soon in an update (even if right now the results are still unsatisfactory). Stay tuned!
The P&S mode already works on LiDAR-enabled devices and can be viewed as a completely separate experience. Once you switch to it, all the manual controls rangefinder patch and film advance lever are gone, and instead you get a clean view with the flash toggle reminding of classic point and shoot cameras (only with 50mm lens, I don’t think I used a point and shoot with one!). It looks like that:
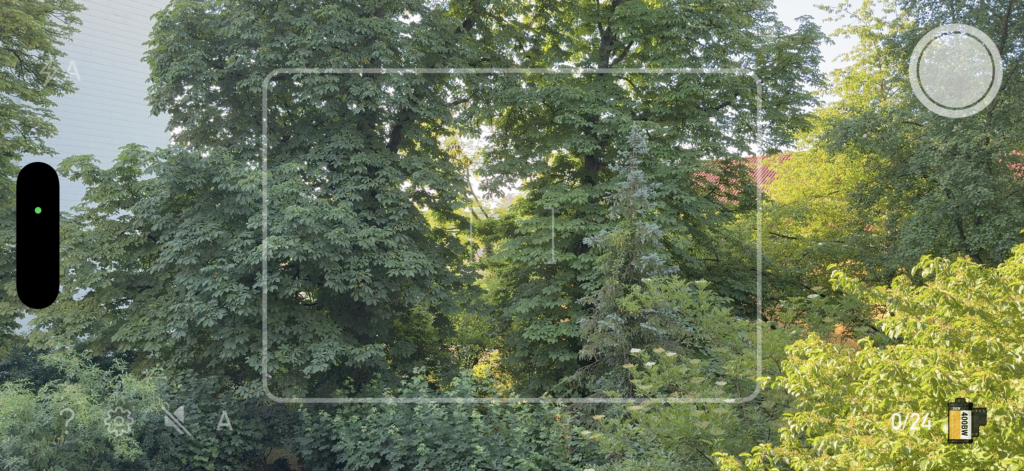
This easy mode can be toggled either in settings or quickly by tapping A/M in the bottom left of the main view. Once in, you can use the focus-and-recompose technique with the central AF patch by half-pressing the Camera Control button, or simply tap to focus. Or just press the shutter button and let the camera focus on the closest central object, with a simulated 3×3 matrix AF system. The exposure and shutter speed are selected automatically using the “program mode” modeled after the real ones used by film point and shoot cameras from the 1990s (for loaded film stock). So it’s not simply iPhone’s auto mode but rather still an authentic simulation of a film camera, just a different one. You could think of this side of M-Kamera as the 1990s compact version of the app. It’s, therefore, not ruining the “simulation” spirit of M-Kamera at all, and I actually use P&S mode quite a lot myself, especially when in a hurry or trying to capture something from some weird angles when the rangefinder patch is difficult to see (selfies!). Makes different sounds too! We could even make a contest in the comments to guess which camera was used as a prototype here, I’m willing to send a code for the unlimited TX400 film for a month to the first one to guess correctly.
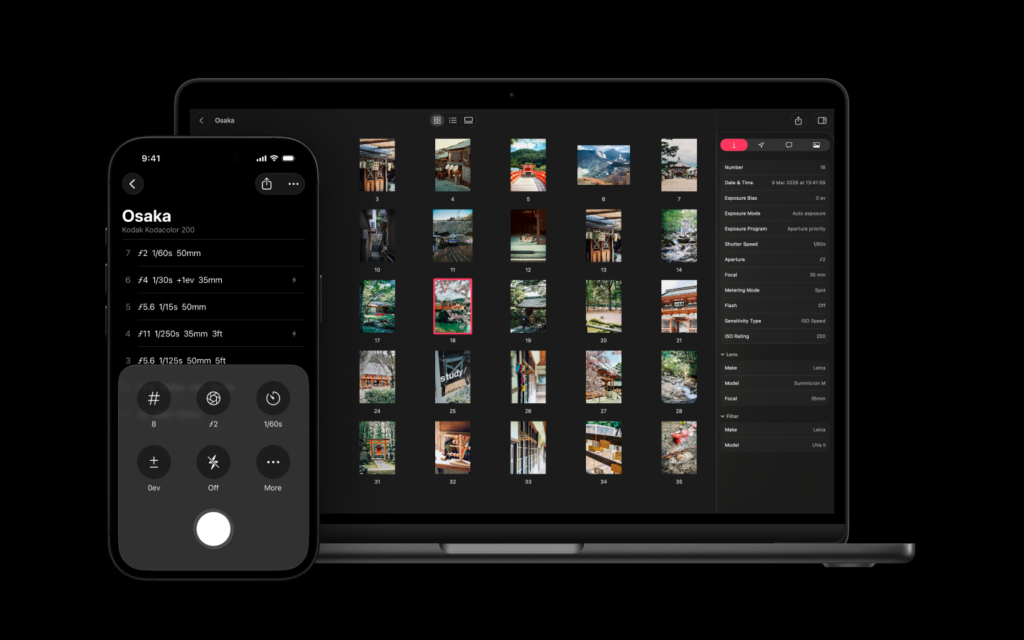
Once you finish the roll, you need to “develop” it, which is actually a true development, i.e. conversion of the raw captures to a final result. It’s quite computationally intensive, so takes a few minutes, which, in my opinion, only adds to realism. Once developed, you can inspect results on a light table, which looks like this:
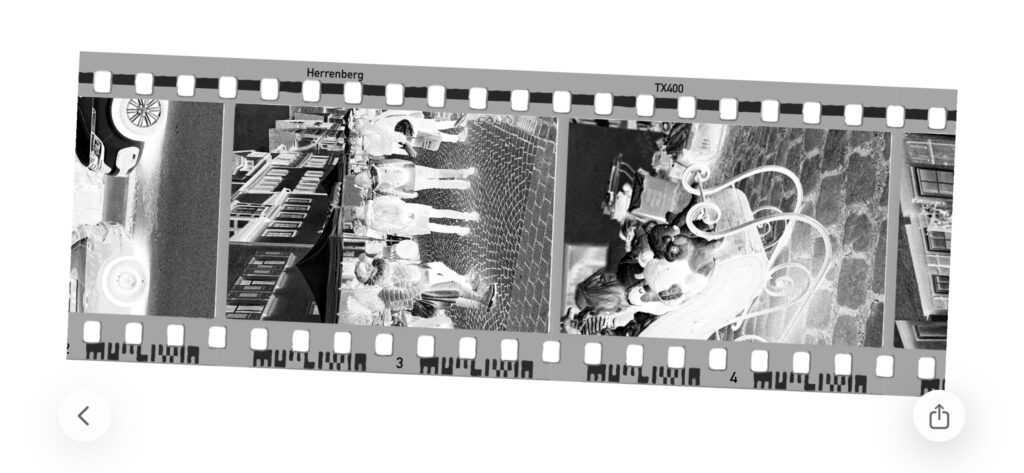
Here you can scroll along the film strip and tap on individual frames to inspect the positives in the gallery. You can also share/export either individual frames or the full roll to Photos or Instagram via the system sharing menu.
The entire process can be made even more complex by turning on the “Hardcore mode” in settings which removes the light meter and disables all assists. This can be used, for instance, if you’d like to practice using the “Sunny f16” rule cheaper and with more control than you get with the real film (the aperture and shutter speed are recorded in EXIF, so you can review your results more easily). Or practice in distance guesstimating and scale focusing. Just don’t say M-Kamera ruined your shots, it’s a full manual mode, so everything is in your hands!
Speaking of assists, you can also simplify the process a bit by tapping on the rangefinder patch to quickly bring it into coincidence, switching to aperture/shutter priority or P-modes by tapping on shutter speed/aperture values, or turning on P&S mode (which also has a flash, matrix AF etc). The latter option is especially convenient with another option in the lock screen extension capture settings which allows you to always start the lock screen capture extension (yes, M-Kamera comes with one!) in P&S mode for quick snaps. The idea is that if you see a “decisive” moment and need M-quick, you can press the camera capture button or tap the control center widget and start the app in auto mode, while the main app UI stays in full manual for a more authentic experience. But ultimately the rangefinder is what makes M-Kamera unique. Well. That and the results.
The tech and the results
Most phones nowadays have a portrait mode out of the box, and there’s a ton of apps doing “film simulation”, so you might wonder what M-Kamera does differently compared to most of them. And the answer is “everything“.
Depth rendering
In most cases the idea behind “portrait” modes is to split the scene into foreground — usually a face — and background layers, one or more, and then blur the background with some kernel. There are, of course, a lot of details, and some apps do this much better than others, but to my knowledge most still use some kind of scene segmentation followed by blurring of background layers. The result often lands in the “uncanny valley”: similar enough to be mistaken for real bokeh at first sight, but still feeling off. For instance, faces often look flat, as if they had been shot with a 400mm lens from a large distance rather than with a 50mm lens up close. That is because the real world is actually 3D, so splitting depth into layers is always an approximation. M-Kamera does honest 3D rendering instead. A state-of-the-art ML depth model calibrated to LiDAR data is used to reconstruct precise metric depth, and then the full scene is rendered according to the selected aperture and focus distance, without splitting it into layers, for a physically realistic result. The blur depends on the distance to the focal plane, the background distance, the selected aperture, and even the position of the object within the frame, and is rendered much like a real 50mm lens with the same aperture would render the same scene. Well, a real “thin” lens (remember school physics?): I do not try to simulate the optical scheme of any particular lens; I just try to ensure that the rendered image is physically plausible. And the look is fixed the moment you take the picture, within the limits of what would have been possible for that scene with the available light and the film loaded.
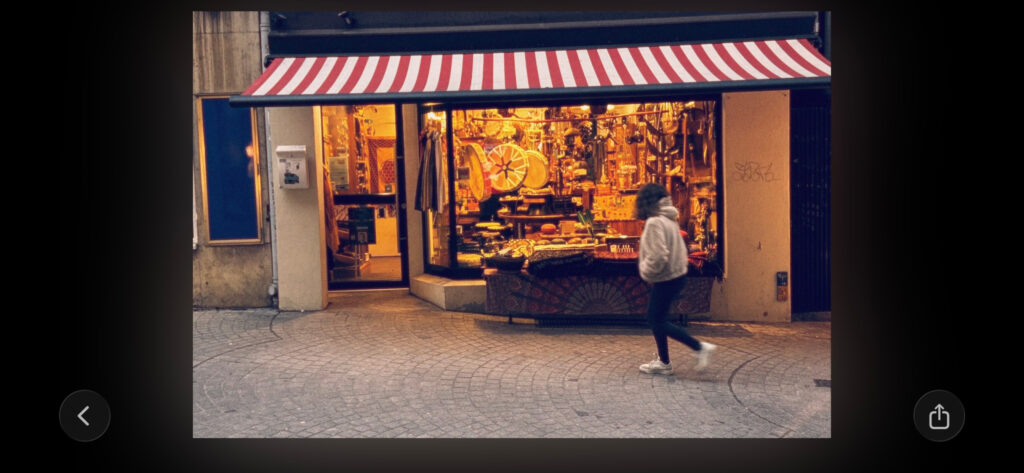
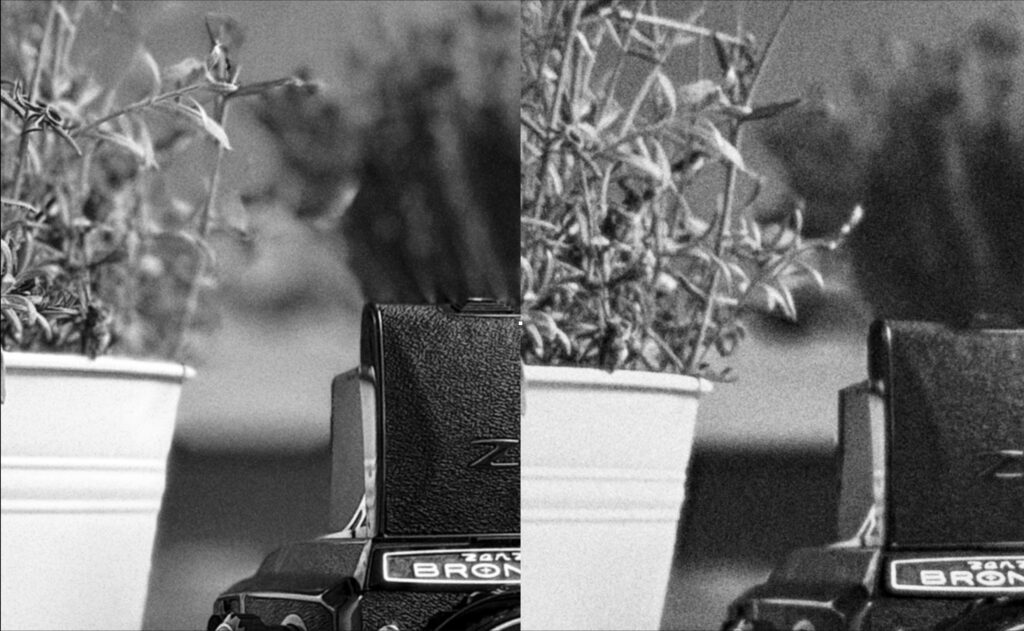
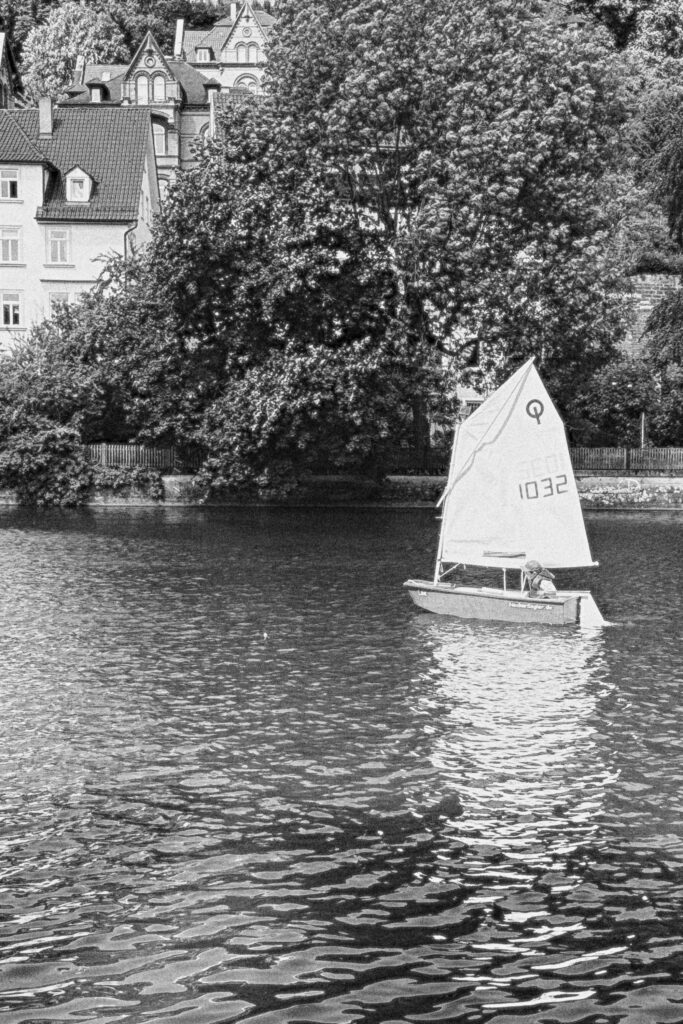
Another thing which is simulated by M-Kamera is camera shake. You might know that modern iPhones have optical stabilization built in, which allows you to handhold at crazy long shutter speeds and still get sharp pictures (not really realistic). And it cannot be turned off. To circumvent this, for each frame at 1/30 or below M-Kamera records full motion using built-in accelerometer and uses this to reproduce shake as realistically as possible. You can see the street shot in screenshot above demonstrating the gallery UI is blurry both where the person moves, and overall. That’s not because my hands were shaking like crazy! In fact, it’s a bit less blurry than most of you would get with real rangefinder under those conditions as I’m actually quite good at handholding my real M, and simulation parameters were tuned to reproduce the amount and quality of shake I get in my physical film shots..
Here are a couple of random bokeh test shots to illustrate the “realistic” point:


Film simulation
You might have noticed that the pictures above use three different stocks, each with a distinct appearance. The film engine in M-Kamera is also quite sophisticated. All three included film stocks – black and white, colour, and slide – approximate what I like in my own favourite films, although they do not aim to reproduce any particular stock exactly and are a bit more “filmic” than the originals (stranger grain, colors, halation).
The color engine aims to simulate color and tonal response to under- and over-exposure realistically, i.e. both grain and tonal response change with exposure level. The grain rendering engine is inspired by a scientific article by Alasdair Newson who developed an algorithm to do so. My version is a bit simplified and highly optimized for look and speed to make it feasible to run a grain-level simulation on a phone. The result goes beyond simple texture simulation and contributes to the overall film look by rendering details both sharp and soft simultaneously. Naturally. If you ever looked at high resolution scans of B&W films in contrast regions, you’ll understand what I mean. In addition, halation and large-scale scattering of light from the backplate are also simulated. In the case of color films, halation happens in all layers independently, giving that reddish glow around high-contrast edges. It’s, however, also important for B&W as it’s part of the look, as it turns out.
Comparison with Leica LUX
As I mentioned above, M-Kamera is different from most apps. However, there is one notable exception on the App Store: Leica LUX.
Before moving on, I’d like to make a disclaimer that M-Kamera is independent and not affiliated with Leica Camera AG in any way and the comparison below is just a casual comparison from a user perspective. It was shot in five minutes on a balcony and is not a lab test by any means as I am not in a position to make a neutral lab test due to the obvious personal bias.
I should also say that I personally like Leica LUX a lot (and I used it before building M-Kamera) and can wholeheartedly recommend it to anyone looking for a full-frame look from an iPhone. The bokeh simulations are among the best on the App Store, and, unlike my renderer, they aim to simulate the look of real Leica lenses and largely succeed here. They also fix the look at the time of shooting based on the selected aperture and color/grain simulation parameters, and do not claim to emulate any particular film stock, which is another positive thing about the app.
M-Kamera is also not trying to simulate any particular film stock (or lens), but rather a generic “film look” from a full frame camera. What’s more important, M-Kamera has a rather different philosophy in that it is as much about the process as it is about the results.
That is: M-Kamera simulates the whole rangefinder shooting experience — film workflow, focusing, winding, waiting, and living with mistakes. That said, I also tried to make the results at least comparable with the best apps out there and did spend a lot of time to make sure that shooting experience is not spoiled by what you get in the end. Here are a couple of comparisons with Leica LUX:
M-Kamera on the left, Leica LUX on the right, both at f/2. Open the images in a new tab/window to see full size.
That’s just a single scene and balance may change if we shoot something else, but I personally find my version of bokeh a bit more organic and realistic in many cases. The grain structure also looks quite nice for both (mind that you can tune it with Leica LUX), and similar enough at first sight. The difference is only in detail, i.e. only if you look closely at full size you might see that in M-Kamera grain is really an integral part of the rendering pipeline affecting how edges look, etc, which is why I opted for full simulation of grain growth process described above rather than more common texture-based simulation (note that I don’t know how Leica LUX does it).
Of course, nothing will ever match the real thing, but I think I’ve come close enough to fool many film photographers into believing that the M-Kamera shots were taken with a film camera, especially considering the impact that scanning methods have on the digitised form of film. So, I’m pretty happy about that and I hope you will be too!
The closing remarks
I’m not really a developer (in fact, I’m an ex-astrophysicist, which is one of the reasons why everything is simulated properly), but I tried to do my best and make an app which makes fellow photographers happier. There’s a ton of small details in the interface and how things are set-up which are neither possible to write up nor appreciate without trying. Like taptic feedback which you feel when moving the focus slider or releasing the film advance lever. Or sounds recorded for each action and tuned for the iPhone speaker. Or negatives in the film strip which use proper negative rendering. Or P&S mode, which is another camera with a completely different ideology more similar to the mju than to the M. Or lock screen camera extension and widgets which were quite tricky to implement to ensure smooth sync of settings, frame count, and so on, and not get in the way. Not everything is perfect, and can never be, but I hope you’ll have fun discovering and appreciating those and will enjoy shooting with M-Kamera, and perhaps make it your default camera app (it is for me!).
The app is free to try and includes three rolls, so you can test it without committing to anything. After that, you can buy individual virtual rolls, use the Infinity Fridge subscription, or choose the ever-loaded M(magic)-Kamera option if you want unlimited shooting. Exact prices vary by region, so please check your regional App Store for the actual values. I know the roll-based model is unusual, but it is part of the idea: frames should feel valuable. That said, I also want the app to be sustainable, which is always tricky for such a niche and technically demanding project. Honest App Store reviews, bug reports, feedback, and shared photos tagged #mkamera are hugely helpful. If you would like a photo featured on the website, send it to su*****@*****ra.app with explicit permission to share it.
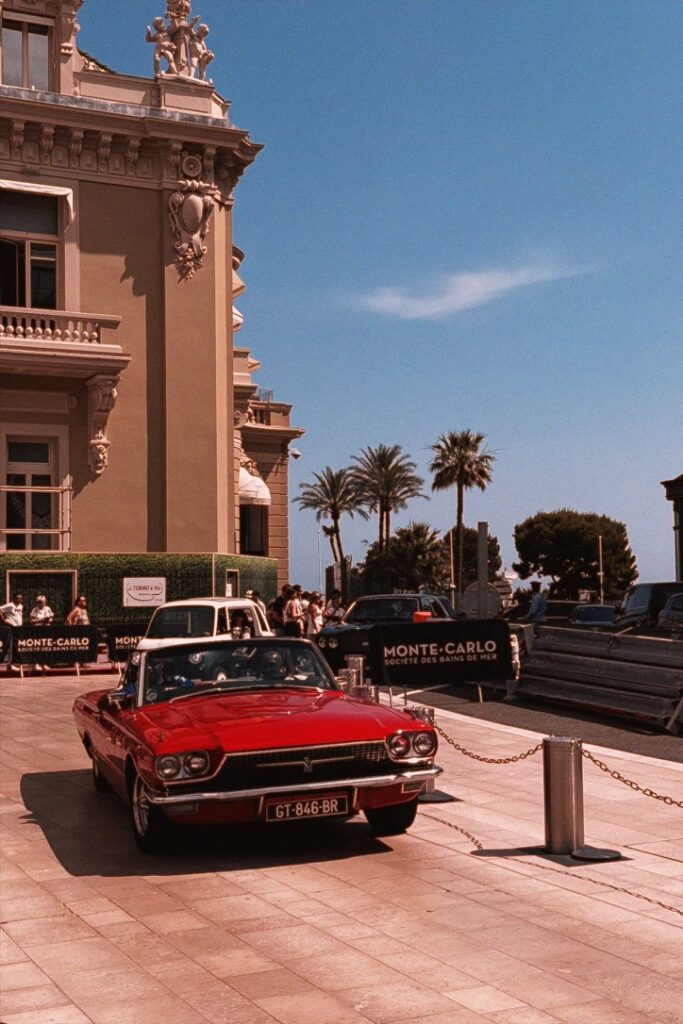
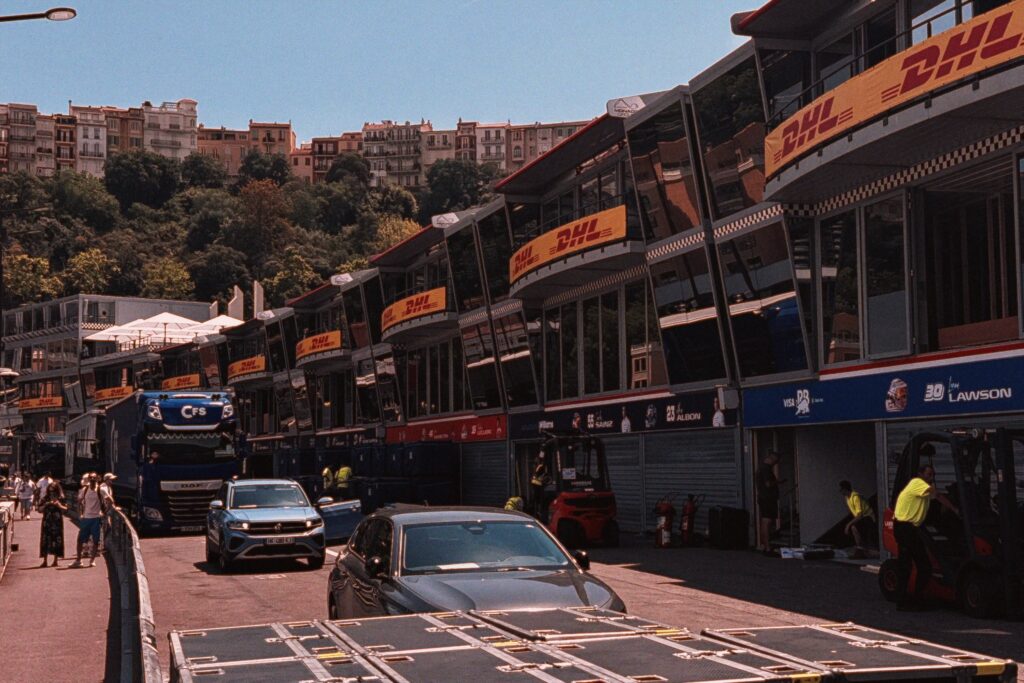
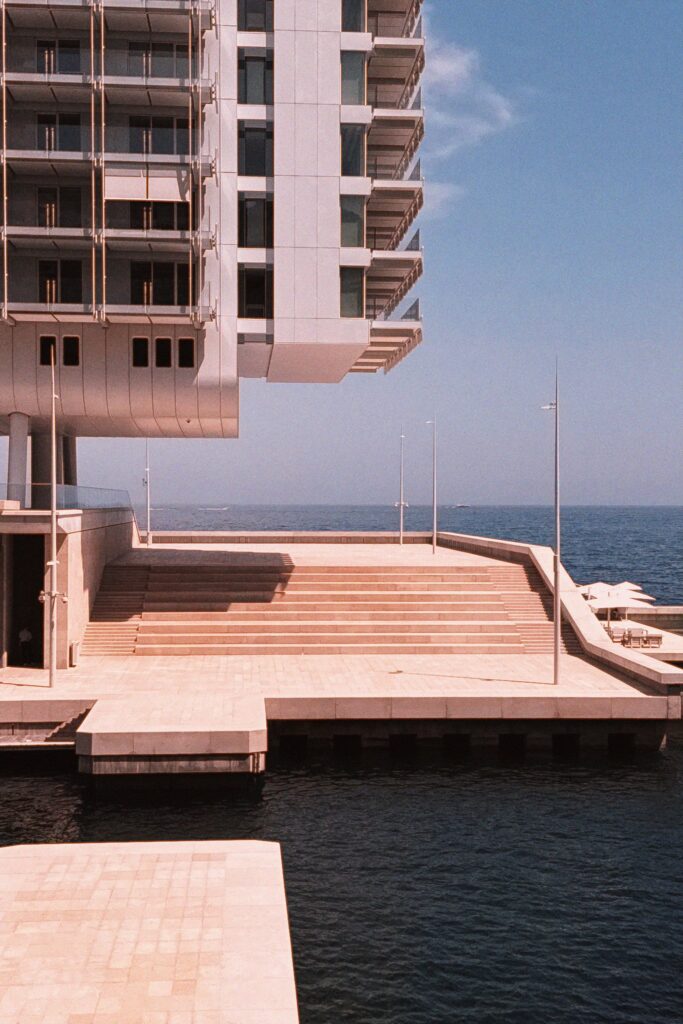
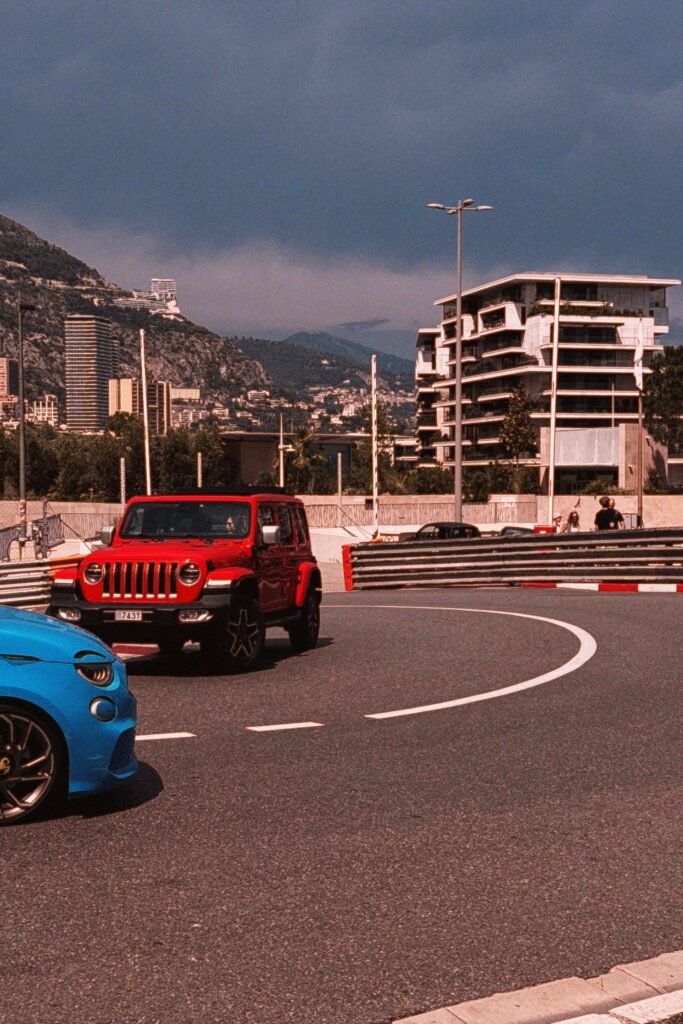
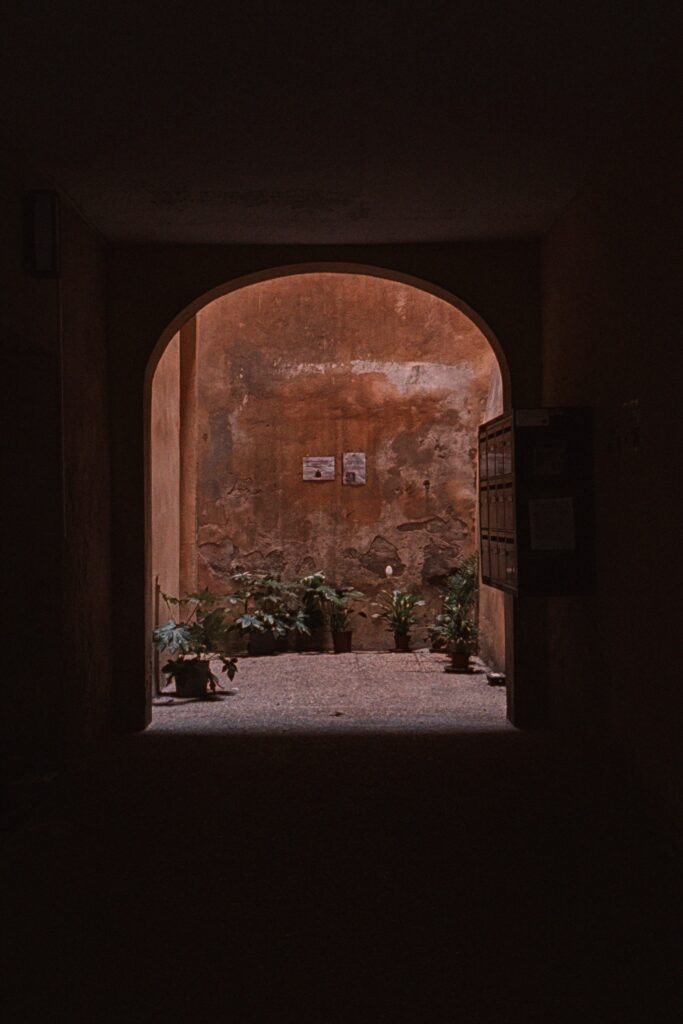
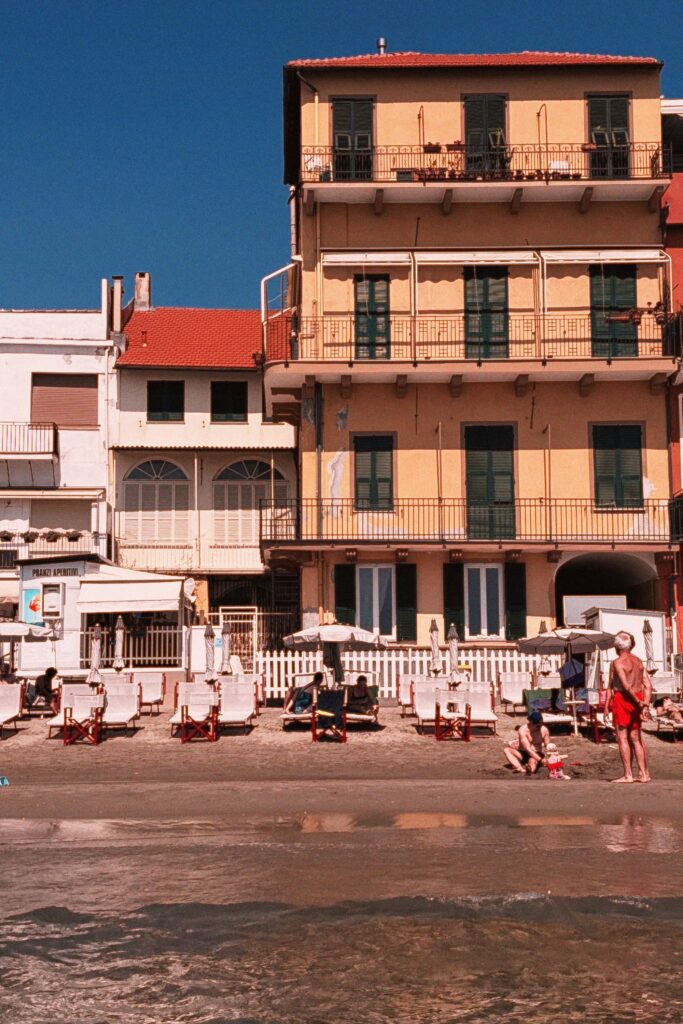
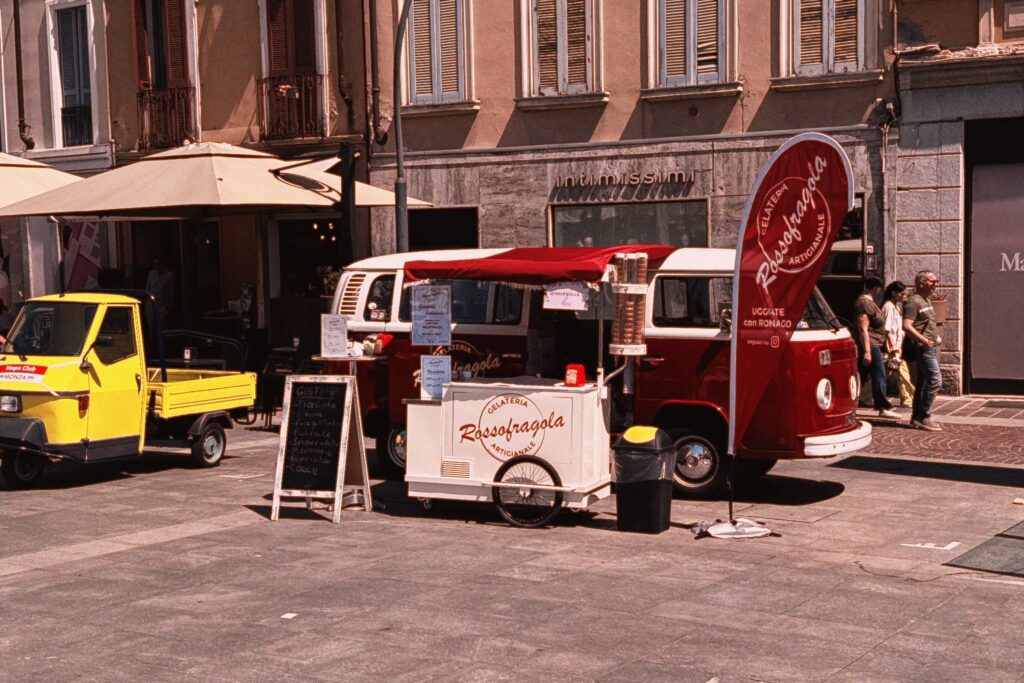
To round things up, here are some actual pics I took with the app (not for testing) in the last couple of weeks:


More info and sample pictures can be found on mkamera.app, which also serves one extra random free roll per Apple ID. There is also a code exclusively for 35MMC readers to get a free roll of TX400 while supplies last: 35MMC, redeemable on the App Store. Honest App Store reviews, pictures tagged #mkamera, bug reports, and feedback of any are all hugely helpful. Welcome to the comments, and you can also email feedback to su*****@*****ra.app. Good light!
Share this post:


Comments
Alexandre Kreisman on M-Kamera (Magic, Mental, My!) – Fixing the smartphone photography
Comment posted: 02/07/2026
The pictures are looking lovely, both black-and-white and colour.
The only thing I do not agree is that a develop negative is a raw image and need to be processed whether under an enlarger or by scanning your opinion and then an application.
Congratulation!
Alex
Comment posted: 02/07/2026
Ben Mackey on M-Kamera (Magic, Mental, My!) – Fixing the smartphone photography
Comment posted: 02/07/2026
Requiring iOS 26 prevents me from trying out M-Kamera today but I look forward to giving it a whirl after I upgrade.
Silly question for you - what feature on an iPhone Pro do you rely upon that prevents a full featured version for non-Pro phones? Is the LiDAR on non-Pro’s deficient? Or is it simply a lack of enough computational capacity?
Comment posted: 02/07/2026
GS on M-Kamera (Magic, Mental, My!) – Fixing the smartphone photography
Comment posted: 02/07/2026
Comment posted: 02/07/2026