Another year (I lost count) of shooting film – Part 19
(Read Part 18 here)
It has been a while since I have submitted a story for 35mmc, sometimes life gets in the way of photography. This time I broke my foot, and it kept me indoors most of spring and the entire summer. So when we were able to go on a trip in last September I was keen to take a lot of film, and shoot it without hesitation. I had some catching up to do! A small bonus prompted me to buy some Ektachrome, a film I had not used before, and in the back of my head I already started thinking that I could write about my first experience in an article for 35mmc.
However, now the film is developed and scanned I am struggling with writing the story. My hesitation comes from me being unsure about the results. But I am a firm believer in sharing experiences and results, even if they are not very good or not what you expected. It might help other people with their expectations for this film. But the thing is, I am not even sure that the result is not good. Sure, there are some clear mistakes, but mainly the result is so different from what I usually create, that I struggle to form an opinion.
Choosing Ektachrome
Let me start on my thought process for using Ektachrome. Our destination for this trip was Bonaire, a small Dutch island in the Caribbean. We were very lucky to be able to visit Bonaire despite all travel restrictions. We have visited the Dutch Caribbean numerous times, so I thought I knew what to expect. I had two clear goals photography wise: visit Bonaire’s Washington Slagbaai National Park for landscape photography, and do a lot of underwater photography while snorkelling. Normally I shoot Kodak Portra 400 and 800 along with Ultramax in my Nikonos V for the underwater adventures, and I use Ektar and Portra 400 for my land photography. Occasionally I have shot Velvia in my Nikonos, and I liked the results a lot, but the low speed makes it really difficult to get sharp images.
However, when you go snorkelling around noon in the Caribbean, when the sun is high, iso 100 can be done. I expected Ektachrome to bring the full bright colours of the tropics both on land and underwater. So I bought two rolls of Ektachrome to bring on the trip, one to use in the Nikonos, and on for landscape photography. Just to give you an idea of what I usually create: in my previous post you can see my results both under and above water in the Caribbean on Portra 800.
My first roll of Ektachrome for landscape photography
On our second day on Bonaire we learned that two days later Bonaire would go into a soft lock-down, including the closure of the National Park. So our only option left for visiting the park was the next day, which we did, despite that the weather forecast predicted rain. As one of my favourite snorkelling spots on Bonaire is in this park, I decided to take both the rolls of Ektachrome, one in my M2, and one in my Nikonos V, not worrying about the rain as in my experience rain in the Caribbean only lasts about 20 minutes.
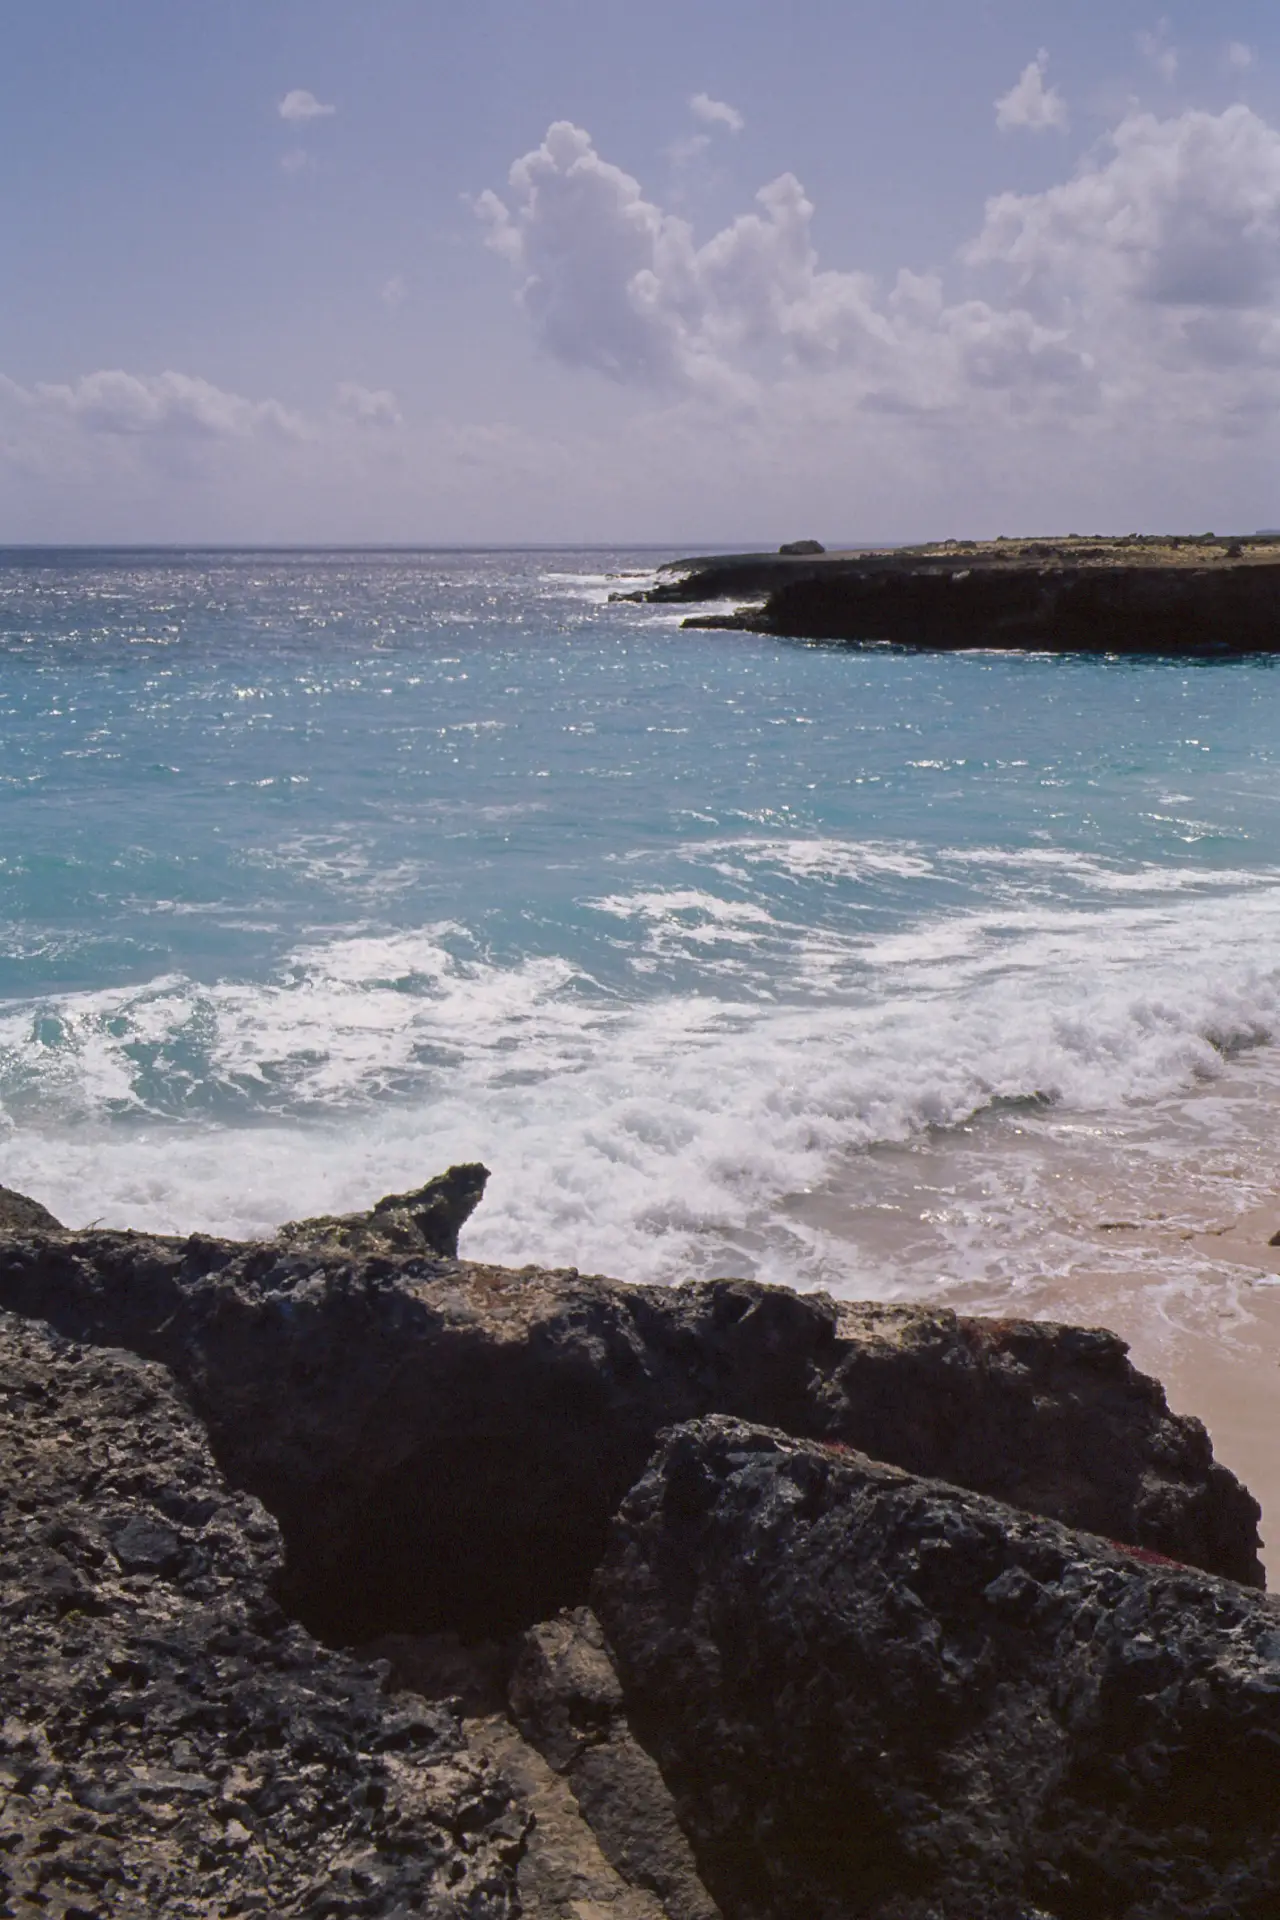
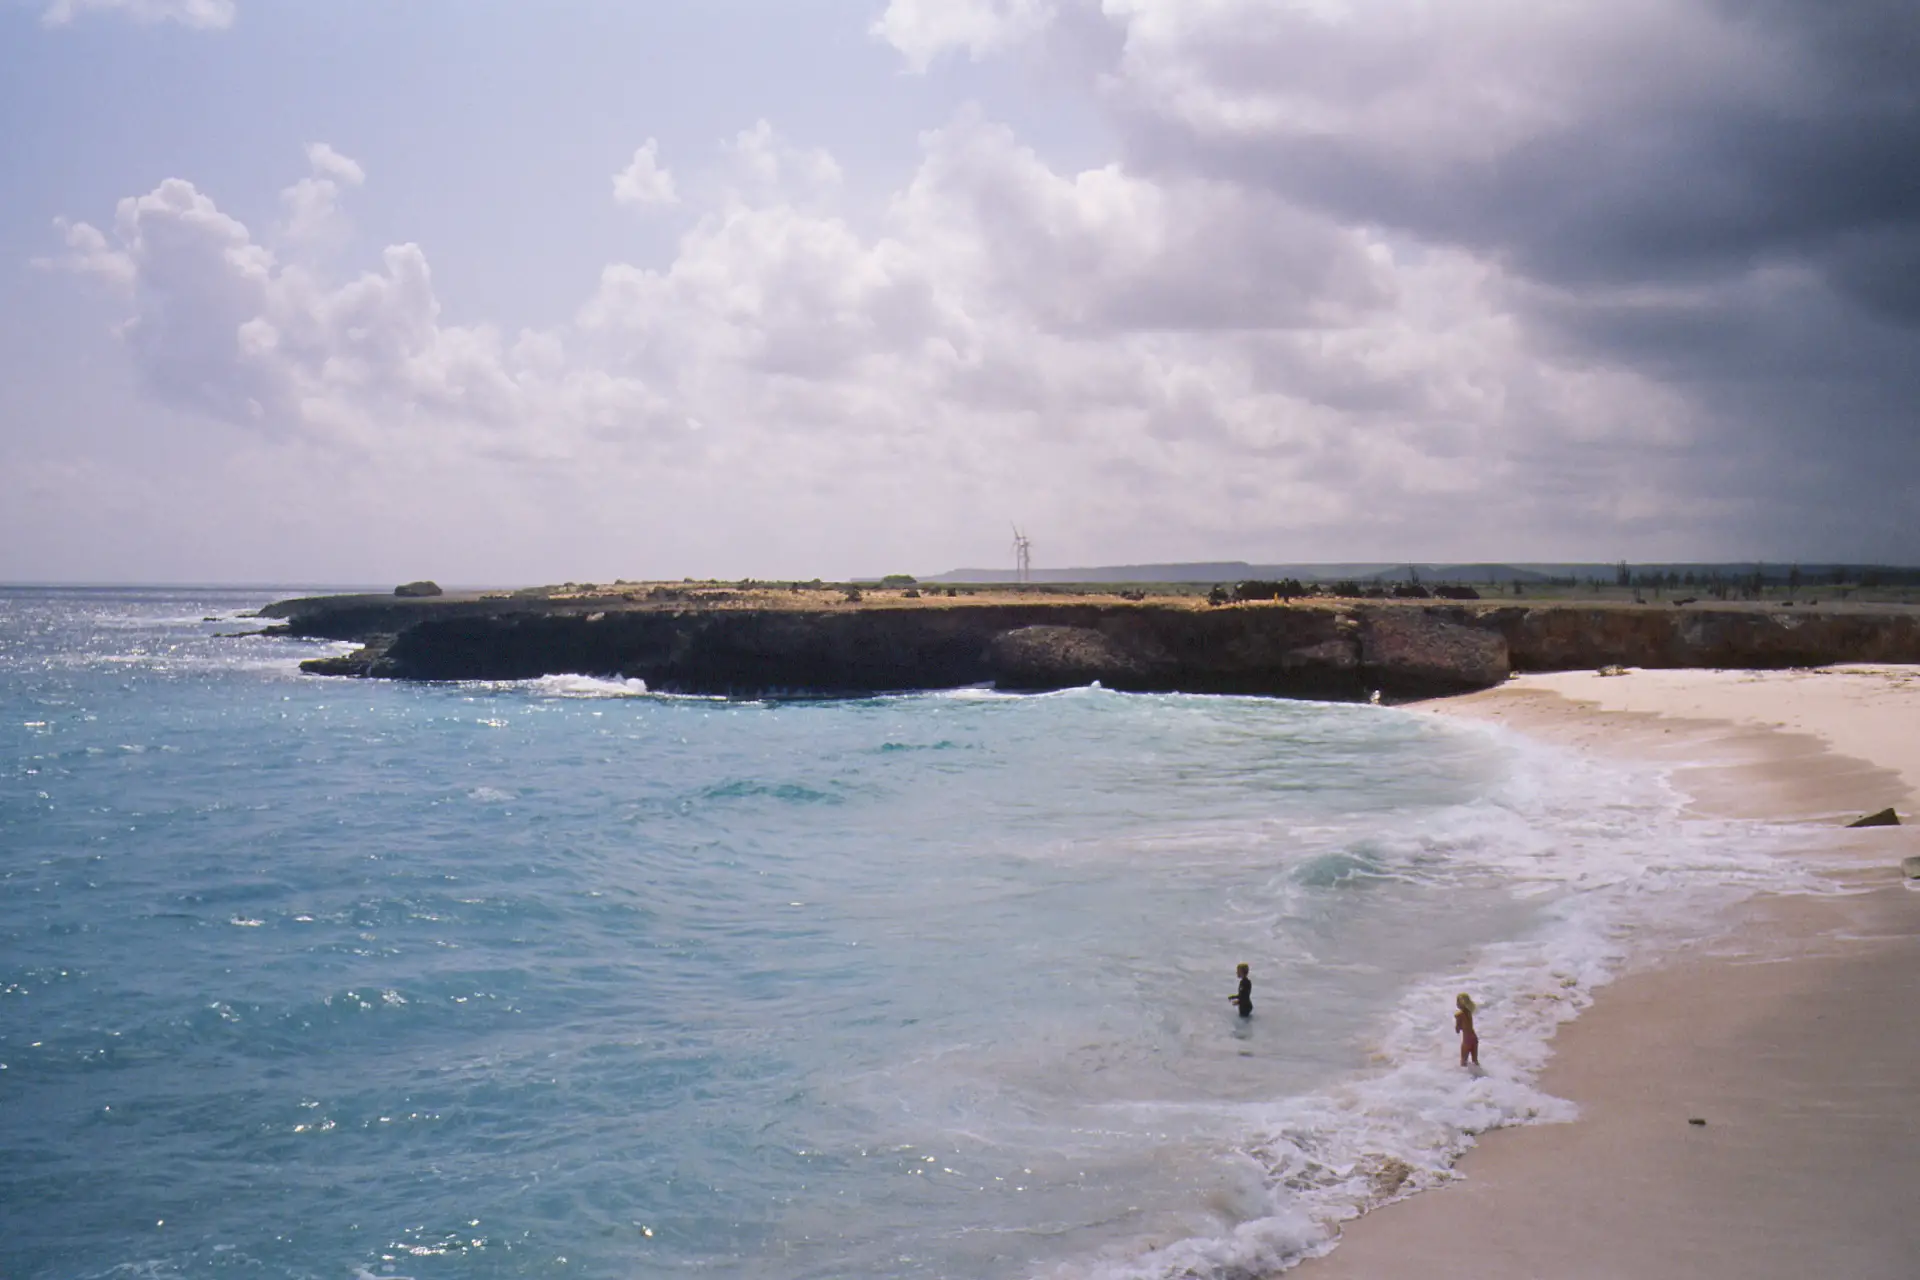
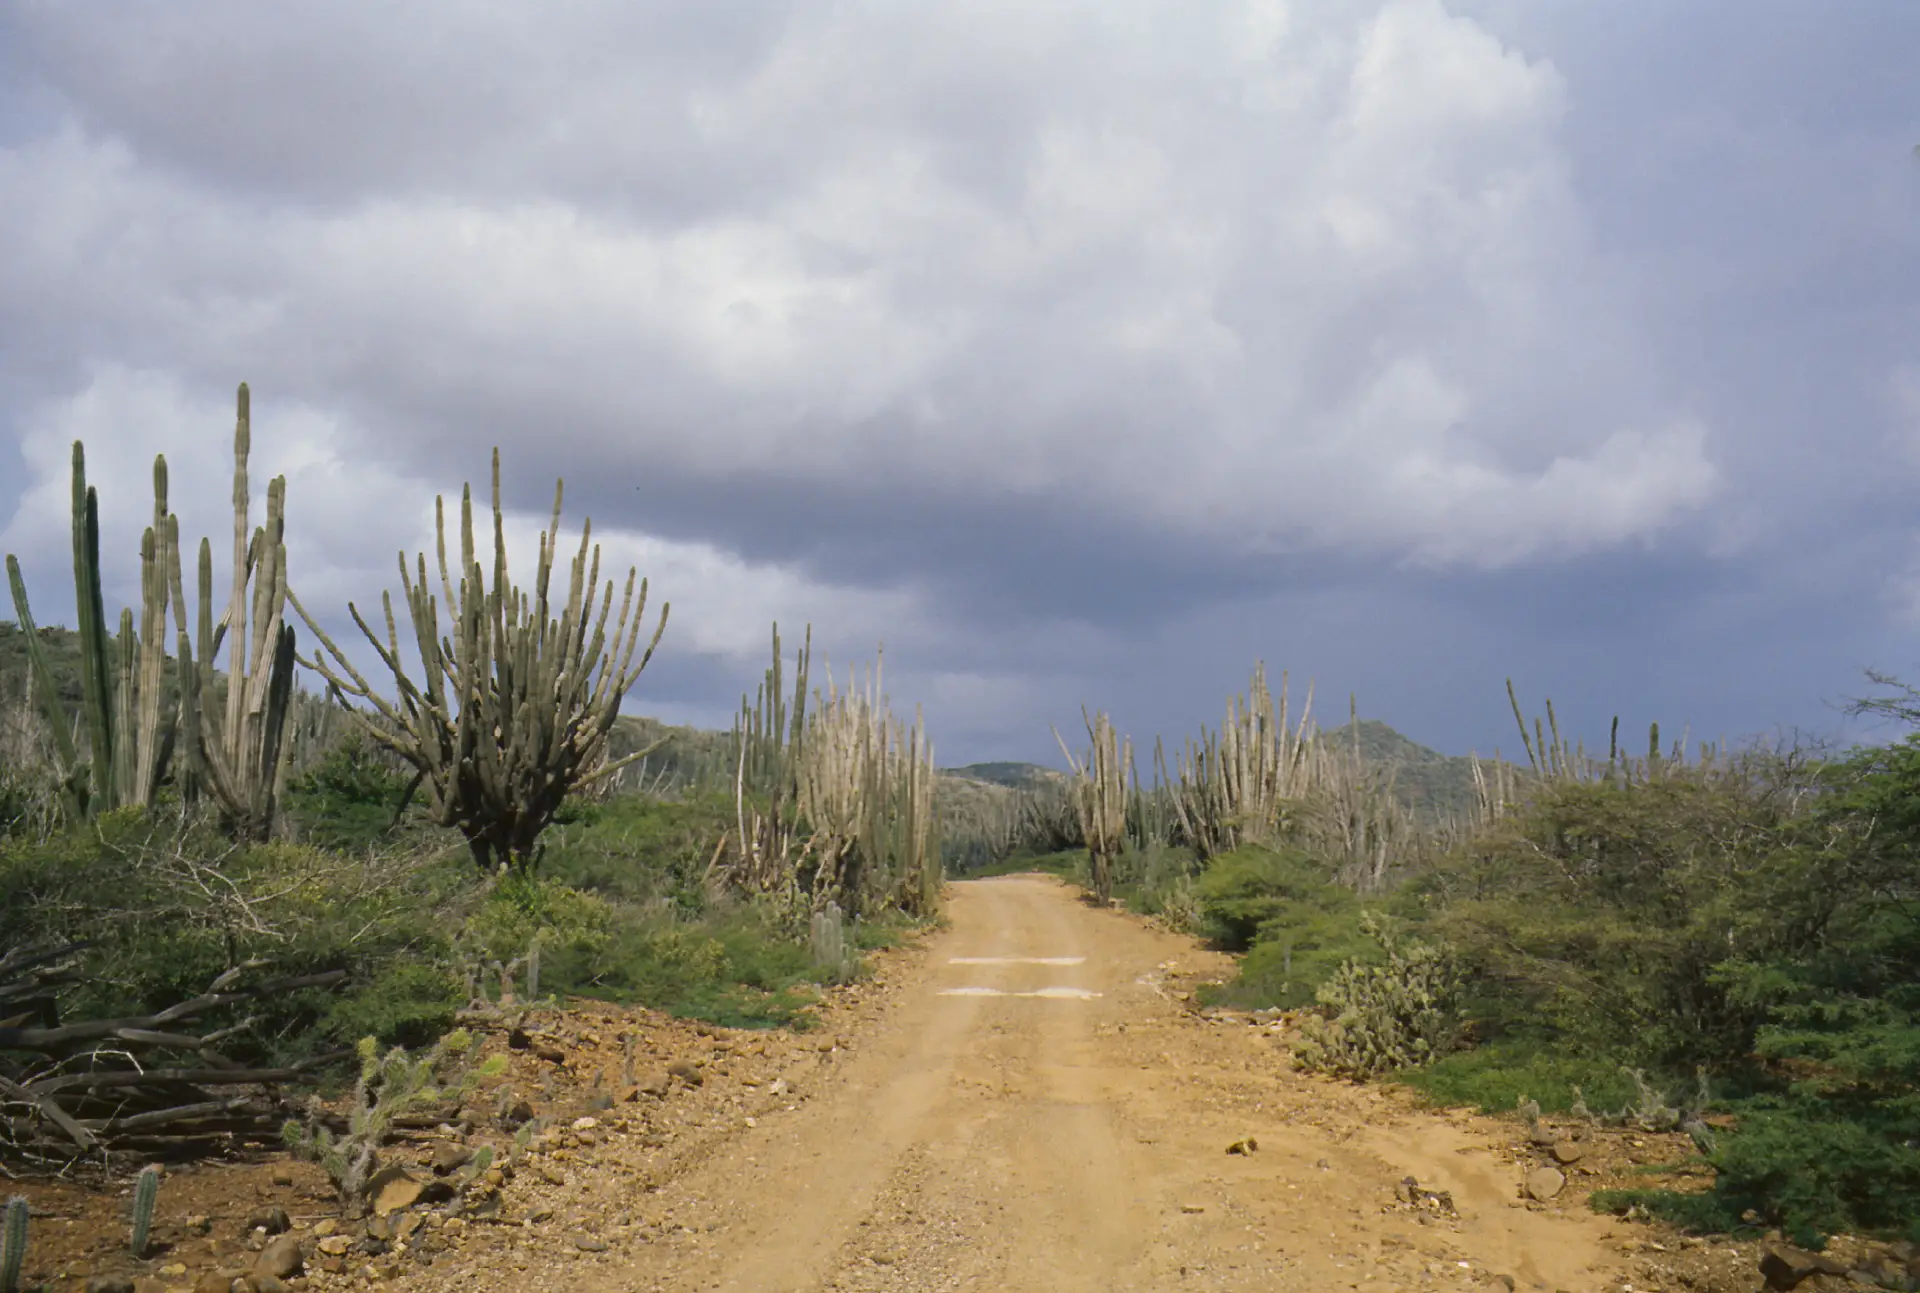
In the Washington Slagbaai Park you have to travel a one-way track, which will take you approximately 3 to 4 hours to travel. About half-way is a beautiful snorkelling spot: Wayaka II. Since it takes some time to get there snorkelling at Wayaka II happens almost every time around noon. Because of this I assumed this would be the perfect day to use the low speed film in the Nikonos. In all the years that we have travelled here the weather has been very predictable, so I was pretty sure I would have plenty of light. And in the morning, before we took of to go to the park, everything seemed bright as usual:
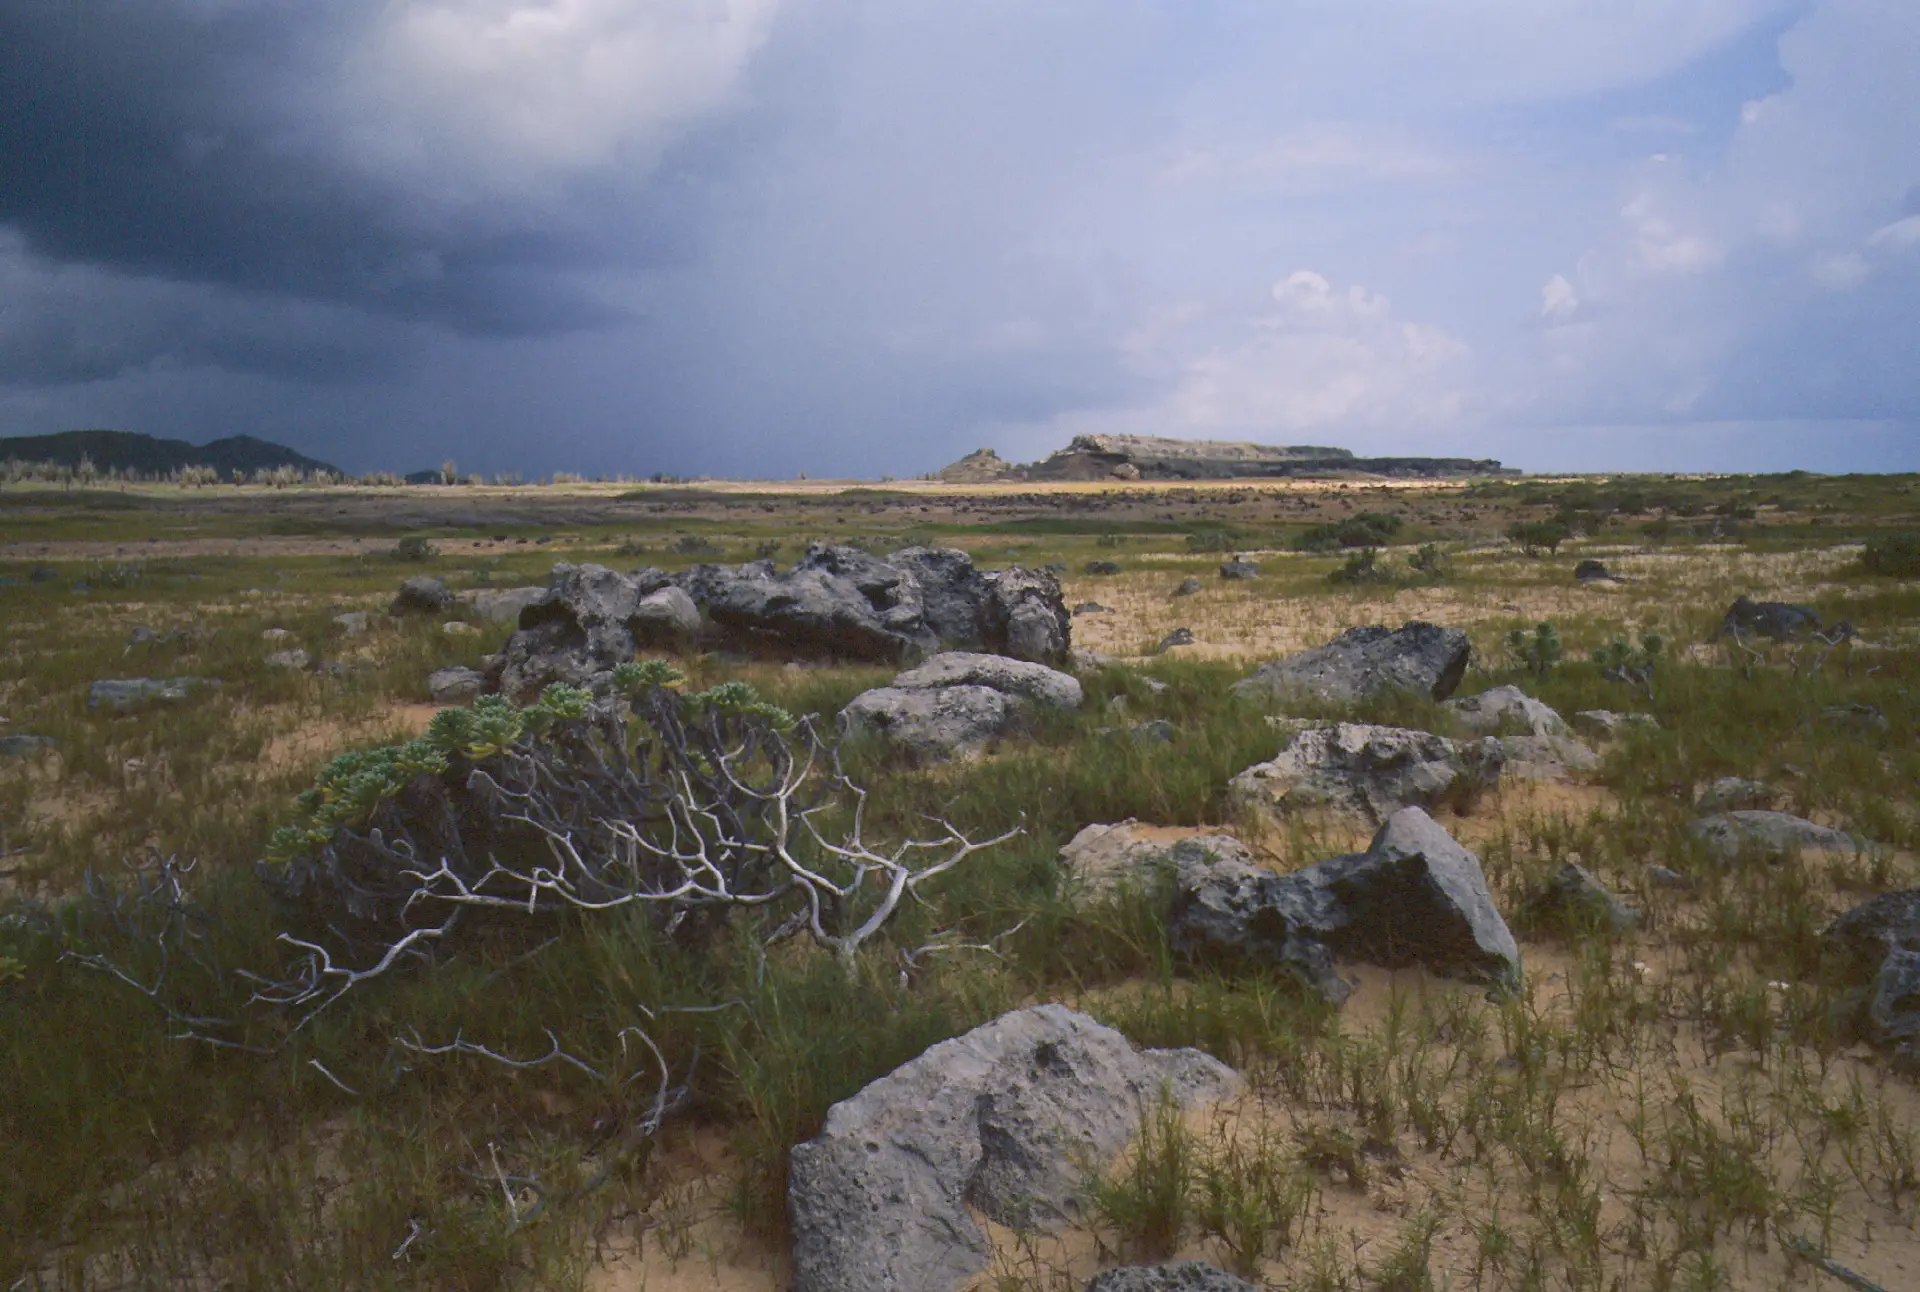
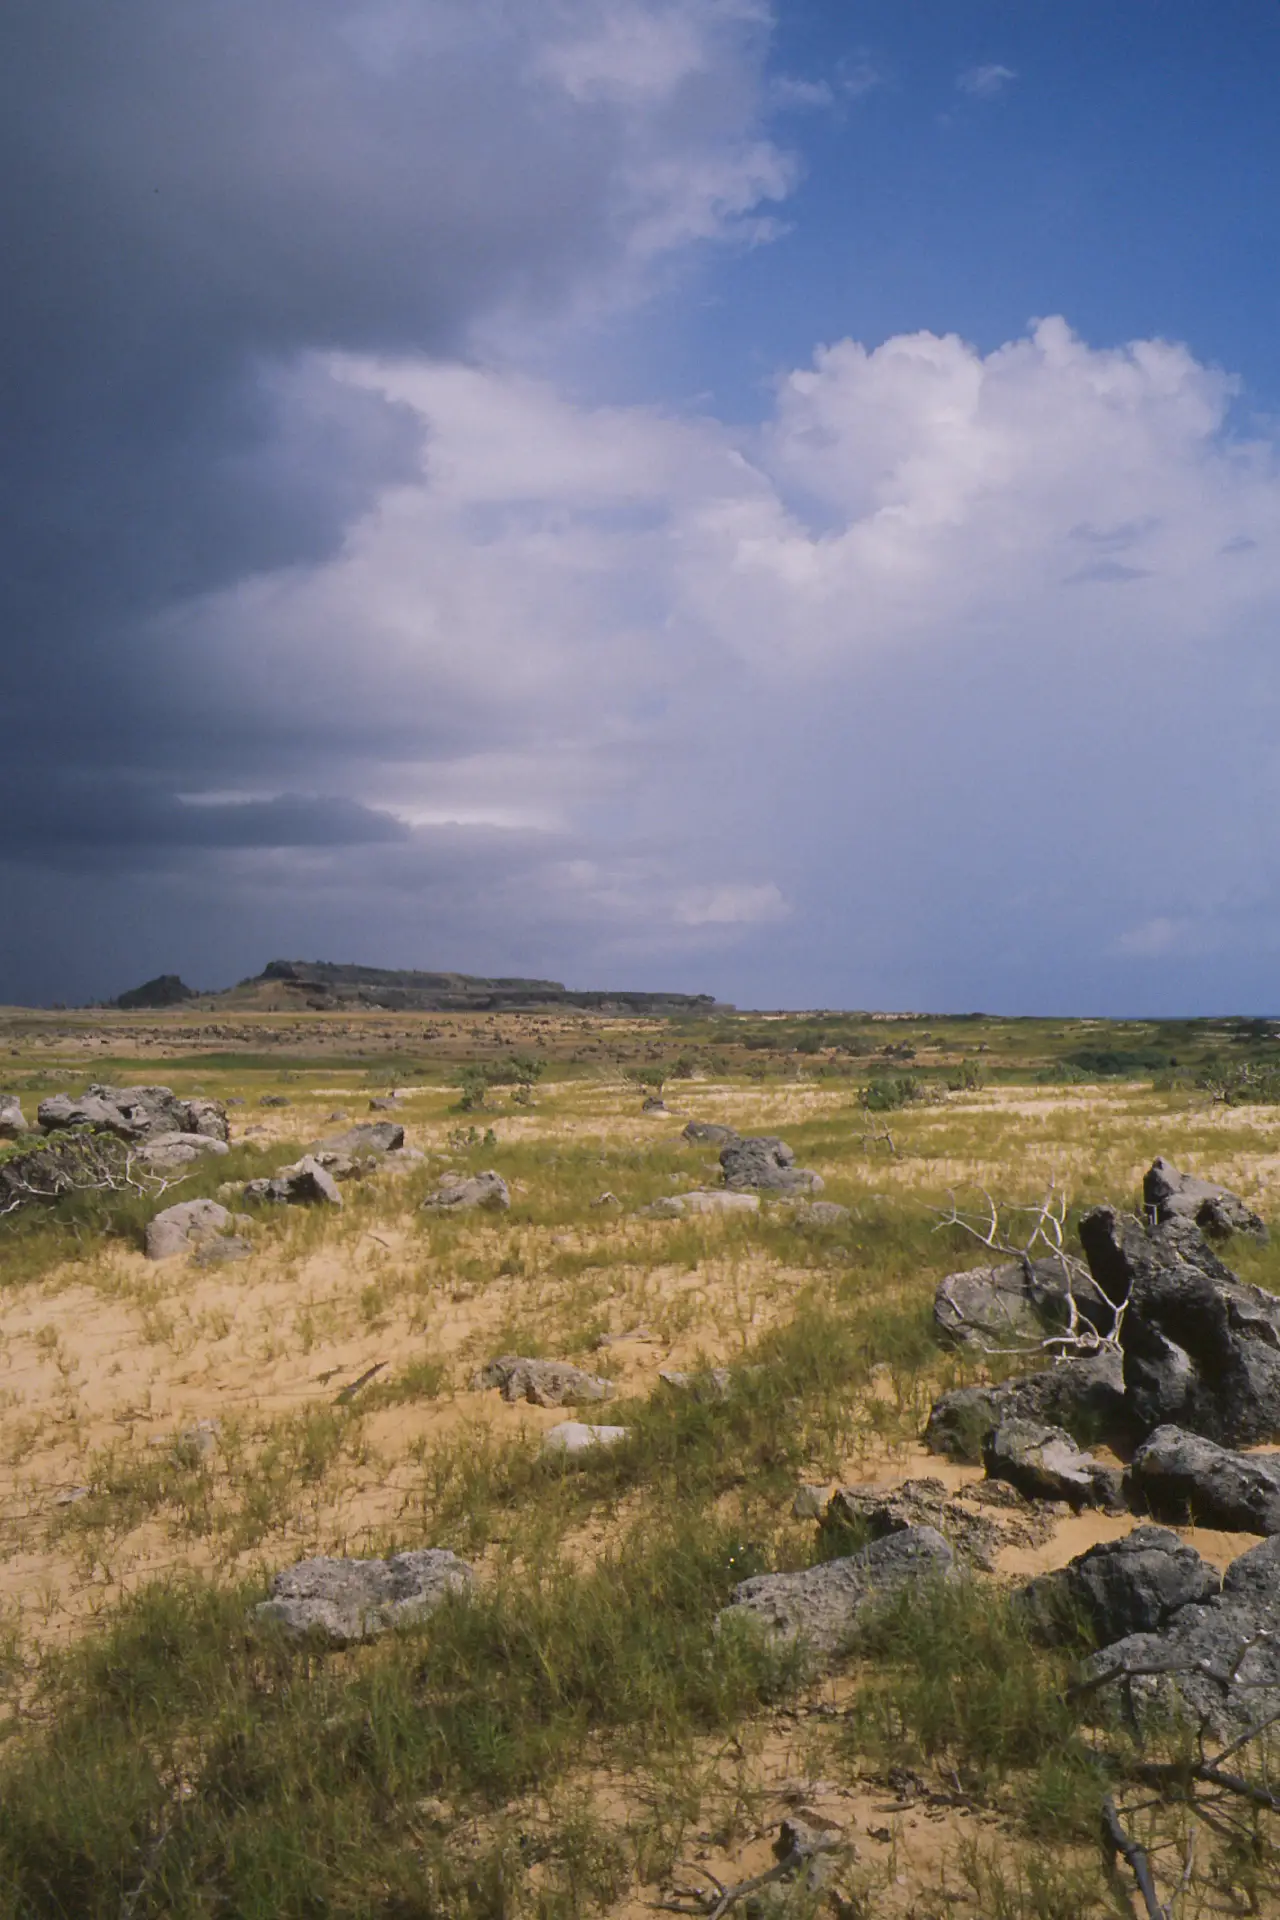
But then, nature can surprise you. The first half hour or so of our tour in the park everything was more or less as usual. Blue skies, high temperatures, a few white clouds. This is one of the images I took with the M2 first thing in the morning:
The next one was taken around the same time, but you can already see what is coming next:
You can see what happened: dark clouds started to come in. I wasn’t thrown by that at first, we have encountered a bit of rain here before, but this time it didn’t stop for hours. And it wasn’t just rain, there was thunder and lightning too. I still didn’t mind, I like a bit of drama in the sky, but it makes it more difficult for me to evaluate the results. And it was difficult to meter properly with the light being so different in every direction. My aim was to shoot it at box speed, and I used my LUMU iPhone app or my digital camera for metering. Let me first show you the results I got with the M2:
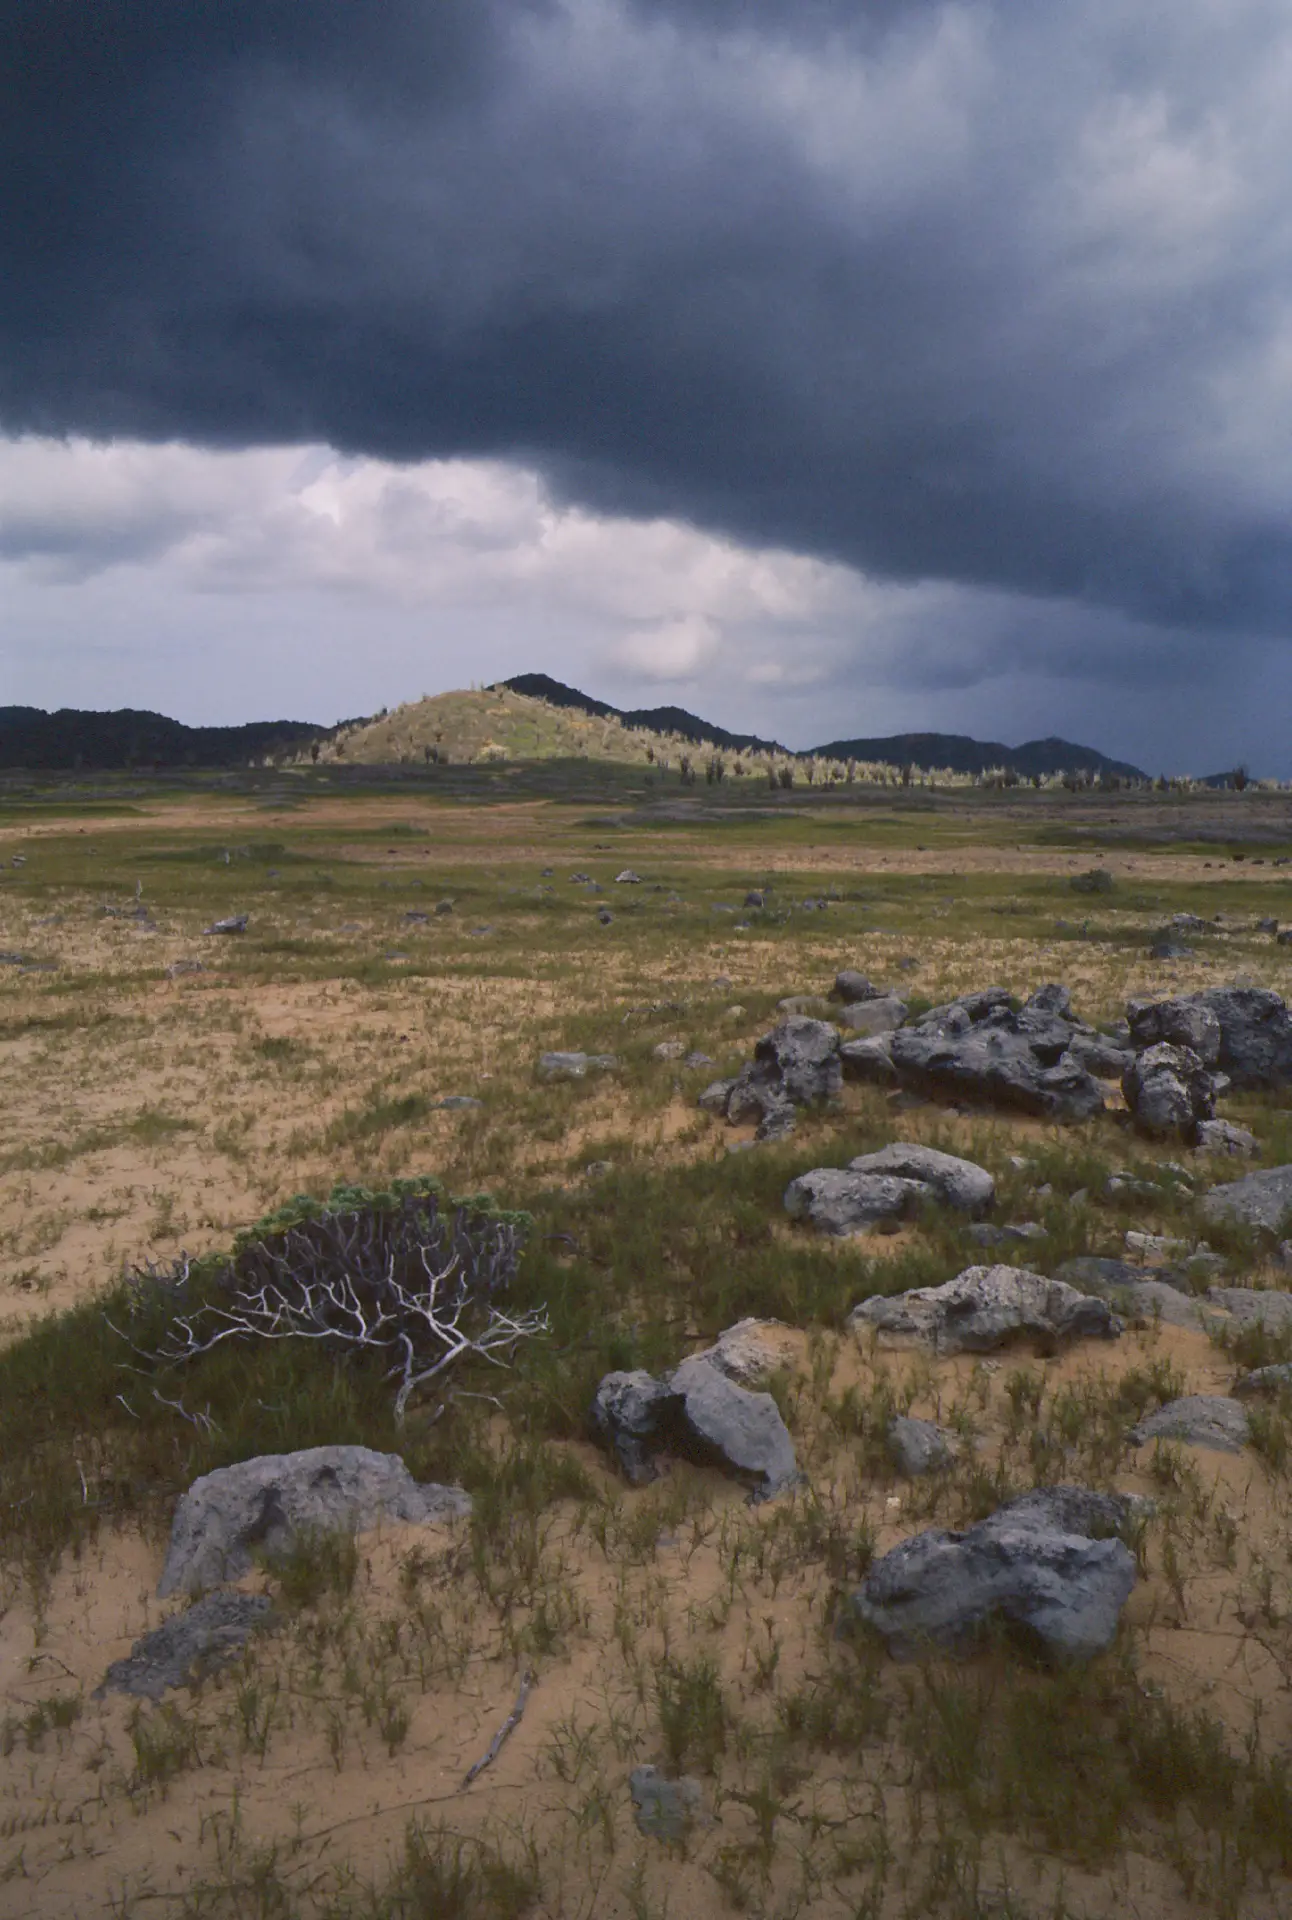
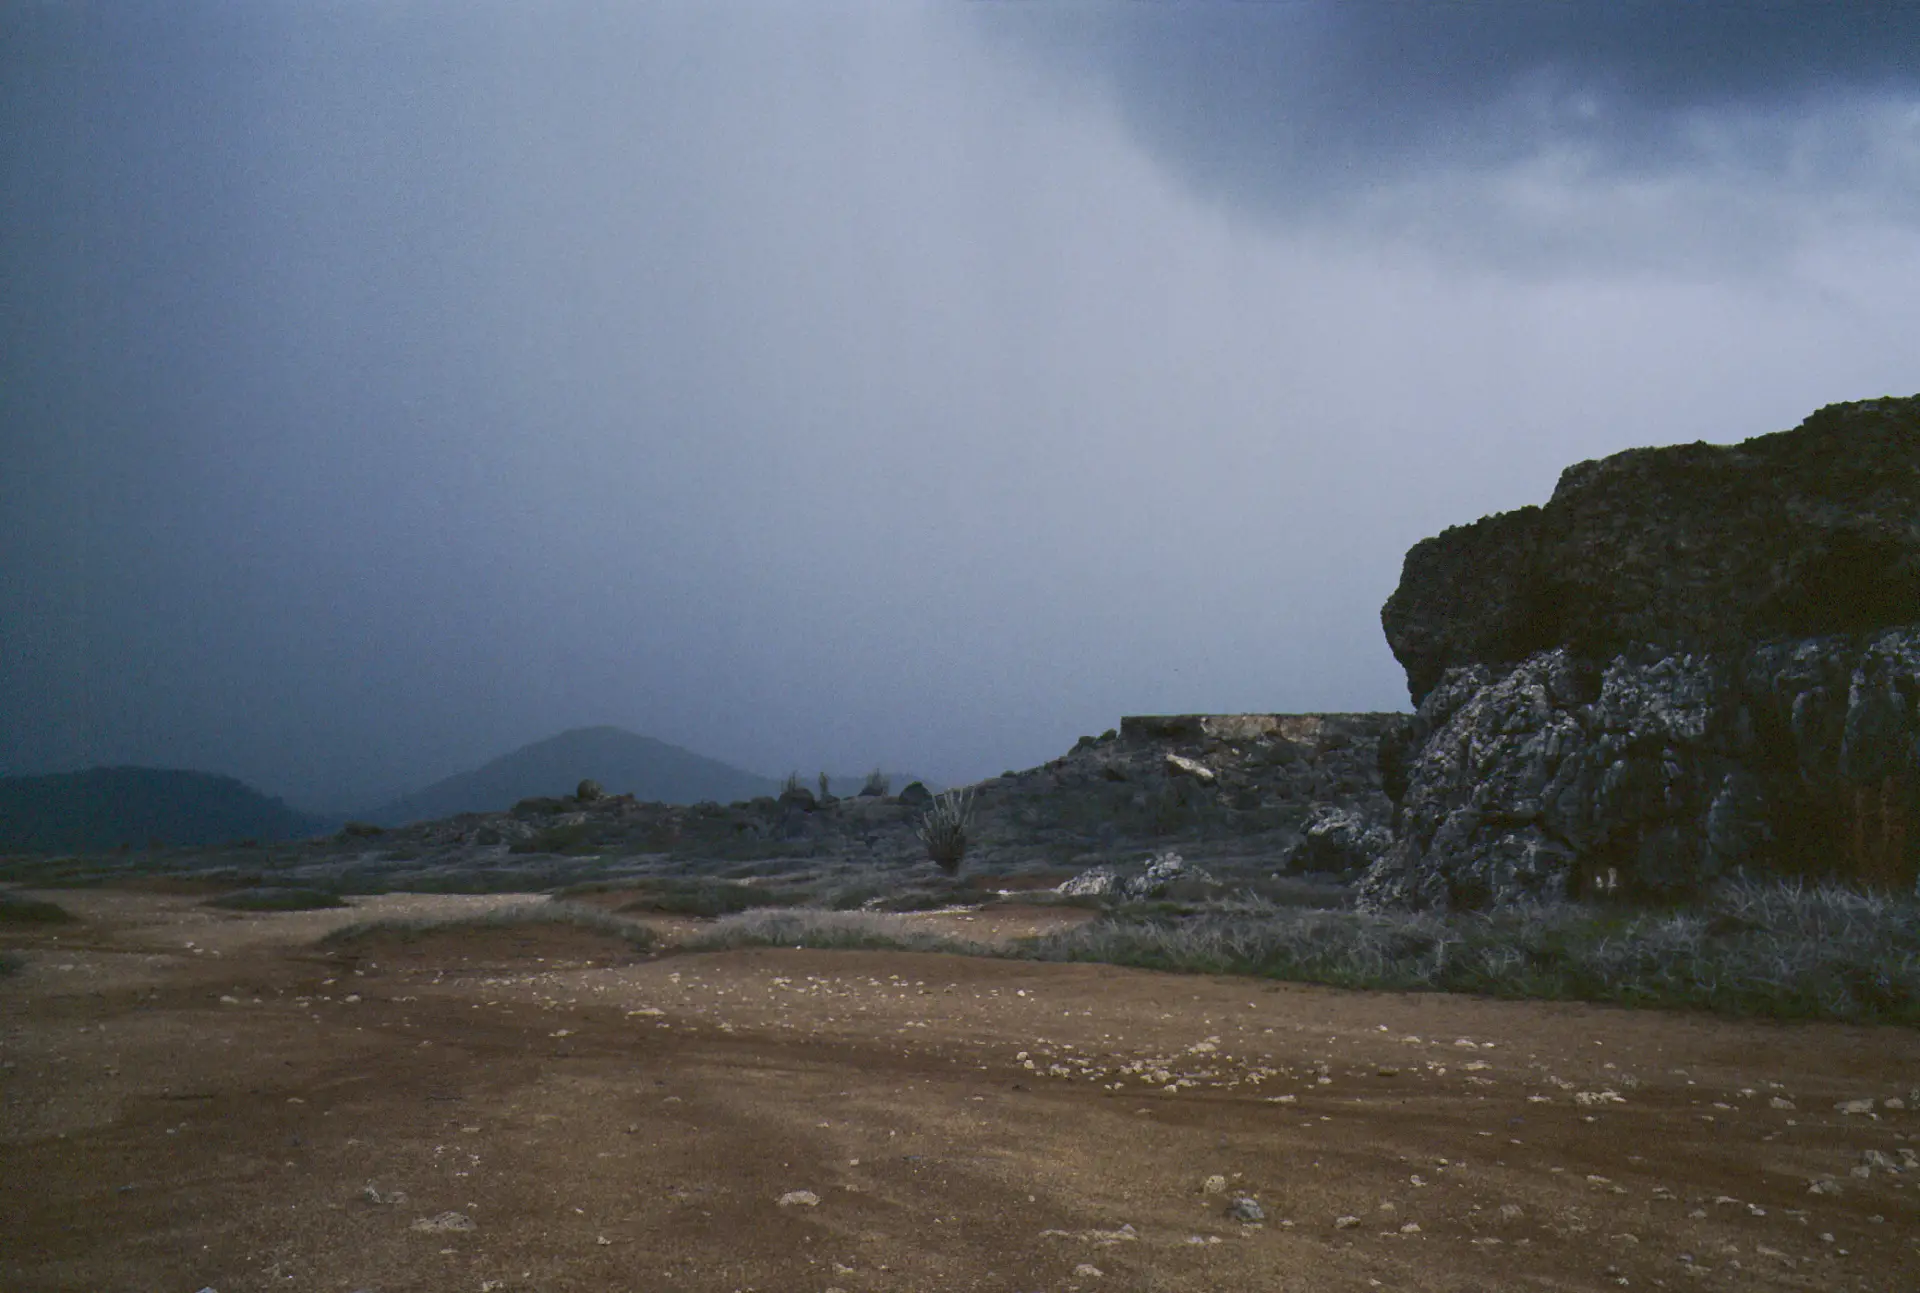

My first thought was that everything is too dark and kind of purple, so I was a bit disappointed and angry at myself for under-exposing almost the entire film. But when I look at the photos where there is a bit of clear sky, it seems like exposure is just right for those parts. So I might not have compensated enough for the darker weather when shooting in different directions, or the dynamic range of the film is not large enough to capture both clear sky and shadows in the rain.
About the colour, I am still not sure if this is a characteristic of the film, or if this is an actual representation of the day. I mean, with thunder and rain a bit of a cool colour is to be expected. My results from my digital camera are much warmer, but that could be a choice of the camera (automatic white balance).
To be sure I would have needed a grey card, but I almost never use them at all, let alone on holiday. The darker images were a bit of a disappointment at first, but then I remembered that with Velvia the darker parts always get pretty red. So I found Ektachrome to be a bit more forgiving with a colour cast in the underexposed areas. Now after a couple of weeks after developing the film I am starting to get used to the look of them, and they are growing on me.
I have gone back and forth about how much processing I would allow myself with the images I show here. I wanted to show the ‘raw’ scan for demonstration purposes, even if that meant not showing the images at their best. However, I couldn’t manage to calibrate my scanner for scanning diafilm, and the results were rather dull compared to looking at the slides directly. So in the end I decided to adjust exposure, and a bit of shadow and contrast, to make the images to my liking. This means that the results presented here could be embellished with respect to the actual slide, but it still demonstrates what you can achieve with this film without using specific colour channels or other fancy processing tools.
Developing Ektachrome with the Bellini E-6 kit
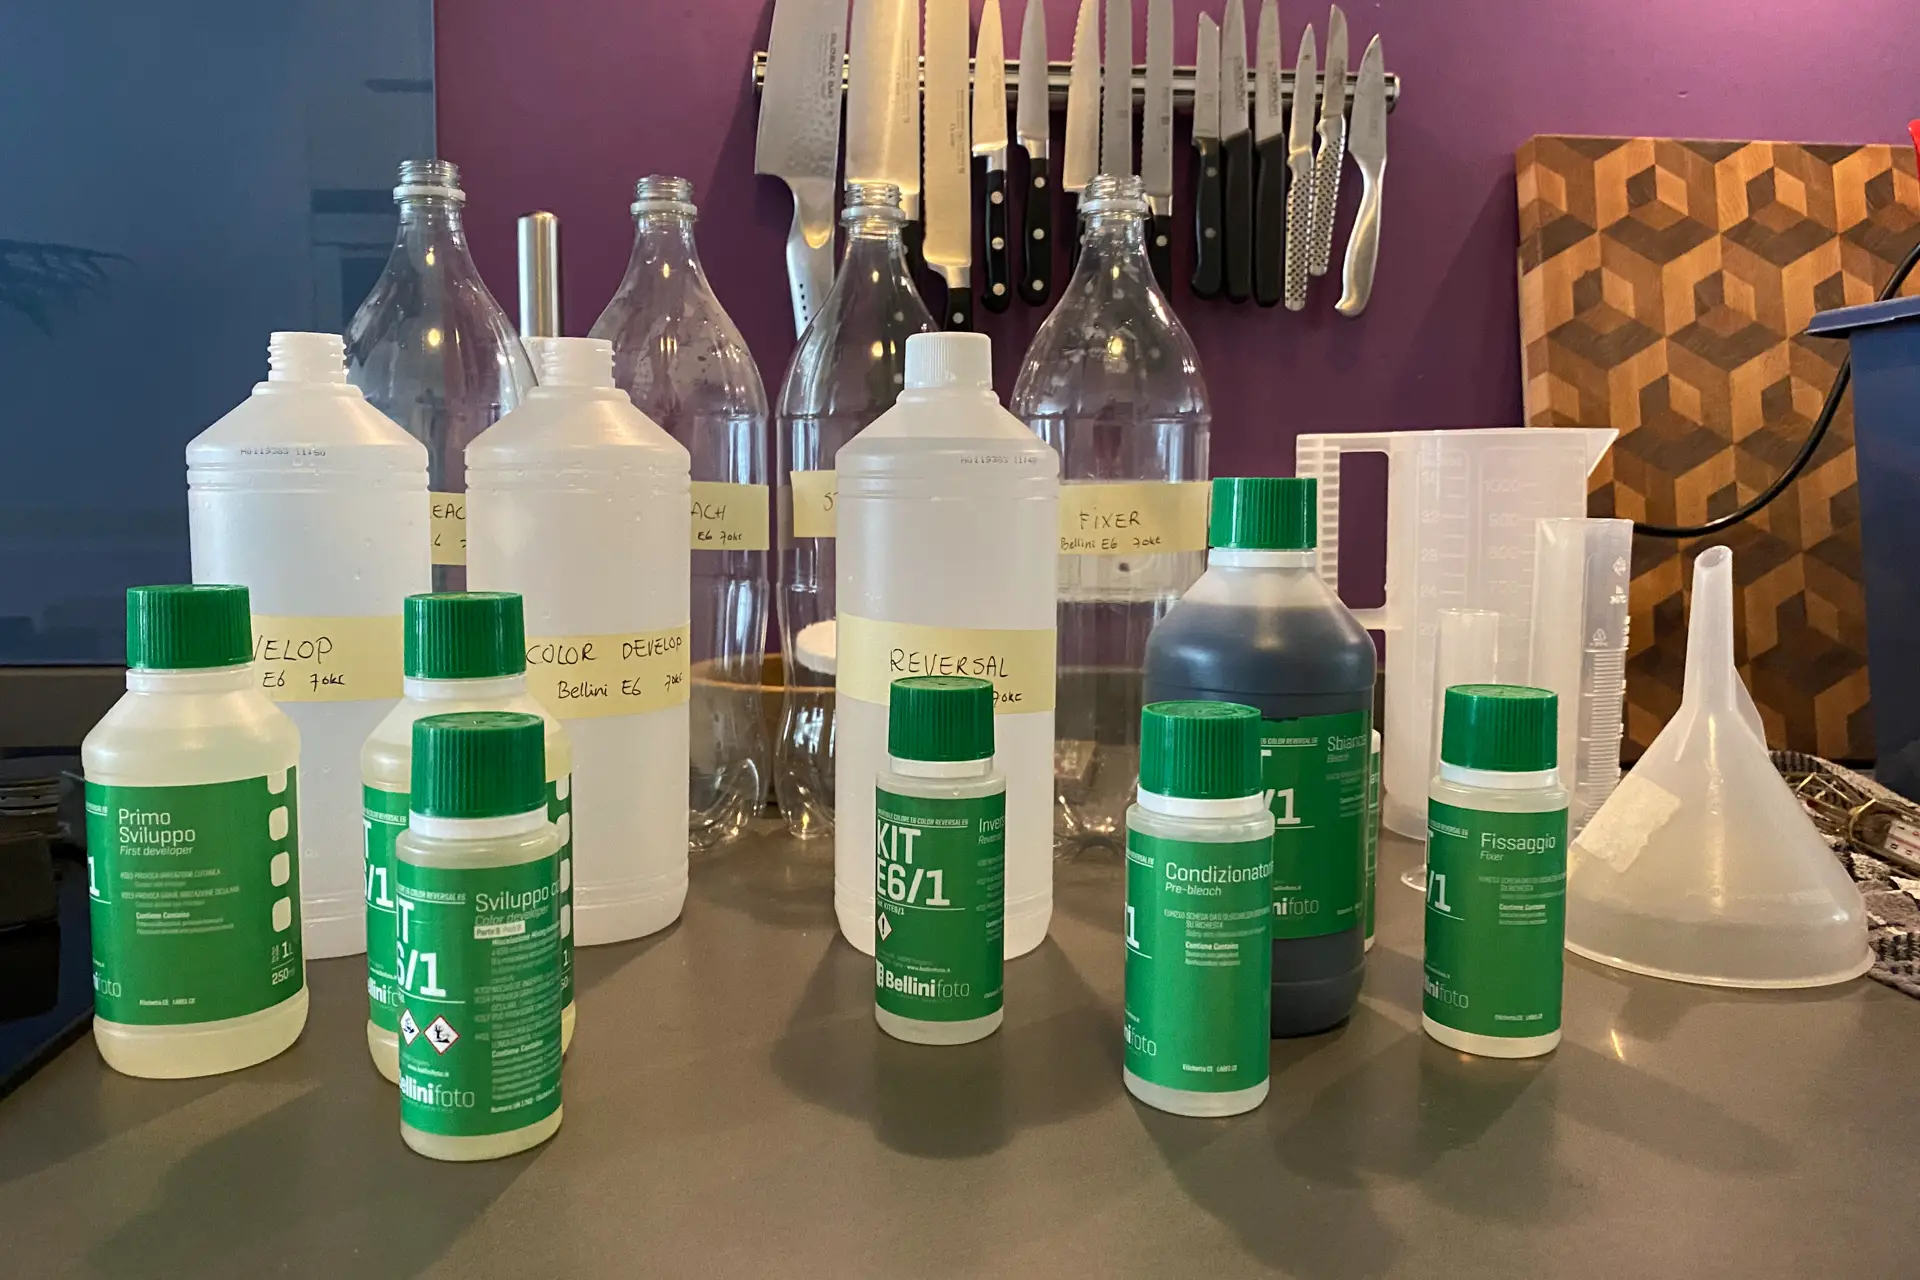
Every time I get results I don’t expect or don’t like, I start to question everything in my process. I have developed the Ektachrome myself using the Bellini E-6 kit. I have developed slide film before, but I stopped doing that because I don’t shoot slide very often, and the chemicals age pretty fast. In the past I was only able to get E-6 development kits in large quantities (2,5 L or 5L), which I never finish in time. But the lab I used for development closed, and I didn’t want to send it abroad to the UK because of the delays in the post.
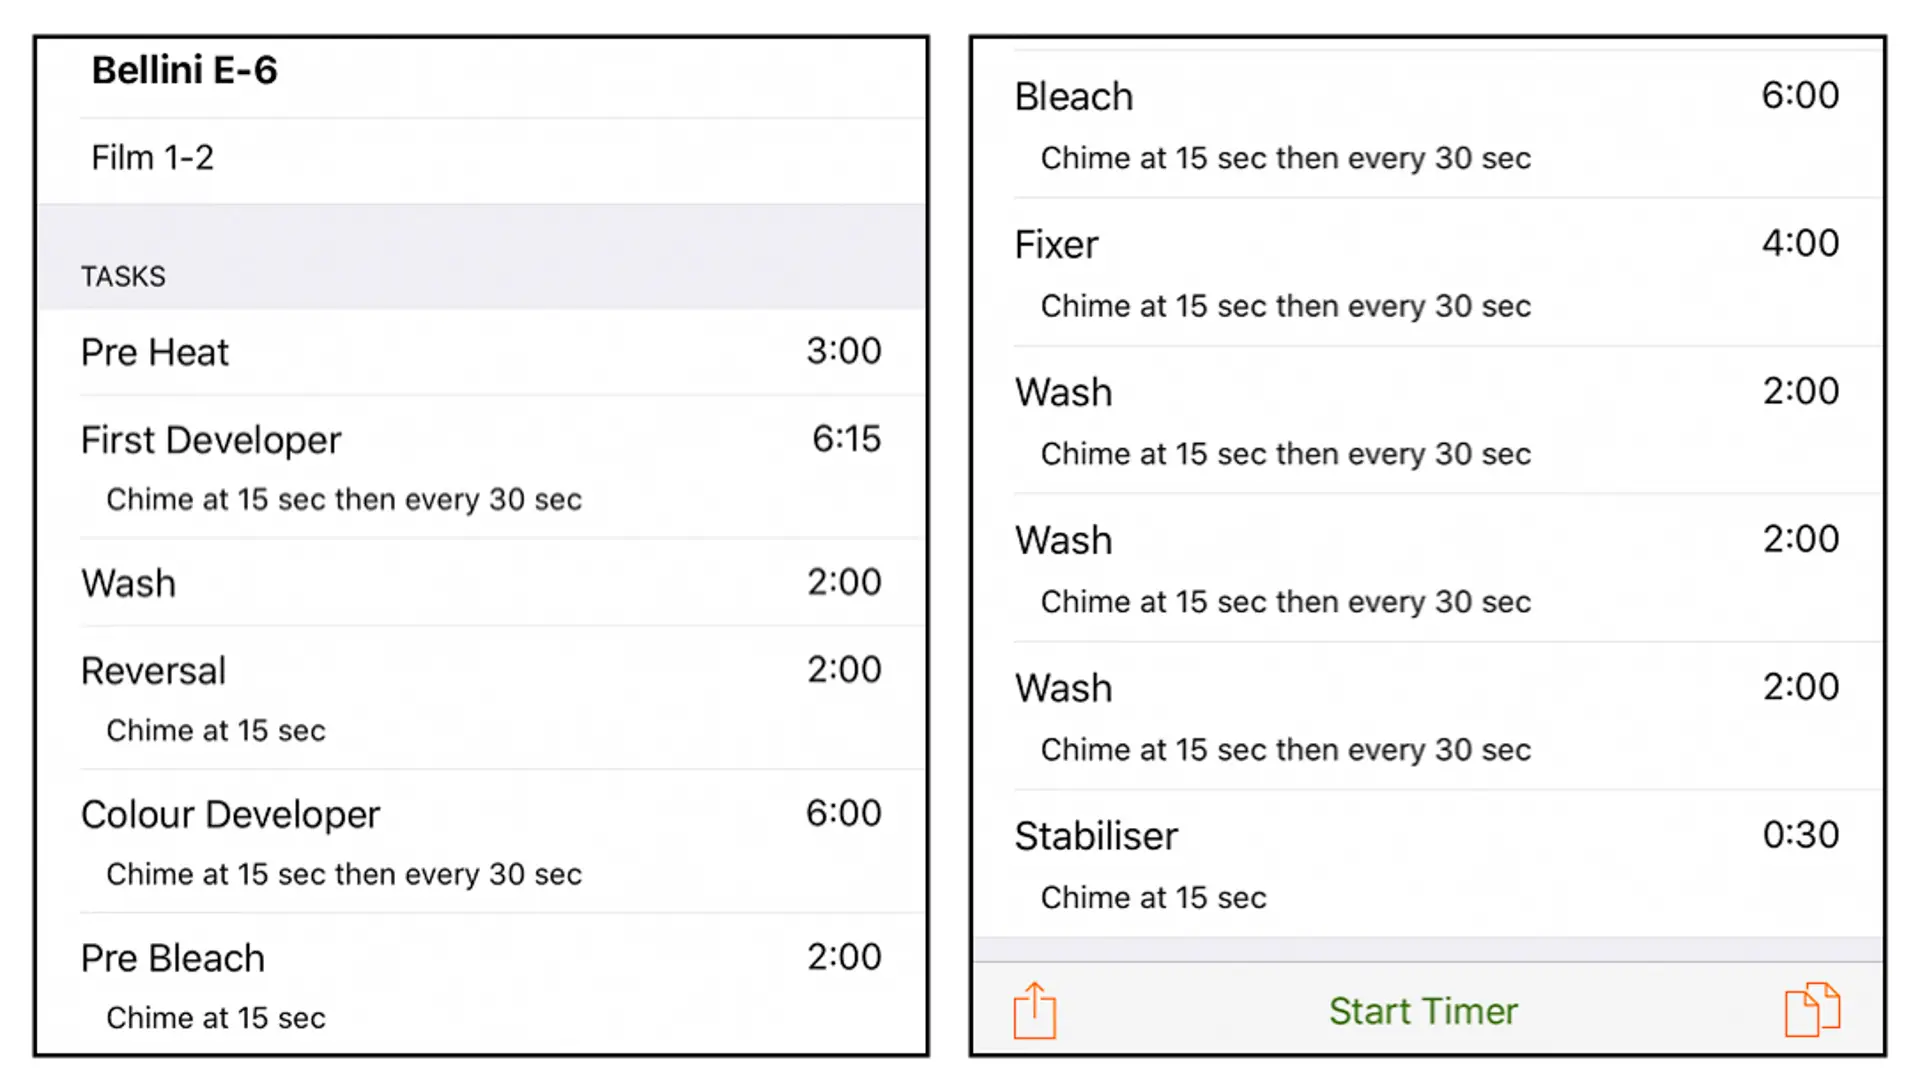
I stumbled upon a few articles about the Bellini kit, and found that my favourite webshop actually sells it (Retrocamera.be). The reviews were pretty positive, and the Bellini kit makes 1 liter of chemicals, so I decided to give this a go. What is different from the Tetenal kit I used before is that the Bellini kit gives you concentrates to make 7 (!) bottles of chemicals (as opposed to 4 with the Tetenal kit), leading to a few extra steps in the development. For those who have never developed slide film before, it is equally difficult or easy as developing colour film, but with the extra steps you just need a bit more time and a longer concentration span. Below you see the concentrations and the bottles I prepared for mixing the chemicals, and the recipe for developing the film. The claim is that the extra steps result in better colours and contrast.
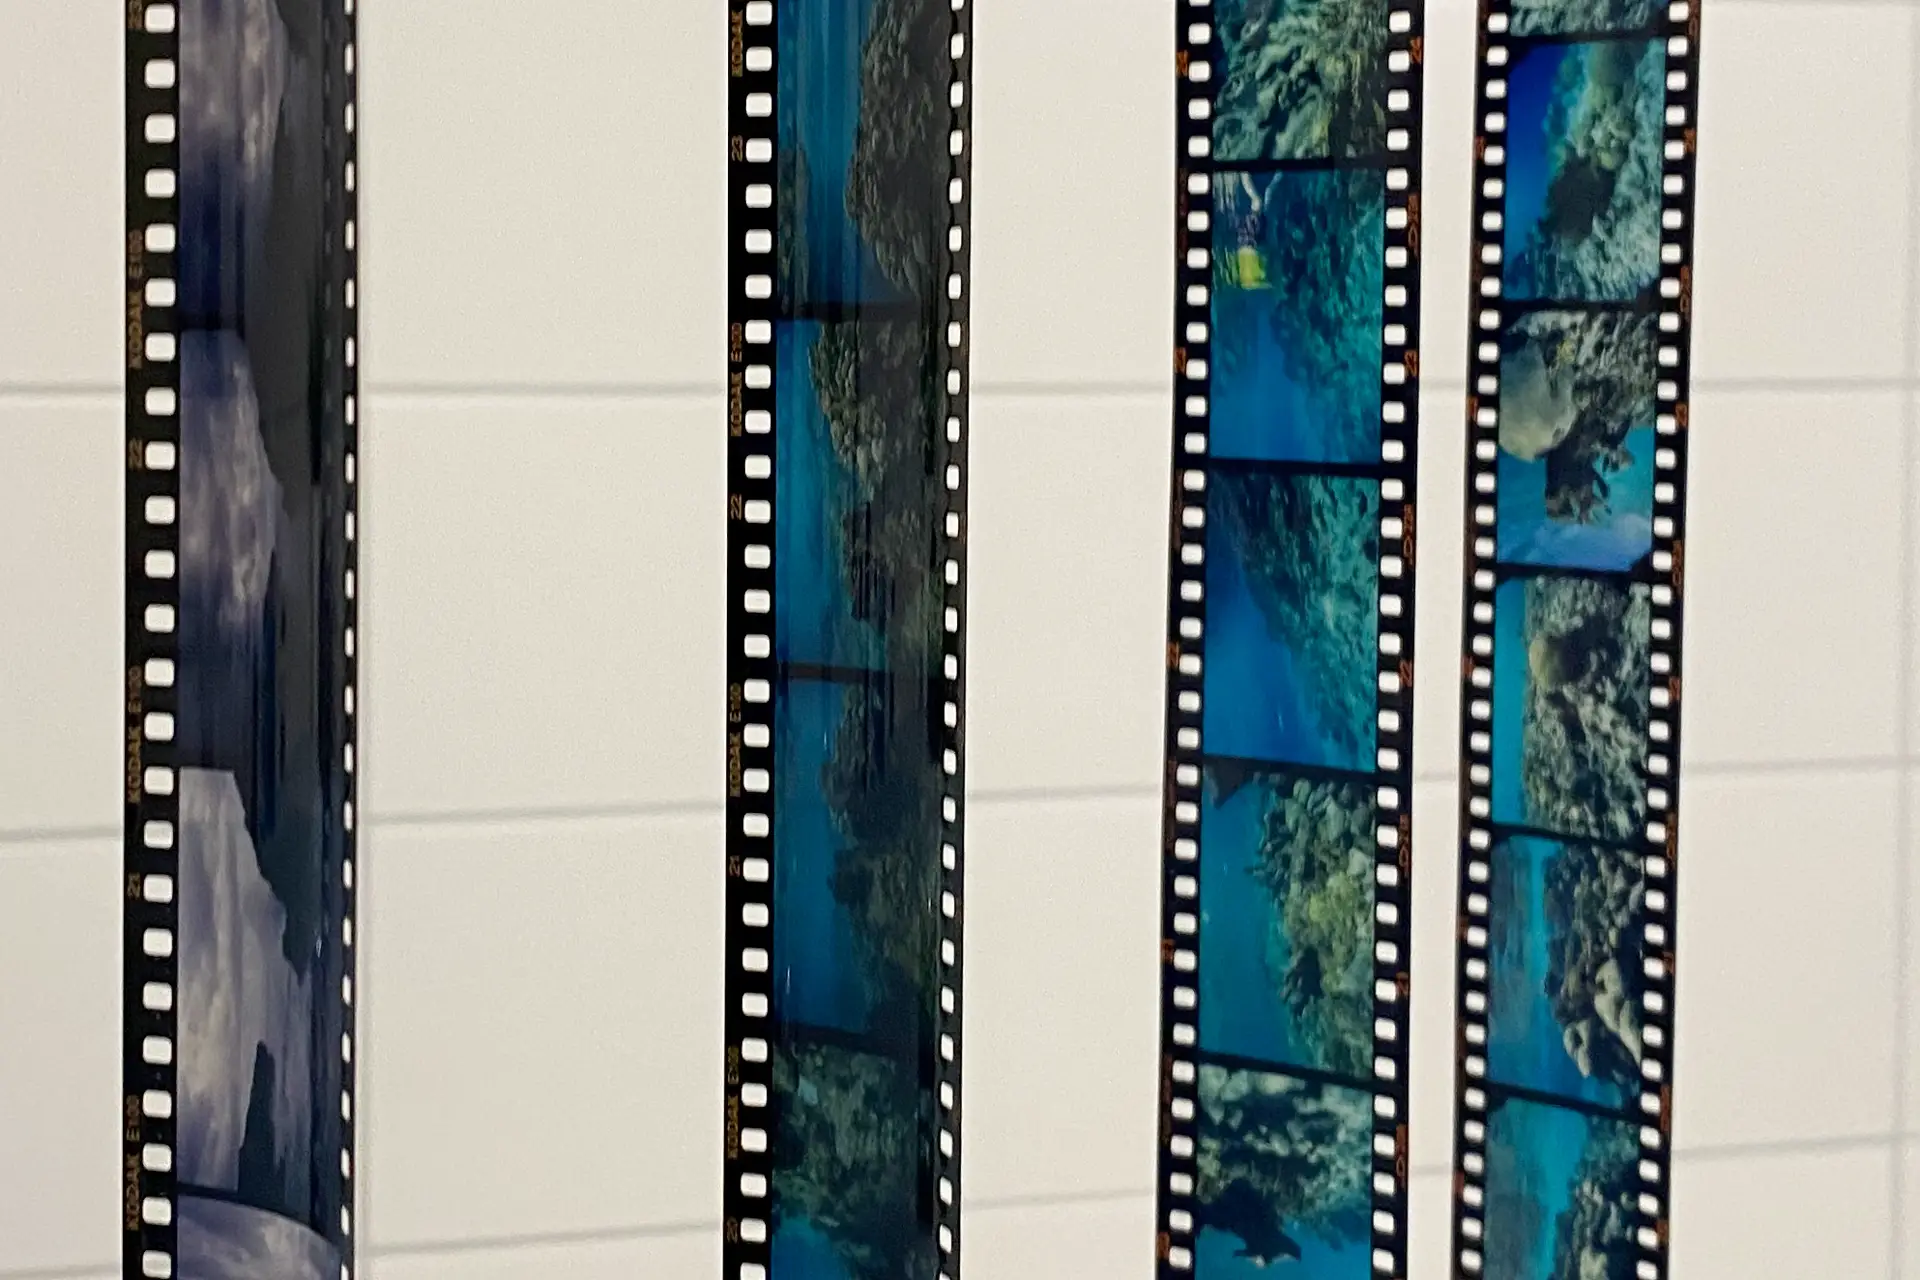
As I mentioned before I questioned every part of my process, so I wanted to make sure that the development was right. With the same batch of chemicals and the same recipe that I used to develop the Ektachrome, I also developed two rolls of Velvia. You can see the developed film hanging to dry below. I could compare the Velvia with other Velvia film developed by a professional lab, and I didn’t see any difference in colour or how light or dark the film was. I have to mention that I shot the Velvia in the Nikonos as well, but on brighter days. You can see that the Ektachrome film is darker then the Velvia, but I came to the conclusion that the development process was actually correct, and that the darkness is either a film characteristic or due to different metering on a heavily clouded day.
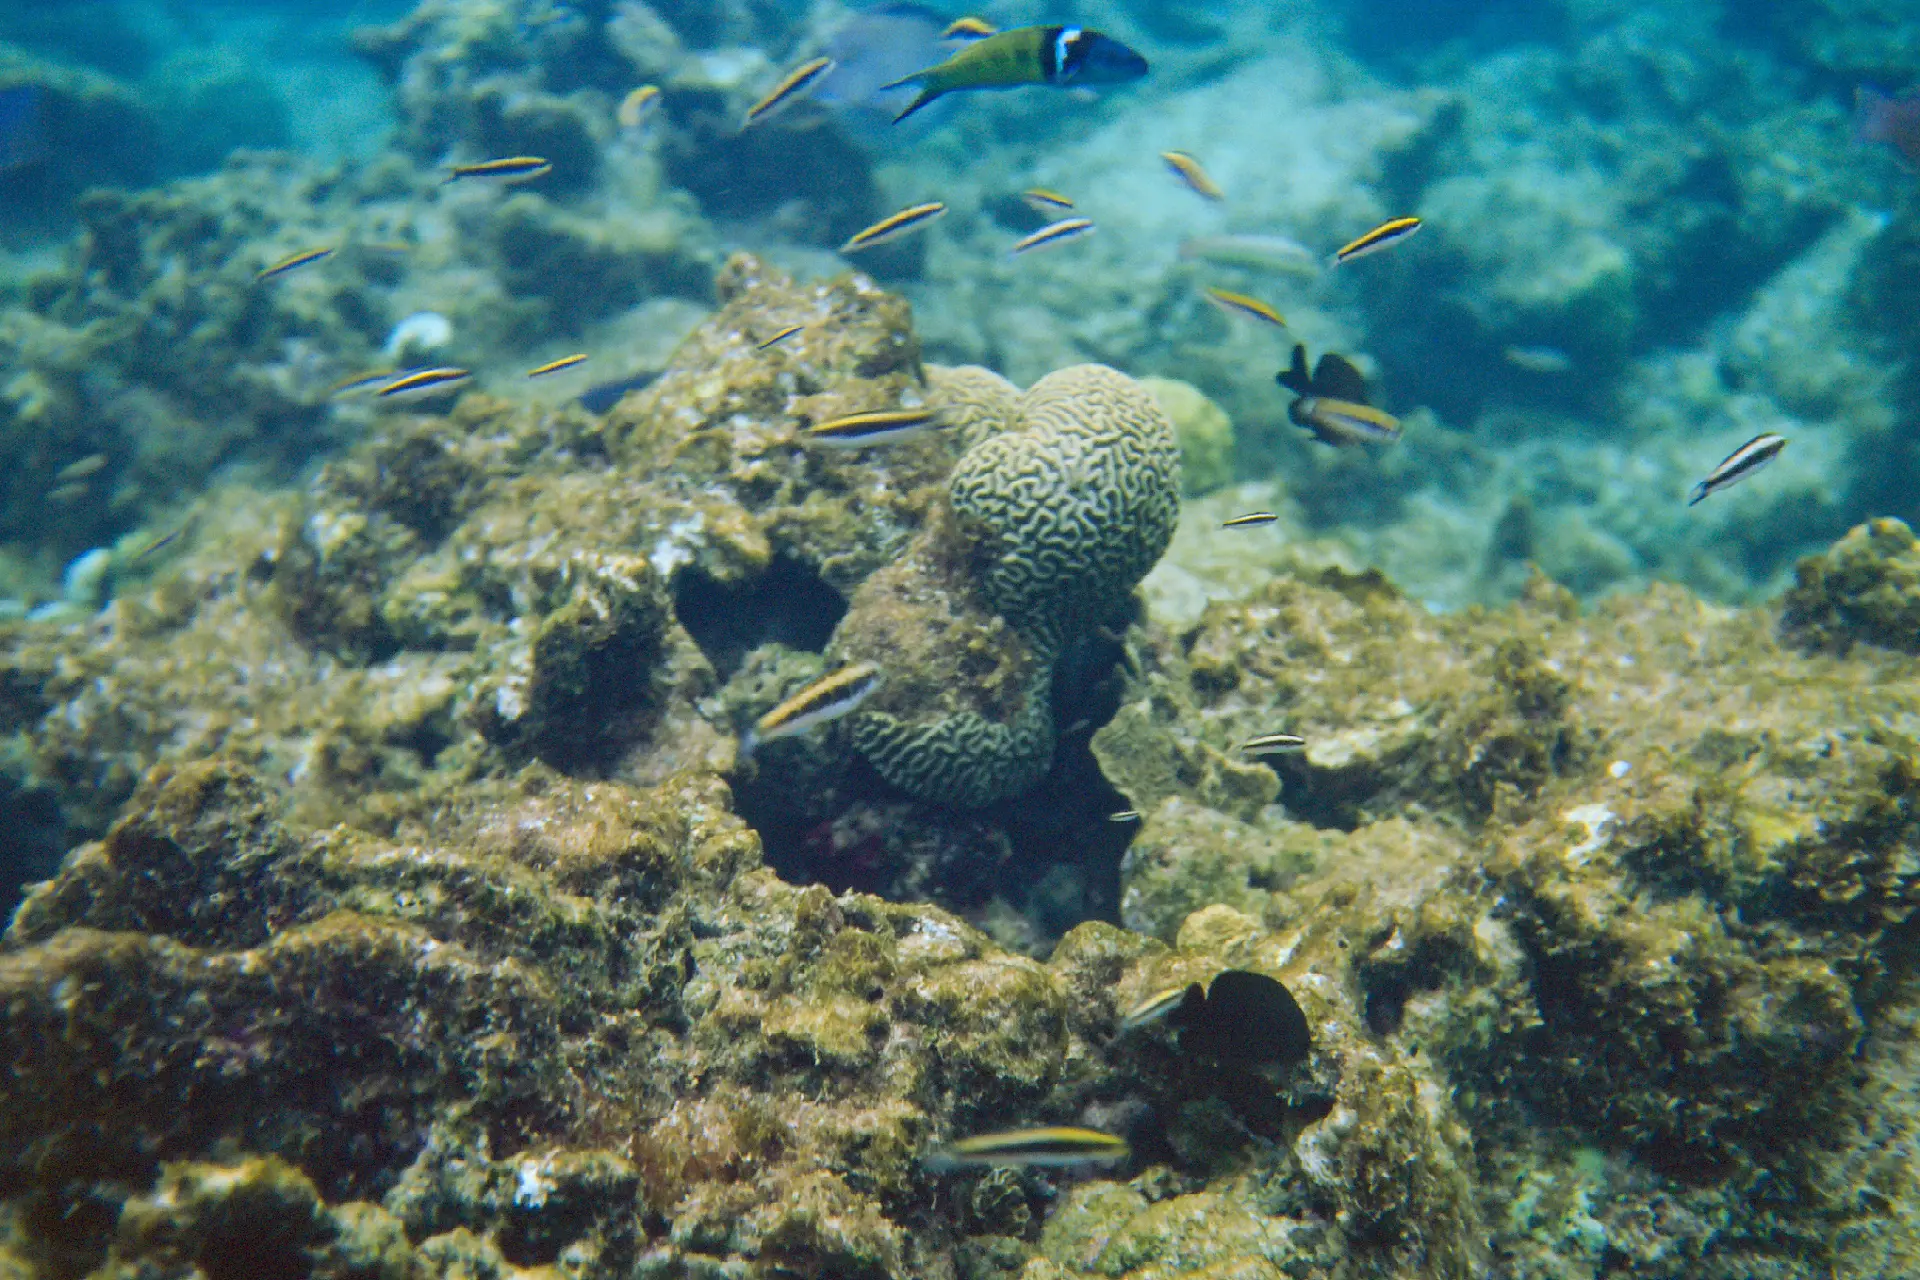
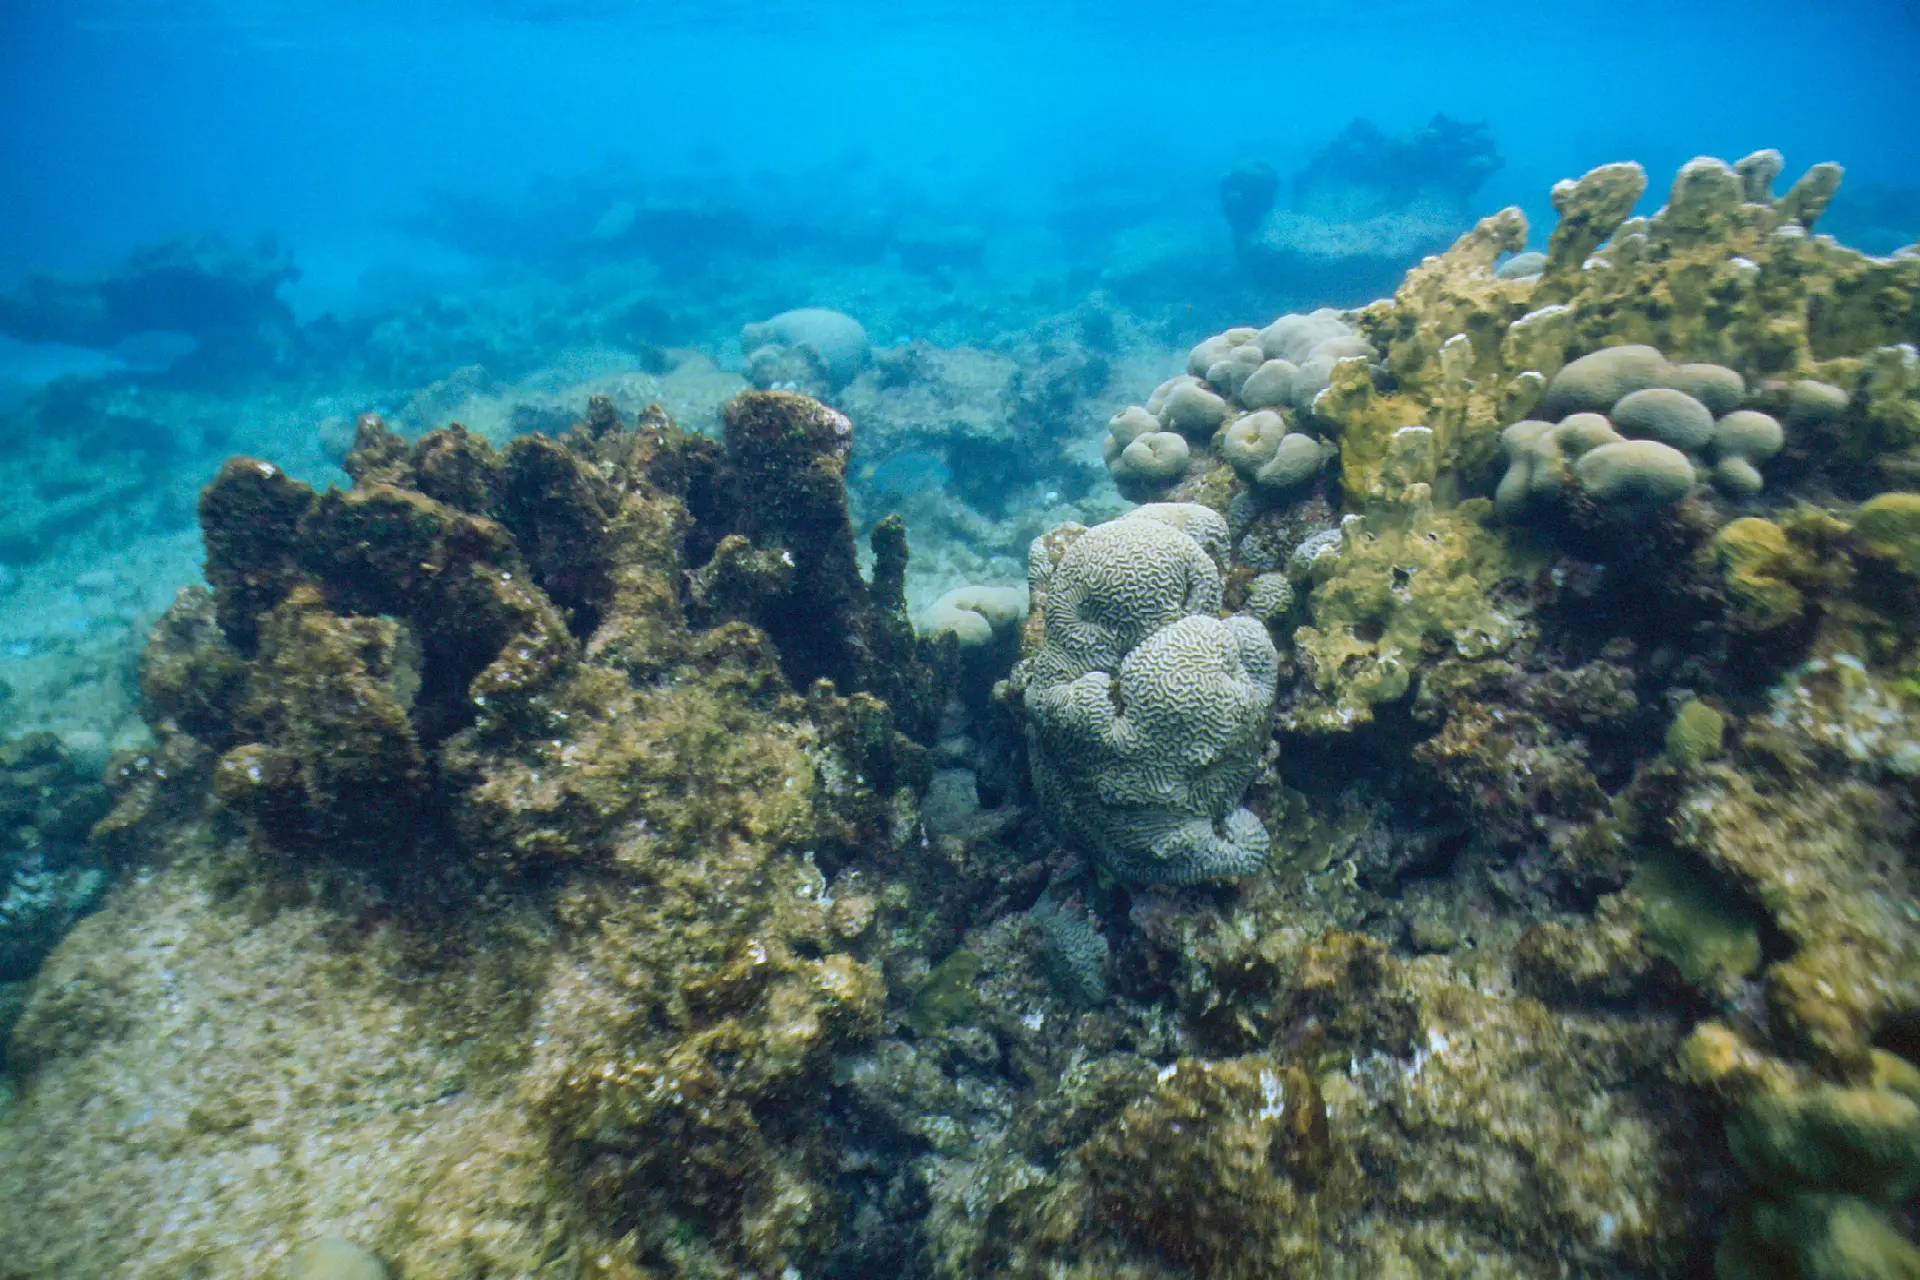
My first roll of Ektachrome for underwater photography
On to my underwater images. They are not the best I have shot, I must admit. When we got to the snorkelling site it was indeed around noon, but the rain had not stopped. As there was no longer thunder or lightning we thought it safe enough to go in the water. But (lesson learned for the next time!), I did not bring any other film, so I had to work with the iso 100 of the Ektachrome in the Nikonos V. Next time I will bring a couple of different rolls, and only load the most suitable one in the Nikonos right before entering the water…
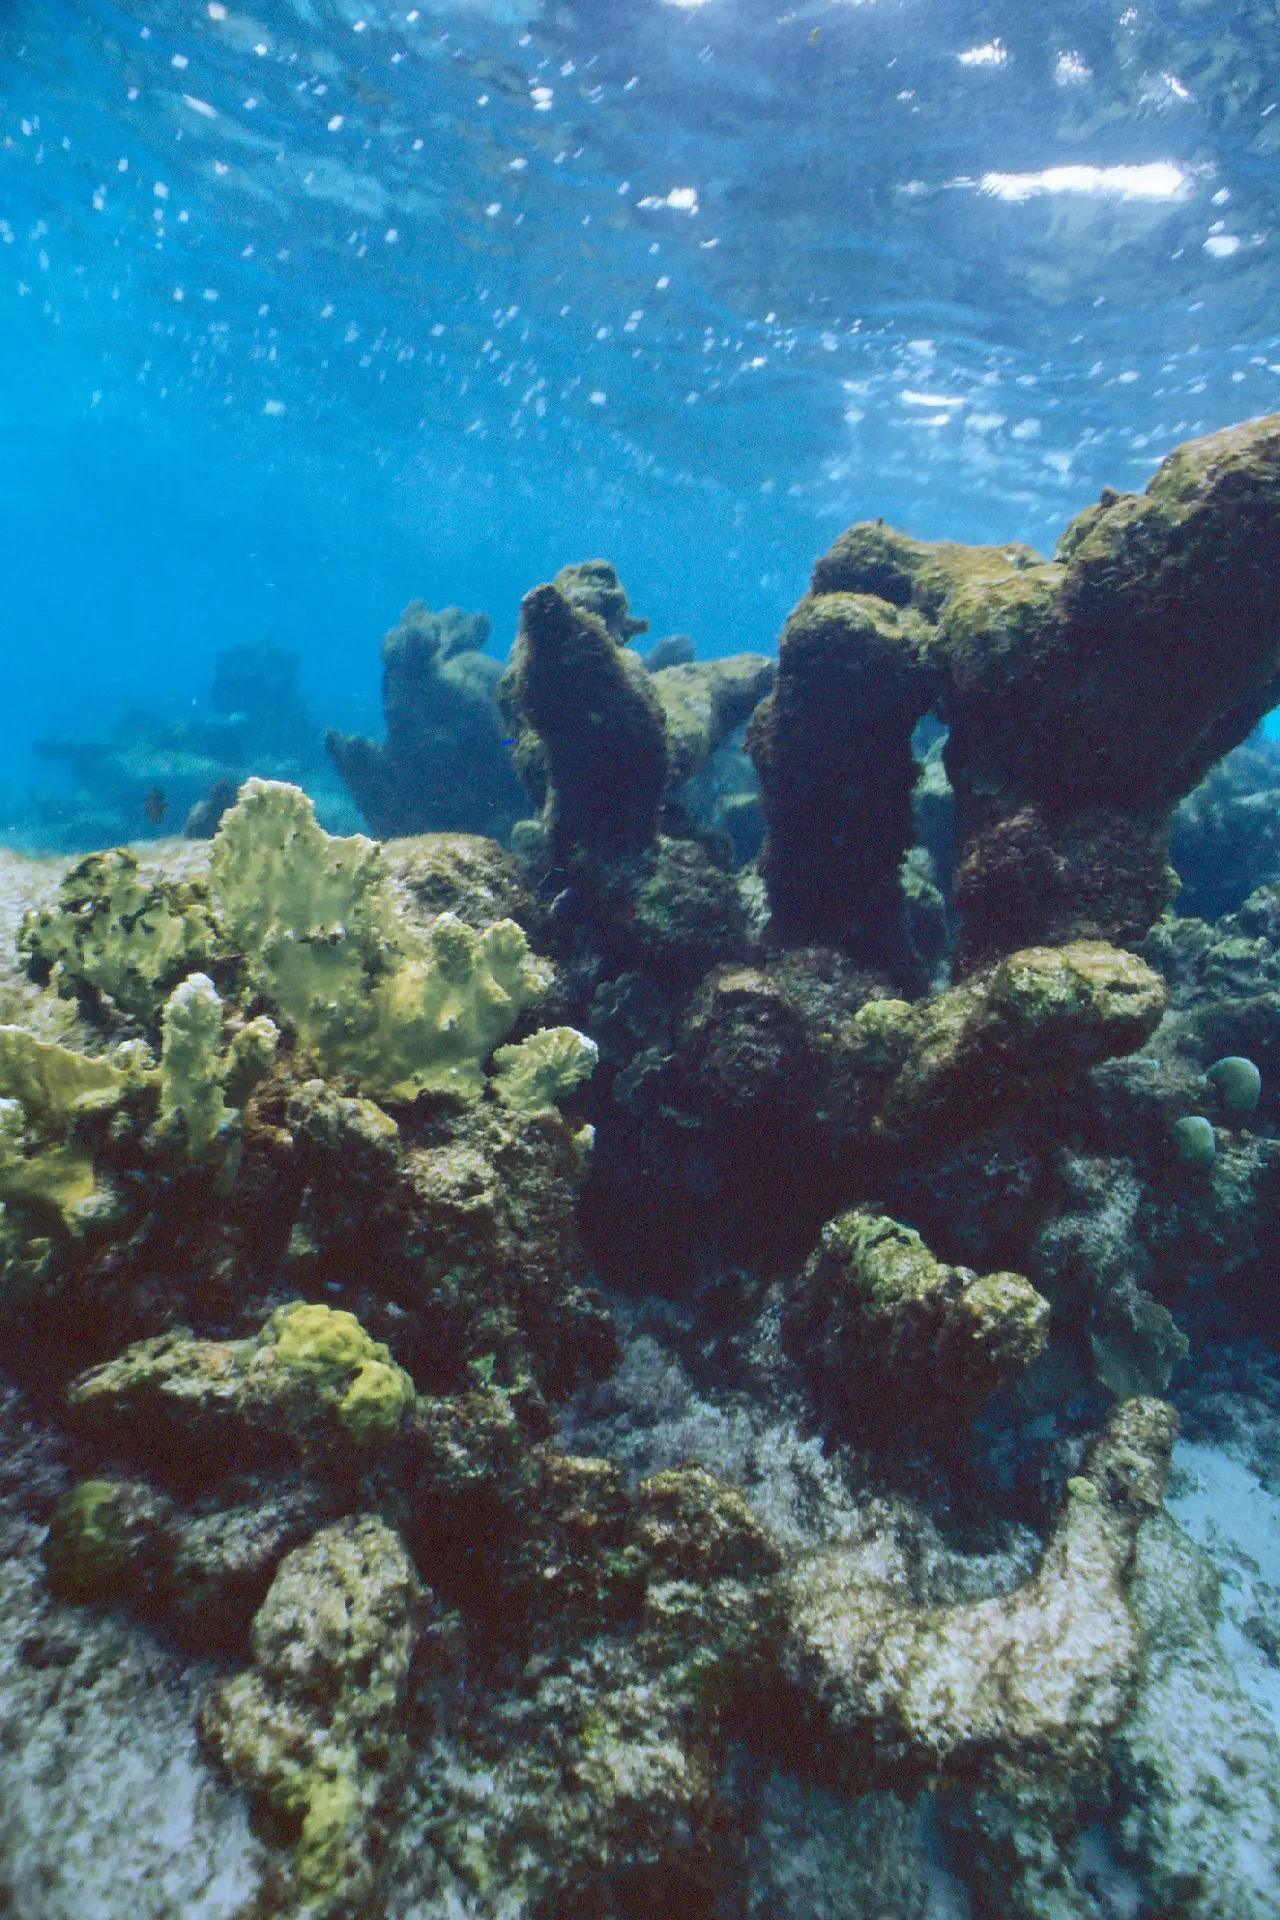
When I got in the water the water itself was pretty clear, and it was actually quite lovely despite the rain. But I noticed soon enough that there was not a lot of light. As you can see with this first shot, depth of field was not enough to get a sharp image. At least there are a few more or less sharp elements, which is more than I could say for most of my images. What I mostly like about this image is that I can see a bit of the ‘glassy’ quality I have seen others describe for Ektachrome.
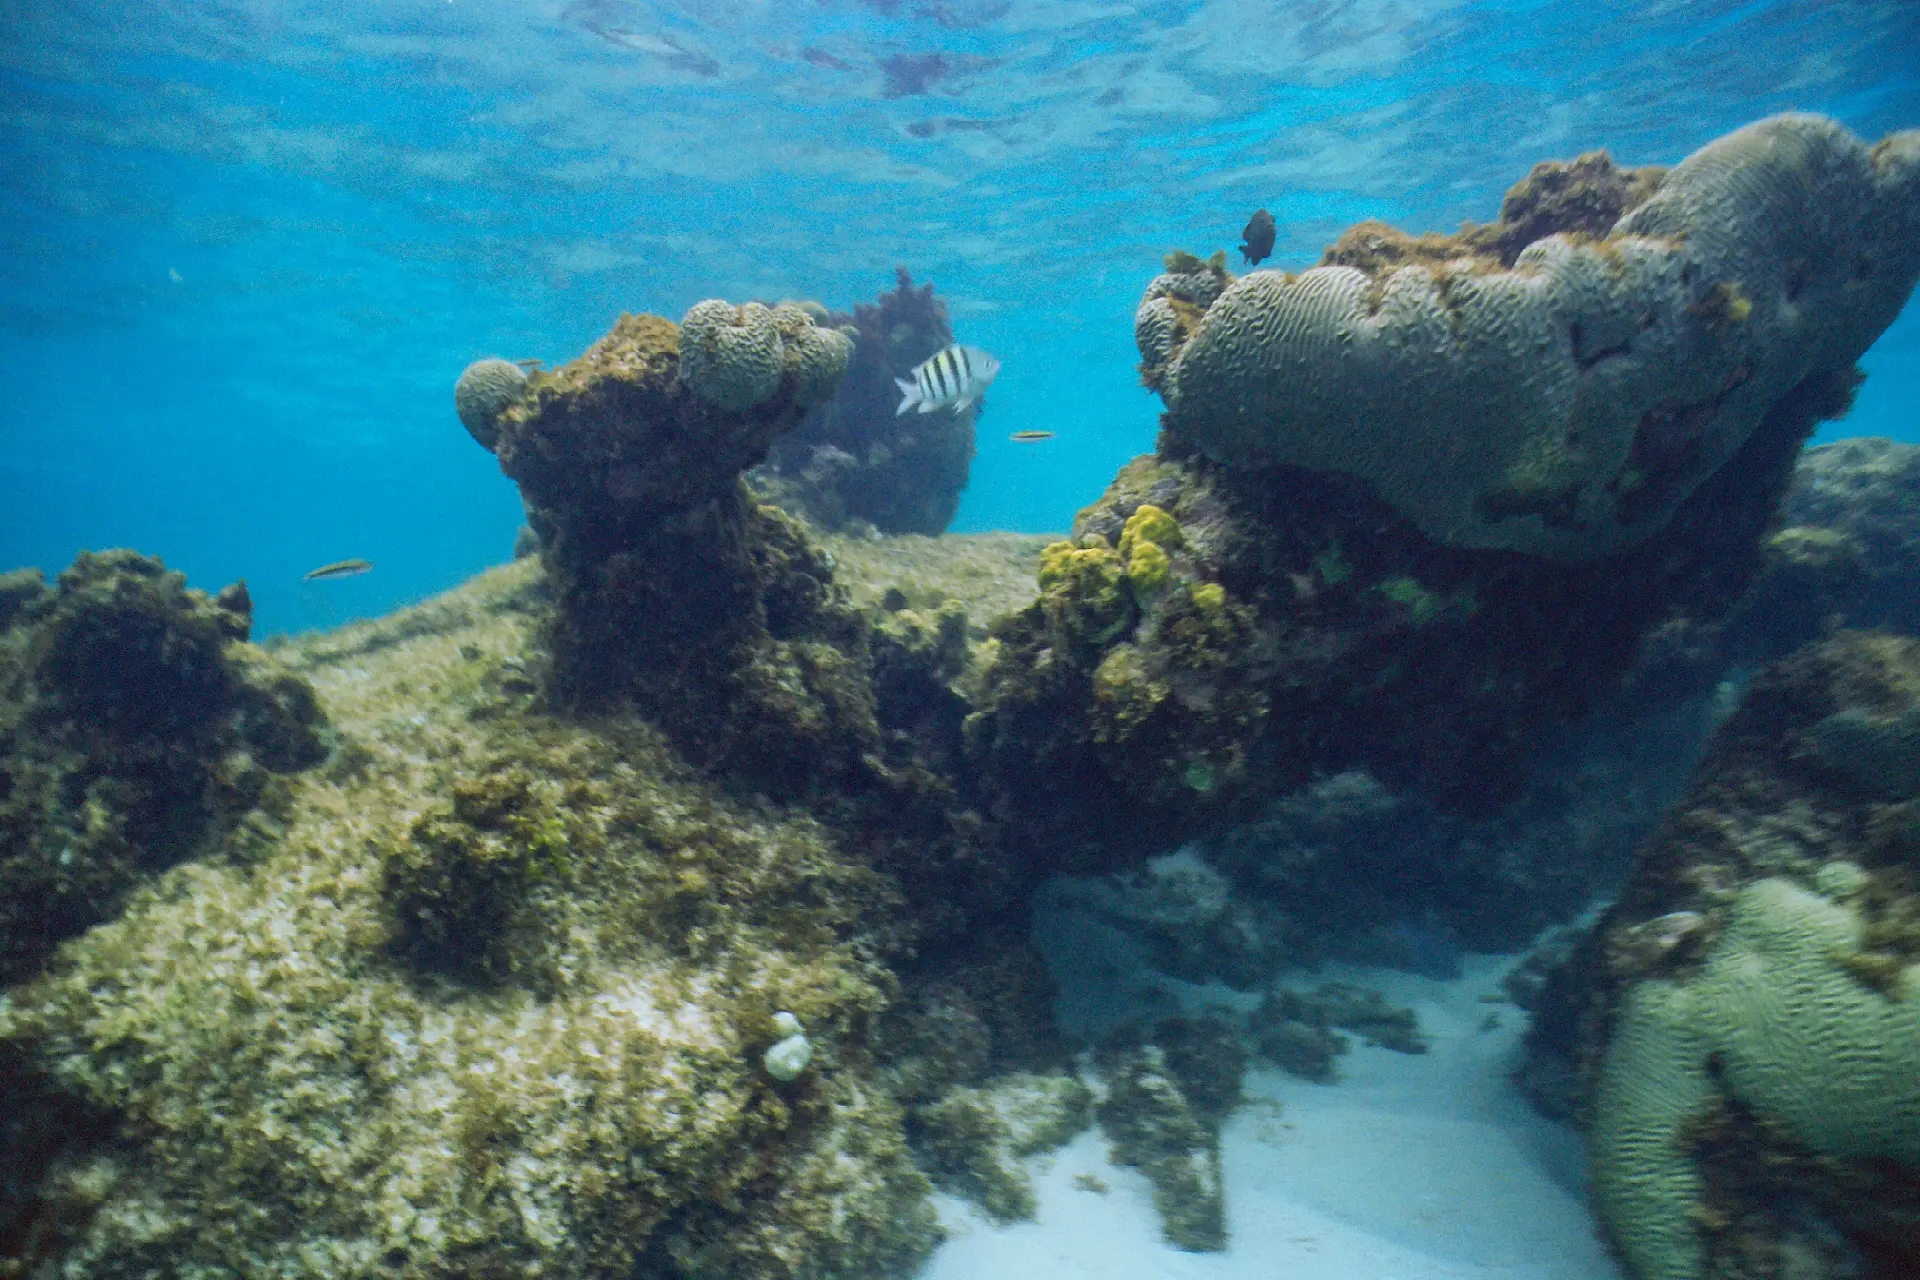
After a few shots I decided that I needed the 15mm lens for better depth of field, so I got out of the water, climbed up the hill to get to the car to change the lens, and headed back to the beach. Once I got in the water again I noticed that the water wasn’t as clear anymore as it was before. How frustrating sometimes all the things you can’t control in outdoor photography! You can see in the images below that again they are on the dark side, have a bit of a purple colour cast, and lack sharpness in some/most of them.
So it is not what I expected, but there are some elements that I like. For example the images that are sharp seem to have this nice glassy effect which works well with the underwater landscape. I guess I really have to try it another time when there is plenty of sunlight.
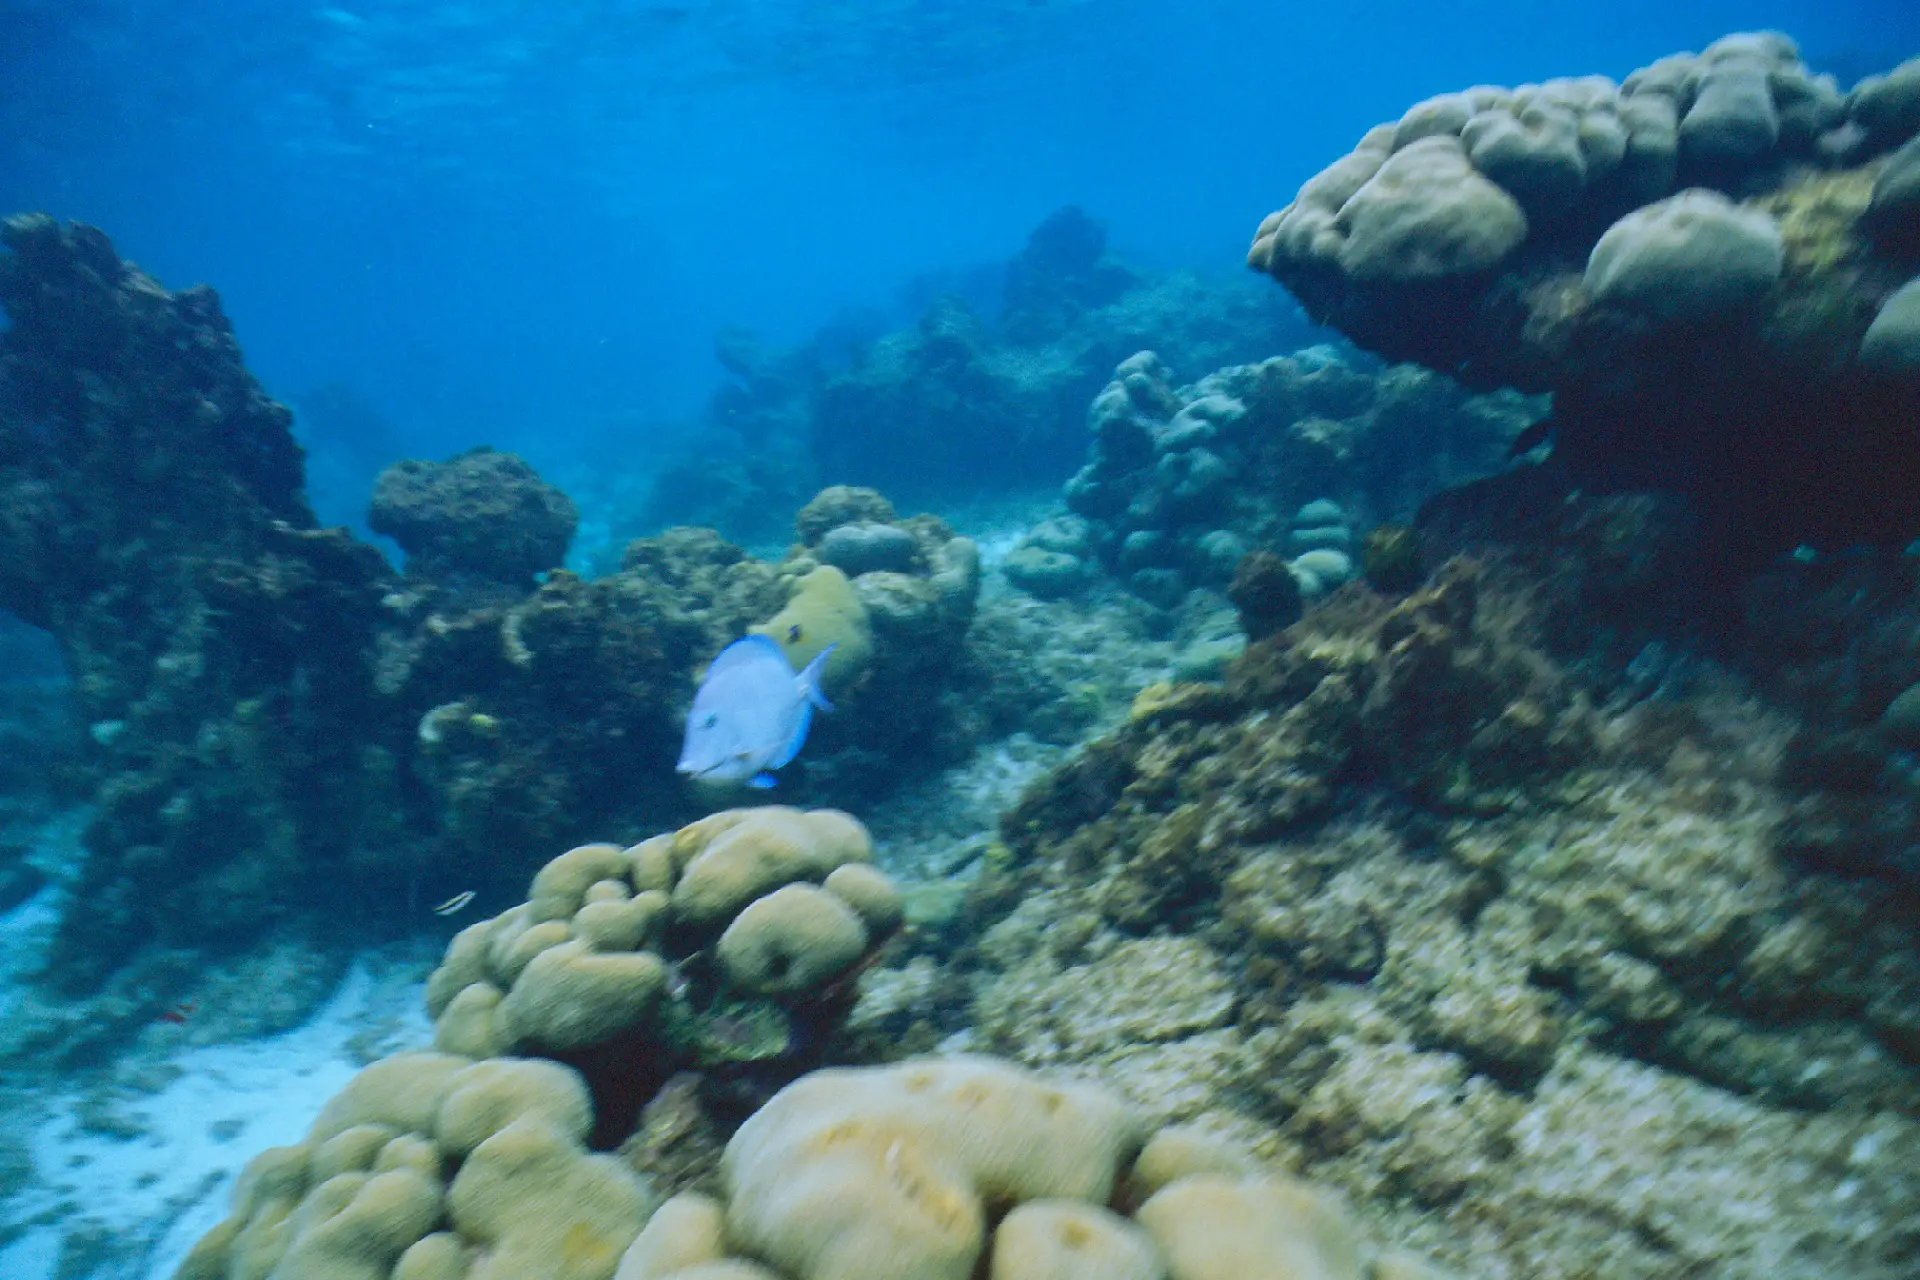
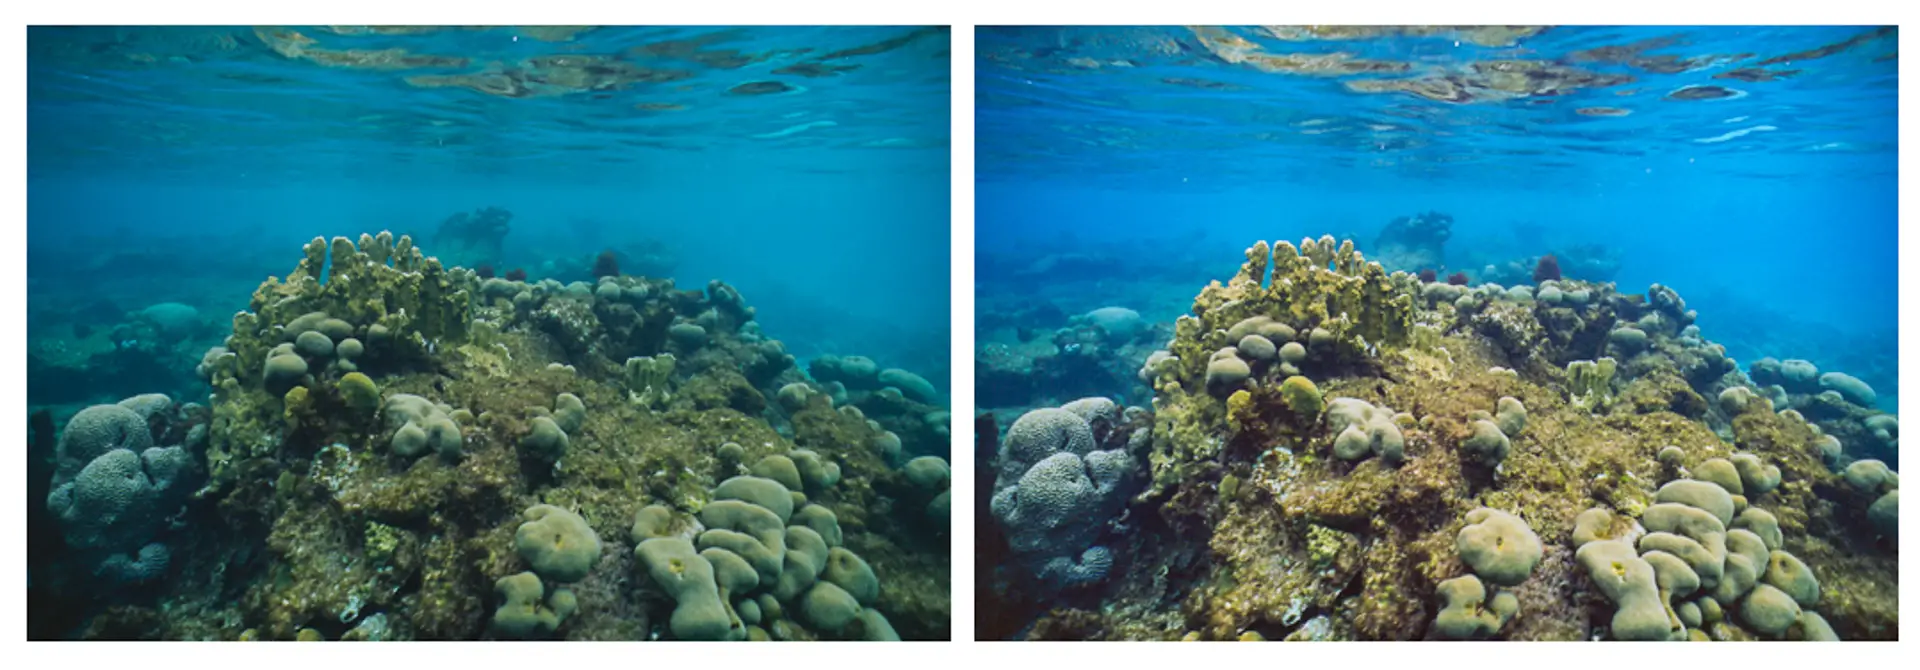
Just a note on the processing of this film: I do remove the green colour cast from my underwater photos, so the images above had a bit more processing then the images from the M2. To show you how this effects the result, here is a before (left) and after (right):
My opinion on the results
Now for a conclusion, the images are starting to grow on me, but I need more time and practise with this film to understand it better. I will probably try bracketing next time to understand the effect of exposure on this film, and lean toward more exposure. It is definitely different from Portra 800, but that is a good thing to me, because if I want the look of Portra I can just shoot Portra. I am intrigued, but need some time and experience to figure out where this film fits in my photography.

If you are interested you can find more of my photos, both digital and film, on my website: whataukjesees.com. I also post regularly on instagram.
Thanks a lot for reading, and Hamish, thanks for having me!
Share this post:


Comments
Clive W on My First Rolls of Ektachrome – A Tropical Thunderstorm – By Aukje
Comment posted: 03/12/2020
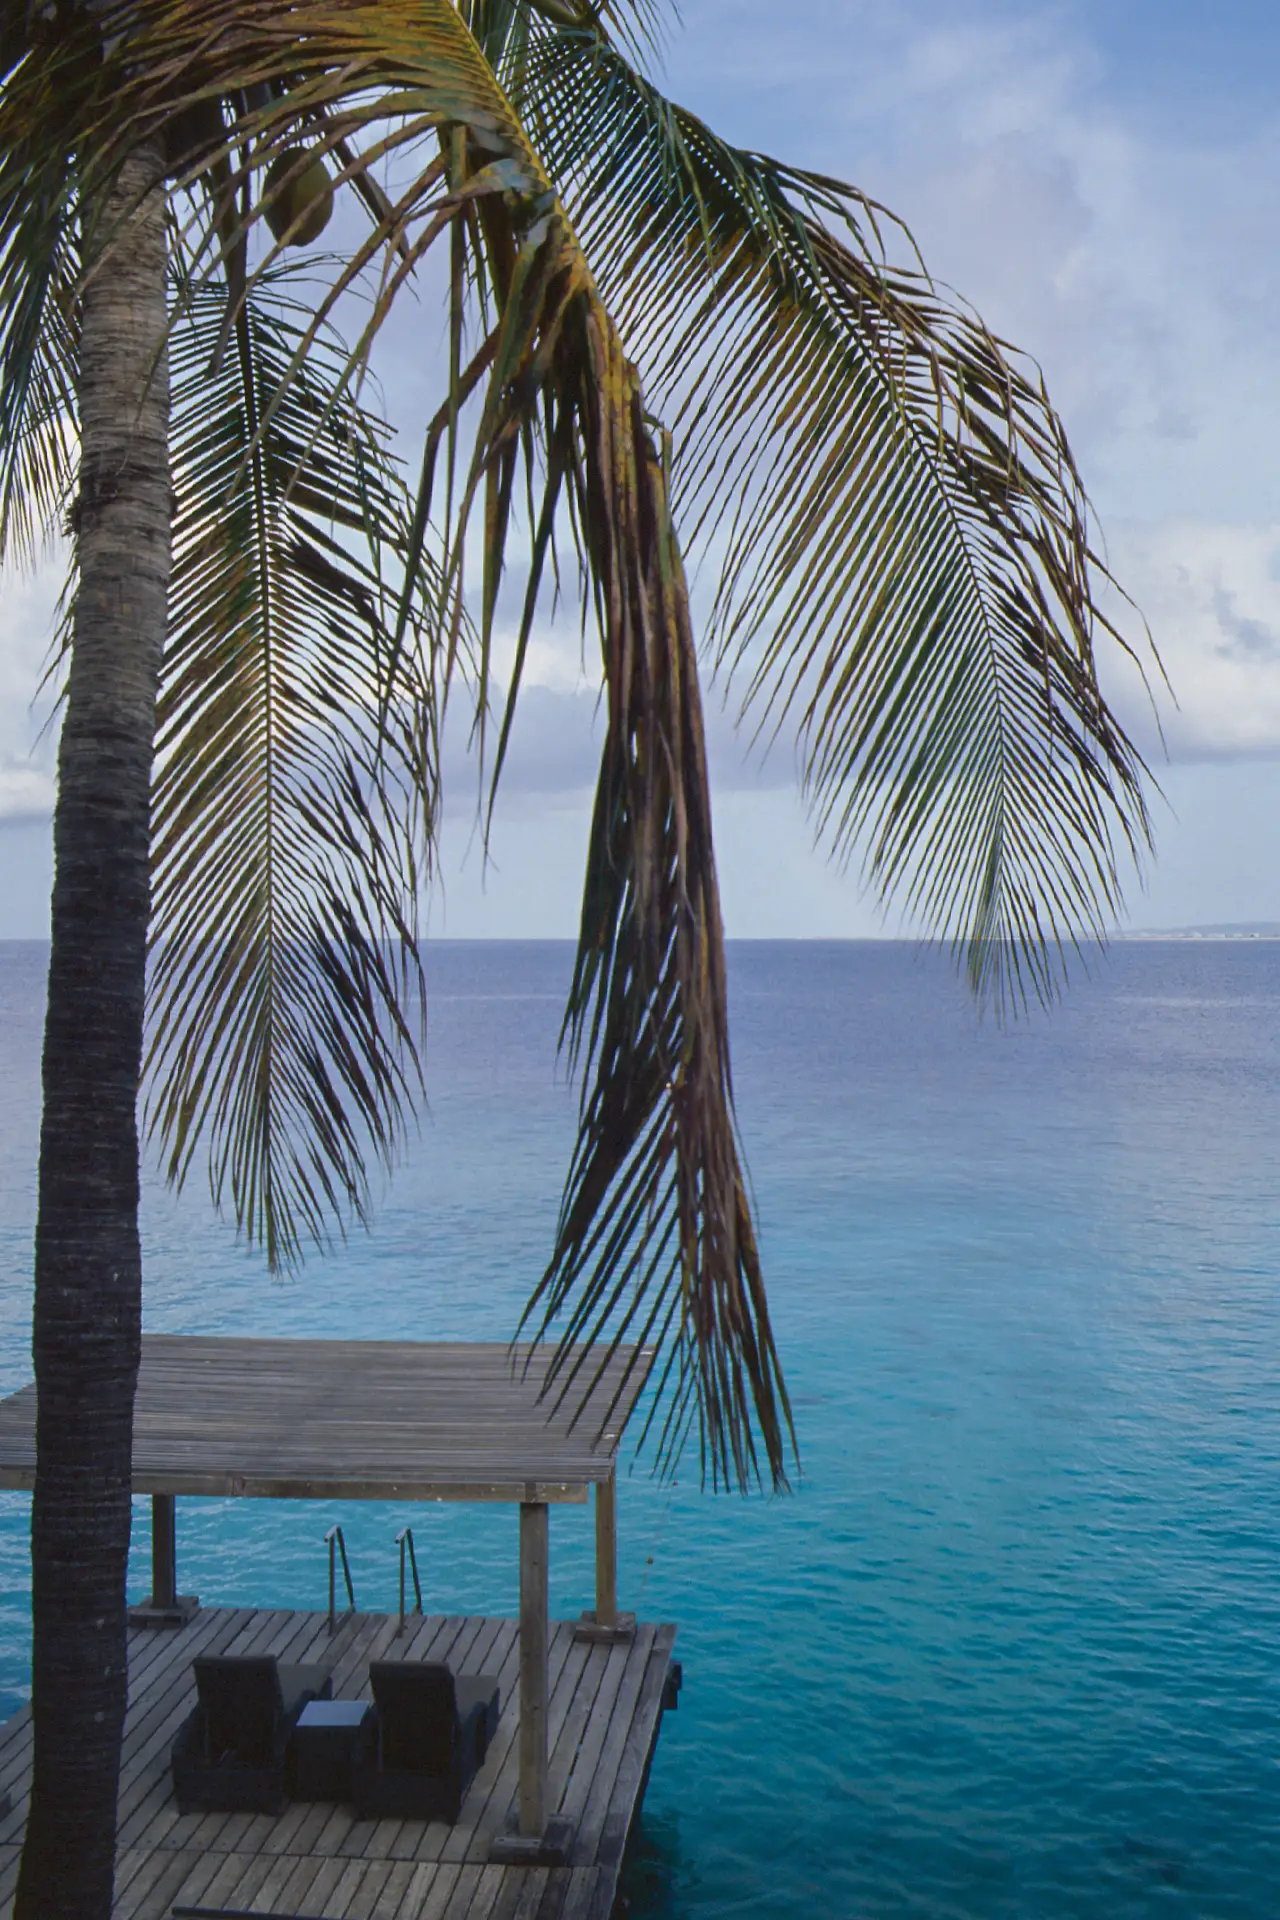
I've not tried Ektachrome (or the Caribbean) but I've some experience with Kodachrome under tropical skies in Africa and I think you're seeing the effect of the environment much more than the film. Clouds in the tropics do tend to be heavy, and to give the light that purplish quality that comes as a shock to us North Europeans. They also rob the scene of shadow and contrast, and for me, that's what your countryside images are missing. The most successful one is the coconut palm, where the sea gives it colour and the tree and the jetty give foreground interest. Holiday photography can be really tricky, as you often can't choose the time for the best light, but have to work with what you find when you get there.
So thanks for sharing. You have a lively mind and a fine sense of adventure - and I'm glad your foot's better now,
Comment posted: 03/12/2020
Khurt Louis Williams on My First Rolls of Ektachrome – A Tropical Thunderstorm – By Aukje
Comment posted: 05/12/2020
Comment posted: 05/12/2020
Hans Wasmus on My First Rolls of Ektachrome – A Tropical Thunderstorm – By Aukje
Comment posted: 06/12/2020
Comment posted: 06/12/2020
Sroyon on My First Rolls of Ektachrome – A Tropical Thunderstorm – By Aukje
Comment posted: 13/01/2021
I was a big fan of your old articles, so it's good to see you back and I (selfishly) hope you write many more! :)
Comment posted: 13/01/2021