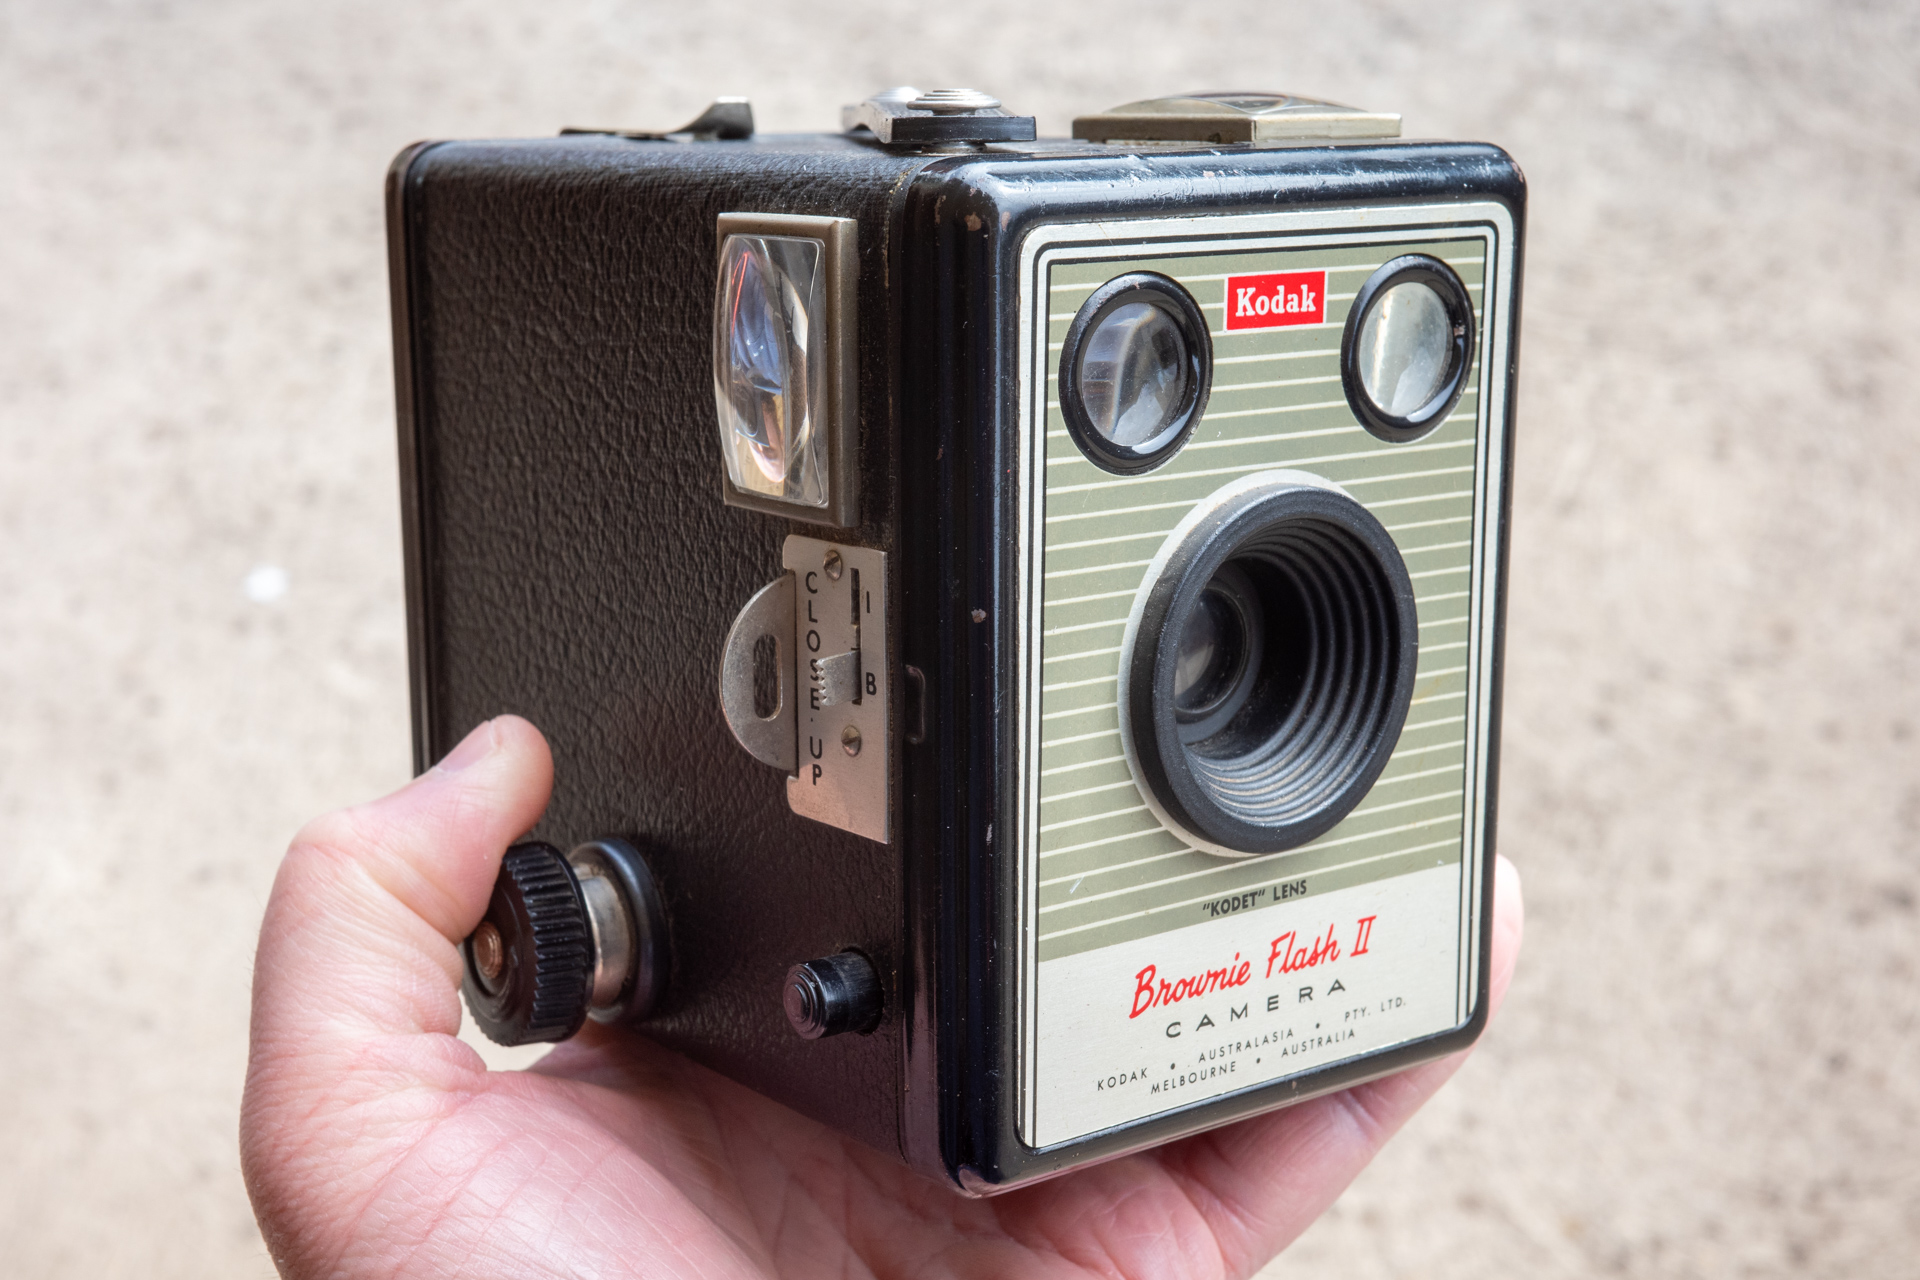
There is a camera store near far from my parents. They do film processing on-site and have a few cabinets of second hand cameras near the front of the store. I always stop in at least twice when I visit. Last visit I spotted what looked like a leather case next to Kodak Brownie Flash II. My friend has a Brownie Flash II – the Australian built version – and had actually been looking for a case for it. I asked the staff how much for the case. They popped out the back to speak to someone. “$20 for the case, and the camera is free.” That’s how I ended up with a Flash Brownie II from the 1950s.
The camera is very simple. A fixed, single element, lens with a little slide out tab for ‘close focus’ (5 feet – 10 feet) that is around f/14. A simple single speed shutter that is maybe 1/50, though it does have a bonus bulb mode, and no tripod socket for longer exposures. It features two view finders that allow you to compose in both landscape and portrait orientations, these are of course flipped left to right which can be a little tricky to get used to. If it is too dark they are hard to see through, and if there is too much light bouncing of the finder lens they are hard to see through. If you aren’t exactly parallel with them they are hard to see through.
My friend had shot a few rolls of 120 film with theirs. We had a 620 take up spool, and cut and shaved down the 120 film spool. This mostly worked pretty well, but one roll of Kentmere Pan 200 didn’t fair great and did jam up when trying to advance the film – but the few shots that did survive turned out pretty good.
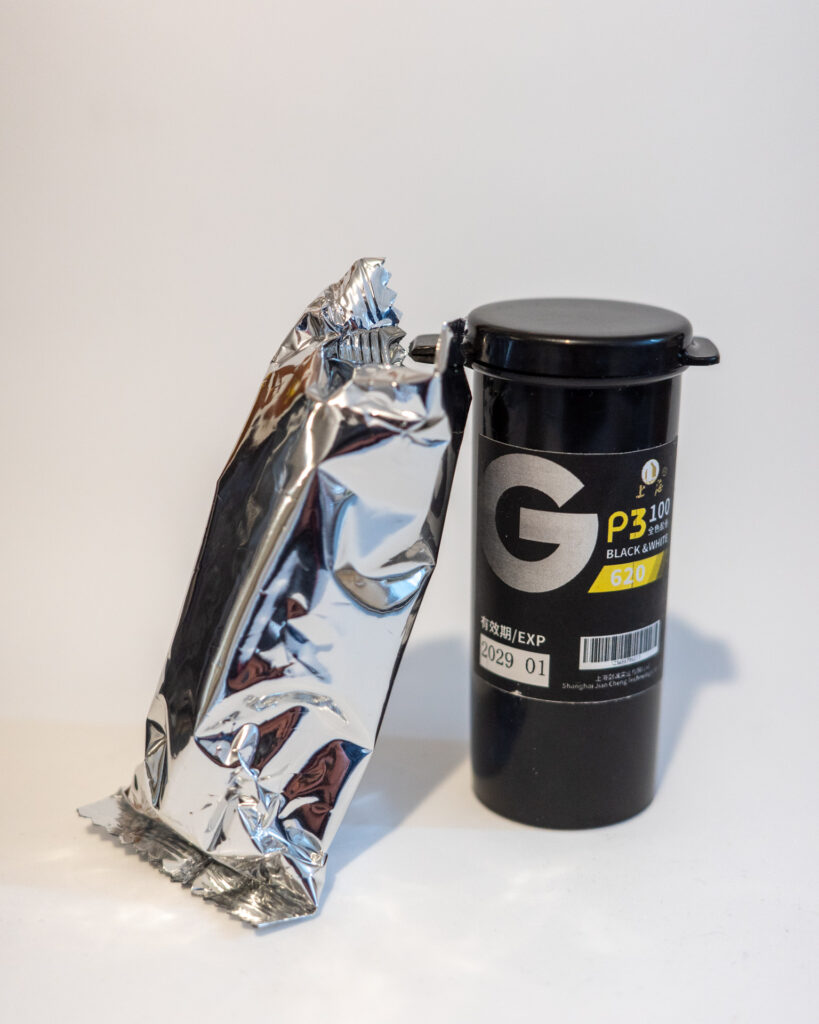
Much time later I found myself looking for the cheapest possible 120 film online and managed to find some rolls of fresh 620 film from China. I have shot a roll of the new Lucky C200, but hadn’t shot any Shanghai (or Lucky) black and white film. I ordered a few rolls for ~$10AUD each and thought it might be fun to try in my Brownie.
The first frame was taken out at an old bridge on Hoskinstown Road, in NSW.
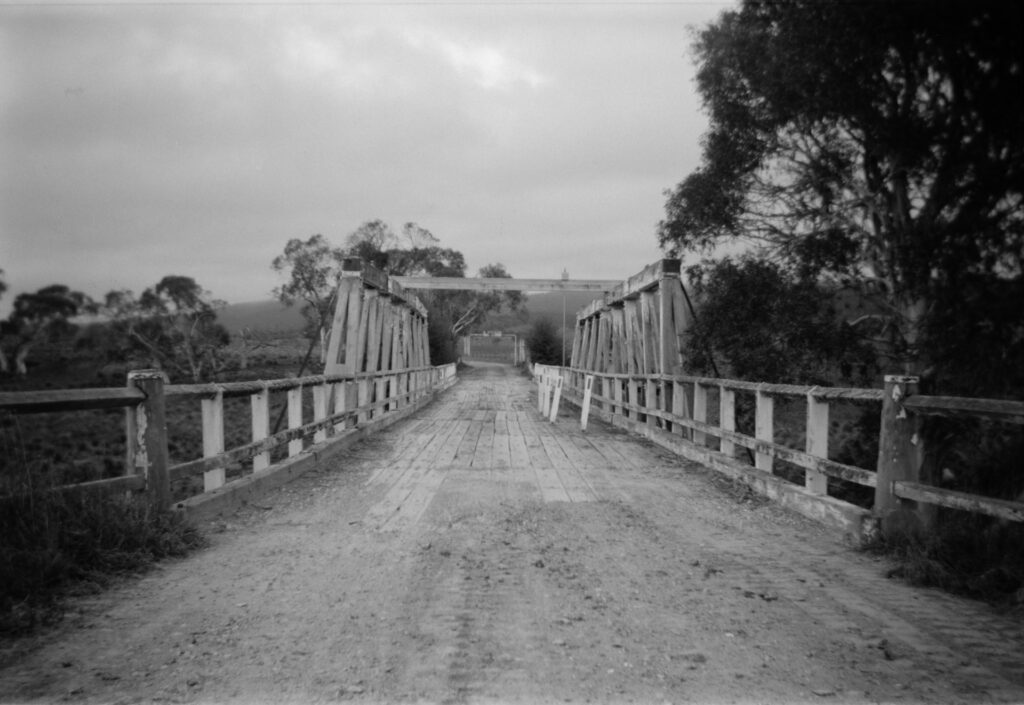
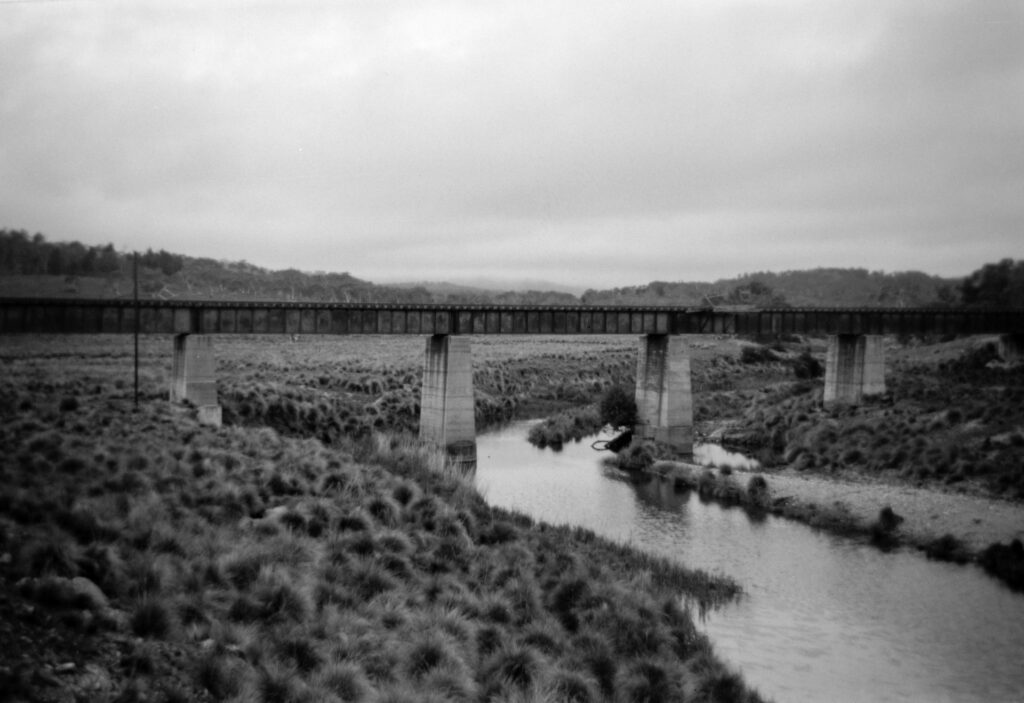
This didn’t turn out too bad. It is very soft around the edges, but given the lens is a single element lens it kind of is what it is. I took another frame at this location with a Bronica ETRS on Tri-X that turned out well, but that whole roll ended up being cursed (ie, I made mistakes). Second frame, same location. Looking at the rail bridge over the Molonglo River.
For the next few weeks the camera sat at home unmoved. How long could I possible drag out a roll of 8 shots? Time to head out to one of my favourite places for black and white photography in Canberra – The National Library and The National Gallery of Australia.
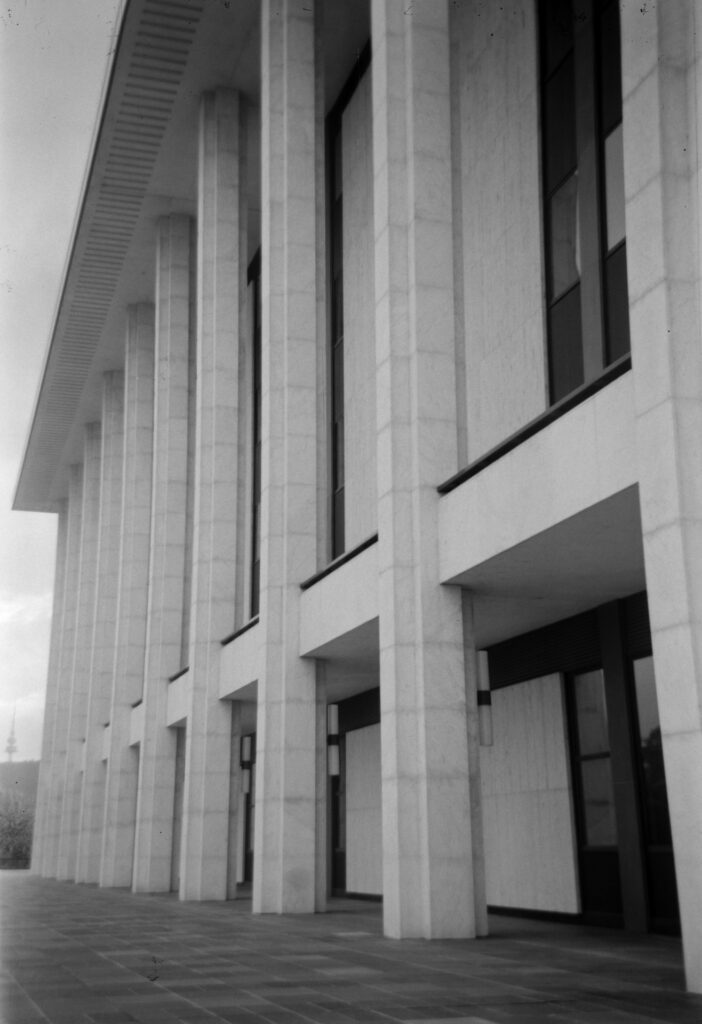
Good thing the lens is relatively wide, lots of room to straighten after the fact. Bonus Telstra tower in the background.
This frame also had some dirt on the negative. Did it come from the inside of the camera, or was it already on the film itself? Hard to say. I had cleaned the camera quite thoroughly before shooting with it, and there is basically nothing to the camera itself.
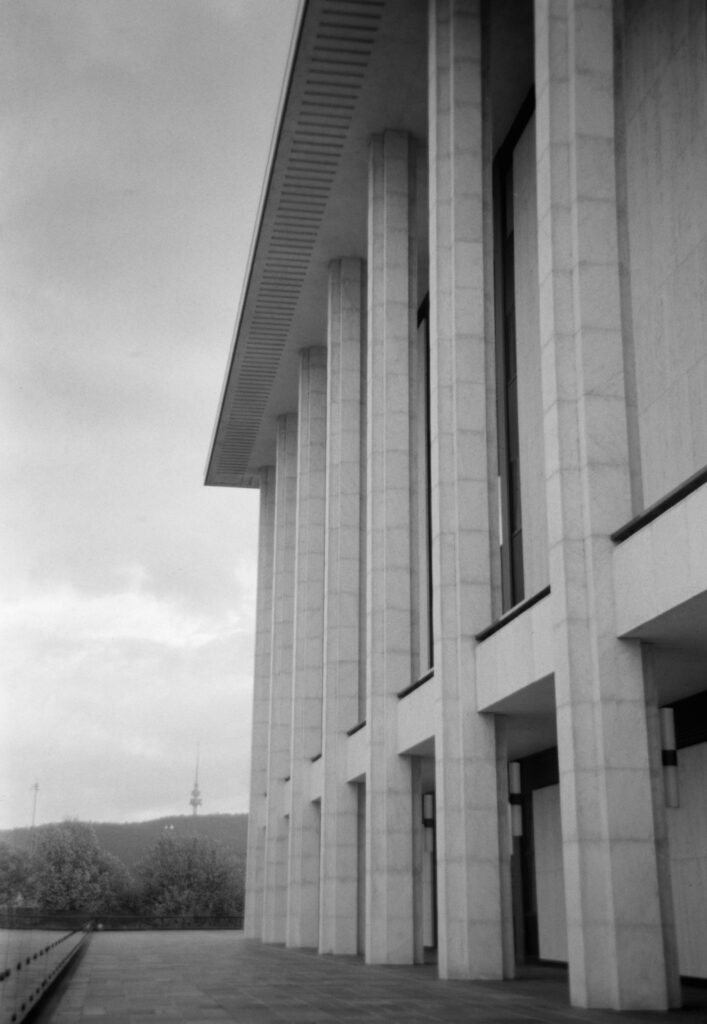
If I had known how soft distant objects were, not sure I would have tried another composition here. Also, so much straighten required. I find it hard to frame up with finders on this camera as it is – if you aren’t looking directly into the finder the image is very dark – but trying to adjust the rotation is another thing.
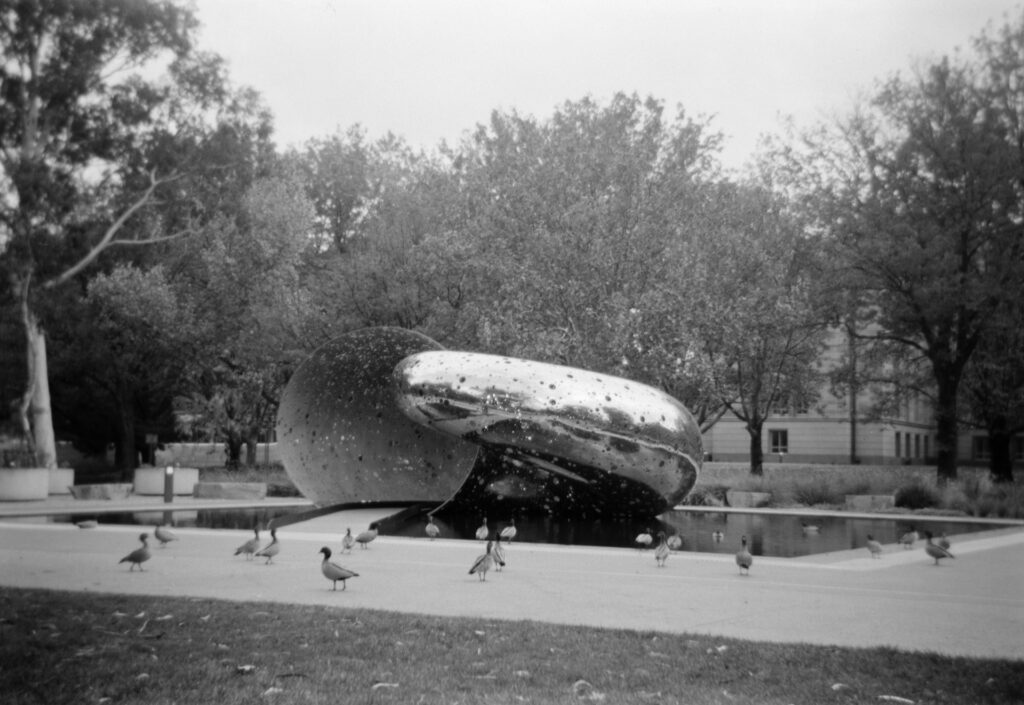
Next stop, the National Gallery of Australia and Ouroboros by Lindy Lee. Bonus ducks. I almost got this one straight.
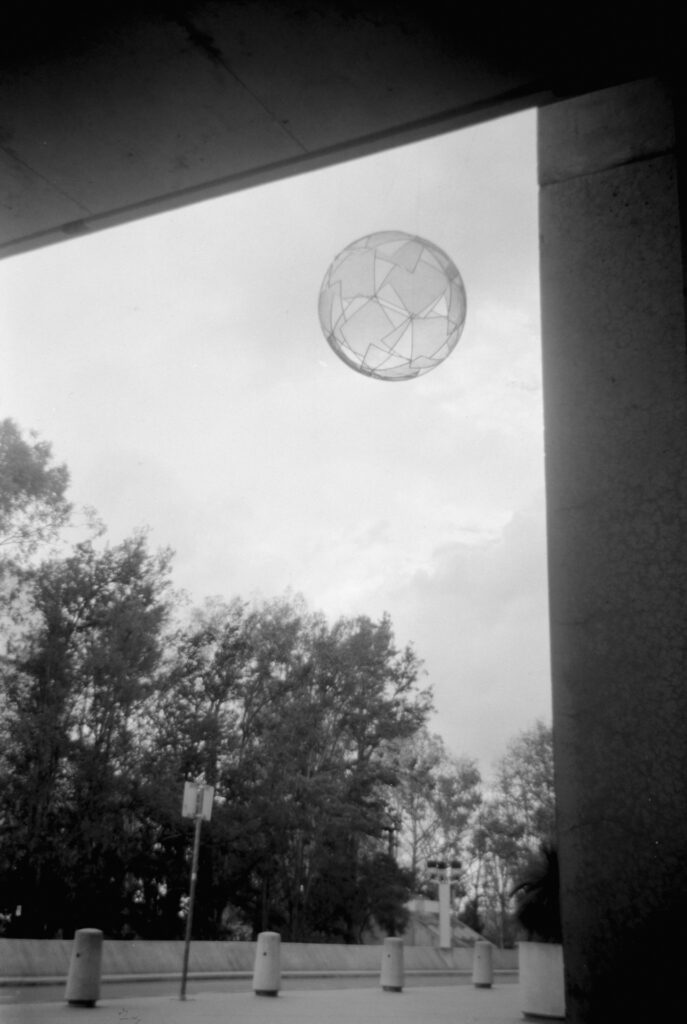
Diamonds by Neil Dawson. Framing up the sphere the perspective shift between waist level and eye level was suddenly very apparent.
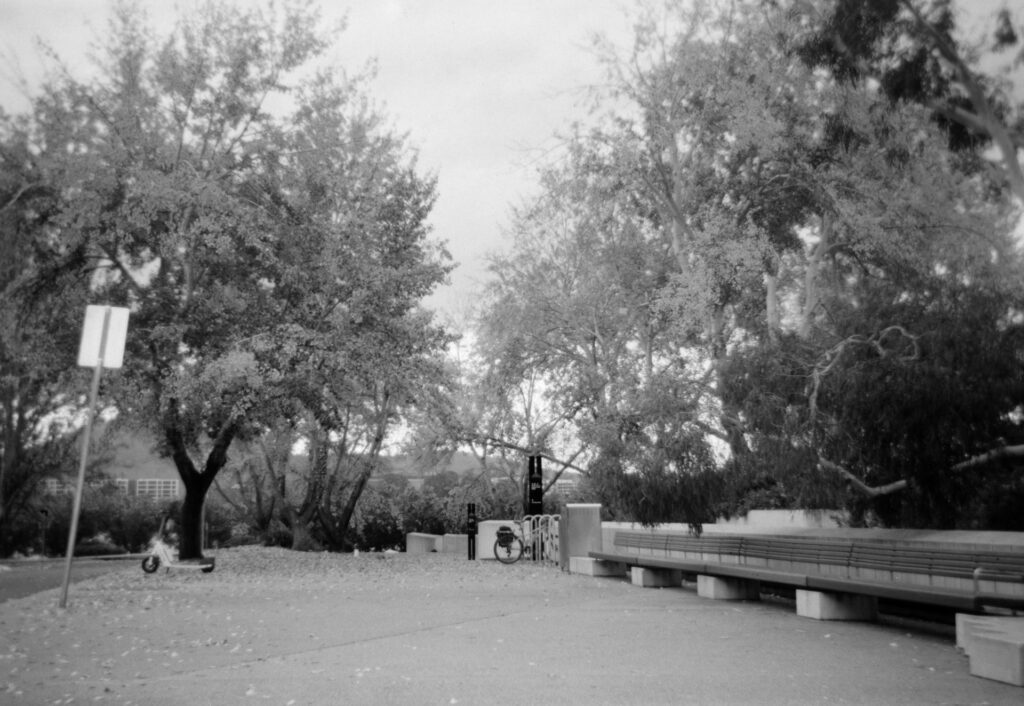
The next opportunity was a parked bike, a long bench, some trees, and I now have a much better idea of how wide the lens is. Everything just got lost in the softness, good chance I also shook the camera as well.
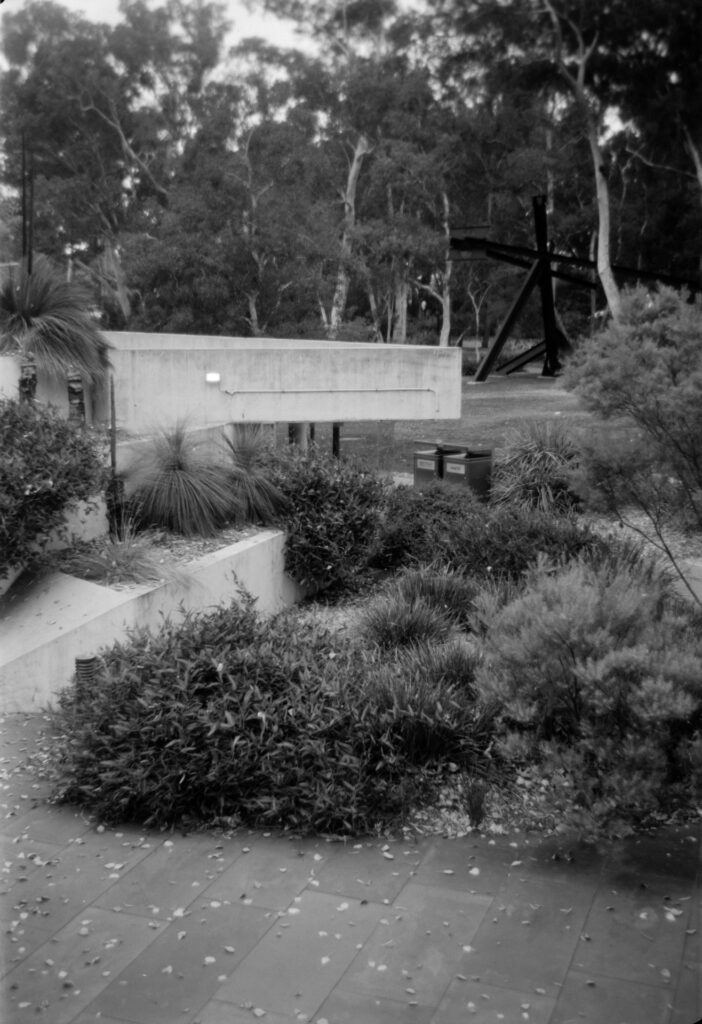
Final shot. In the back of head I thought I was getting 9 shots on the roll, oops. Part of the Sculpture Garden. I think this distance to the subject is in the sweet spot for this camera – around 10-15m. I did check the little slide out close focus tab, but it insists that the options are 10 feet and beyond, and 5 to 10 feet.
First roll done in the Kodak Brownie. I now have a much better idea of the actual field of view, which is hard to get from finders. It is a bit wider than I thought. The lens is softer than I thought it might be, even for a single element lens. It does seem to have a sweet spot around 5m out to around 10-15m. Maybe next time I try and make use of the close focus option. I have since stood in the backyard with a makeshift ground glass and loupe trying to see what is in and out of focus.
First roll of Shanghai GP3 100. It’s not terrible. There was definitely some dirt or something on a few frames, but very hard to know for sure if it was on the film to start with or came from the camera. I processed in ID-11 1:1. I think maybe I processed it for 30-45 seconds too long, but there was details in both the shadows and highlights, and when with the frames being taken in different lighting conditions it is hard to say if the film should have been pushed or pulled in development.
Will I shoot it again? I think next time I might try re-spooling some 120 film onto a 620 spool, just to minimise the chance of it getting jammed. But I do have a couple of rolls of the 620 left to try again.
Share this post:


Comments
Michael Zwicky-Ross on 8 frames with a Kodak Brownie Flash II – The Whole Roll
Comment posted: 03/06/2026
Martin on 8 frames with a Kodak Brownie Flash II – The Whole Roll
Comment posted: 03/06/2026
Thanks again and best regards from Austria
Andrew on 8 frames with a Kodak Brownie Flash II – The Whole Roll
Comment posted: 03/06/2026
To which end, I have been experimenting with how to make my iPhone 16 pro take photos acceptable enough to not always wish I had my camera on me. The answer I have gotten to is to use Halide 3, not the iPhone camera, use the “Process Zero” option (which disables most of the in camera processing), switch HDR off, switch film simulation on, and set ISO priority mode. And hurrah, results look much more like a proper camera. Mind you, if you pixel peep, you realise just how much sensor noise there is which obscures detail. And makes you realise how much in camera processing is going on with the standard camera to artificially sharpen edges, and add detail that the algorithm has guessed should be there (but isn’t). It’s no wonder that pictures with the standard camera look so artificial!