Try it! The most salient learning of my soft-focus foray was a greater awareness for light! With hindsight, that alone was worth it. But I enjoyed so much more in my journey from spherical-aberration allergic into the most forgotten photographic technique.
I blame Agata Urbaniak! We’ve never met, we’ve never corresponded, and since we live in a post-Brexit world, we’re not even on the same continent. Yet her incursion into the Leica Thambar resonated with me, maybe because Agata, too, expressed reservations about its softfocusness in a world where a) everybody else just welcomed the overpriced 2017 reissue as Leica gospel, and b) nobody cared about soft focus techniques anyway, be it for fashion reasons or because the last generation of photographers celebrating that look also celebrated something today mostly considered paedophilia.
I had seen Thambar samples before Agata’s post, but suffering from an intense aversion, borderline allergy, against spherical aberration (“glow”), I had discarded them as yet another obscenity from, au choix, bygone eras or Leicas questionable recent portfolio of lens (re-)releases.
Until Agata detailed the same doubts.
Since then, I followed some interesting discussions over at the highly recommended mflenses.com forum with a similar tone: yes, there’s a temptation by the soft focus, but how exactly do you use it? That reflects my own path perfectly.
But I’m getting ahead of myself.
Curiosity killed the slide projector
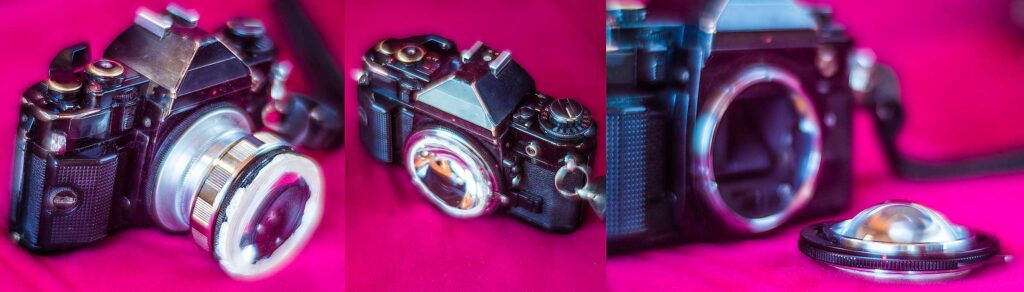
Having seeing Agata thambaring, I got curious. I remembered that you can make your own soft-focus lens out of old slide projectors’ condenser lenses, and since we also live in a post-slide world, I had some of those lying about, and held them to a camera.

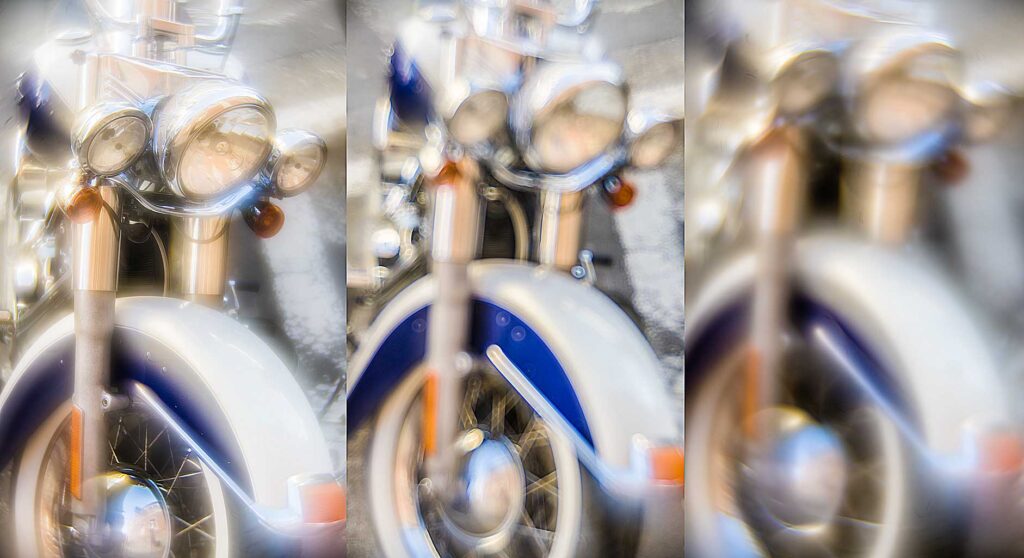
The initial fascination was definitely mostly owed to the setup producing a picture at all, but apparently that was enough to want more. Some adapters and macro tubes later, I had an 85mm F1.2 and a 28mm F1, and a mirrorless viewfinder image like on a very, very foggy day. Shading the lens with my hand, moving the focus helicoid, changing exposure settings – nothing removed the fog. It was the full-on John Carpenter experience! So I snapped test pics near-blind, just so I could tell myself I tried my best. Seeing the results in Gimp, the fascination of producing a picture repeated itself. And then quickly faded.
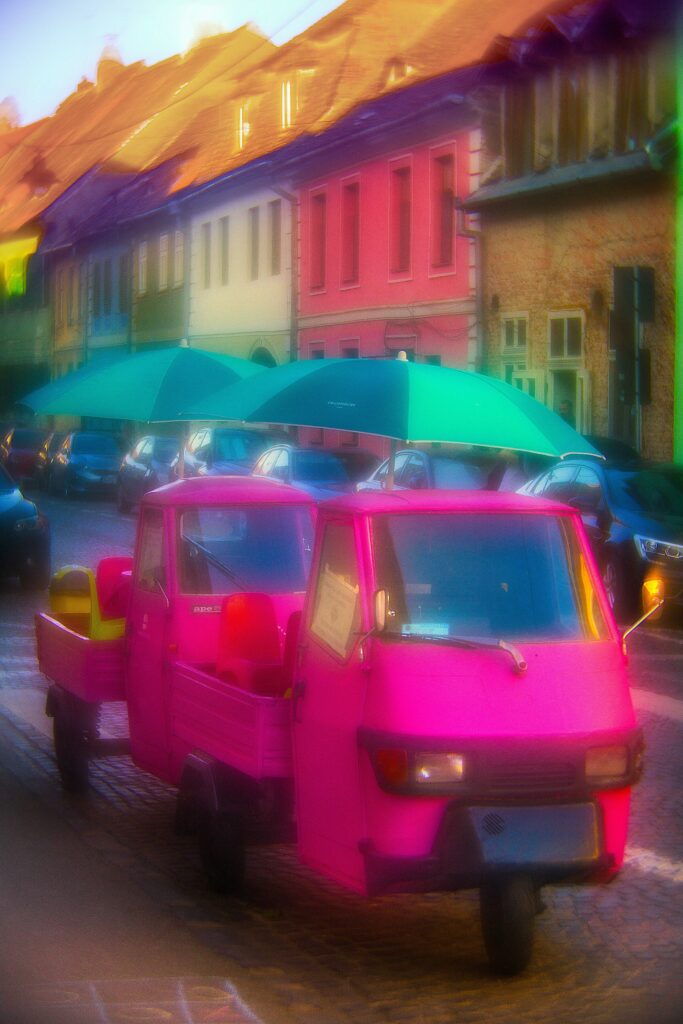
Until I started playing. You might not be surprised to learn, for instance, that such a simple optical “design” (or “coincidence”, really) is not corrected for chromatic aberrations, i.e. false colour seams around subject outlines. I did not expect the degree, though, to which modifying individual colours in RAW editing would change the appearance of the overall image. Since there is so much chromatic and spherical aberrations, they often overlap, and you can thus reduce or increase them with, yes, a colour slider. It’s as magical as adding lemon to a dish – not to make it sourer, but more rounded! And it even works for black & white pictures, since you can grade the colour distribution, brightness and saturation before converting the resulting colour image to black & white. These simple new techniques hold the potential for a new soft focus look beyond the realm of film photographers!

The same goes for local contrast, as influenced by filters such as “Clarity” or “Unsharp Mask” (in its original use). These are the middle ground between “curves” and similar filters influencing the overall contrast of the entire picture, and “sharpening” filters influencing only micro contrast closely around subject contours. Local contrast targets the contrast of a subject in relation to its surrounding. Instead of making the whole picture “hard” or “soft”, like global contrast, local contrast makes more of a “clear” or a “murky” image. Of course, no conventional editing tool can increase the amount of detail in a picture, outside some AI. But you can suggest more clarity to the eye by making it easier to discern individual subject details – which is achieved by better separating them from their surroundings. Fascinating? You’re welcome.
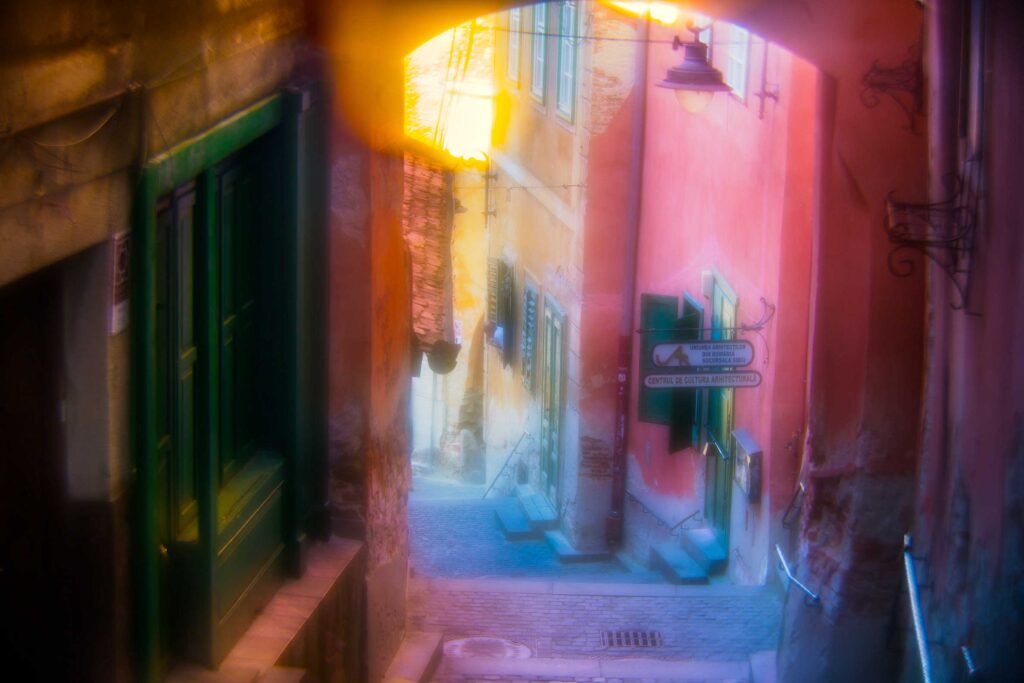
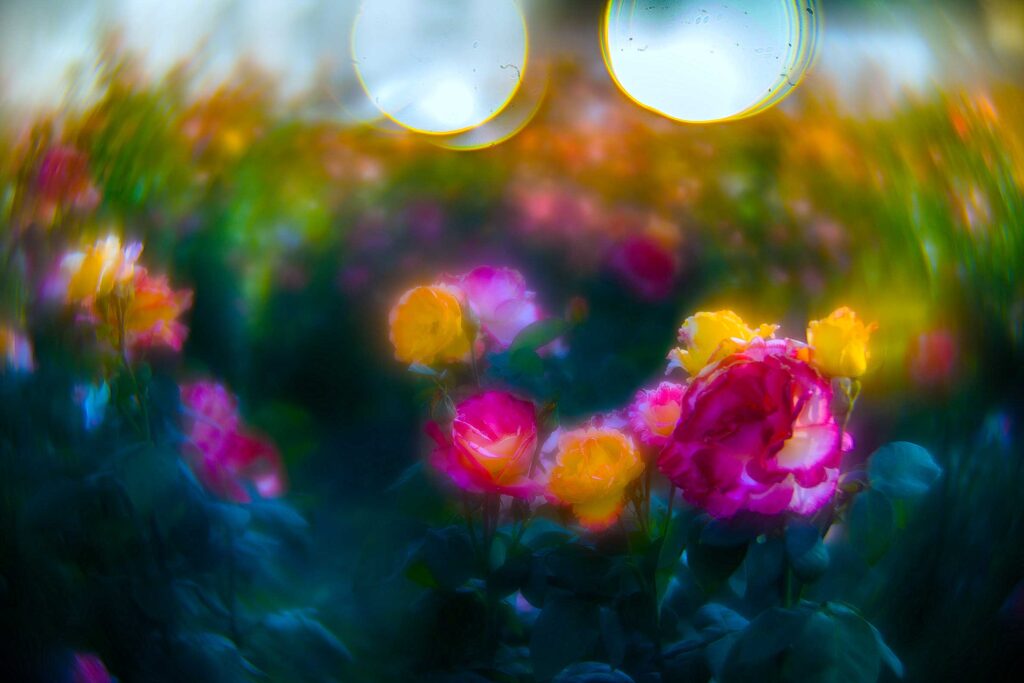
I normally hate this tool, since the result looks unnaturally “clear” in a cheap way, not at all like the clarity of a properly good lens. But using a properly poor lens, adding some local contrast gave me a small revelation: unlike old soft focus looks that tend to be murky all across, “clarity” revealed some areas of detail or interest, a point of reference for the eye, where the fog has thinned a bit.
Sounds silly, right, taking a deliberately soft picture and then trying to salvage a modicum of sharpness? But fear not, there is madness to my method! The filter is applied to the entire image (you could play with masks, of course) – meaning the sharpest, in-focus areas will reveal the most detail; the rest of the image is still soft. Even the “clearest” areas retain quite a bit of glow, but what shines through underneath that glow is a look that really grew on me – despite being a serious spherical aberrations allergic.
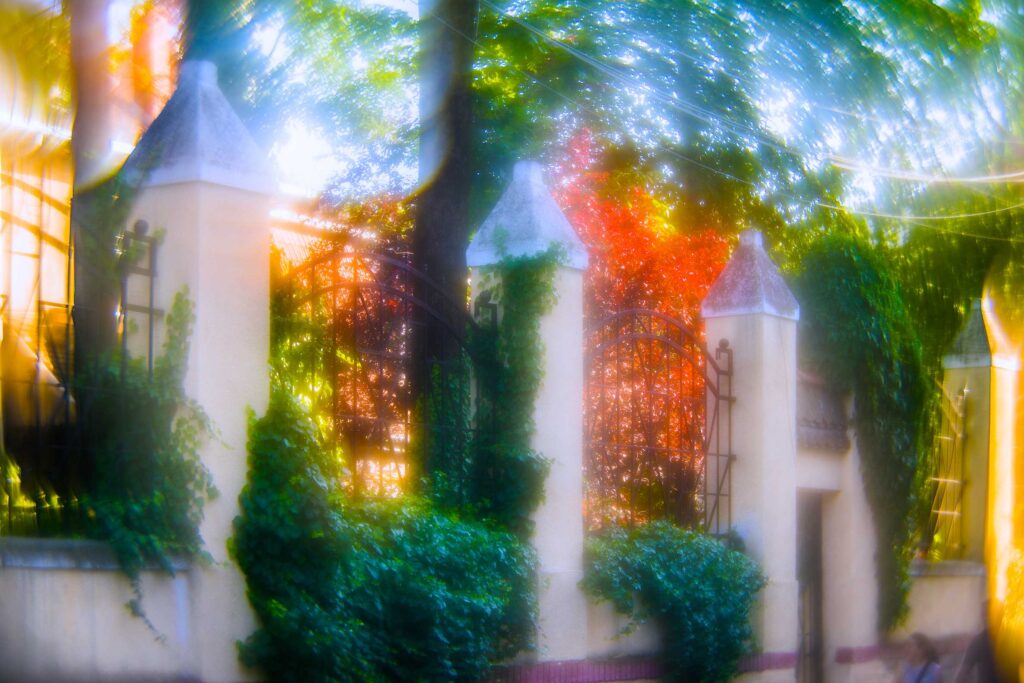
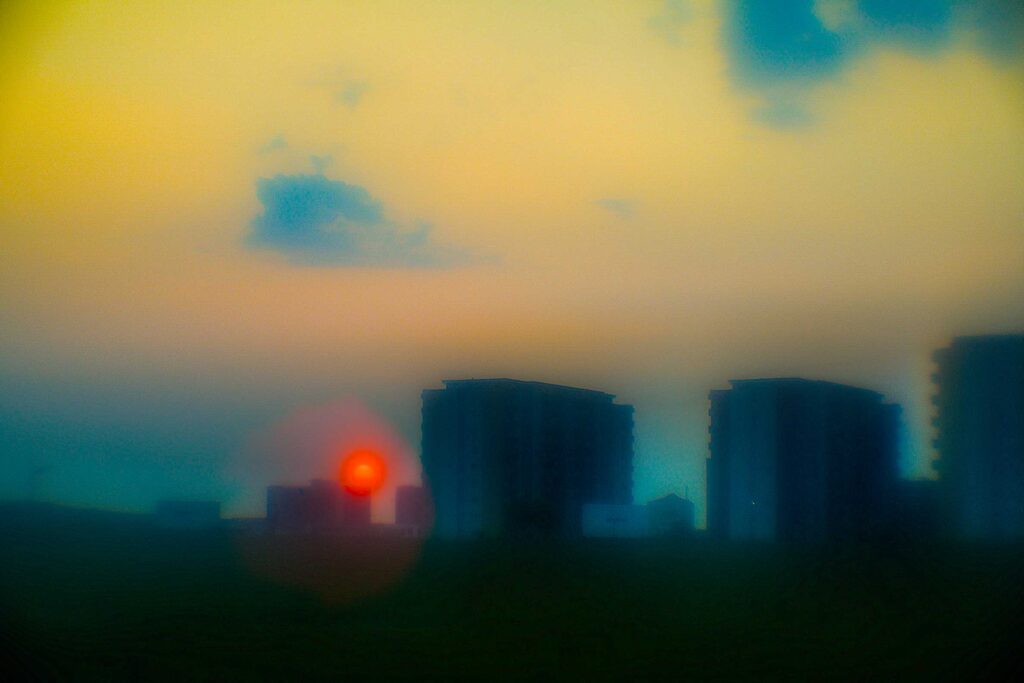
But the look isn’t just nice for its own sake. It works like theatre lighting for me. A spotlight reveals as much as it hides, and in itself creates drama. You could just evenly light the entire stage, with much less work, but it would be boring. In fact, what I saw unfold in front of me reminded me of Simon Marsden’s photography, a master of drama, mystery and perhaps kitsch – but in any case, a master of creating more impact by showing less.

Feeling what’s right
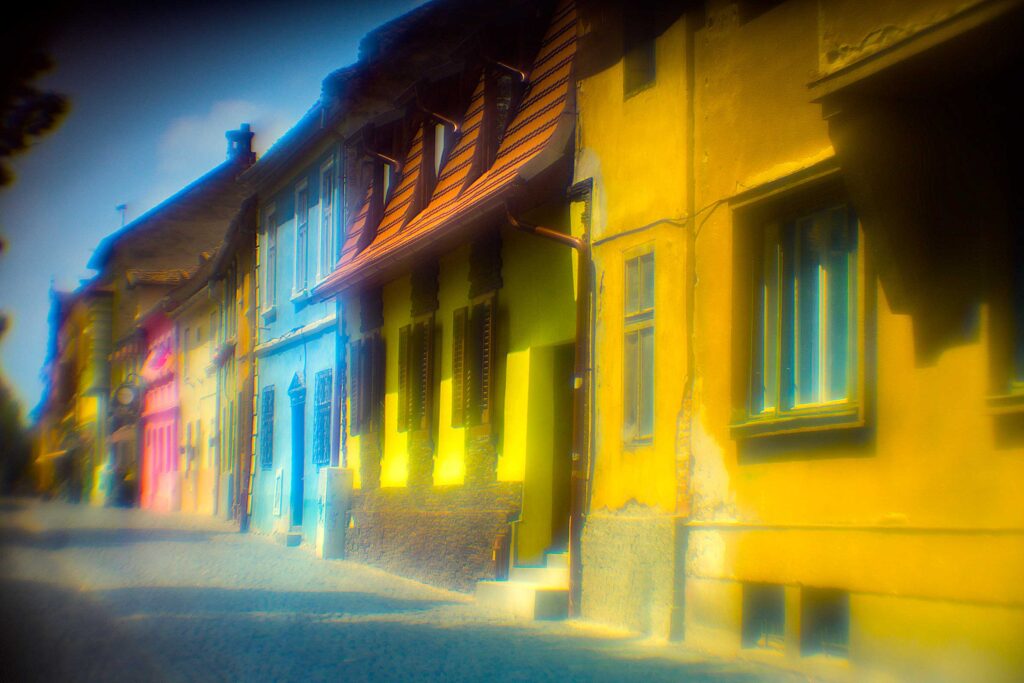
At the same time, my editing process is simple enough to not make me feel like cheating. I admit that I am not trying to replicate historic soft-focus processes; there is no large format camera, no self-poured glass negatives, no brass Congo lenses. I explore the technique, for my own expression and edification. And as such, following the murk towards some clarity and some colour was highly interesting. It also quickly convinced me that this is a venture best pursued in colour, at least for my taste, which is odd, because I enjoy the abstraction of black & white and I enjoy Marsden’s work, most of which is black & white. But perhaps black & white plus soft focus got too abstract for my taste?

Happily, my editing foray did not just give me more clarity (pun) for the style I prefer; it also made me a better soft-focus photographer. I learnt what to expect from a lens, how to properly focus it to achieve it, and what to look for to do so, both in front and behind the camera. It’s a universal truth that the softer a lens, the harder it is to focus – simple one-lens contraption or highly corrected modern lens. The viewfinder image of a glowy lens does not “snap” into sharpness when you turn the focus dial. You thus have to work that much harder to extract the little sharpness there is. This is known to both lovers of Sonnar type lenses, and owners of the fairly recent 75mm F1.25 7artisans. Both are capable of decent sharpness, but will not give it up easily.

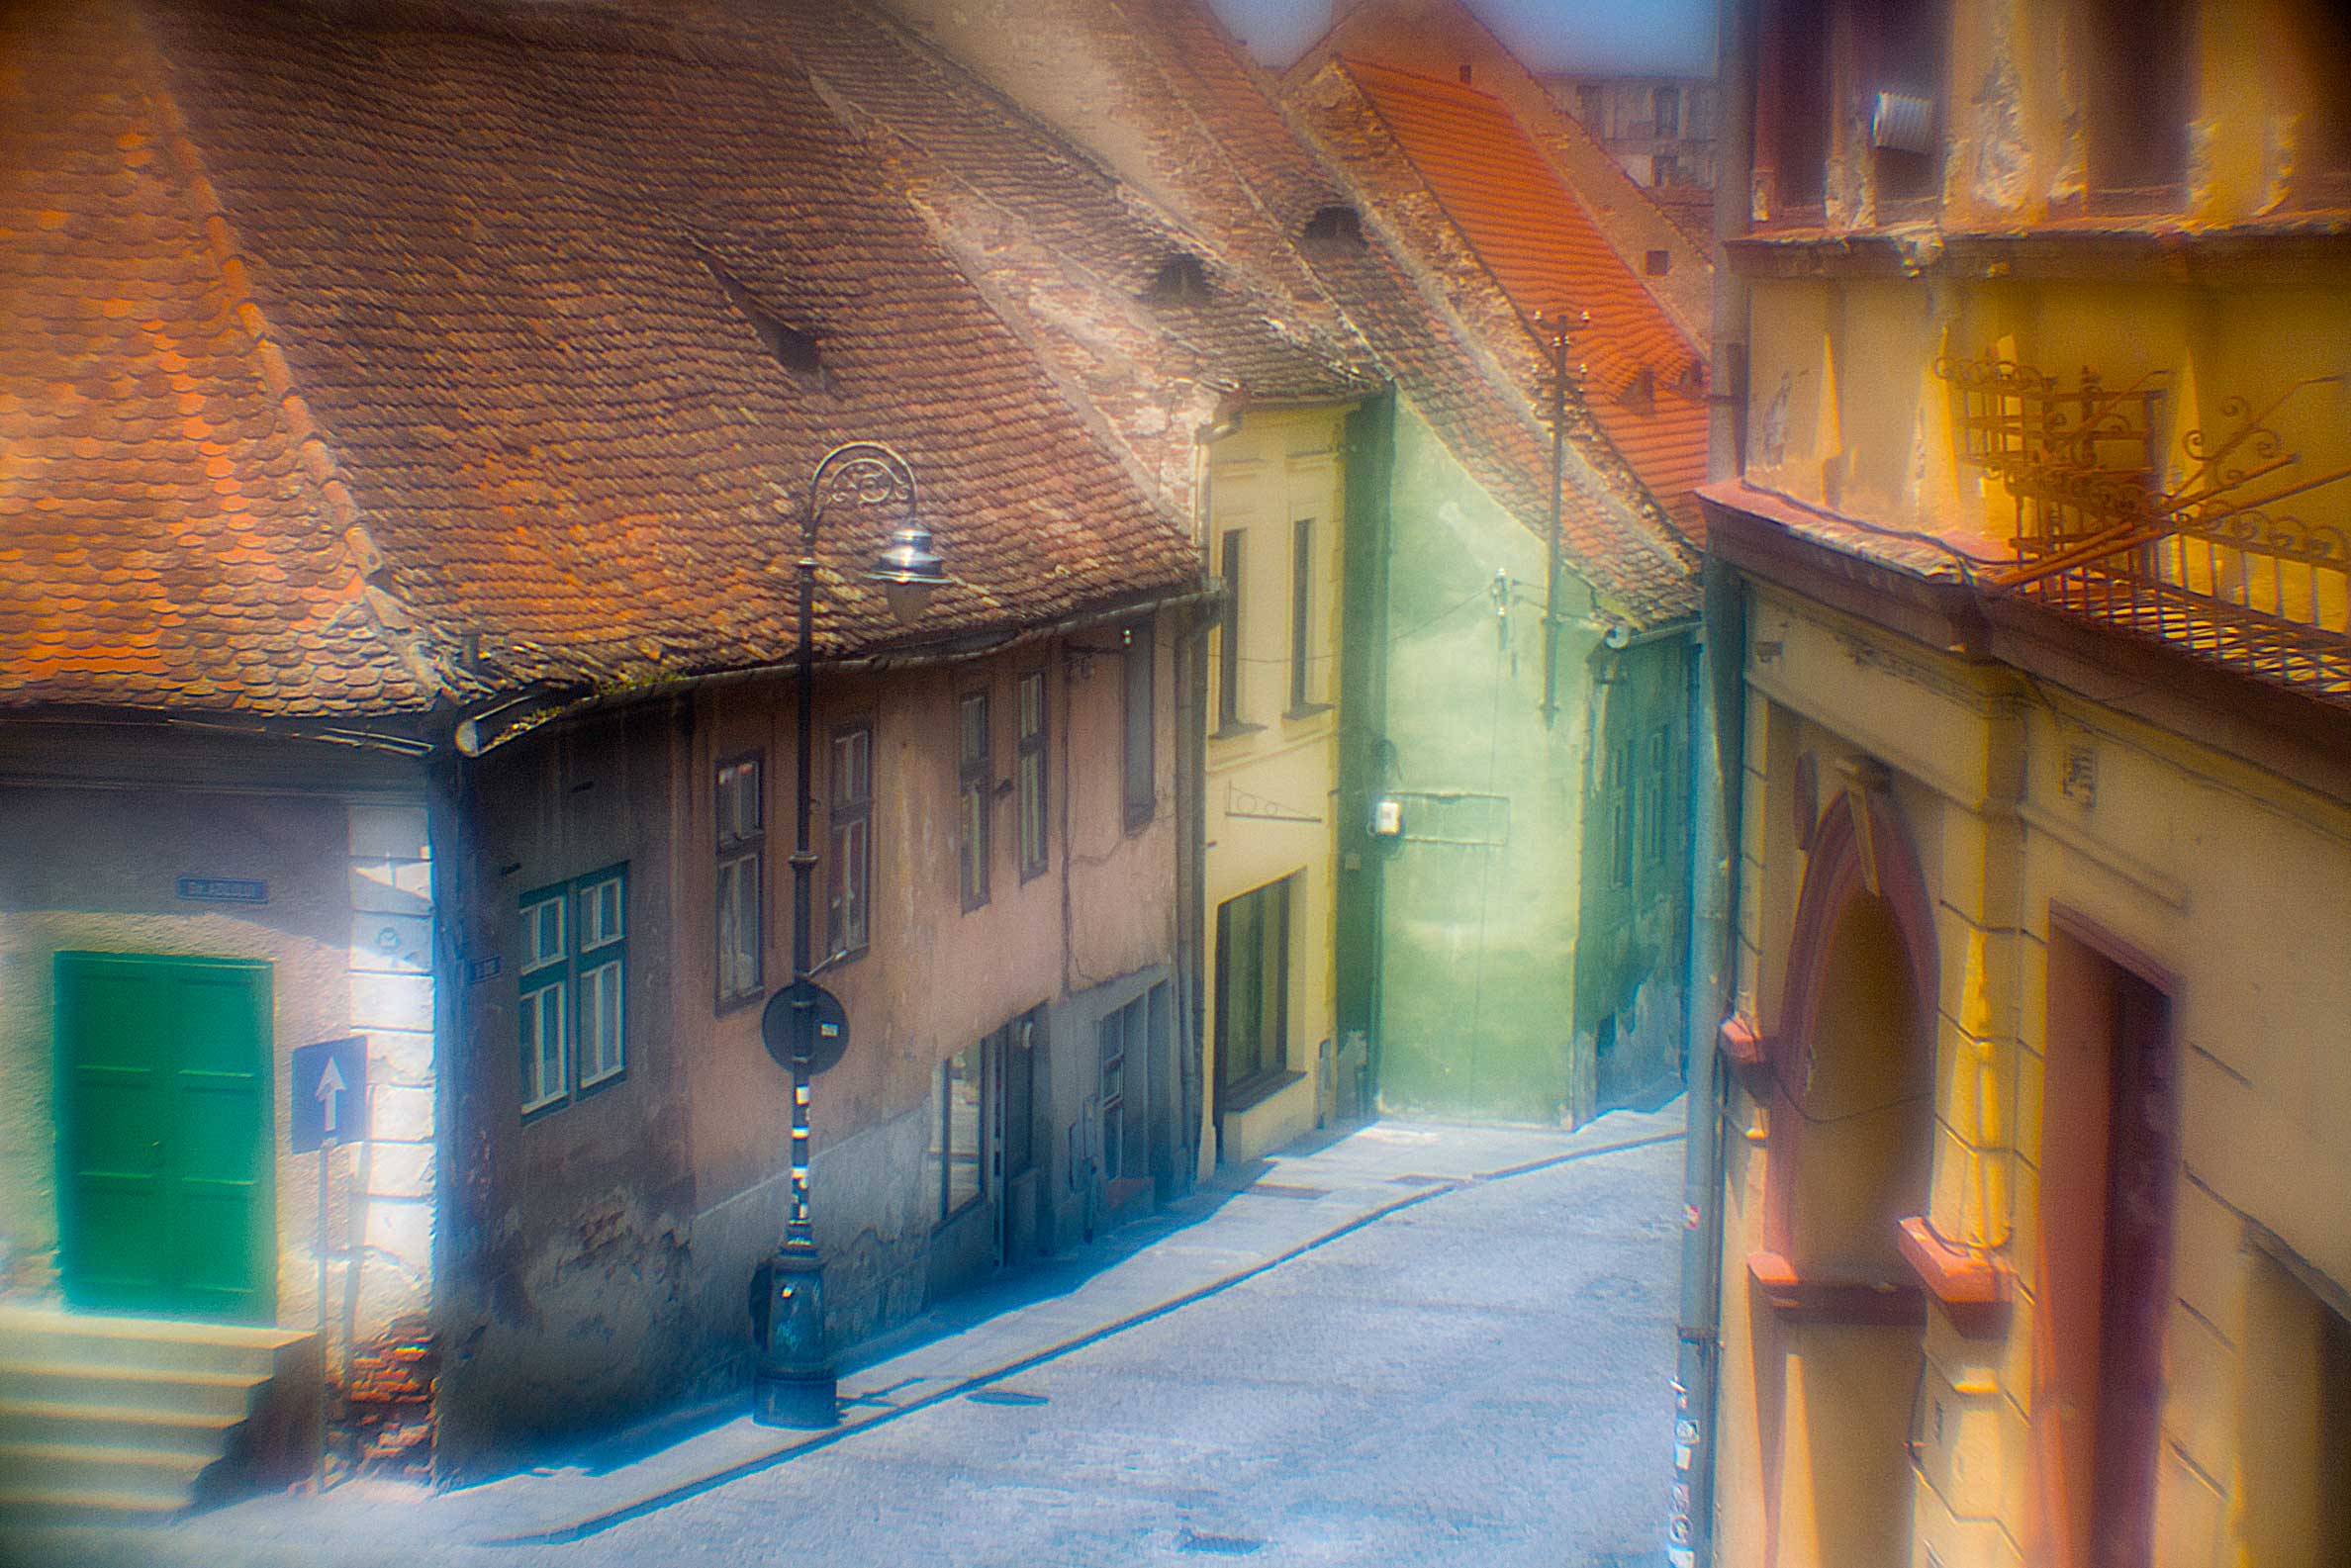
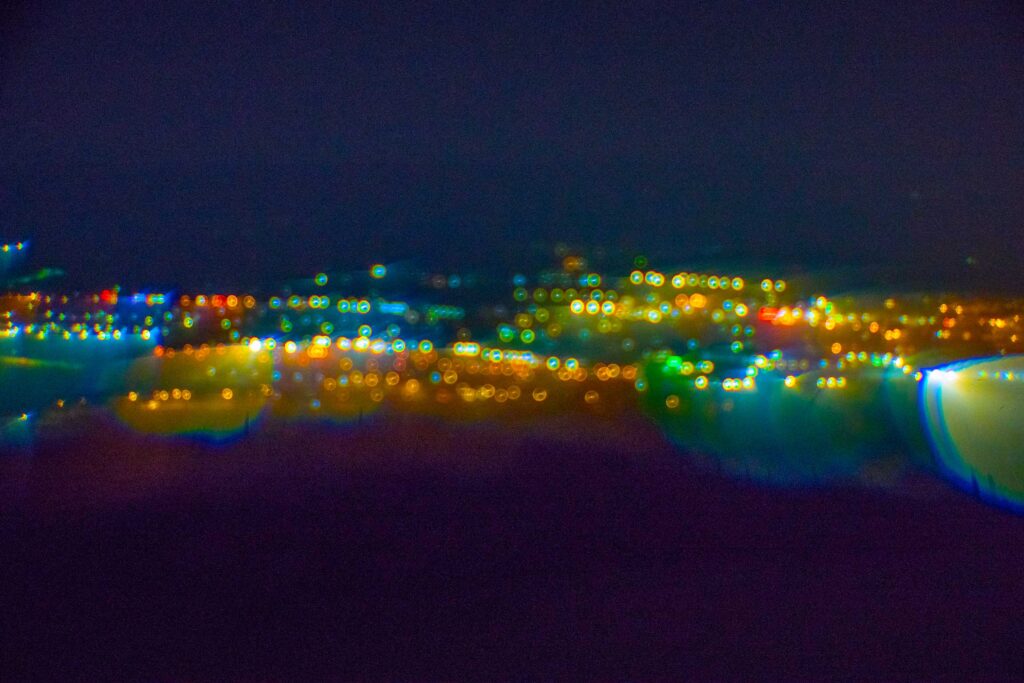
With a soft-focus lens, the effect is the same, times twenty-seven. The remedy is both visual and mechanical learning: mentally mark where the lens extends to when focussed to infinity, and which way to turn the dial for close-up. Then mark what level of sharpness you can expect to see in the viewfinder, and fine-tune (“pump”) the focus dial until you get that to the highest degree. Well-lit, contrasty subjects are the best focus reference if you use an electric viewfinder with magnification. No stray light and enough time helps a lot, but with some experience, you’ll even master soft-focus street photography!
The upside is that it is very hard to actually misfocus a soft-focus lens: the image will just lose ever more detail rather than visibly going out of focus. You can always claim that was intentional! Conversely, you can influence the look of an image to an astonishing degree by improperly focussing it! You will lose detail resolution, but in exchange for added or modified glow. This is because in an uncorrected lens, colours of different wavelengths do not focus on the same level. Even, obviously, if you then immortalise them in black & white.
This is especially neat since, unlike corrected lenses of anywhere near the same speed, there is no actual bokeh. Beware though of the distraction if another subject in the foreground or background inadvertently shows more detail than your main subject.
The oldest technique in the world
With so much enjoyment gained, I looked into “proper” soft focus lenses. And was a bit disappointed. Their looks are quite varied, and much more controlled, but also quite calculated. If my own “lenses” were dirty garage punk rock, then I guess I was looking for some eclectic post-punk masterpiece like Meat Loaf’s Bat out of Hell (enjoy!). Instead, what I found looked mostly like generic 80s pop (as opposed to great 80s pop). Whether it was the Canon FD, Minolta MD, or the Dreamagon, I felt reminded why soft focus went nearly extinct. None of these lenses, and many others, gave me a less-is-more feeling where less sharpness would mean more character. Less was just less.
But of course, that is just me. More intriguing was seeing the breadth of looks there actually are, and the variety of tricks to obtain them. Whilst conventional bokeh comes in a handful of basic styles and a few variations each, the means to soften an image are nearly endless, from an under-corrected optical “design” through deliberate stray light to reflections. In fact, you can go quite soft with no soft-focus lens at all, by means of a regular lens plus a vast variety of softening front filters, a stocking, the dreaded vaseline, or just breathing on the lens. Not all these approaches are strictly soft-focus, which specifically implies spherical aberrations. But all allow for a gradual-exposure therapy for fellow spherical aberration sufferers: not only can you remove the filter if it gets too much; they also come in all intensities from barely noticeable to full-on spherattack.

Don’t forget to look through history, either. Already because not a single larger manufacturer makes a soft-focus lens today. Yet while my favourite commercial offerings come from the age of large format, that makes them impractical on full frame cameras, aside from being rare and expensive. But researching them gives you an even deeper glimpse into the varied history of the style.
For more recent offerings, I was surprised to see that Pentax not only made the obligate 85mm, they also made a wide-angle 28mm, although it really only introduces highlight glow. Kenko made a 45mm, Tamron even a 70-150mm zoom – all of which encourage bringing the soft-focus look outside conventional portraiture.
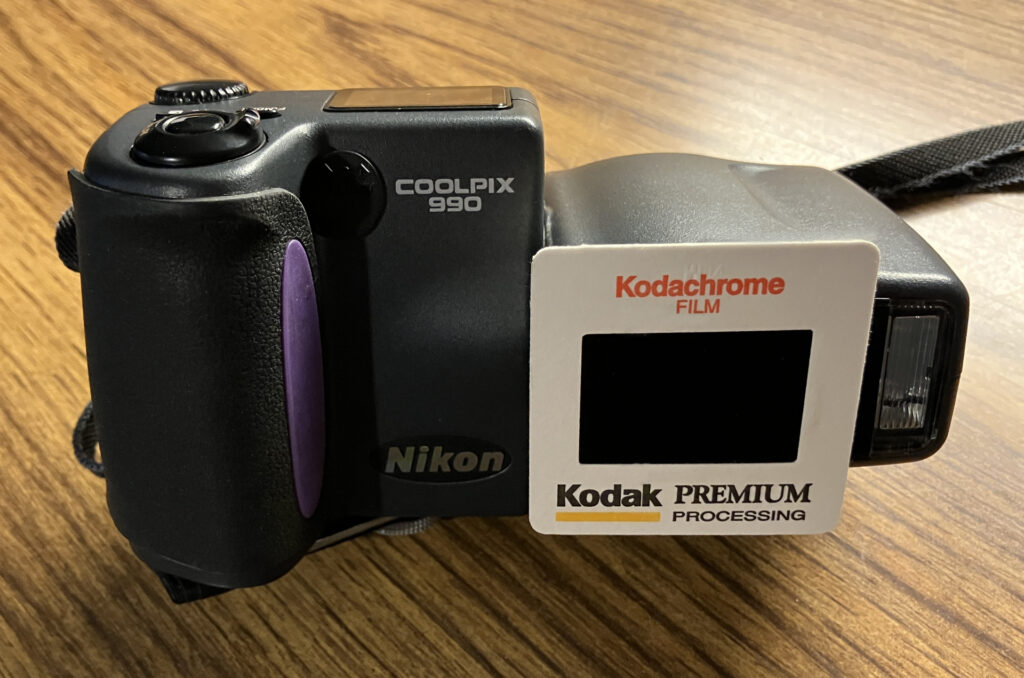
The DIYer might scour local flea markets, classifieds and their digital counterparts: my slide projector lenses were obtained during covid, when I fended off boredom by reading local small ads. Someone gave away a broken Leica Pradovit. I mostly wanted its “regular” 90mm lens, but I kept the rest of the glass (you know Justin Case?).
Yet don’t hasten to replicate my exact setup, because mixed in my box of stuff may have been older lenses from a VEB projector I had bought much earlier, then for its Meyer Diaplan 80mm F2.8 lens. It’s also quite possible that some other glass found its way into the same box over the years. Ultimately, it’s is irrelevant. Some other lenses might work even better!
An exercise in light
Finally, I realised how unimportant the specific look is compared to my biggest learning: it’s astonishing how much more acute your perception of light gets when you have a teacher that exaggerates it so tremendously, blows it out of proportion, brings it to life, albeit in quite a weird way. You’d think that after 20+ years of photographic immersion, I had learnt about light. But no, it took a weird soft-focus “lens” to illustrate for me the difference between a good subject, and a good subject in good light. ‘Good’ doesn’t mean camera-friendly or convention-friendly, but interesting, expressive, and conducive to the picture’s story as a whole.
That alone was worth the whole exercise! (True, the fun alone was also worth the exercise.) I can only encourage you to try it yourself!!
And it answered my final, the most timely question: if the pictures are heavily edited – could we not just create the whole look in a computer? I will say no, already as you’d forgo most of the light learning! But my No goes further: all the editing I apply only emphasises aspects of what is already there. The true character that me and the long history of soft-focussers seek comes from optical characteristics and defects; editing merely shapes them.
More universally speaking, though, yes of course you can take an existing picture and add a soft focus, blur, glow or whatever-you-like effect to it. The result may be similar in style, but very different in detail. And true, that’s just part of the magic!
Share this post:


Comments
Gordon Ownby on It’s Time for the Soft-Focus Revival!
Comment posted: 17/08/2025
Russ Rosener on It’s Time for the Soft-Focus Revival!
Comment posted: 17/08/2025
As an aside I would not describe Simon Marsden's body of work as "kitschy". Although some of the colors achieved in this article certainly hit that mark. All in good fun though!
Gary Smith on It’s Time for the Soft-Focus Revival!
Comment posted: 17/08/2025
Interesting soft-focus.
I like looking at "different" for a change. Thanks!
Ibraar Hussain on It’s Time for the Soft-Focus Revival!
Comment posted: 17/08/2025
I was pondering a 100mm f2.8 AF Soft Focus lens for my Minolta - one day God willing, but I doubt I'd be able to get such dreamlike shots as you have here