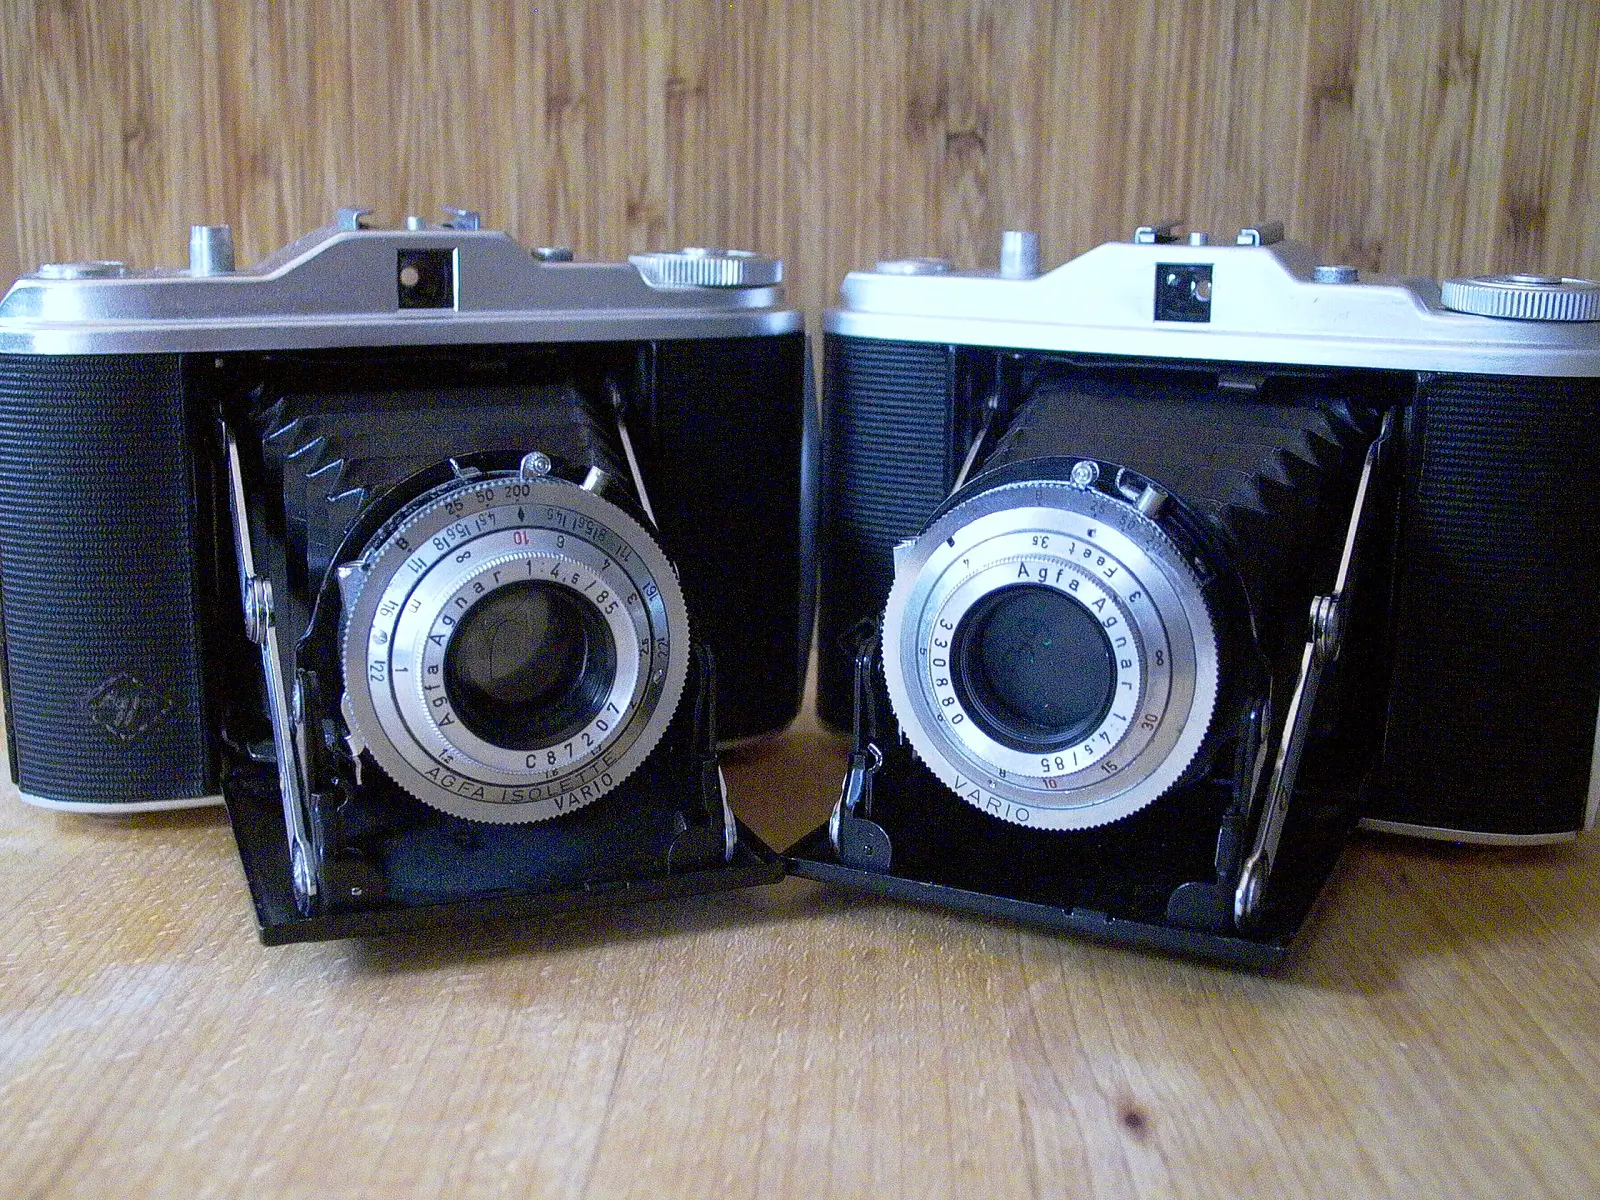
Since I posted a while ago now about my exploits with a 35mm pinhole mod, I have been contemplating pinhole photography at medium format. You may have also read a more recent ‘5 frames’ of mine explaining my like for old bellows cameras, including the virtues of the 1950s Agfa Isolettes. So when I came across an Isolette that had been converted to pinhole, I jumped at the chance to acquire it.
The Isolette i, being low-spec, is ideal for a pinhole mod. Mine has had its simple lens removed and replaced by a thin metal plate with a 0.39mm hole drilled in the centre. The shutter is set to bulb, so it’s just a matter of counting out the seconds in your head (not too scientific), preferably with the aid of a tripod and release cable. As my two Isolettes are basically near identical, I thought it would be fun to shoot them at the same time and compare the results afterward. Hence the title “lens v pinhole.”
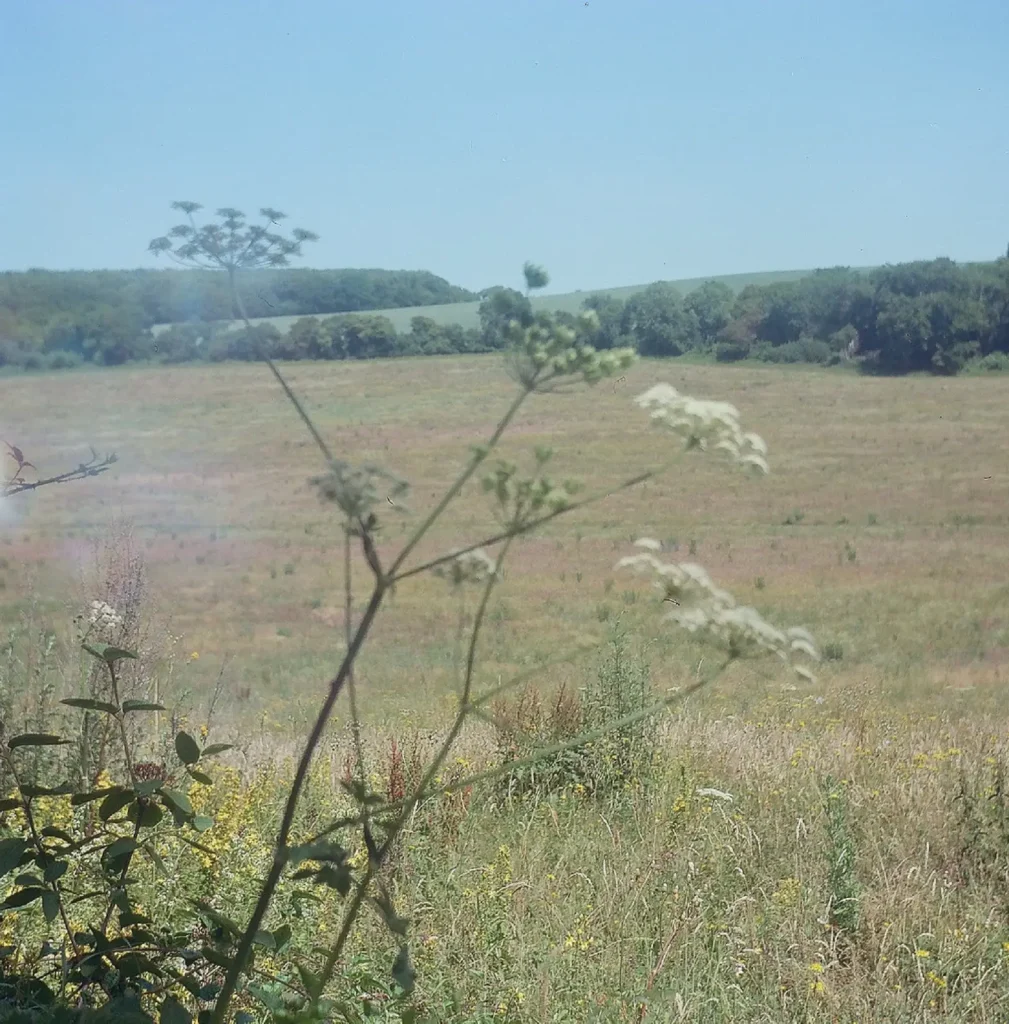
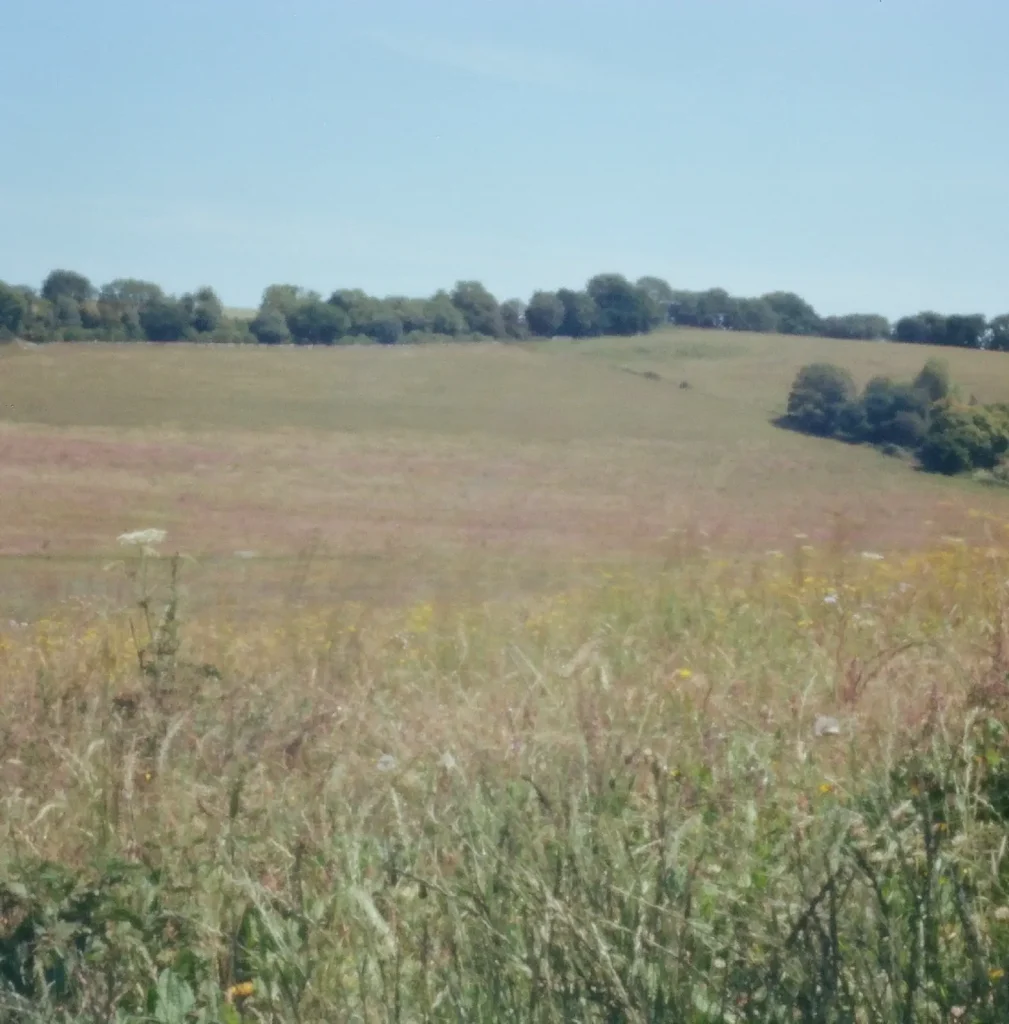
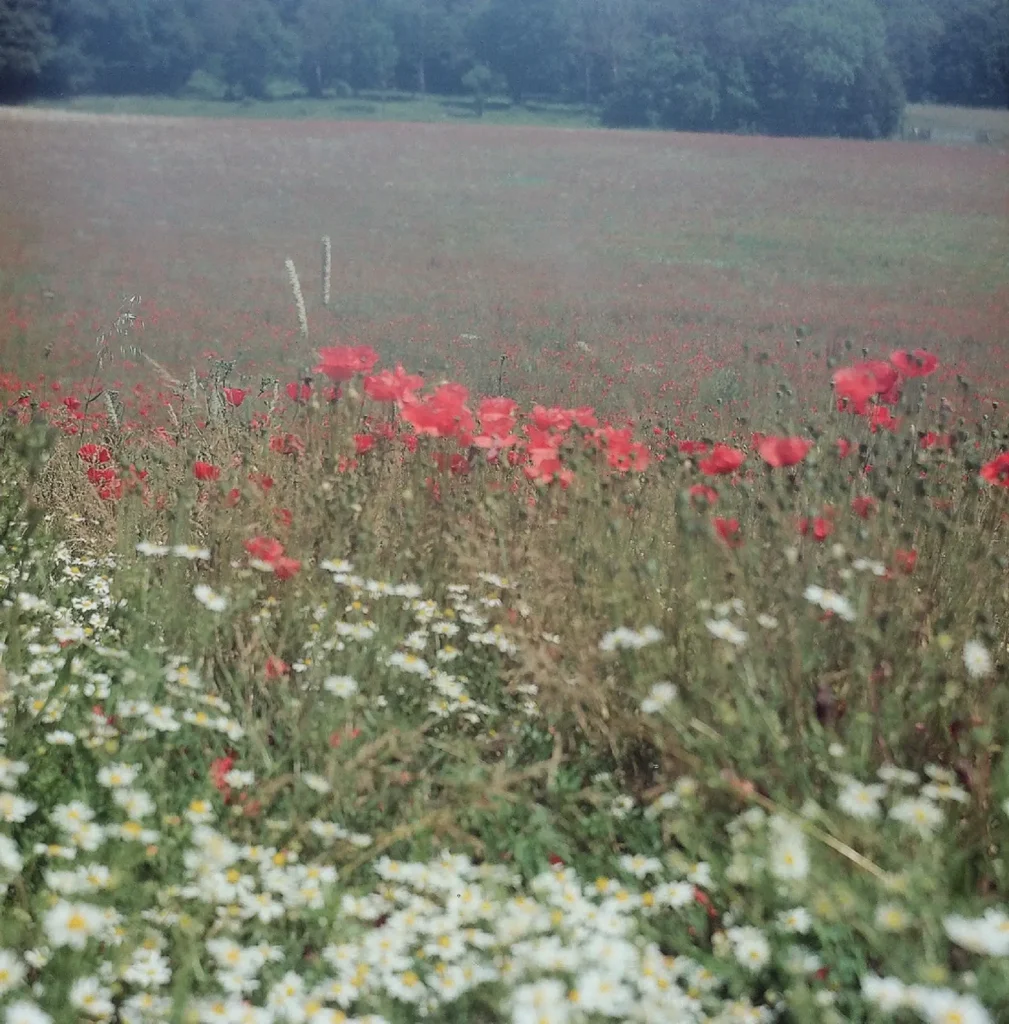
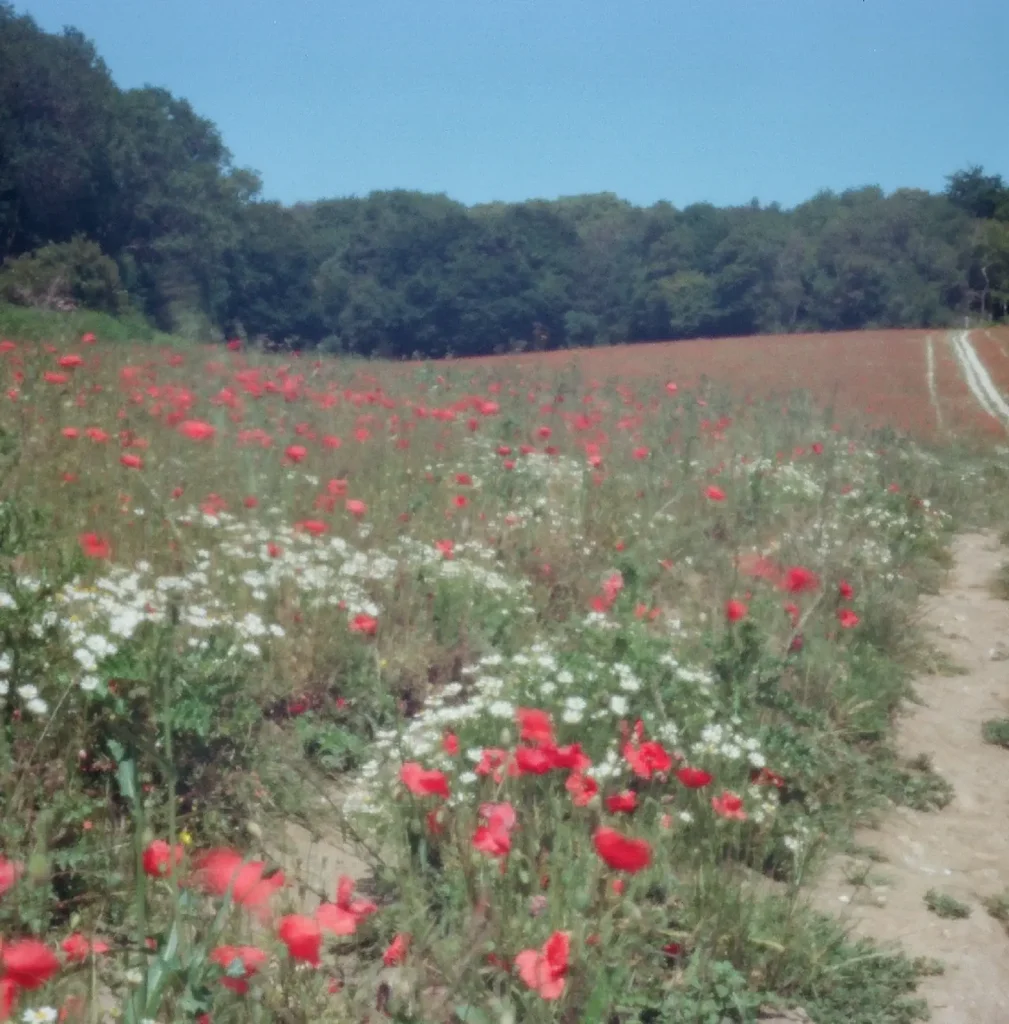
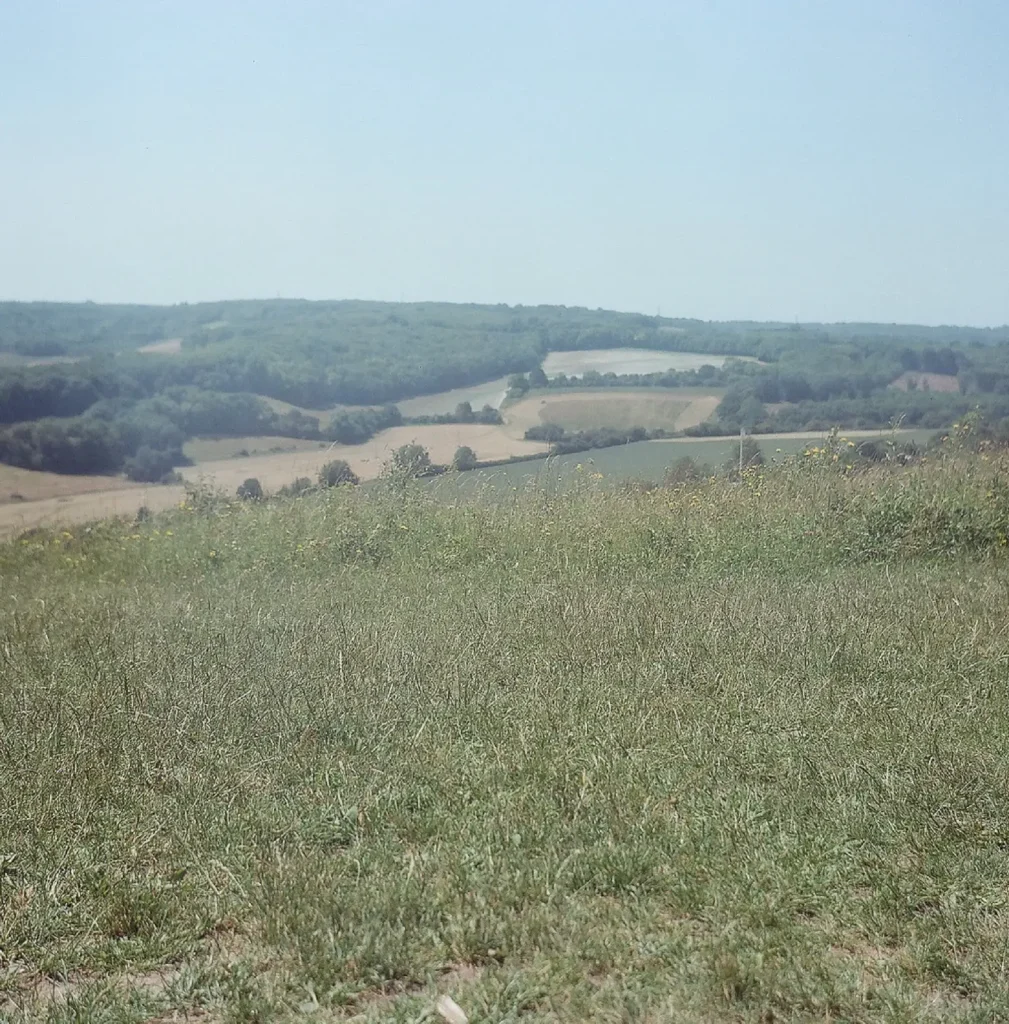
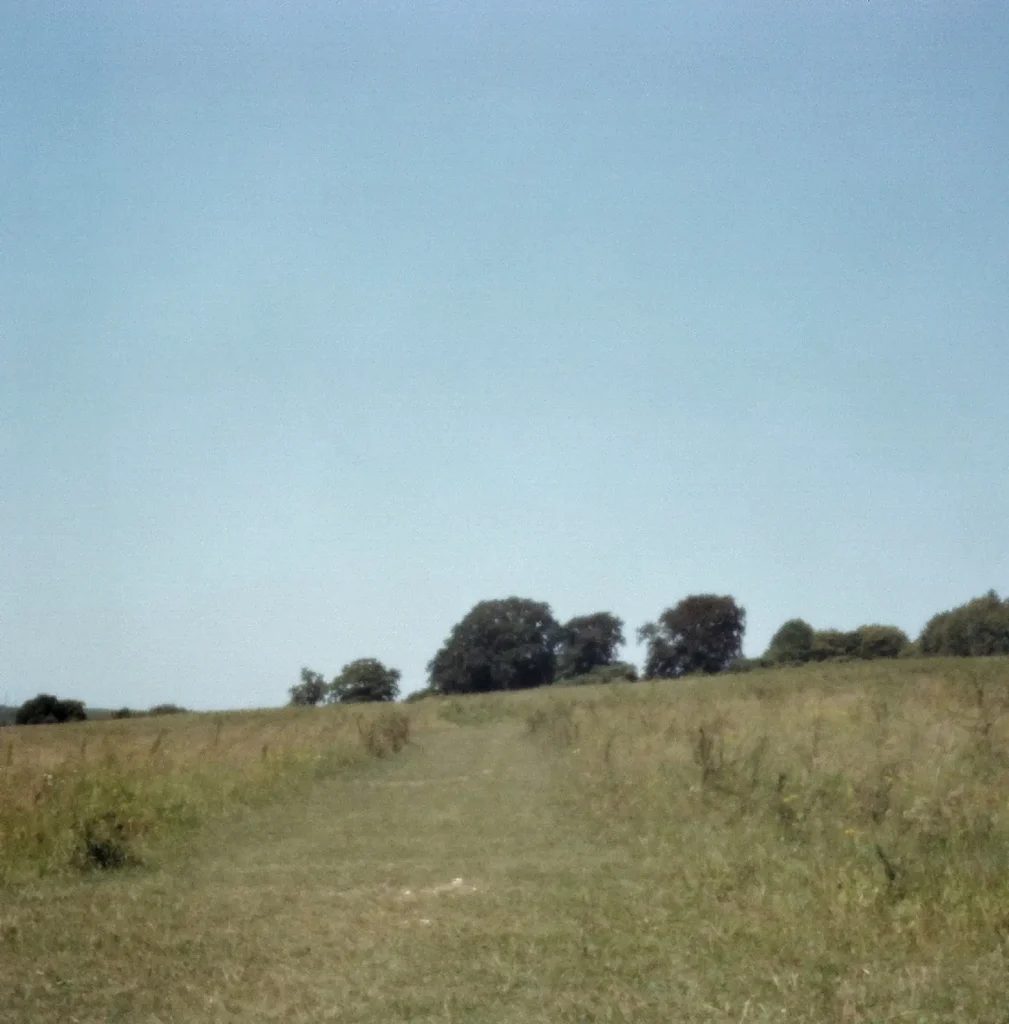
For this fun experiment I wanted a reliable film and as I have a fridge full of Portra 400, this seemed the obvious choice. On a fairly sunny day at the end of June I set off on a country walk with both Isolettes in hand – well, one folded up in my pocket and the other attached to a tripod. I wanted to take in a local field of poppies as I imagined a striking burst of colour captured by both cameras, one just more abstract than the other.
My formula for pinhole exposure times relies on taking a reading at 1/60th second. On the day, this came out at f22 for ISO400. This was perfect for the regular Isolette: I could just set a combination of 1/200th with f11 and use the depth of field scale for zone like focusing. However, with the pinhole model this calculated to 1.8 seconds: not exactly great for counting out nor the lengthy exposures I would have preferred for pinhole photography. Portra 160 would have been ideal. No matter, rounded up, 2 seconds would have to do…
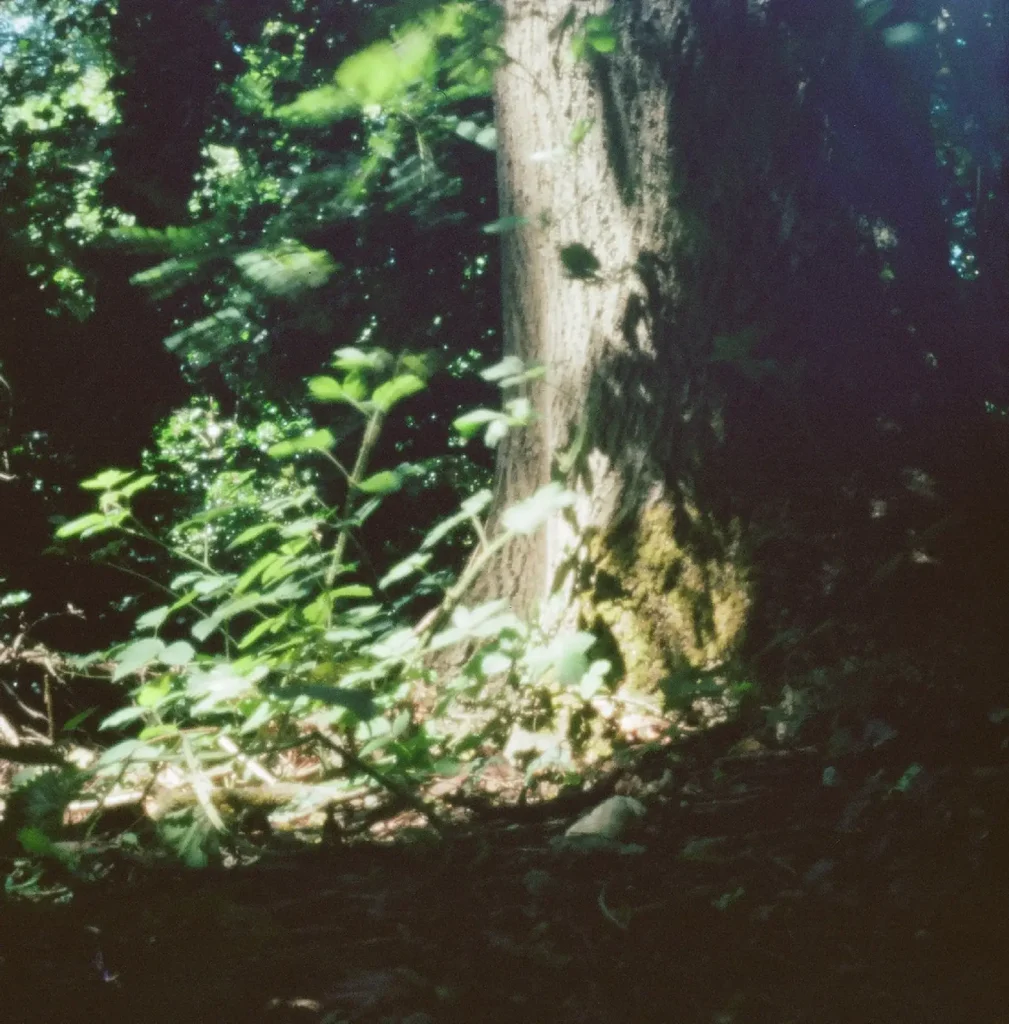
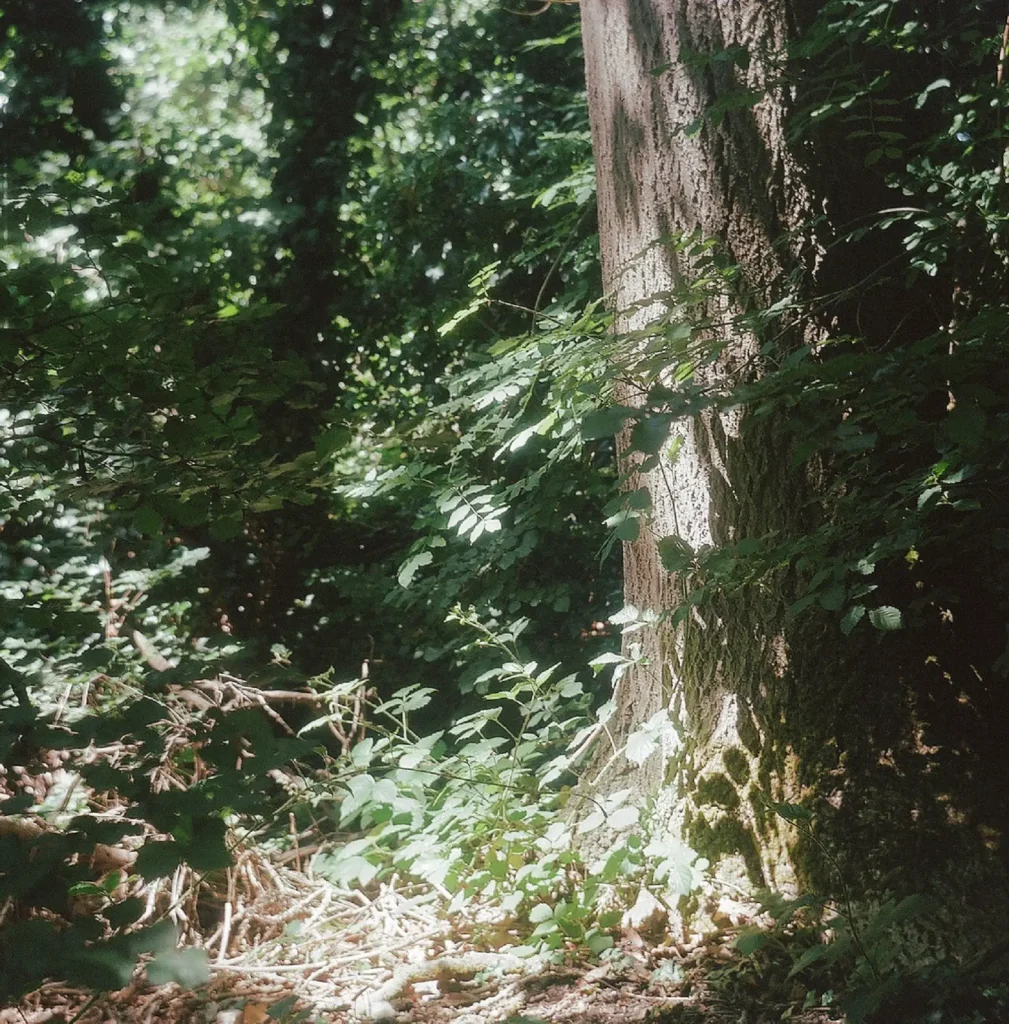
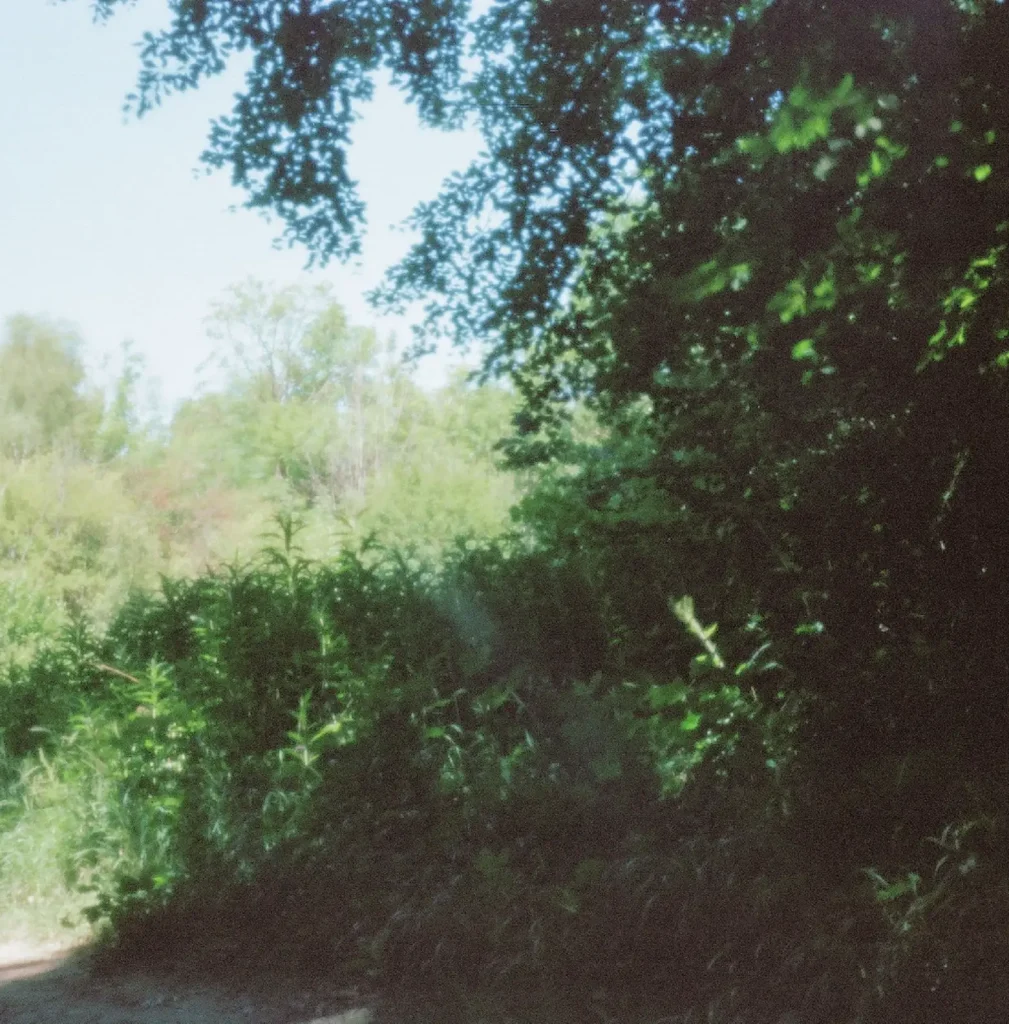
As I was kinda comparing results from two ‘different’ cameras, I decided on a few frames that were the same. The next two images were shot in the darker woods, so I guessed on opening up a couple of stops or in the case of the pinhole version, increasing the seconds fourfold to about 8.
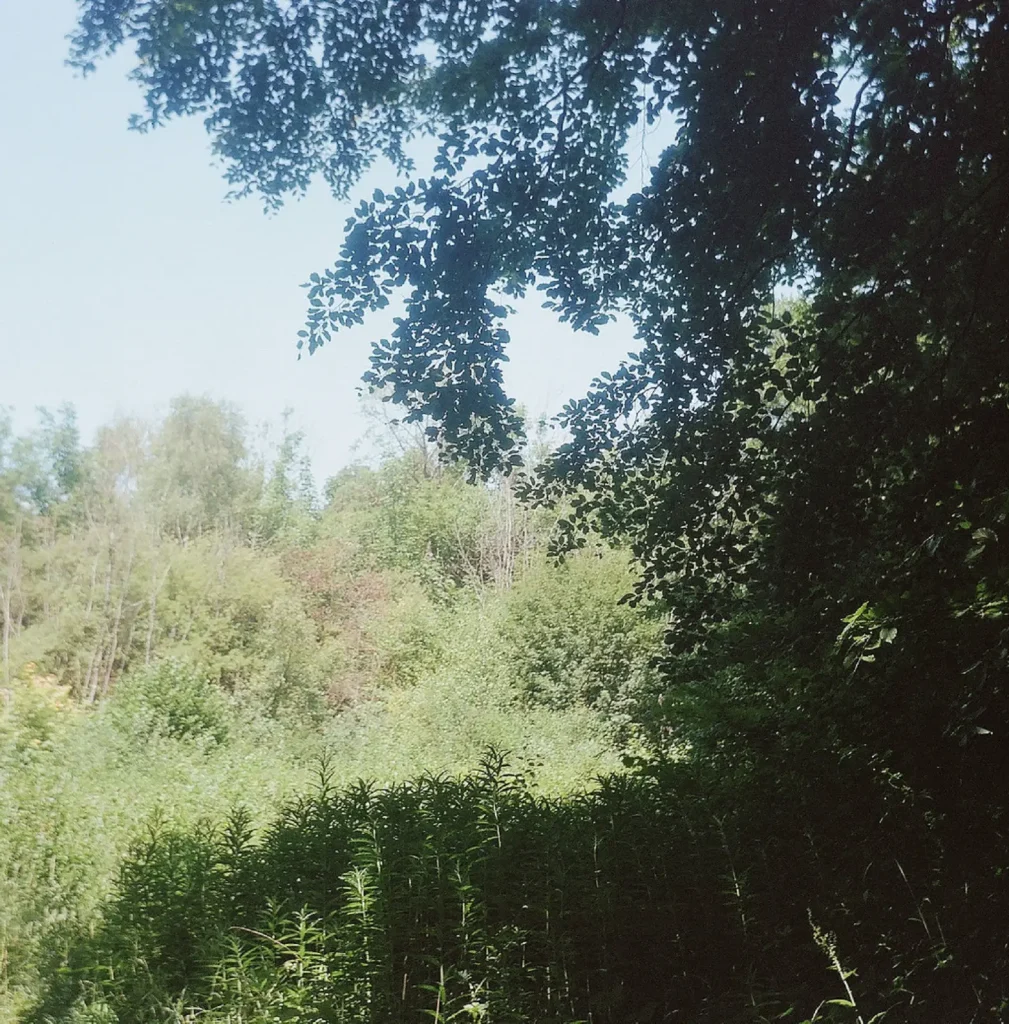
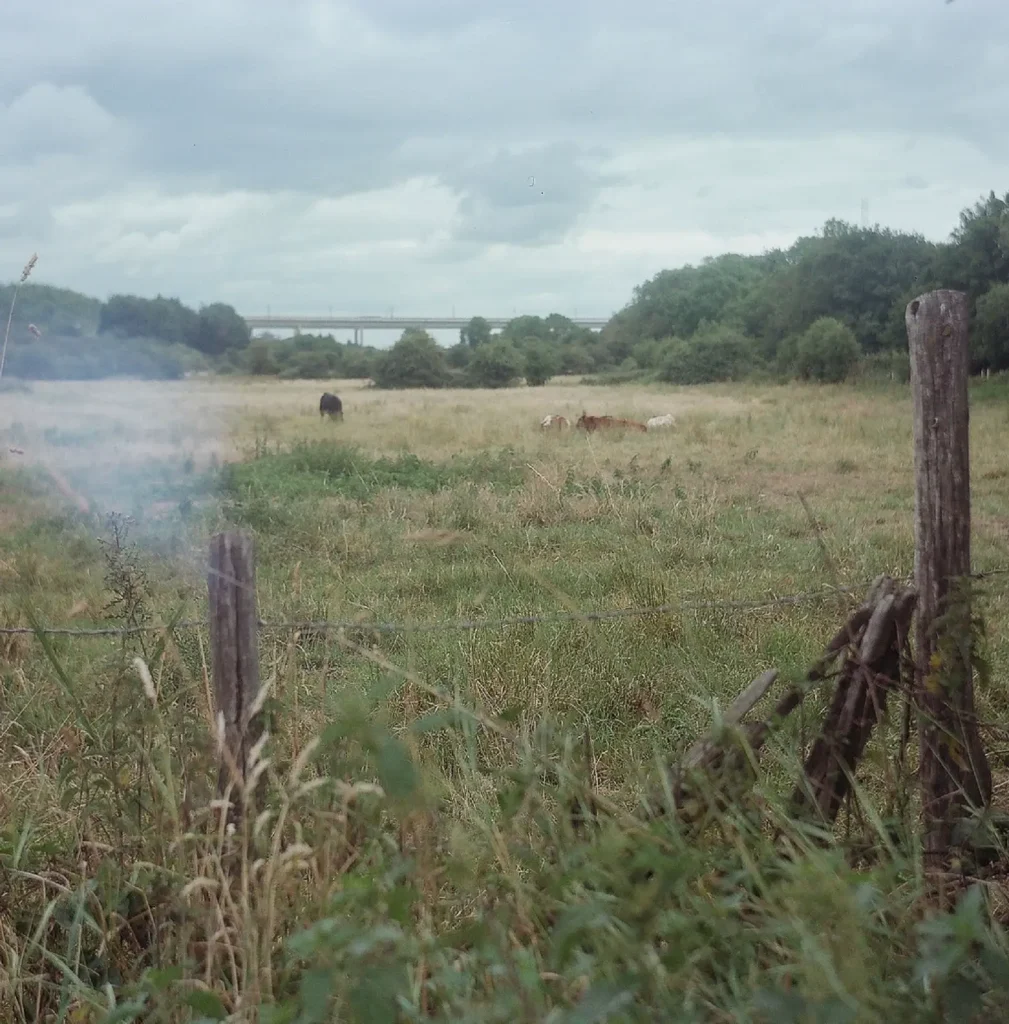
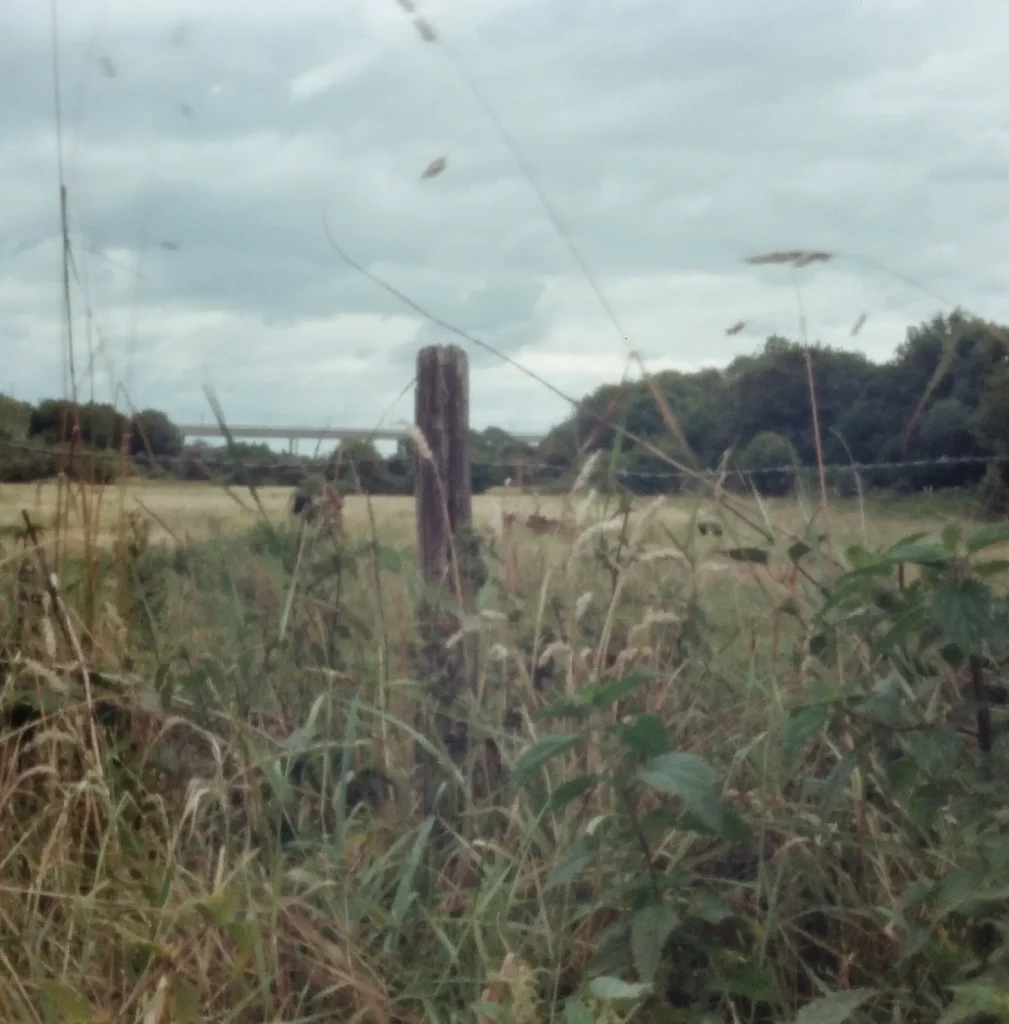
I probably spent a couple of hours walking the fields and woods, setting myself a slow pace in which to take the photographs. I used about half of each film (I blanked one frame by accident) as fancied an alternative set of photographs to complete my experiment, something less rural.
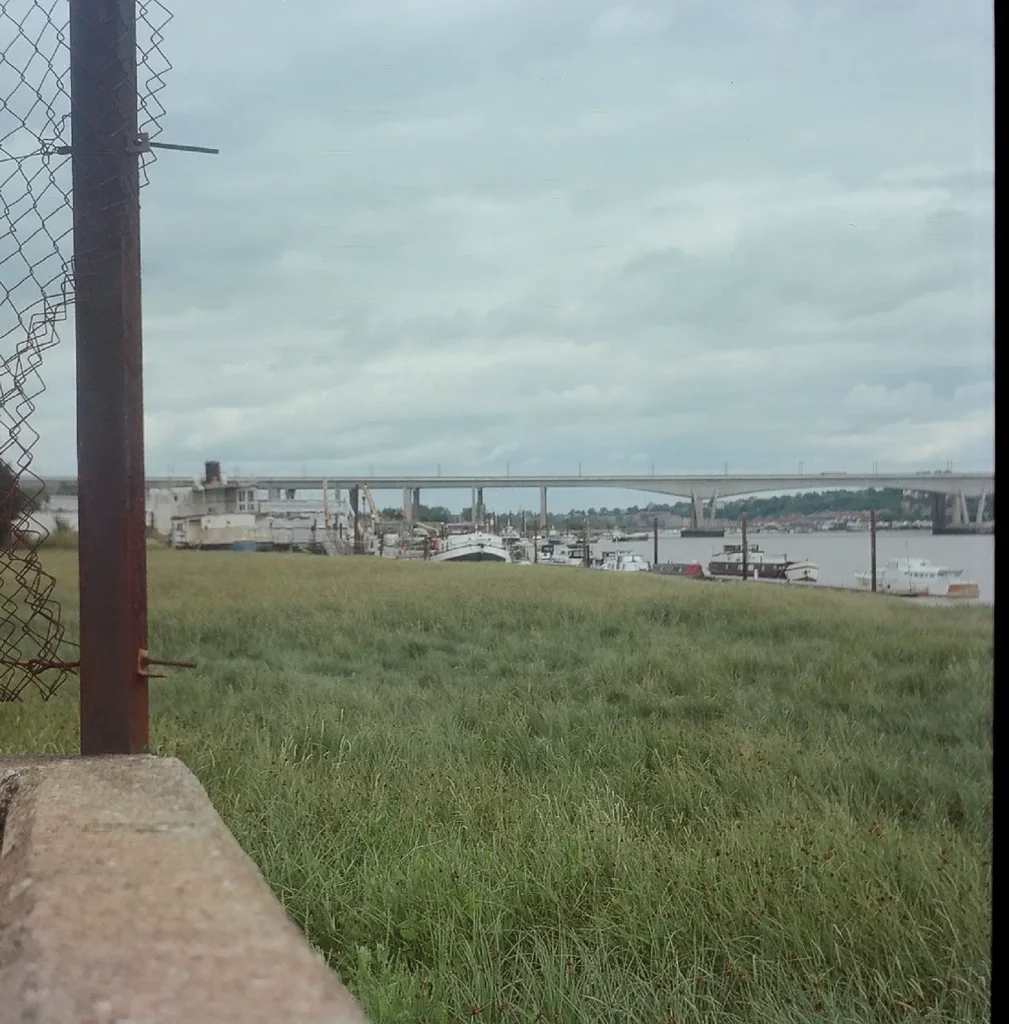
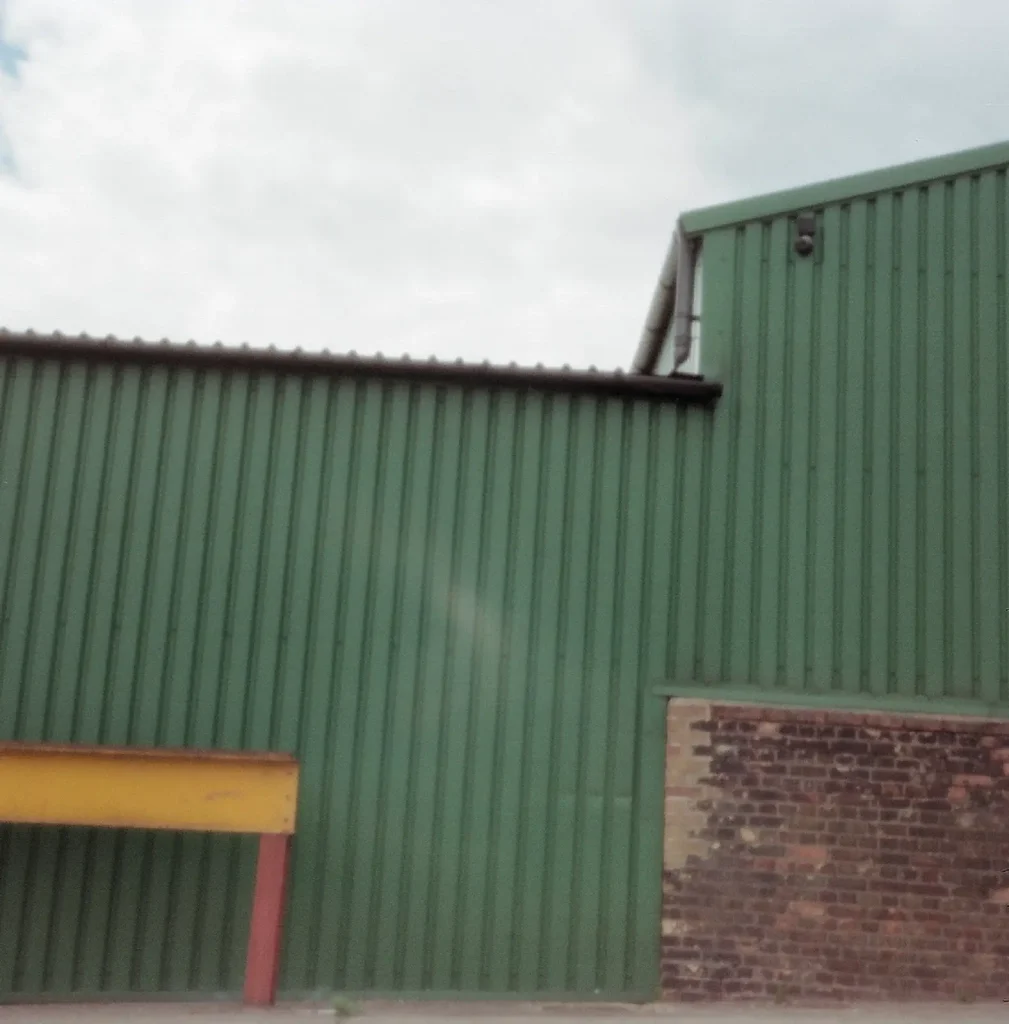
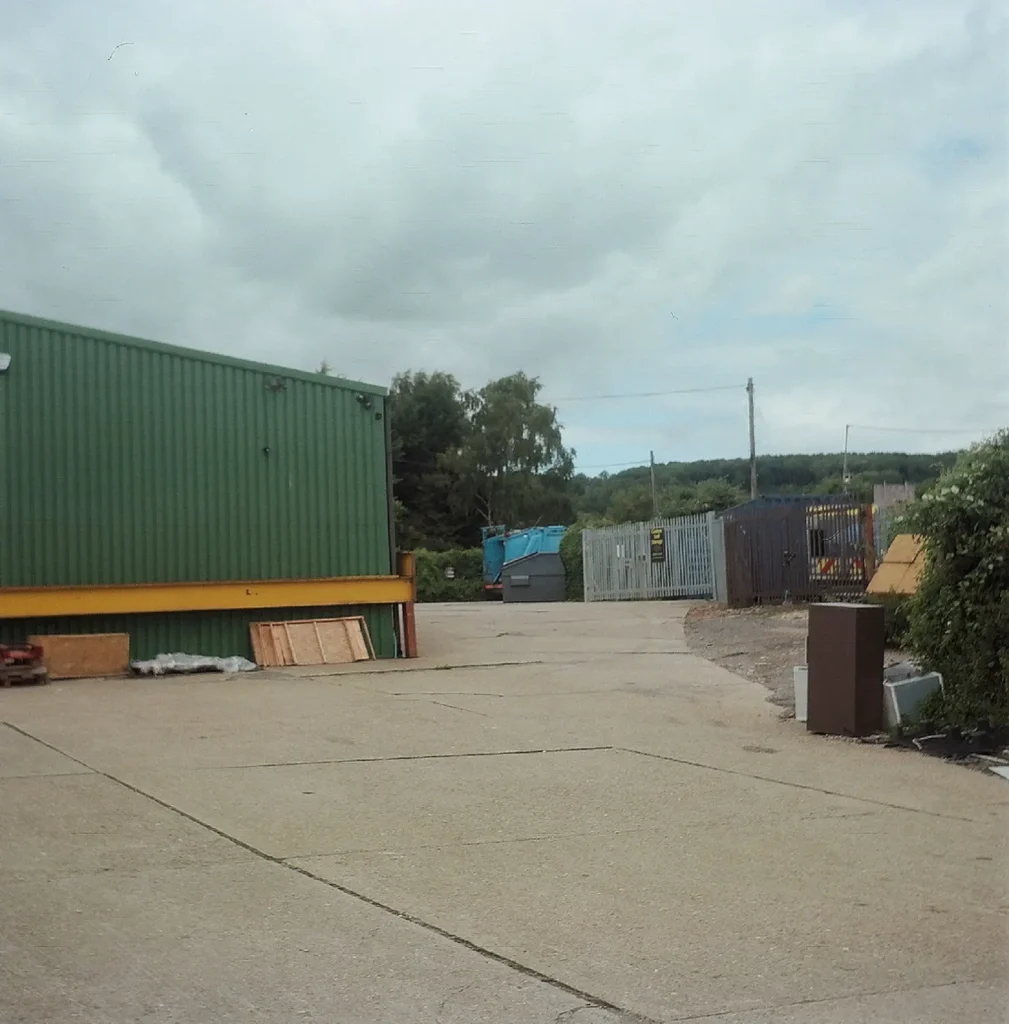
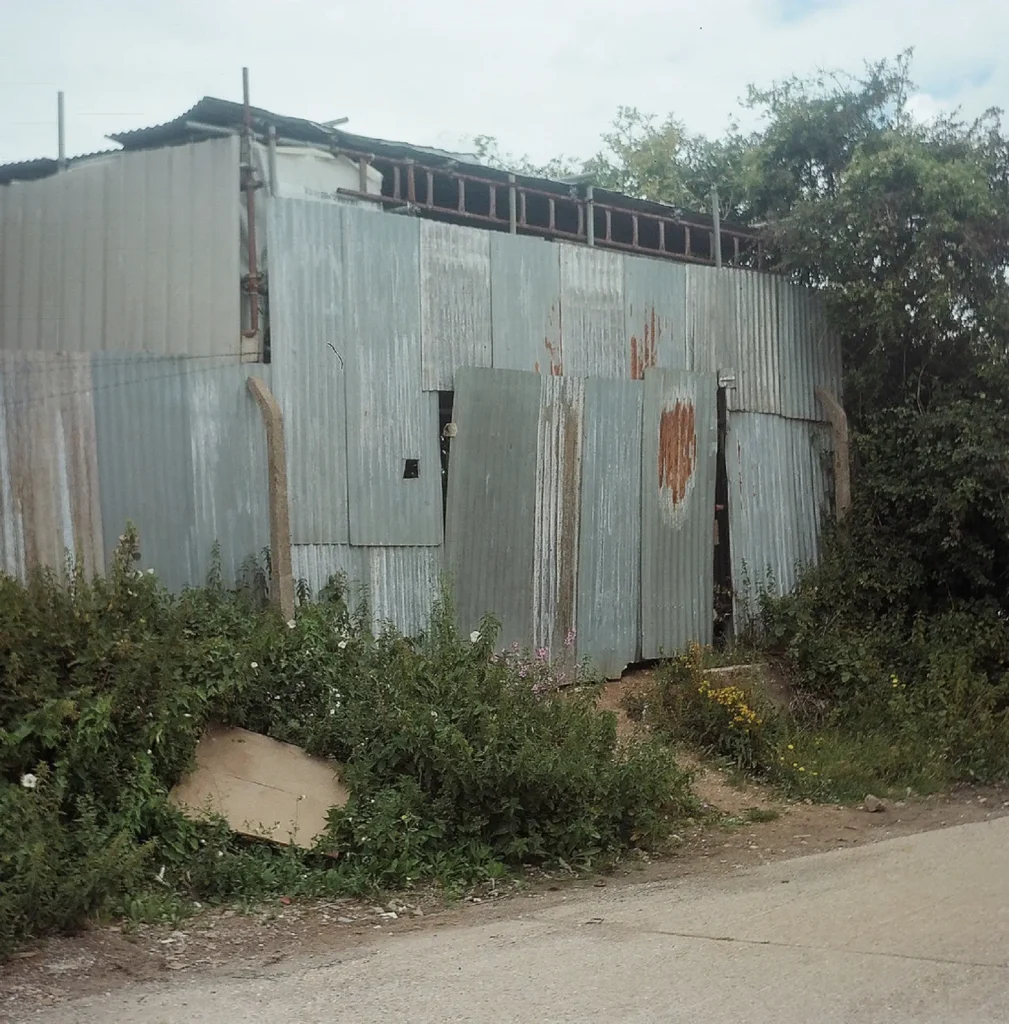
I originally thought about my local church and graveyard, but I’ve done that to death, if you pardon the pun. The local marina and light industrial estate near to the train station still has something to offer me. So, next morning, that’s where I headed, with the same set-up. It was slightly duller so I set the regular Isolette to f8, and decided on 4 seconds for the pinhole exposures (I count ‘elephants’, by the way, as per the wonderful film Gregory’s Girl) .

Overall, I enjoyed my photo-shoot with the two Isolettes. It was fun to do and a reminder to slow down. No real competition between the two, just two different approaches. I won’t necessarily repeat the process: just one camera will do whenever I go out – just need to choose the regular one or the pinhole.
In some ways, the process was more enjoyable that the actual image results. I am underwhelmed with some of the photos and was hoping for less sharpness to the pinholes. Maybe expecting something a tad more abstract as seen in my previous exploits with the converted 35mm Paxette. Think I will try black and white in the Isolette Pinhole next time and think a bit more about what I am shooting.
Thanks for reading. Some of my stuff is at here, and for an interesting use of an Isolette, check out David Hume’s post here. Cheers, Rock
Share this post:


Comments
Herschel Pollard on Lens versus Pinhole – Battle of the Isolettes – By Rock
Comment posted: 22/10/2020
Comment posted: 22/10/2020
Scott Gitlin on Lens versus Pinhole – Battle of the Isolettes – By Rock
Comment posted: 22/10/2020
Comment posted: 22/10/2020
Huss on Lens versus Pinhole – Battle of the Isolettes – By Rock
Comment posted: 24/10/2020
Comment posted: 24/10/2020
Sroyon on Lens versus Pinhole – Battle of the Isolettes – By Rock
Comment posted: 25/10/2020
Rock on Lens versus Pinhole – Battle of the Isolettes – By Rock
Comment posted: 26/10/2020
Aloy Anderson on Lens versus Pinhole – Battle of the Isolettes – By Rock
Comment posted: 18/11/2020
Comment posted: 18/11/2020