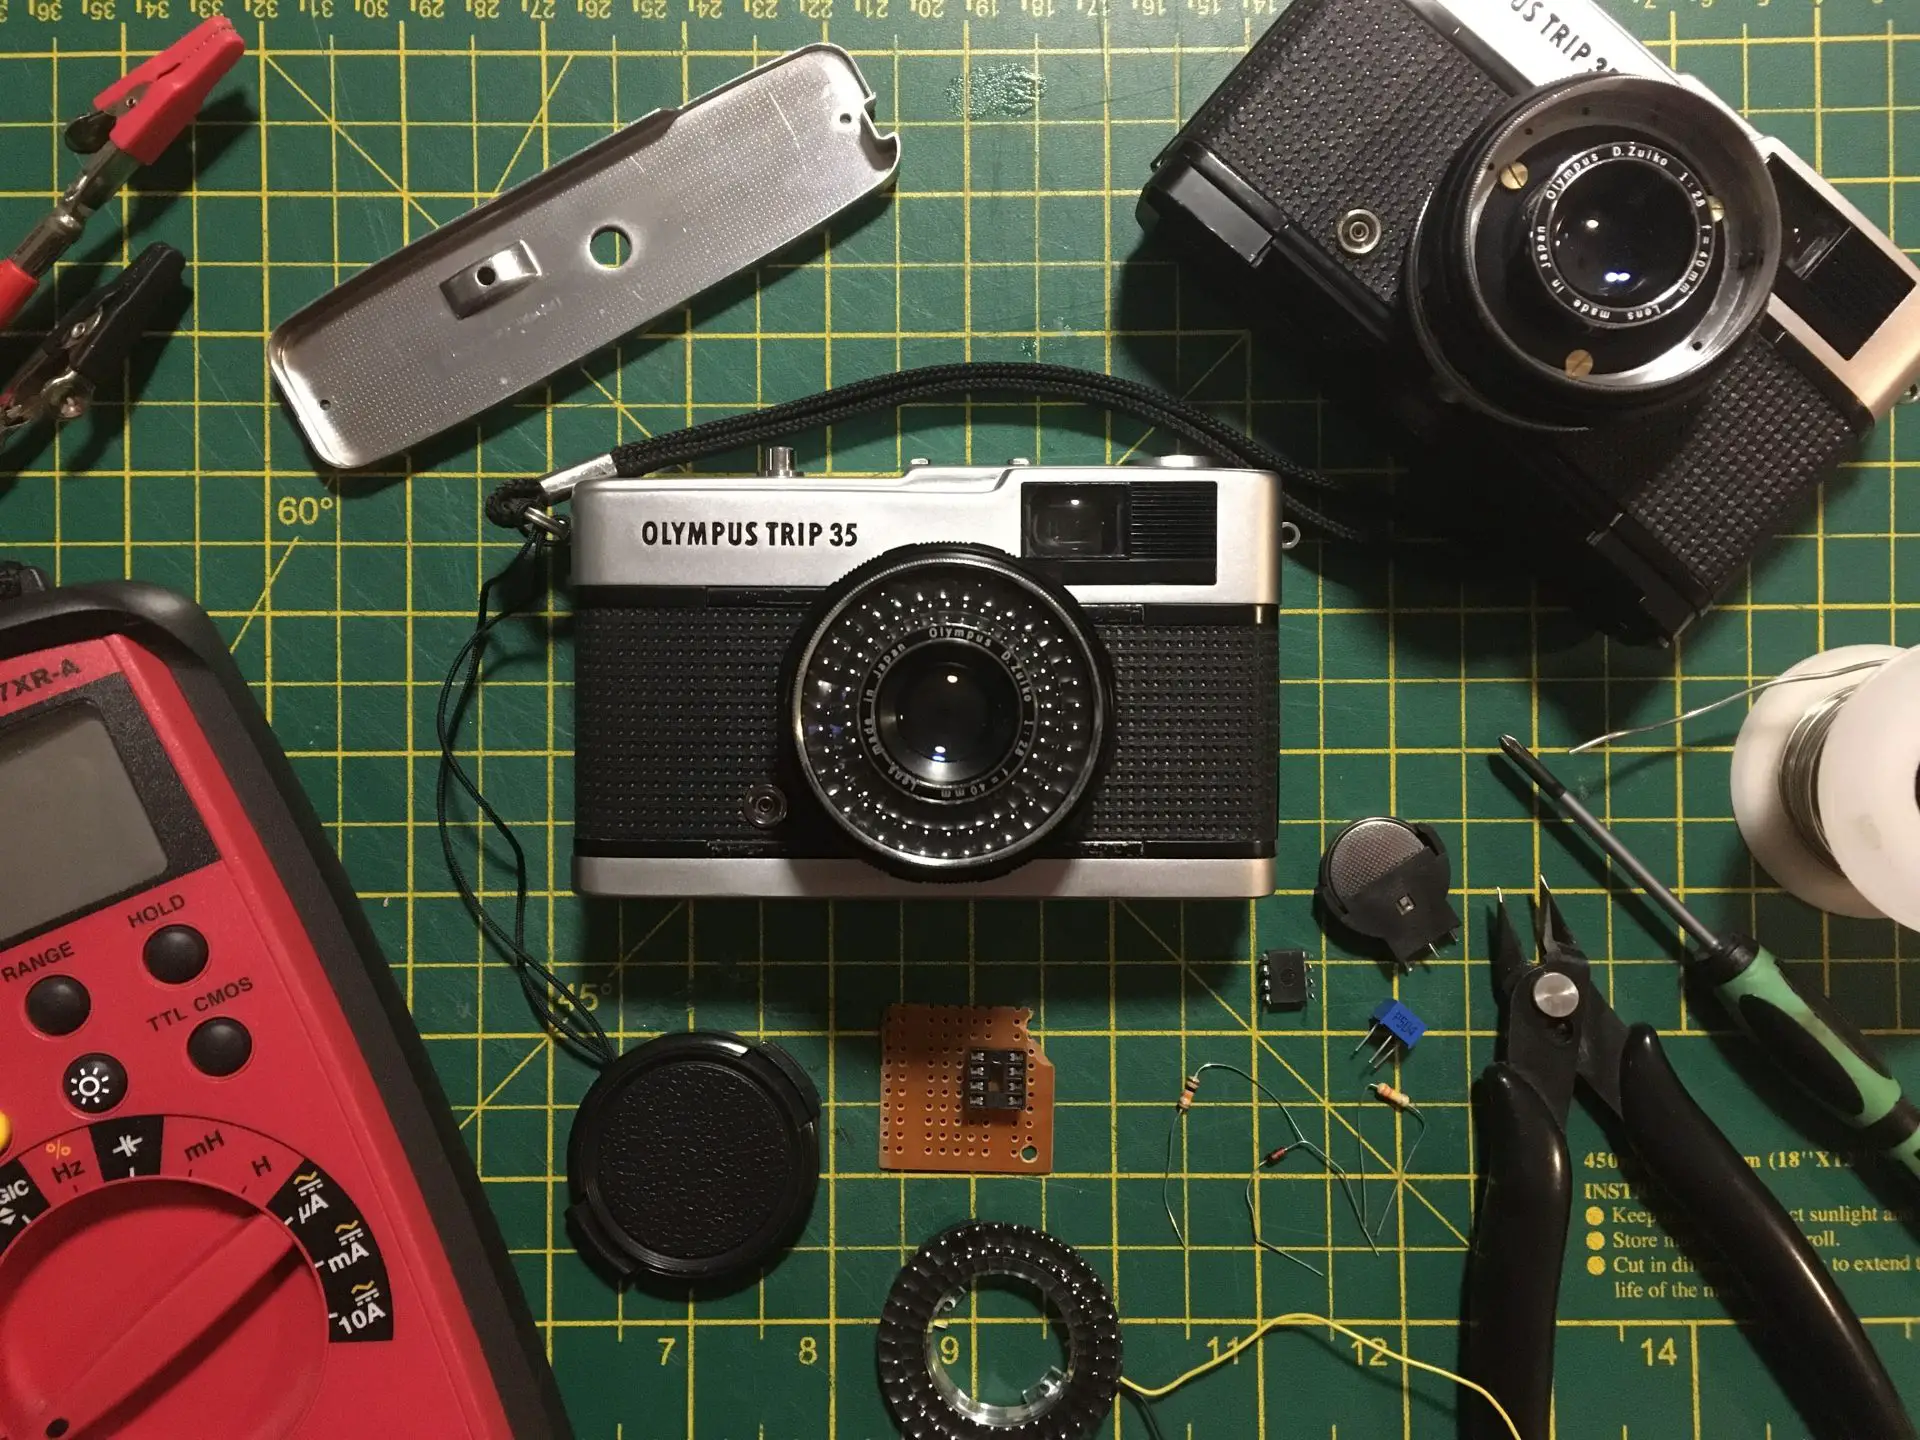
The venerable Olympus Trip 35 film camera – a fantastic little happy snapper with auto-exposure that doesn’t need a battery to operate. Plenty of other people have already sung its praises – I recommend checking out the reviews elsewhere on 35mmc if this camera has somehow escaped your attention until now. It’s the battery-less auto-exposure that really interests me (and most others) about this camera. The ring of little lenses surrounding the main lens sits in front of a solar cell that is connected to a moving coil. Ambient light falling on the solar cell moves the needle of the moving coil, which in turn sets the aperture and shutter speed mechanically when the shutter button is pressed. It’s a very clever system and works amazingly well given its simplicity.
One limitation, however, is that the system is designed to auto-expose for film speeds of up to ISO 400. As I understand it, when these cameras were first manufactured, ISO 400 was generally the fastest film on the market so it makes sense that this sets the upper limit of the range. Adjusting the exposure for slower films is straightforward as you can just cover up part of the solar cell to reduce its output and so change the aperture and/or shutter speed used. Conversely, to use film faster than ISO 400, you would need to increase the output of the solar cell for a given light level. This is more tricky because you can’t (to the best of my knowledge) achieve this “passively” – you would need either a larger/more efficient solar cell or a power supply, and associated circuitry, to boost the signal. I decided to try and extend the range of my camera all the way to ISO 3200 taking the second approach. Both to make the most of an excellent compact camera and the great high ISO films available to us analogue photographers. My aim was to modify an Olympus Trip 35 to correctly expose ISO 3200 film, without making any permanent changes to the camera.
Tl;dr – I did have some success but required a part from a broken donor camera and it works more by fluke than anything else I think. I would really appreciate the input of someone with more electronics knowledge than me!
First things first – I disassembled the camera and identified the relevant electrical connections I would need to intercept. My plan was to insert a circuit in between the solar cell and moving coil that would boost the output using power from a CR3032 coin cell battery. I have some electronics experience but need to shout out the wonderfully knowledgeable folk in the forums over at All About Circuits for their help in designing such a circuit. I won’t go into the boring technical details here, suffice it to say there was a lot of trial and error at this stage to calibrate everything. This generally involved measuring the output of the solar cell (modified and unmodified) with a voltmeter and plotting this against the exposure index (as measured by a Minolta Flash Meter III). Eventually I worked out how much I needed to increase the voltage by to get the desired 3-stop increase in usable film speed. Luckily, in the complete absence of light, the increased voltage still registered as too dark for the shutter to fire, instead raising the little red warning flag.
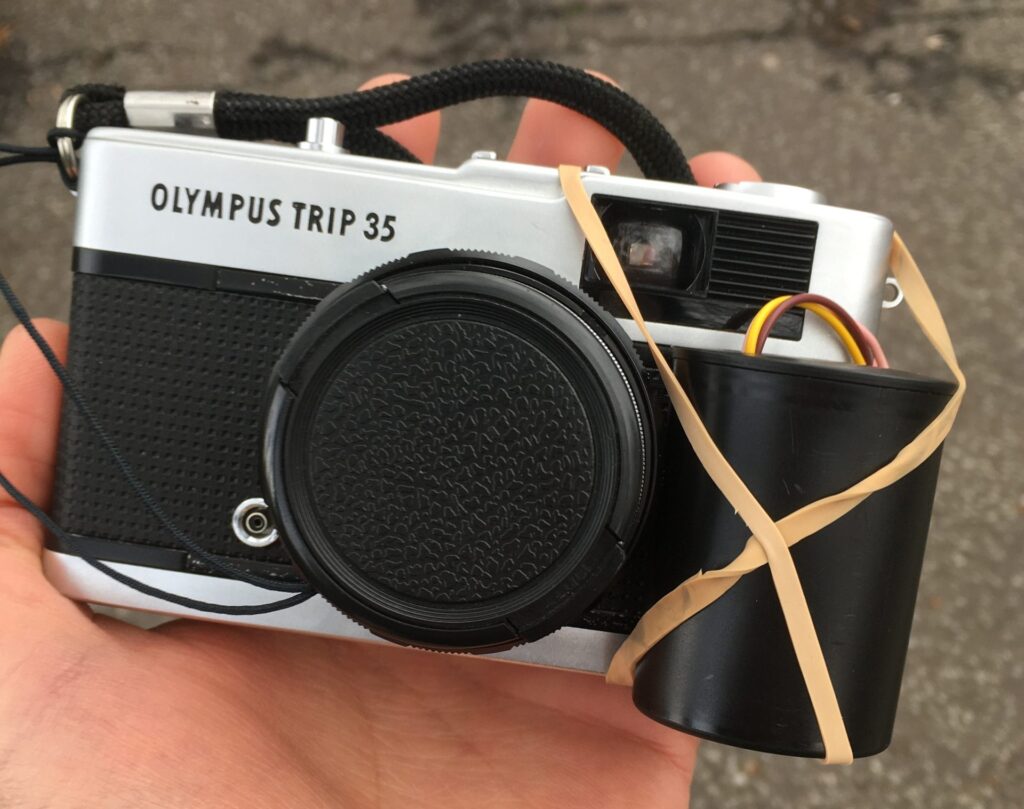
Having created a working prototype, I moved on to packaging the added circuitry into the camera. Sadly, there wasn’t enough room in the base of the camera to fit everything in along with the coin cell so I had to get a little creative. I swapped out the baseplate for one from a different (non-working) Trip camera, in which I drilled a hole to pass through wires for external connection. Looking round for a suitable container to house the circuitry outside the camera, I ended up using an APS film canister and fastening it to the camera with an elastic band. Not exactly the most elegant solution but I was keen to get out and shoot a roll of test film!
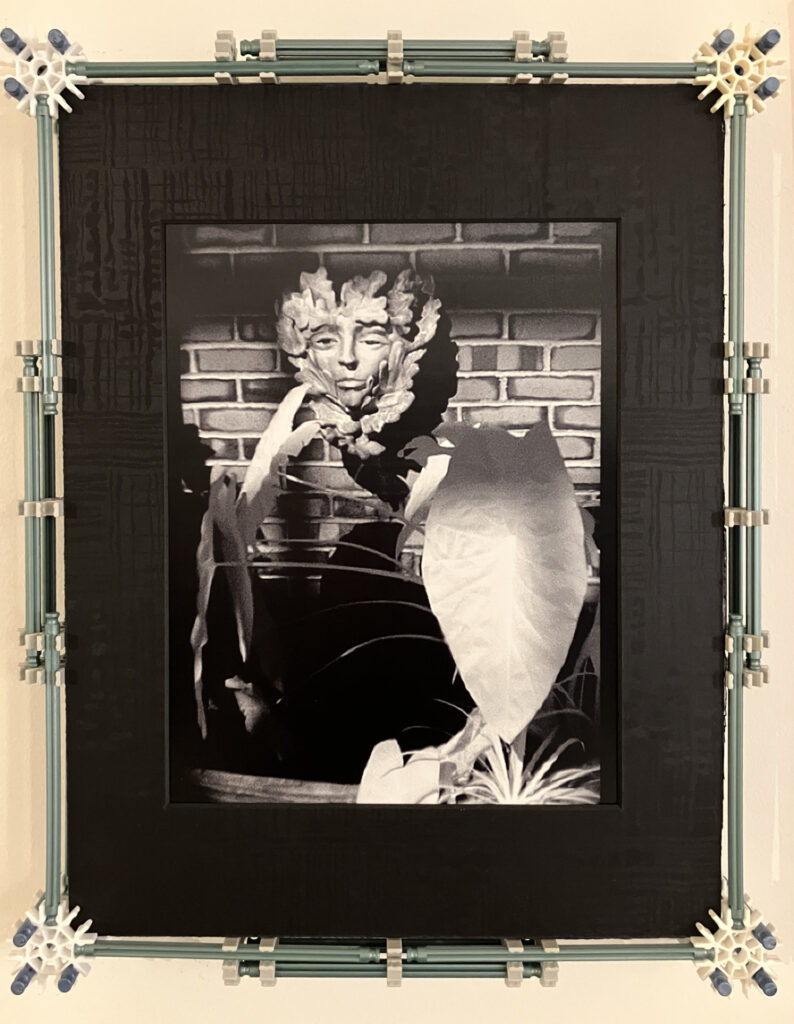
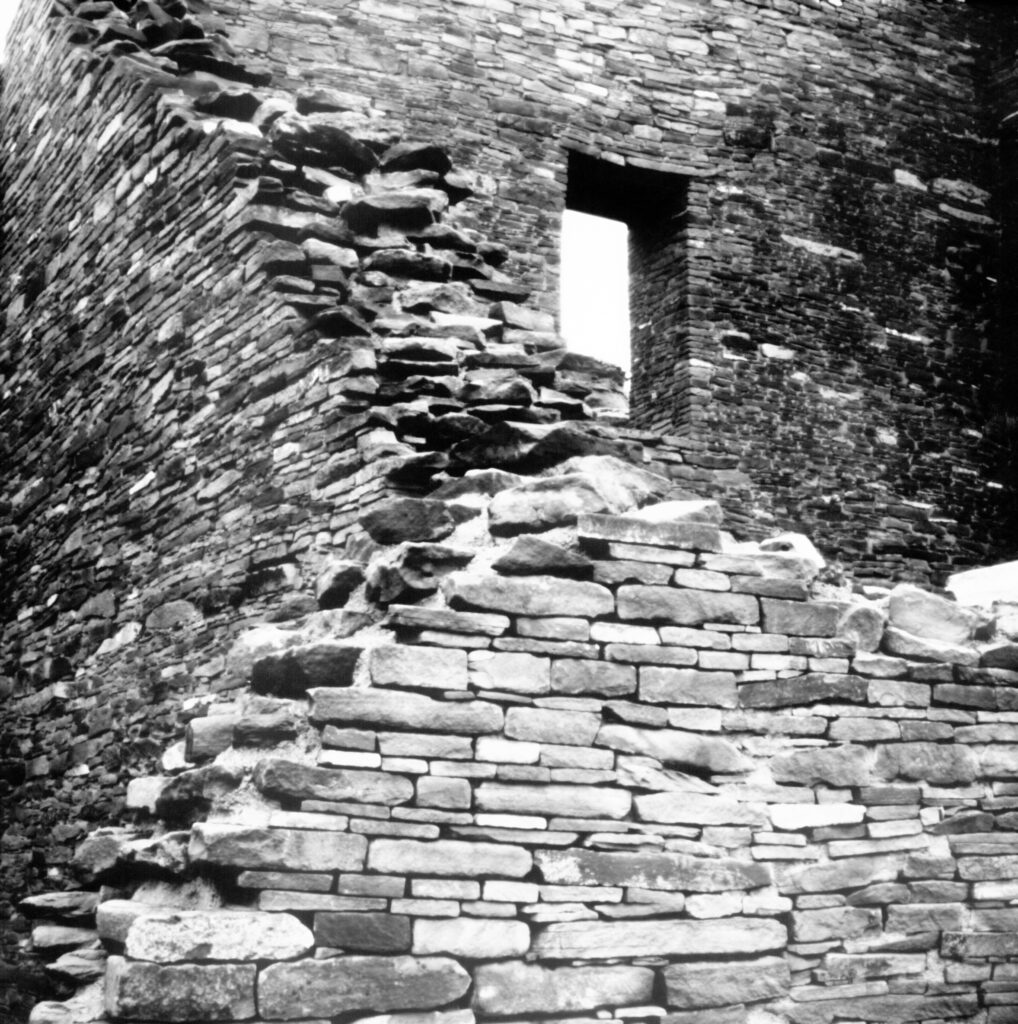
When it finally was ready for testing, I loaded a roll of Ilford Delta 3200 and hoped for the best. What follows are a selection of images from that first roll, which was home-developed in ID-11 (10.5 mins at stock dilution). Pulling the developed roll out of the tank, I was relieved to see there were indeed images there at all. These were digitised in a very quick-and-dirty manner using a Nikon D80 and only lightly edited to adjust for exposure (more on that shortly…).
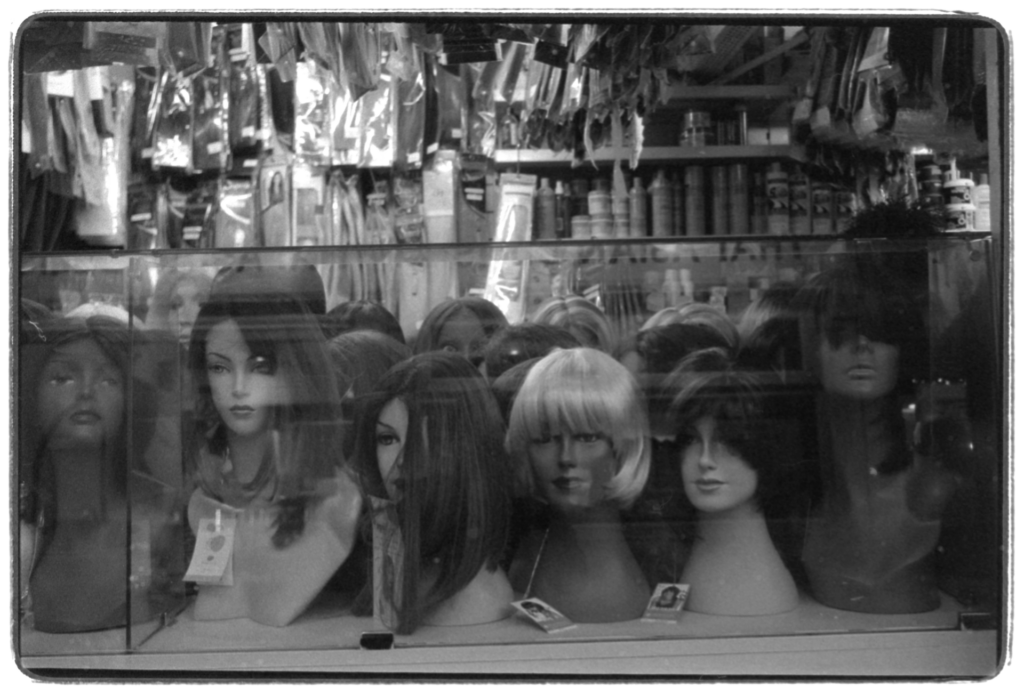
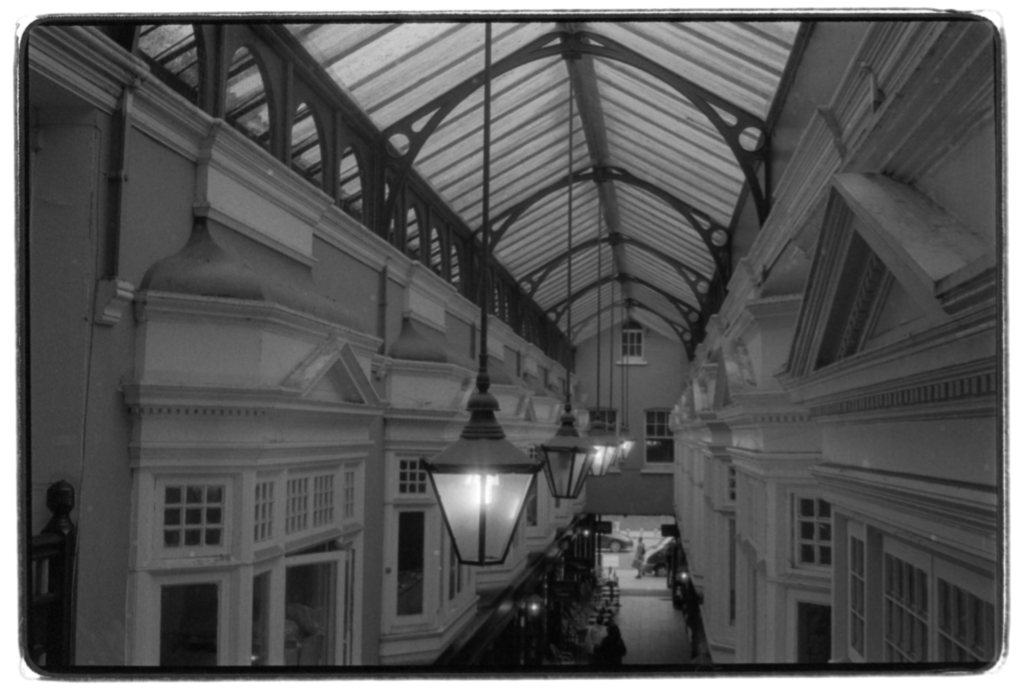
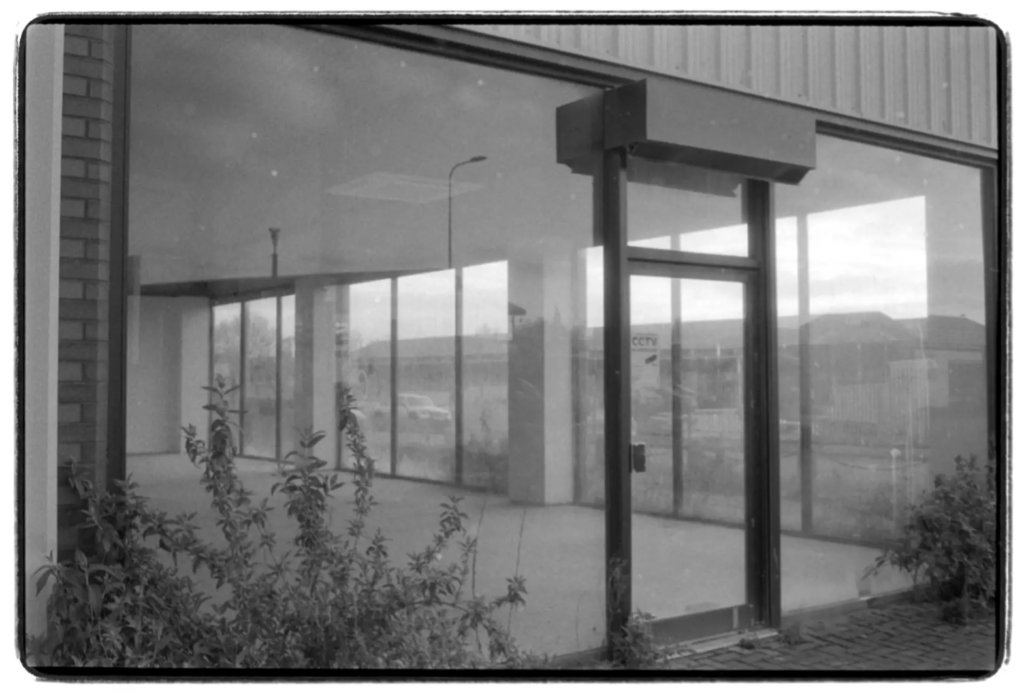
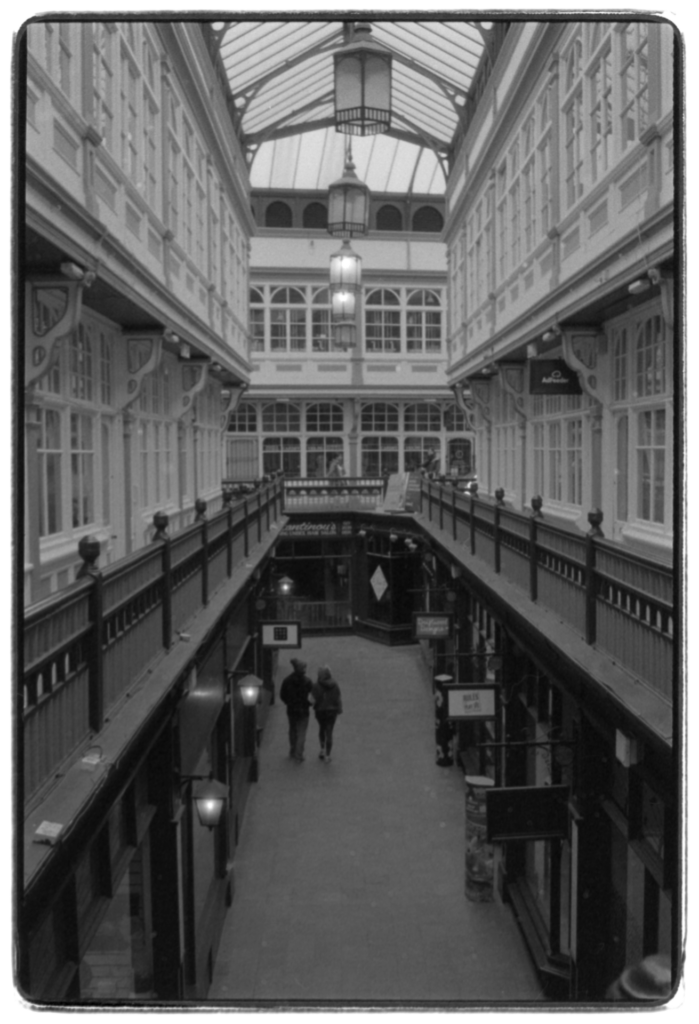
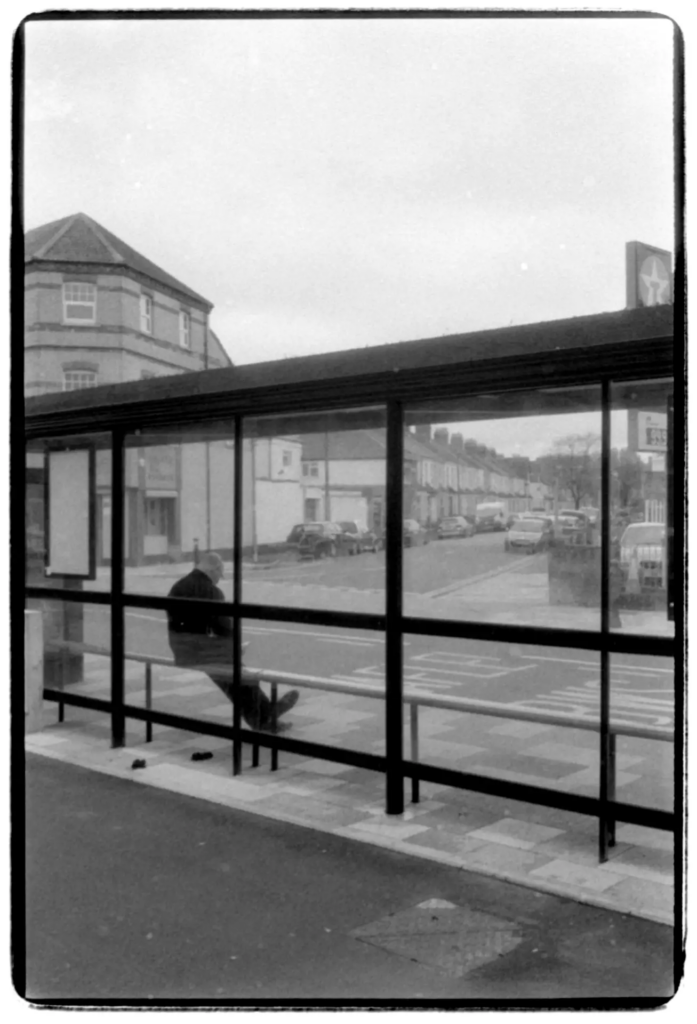
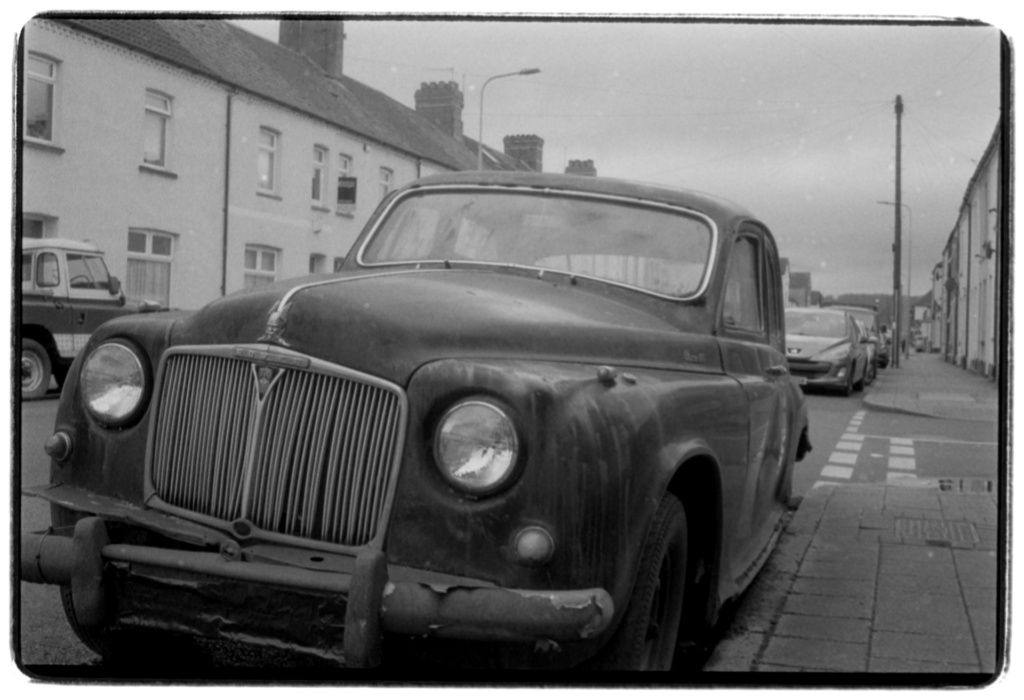
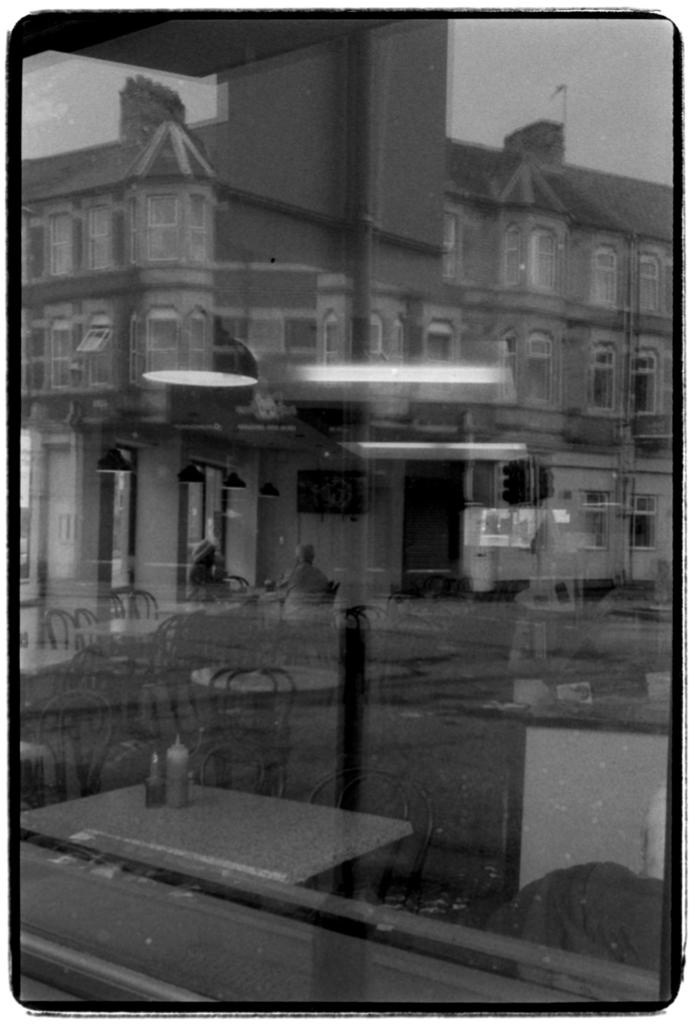
I tried to get photos in a range of lighting conditions to check that the modified camera metered with reasonable accuracy although that was limited somewhat by the dismal Welsh weather. The shot of the mannequin heads was taken in the lowest light, while the bus stop shot was probably when the day was at its brightest. What may or may not be evident from the photos is that they actually all ended up underexposed by a stop or so. The negatives were quite thin but luckily retained enough information to get some usable images. What this means though, is that if anything, the modifications to the camera worked too well such that I ended up underexposing the film. Both amazing and infuriating!
OK, so next steps? Well, it’s clear that I need to tweak the circuit to improve the accuracy of the light meter. I think the outstanding latitude of the Ilford film will always make it a little difficult to properly gauge meter accuracy but I look forward to shooting more rolls of film knowing that I’ll likely get decent images out at the end. The dial to reduce the exposure from ISO 400 to 25 still works (remembering that the actual ISO is 3 stops greater), meaning I could also look to shoot at other ISO values like 1600 (for pushed HP5+) or 800 (for Portra 800 if I’m feeling flush). It probably goes without saying but having a film canister dangling off the camera by a bunch of wires somewhat reduces the portability and aesthetic charm of the camera. And I felt much more conspicuous out and about! Once the electronics side of things is nailed down it would be fun to try and miniaturise this to fit inside the camera body itself.
At the beginning of the article I mentioned that I wanted to do this without making any permanent changes to the camera. I did have to drill through the baseplate but handily had a spare one so I can always revert to the original if necessary. Some wires would also need cutting and re-soldering to restore the original function. The more I think about it, the less likely I think it is that’ll ever make use of the slow end of the stock ISO scale so I’m now less worried about modifying the camera for good. I also mentioned at the beginning that it works more by fluke than anything else – having not done physics since GCSE, my electronics knowledge is built on shaky ground. If someone with more expertise in the area wants to talk me through the role of voltage and current in a solar cell linked to a moving coil, please get in touch! Otherwise if you’re interested in the technical details or just want to see some other photos of mine, you can find me on Instagram as @bergstrom_superstar. Thanks for reading!
Share this post:


Comments
feefai on Modifying an Olympus Trip 35 for Shooting ISO 3200 Film
Comment posted: 23/02/2024
Comment posted: 23/02/2024
Eduardo Andres Vecchio on Modifying an Olympus Trip 35 for Shooting ISO 3200 Film
Comment posted: 23/02/2024
Comment posted: 23/02/2024
Dave Powell on Modifying an Olympus Trip 35 for Shooting ISO 3200 Film
Comment posted: 23/02/2024
OK, this is SERIOUSLY out-of-the-box! But the results are nicely evocative. Sadly, I'm ill-adept at soldering... and wonder if one could substitute very fine dots of a "solder-glue"? Or would they ignite?
Just wondering!
Dave
Comment posted: 23/02/2024
Comment posted: 23/02/2024
Aengus MacNaughton on Modifying an Olympus Trip 35 for Shooting ISO 3200 Film
Comment posted: 23/02/2024
Comment posted: 23/02/2024
Jason Simons on Modifying an Olympus Trip 35 for Shooting ISO 3200 Film
Comment posted: 23/02/2024
Comment posted: 23/02/2024