The London Stereoscopic Company (LSC) features a different stereo photographer every month on their website. Sometime back, they invited me to contribute to the gallery for July. I’m actually quite new to stereo photography, having just discovered it this year (I described my first forays in a previous article on 35mmc) so I was happy and honoured that they wanted to share my work. If you’re into stereoscopy, you probably know about the LSC; they do some wonderful work to promote this rather niche area of photography and make it more accessible.
And indeed, it should be accessible. Most of my stereo photos, for example, including the ones in this series, are shot with a bog-standard DSLR, and edited with free software. I wrote a brief introduction to my project which you can see on the gallery website, but in this post, I thought I’d share a bit more about the process: planning, equipment, mistakes and outtakes. But first, a very quick intro to stereo photography, for those who are not familiar.
What is stereo photography?
Stereoscopy is a technique for creating an illusion of 3D depth from two 2D images. Stereo photos are created by combining two photos shot from slightly different perspectives, mimicking the binocular vision of the human eye. Such images can be viewed in various ways, the two most common being as anaglyphs, which look 3D when viewed through red-blue glasses, and as stereo pairs, which look 3D when viewed through a stereoscope (or free-viewed with the naked eye). If you want to know more, Rebecca wrote an excellent introduction to stereo photography, earlier this year for 35mmc.
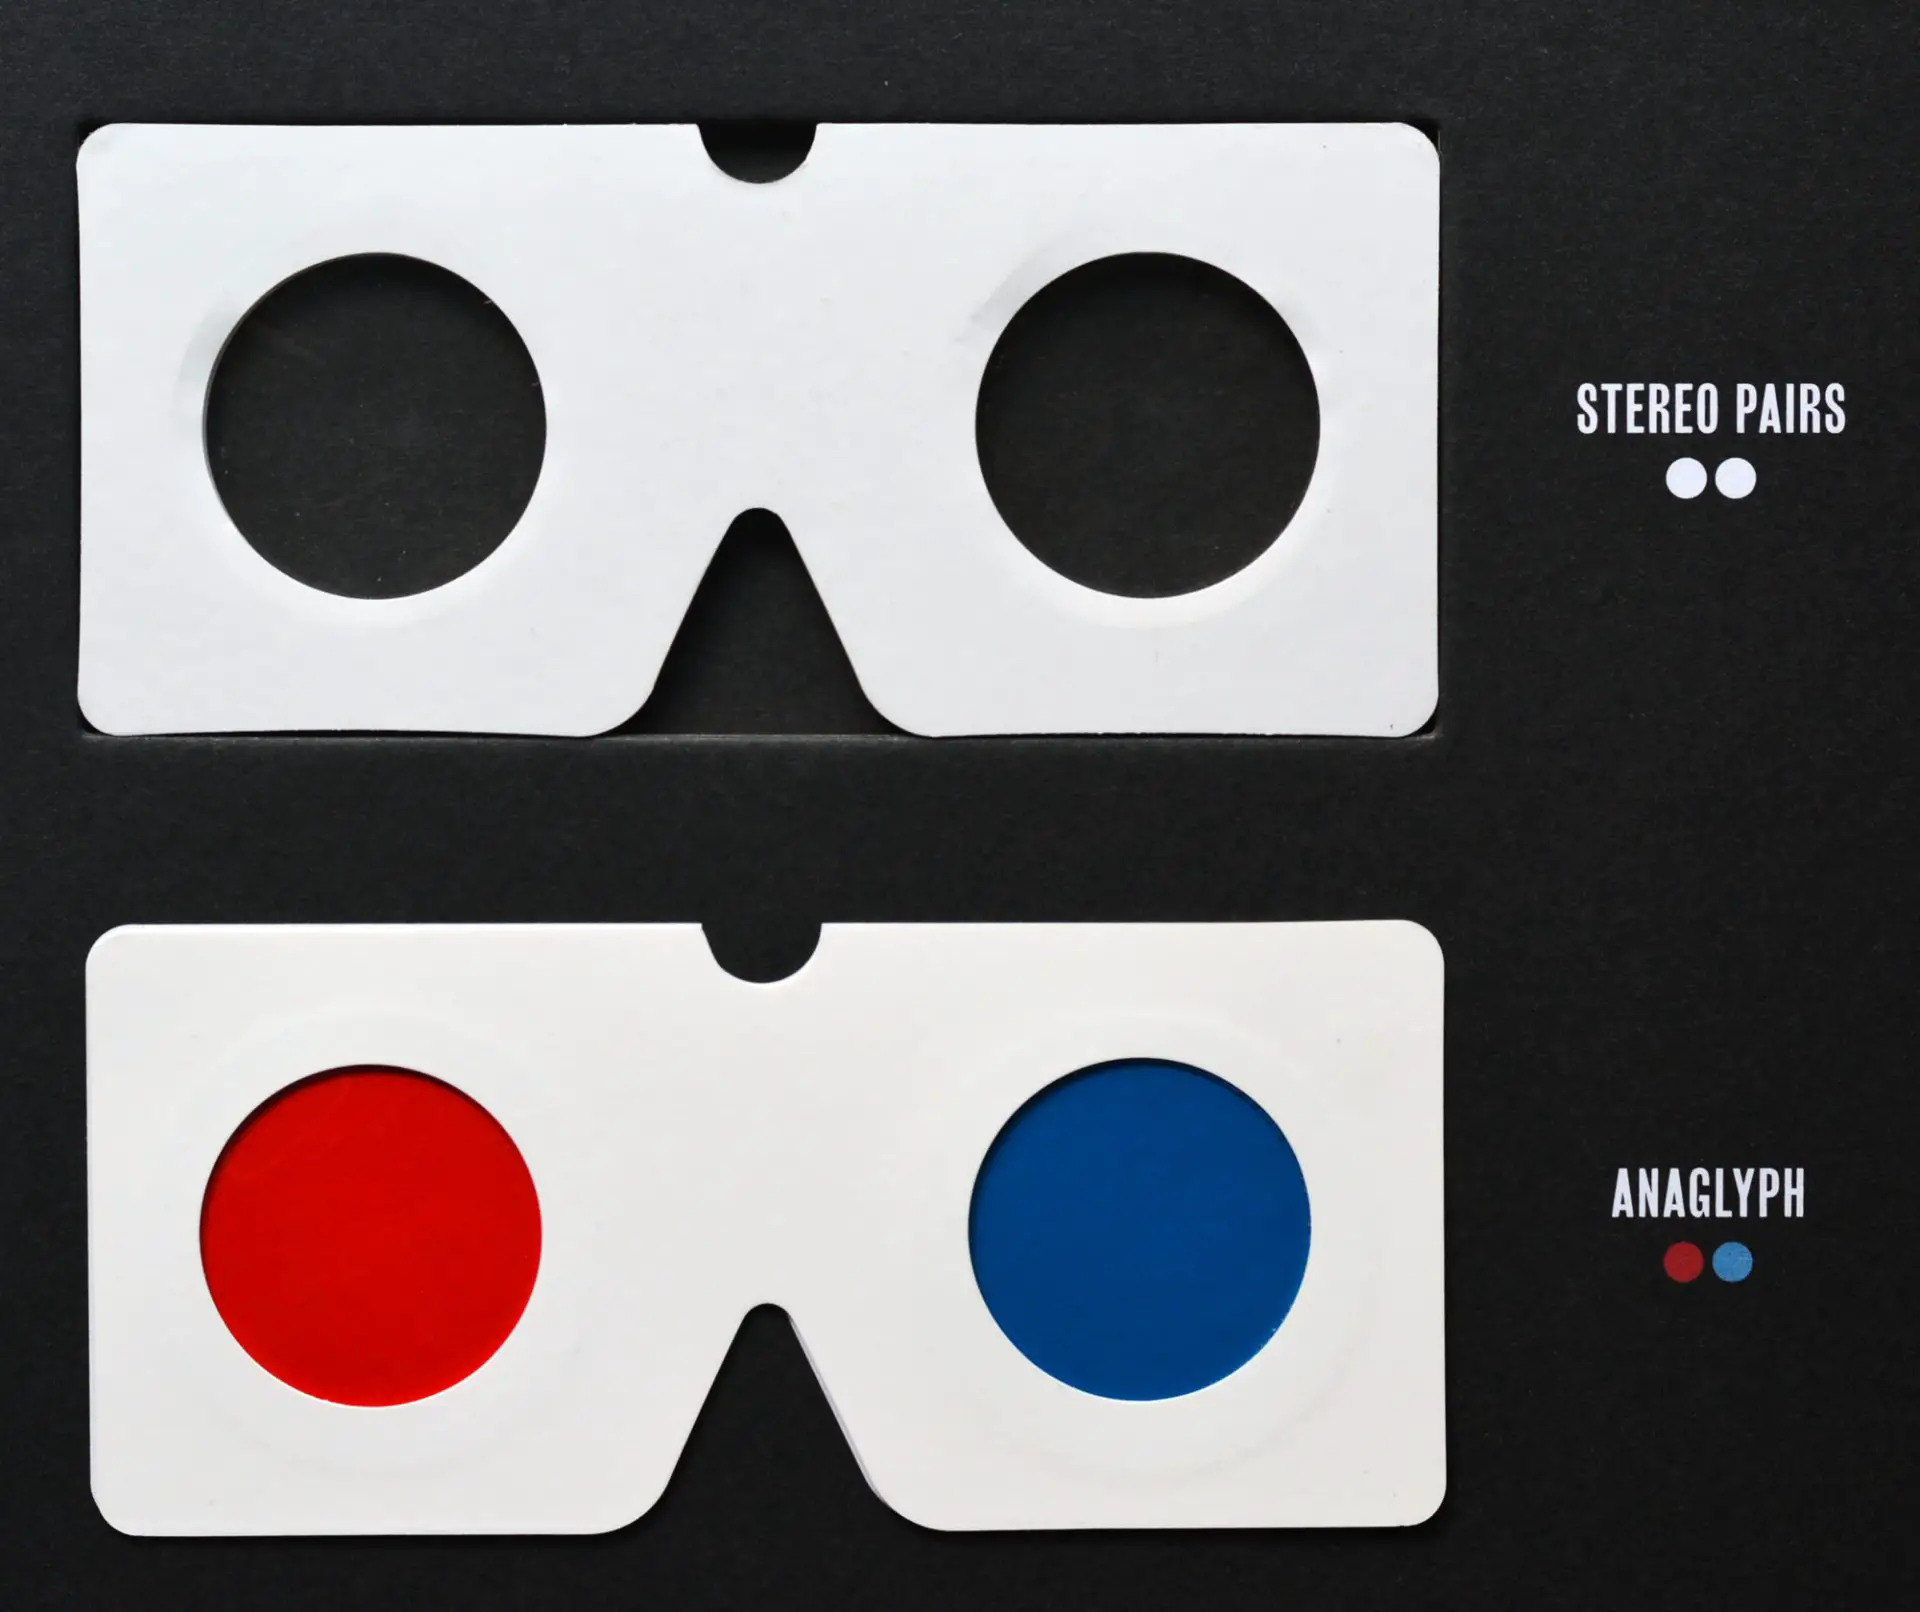
The stereo pairs on the LSC gallery, and also in this post, are formatted for “parallel viewing”. You can see them in 3D if you have a stereoscope (which can be purchased from the LSC website, among others), or if you can “free-view” with the naked eye. Alternatively, you can use Stereo Photo Maker – an excellent (and free!) program – to convert the stereo images to anaglyph format for viewing with red-blue glasses, or to cross-eye format if that’s your preferred way to free-view.
Planning and themes
When the LSC contacted me, I had just moved to Singapore for work. I spend most weekends exploring the city, so that was a natural theme for the photography project too. I called it Stereoscopic Singapore – not the most imaginative title in the world, but it alliterates!
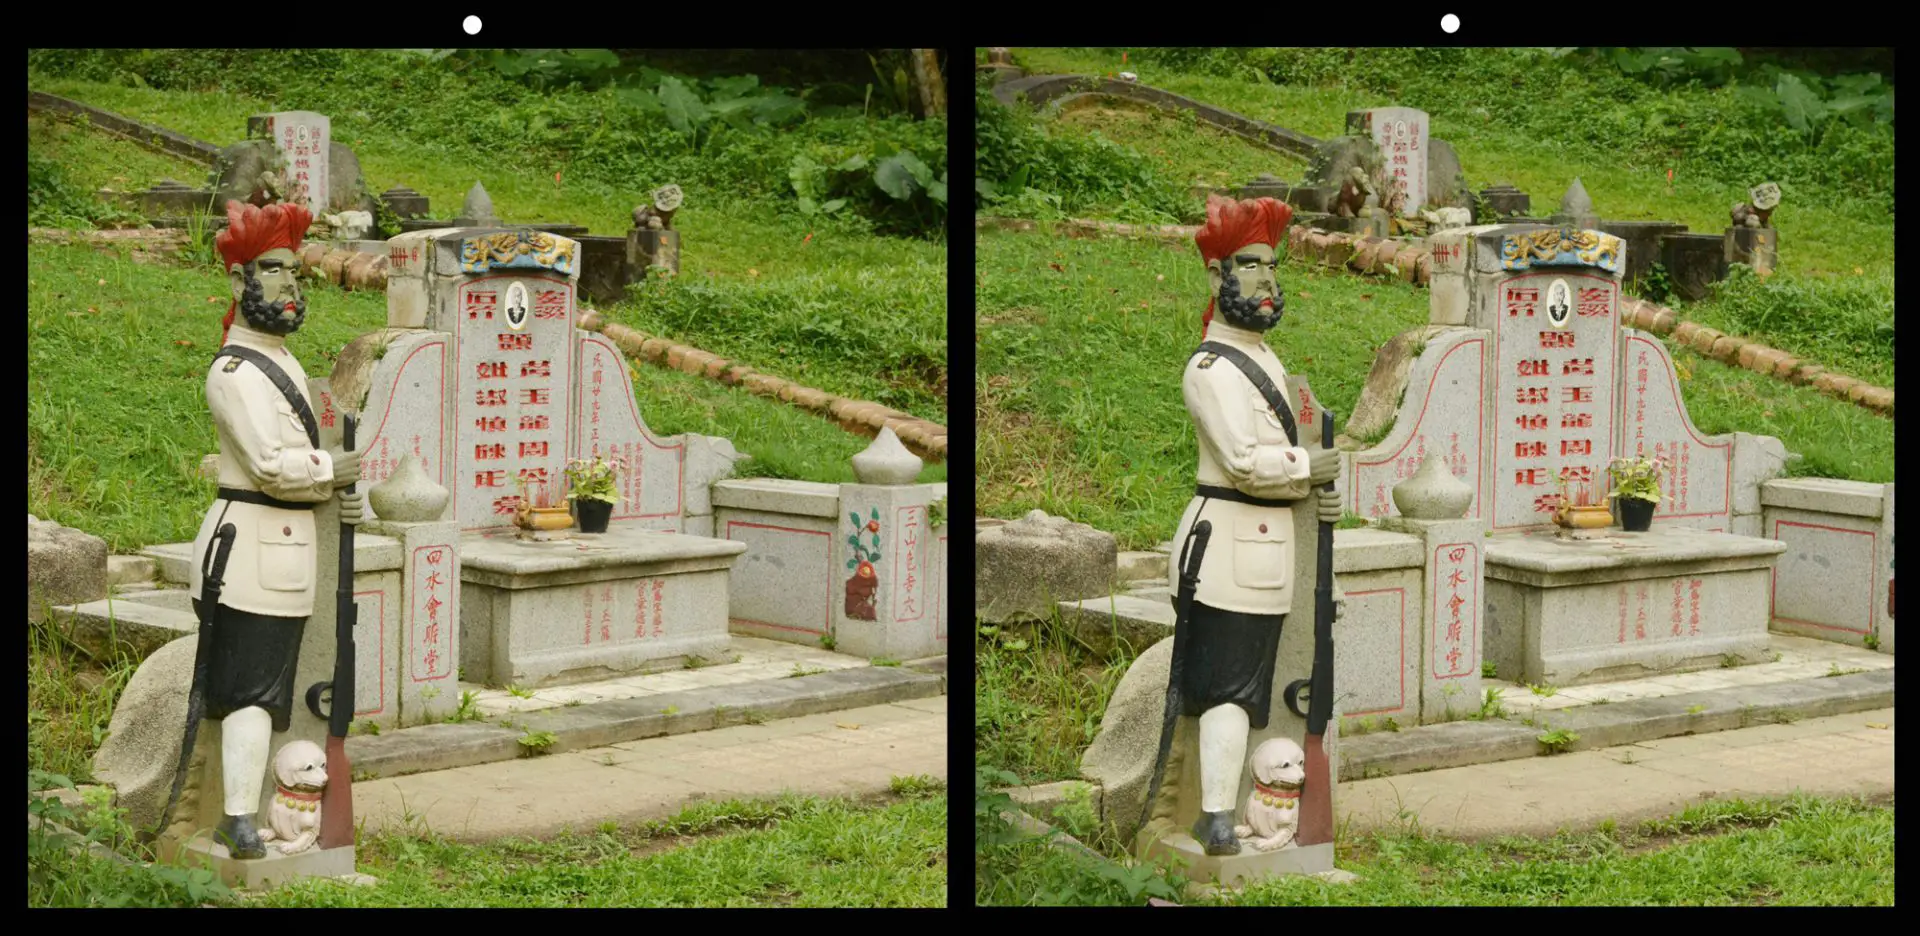
One flaw of the series, as I see it, is that it is not very coherent. It’s a bit of everything – architecture, street, portraits, nature, indoors, outdoors… but that is sadly symptomatic of my photography in general. I am interested in too many subjects and techniques, which means I rarely explore them in depth. I did consider more specific themes: cemeteries, for example, or Chinese temples. But I had about a month to shoot the whole series, and a subject like that would need more time, research and discipline than I could muster. The photo below is one of several stereos I shot in cemeteries, but none of them made the cut.
Equipment and technique
I shot the whole project with one camera – a Nikon D5200, my long-serving (9 years old!) crop-sensor DSLR – and two lenses – a Nikkor 50mm f/1.8 and Sigma 10-20mm f/3.5. All photos were all shot with available light, except this one where I used a Godox TT600 flash with a wireless trigger.
There are special cameras for stereo photography – they have two lenses to create two images of the same scene from slightly different angles, which can then be combined into a 3D image. Unusually for a stereo enthusiast, I don’t have a stereo camera. Instead, I use the aforementioned DSLR – what stereo photographers call a “mono camera”. So instead of two simultaneous shots, I take one shot, move the camera a few centimetres laterally, then take another shot.
This method – called sequential stereo – works with any camera, even a smartphone. But it has one major drawback: the two photos that comprise the stereo pair are taken a few seconds apart, and if anything in the frame has moved in between the two shots, you end up with a flawed stereo.
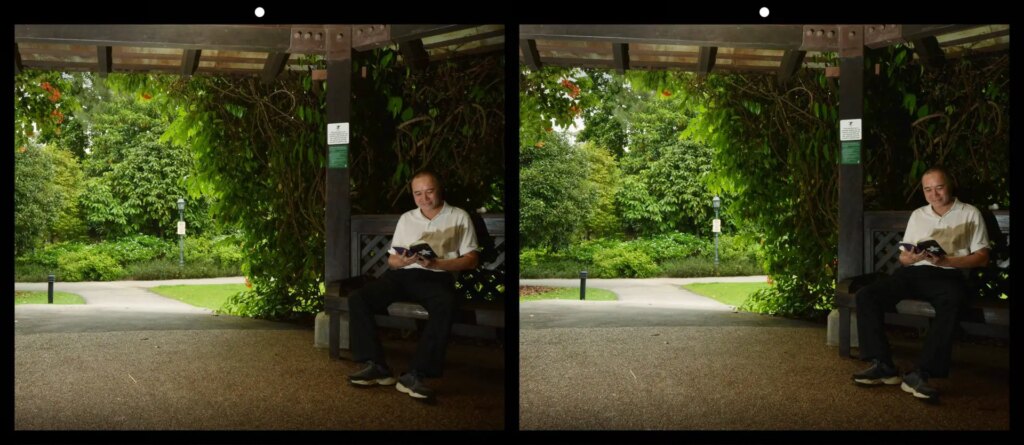
In the photo below, the black dot (indicated by the arrow) is actually a pigeon. I didn’t notice it when I took the photo, but in the second frame it has moved slightly closer to the lamppost. If you view the image in 3D, your two eyes receive conflicting information, and you see a kind of flickering effect – a glitchy pigeon.
For stereo photos, I first lock focus using single-point AF-S, switch to manual focus (using the convenient switch on the lens barrel), and then shoot the two frames in quick succession. That way, there’s no risk that the camera will refocus differently for the second frame. Likewise, I use the camera on manual mode to ensure consistent exposure. On auto or priority modes, the camera sometimes chooses slightly different exposures for the two frames, which creates more work in post.
Collaborations
Movement between frames is an inherent hazard of sequential stereo. It manifests in many different situations – busy streets, moving water, moving clouds, leaves fluttering in the wind. People photos are especially challenging. The sensible choice would be to stick to architecture and still life, but I love taking people photos.
My series has two candids of humans (and one of a lizard, technically also a candid). It took me a few attempts to get a pair where my subject had not moved between frames, but when it works, it feels good.
When taking close-up photos of a stranger, I generally ask for permission. But sequential stereo is more complicated; you also have to explain that they need to hold still for two frames. So I decided to post on a couple of local Facebook groups and ask for volunteers. My collaborators were KC who is also an amateur photographer, Alwyn who works for a charitable organisation, Pearl, a student of theatre and dance, and Pauline and Kevin, who breed exotic houseplants. I met them at prearranged locations, showed them a few stereo photos through my stereoscope – this always elicits delighted reactions – and explained what I wanted to do.
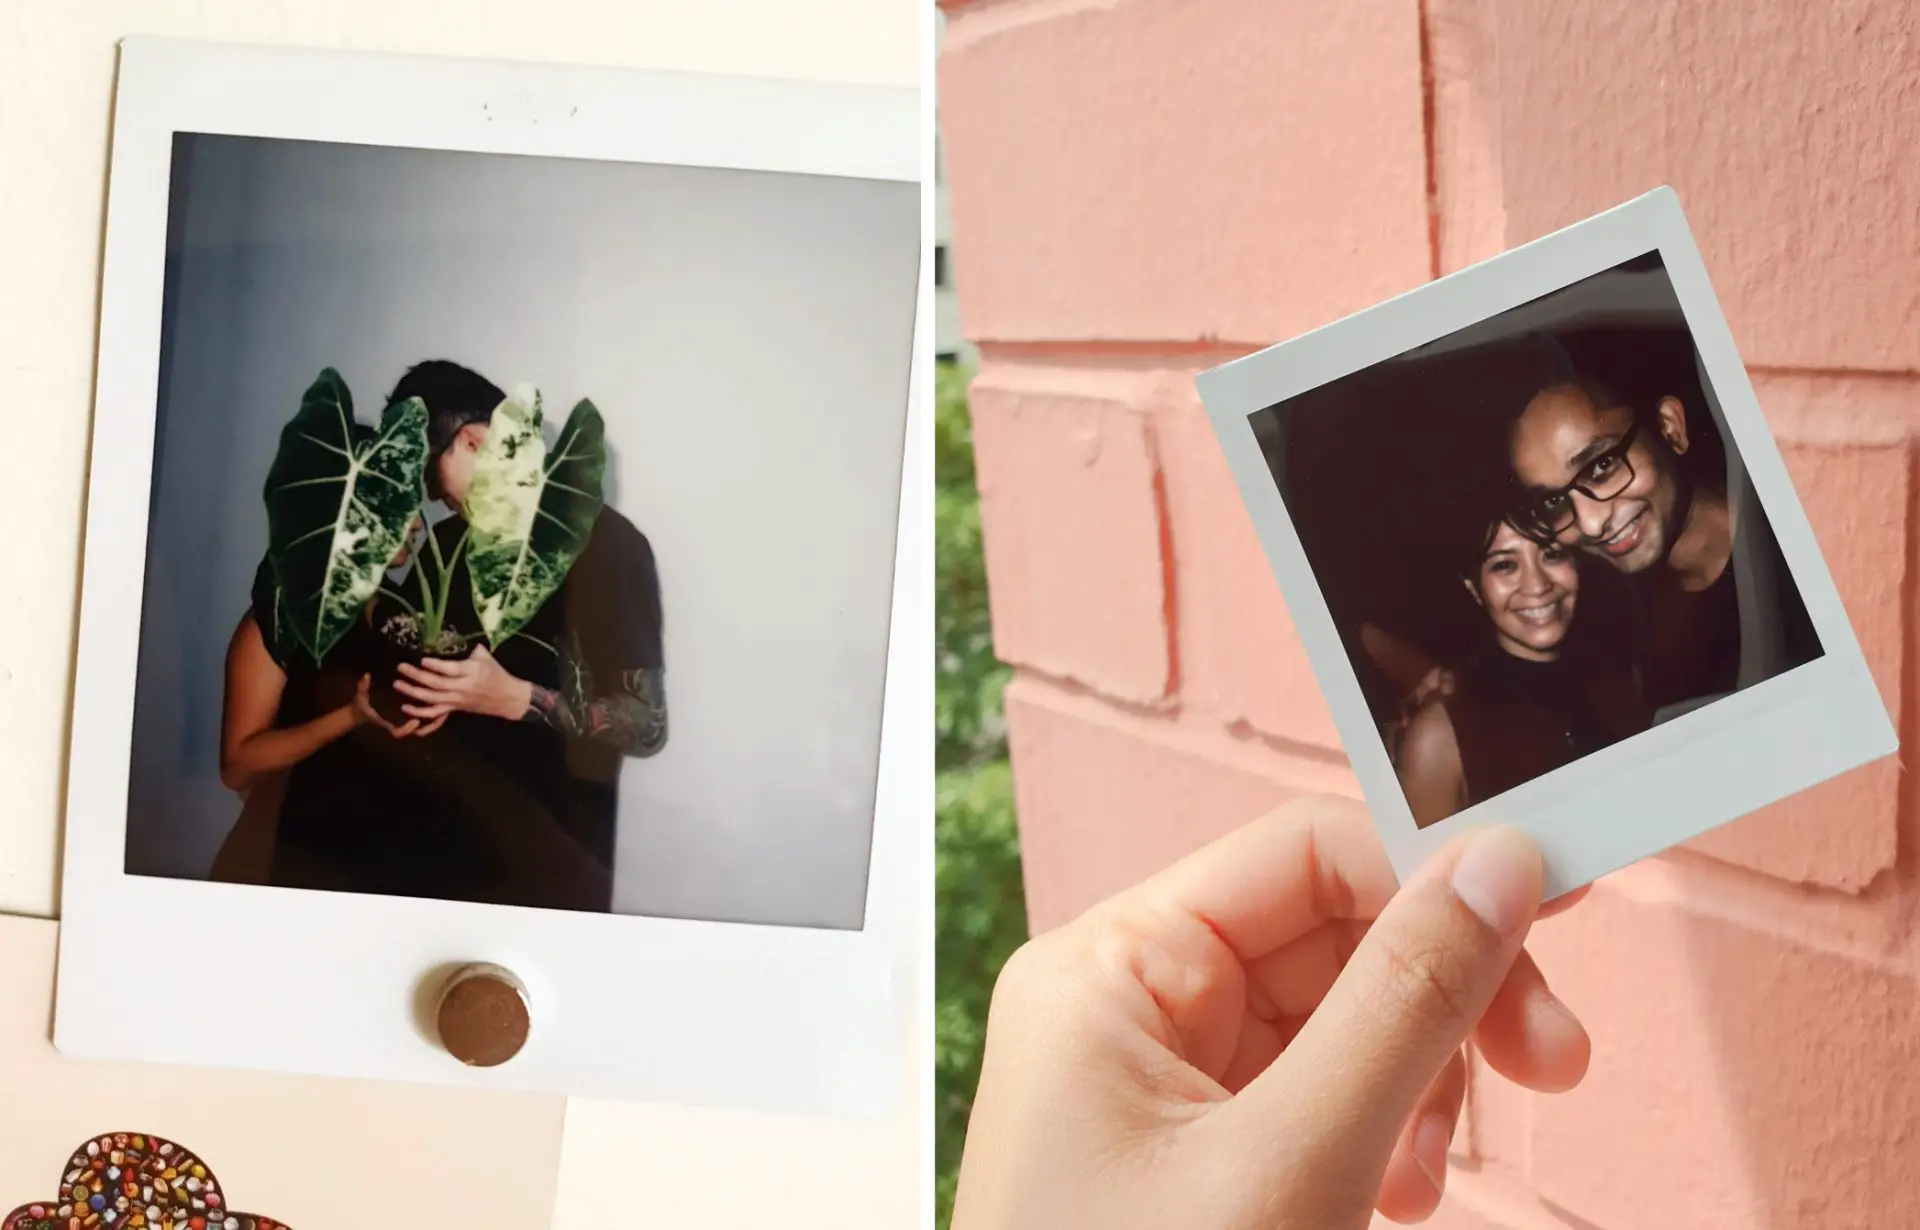
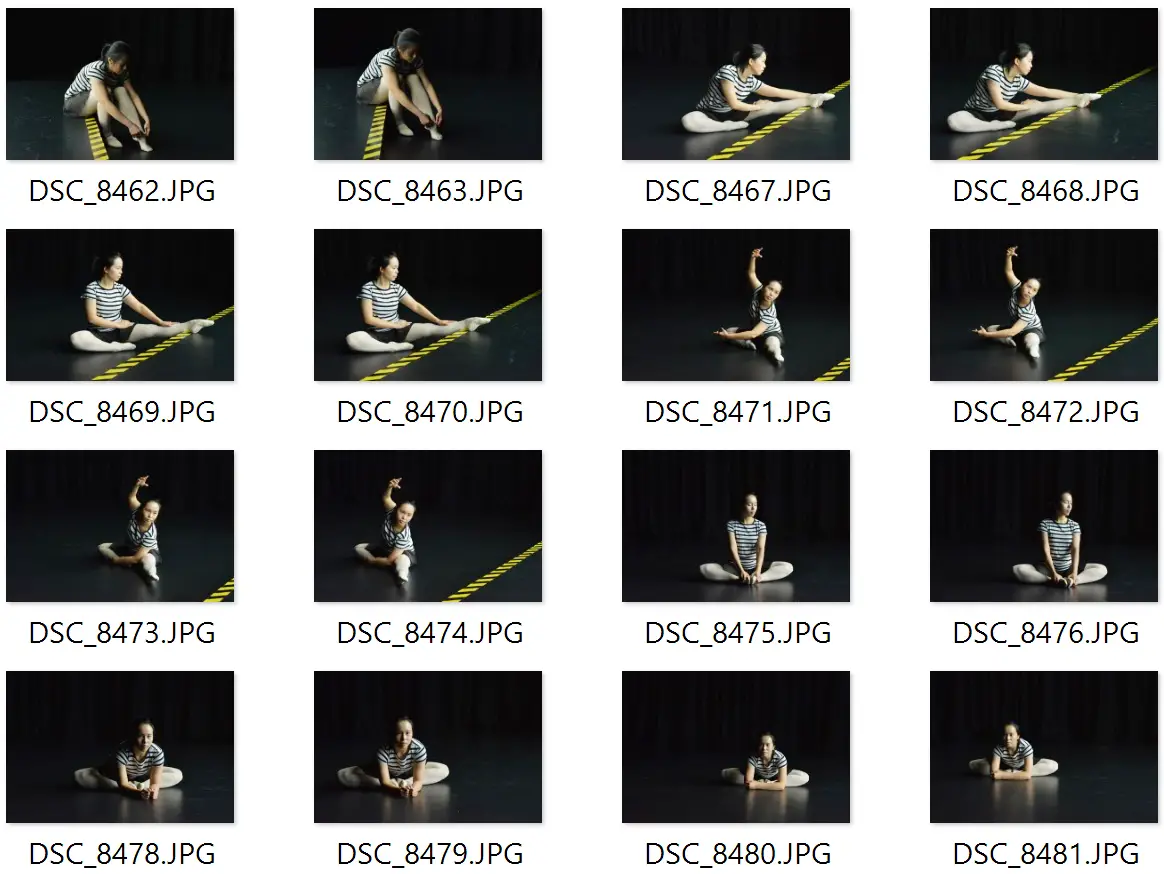
For the shoots with KC and Alwyn, I did some scouting beforehand to identify interesting locations in Chinatown and the Botanic Gardens. Pearl booked a dance studio which was just magnificent – a huge hall with dark curtains on all sides and a north-facing window wall. I could shoot there all day. And for the houseplants shoot, I simply used a photo concept which Pauline and Kevin originally came up with. In fact, my photo was essentially just a stereo version of a mono photo which they had taken sometime back. To thank them for their time, I gave them all an Instax photo, also taken during the shoot.
Mistakes
The problem with stereo photography is that sometimes, mistakes only become evident much later, when editing them on my computer at home. At that point, it’s far too late to do anything about it.
Normally this does not bother me too much; it’s just a photo, after all. My biggest worry was with the planned shoots. My collaborators were already being generous with their time and participation, and if none of the stereos from a session were good enough for the gallery, that would be embarrassing indeed. Thankfully, that was not the case. Where possible, I took multiple stereo pairs to improve my chances of success.
Movement between frames
The most common technical problem was movement between frames. I showed an earlier example with the pigeon. The stereo pair below is a more subtle version of the same problem. The alocasia, as gorgeous as it is, was a sequential stereo photographer’s nightmare. The big leaves on the end of long, slender stalks are like hyper-sensitive motion detectors. A slight tremor of the hand or breath of wind was enough to set them vibrating. And once they start, they take a while to stop.
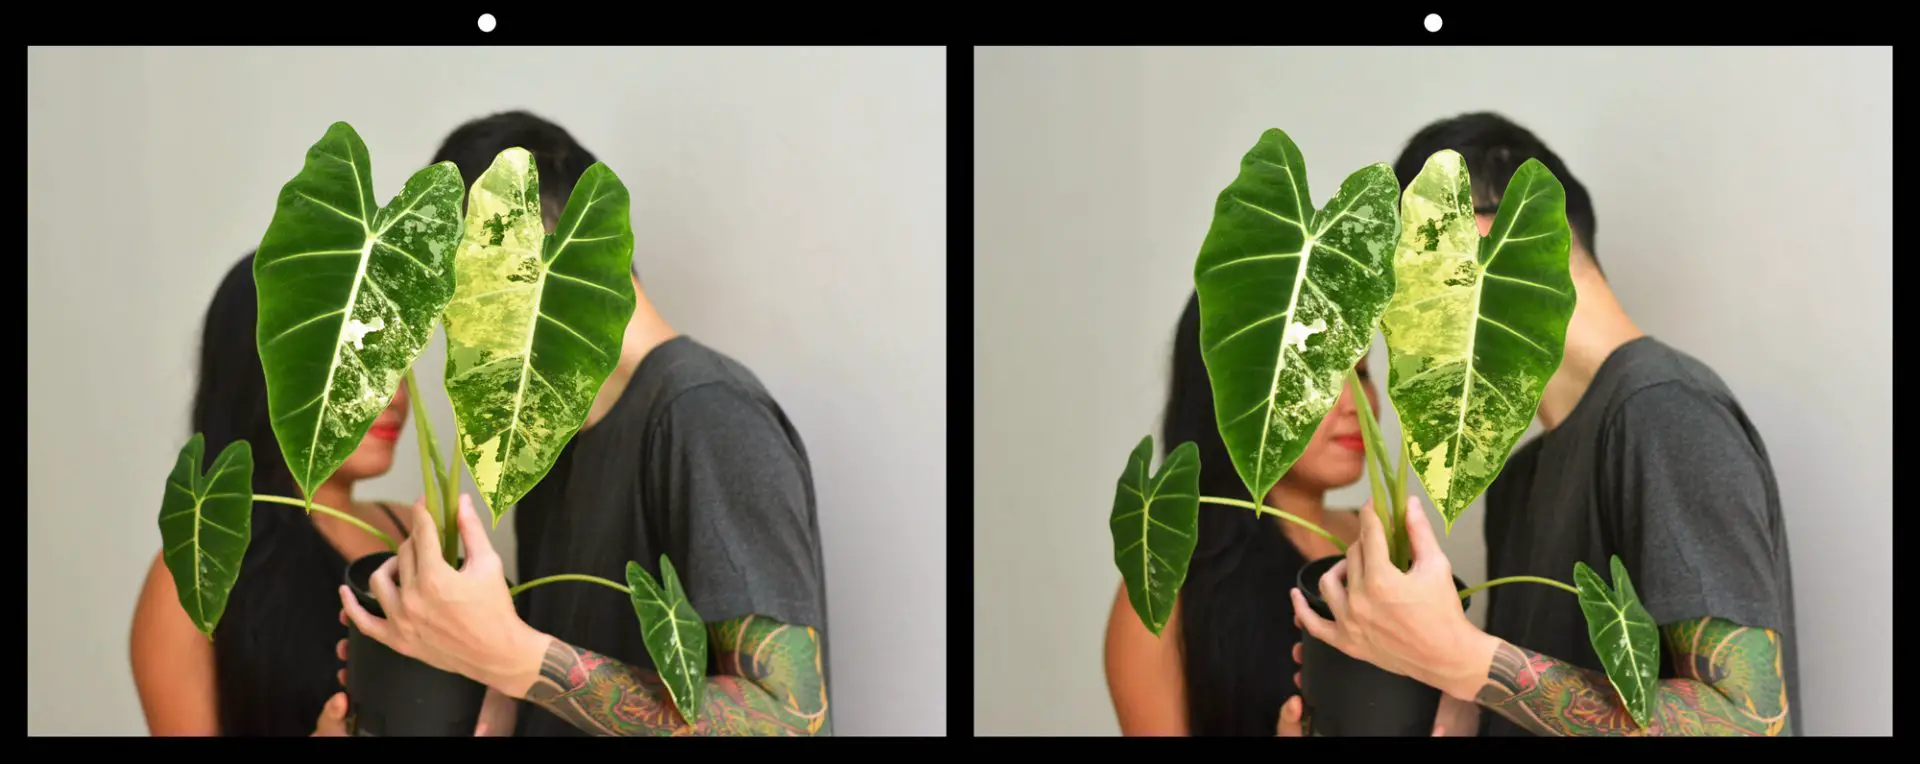
The stereo pair looks okay at first glance, but in 3D, the two big leaves show a kind of shimmering effect because they moved slightly between frames. Fortunately I managed to get one pair which doesn’t have this problem; you can see it in the gallery.
Incorrect stereo base
The two photos in a stereo pair, as I mentioned, are taken from slightly different perspectives, typically a few centimetres apart. How many centimetres? This is an incredibly technical topic, but a good rule of thumb is that the lateral separation, known as stereo base, should be about 1/30th of the distance from the camera to the nearest subject. This is to ensure orthoscopic stereo – a fancy term which simply means that the 3D effect “looks right”. A too-small stereo base results in a photo which is lacking in 3D depth, and a too-large base creates an illusion of excessive, unnatural depth.
Most dedicated stereo cameras have a fixed stereo base, which means they produce orthoscopic stereo only at a certain range. For example, the Stereo Realist (top right in the photo below) had a 7 cm stereo base, optimised for a subject distance of 2.1 metres.

One advantage of using a mono camera is that your stereo base is flexible; you decide how much you move the camera between frames. The “right” way to do this, if you’re fastidious, is to mount your camera on a tripod with a slide bar. You then measure the distance to the near point, divide by 30, and accordingly move your camera along the slide bar.
My approach is rather more slapdash, handholding the camera (I avoid carrying a tripod unless I absolutely have to) and choosing my stereo base by pure guesswork. For close subjects I move my camera just a little; for faraway subjects I might take a few steps off to the side. With practice, I can guess quite well, but sometimes I get it wrong.
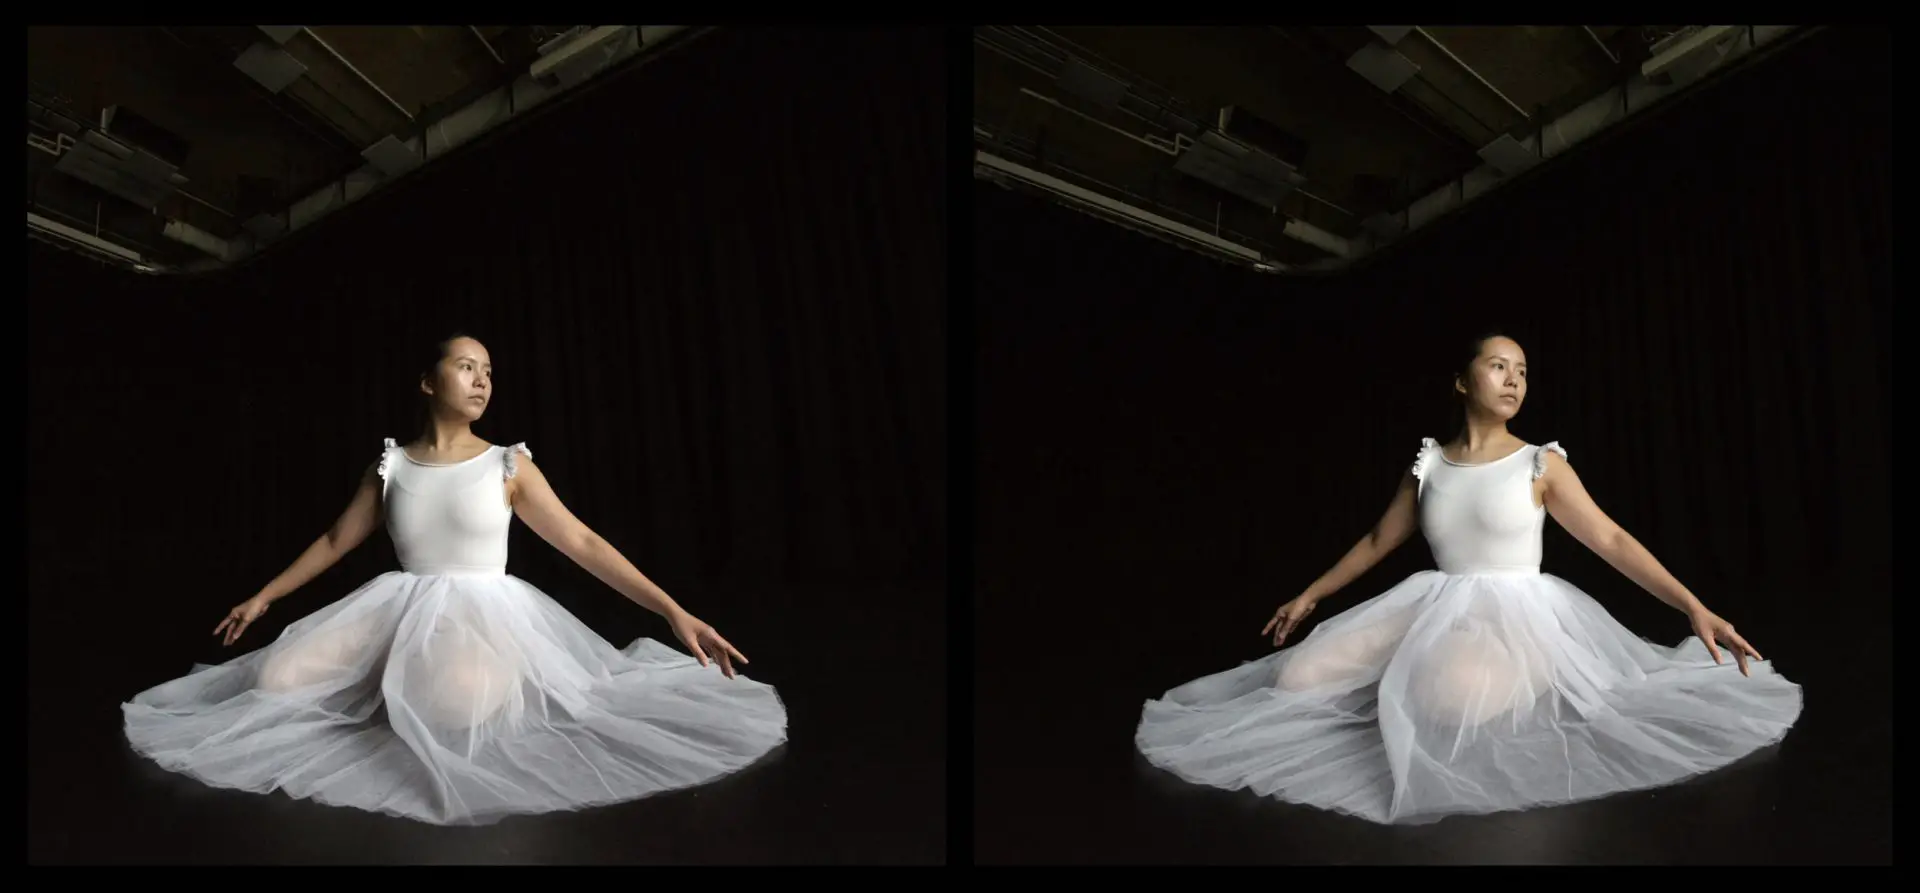
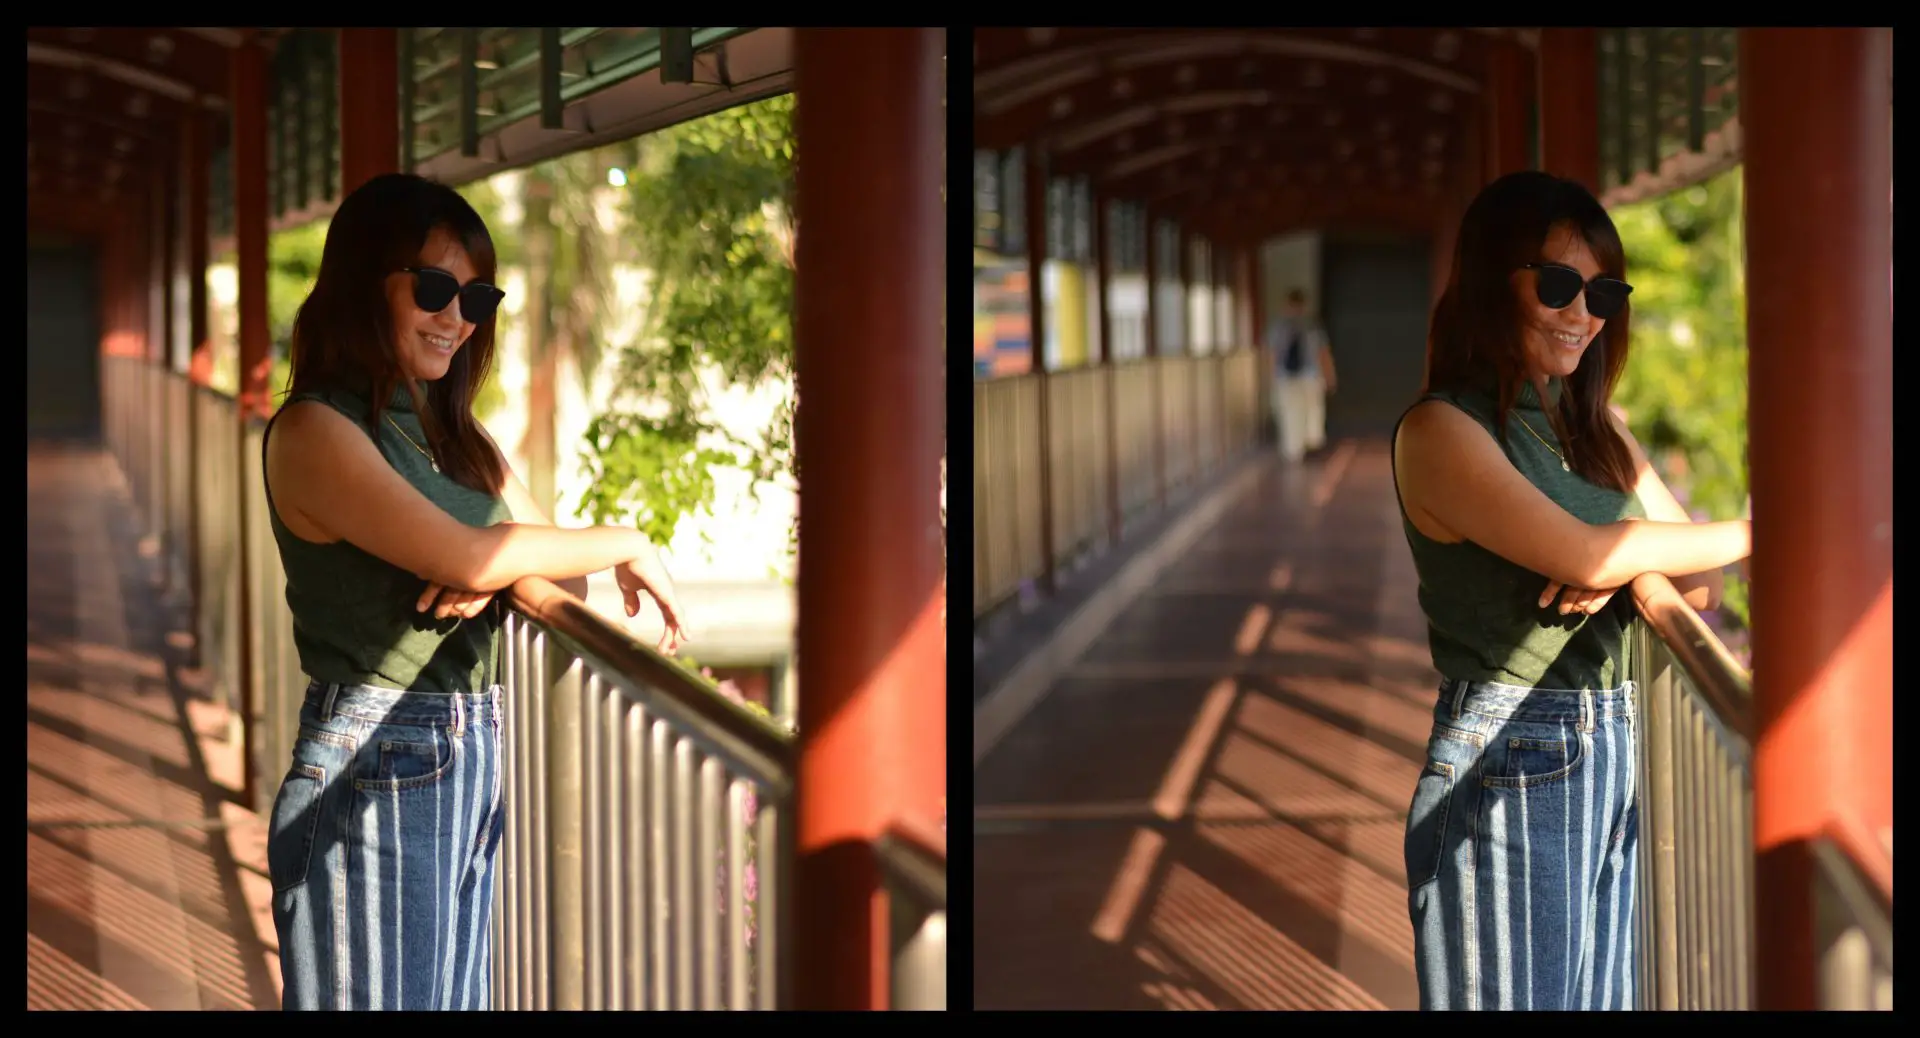
In the pair below, the stereo base is far too large for comfortable viewing. There are other problems as well – the depth of field is too shallow, and there’s movement in her hair. But the shadows on her jeans look great in 3D.
Other outtakes
Mistakes, such as movement between frames and incorrect stereo base, were one reason why some photos didn’t make the cut. But of course there were other reasons for rejecting photos. In some cases, a better alternative was available. The photo below was shot from across the road with a 50mm lens (75mm in full-frame equivalent).
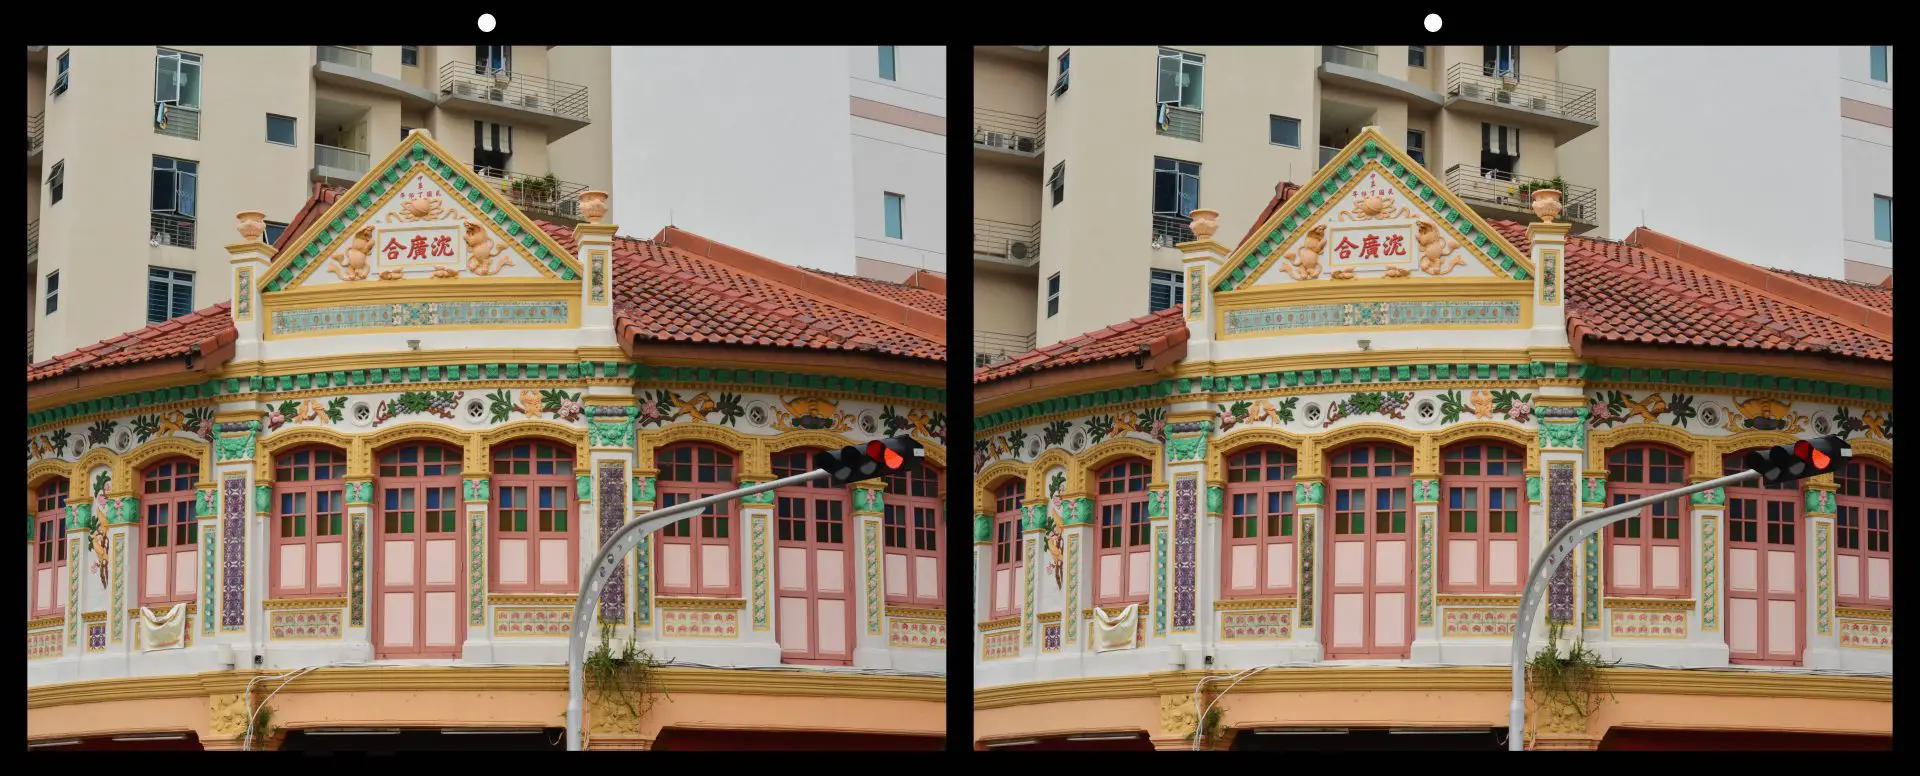
By crossing the road and using a wider lens, I was able to get a more dramatic shot which I did include in the gallery. But I do like the traffic light in the one above. When seen in 3D, it “breaks the stereo window”, that is, it appears to pop out of the screen.
Next up is an outtake with a strange problem: the reflections in the mirror are slightly different.
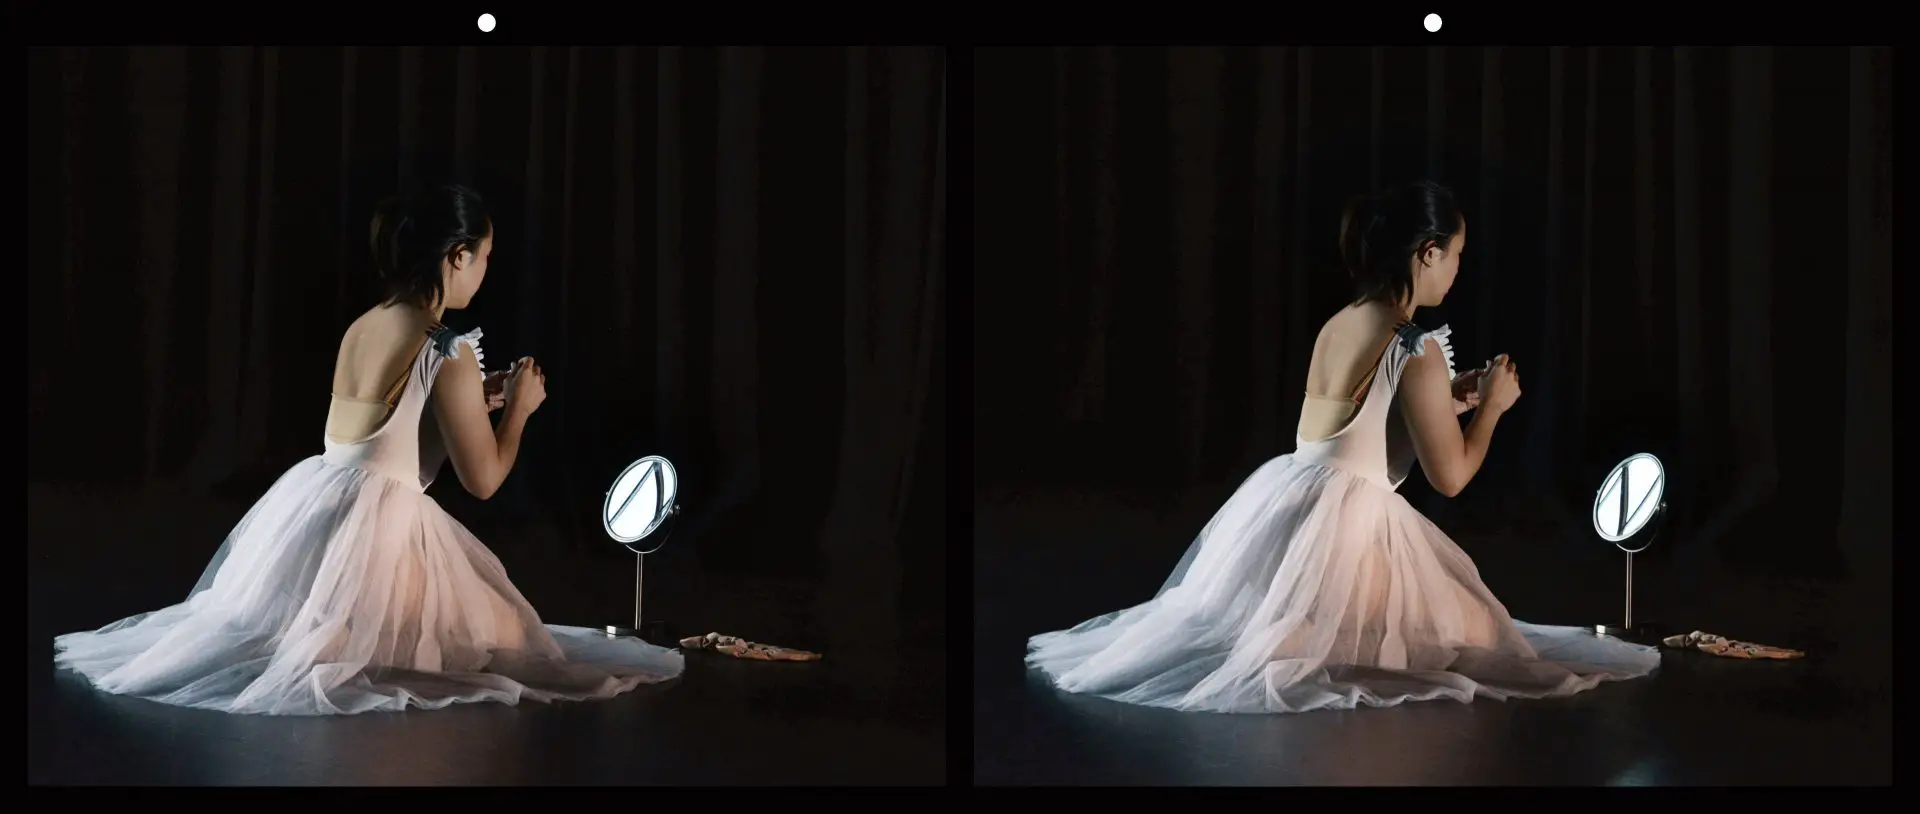
This is not a case of movement between frames: the difference is simply due to the slight change in perspective between the left and right frames. In fact, you would see a similar effect with the naked eye. Look at a mirror from an angle. Close first one eye and then the other, and you’ll see that the reflection – what is included in the mirror “frame” – is slightly different. In real life, our eyes and brain dynamically correct for it, but in a 3D photo, the effect is distracting, like a glitch. In a 2014 Stereo World article titled “The Seven Deadly Retinal Rivalries” (PDF link), Jeff Boller described a similar problem, termed “keyholing”.
I should say that these things, and the “mistakes” described earlier, mainly only bother me when it comes to my own photos. With other people’s photos, I wouldn’t mind; in fact, I might not even notice. And even in my gallery, there’s at least one photo which is technically very flawed; I just included it because it looks cool.
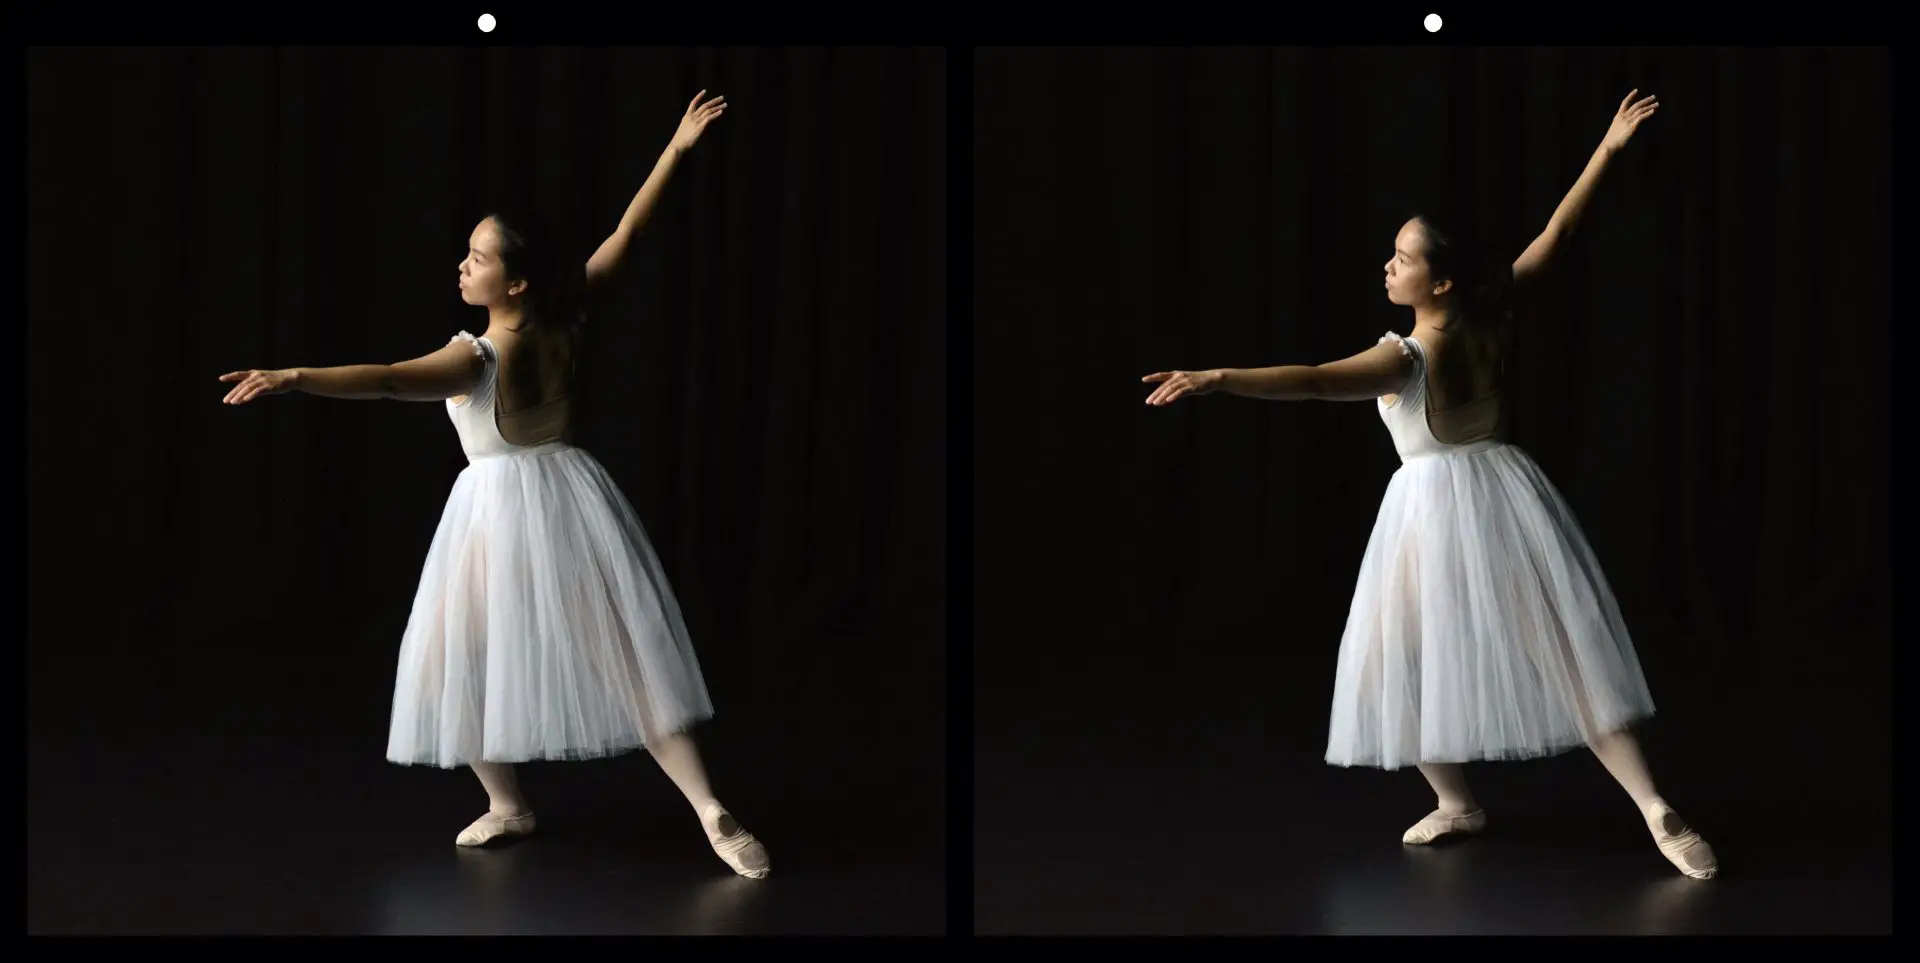
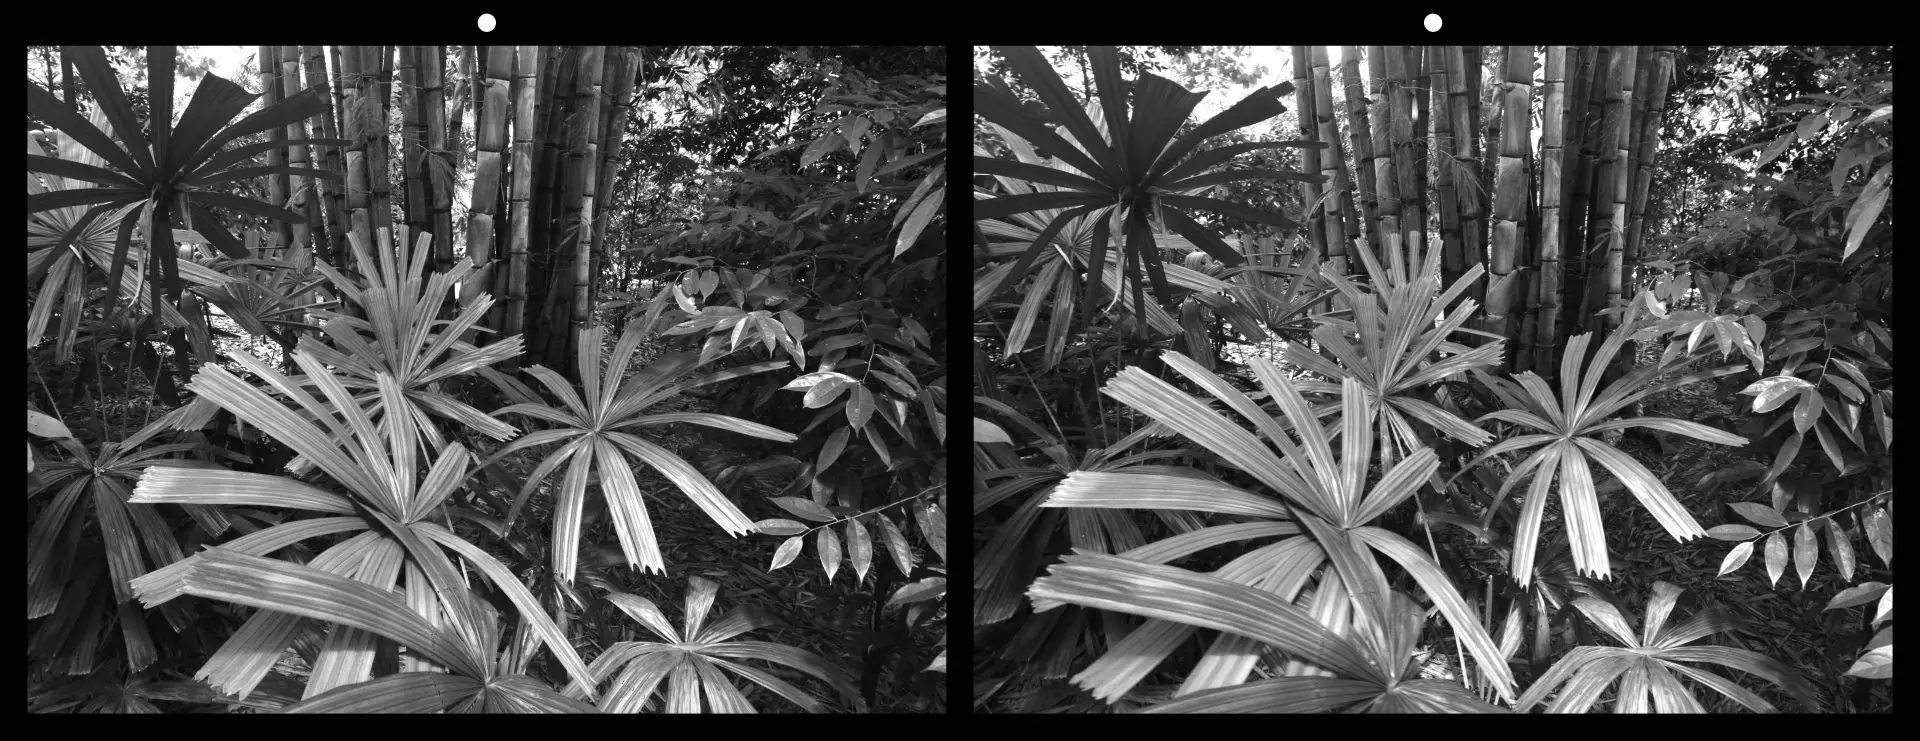
Finally, some photos didn’t make the cut for a simple but very common reason – they just weren’t interesting enough. I “shortlisted” the one below, but I left it out of the final selection. It’s not bad, but it seems to be missing something.
Final thoughts
If you are already into stereo photography, I hope you enjoy the gallery (here’s the link again). If you’re not, I hope this article piqued your interest. Thanks for reading, and thanks also to my collaborators, to the Stereoscopy Blog for being a fantastic stereo photography resource, and of course to the LSC for inviting me to share my pictures. For more of my work – mostly mono, but I also post some stereo photos – feel free to check out my Instagram (@midtonegrey).
Share this post:


Comments
Bill Thoo on Stereoscopic Singapore: Making of a 3D Photography Project – by Sroyon
Comment posted: 25/07/2022
Comment posted: 25/07/2022
sonny rosenberg on Stereoscopic Singapore: Making of a 3D Photography Project – by Sroyon
Comment posted: 25/07/2022
Comment posted: 25/07/2022