Rebecca wrote a great introduction to stereoscopic (3D) photography which was published on 35mmc yesterday, and which some of you have probably read already. I only got into stereo photography a couple of months ago, so I’m still a beginner. As such, this is more of a personal account. I thought it would be fun to document my initial impressions of what I suspect will become a long-term interest. Secondly and perhaps more importantly, I would like to share three important realisations – all quite recent – which really drew me into stereo photography.
Before we get to that, a quick caveat. Approximately 7% of the population is estimated to be stereoblind – that is, unable to see in 3D. That includes my dad, who got me into photography – he lost vision in his right eye as a result of a sports injury. Obviously, much of what I’m going to say only applies if you’re actually able to see in 3D.

Three realisations
If you’re already into stereo photography, these might seem obvious to you. But if you’re not, I hope that my experiences will prompt you to try stereo photography, and that you will get as much enjoyment out of it as I do.
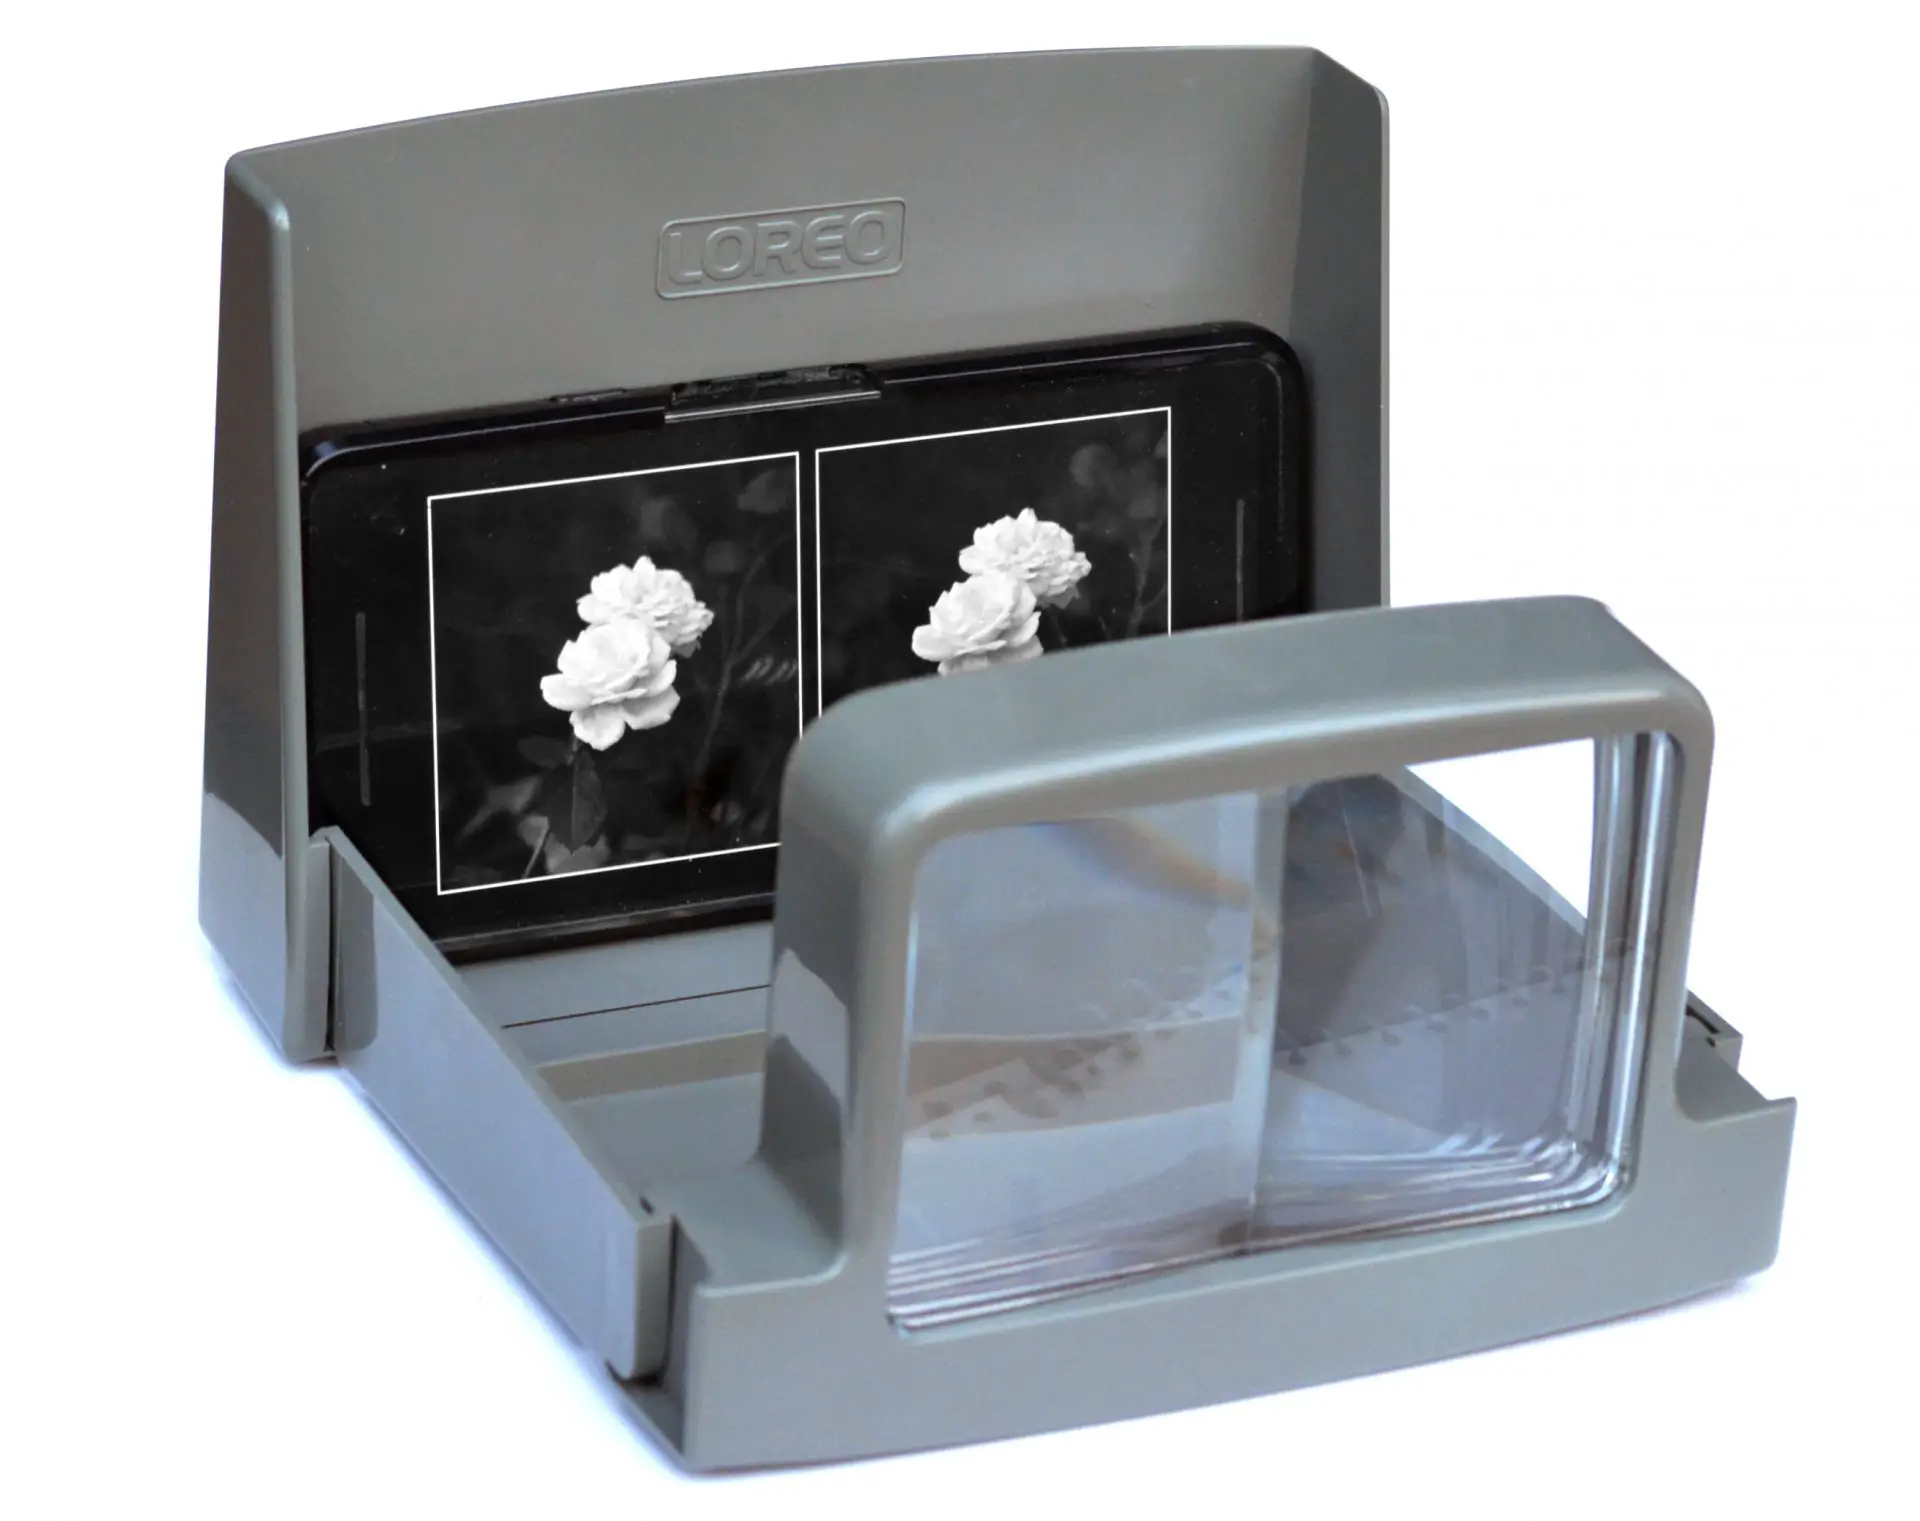
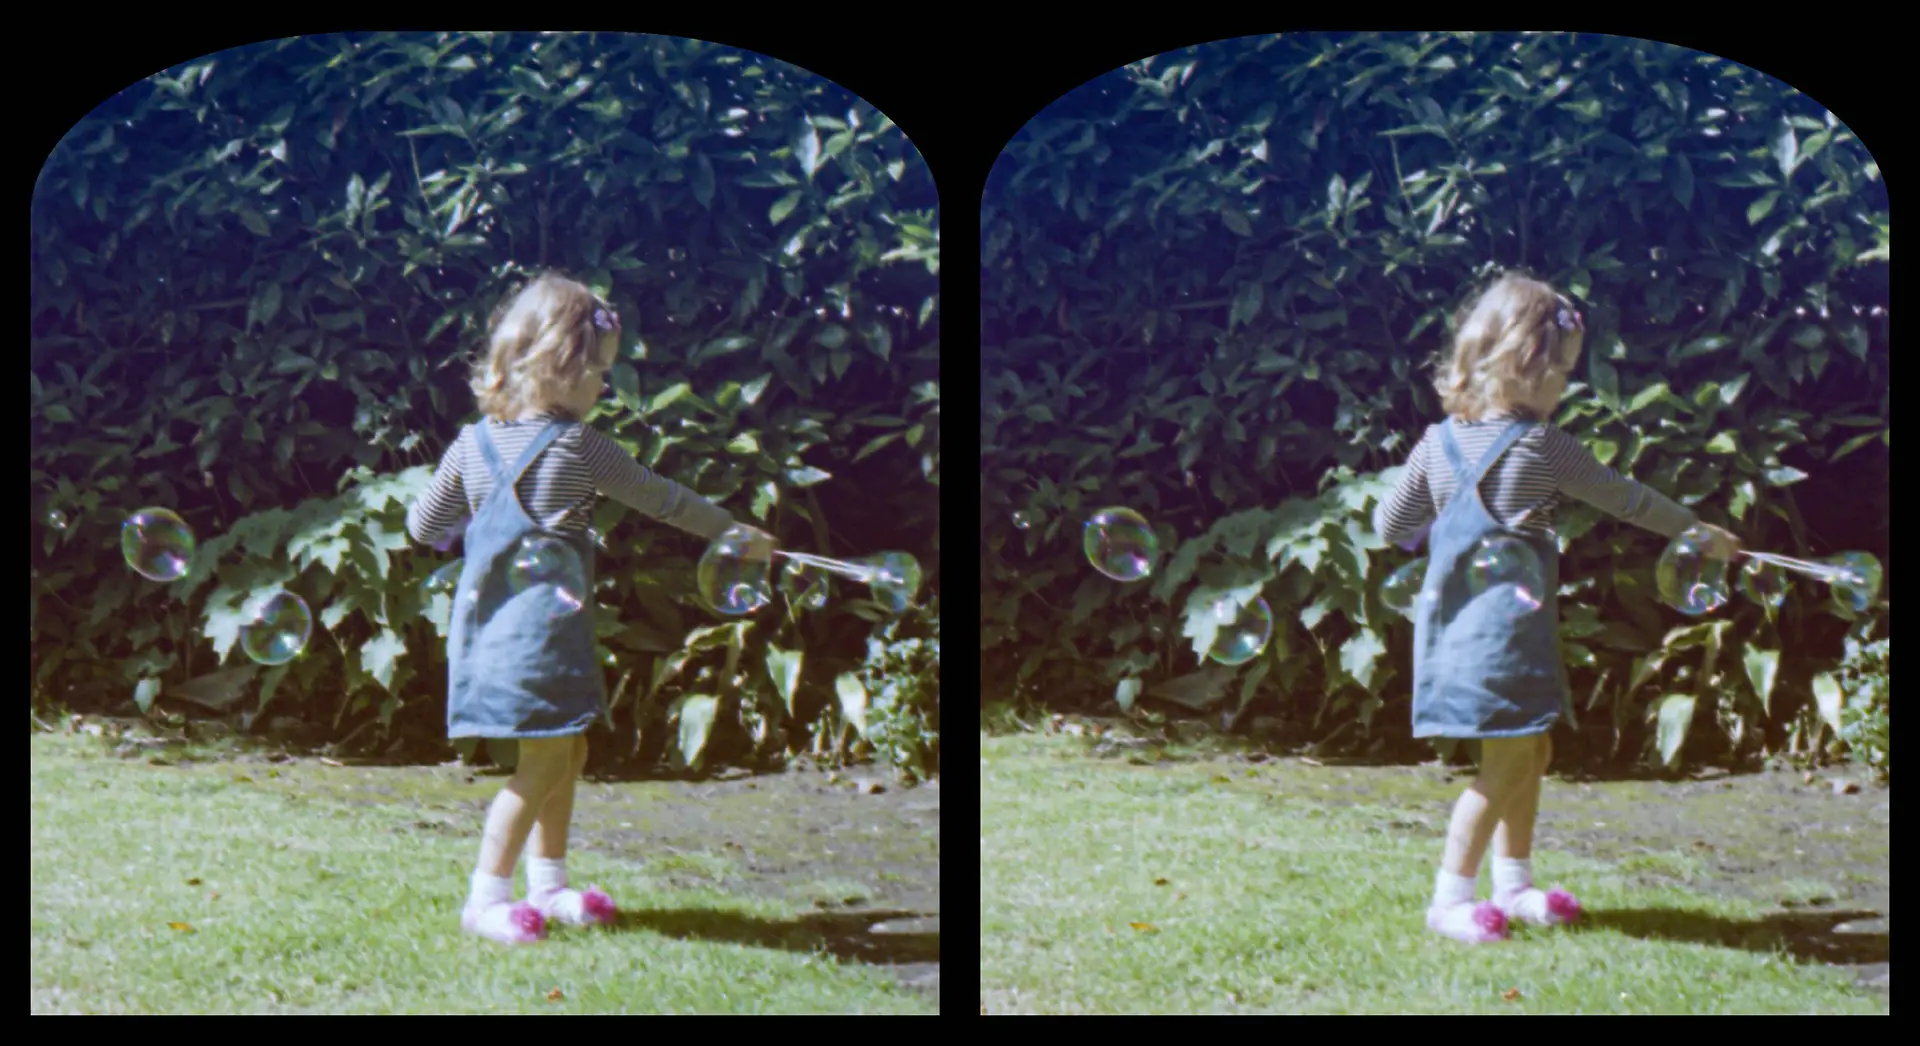
Psychological realisation: See the image of the roses above? That’s a stereo pair – two photos of the same scene, taken from slightly different perspectives, presented side-by-side. When seen through a stereo viewer (see below), the pair fuses into a single 3D image. Free-viewing is being able to do the same trick with the naked eye. Strange as it sounds – and this was my realisation, a real game-changer! – learning to free-view appears to be fairly easy. Or at least, it’s easy for some people, perhaps even for most people. I learned in about 20 minutes. The effect is like magic. Later on in this post I’ll talk about how I learned to free-view, and how – hopefully! – you can learn too.
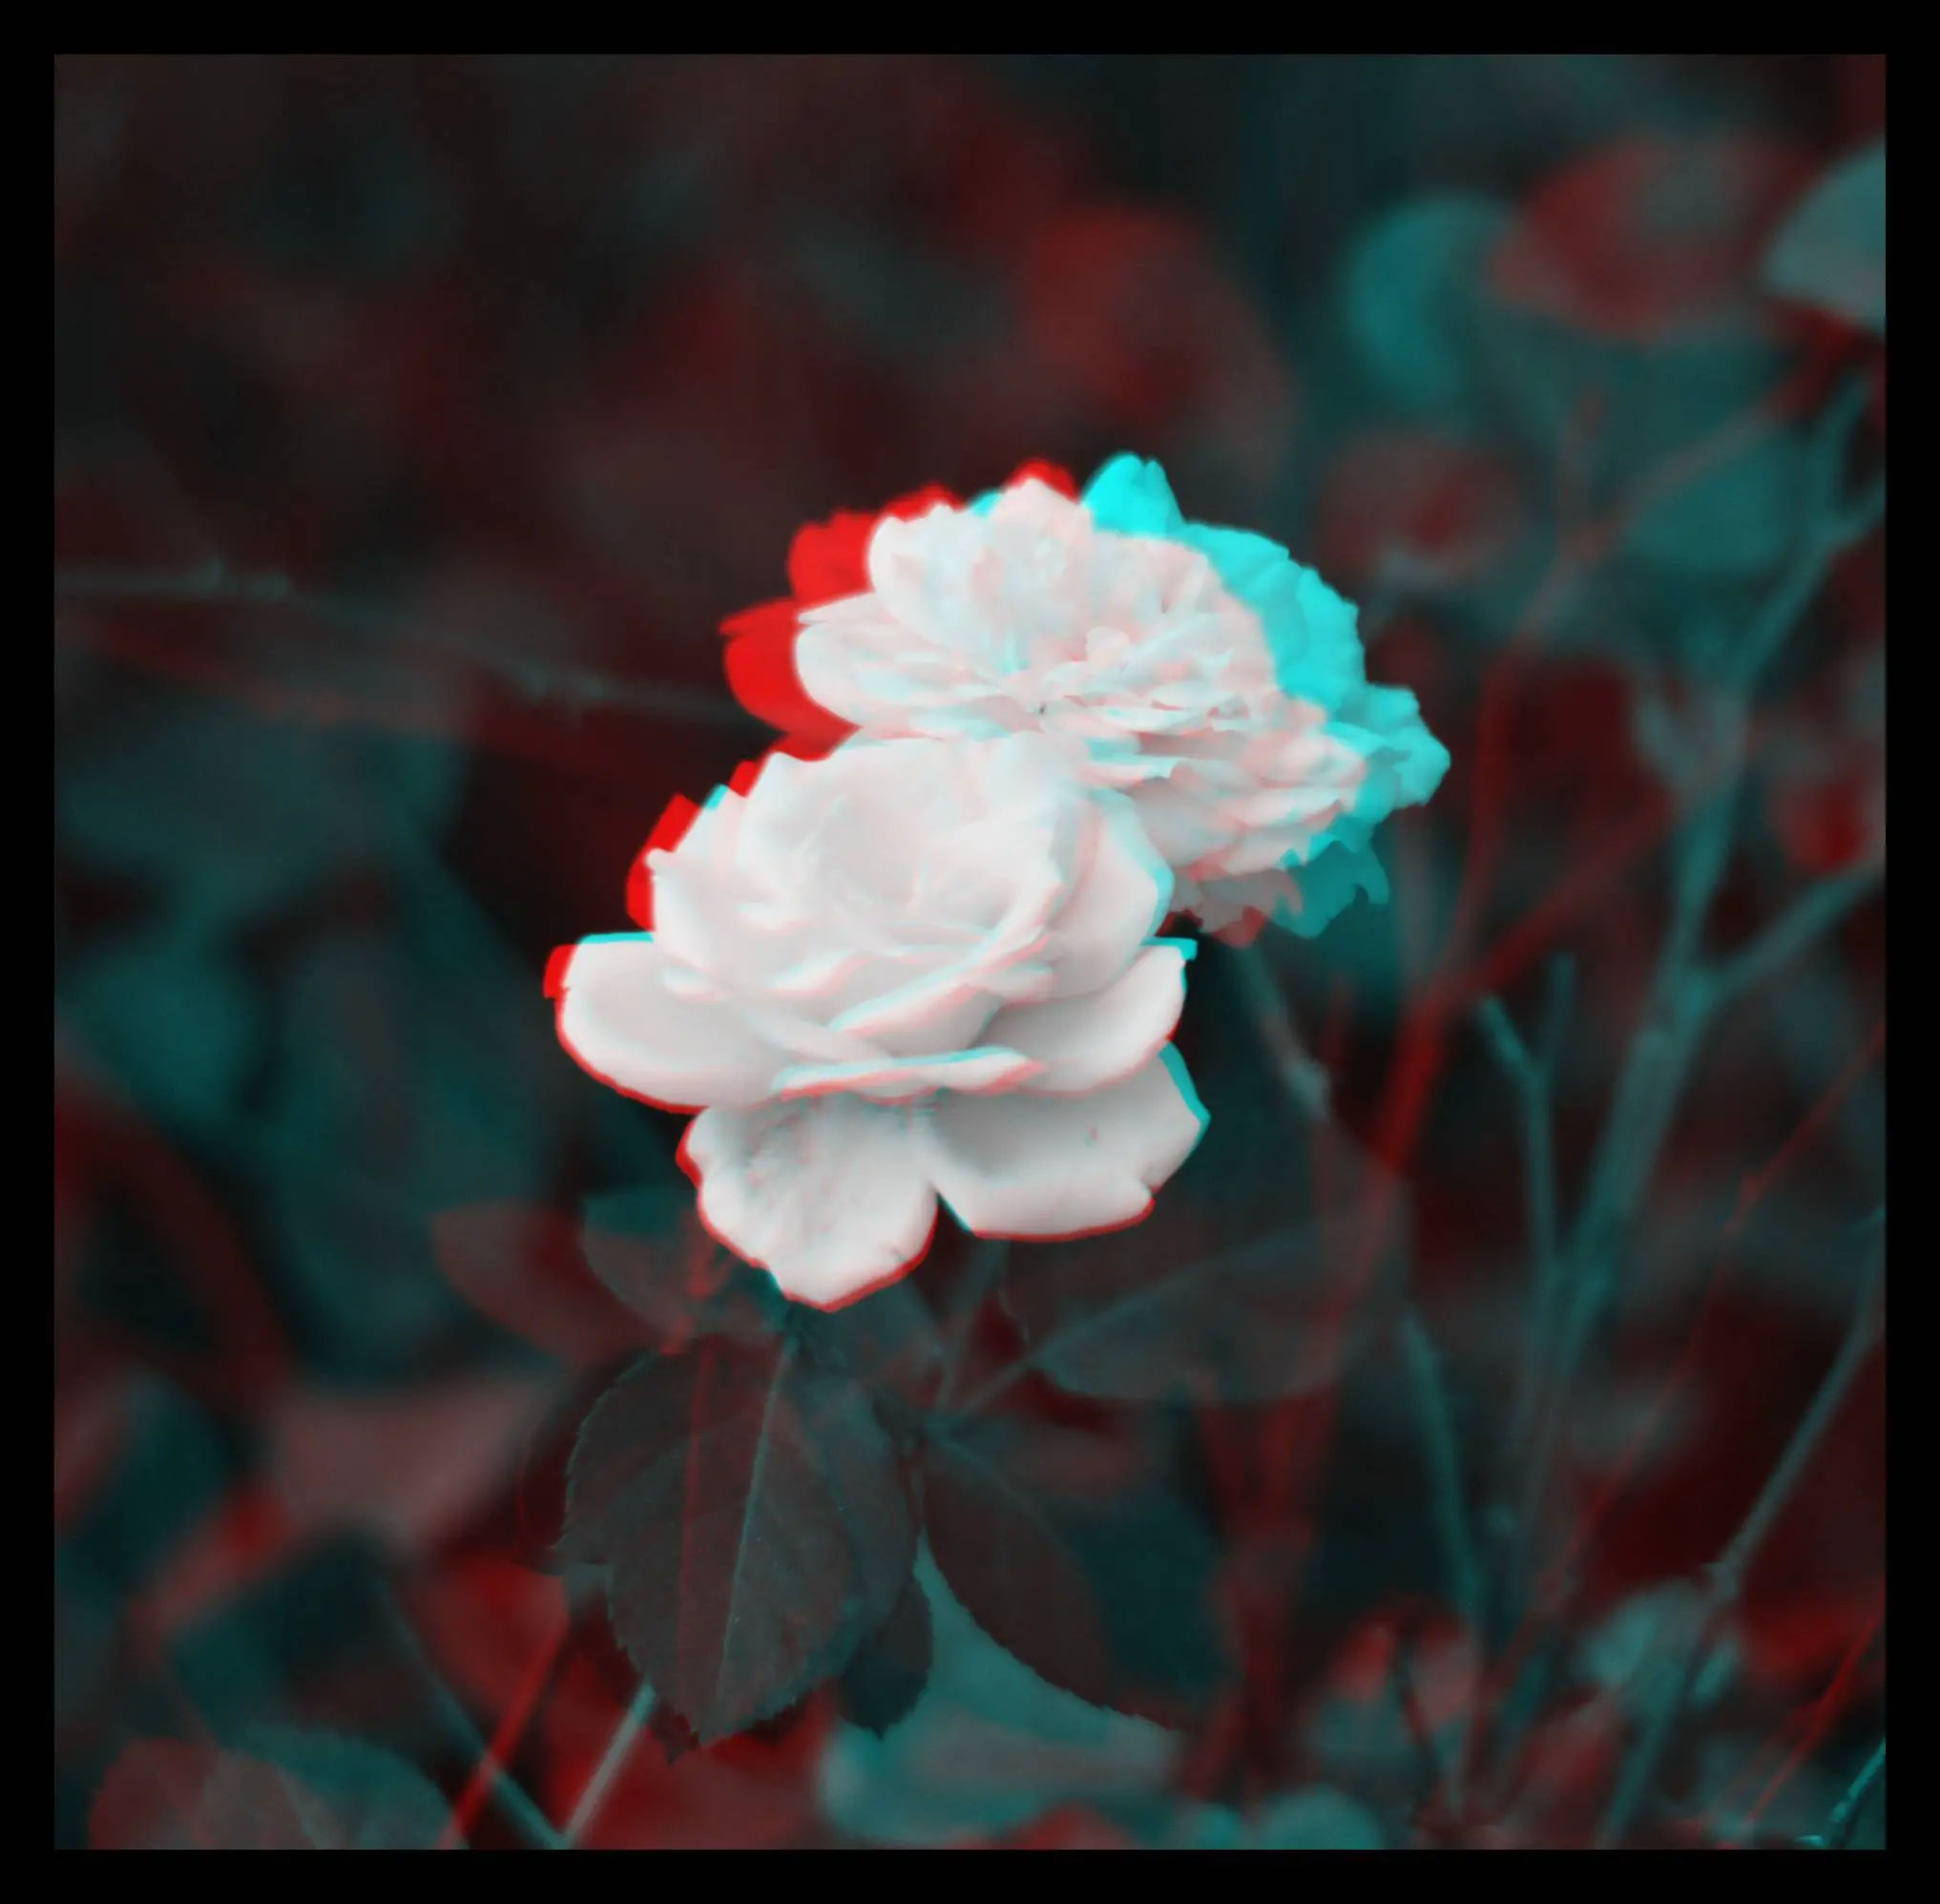
Aesthetic realisation: 3D images are often presented as anaglyphs like the one below, designed to be viewed through red/blue glasses. But in my experience, the image quality from a stereo pair – whether free-viewed or seen through a viewer – is far superior. It literally has to be seen to be believed. And that’s what truly helped me appreciate the artistic value of stereo images. Sure, they also have historical, technical and – let’s face it – novelty value. But good stereo photos can give me the same kind of pleasure that I get from art. Because… well, because they are art. That’s my view anyway – and a big reason for my personal fascination with stereo photography.
Technical realisation: To create stereo images, you don’t need any special skills or complicated equipment. You can make one with your phone almost instantaneously. And basic editing, with a free app, takes less than a minute. (Note that only this third “technical” realisation is to do with making stereo images. Even if that doesn’t interest you, you can still enjoy the wealth of stereo images that are out there.)
Early interest in 3D
Viewing 3D images
As a kid in the nineties, I remember seeing lenticular 3D images – the ones with tiny ridges on the surface, often sold in souvenir shops. My grandfather got one from Germany. Our landlord had one on his desk – a girl with a flower-basket, standing in a garden. I was about ten years old at the time and I still remember the picture, so I must have found it pretty fascinating.
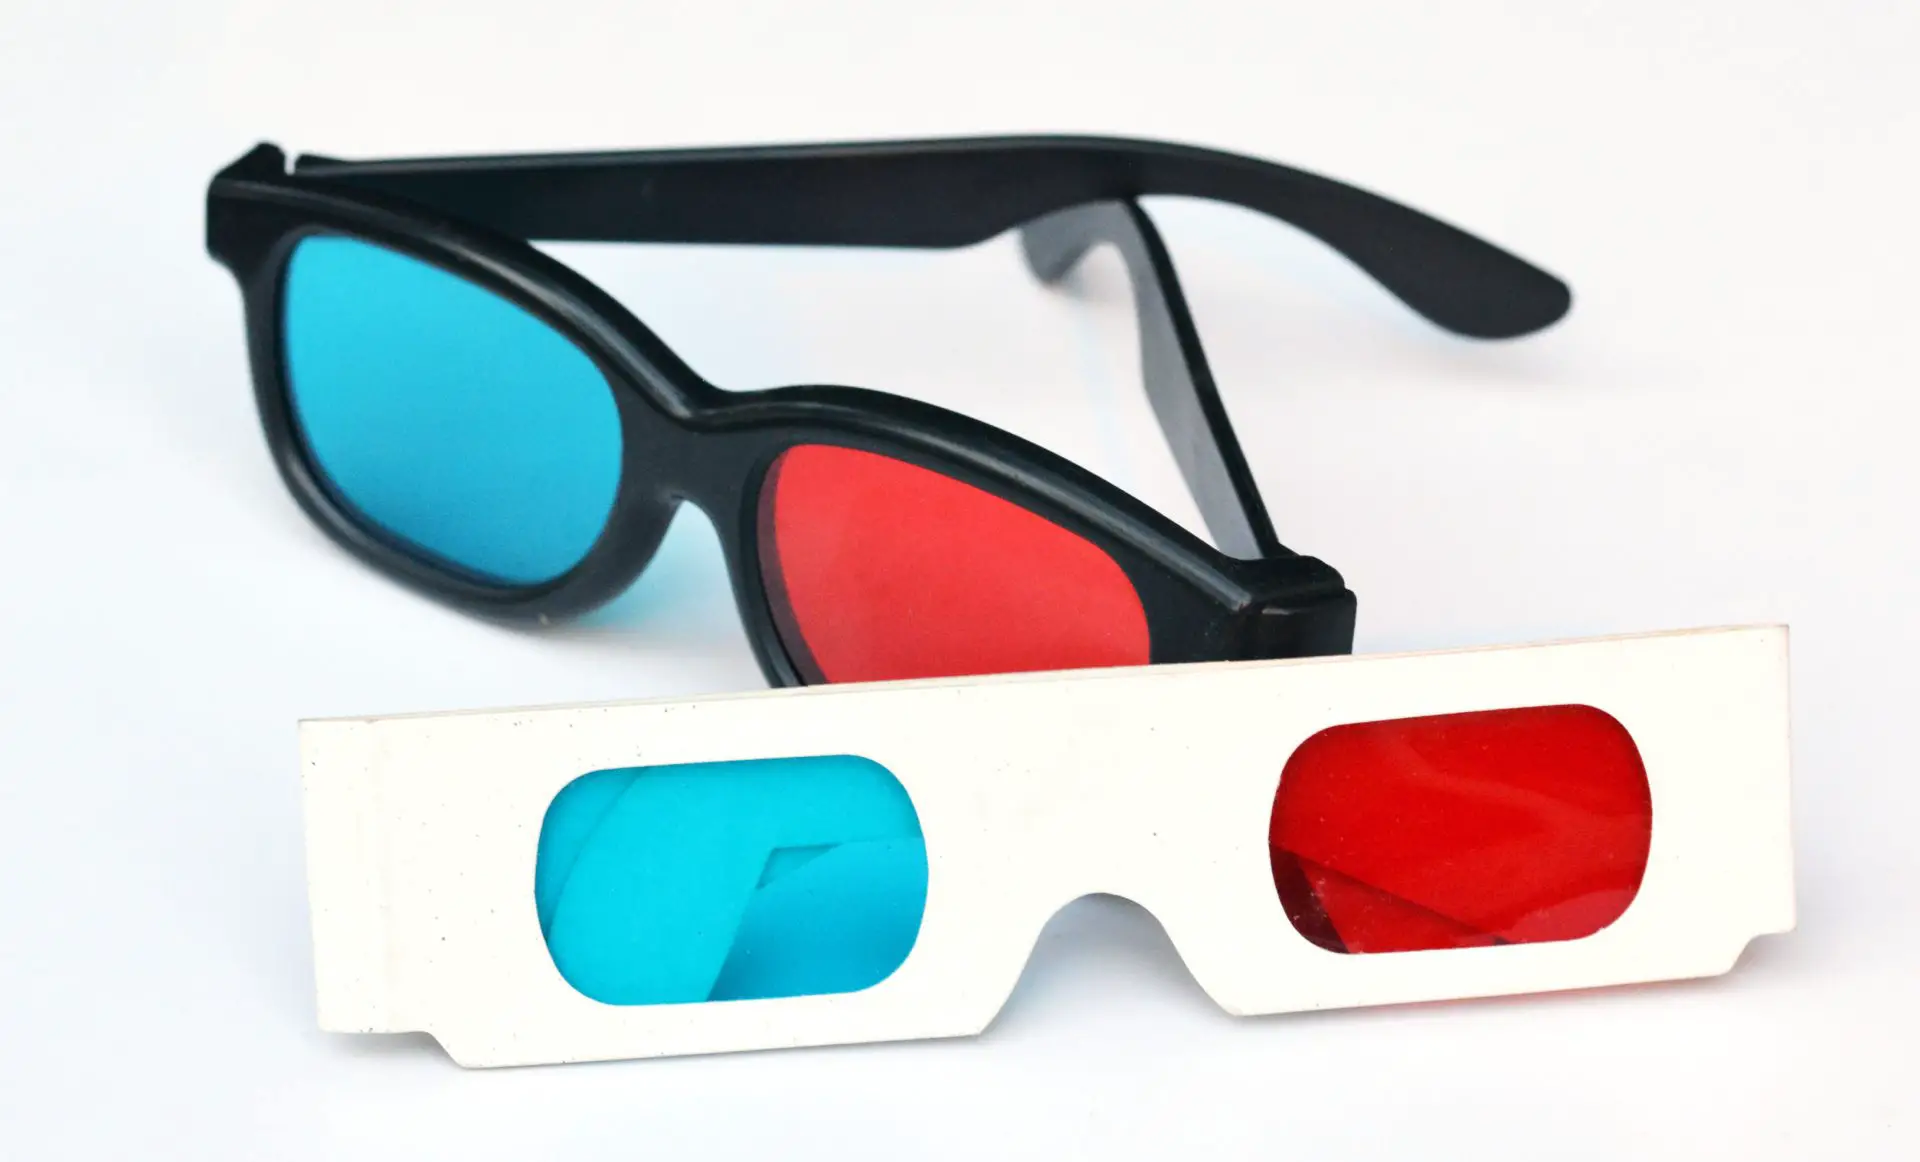
The first 3D movie I saw was Avatar. I was expecting to get red/blue glasses like I had seen in older photos, but they gave us polarised glasses instead. These look like dark glasses – probably what you’ve worn too, if you watch 3D movies.
I later learned that red/blue glasses were used for comic books, but were never that common in movie theatres (I guess that image just entered the popular consciousness somehow). However, red/blue glasses can be used for images like this:

ESA/DLR/FU Berlin (G. Neukum), CC BY-SA 3.0 IGO
About ten years ago I developed an interest in astronomy. Agencies like NASA and ESA occasionally publish anaglyphs (like the one above) which look 3D when viewed with red/blue glasses. So I ordered a pair of glasses online. They cost less than a pound, so they’re probably not the best quality, but they do the job. Later I got another pair for free at a planetarium in Copenhagen.
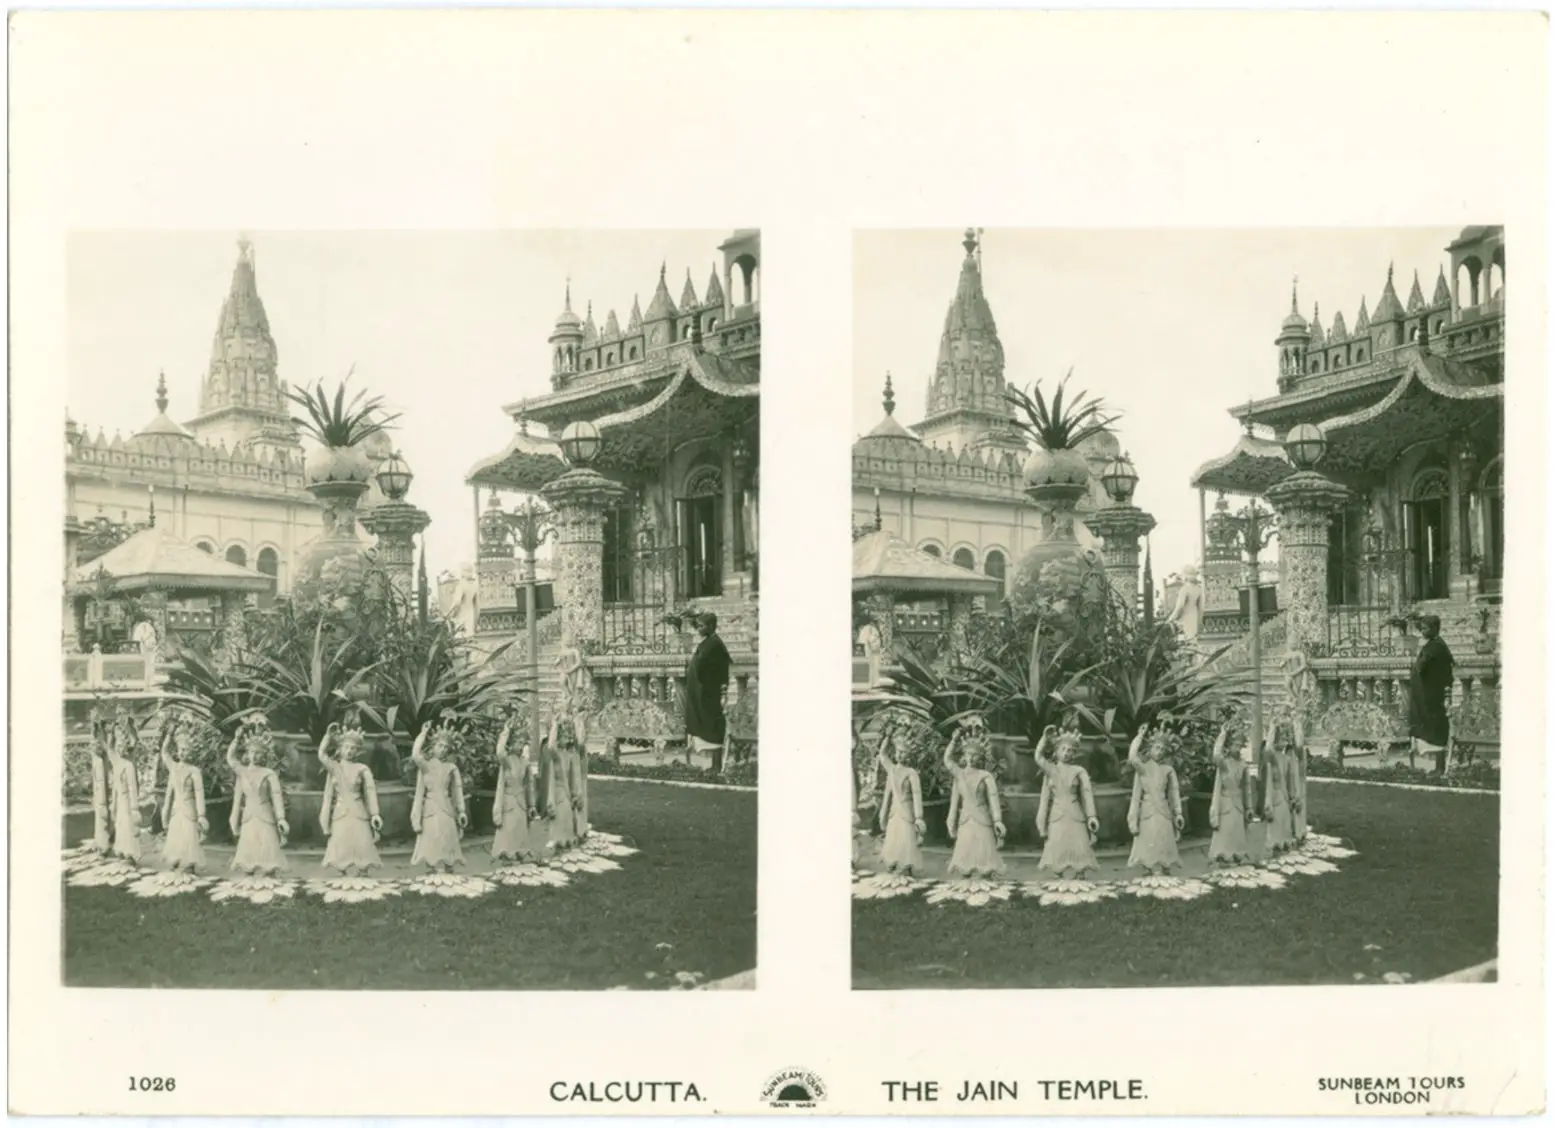
In 2016, my brother curated an exhibition of early 20th-century stereo cards of Calcutta. The cards had two side-by-side images designed to be viewed through a stereo viewer. Helpfully, the exhibition had an actual stereo viewer which visitors could use. That, I think, was my first experience of viewing stereo pairs (as opposed to superimposed images like the NASA anaglyphs).
Creating 3D images
Somewhere along the way, I realised I could also create 3D images for viewing with my red/blue glasses. Take a photo. Move your camera about 7 cm (2.5″) to the right. Take another photo. Congratulations, you now have a stereo pair which can be combined into a 3D image in various ways.
Sounds simple, but it wasn’t so simple for me. On my hard drive, I have a folder called “3D photography”. In it there are two pairs of photos – one from 2016 and one from last year. They’ve just been sitting in the folder; in all this time, I have not edited or combined them.
So why did I take only two pairs of photos in five years, and why didn’t I do anything with them? The main reason is that I was trying to learn stereo photography from the internet, and the resources I found were too technical. I got too caught up in stereo maths and theory, and ended up doing little or nothing in practice. (Another reason is that I’m easily distracted – but that’s my problem, not anyone else’s!)
Recent interest (aka the Stereo Rabbit-Hole)
Earlier this year I stumbled upon Rebecca’s website, the Stereoscopy Blog. For me, it had just the right level of detail – enough to inspire confidence, but not so much as to be overwhelming. And the posts had an ring of infectious enthusiasm which was missing in the technical tutorials I had read earlier. Forthwith, I decided to revive my stop-start interest in stereo photography, and this is what paved the way for the three realisations I mentioned at the start of this post. So let’s talk about them in turn.
Learning to free-view
I knew in theory that stereo pairs can be viewed in 3D not just with a stereo viewer, but also with the naked eye. But free-viewing, as it’s called, requires a sort of mental trick, and somehow I always assumed that it was a rare skill, difficult or impossible for me to master. Under the spell of my renewed interest, I thought I’d give it a try. Much to my own surprise, I learned in about 20 minutes. I described my experience of how I learned – and how, hopefully, you can learn too – in an article for Stereoscopy Blog.
When it works, you will know. It’s like magic.
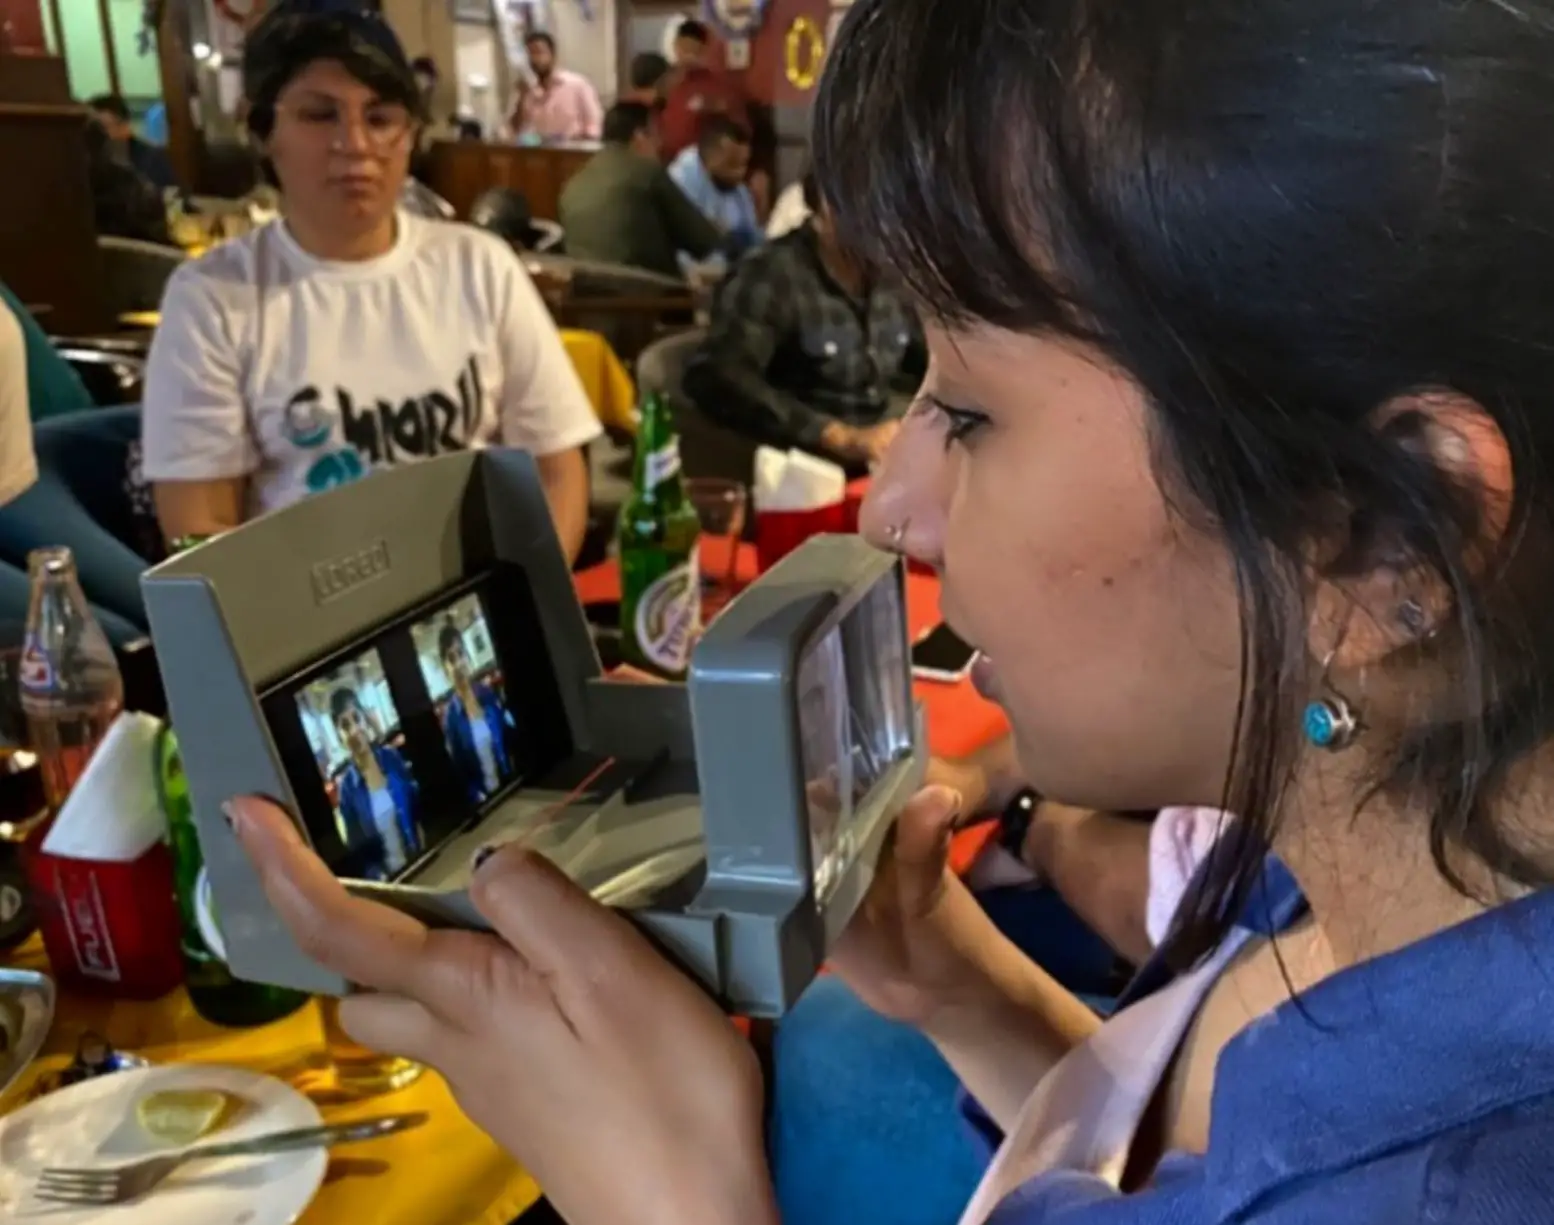
But if you can’t, don’t worry. Free-viewing is not the only way to look at stereo pairs; a basic stereo viewer costs just a few pounds (I’m lucky to have a viewer from Rebecca’s collection, which she kindly sent to me upon learning about my interest in stereo photography). If you’re remotely interested in stereo photography, it might be worth buying a viewer anyway. They’re not just inexpensive but also small and light, so you can carry them anywhere, lend them to friends who can’t (or haven’t yet learned to) free-view.
So why learn to free-view at all? Sometimes, lying in bed and scrolling through Instagram as one does, I might come across a stereo pair. Do I then have the motivation to get up and fetch my stereo viewer? No sir. But if you can free-view, you can look at stereo images anytime, anywhere. It’s like a superpower. (OK, an obscure superpower, with limited practical application. But a superpower.)
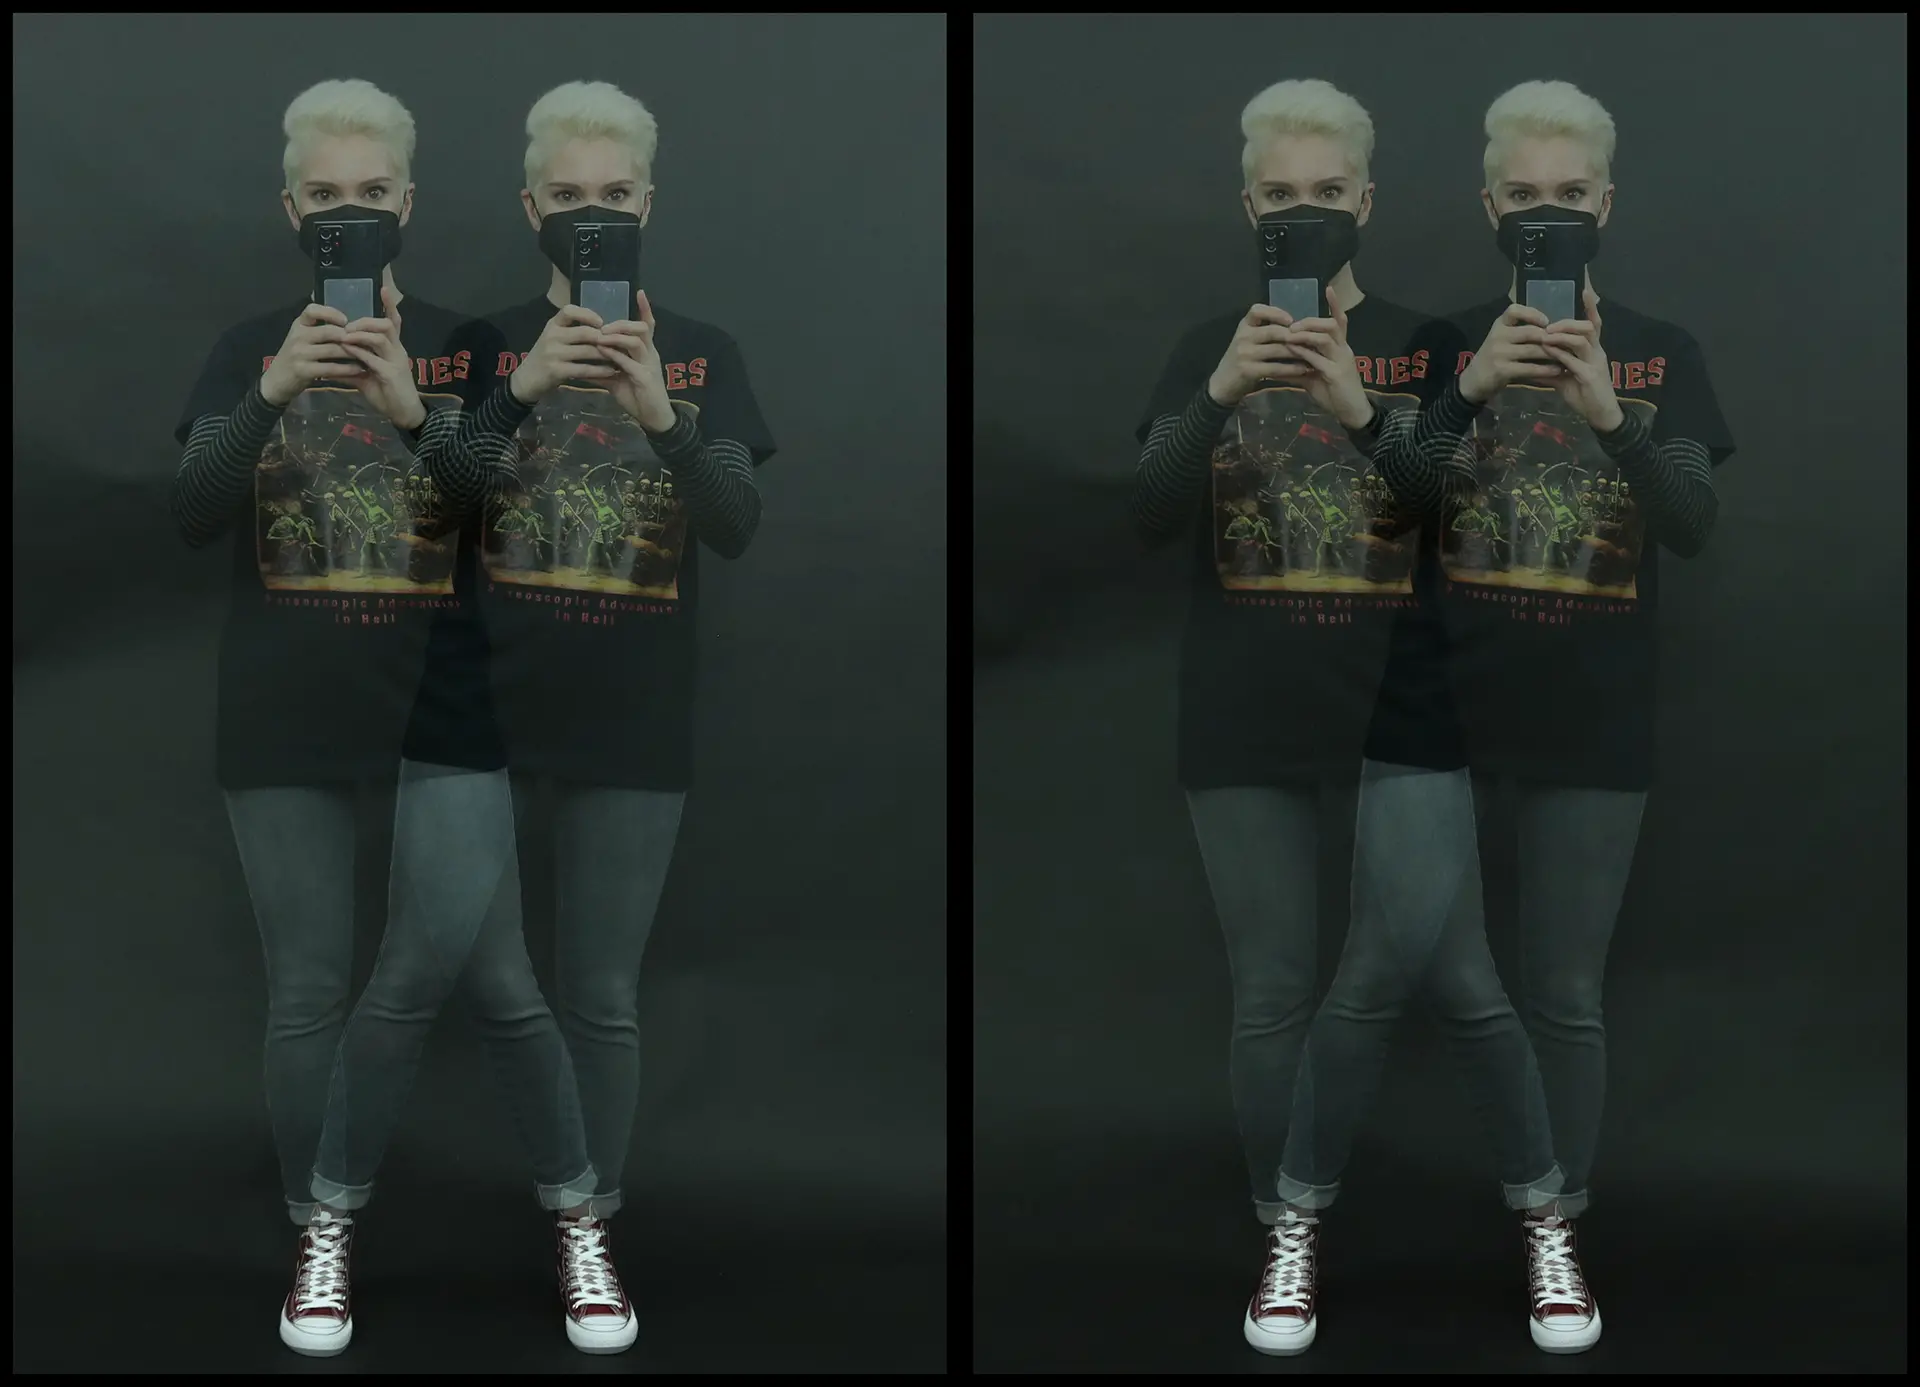
Admittedly, I have not yet succeeded in persuading anyone to try and learn free-viewing. A couple of friends have said they will try “at some point”. My girlfriend was less polite (she just laughed at me):

But I remain optimistic, as always. Because the rewards are worth it.
The aesthetic pleasures of stereo photos
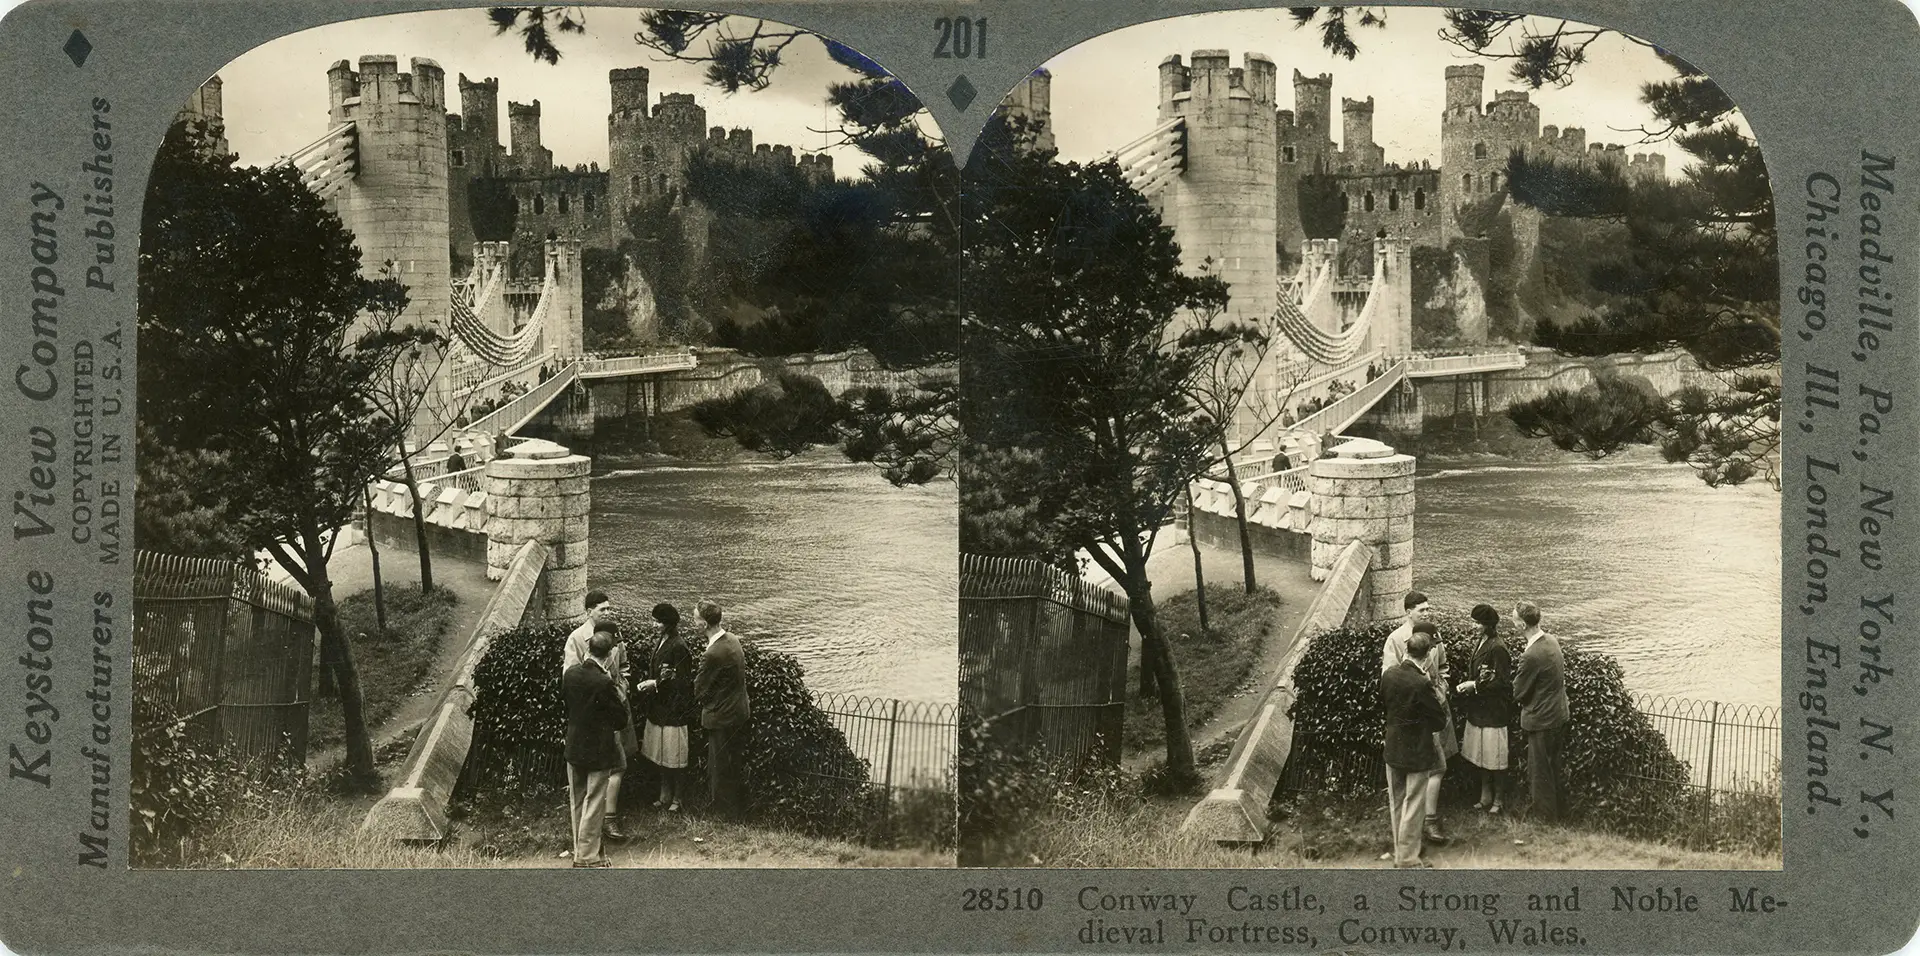
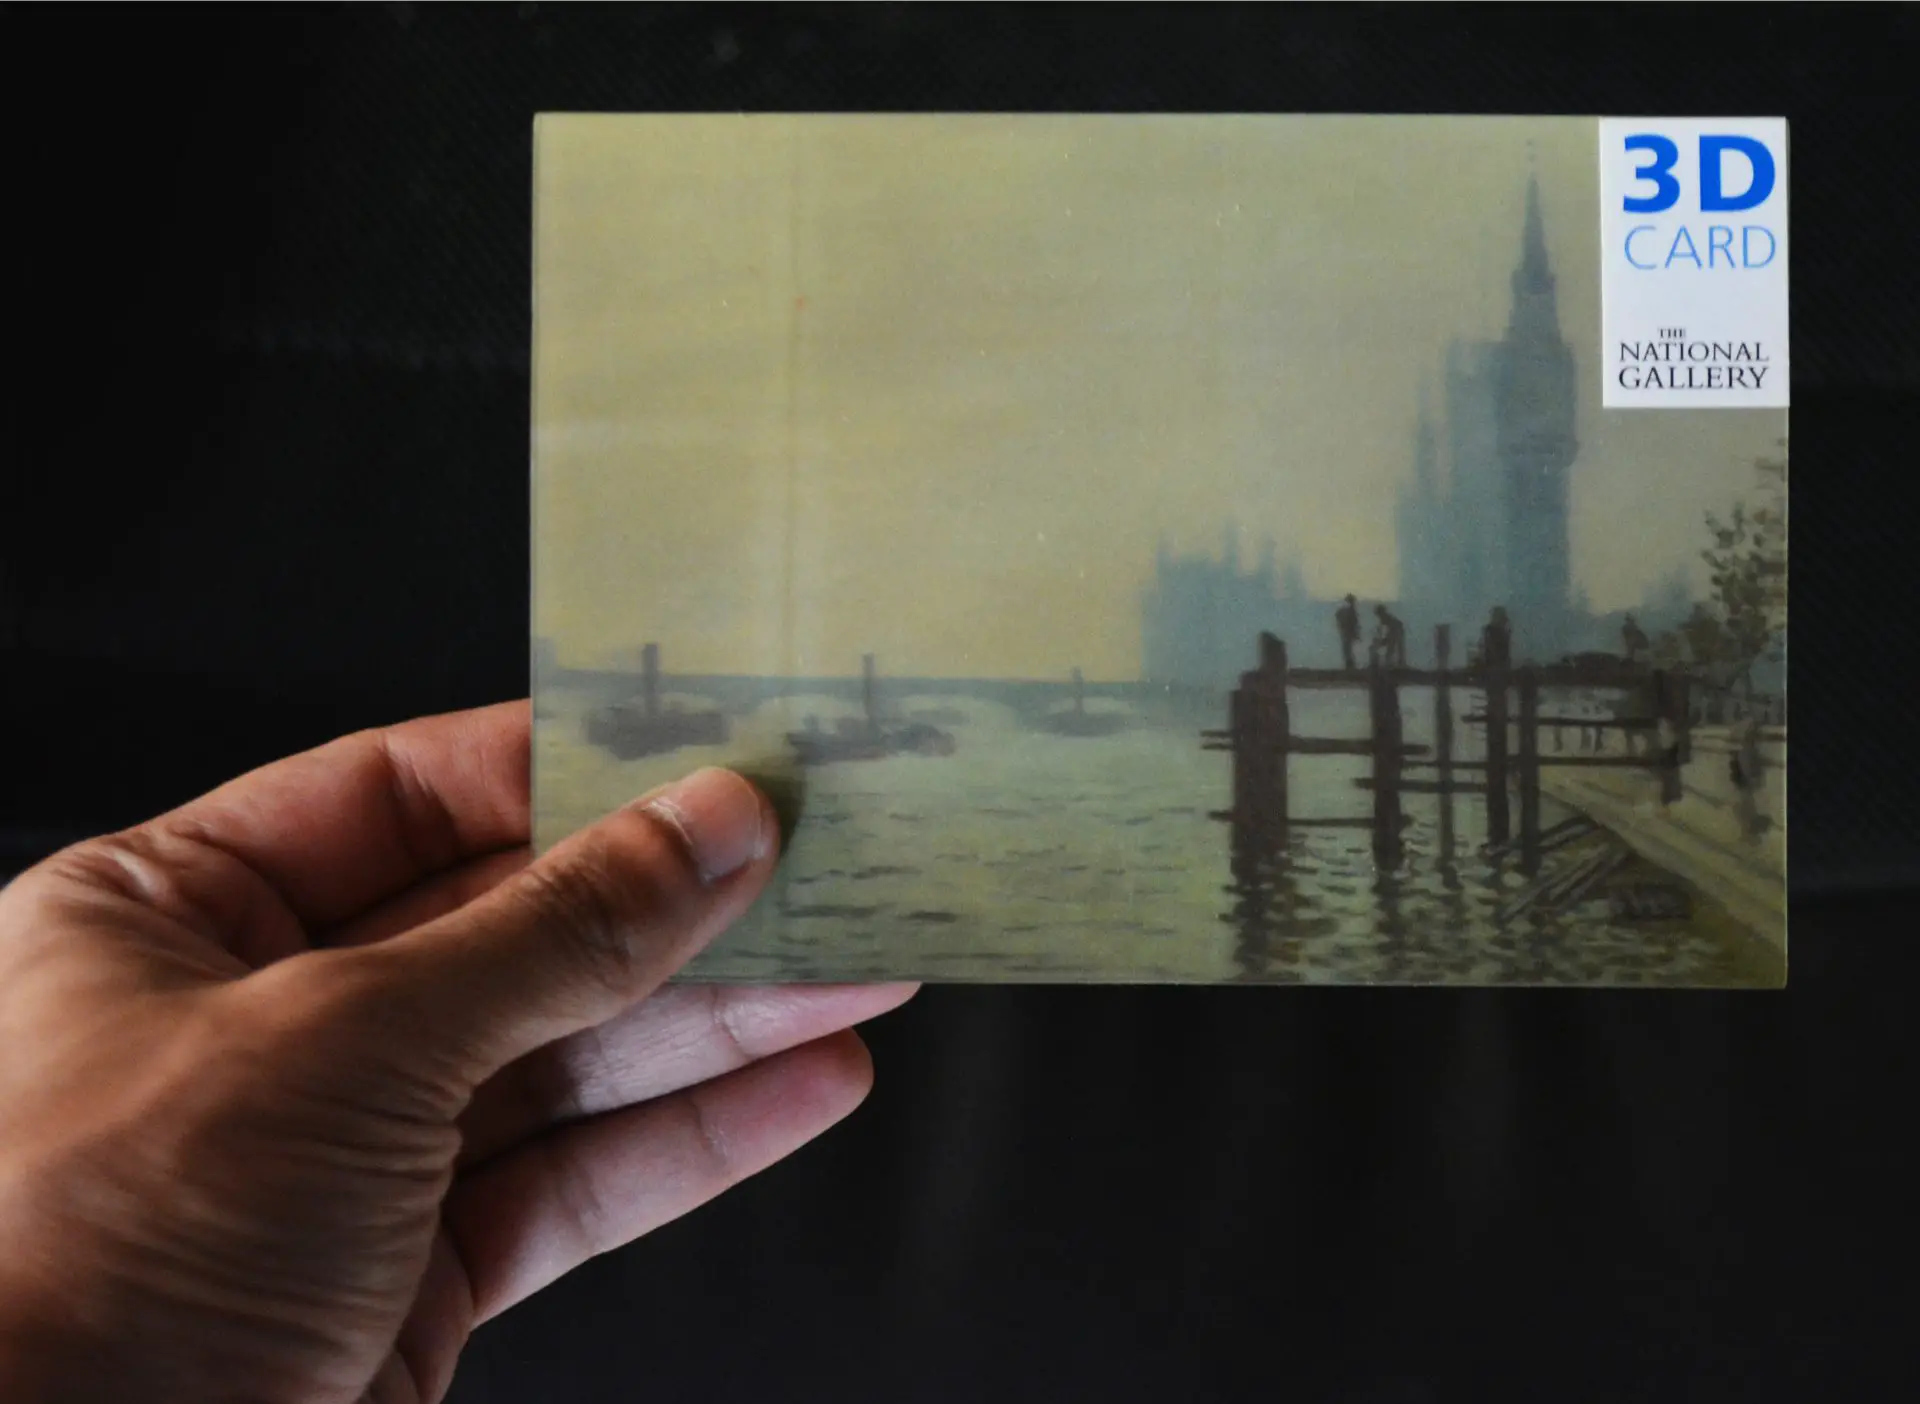
How good is this?! I came across this stereo card from Rebecca’s collection in one of her blogposts. It’s a wonderful, layered composition – the figures in the foreground, the leading lines of the bridge, and the towers in the distance – impressive enough in two dimensions, but breathtaking in three. Likewise, the texture of the brick and the sunlight on the river just come alive in 3D.
I wrote earlier that good stereo photos can give me the same kind of pleasure that I get from art. I’ve been looking at stereo images, in various forms, since I was a kid, so why did it take me so long to come to this realisation? I think there are three reasons. (I should say, these are just my opinions. I am certainly not an expert on stereo photography, nor art in general.)
First, the novelty factor of 3D images is so powerful that it can take a while to get past the novelty factor and appreciate their artistic merits. If you’ve never seen a colour photo before, your first reaction to seeing, say, a Helen Levitt or a Raghubir Singh will probably not be, “What a fine work of art.” It will be, “A photo in colour? What is this witchcraft?!”
Second, not all stereo photos have a lot of artistic merit. Some are produced as anodyne souvenirs, or lean heavily on the novelty factor. If you’re accustomed to seeing those, it can be hard to imagine that stereo photos can also be more artistic.
Third, for the longest time, I don’t think I had even seen a high-quality 3D photograph. Anaglyphs, like the red/blue NASA images I mentioned earlier, have not-so-great colour rendition – a limitation of the technology itself. You get far better quality from stereo pairs, seen with stereo viewers or free-viewing. I did use a viewer at my brother’s exhibition, but from the somewhat faded tones of the old cards, I didn’t appreciate how much better the stereo viewer’s colour-rendition was, in comparison to red/blue glasses. And as I mentioned, I only learned to free-view recently. The first time I saw a high-quality stereo pair in 3D, it blew my mind.
Now you might say that a good photo is a good photo, regardless of how it is viewed or whether the inks are faded. And to an extent I agree. But for most of us, it’s easier to appreciate music played on a surround-sound system, as opposed to a tinny laptop speaker. Likewise, a good stereo photo, free-viewed or seen through a stereo viewer, can be a revelation.
This is not about whether stereo photos are “better” or “worse” than regular (mono) photos. I think that’s kind of a pointless debate, like arguing about B&W versus colour. All I’m saying is that I personally did not appreciate how much artistic enjoyment I could get from looking at stereo photographs. But now I know better.
In particular, I appreciate the sense of texture that you get from stereo photos, and the quality of light. Composition – quite literally – has another dimension. If you know a bit about how stereo photos are made, you can also appreciate technical details like choice of stereo-base (which influences the sense of depth) and alignment (which determines whether certain details appear to “sit behind” or “pop out of” the screen). But you don’t need to know the technical stuff in order to appreciate a good stereo photo – just like you don’t need to understand the relationship between aperture and depth-of-field in order to appreciate the smoothly blurred background of a portrait.
Learning to create stereo images
Phone stereo
The first 3D images I made were with my phone. I learned from this Android tutorial on the Stereoscopy Blog (there is a similar tutorial for iPhones, plus a tutorial in video form).
If you want to make stereo images – and why wouldn’t you! – I think phone photography a good entry point. The best (stereo) camera is the one you have with you, and my phone is almost always with me. Taking phone pics feels casual and easy, so I’m less likely to get bogged down by the technical aspects. I can snap away and not have to worry about making mistakes or wasting film. Refinements can come later.
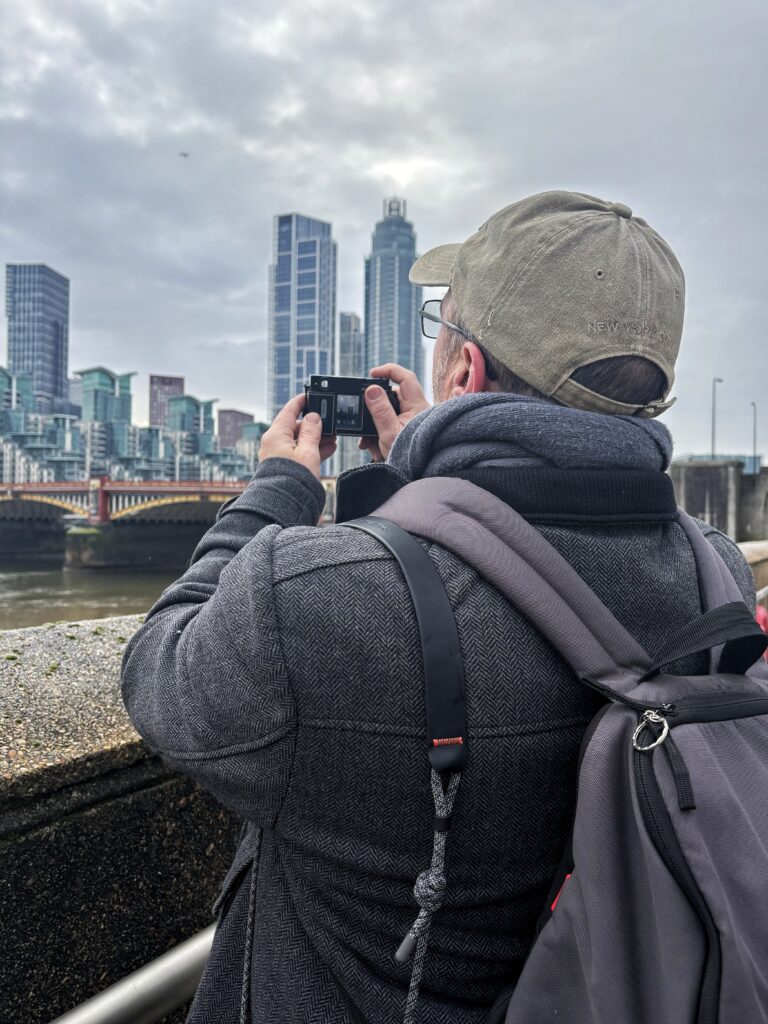
To take a stereo pair, I use the “cha-cha method” illustrated above (see this tutorial for more details). Lean on your left foot, take a photo. Lean on your right, take a photo. This is sequential stereo, where the images are taken one after the other. It’s great for things like still-life and landscapes. If anything in your frame moves in between the two exposures, you’ll get “ghosts”. But that can be a cool effect too (there are some great examples in this post).
Pretty much any camera can be used for sequential stereo photography. The main advantage of specialised stereo cameras is that they can capture two photos at the same instant, enabling (ghostless) stereo photos of moving subjects.
Anyhow, back to sequential photos, which at the moment is all I can do. Having taken a stereo pair on my phone, I combine them with an app called 3DSteroid. This is a free app, intuitive and easy to use (nicely explained in the Sterescopy Blog tutorials linked earlier).
The free version, which I got first, doesn’t let you save images (though you can screenshot and share them). I was impressed enough with the free version that I got the Pro version almost immediately. At just £2.29, I think it’s well worth it. It lets you save images in a variety of formats such as stereo pairs, anaglyphs and wigglegrams.
I don’t think I mentioned wigglegrams yet, but you’ve probably seen them online. Wigglegrams produce an illusion of depth, but they are not as realistic as “true” stereo images. On the plus side, they can be viewed without special viewers or glasses, and potentially also by stereoblind people (funnily enough, they look slightly more 3D to me when I view them with one eye closed).

The source images for the wigglegram above were a sequential stereo pair shot on my phone (Google Pixel 2). I needed several attempts before I got a pair where the cat had not moved between frames. The GIF was created in Photoshop, as described in this tutorial (the wigglegram feature on 3DSteroid Pro doesn’t seem to work for me).
DSLR stereo
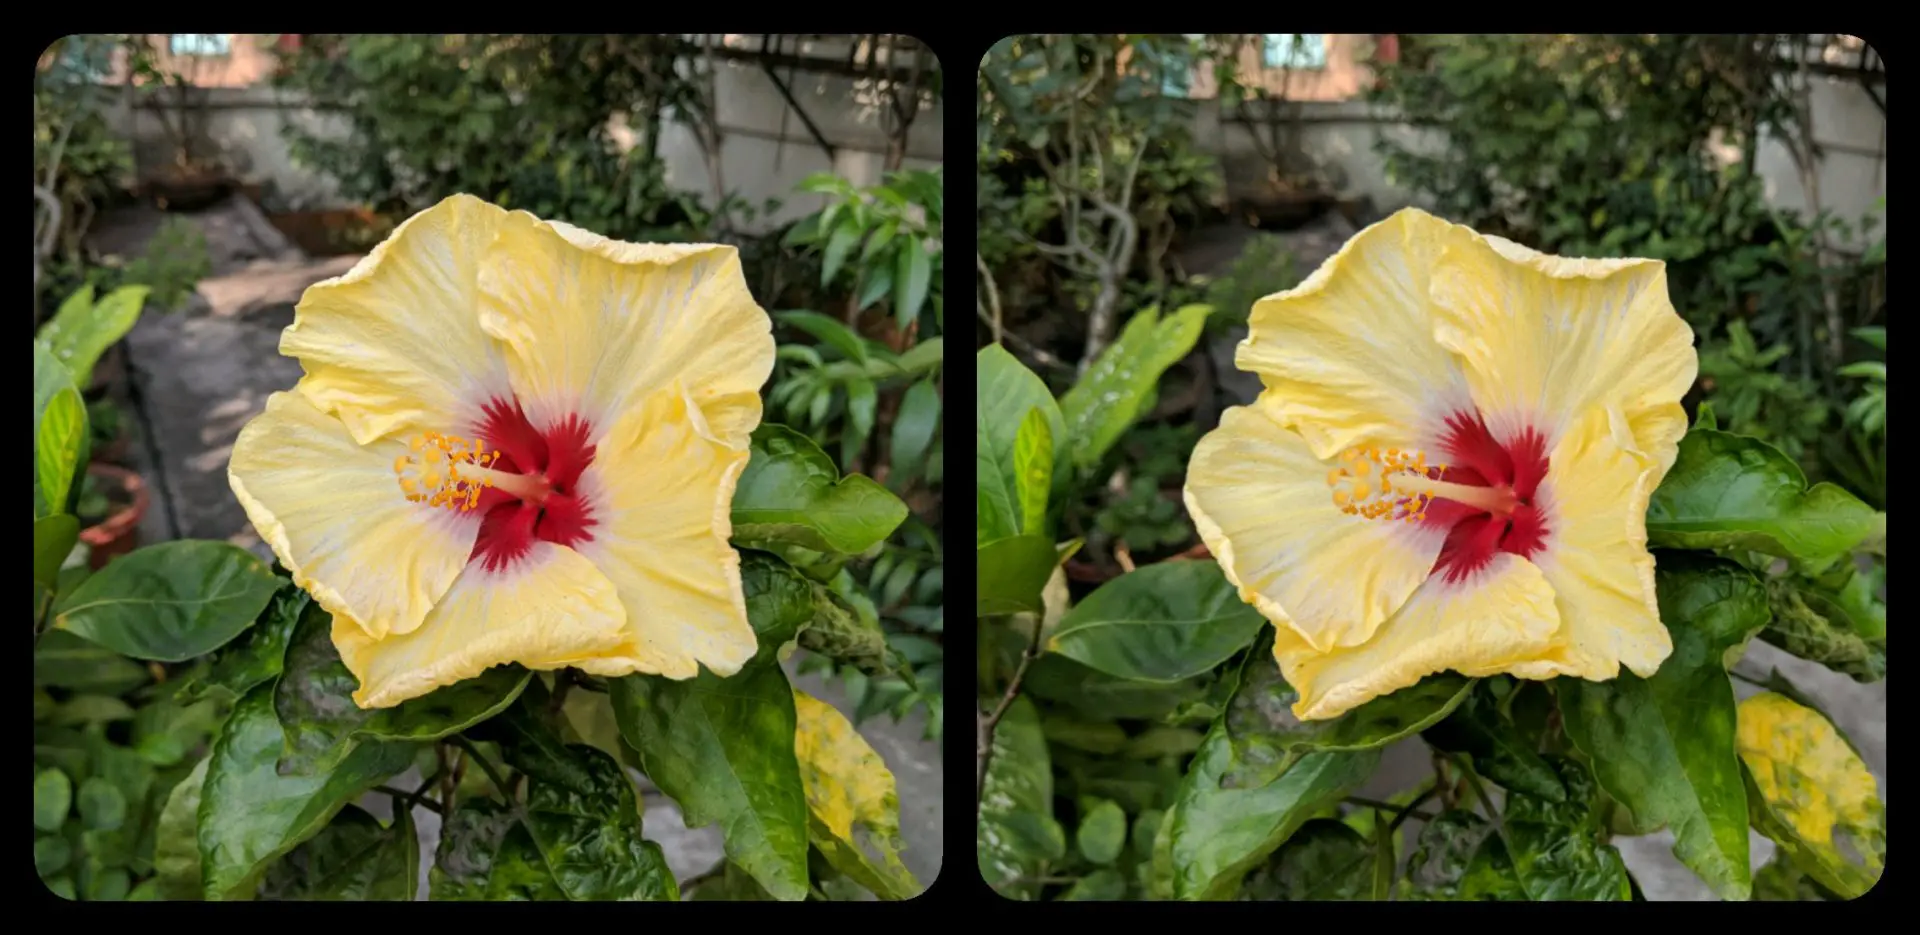
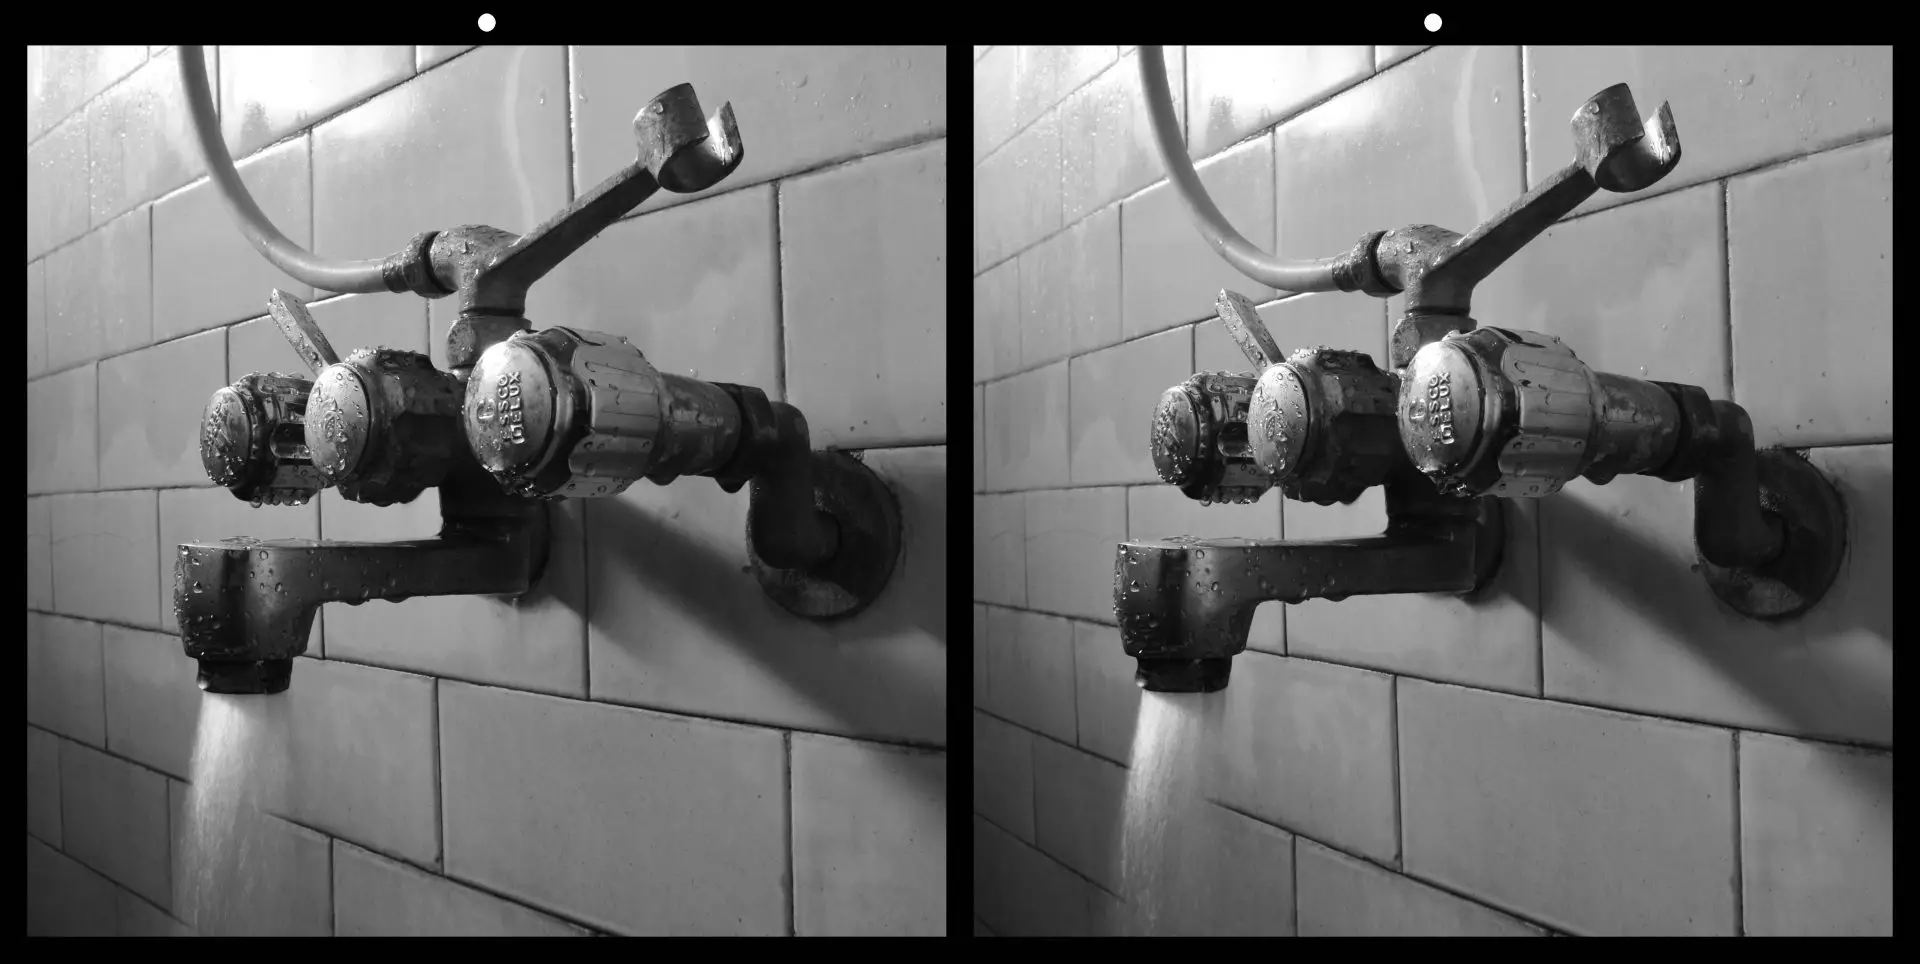
My next step was to try making stereo images with a DSLR, namely my trusty Nikon D5200. Like my phone photos, my DSLR stereos are sequential. But I get better image quality, and more control over things like exposure, focus and depth-of-field. The photo of the roses at the top of this post was taken with my DSLR, as was the one below. I used a slow shutter-speed to blur the water.
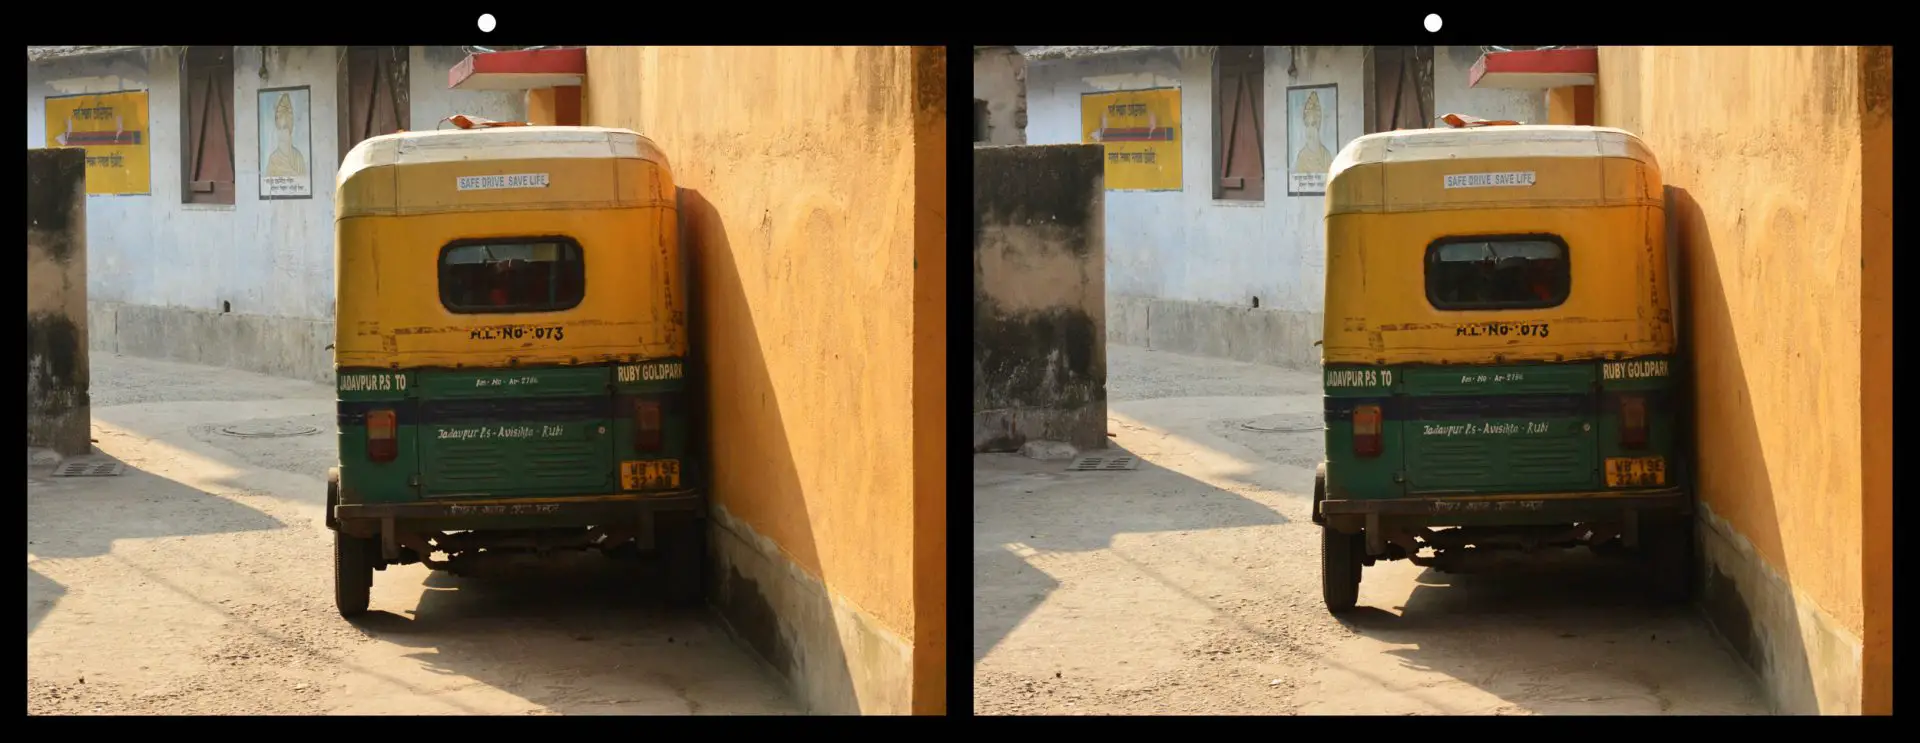
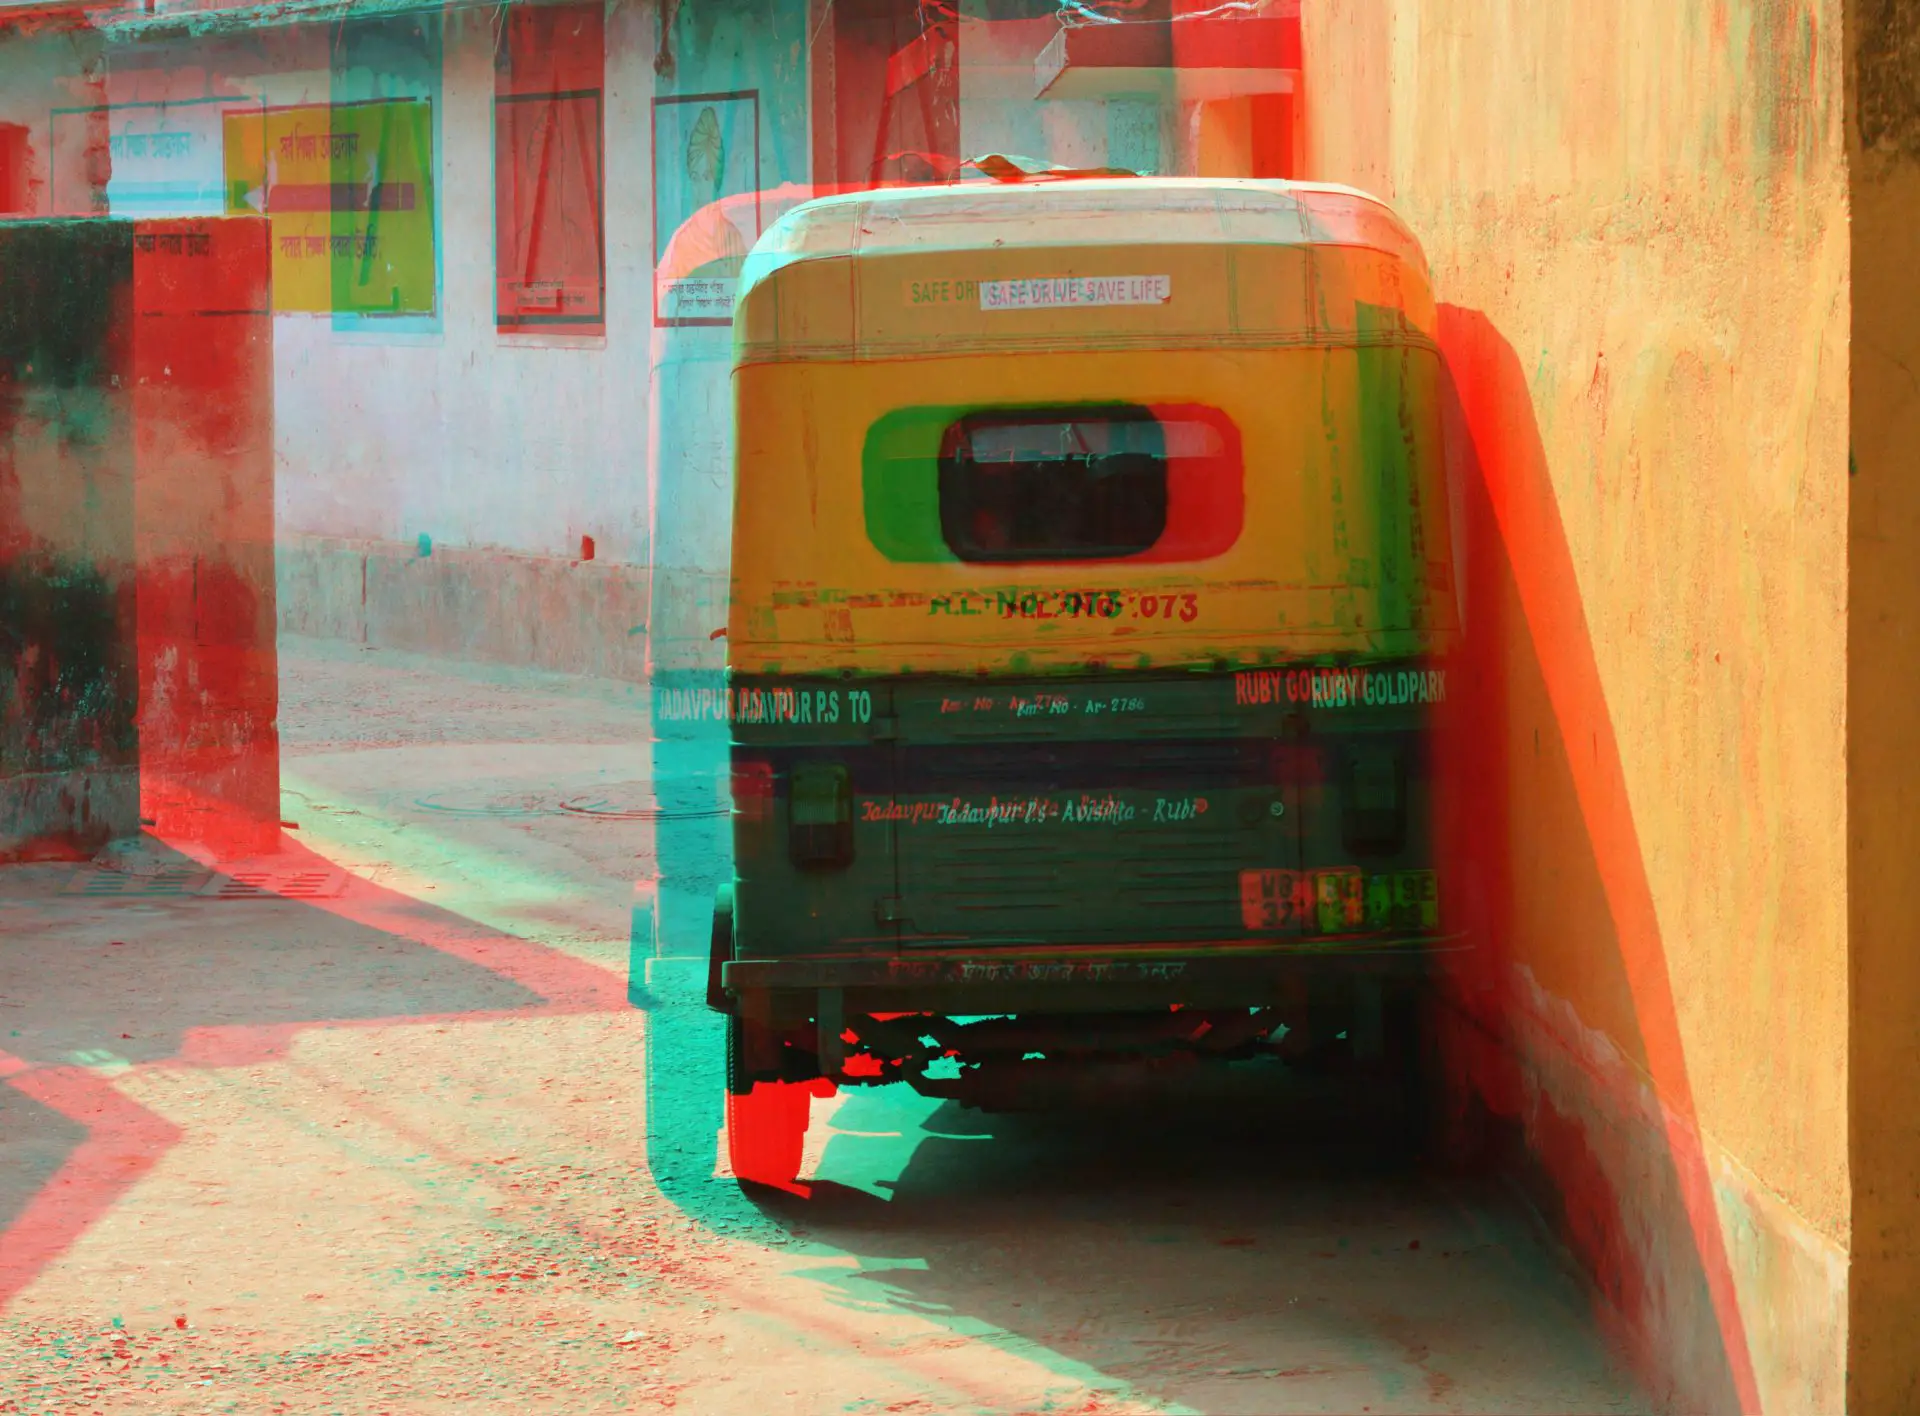
I edit my DSLR photos with a free program called Stereo Photo Maker (SPM). I learned from a tutorial on – yet again! – the Stereoscopy Blog. Incidentally, 3DSteroid and SPM were created by the same person, Japanese stereo photographer Masuji Suto. You can read his interview here; I was surprised to learn that he is not a professional software developer, just someone who is passionate about stereoscopy. Like 3DSteroid, SPM can generate various formats including stereo pairs and anaglyphs. Here is a red/blue anaglyph of the earlier image with the auto-rickshaw:
Future plans
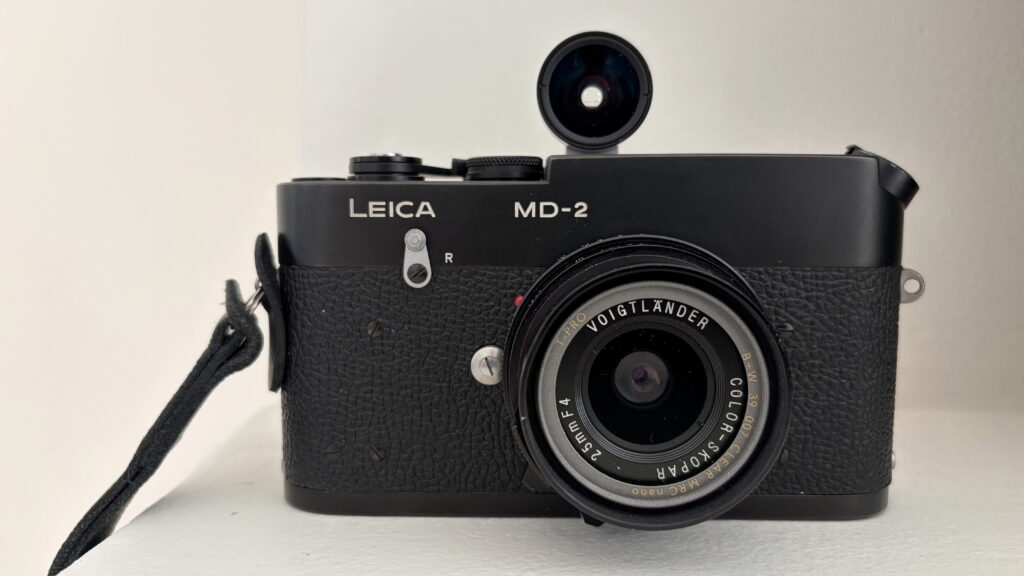
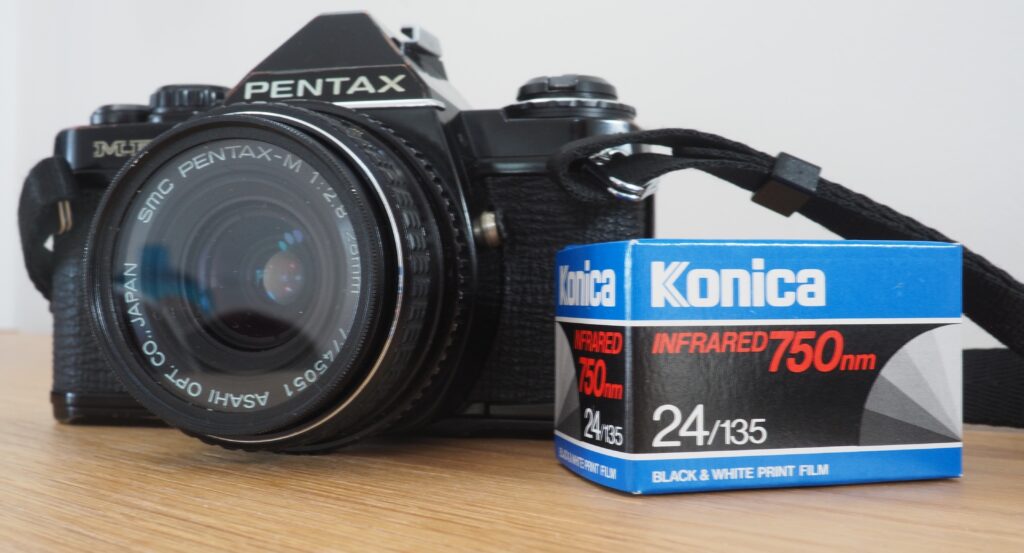
Now that I have a basic grasp of stereo photography, my next plan is to try it on film. For now, I’m going to take sequential photos, using an ordinary 35mm camera. I may soon acquire a 35mm stereo camera, but let’s see.
If or when I get usable stereo photos on film, I’ll try to print them as stereo pairs in the darkroom. This will be trickier than doing it with SPM software. But not too much trickier… I hope! Finally, I want to make a stereo pinhole camera, thus combining two of my interests. It’s gonna be a wild ride.
If you haven’t yet explored the world of viewing and making stereoscopic photos, I hope this post piqued your interest. The Stereoscopy Blog tutorials are a great place to start. I’m also curious about your own experiences – what’s your impression of 3D photographs, what kinds have you seen, and do you make them yourself? Let me know in the comments – and feel free to check out my Instagram.
Share this post:


Comments
Tom Redd on My First Forays in Stereoscopic (3D) Photography – by Sroyon
Comment posted: 03/03/2022
I would like to make a few points about stereoscopic photography:
1) During WWII it was very important for intelligence. Recon aircraft would fly over a target and take stereo photos that then gave planners a better idea and view of potential targets. I wouldn't be surprised if it is still done.
2) I used to live in Niagara Falls, N.Y. and got into collecting old stereo cards of Niagara Falls. Because of the majesty of the Falls, these are probably the most common of any stereo view. The ones from the 19th century are really cool, since over half of the water that should go over the Falls is now diverted to the hydroelectric plants. The Falls were much more violent, turbulent and dramatic back then.
3) There is a great difference in stereo cards out there. The very best cards are made directly from negatives. These are incredibly clear. You can tell because the two photos are printed separately and glued onto the card. However, there are a lot of reprints out there made from originals. These really lose a lot of the stereo effect and naturally clarity. It is easy to tell a reprint because the card is solid without separate photos glued on and the photos have those little dots that appear on normal type set printed photos.
4) I bought for $15 at a photo show a couple of somewhat cheap stereo attachments that would go in front of any 35mm camera lens. One has a filter ring attachment. It was made by a firm called Stereo-Tach out of Covington, Kentucky, U.S.A (lovely place BTW). The other was made by Stereax from London, England. It has a bar that goes into the camera's tripod socket so you don't need a filter ring though there are 4 outer screw holes to attach a filter ring, (if I can figure out how to do it). It also came with a stereo slide viewer. Luckily, I had an adapter ring that fit the Stereo-Tach attachment into my Exakta system 49mm lenses. One Christmas, I put it on my 35mm Zeiss Jena Flektogon lens that has macro capability and took closeup color photos of Christmas tree ornaments. Wow, Oh, Wow!!! The bright ornaments just jump out at you from the green tree branches. Unfortunately, this was some time ago. My local Sam's Club store used to do great professional quality 5x7 prints for next to nothing. The prints would just fit perfectly into an old stereo viewer if you put a carboard backing on it. Of course, Sam's Club no longer provides this service. I recently redid my darkroom and am planning to start taking some B&W stereo photos.
5) Besides after-market stereo attachments like I have, many camera makers made their own stereo attachments. I have Ihagee Exakta and Zeiss Contax collections. Forget about getting their stereo attachments. When they do show up on Ebay, they are usually in the thousands of dollar range. However, stereo photography seemed to have maintained a popularity longer in the old Soviet Union. It appears that attachments for Zorki, Fed and Kiev rangefinder cameras are certainly available at a reasonable price. They are probably 40.5mm filter ring attachment, which many cameras have or are capable of accepting through adapter rings. Unfortunately, that is at least, before the present terrible crisis with the Russian invasion of the Ukraine.
6) There were also a lot of American stereo cameras made, like Realist, Kodak and even Viewfinder for their 3D circular cards that kids of all ages use to have in the 50s and 60s. Edixa is West Germany also made a nice stereo camera. Finally, Universal made a beautiful stereo attachment that I would love to snag someday.
Thanks again. I hope to see more posts from you on stereo photography.
Comment posted: 03/03/2022
Tom Redd on My First Forays in Stereoscopic (3D) Photography – by Sroyon
Comment posted: 03/03/2022
Comment posted: 03/03/2022
Joe Van Cleave on My First Forays in Stereoscopic (3D) Photography – by Sroyon
Comment posted: 04/03/2022
Comment posted: 04/03/2022
Bill Thoo on My First Forays in Stereoscopic (3D) Photography – by Sroyon
Comment posted: 05/03/2022
Comment posted: 05/03/2022
Comment posted: 05/03/2022
Joe Van Cleave on My First Forays in Stereoscopic (3D) Photography – by Sroyon
Comment posted: 05/03/2022
Jasper T Kauth on My First Forays in Stereoscopic (3D) Photography – by Sroyon
Comment posted: 22/03/2022
Comment posted: 22/03/2022