
I’ve previously shared with you the story of my first 3 rolls of home developed film and I thought I would do an update on how it’s going. This time I’m also giving you a look at the full roll of images and telling you a little bit more about them. I hope you enjoy it!
These shots were taken on my Pentacon Six (you can read my mini review of the camera here) with Ilford FP4, a film stock that I had never shot with before. For me, this was a particularly interesting roll of film because I was experimenting with exposing using different tools and techniques and so I’ll go into more detail with each set of shots.
How is developing going?
This has been my 8th roll of home developed film. The first 7 were 35mm and, bar some minor issues, have all gone well. Minor issues like the last couple of frames getting jammed and having to be cut off. This is my first roll of 120 film (I have also done a 9th) and I will say that I feel very confident in the chemistry side of developing film.
I put some music on, get my timer set up, chemicals in order and off I go. It’s a very meditative practice for me. And every time I finish the final wash, my heart beats a little faster, as I open the tank and see whether the images look any good. It’s exciting every single time.
I realised that I had absolutely no idea what 120 film looks like under the backing paper, I have only ever seen it rolled on the spool or as the final negatives; so I watched a Youtube video of someone opening up a roll ready for loading into the tank so that I knew what to expect in the dark coat cupboard. It’s actually very easy to unspool and separate from the backing paper, far easier than getting 35mm film out of its canister (regardless of whether you have the film leader out or not).
I really struggled to get the film onto the developing tank reel. I just could not get the film straight and aligned with the ball bearings, it was like I needed a third hand to get it threaded on. I had the same issue with roll 9 but have since received some advice on the best way to hold the film so hopefully roll 10 will be easier!
And digitising?
I’ve finally found my flow for digitising black and white negatives – thank heavens! But I cannot get to grips with colour film.
I’m both lucky and unlucky that I have both Photoshop Lightroom and full Photoshop but it appears that they are both too old to support the software for converting negatives (like Neg Lab Pro which I have been told is amazing). I don’t want to purchase new so my next course of action is to uninstall Lightroom and put full Photoshop back on my computer. Then I will use the incredibly helpful advice of my Photoshop Friend to try and create my own film profiles for the film types that I use.
Having done plenty of research, I have discovered that Lightroom is not geared up for converting colour negatives, particularly if you have the older versions, as it makes certain assumptions for the benefit of digital photographers that you can’t override. Hence the new course of action. I’ll keep you posted on how it goes.
And so for the images…
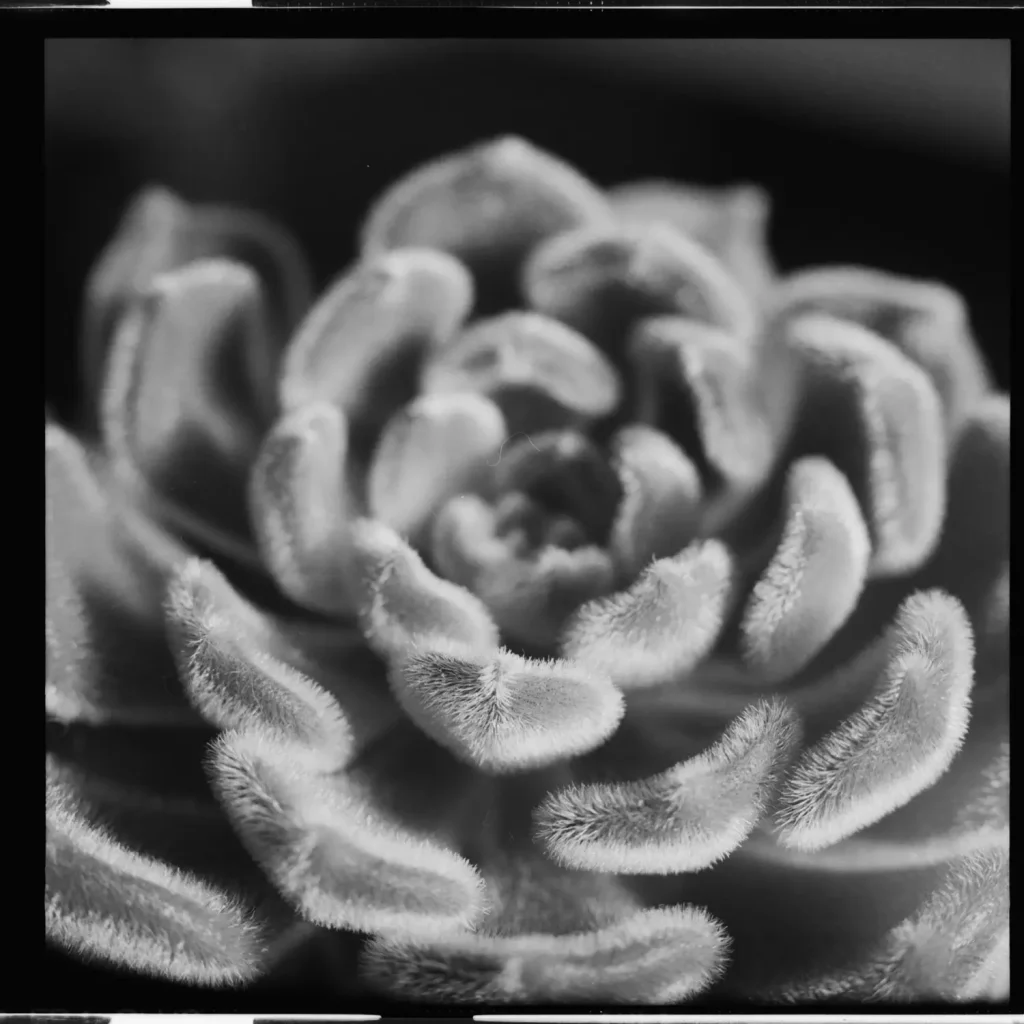
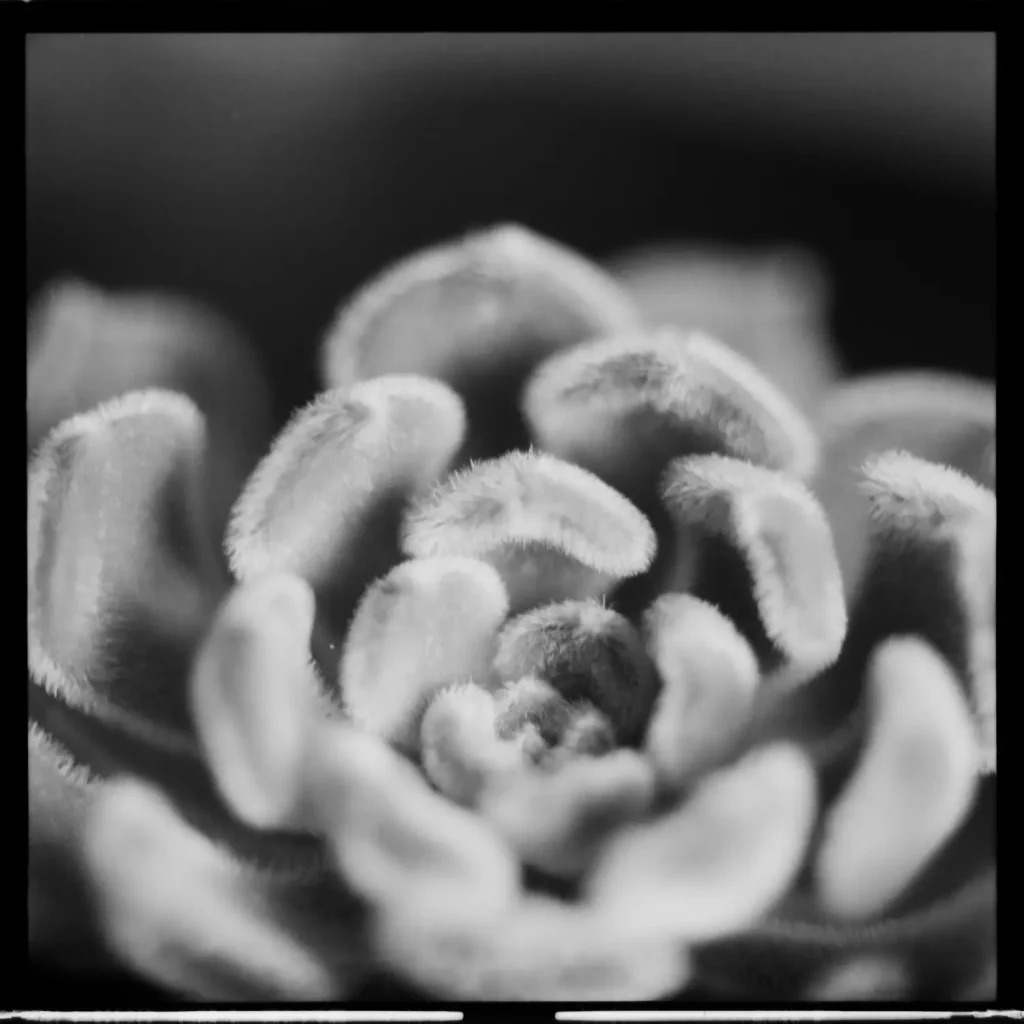
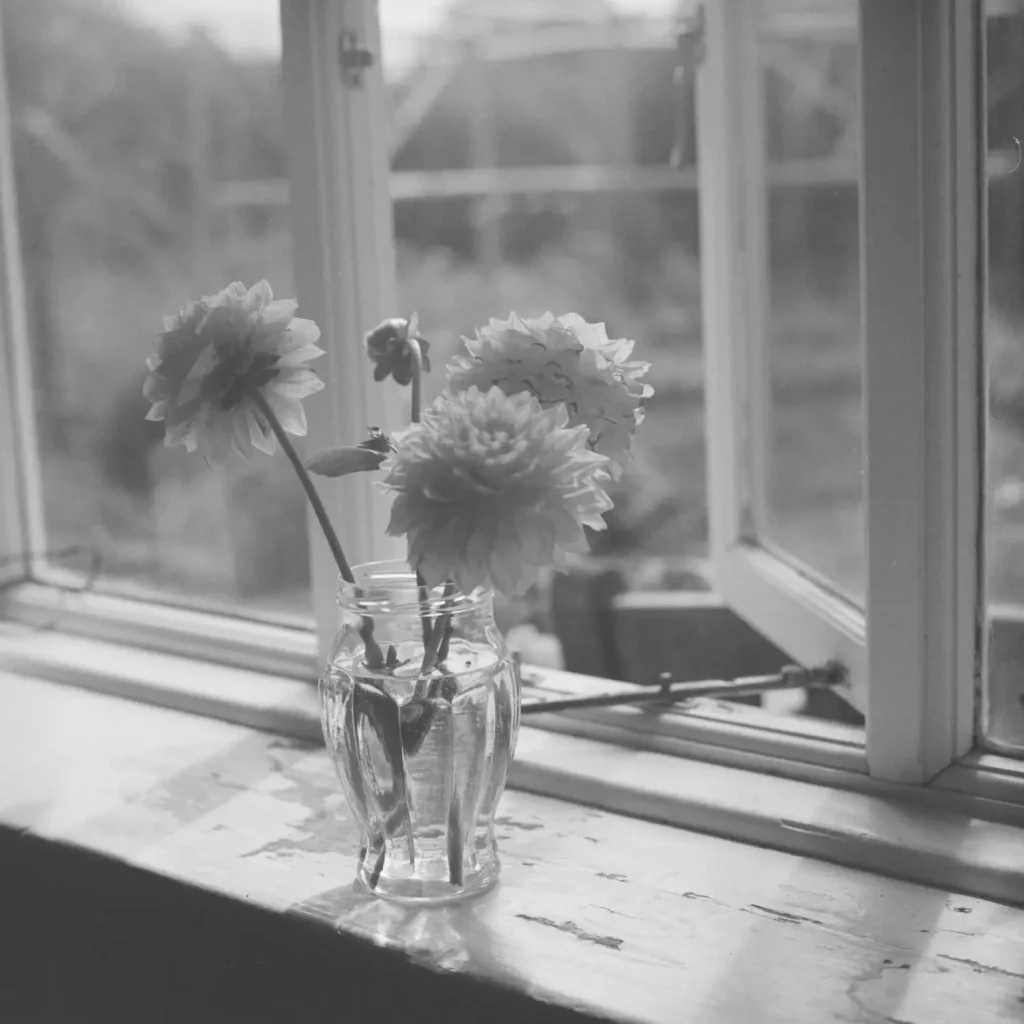
These first 2 shots were taken using extension tubes and an 80mm lens for close focusing. I used my handheld light meter but shot at ASA 80 (the roll was developed for ASA 125). The light was coming through a window to the right of the image. These were the first 2 shots off the roll and I was absolutely blown away by, I would say these are the best images I have ever taken with the Pentacon Six.
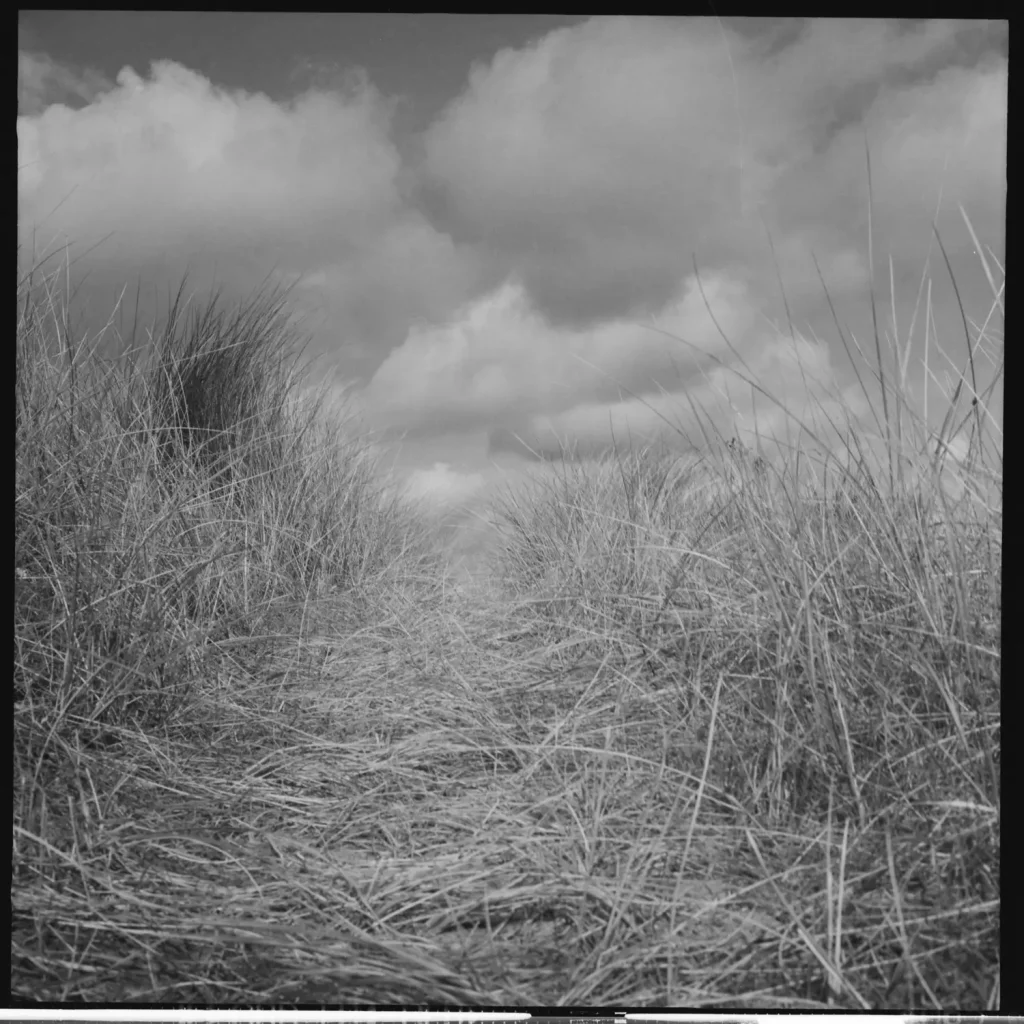
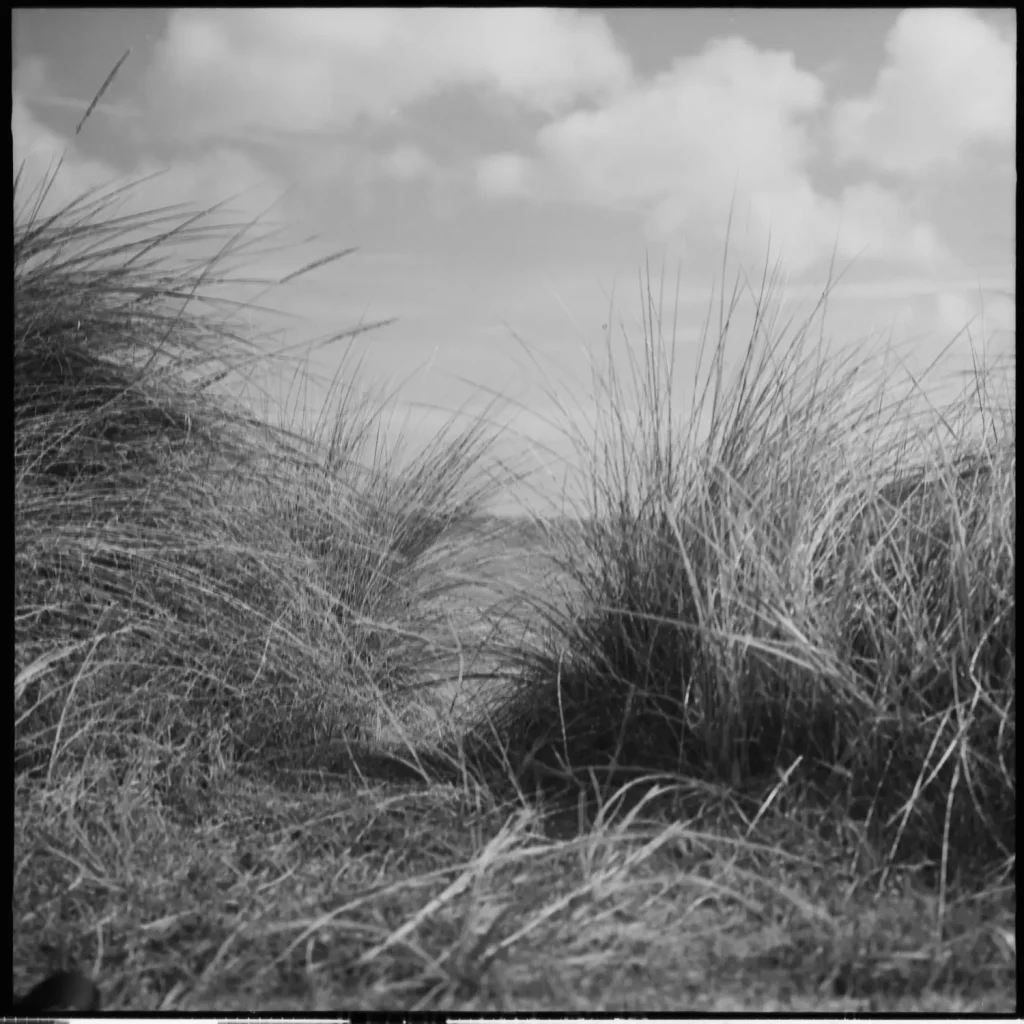
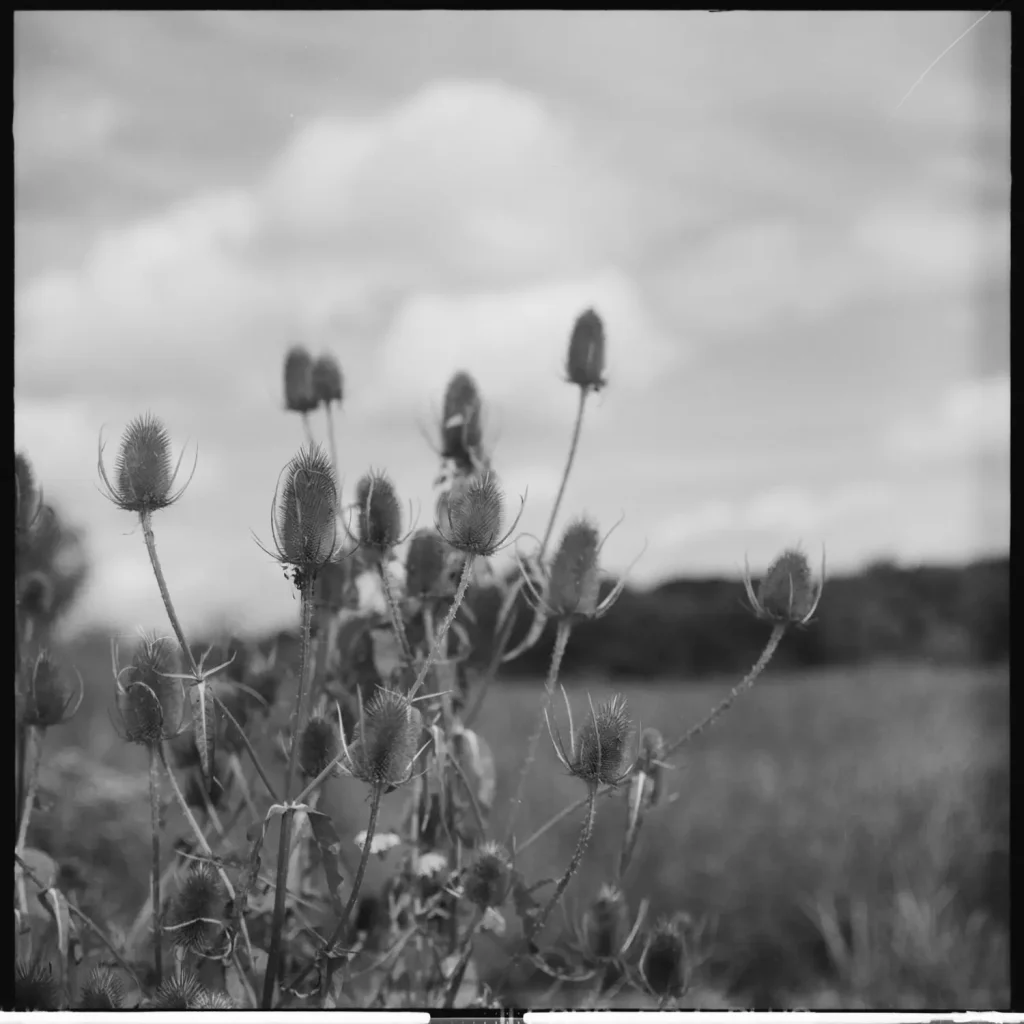
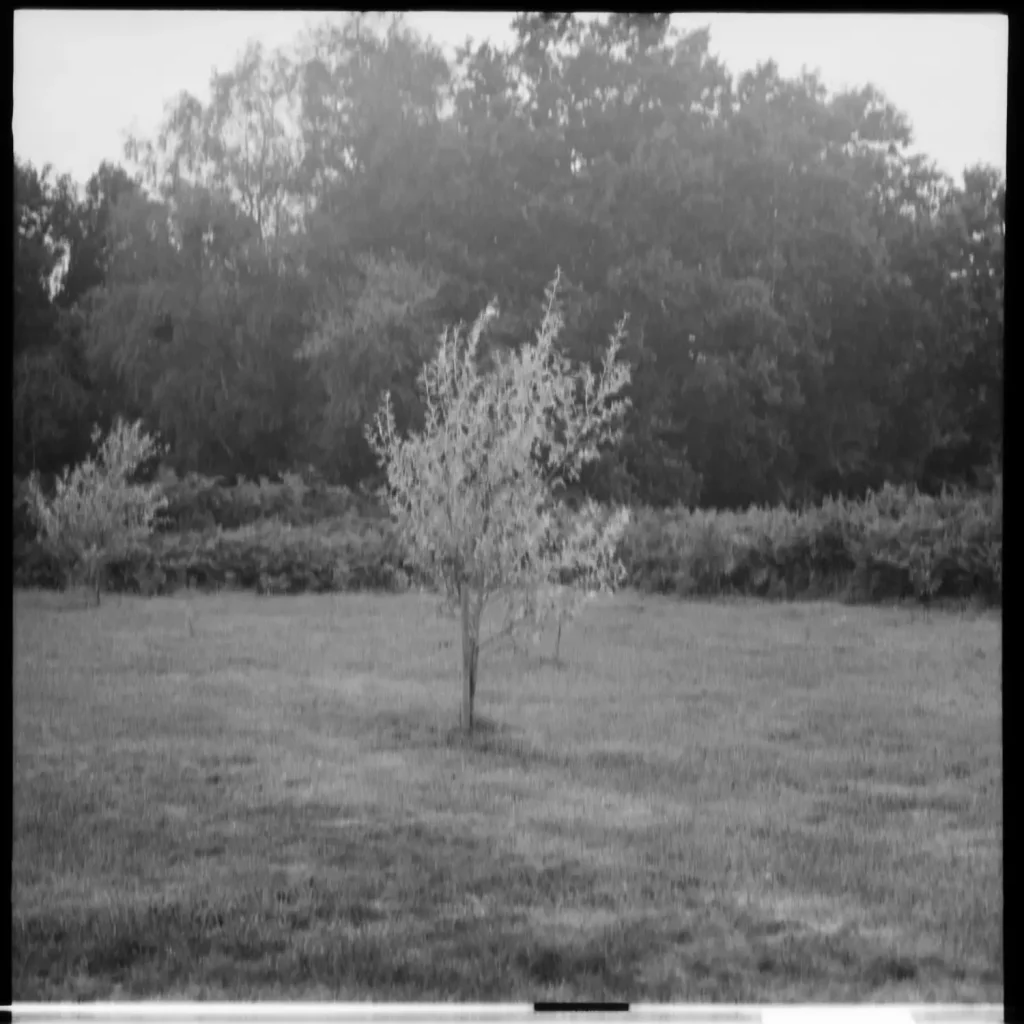
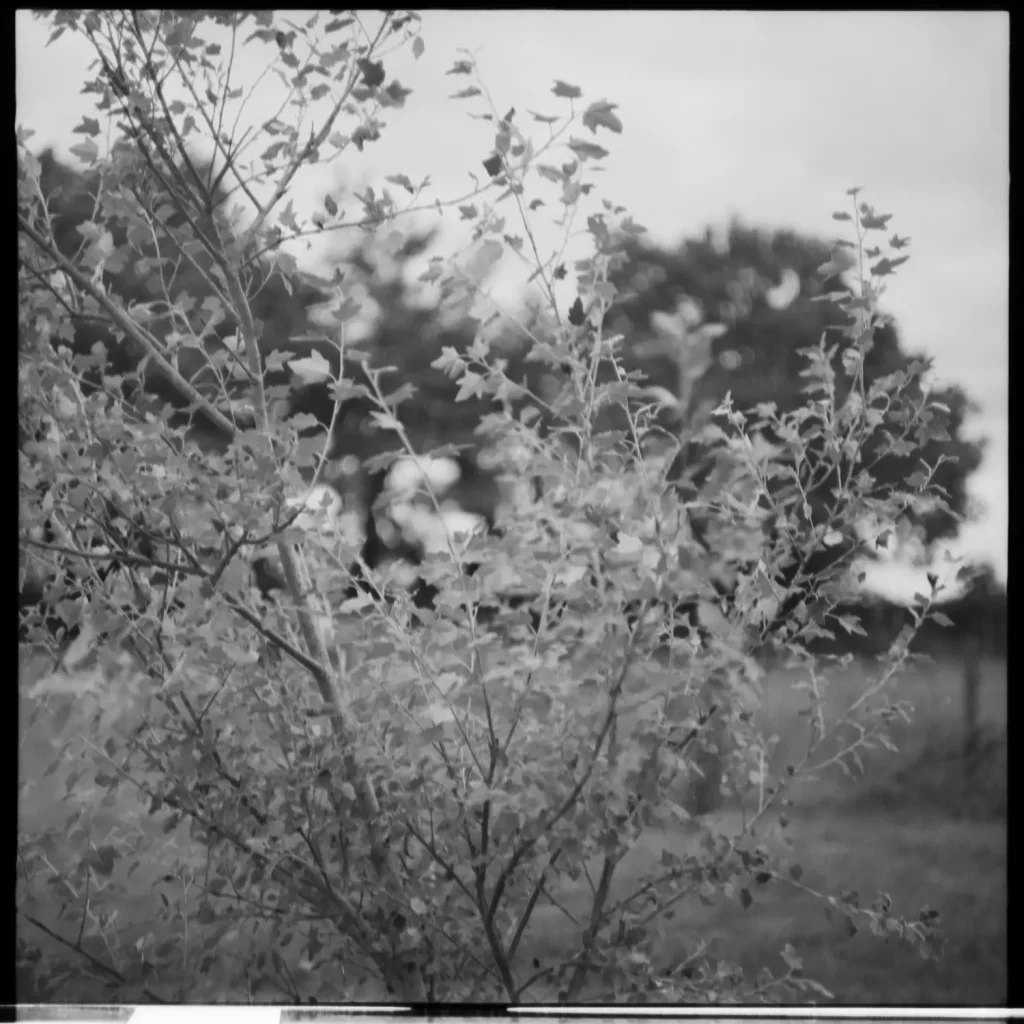
These next shots were taken in bright sunlight, it was around mid-morning and for the first image the sun was behind me and for the second it was to my right. I used a light yellow filter and my handheld meter, metering at ASA 125 and making no adjustments to compensate for the filter.
These next 2 images were taken on the same day but a little later on, it was closer to midday and so the sun was higher but still behind me. I had the yellow filter on and was still metering for ASA 125.
Shot 7 was taken indoors, the subject is backlit by the window. Metered for ASA 125 and no filter was used. The image hasn’t come out quite as I had hoped, as the shadows on the window sill were more dramatic but I do rather like the range of greys that this film stock displays.
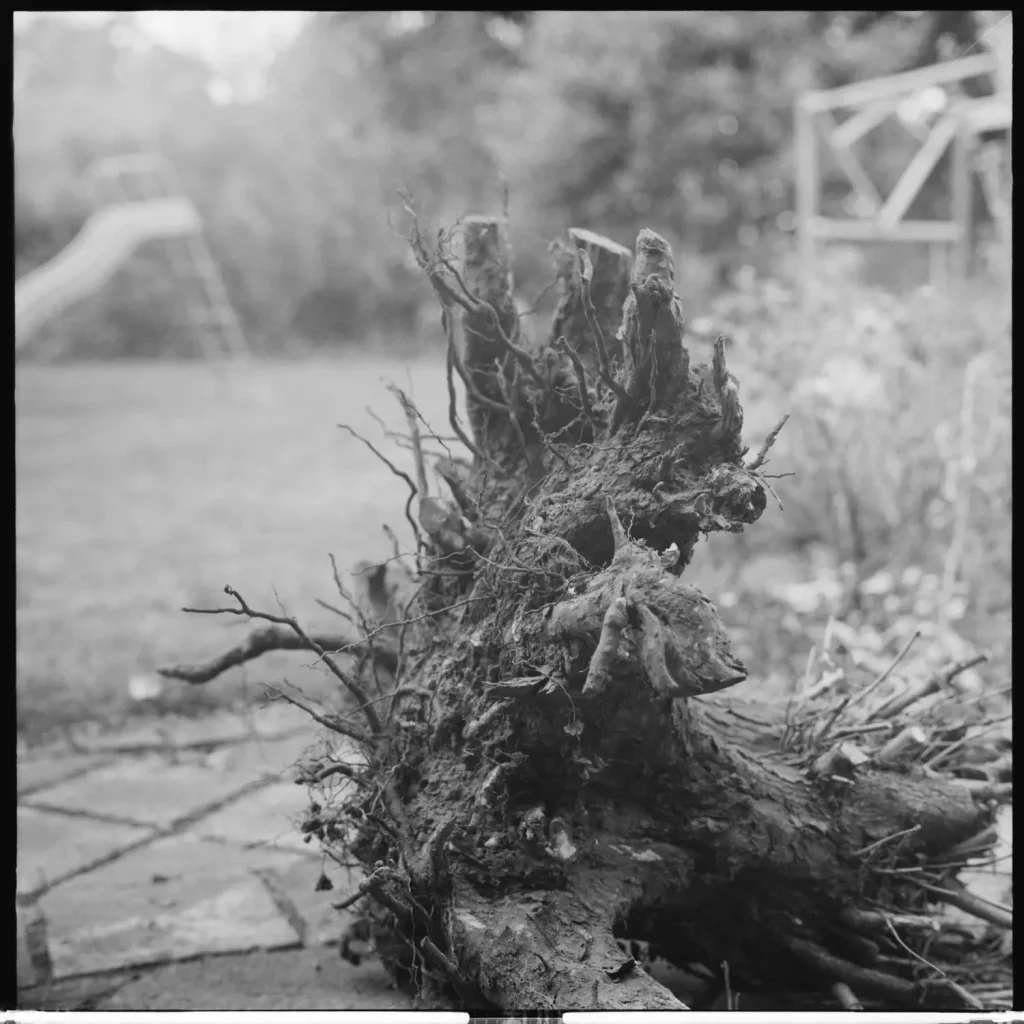
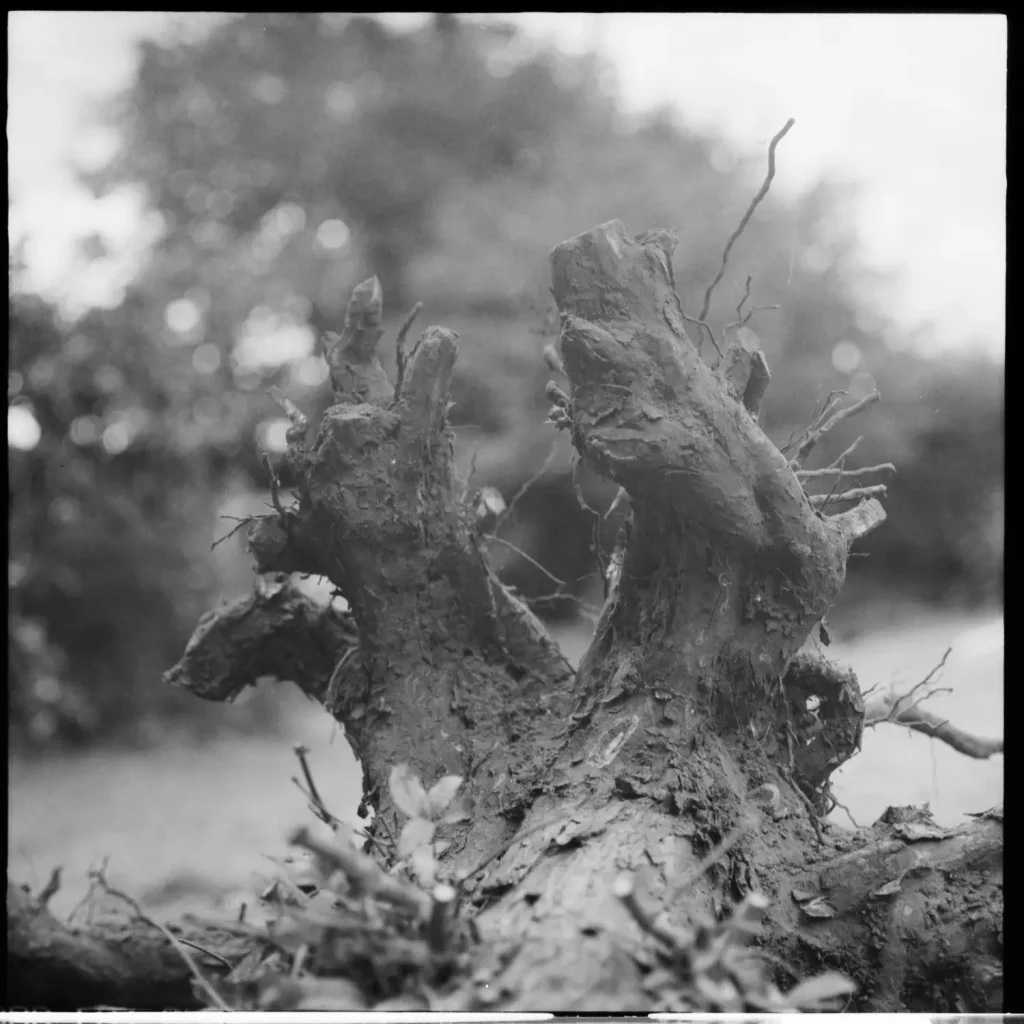
Now we have 2 images of a fantastic tree stump that my parents dug up in their garden. I really wanted to capture the twisted roots. In the first of the 2 shots I hadn’t noticed the details in the background but realised as soon as I had taken the shot; so for the second shot I recomposed and moved which meant the sun was in a different position as well. Yellow filter was back on, handheld meter at ASA125. The second of these images is my favourite.
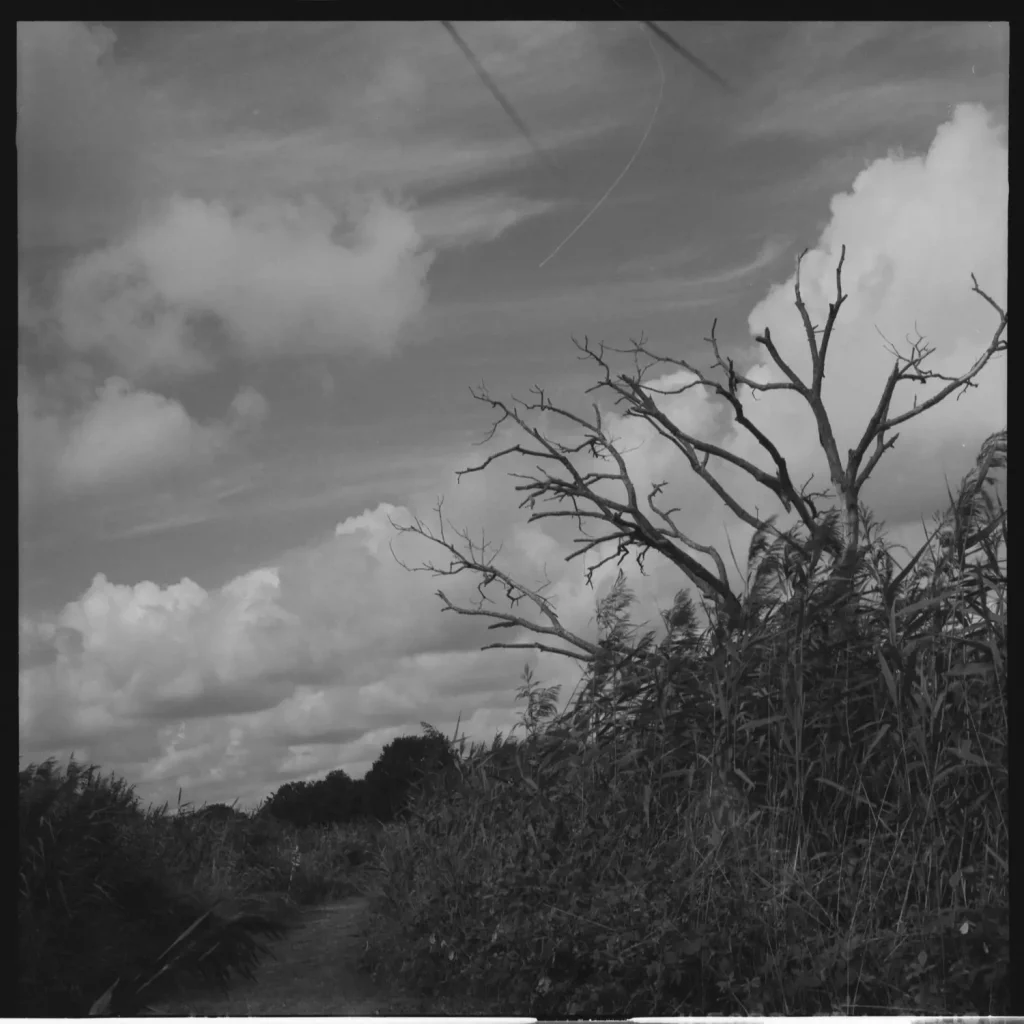
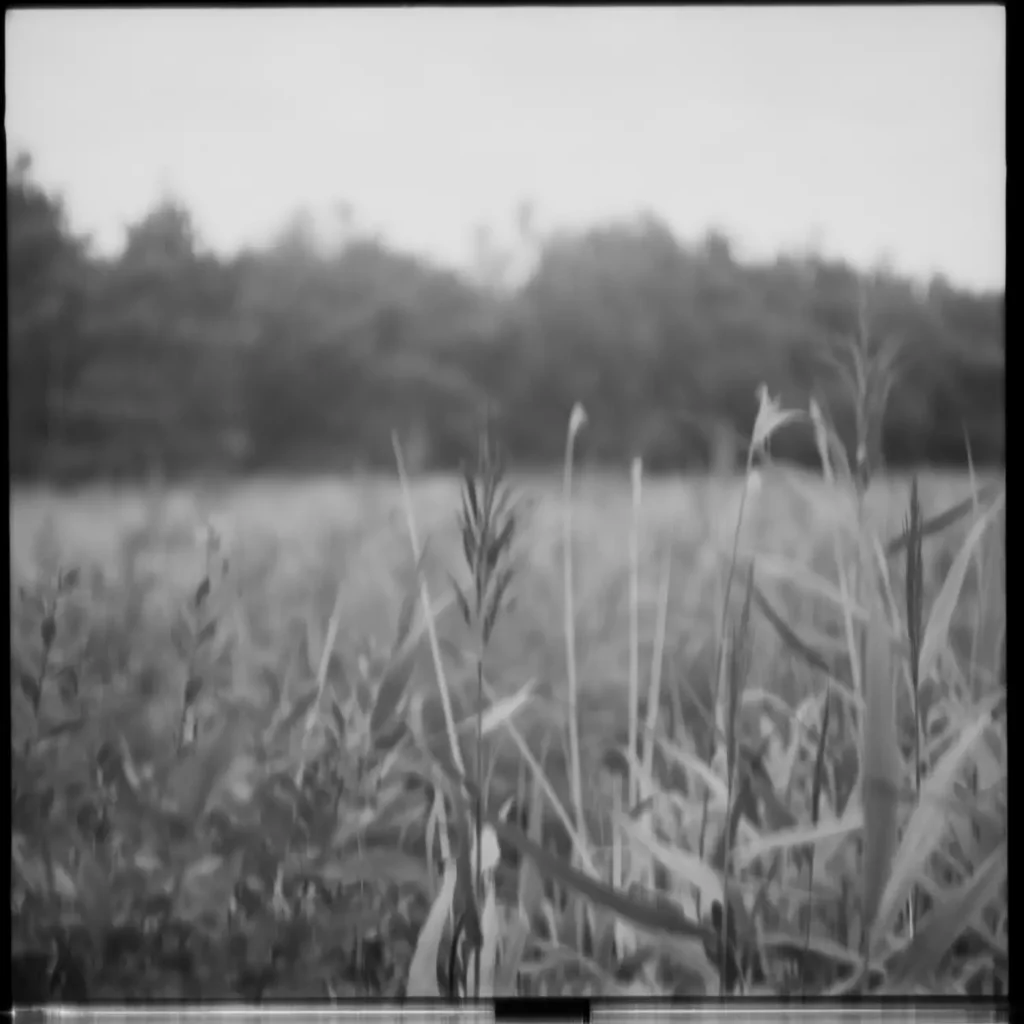
And now we come to the final 4 shots. These were metered using the Pentacons TTL metering prism which I had set to ASA 80 (no filter). From this roll, and the subsequent roll, I can see that the TTL prism favours overexposure and so the negatives are incredibly dark. This made these images very hard to scan. Shots 10 and 12 are in focus on the negative but with such long shutter speeds needed on my DSLR, I simply couldn’t stop them blurring. All 4 of these shots were taken on an overcast day but the final one appears to have a different light,a result of its location which had the effect of channelling the light. I really quite like shot 13.
Conclusion
I’m so glad I found Ilford FP4, it’s now my favourite black and white film for the Pentacon. However, I will say that I have a goodie box of “affordable” black and white films to try out so it could be knocked off top spot!
Since I started to home develop film I’ve seen a massive improvement in my practise. I am getting far more successes when it comes to exposure and composition. I’m learning to evaluate the negatives for which shots I think are going to come out well and I can troubleshoot any issues such as light leaks. I’m also getting a better feel for what I like in film such as grain and contrast. Prior to this there was a disconnect; I shot the roll of film, sent it off and then checked the scanned images out on the computer. I didn’t have that tactile middle part which now feels so important but that I hadn’t realised I was missing out on.
I really hope you enjoyed a look through another roll with me. If you’d like to follow along with my learning log you can find that here otherwise you can see more of my work on Instagram.
Share this post:


Comments
Ramona Boston on 13 frames / My first self developed roll of 120 film – #FullRollFriday – By Holly Gilman
Comment posted: 25/09/2020
Comment posted: 25/09/2020
Eric Norris on 13 frames / My first self developed roll of 120 film – #FullRollFriday – By Holly Gilman
Comment posted: 25/09/2020
I owned a Pentacon briefly about a year ago. I ultimately decided it was too bulky and heavy for my purposes. I have a much smaller and lighter Zeiss Ikon Super Ikonta that produces wonderful medium-format images, and I keep reminding myself to use it more often.
Comment posted: 25/09/2020
David Hill on 13 frames / My first self developed roll of 120 film – #FullRollFriday – By Holly Gilman
Comment posted: 25/09/2020
Comment posted: 25/09/2020
JF Bonnin on 13 frames / My first self developed roll of 120 film – #FullRollFriday – By Holly Gilman
Comment posted: 26/09/2020
Using a P6 (or Russian / Ukraininan clones) is quite an adventure.
As for 120 films, my prererence is FUJI ACROS 100°
https://jfbonninlogbook.blog/category/_format-120/
Comment posted: 26/09/2020
Graham Coad on 13 frames / My first self developed roll of 120 film – #FullRollFriday – By Holly Gilman
Comment posted: 26/09/2020
To me, most of the images above exhibit some lens flare or veiling which could be symptomatic of a lens with internal haze, dirt or fungus.
Shine a bright light through the lens at open aperture to see what's going on.
Alternatively there could be internal reflections inside the camera body which could benefit from re-blacking.
I hate to be at all critical, but these are issues I have had with older gear, and had to overcome.
Comment posted: 26/09/2020
Lukas on 13 frames / My first self developed roll of 120 film – #FullRollFriday – By Holly Gilman
Comment posted: 26/09/2020
Comment posted: 26/09/2020
Alex Vye on 13 frames / My first self developed roll of 120 film – #FullRollFriday – By Holly Gilman
Comment posted: 30/09/2020
Comment posted: 30/09/2020