Are you interested in trying digital-infrared photography, but put off by the expensive glass filters that are apparently required? Hesitate no more. We can spare you THAT expense!
Long ago, I read about three dirt-cheap alternatives to glass IR “bandpass” filters:
- Unexposed, developed black slides
- Floppy-disk media
- Black plastic leaf-bag material
At the time, I didn’t have any black slides, but tried the other two options on my first IR camera: a natively IR-sensitive 0.8MP Polaroid PDC-700 described here. The floppy-disk results were not worth pursuing. And the leaf-bag plastic produced horribly dark, wavy, purple images. So I dropped the whole idea until recently.
A Great Black-Slide Filter
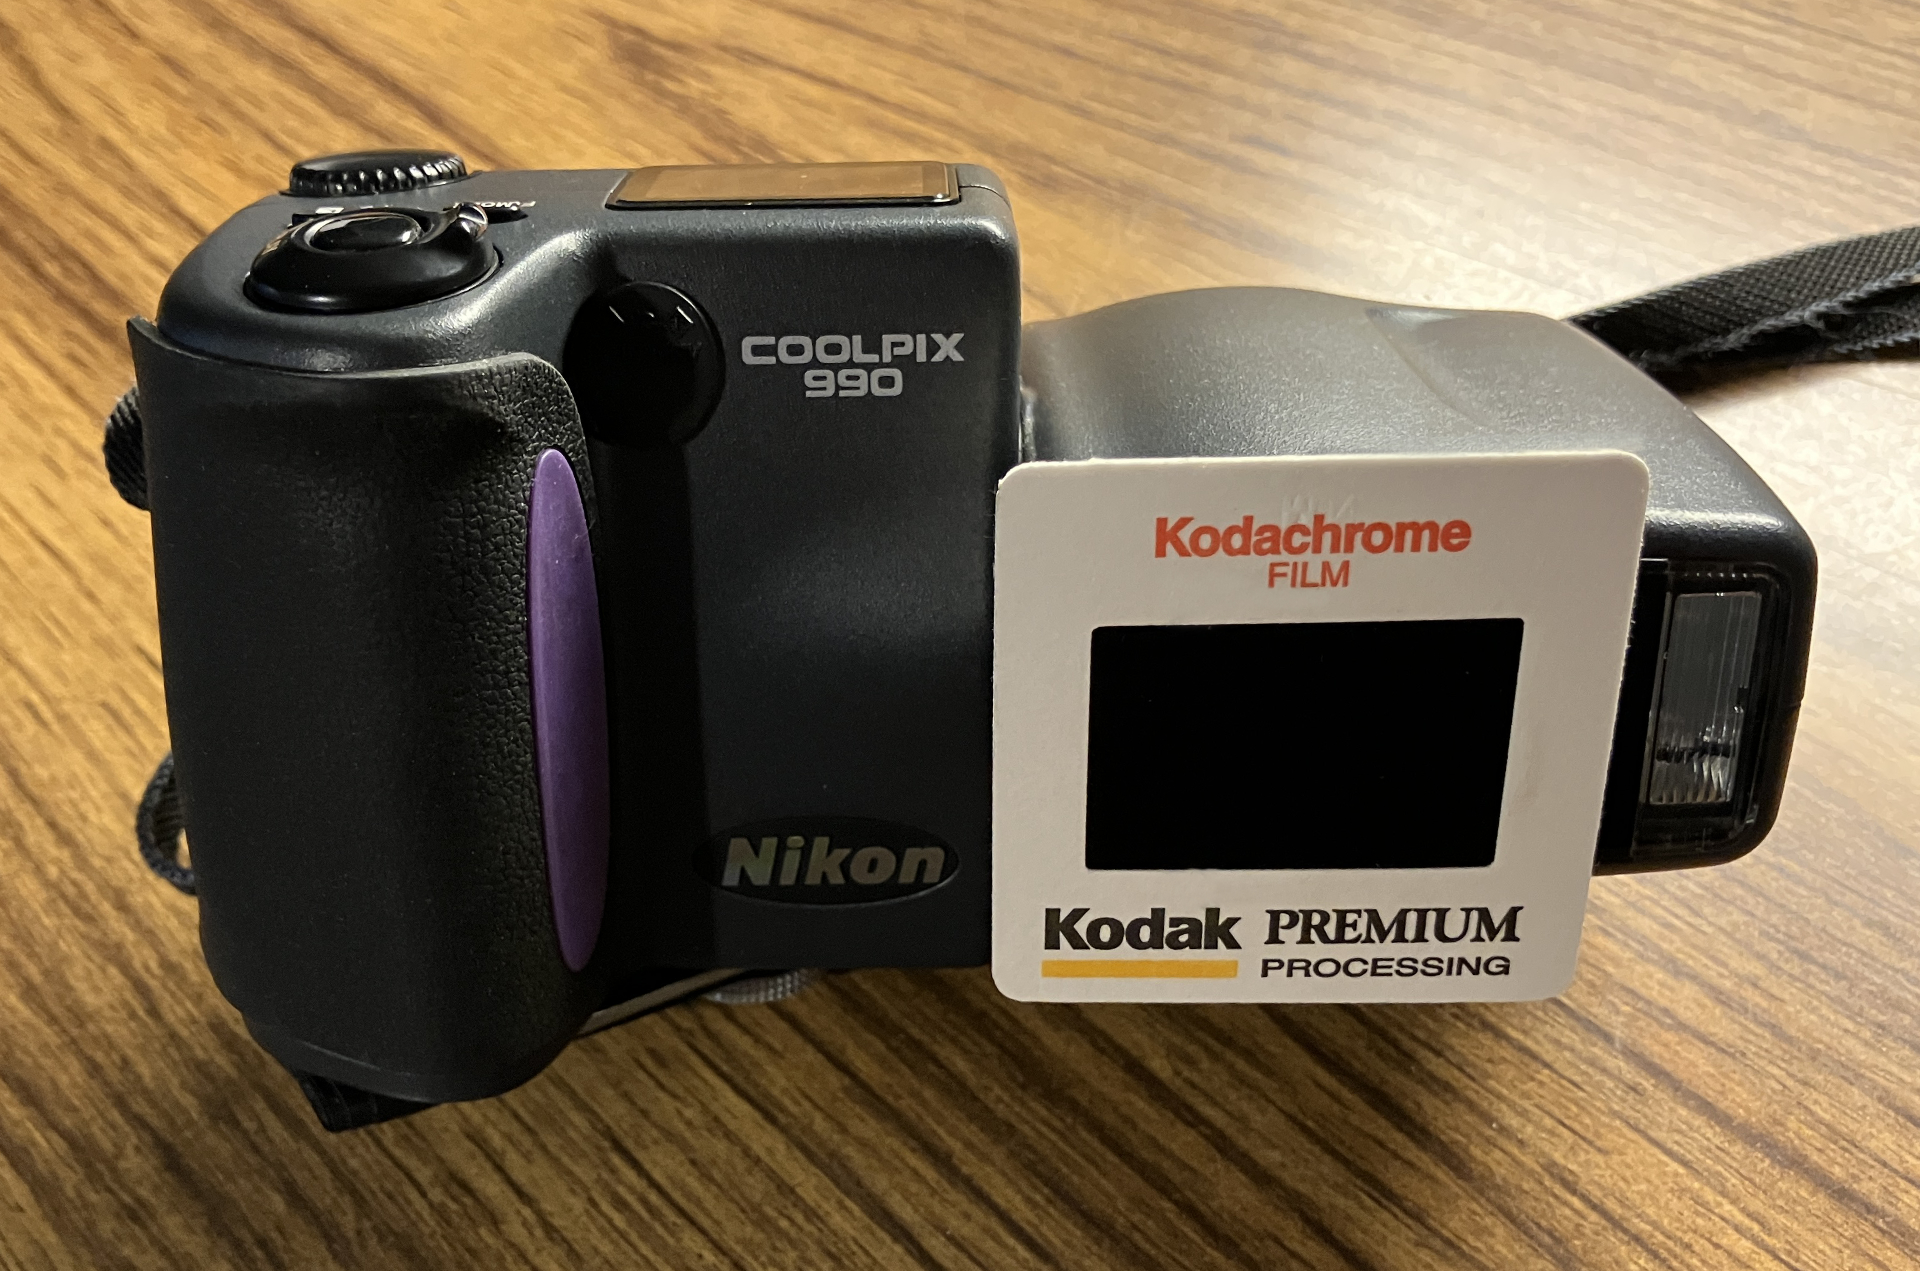
Over the ensuing decades, I shot a lot of Kodachrome, and received at least one black slide in each box. I also acquired a couple higher-res IR cameras along the way. One of my favorites is a 3.4MP Nikon CoolPix 990 that a friend converted for hand-held IR shooting.
The other was an inexpensive 10MP Panasonic Lumix ZS3/TZ7 that I easily converted for IR as described here. It’s wonderful, but I decided to use the CoolPix 990 for this article’s experiment because my black slide just covered the 990’s smaller lens without vignetting.
And results from the slide I used– unexposed, developed, 35mm Kodachrome– blew me away!
Pleasant Surprises
While the CoolPix 990 normally captured gorgeous “IR colors” through a standard R72 glass filter (as shown in the above-linked article), my black slide results all looked monochromatic. The reason was that while different photos had different R-G-B histograms, the charts for each photo’s R-G-B channels were nearly identical… and the results, monotonic. (You’ll see what I mean below.)
Also, straight out-of-camera, the files looked flat and washed-out. This was because the 990 (like many older digicams) squished channel histograms into the middle of their potential range to avoid blocking shadows or blowing out highlights. But the only post processing I needed to do was to expand the channel histograms back across their full range of tones from pure dark to pure light. After that, I did no further brightness/contrast/shadow/highlight adjustments.
Sumptuous Results
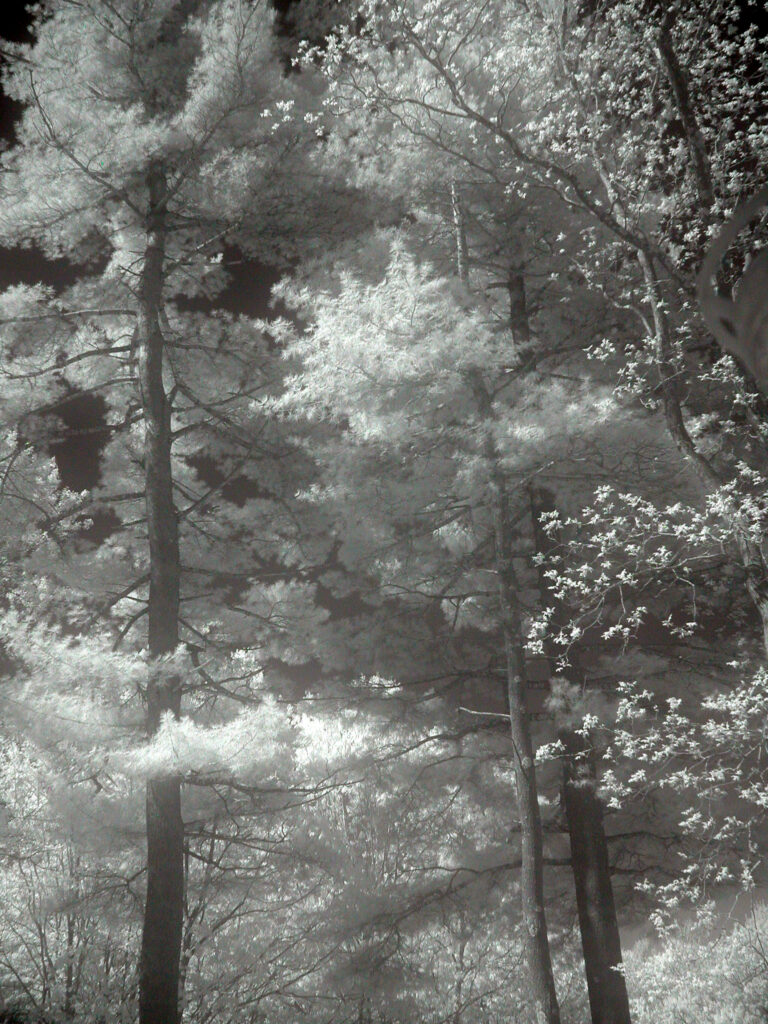
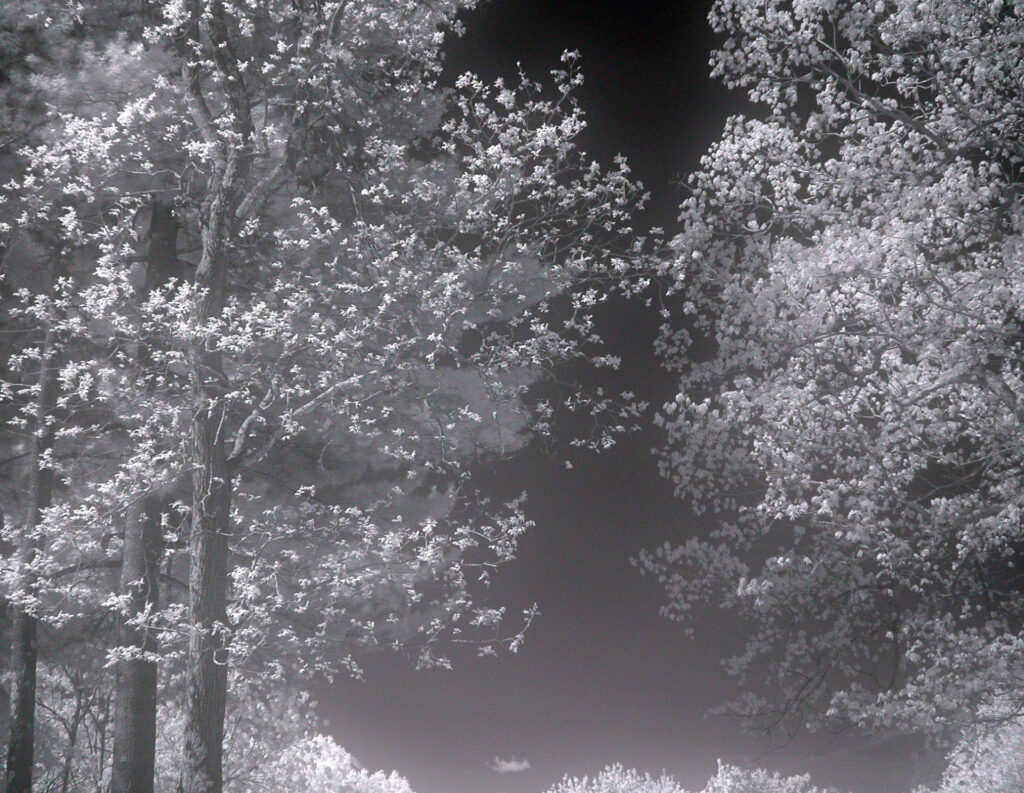
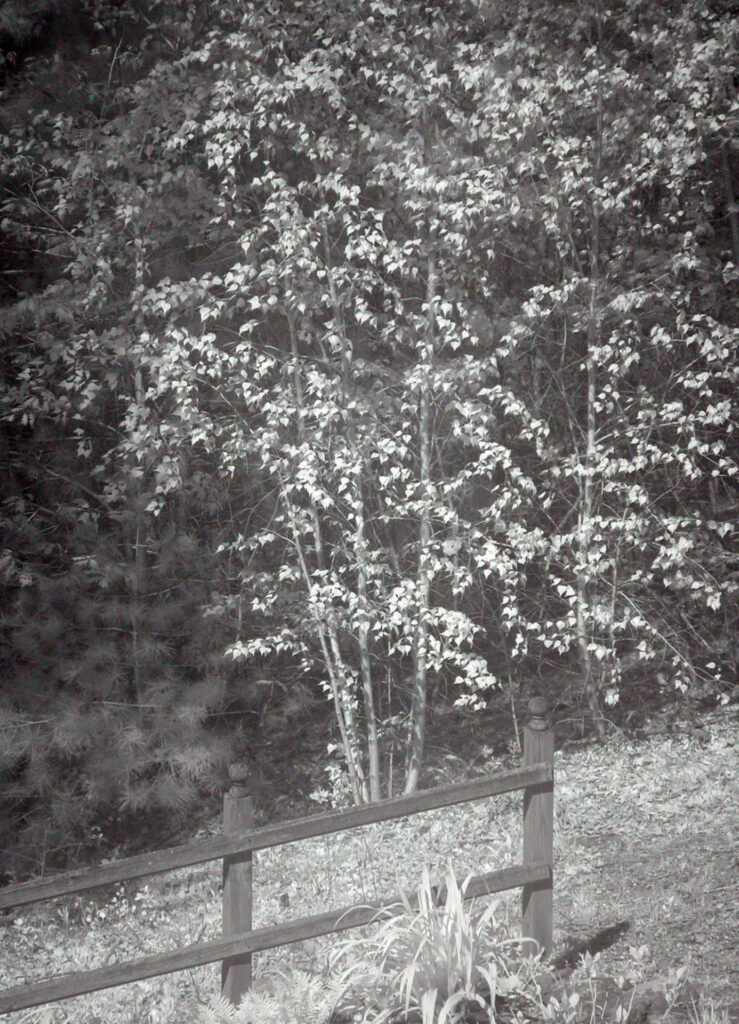
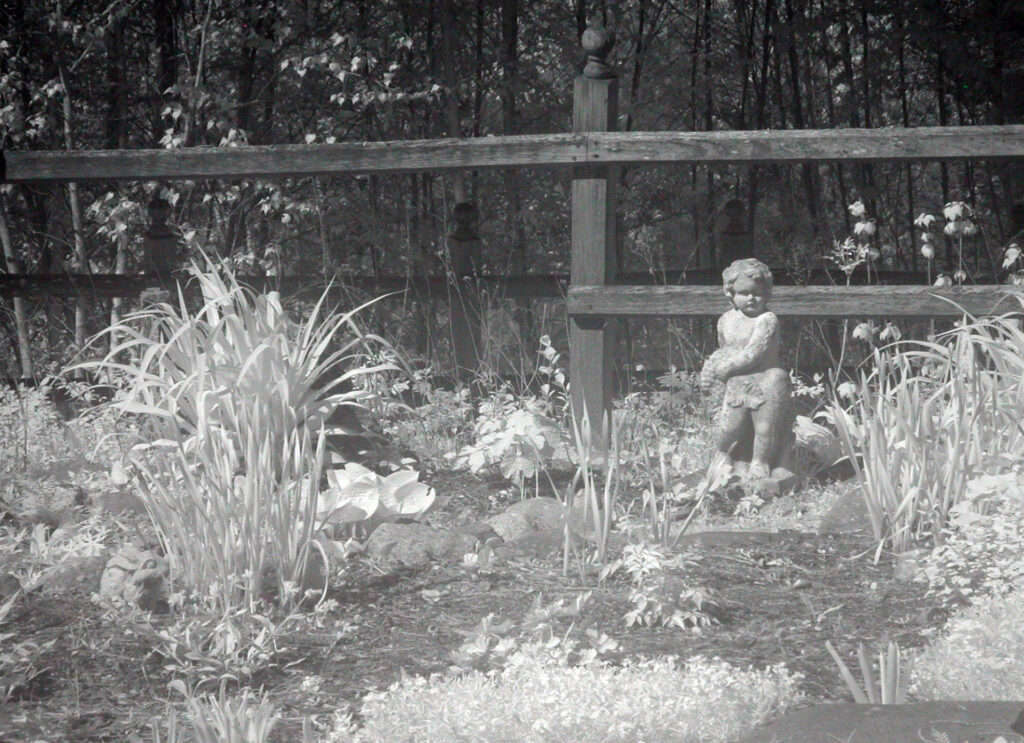
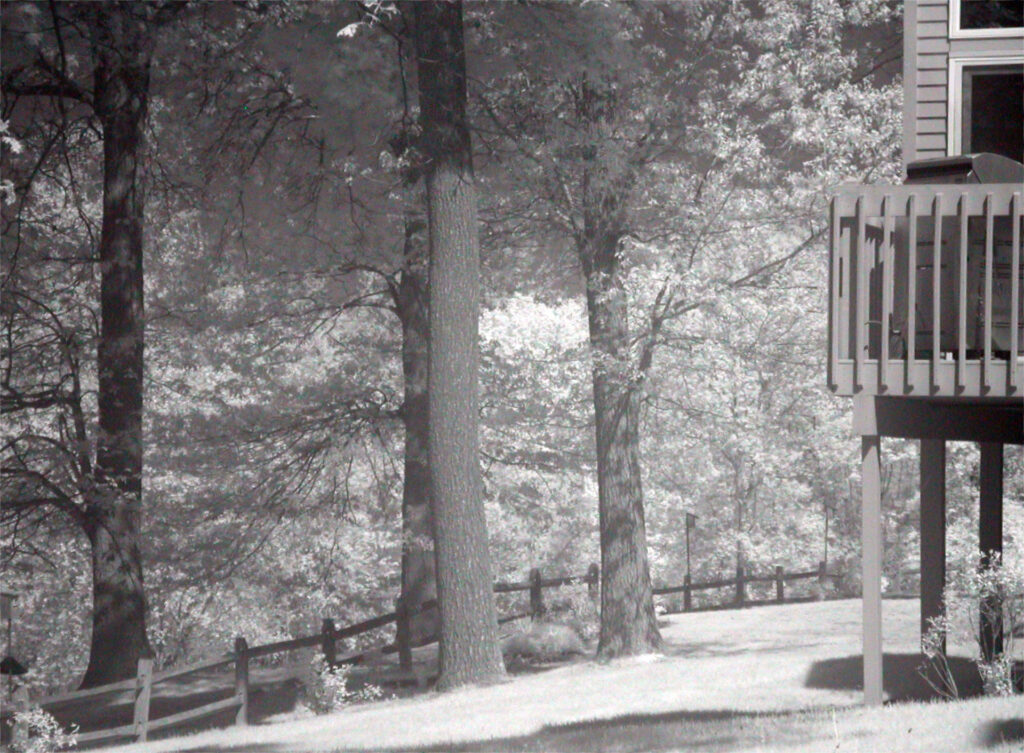
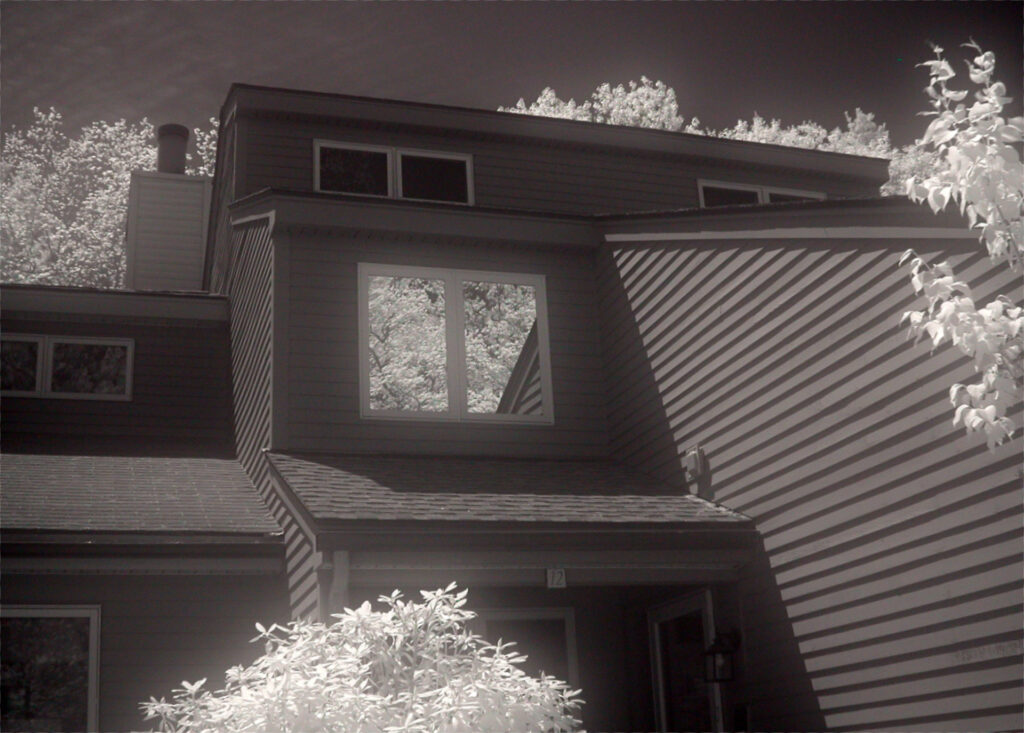
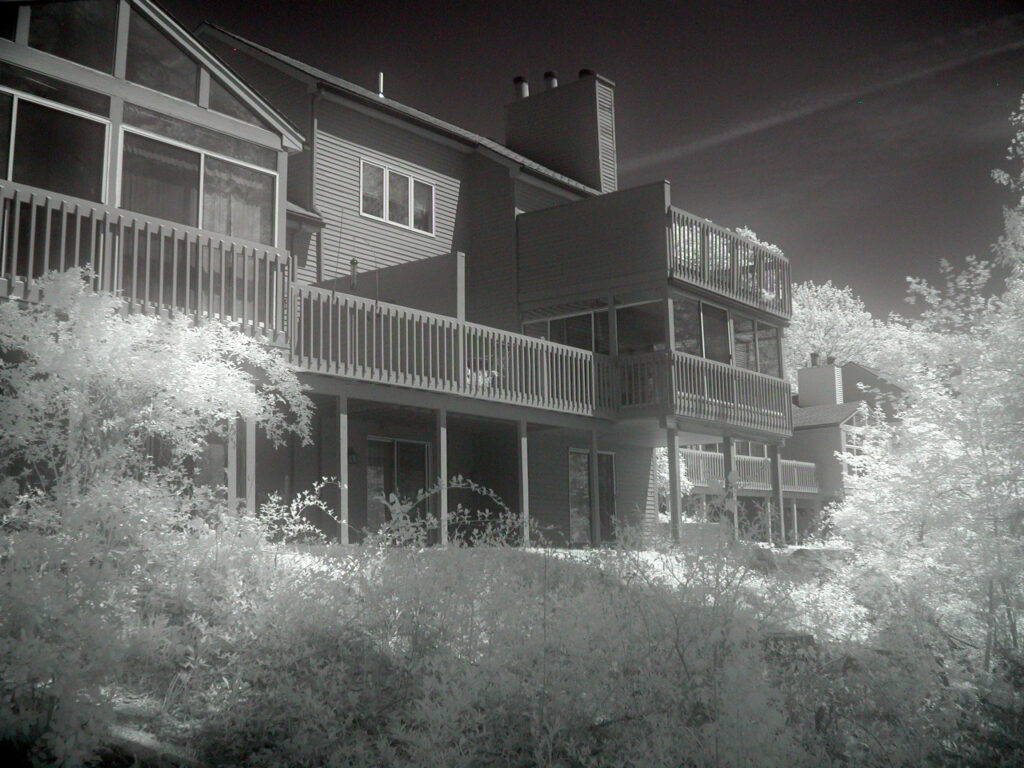
I shot these around our condo building on a gorgeously sunny spring day. The caption below each photo shows the camera’s selected shutter speed and aperture. All shots were hand-held at ISO 100.

Additional Surprises
Again, those are all color files. The results shocked me, and there were three more surprises:
- I loved the range of tones that the filter and my limited post-processing preserved.
- While photos shot through glass R72 filters on my CoolPix 990 and ZS3/TZ7 are quite sharp, images captured through the Kodachrome black-slide showed “halation glow” much like that of infrared film. That’s because undeveloped Kodachrome had an anti-halation layer, but it was stripped off during developing. So the black slide was an excellent filter for capturing digital images with IR film glow!
- Black slides turned out to be such a nice alternative to expensive glass filters that I’ve added a few to my IR Go Kit.
But there’s more to try:
- Make larger filters for larger lenses from unexposed, developed, medium-format slides.
- See how Ektachrome and other transparency emulsions perform (I currently have no Ektachrome black slides).
- Check the results from other digital cameras, including ones not converted for hand-held IR.
FINAL NOTES:
Test shots through unexposed, processed negatives came out completely black.
One will usually get the best results from a camera that’s either natively sensitive to infrared or easily converted for IR (like the ones in THIS article).
–Dave Powell is a Westford, Mass., writer and avid amateur photographer.
Share this post:


Comments
thorsten on A Fun, Funky Filter for Shooting Digital Infrared
Comment posted: 26/06/2025