One Christmas, early in my marriage, I ended up spending Christmas at my in-laws house, which was in a different city from the one I lived in. Due to a mix-up caused by the logistical nightmare of bringing a newborn baby with all it’s day-to-day stuff and all the Christmas gifts to another city in a tiny car, I ended up at the in-laws house for several days with a single gift for myself, from my parents, Ansel Adams’ “Basic Techniques of Photography, Book II”.
Staying for a week in someone else’s house, with a family that went to bed early, left me incredibly bored. So I read the book from cover to cover, multiple times.
I shot only digital at the time, but I thought that maybe it would have some good tips on exposure and such. To my surprise, most of the book talked about the printing after a negative had been created. It really opened my eyes. I had always thought of the digital image or negative as the end point, not the beginning. The zone system really made me think about how to compose an image, how to really think about the exposure.
The Journey
Intrigued by the book, I decided to try my hand at black and white photography. I bought a used Patterson tank off of ebay, some plastic water bottles for containers, and some measuring cups from a local thrift shop. I improvised a heavy, dark blanket as a ‘change bag’ . Bought some used chemicals off of ebay.
Well, for the longest while, my results sucked, to be honest. The biggest problem was that my negatives tended to be soft greys, not the sharp blacks and whites that I wanted. Spots on the negatives, water spots were other problems. I very nearly gave it up.
But I decided to give it one last go, I think partially inspired by the articles on 35mmc… if everyone else can do it, why can’t I?
The Plan
So I decided on the following principles to improve my negatives:
- Better initial images – work really hard to get images that look good in black in white in the camera. Photos with really light areas and really dark areas.
- Fresh chemicals (I realize this may seem obvious, but going cheap on expired chemicals was costing me more in expensive film)
- Fresh film
- Focus on one film, with good documentation – in this case TMAX 100
- Use chemicals that go well with the film – TMAX Developer for the TMAX 100 film
I also broke down and bought a darkroom changing bag online, to reduce light leaks and scratches on the negative (from the blanket).
The Tools
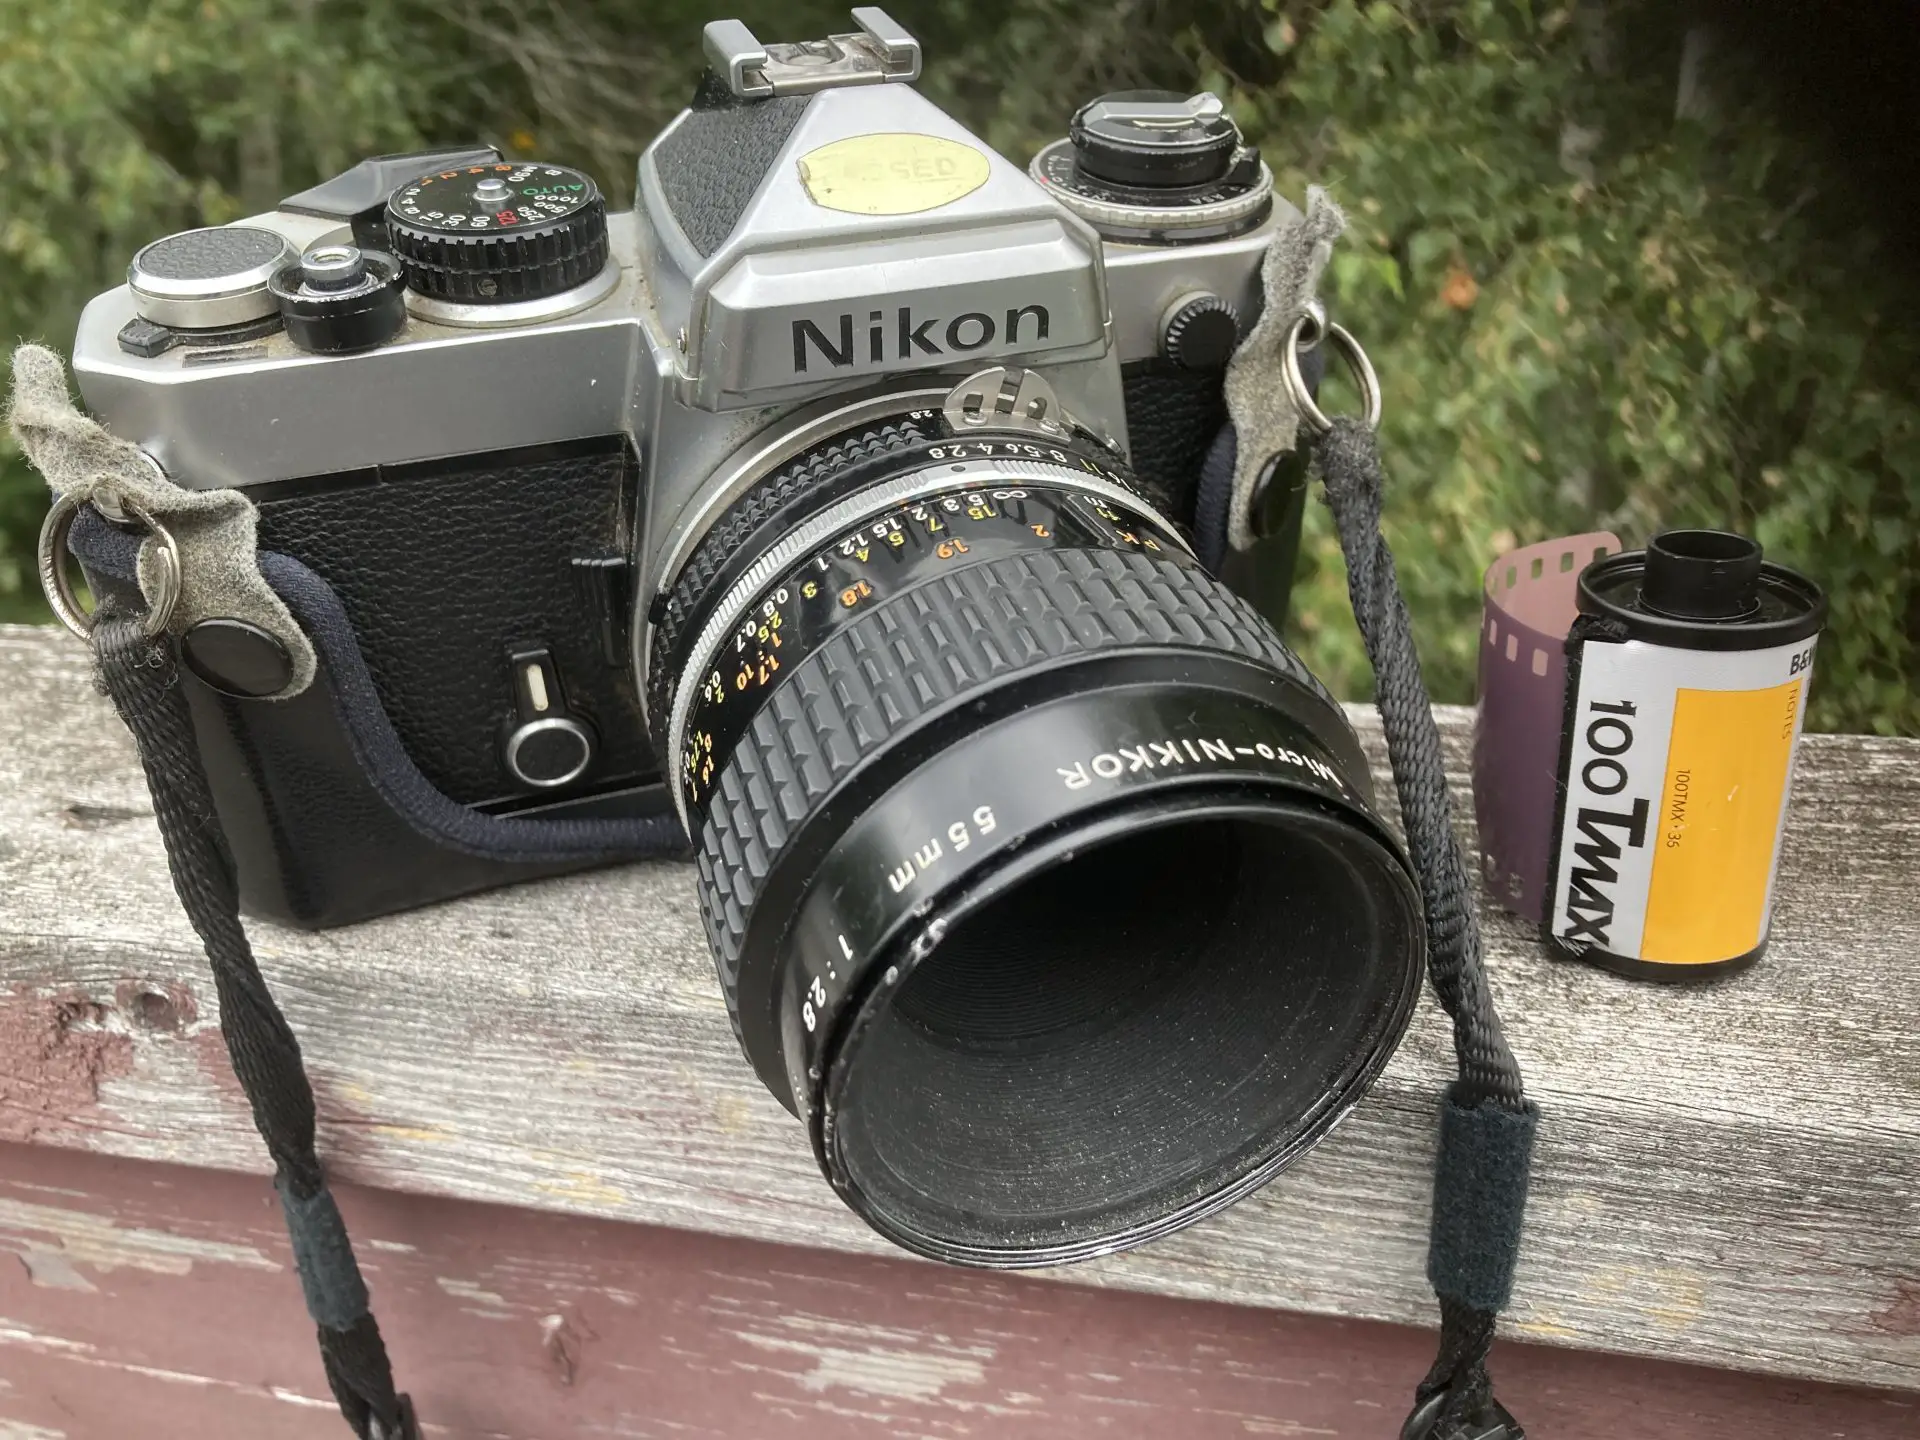
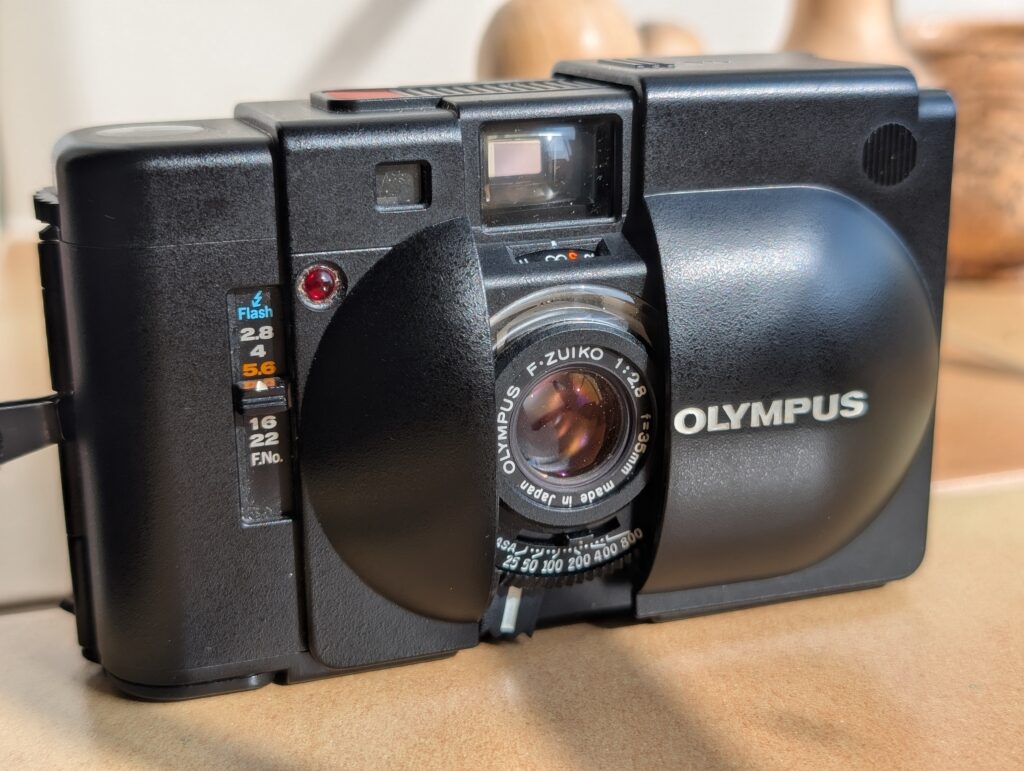
- Camera – Nikon FE
- Lens – Micro-Nikkor 55mm f/2.8
- Film – T-max 100
- Chemicals – T-Max developer diluted 1:4, Ilford Ilfostop, Ilford Rapid Fixer, Kodak Photo-Flow 200
The Photos
For the photos, I went to the local stock car racing track. They typically have eight hours of racing with a variety of stock and funny car categories once a month.
Stylistically, I tried to take the photos in a way that would impart on the viewer the feeling of walking up to and around the race track. So I avoided taking photos for artistic merit, and preferred more of a first person, walk-about view. Thats also why I chose the 55mm lens, a better batch for the human eye than a wide lens or a tele-photo lens.
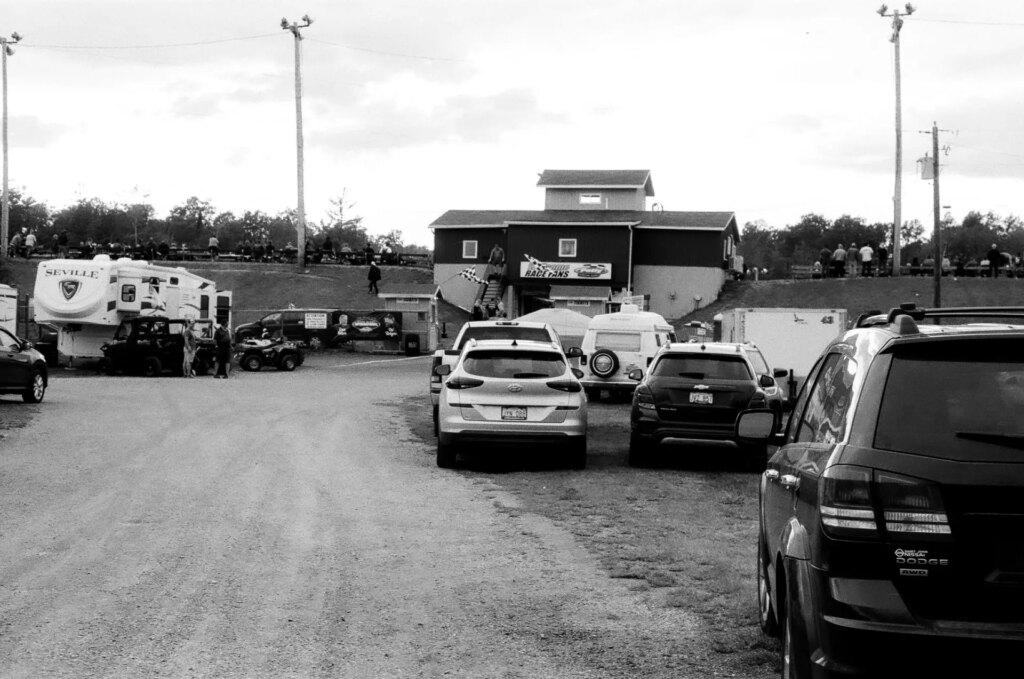
The following picture is as you walk off the highway, through the parking lot, up to the entry to the race track. Not the greatest picture, sky is all blow out, nothing really interesting here.
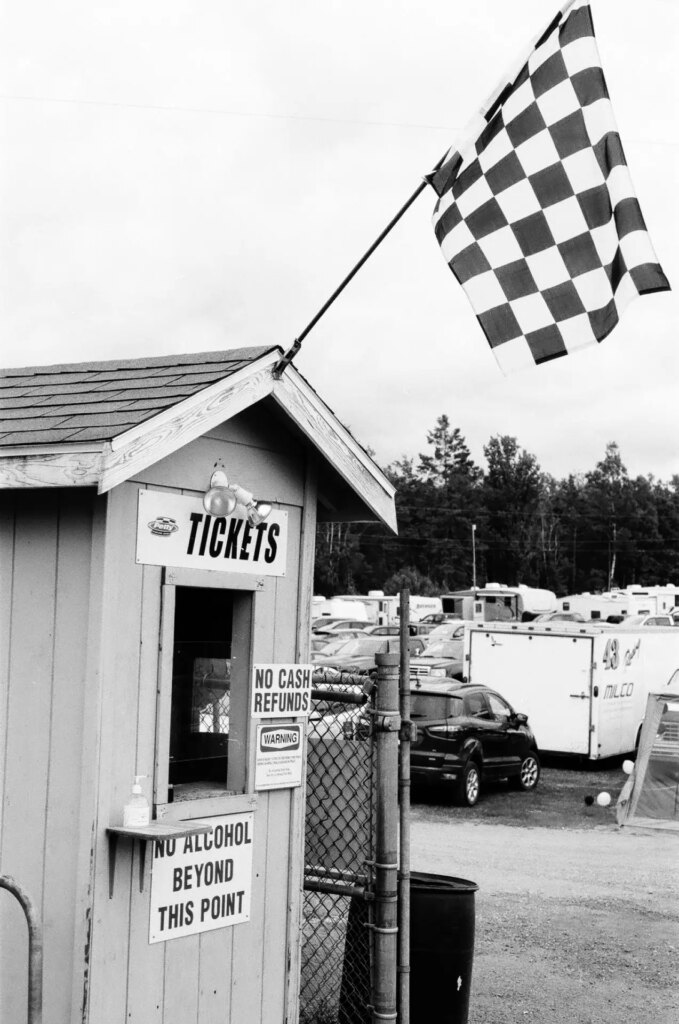
I was pleased with this picture, because it is getting closer to what I want. Might be a 2/3 a stop over exposed, but the blacks (i.e. ‘Tickets’) are clearly black and the whites are clearly white. Entry fee to the races was $30 for an adult and $12 for under 18… no amount of charm could convince the ticket seller I was under 18.
This image didn’t turn out quite how I wanted, because my courage failed. I had wanted to have a nice contrasty scene with the darkness of the entry tunnel vs the light of the spectator area. I had hoped to silhouette the pedestrians to the left. But then the woman in the centre came in and she was looking at me suspiciously, so I clicked when I didn’t want to. But at least we are getting details in the dark areas “Welcome Race Fans” as well as detail in the light areas, and more blacks and whites as opposed to a bunch of grey.

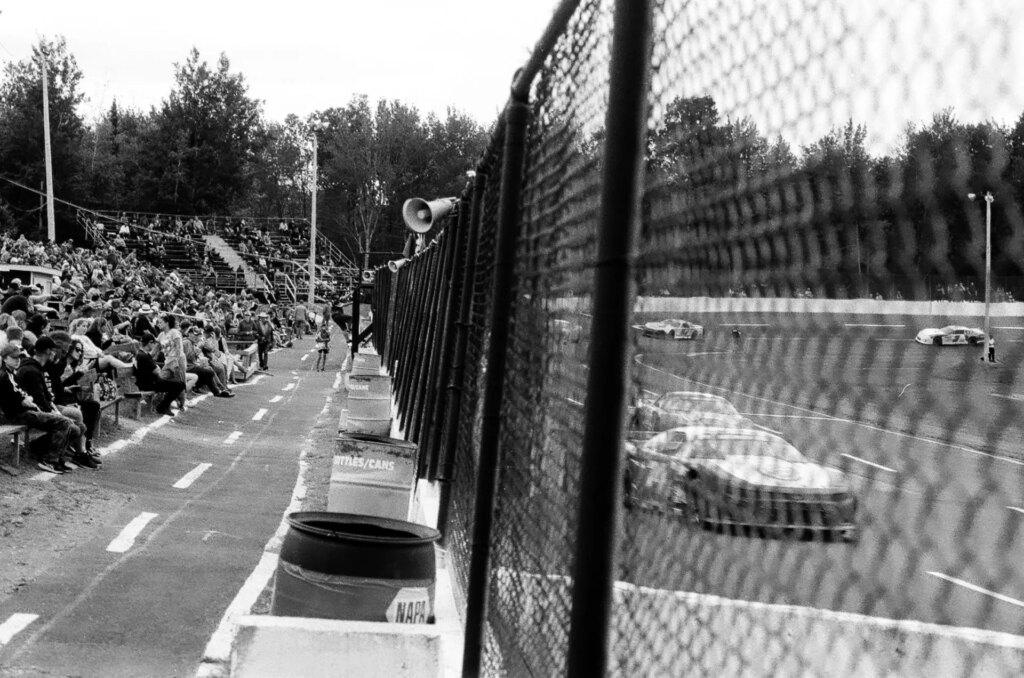
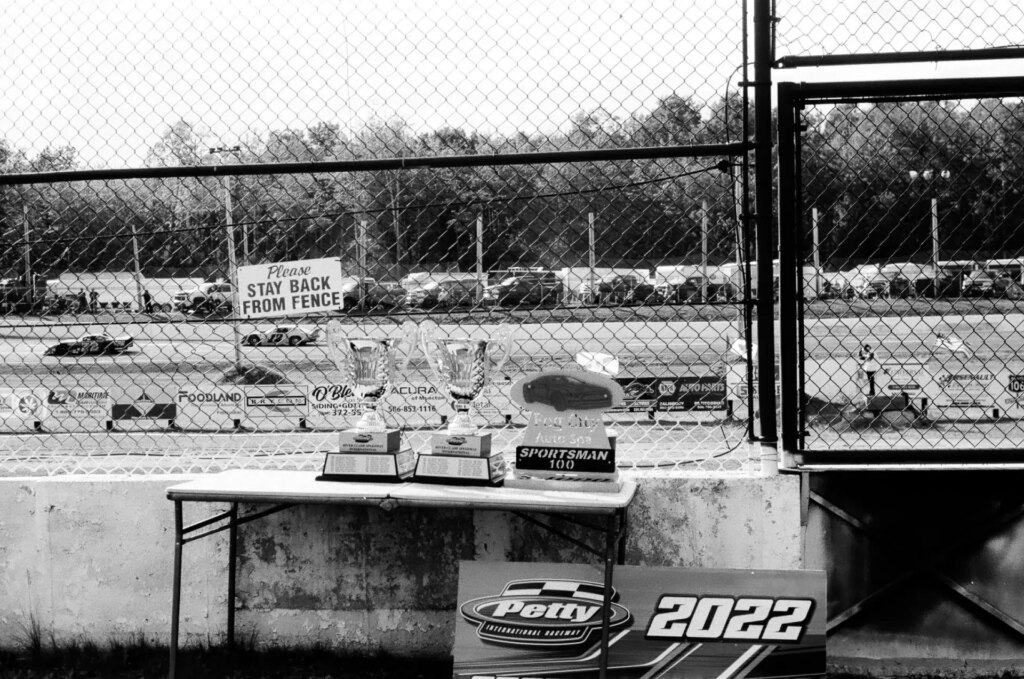
My favourite photo of the lot, the keeper. I really like the ‘split screen’ effect, with the seated spectators on the left vs the race on the right. I feel this photo captures the atmosphere of the track – the buzz of the crowd, the vroom of the cars racing by. There is enough detail in the crowd so it doesn’t look like a big blob, but I wish I had used a slower shutter speed to get more blur in the cars.
Shot of the trophies to finish up.
Summary
For the first time in a long time, I am pleased with my B+W results. I feel I am getting the negatives I want. Next step – decent prints from the darkroom!
Thanks for reading
Alex Vye
twitter: doomhiker
Website: 3d6.ca
Share this post:


Comments
Bob Janes on 5 Frames with TMAX 100 – Learning to develop Black and White Film – by Alex Vye
Comment posted: 27/09/2022
You also have the gratitude of your community for sharing the stuff that goes wrong as welll as the stuff that goes right - that will be really useful for others who are making the same exploratory steps.
I find a good dark bag really useful - because you can be sure of blackout and the indide tends to get less dusty than the enviroment outside - plus it is handy of you get a camera problem that requires opening the camera while the film is loaded. Having said that, if people find a solution that works for them...
Comment posted: 27/09/2022
Terry B on 5 Frames with TMAX 100 – Learning to develop Black and White Film – by Alex Vye
Comment posted: 27/09/2022
Your image of the entrance, whilst it did not turn out how you wanted, is an excellent example of exposure and shows the scene as we would see it. Both foreground and background accurately exposed and the move from light as we move into the tunnel to dark and light again as we exit the tunnel shows excellent detail throughout. I like it.
Comment posted: 27/09/2022
Michael on 5 Frames with TMAX 100 – Learning to develop Black and White Film – by Alex Vye
Comment posted: 28/09/2022
Oh and my favorite of the series is your photo of the entrance, I like the composition very much.
how did you scan your negatives?
Comment posted: 28/09/2022