
You are reeling your film into the developing tank for the first time, but somehow the film got stuck. In complete darkness, it’s difficult to tell what’s wrong. It’s getting very warm and stuffy because you’ve blocked out all the windows with old rags to lightproof your bathroom. You feel anxious as you start questioning if you’ve made the right decision to invest so much into a hobby. A hobby that costs so much, not just money or your time but your emotions as well.
Every roll of film is precious. It could be a 1-year-old time capsule, a holiday to a place where you’ll never visit again, or a week’s worth of allowance. Developing on your own can be a terrifying experience, and for many, it’s not something you play around with.
Film photography is cheap
I wouldn’t say that I started out loving black and white film or even film photography. It was just the cheapest way for me to get into photography. One of my best friends gave me his old Minolta Hi-Matic 7s II and all I had to do was to pick up a roll of film for a couple of dollars and I could start immediately.
I shot a few rolls of colour films and my lack of understanding of exposure often left my colours looking dull and off. Black and white film, however, is more forgiving and I have fewer variables to take care of. When it was time to develop my films, I was shocked to find out that the cost to develop one black and white roll cost almost thrice as much as the C41 process. I had little choice except to explore developing on my own.
If you can make soup, you can develop film
I started off with half a packet of D76 powder that was leftover from my friend (the same one who gave me my first camera) who was migrating overseas.
I began developing once every few months when I finally stopped being lazy. I didn’t care much about the quality. As long as there was an image, I was happy. Then came a day where I was forced to give more thought to my developer when my D76 powder turned black. I picked up the Kodak Tmax developer from my local film shop because, well, it was the easiest; I didn’t have to dissolve any powder.
I didn’t quite like the way the grains form on the TMax developer. The image seemed very flat to me and often produced very large grains. From my observations, the developer tends to favour the highlights which I don’t quite prefer.
While my Tmax solution was finishing, I stumbled across a YouTube channel ‘Denae & Andrew’ where developers were being tested and Kodak Xtol caught my attention.


My first rolls with XTOL were beautiful and I loved how smooth the images were. I mainly shot with Kodak Tri-X and the way the blacks were rendered was very pleasing and the fine grains created made the images look almost sharper.

My perfect formula
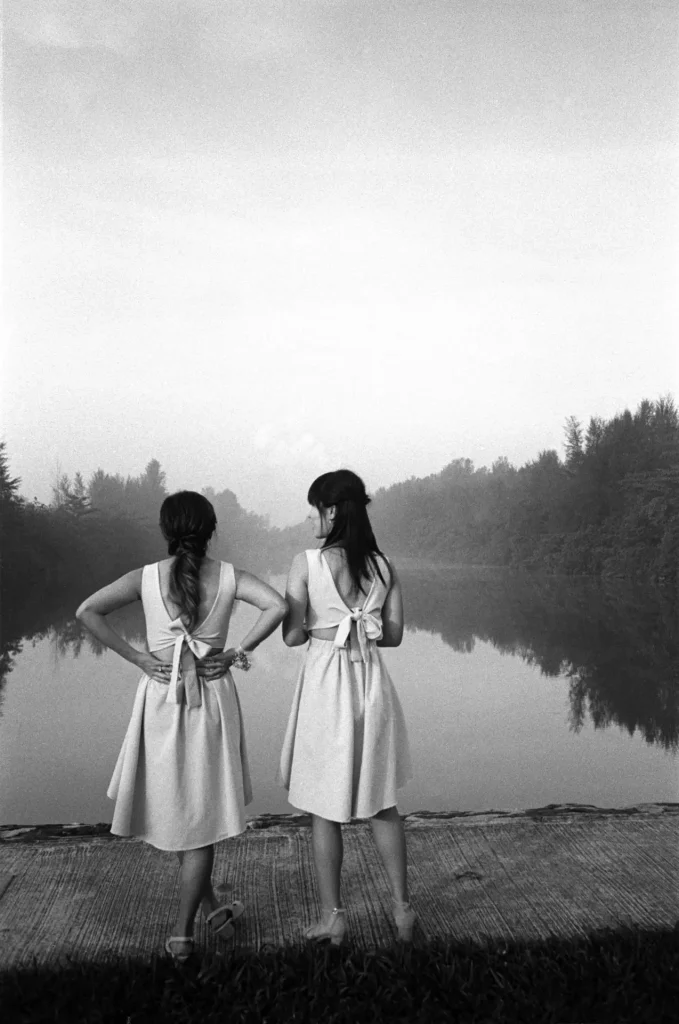
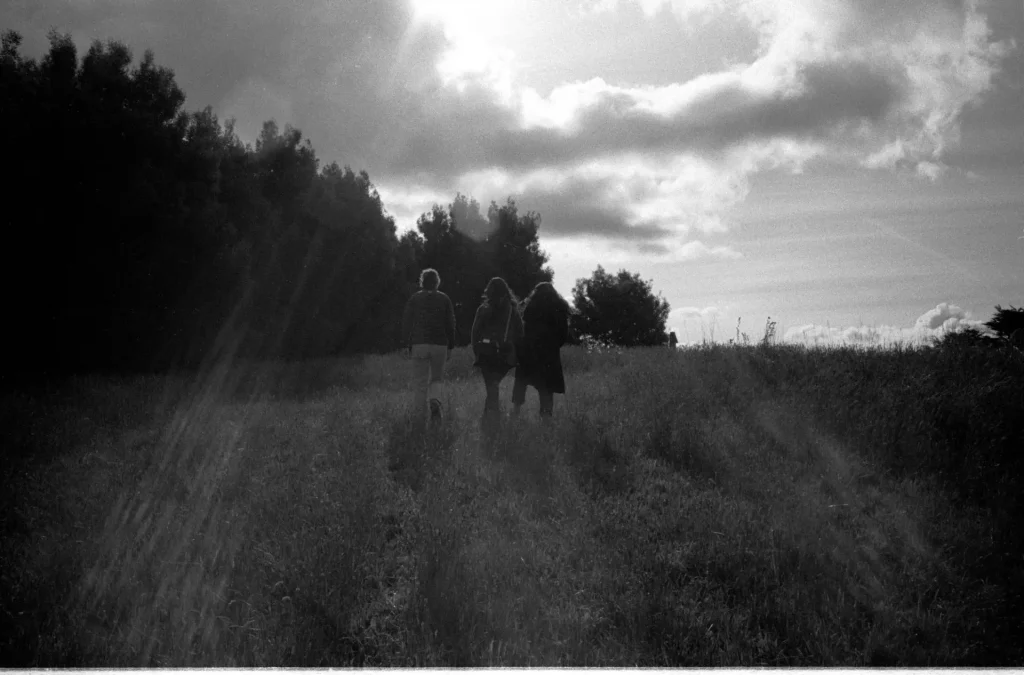
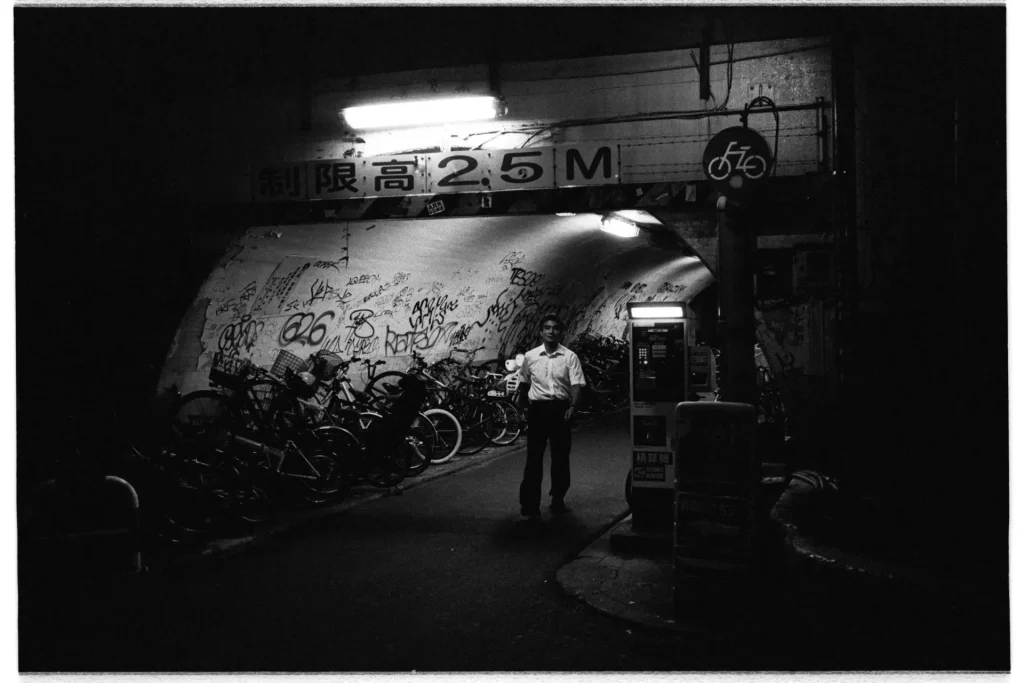
It wasn’t until I had decided to push my Kodak Tri-X 2 stops that I found my perfect formula. Kodak Tri-X film + Expose at 1600 ISO + Develop with Koda Xtol at 1600 ISO timings. The strong contrast created a very strong mood that I like for my photography. The steep gradient from black to white in the photographs creates a strong punch. And my favourite part is how the blacks turned out in the images.
I started out just wanting to take photographs. But now, film photography has turned into something that’s not just about capturing an image — it’s almost like a study, like the research of an alchemist or an apothecary looking for a solution; a research where you create a hypothesis based on other’s research (internet comments), you isolate variables, and you test it out.
Photography became a process of image-making.
This formula is what I like best, though everyone has different preferences. I’d encourage everyone to be a part of this ring of home-brew alchemists, where we have fun, play, and understand more about our world through image-making.
@nonegativefilms
Joseph Tan
Share this post:


Comments
STUART on The Alchemy of Film Photography – finding my perfect formula – by Joseph Tan
Comment posted: 29/11/2019
Vernon on The Alchemy of Film Photography – finding my perfect formula – by Joseph Tan
Comment posted: 29/11/2019
Nice article! I'd really like to know two things.
1) Do you have any experience with Pyrocat HD? I know that it's usually a medium and large format photographer's developer but I can't help being amazed at the quality that you get compared to other developers. From what I've seen on YouTube and Flickr.
2) Seeing as the final stop is often scanning the image for digital use, how much do you think the developer plays a role in the final image. Personally, I would think that anyone should want the flattest image possible so that they could add contrast either when they are scanning or when they are editing the scan.
Comment posted: 29/11/2019
Comment posted: 29/11/2019
Curt on The Alchemy of Film Photography – finding my perfect formula – by Joseph Tan
Comment posted: 29/11/2019
Comment posted: 29/11/2019
Comment posted: 29/11/2019
Shaz Hassan on The Alchemy of Film Photography – finding my perfect formula – by Joseph Tan
Comment posted: 29/11/2019
Comment posted: 29/11/2019
George Appletree on The Alchemy of Film Photography – finding my perfect formula – by Joseph Tan
Comment posted: 29/11/2019
Comment posted: 29/11/2019
Comment posted: 29/11/2019
Comment posted: 29/11/2019
Daniel Castelli on The Alchemy of Film Photography – finding my perfect formula – by Joseph Tan
Comment posted: 30/11/2019
I'm coming up on 50 years of shooting b&w film, developing & printing the negatives in my home darkroom. You hit upon a combination of film/developer that works for you. Good. Here are my observations for anyone taking their film photography to the next stage by processing their own film:
1. Standardize the entire process. Use one film and one developer to the point that when you prepare to take a photo, you will know how the negative will come out. In practical terms, this could take up to a year if you're a casual shooter.
2. Repeatability: Process your film the same way every time. Follow the directions from the manufacturer of the photo chemistry to set you on the correct path. Everything from mixing the solutions, to using the same mixing vessels, to using an accurate digital thermometer, to the repeatable agitation methods. Don't deviate until you've built up enough confidence to know what to change to obtain a specific outcome.
3. Social media is a good place to see how other people handle film processing, but remember, they are telling you/me/us what works for them. They may be sloppy as a drunk sailor on shore leave or as precise as the late Ansel Adams. The best tutorials and information I've found come from the Ilford Company. Look them up.
4. Your goal is to produce a negative that is as perfect as possible. This negative will make your darkroom sessions creative. It will give you a negative that will scan with ease. You don't want to spend your time fixing sloppy processing mistakes. That's tiresome and will lead to resentment rather than fun. I've been there.
5. You must learn the rules before you break the rules.
I wish you continuing success in your photography and processing.
- Dan
Comment posted: 30/11/2019
Sabine on The Alchemy of Film Photography – finding my perfect formula – by Joseph Tan
Comment posted: 30/11/2019
Not that pushing is bad per se, but it always gives me that nagging feeling that the shot would have been so much nicer had I been able to dodge and burn a bit, get those deep inky blacks in some parts while keeping others more as box speed. See: https://jtunney.com/the-art-of-dodge-burn/
Comment posted: 30/11/2019