This post will be a mix of reflections on my technical approach, things I have observed while shooting. Let’s start at the beginning: Me!
I tend to be a perfectionist. I shoot exclusively in manual mode, usually without flash or a light meter, using HP5 at 400 ISO with prime lenses opened up to f/2. This approach is somewhat significant: trust me, it plays a role in my style. I rarely share my photos. I more often share my thoughts. Though I’m not much of a writer, I prefer to express myself through my images.
Honestly, I can be a bit of a pain—narrow-minded and set in my ways, and I have no intention of shifting from that mindset. The one exception is when I have the chance to share some of my work with others. I’m not after money or fame; I simply believe these images are worth showing. My hope is to evoke some sort of response from viewers: whether it’s admiration, critique, love, hate, or even just reflection.
What really fuels my passion is the idea that every person interprets a photograph differently. That’s exactly what I’m after. I want to provoke a reaction: make people see, hate, love, dream! As long as the image sparks something in them, I have achieve my goal.
Enough about me. I think it’s time for the ranting part.
There are two kinds of photographers
Yep, simply enough there are the photographer who trust their skills and adjust some (or all) the basics (focus, speed, aperture, etc) themselves. Then you have the other type: the ones that are happy to use automation. In both cases, some know the basics, some don’t. But knowing the basics of photography is in my opinion a must. It makes life easier with practice, a lot less of shooting, thus a lot less work and gives more keepers.
Depending on the kind of camera used, and the lighting conditions, I can tell you for sure that at some point an autofocus will fail, and that the camera will incorrectly expose. It’s my belief and experience that with a good rangefinder it’s possibly to be a lot quicker and nail the point of focus a lot more reliably. If practicing enough, and knowing your media (in my case the hp5 and D-76), you won’t need to use a light meter. It will be automatic, without automation. That said, if you are happy with autofocus etc., stay with it, each to their own. This is my way though.
Let’s talk about the technical side
Equipment:
For me, the technical side of photography isn’t optional—it’s essential. Sure, cameras today can automate almost everything, but eventually I’ll want something the camera can’t interpret or execute on its own. That’s when I switch to full manual and craft the image exactly the way I envision it.
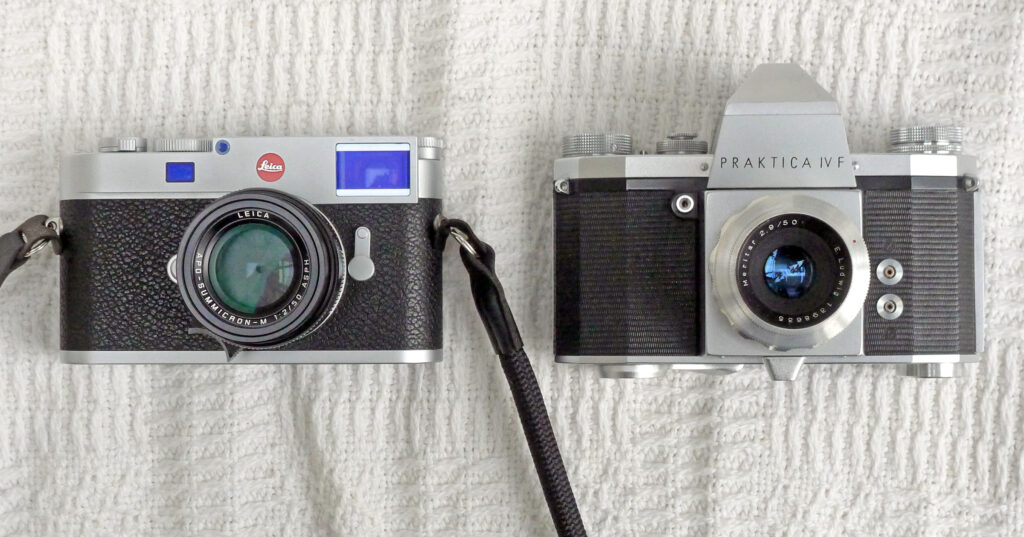
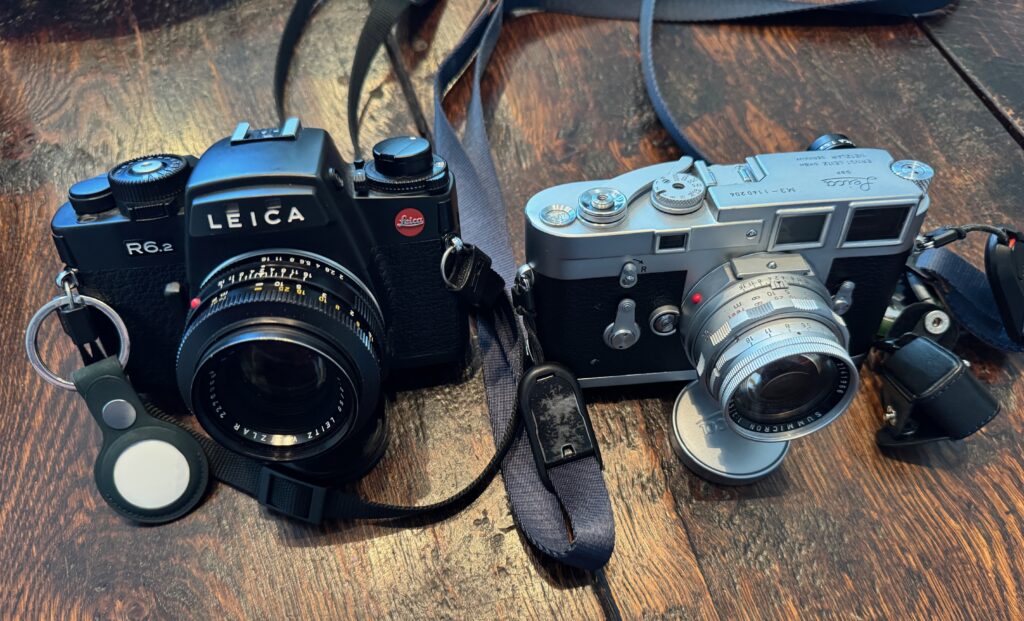
I’ve always believed in simplicity when it comes to gear. That’s why I mostly shoot with Leica rangefinders and film. People often assume it’s outrageously expensive, but in reality, it’s not nearly as costly as it sounds—especially if you crunch the numbers.
For film shooters like me, there are plenty of affordable options. You can find older Leica M bodies, or even other classic brands that once made magnificent cameras with incredible lenses for just a couple hundred euros. Restore one properly, and it’ll last a lifetime. My oldest Leica is over 60 years old, and it still works flawlessly. It’s survived spills, stumbles, and even a few bounces off other cameras, yet it’s always ready to deliver. If the photo isn’t good, that’s on me, not the camera.
What I love most about Leica is the consistency. Apart from the quirky M5, the controls have been basically identical from the M3 in the late ’50s through the M6 Classic. With the M6 TTL, the only real change was a bigger speed dial that spins the opposite way. That means I can pick up any of my cameras and instinctively adjust aperture and shutter speed without even looking. The focusing system hasn’t changed either. Honestly, I don’t know another brand that nailed simplicity and consistency like this. And the bonus? Every Leica M lens ever made still fits the new digital bodies. Some of those old lenses produce effects you’ll never replicate with modern glass.
Of course, if Leica’s price tag makes you wince, Voigtländer is a fantastic alternative. Their lenses cost a fraction of the price, and while the feel is different, the results can be breathtaking. I’ve shot with Voigtländer lenses that left me stunned when I saw the final image.
Now, let’s talk money. People often argue that digital is cheaper. I disagree. My M2 cost me about 1,200 euros, plus another 1,000 for repainting and a proper CLA. I roll my own film costing about 8 euros for 37–38 frames—and add development and scanning. That works out to roughly 10 euros for 30+ images, or about 50 cents per shot. Over the years, I’ve invested around 3,000 euros in gear, chemicals, and tools. Shooting 50 rolls a year gives me about 1,800 images at a yearly cost of roughly 1,050 euros. And that investment will last decades.
Compare that to digital: even a modest setup costs at least 1,000 euros for the body, plus memory cards, batteries, and a lens. Over ten years, you’ll likely upgrade twice, which puts you at 3,200 euros minimum. Add in the hidden costs—bigger files, faster computers, more storage—and suddenly digital isn’t the bargain people claim.
So, on to the next point… Armed with my manual cameras, know‑how, countless hours behind the camera, and more trial‑and‑error than I care to admit, I’ve sharpened my craft one frame at a time. Each mistake became a lesson, each experiment a stepping stone, and now I approach my shots with both precision and playfulness. At the core though, I know the basics…
Aperture:
Aperture controls the depth of field and allows me to create natural, creative effects without relying heavily on post-processing. It’s pretty straightforward to use. I just need to understand my lens well and know what the depth of field is like for that particular lens/aperture. It takes some experimenting and a lot of shooting, but nothing too complicated.
From my experience, when I shoot in low light (which I tend to prefer) I generally shoot at around 1/30s, f/2, with 400 ISO. Here’s how that translates: at 2 meters, with my 50mm lens, I get a depth of field of about 3-4 cm; with a 75mm lens, it’s roughly 3 cm; with a 100mm, about 1.5 cm; and with a 35mm, around 5 to 7 cm. Once I go beyond 3 meters, shooting at f/2, the specific depth of field becomes less critical. Instead, I focus on framing my subject correctly so that the key parts stay in focus naturally, and the rest falls into pleasing bokeh.

Shutter speed:
The shutter speed is reciprocally linked to the aperture. To get a well-exposed image, the shutter speed needs to balance the aperture for a given ISO — what we call the Exposure Triangle (I’m sure many of you know this). If I want a specific look by adjusting the aperture, I have to tweak the shutter speed accordingly. The slower the shutter, the more light hits the sensor or film. But there’s a catch: if I lower the speed too much, any movement from the subject or camera shake will cause motion blur — which can be artistic on film, or just a mess if unintended.
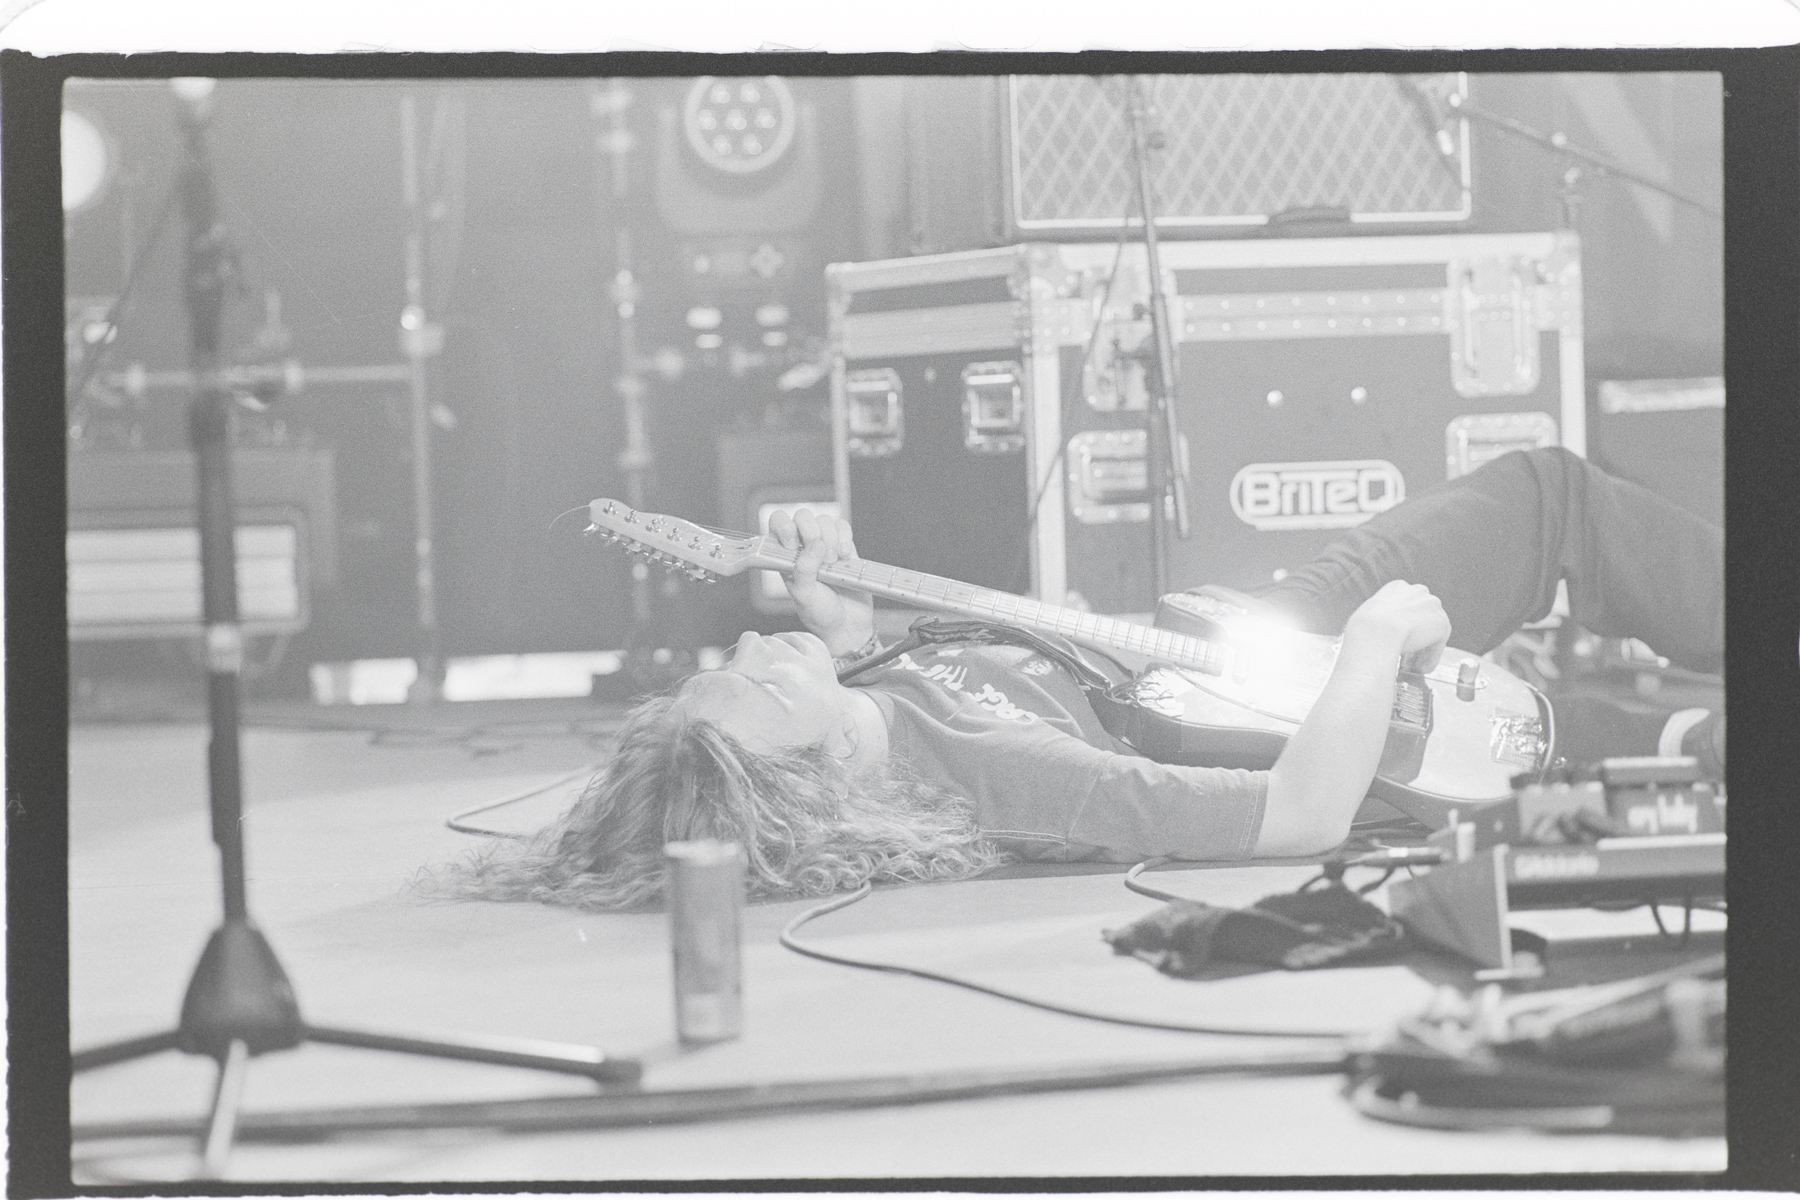
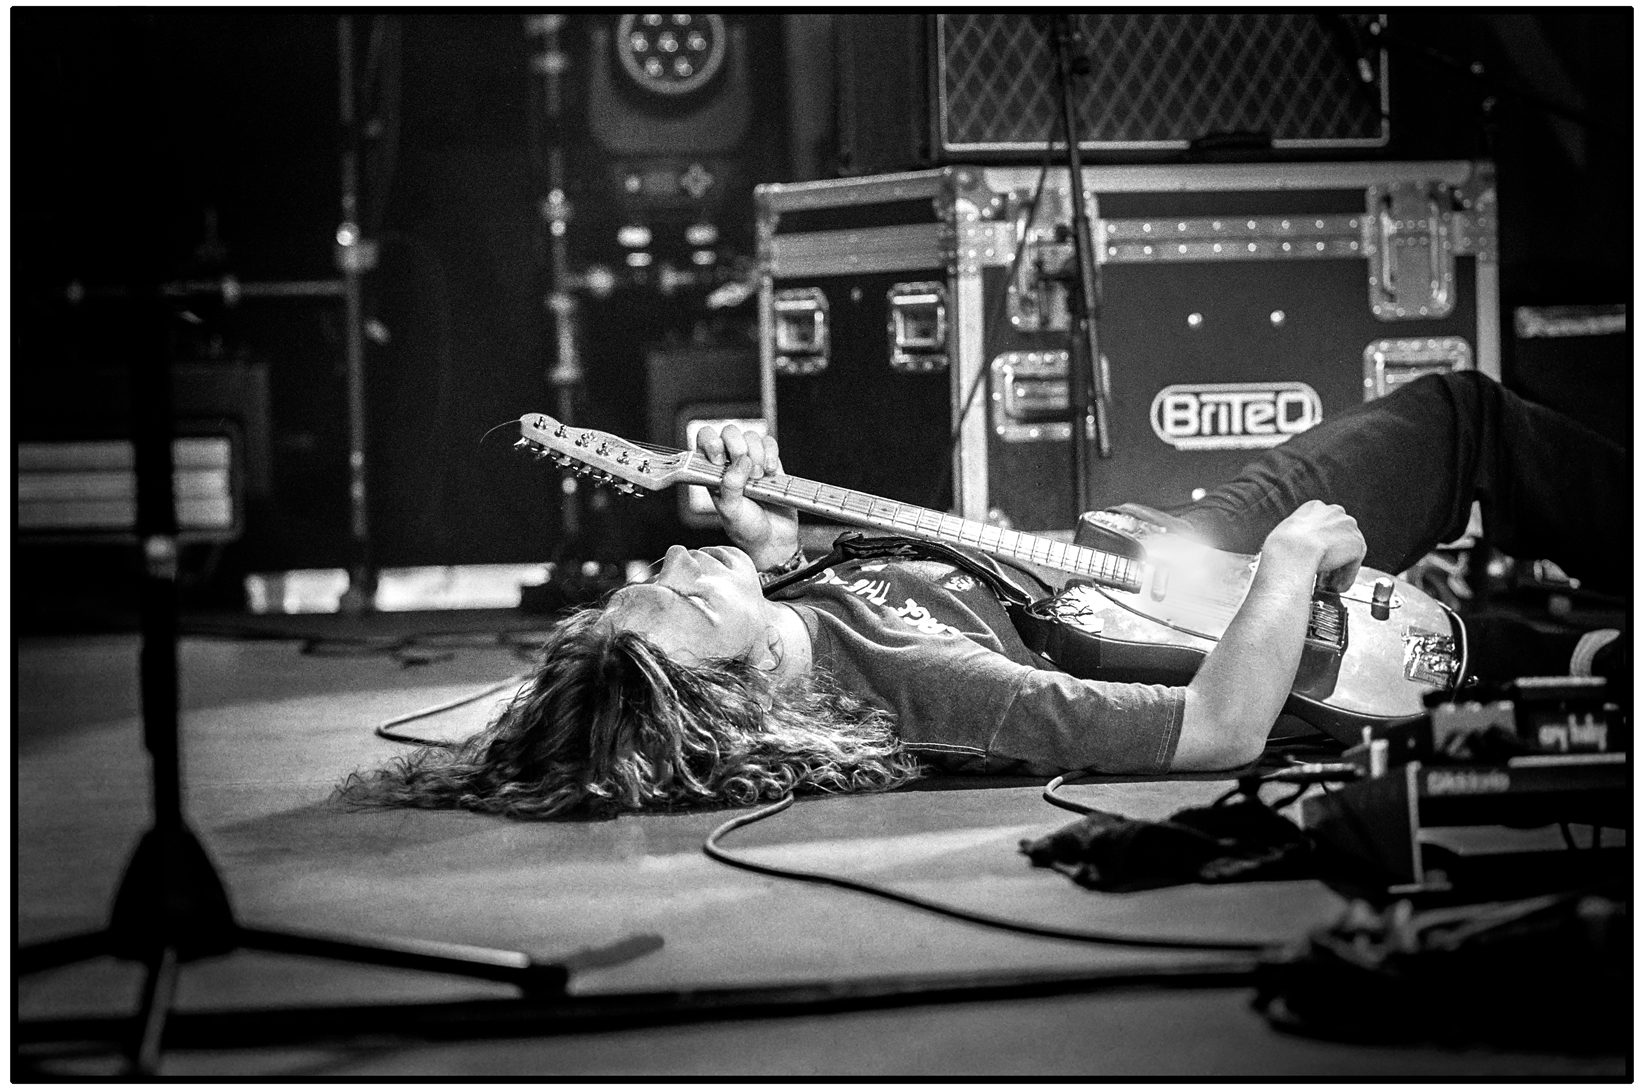
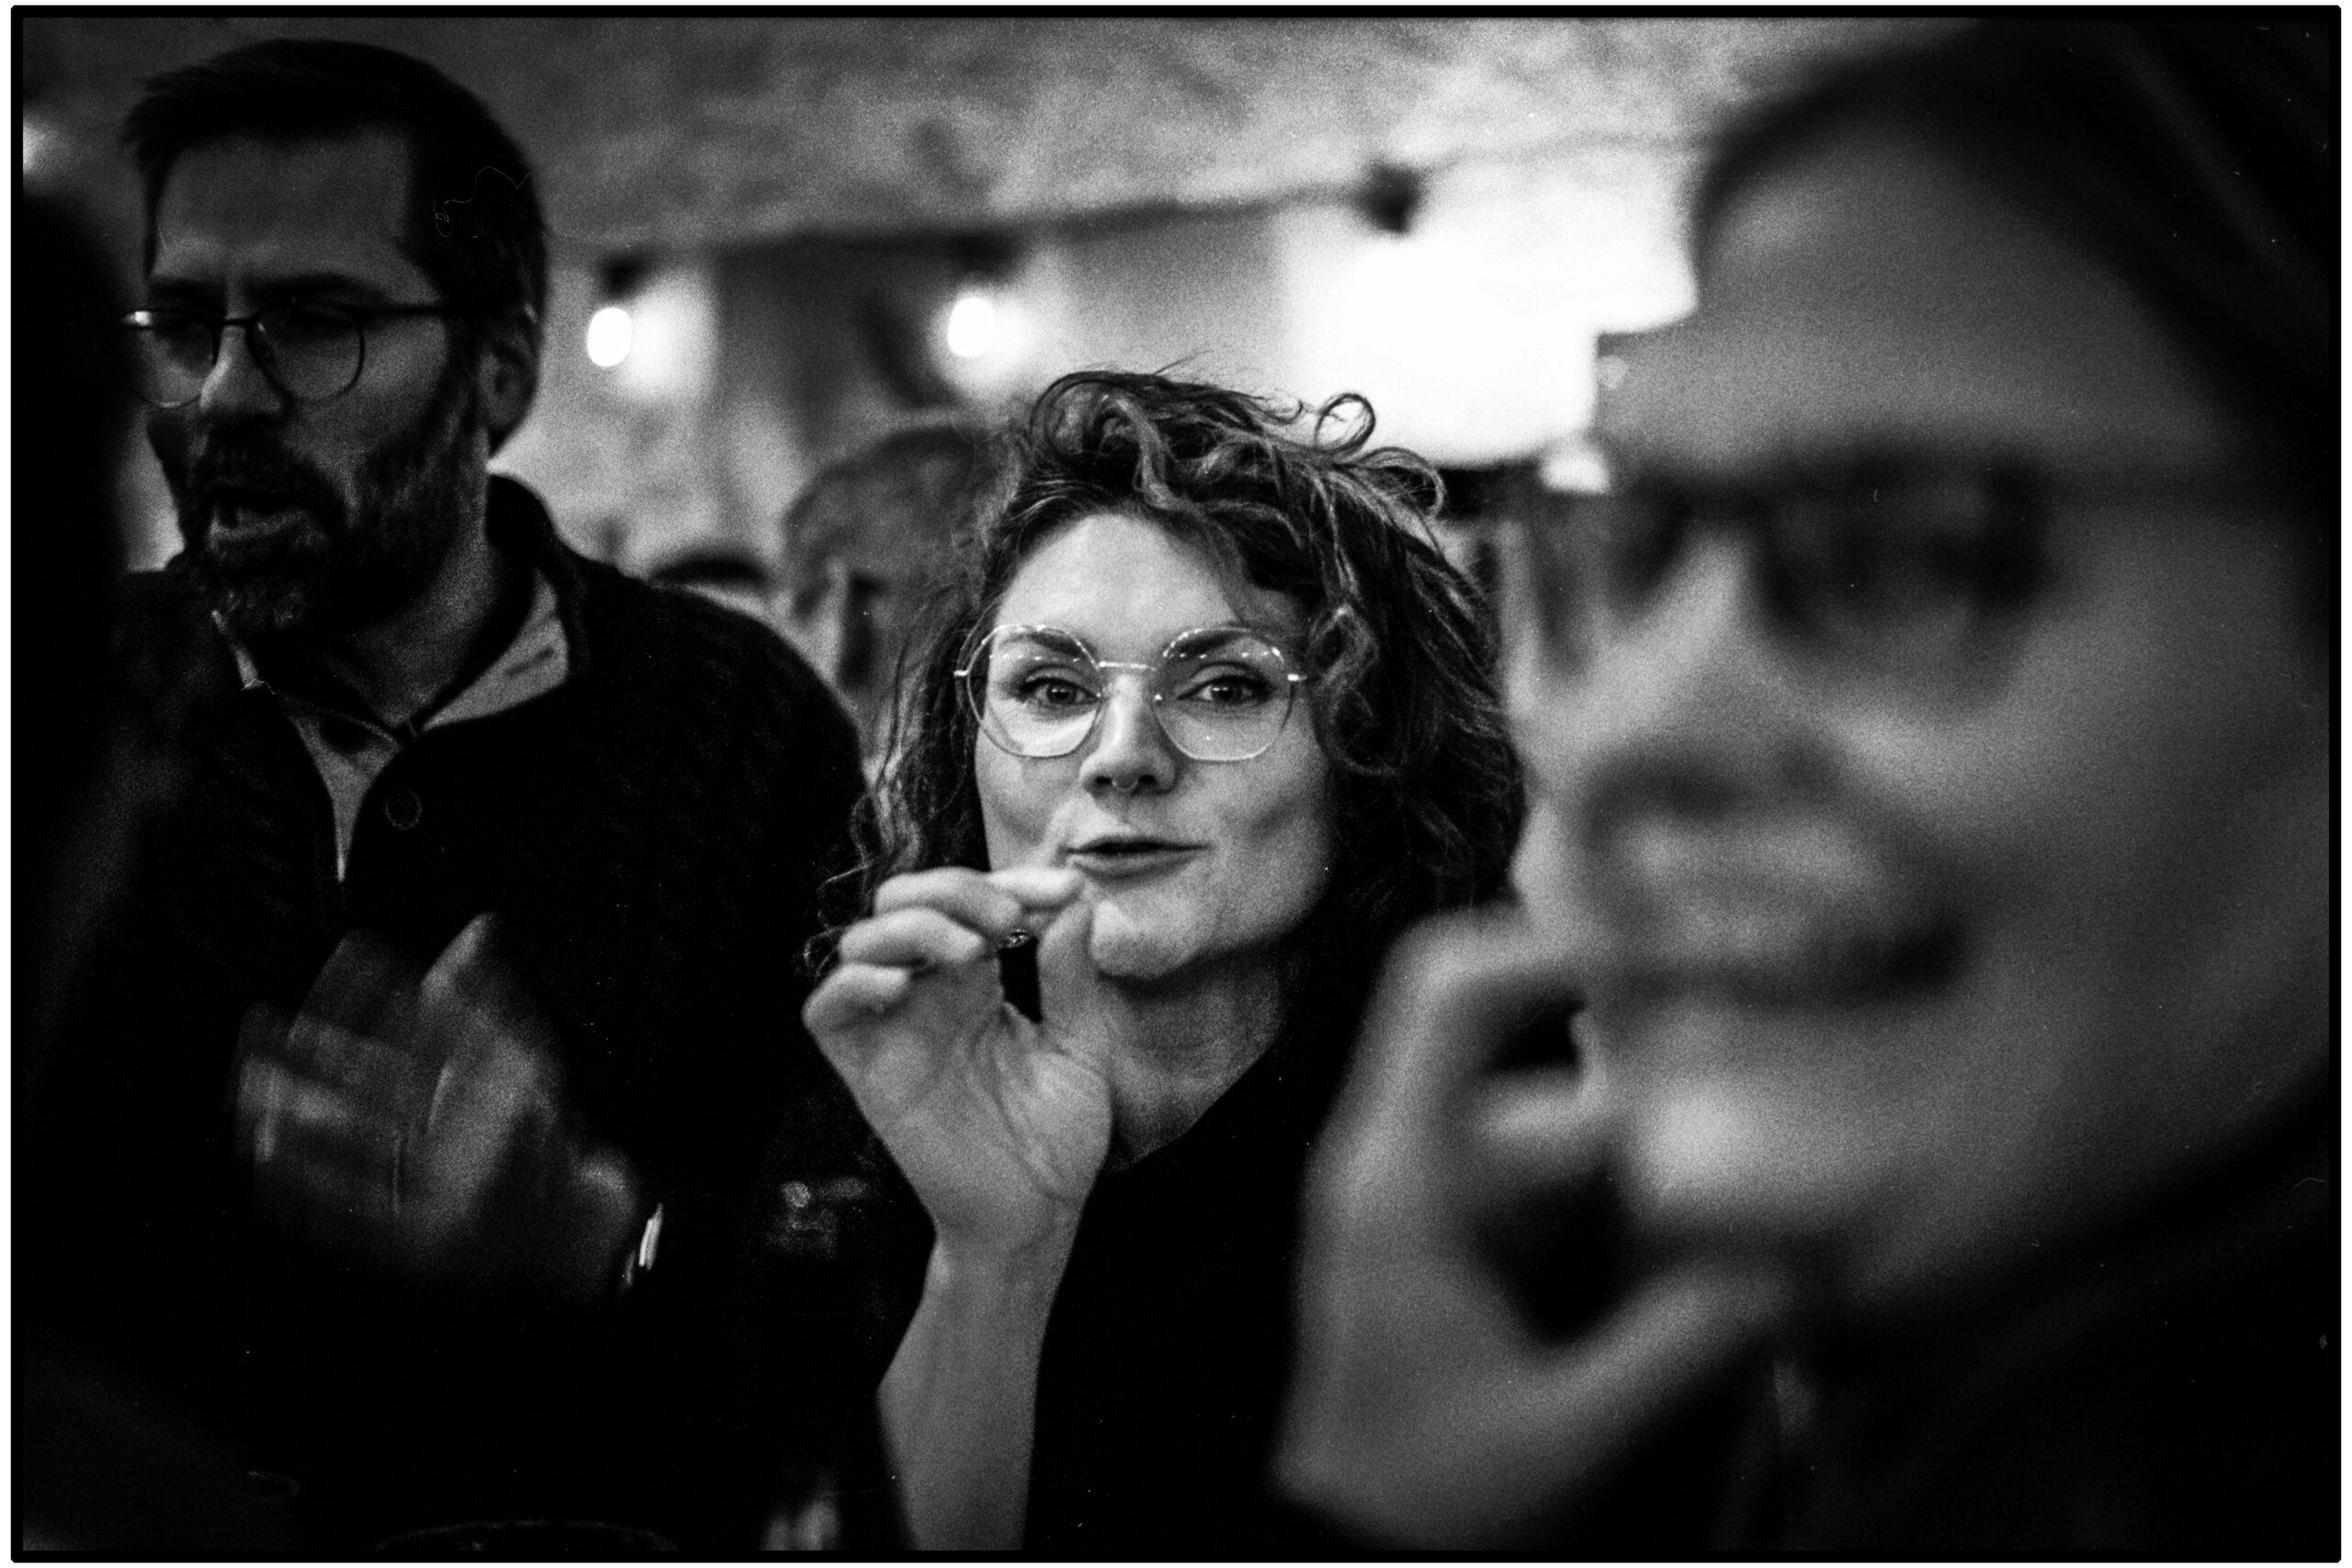
On film, the only ways to let in more light are opening up the lens (larger aperture) or slowing down the shutter. When my lenses are at their widest (usually around f/2), my main option for shooting in low light is to reduce the shutter speed to somewhere between 1/30s and 1/8s. It might sound dramatic or even impossible, but with a lot of practice and the right gear, I am now confident to do so. Here’s an example: I shot a friend without him knowing, using a 50mm lens at f/2 and a shutter speed of 1/15s.
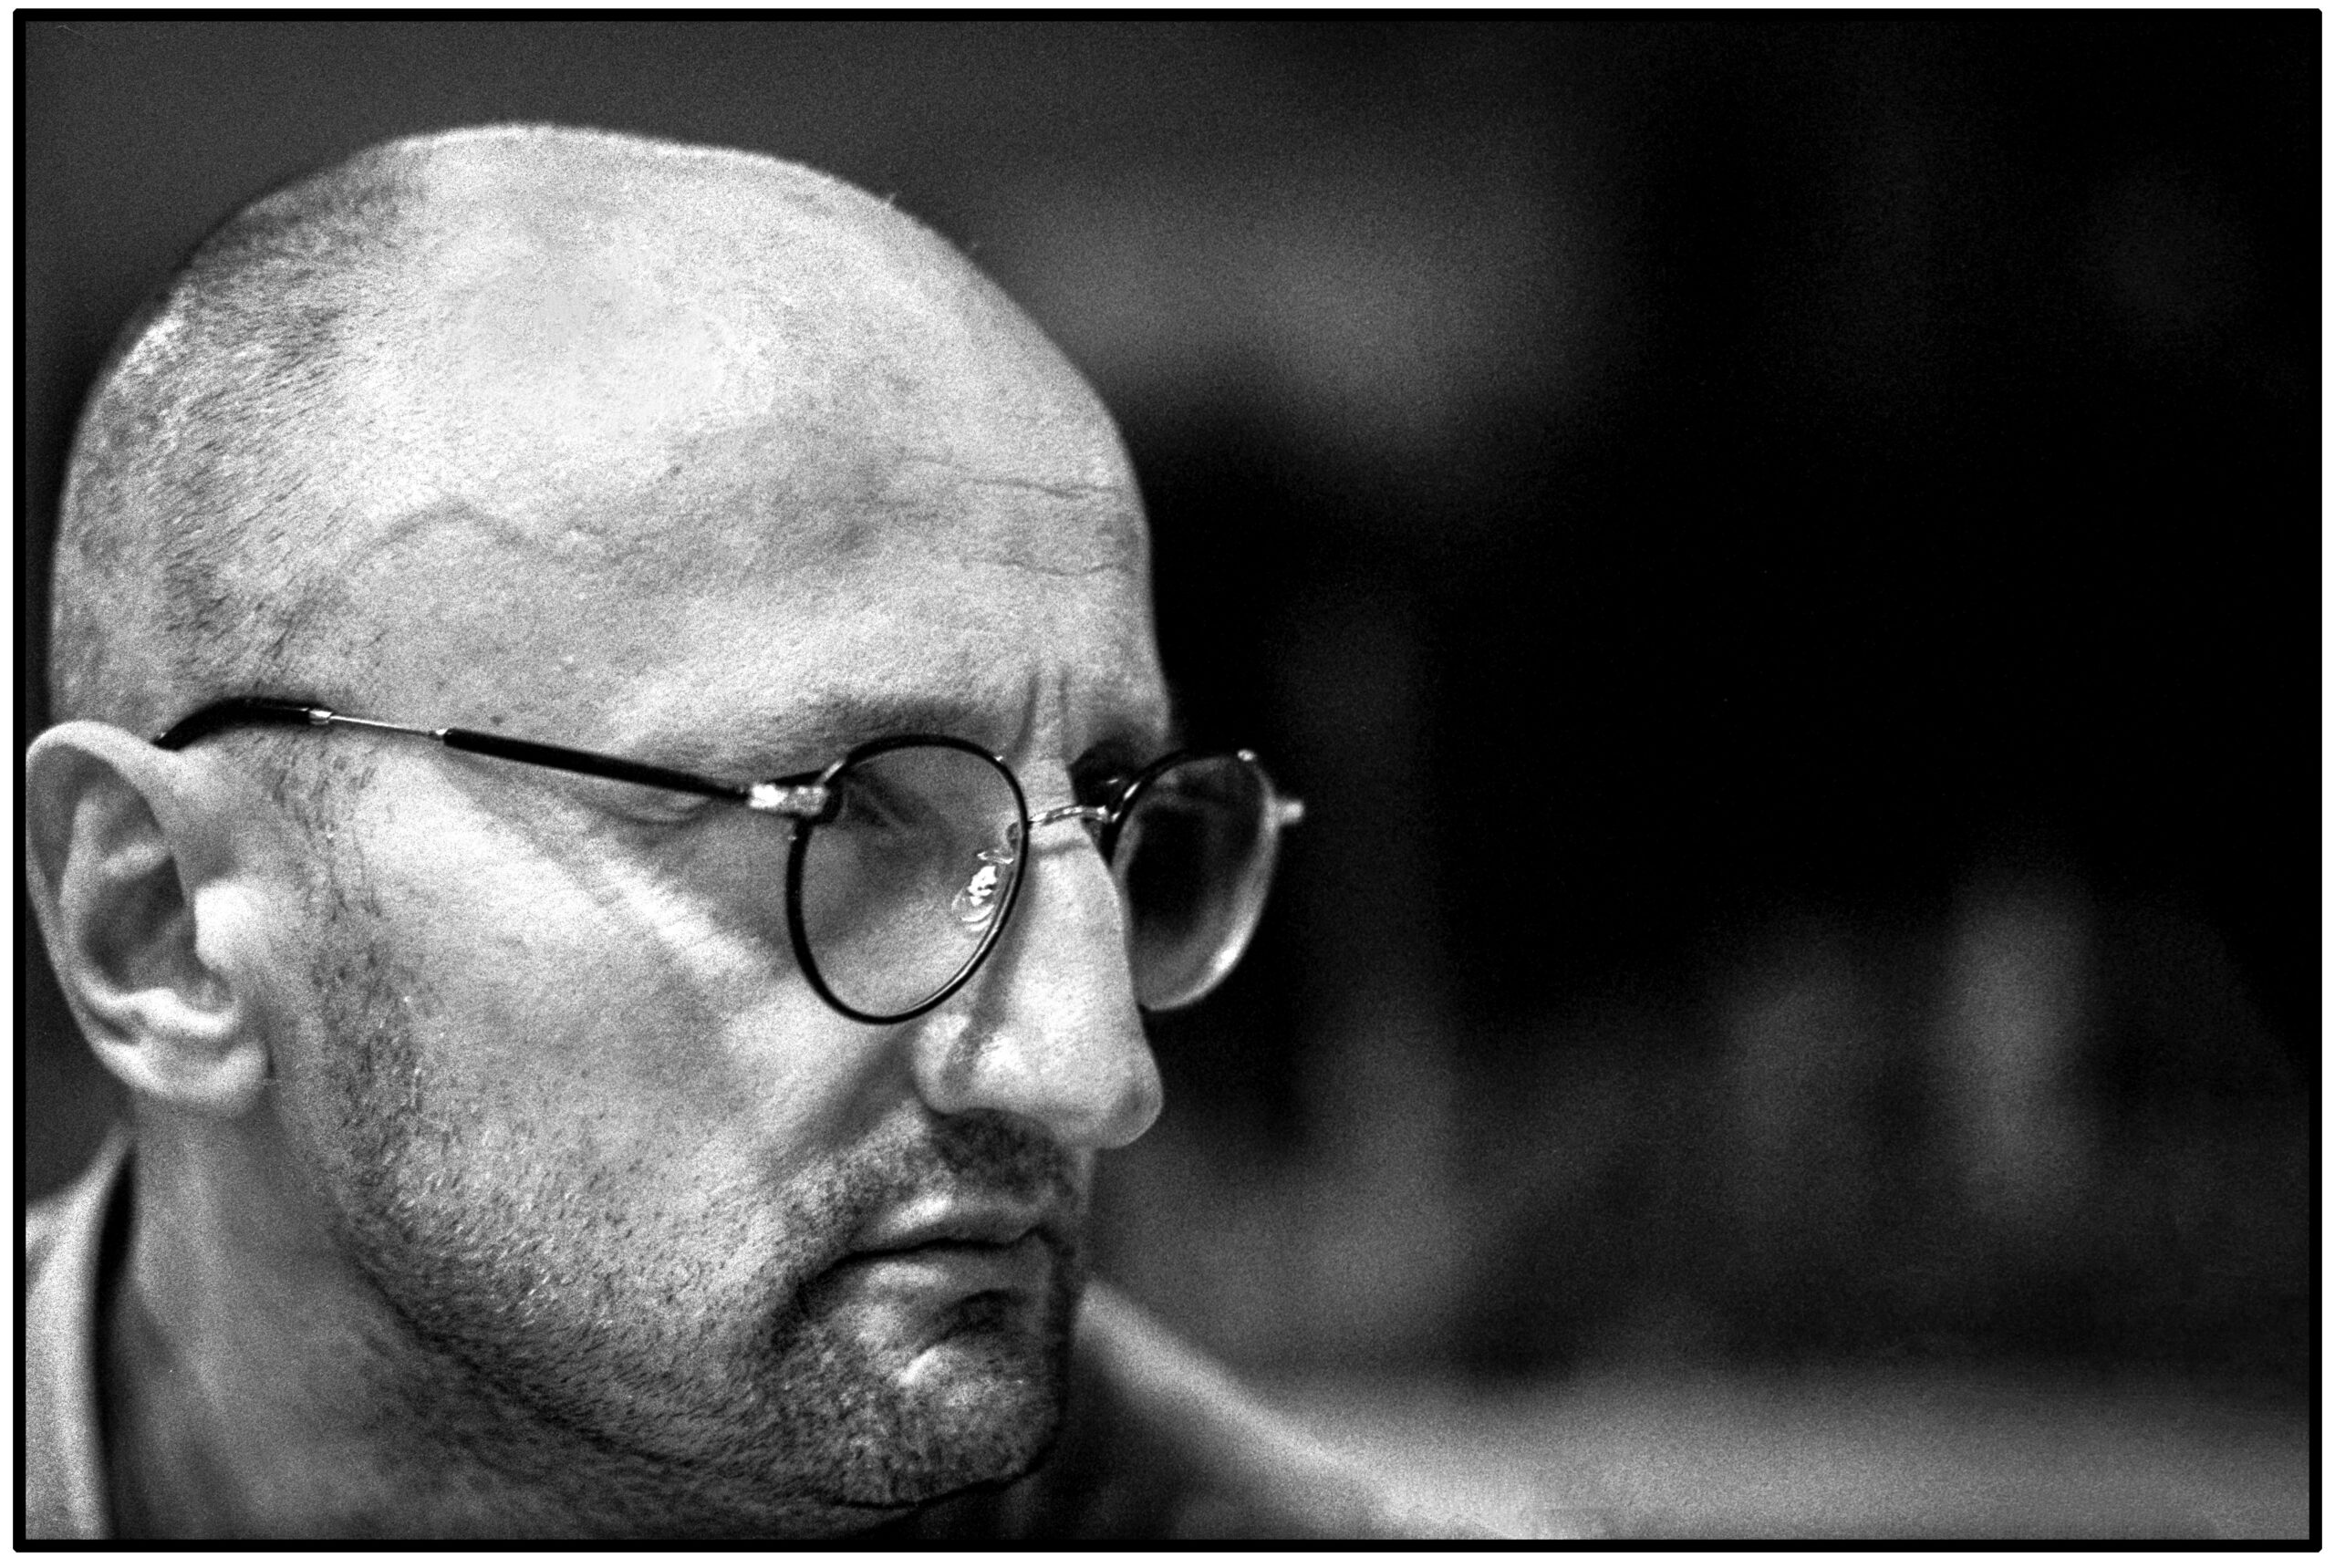
Photography like this is some of the toughest for me. Sometimes it takes me a few seconds to focus, frame, and shoot at the perfect moment—especially when my subject isn’t moving or I’m not trembling.
Seeing those raw images pop up on my screen (while scanning) for the first time always gives me a sense of joy and fulfilment I’ve never quite experienced with digital photography.
Composition:
There are aspects of composition that it seems many photographers tend to overlook or abandon. Being aware of what’s behind my subject—like avoiding a pole behind their head—can make a huge difference. Sometimes, just moving a meter in a certain direction or crouching to get a better angle can totally change the shot. Paying attention to the rule of thirds in the viewfinder makes life easier and my images so much stronger. It’s simple, but honestly, who among us really thinks about it or practices it during the shot? When it comes naturally either through instinct or practice, it just happens.
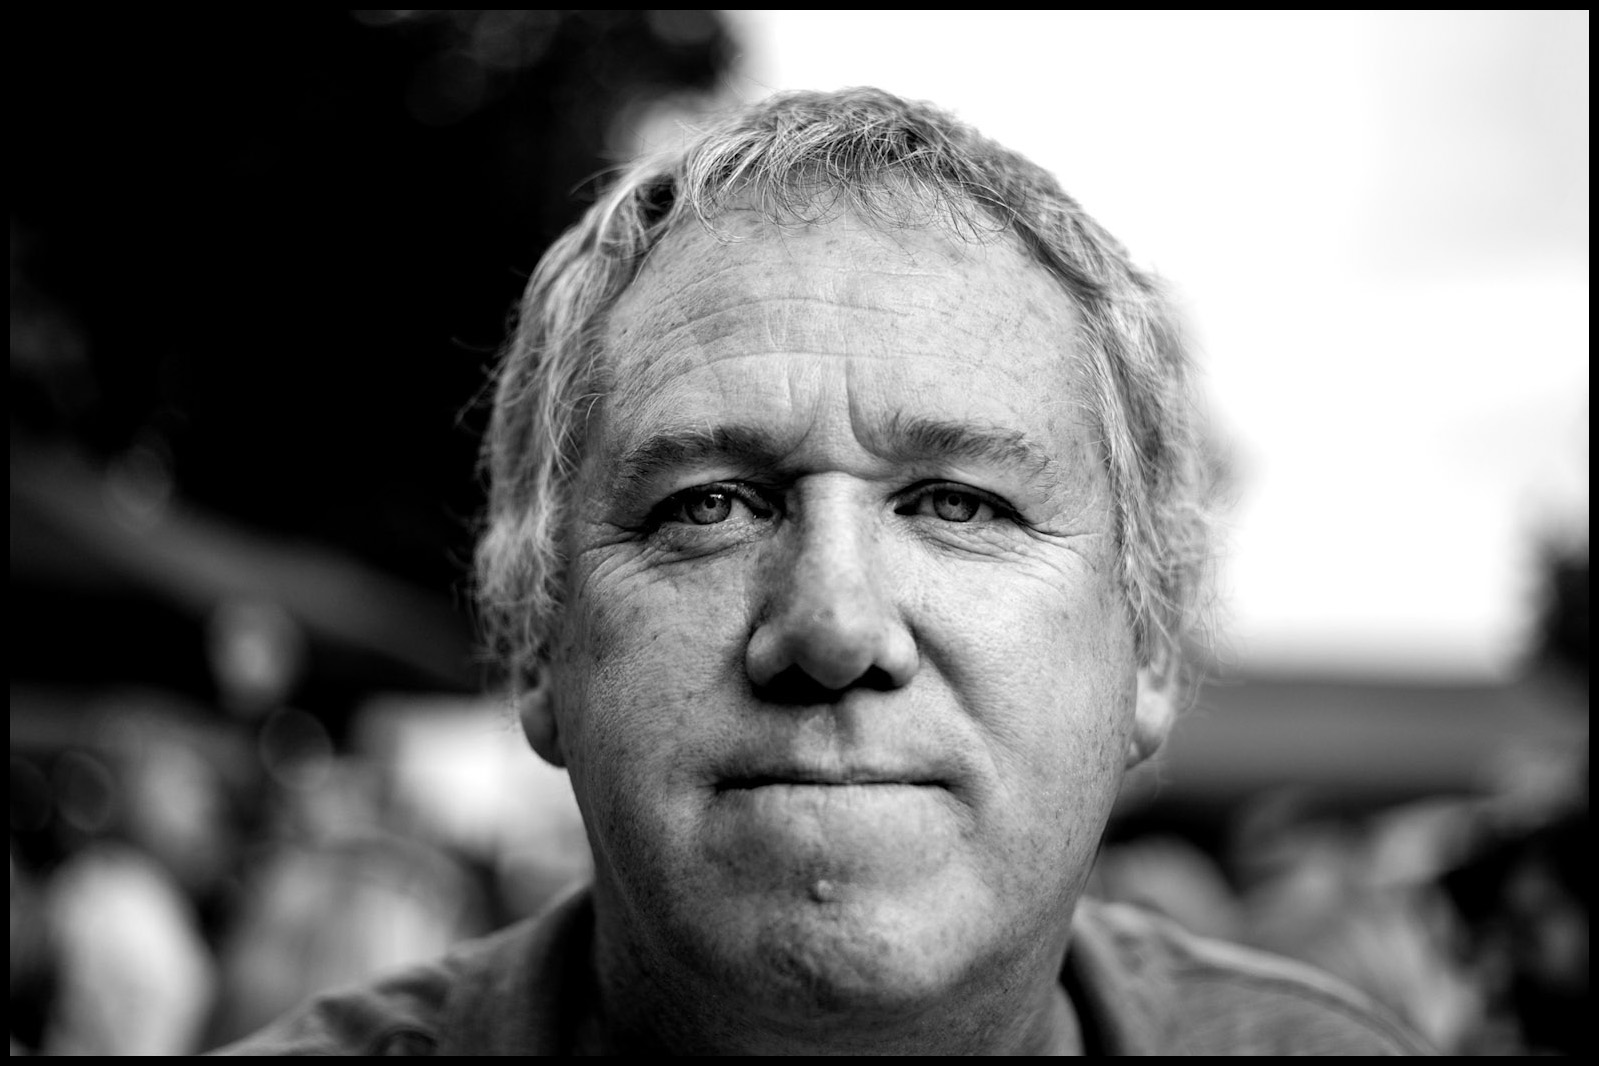
This particular shot was taken with a 75mm lens at f/4 in daylight. Just look at the composition—there’s no cropping here. The negative space naturally draws attention to the subject, making it the only thing the viewer remembers. All of this was achieved effortlessly by composing in the viewfinder and moving a meter to the right.
With all that said, I think it’s okay to crop in post; not everyone is a HCB. I do it too, sometimes even removing objects that block my subject. I’m not a reporter, and I tell the story I want — sometimes objects are just in the way, and there’s nothing I can do about that. When I look through the viewfinder, I use the rule of thirds as a guide, kind of like a grid, and I compose my shot directly whenever possible. I also take my time when I can, because although it’s not a strict rule, it really helps improve the image. Another technique I occasionally use is placing the subject in the middle of the frame. If I do, I make sure the subject is slightly off-center to create some negative space, which adds balance and interest.
Negative space is a straightforward compositional trick used by both painters and photographers for centuries. It guides the viewer’s eye naturally back to the subject. It’s simple, but incredibly effective.
This shot was taken with the 75mm lens at f/4, this time on an M9. Whether the lighting is dark or bright, those negative spaces help direct the viewer’s eye right back to the subject.
Post process
A raw image/negative is still a RAW image and needs processing. I have always found it fascinating how photography is an art form, and I often reflect on how much time was spent in the past refining a print—sometimes even days—prior to the rise of digital editing tools. Modern conveniences like Lightroom and its presets, while certainly useful, can sometimes cloud the pursuit of a deeper understanding of image creation. The essence of a black-and-white photograph, for instance, lies in its interplay of pure black, pure white, and various shades of gray, regardless of the lighting conditions. Moreover, relying too heavily on presets can make it challenging to establish one’s unique style, particularly when there are millions of images online. Through my personal experience with tools such as Camera Raw in Photoshop and experimenting with different layers, I have developed an approach to image processing, which took considerable time and effort. I believe that a more prescriptive approach could have hindered my creative journey.
A before and after – I shot this one using a 100mm APO R wide open at f/2.8 with a Leica R8
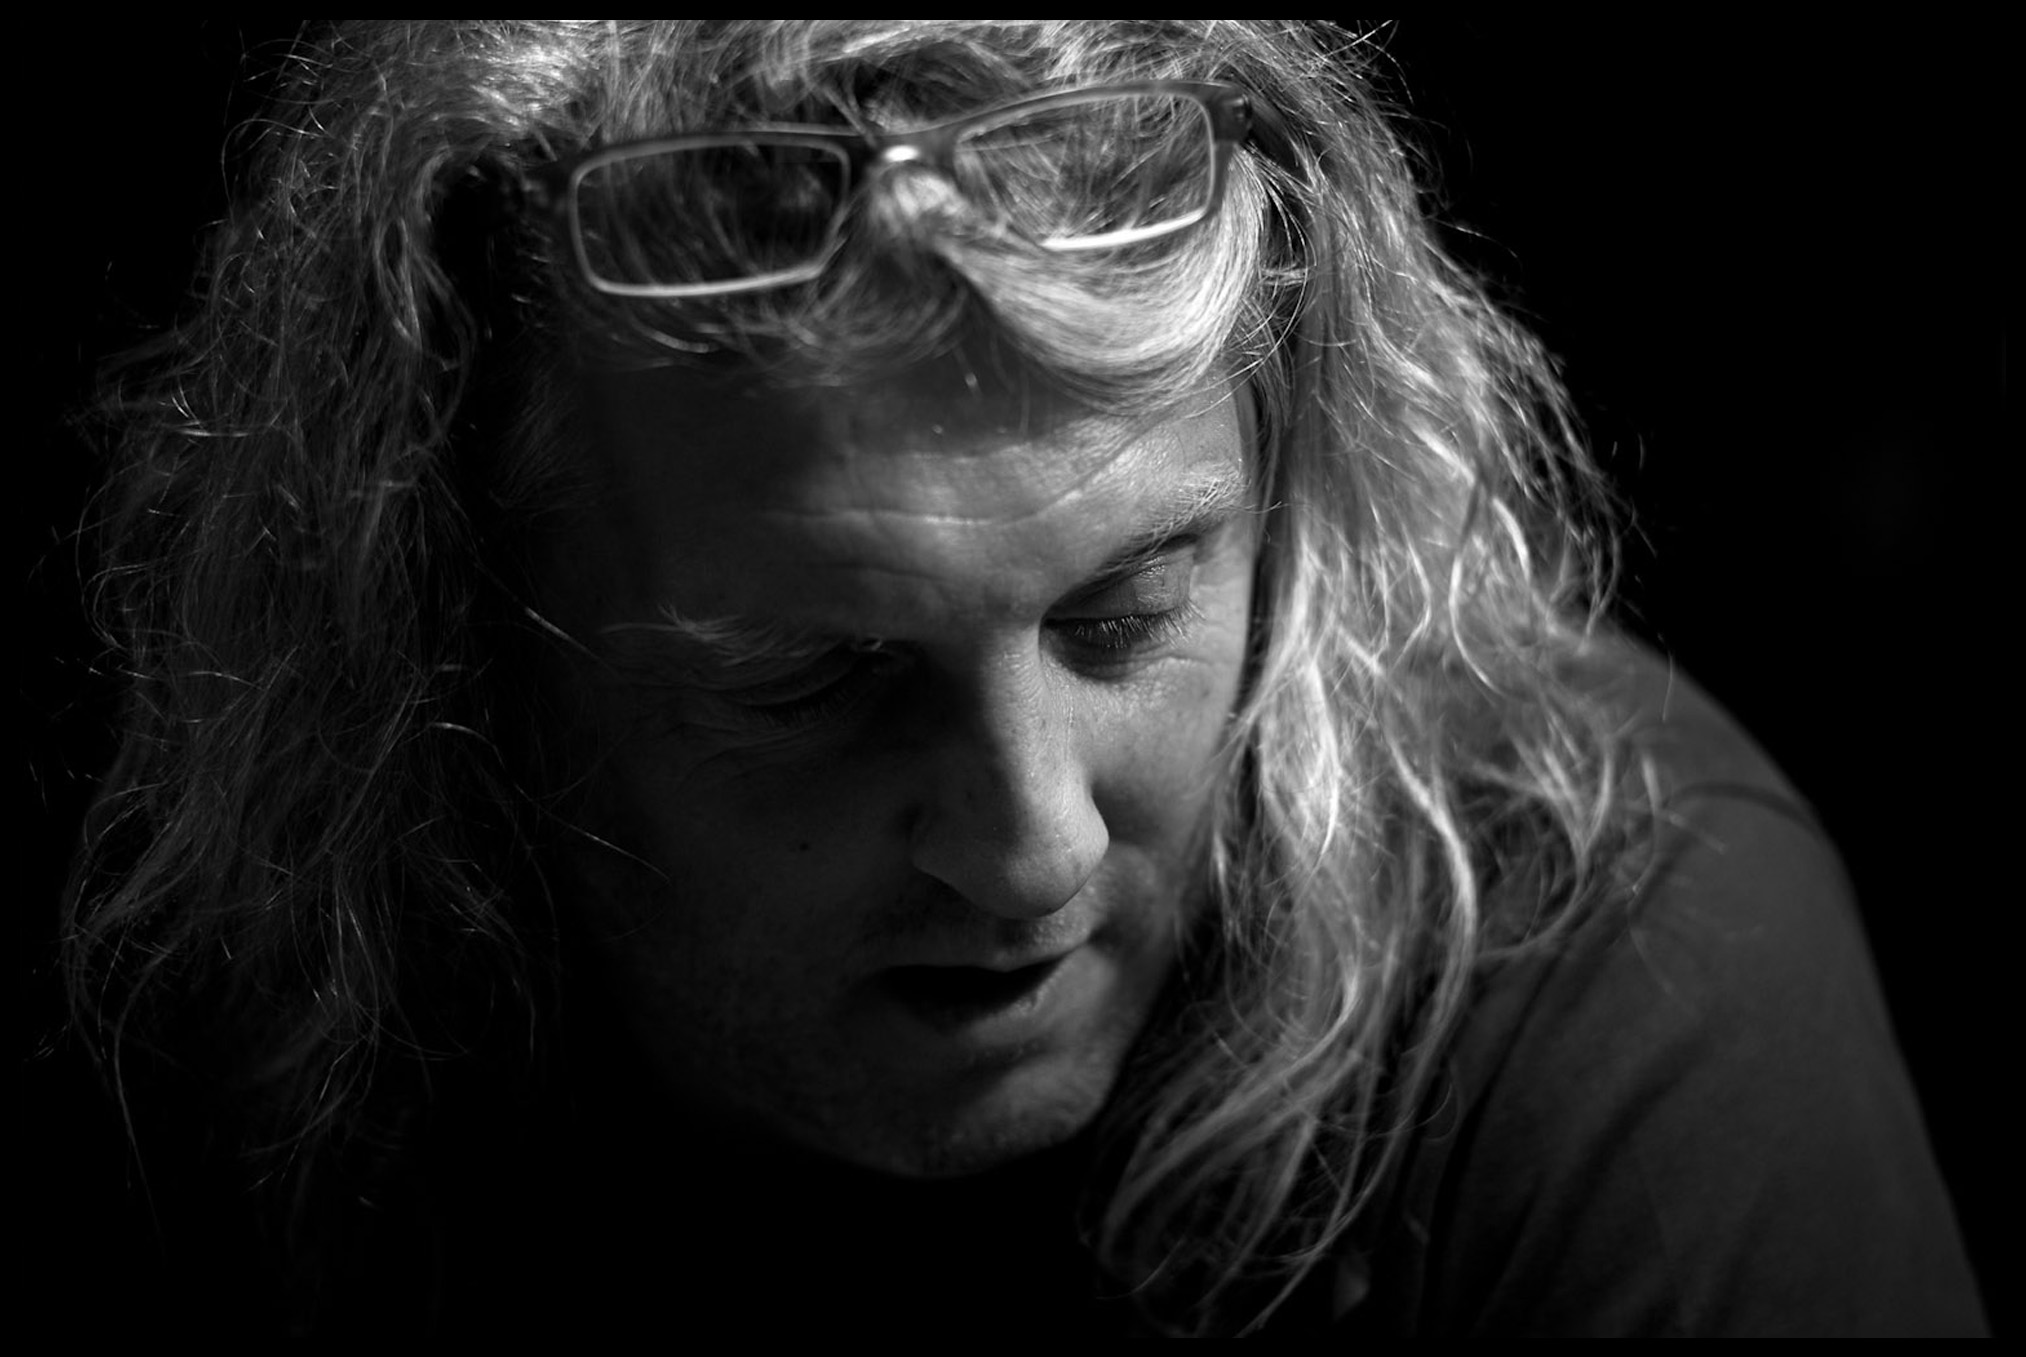
I captured this shot using a 75mm APO wide open at f/2, relying solely on ambient light. No elaborate rig, no fancy tricks—just me, my lens, and a solid grasp of the fundamentals. Sometimes the best results come from keeping it simple and knowing your craft inside out!
Preparing to share
I’m always encouraging people to dive into documentaries about celebrated photographers or flip through their books. Funny thing: I’ve never seen dust on their prints, no logos stamped across the frame, no gimmicks. What I have seen is pure craft. I don’t share a ton, but when I do, every image is cleaned and processed. Whether I’m at a computer or standing in front of an enlarger, my workflow feels similar. The big difference? Cleaning up a RAW file in Photoshop usually takes me five minutes or less, while doing the same in the darkroom is a whole other adventure.
So here’s my question: which do you prefer— the un‑cleaned shot, or the polished, clean one?
The difference in this shot? Less than five minutes of work. A friend once tipped me off to the Wacom Intuos Pro, and honestly—it changed everything. It’s affordable, and since I bought it, I can’t imagine editing an image without it. The lesson here is simple: I clean my images before posting, so when I do share them I can be happy that they are a complete reflection of the work and effort I put into them!
I hope you’ve enjoyed my rambling thoughts and the images I’ve shared, and I genuinely look forward to sparking some constructive conversations in the comments.
Happy shooting,
Alex
PS: As you probably know, I’m not a writer. The ideas and raw text are mine, but I refined them with some help of AI and then some editorial guidance from Hamish. It worked beautifully, I’m glad the process preserved my thoughts and reflections while keeping them front and center.
Share this post:


Comments
Charles Young on The Technical Side of My Photography – A Reflection on How I Shoot
Comment posted: 31/12/2025
I've been doing my home darkroom work since 7th grade. About 70 years now.
Two major equipment upgrades. The cameras all work good without batteries!
Chuck
Comment posted: 31/12/2025