You’ve been here before: it’s late, you’ve got a negative with a gorgeous composition loaded up in your enlarger, the grain is hitting just right, but you cannot nail a good exposure. There’s a pile of test strips in the trash, and you’ve gone through more iterations of filters and times than you’d care to admit. That’s most of us at some point. There is hope, and it was always right in front of you: f-stop printing.
F-stop printing is a way of managing exposure times for test strips and final print timing that works exactly like everything else in film photography: in stops. Once you get used to it, it’s almost too obvious that this is a better way, and you start to wonder why linear timing exists at all.
Why It Works
Go back to manual exposure basics for a moment. Look at the shutter speed scale on any camera with manual controls:
4, 2, 1, 1/2, 1/4, 1/8, 1/15, 1/30, 1/60, 1/125
Now look at the aperture scale:
f/2.8, f/4.0, f/5.6, f/8, f/11, f/16, f/22
Neither of these is linear. When you move a stop up or down, you’re halving or doubling the value — or moving through a precise logarithmic interval in between. To an experienced photographer, thinking in stops is second nature. There’s an intuitive sense of how each adjustment affects exposure. Yet in most darkroom tutorials, test strips are demonstrated in five-second linear increments. The physics of light don’t change between the camera and the enlarger. They are counterparts in the same process of using a photosensitive medium to permanently record an image. The exposure scale should be the same in both places.
Here’s a quick comparison of what that looks like in practice:

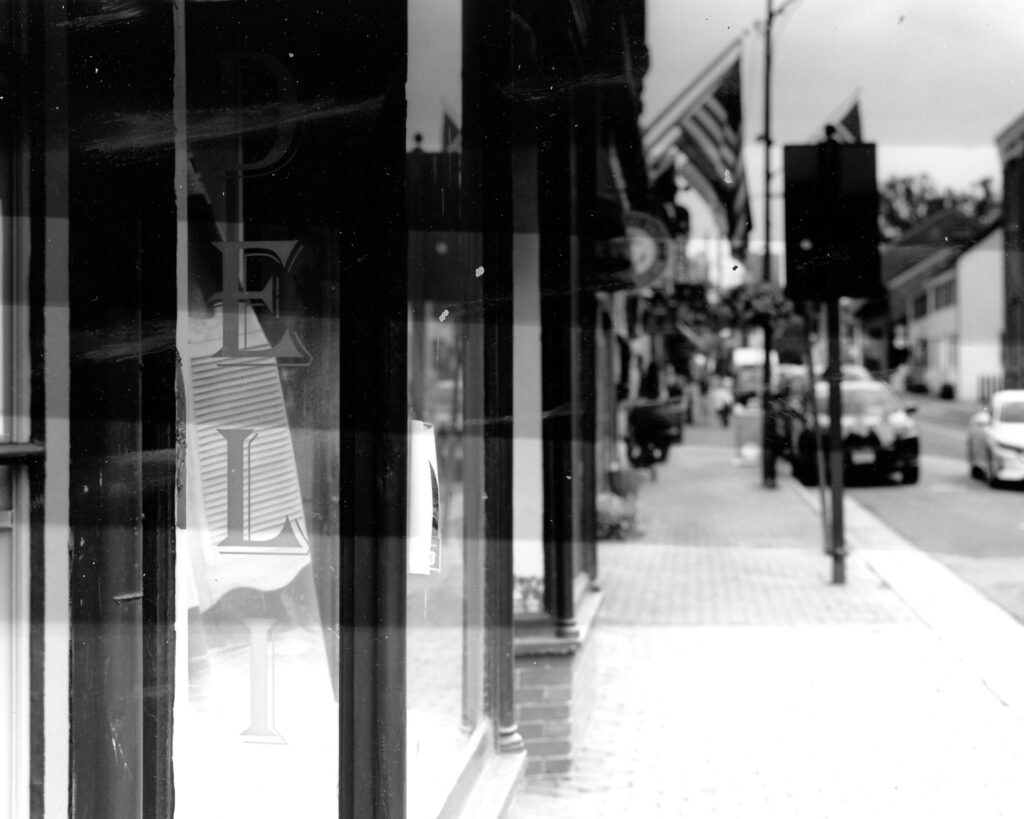

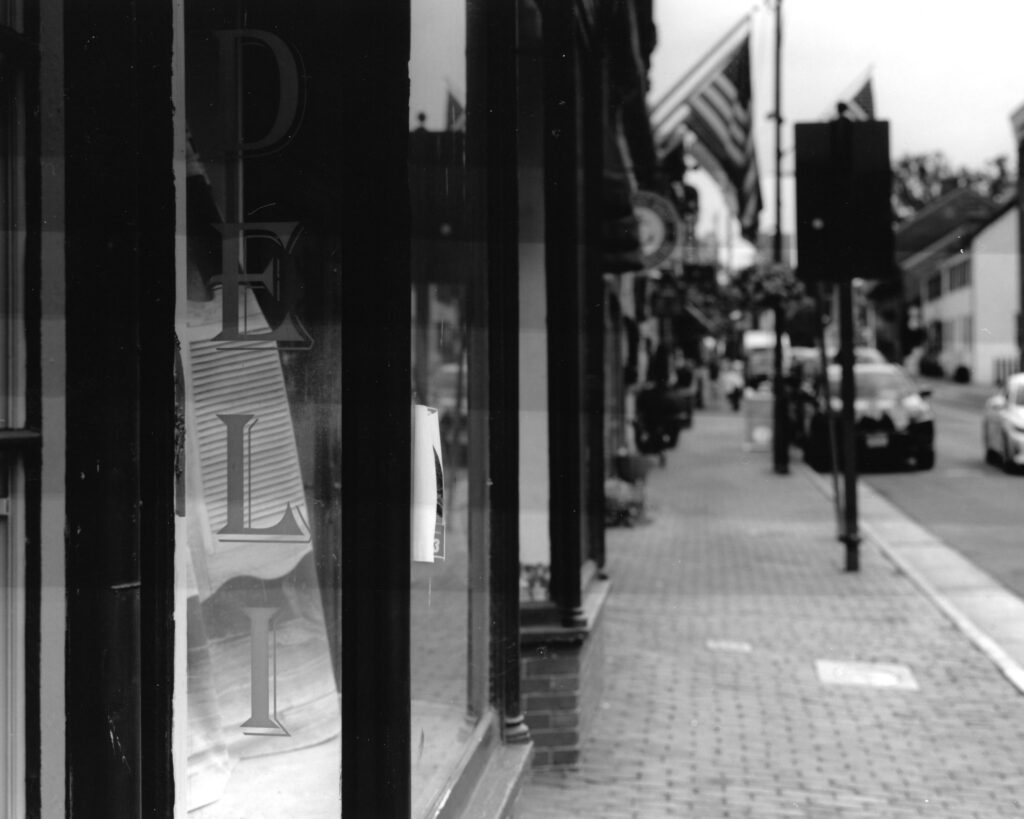
Looking at a single test strip, you might wonder how this is better. An experienced printer can eventually stumble into a decent exposure with linear timing. The real power of f-stop printing shows up in how much faster you can refine an exposure and identify dodging and burning times. Here’s the workflow:
- With a fresh negative in the enlarger, start with a base time that seems right given the density of the negative. (30 seconds is a common starting point.)
- Make a first test strip using a large interval like ½ stop: test at base minus 1.5 stops, minus 1 stop, minus 0.5 stops, base, plus 0.5 stops, and so on.
- Select the best variant, then bracket it above and below with smaller intervals such as ¼ or 1/8 stop.
- Select from that second strip, and you have a precisely dialed-in work print time.
- From there, dodging and burning is straightforward: adjust areas by plus or minus a stop relative to your work print time, rather than guessing how a handful of seconds might shift things.
Printing stops being a matter of arbitrary seconds. It becomes a base time with stop intervals above and below it and printing works naturally with the same language you already use when you shoot.
A Brief History
The idea of applying logarithmic intervals to enlarger exposure is older than most people realize — there are accounts of darkroom printers working in doubling increments going back to before the Second World War. But the concept stayed largely informal, passed between printers rather than codified into a teachable method. That changed in 1987, when Gene Nocon made it the center of his book Photographic Printing.
Nocon was an award-winning printer, and his book was a practitioner’s argument: that the enlarger shouldn’t be the one place in photography where the logic of stops breaks down. Your camera, your meter, your film all function in stops. The darkroom timer shouldn’t be the exception. Photographic Printing is now out of print, but Lambrecht and Woodhouse later gave f-stop printing a modern and thorough treatment in Way Beyond Monochrome, which is easier to find and covers considerably more ground. But Nocon is where the modern conversation starts.
The reason the method stayed niche despite that wasn’t skepticism. Rather, it was hardware. Calculating f-stop intervals by hand or from printed tables is doable, but it breaks the flow of a session. You’re standing in the dark, eyes adjusted, in a rhythm, and stopping to do arithmetic is exactly the wrong thing. Dedicated timers existed, but they carried professional lab price tags. For the home printer or the community darkroom, the gap between knowing about f-stop printing and actually printing that way was real. There are a few apps for calculating this, but who wants to mess with their phone in a darkroom?
That gap is what eventually sent me to a workbench with a microcontroller and a problem to solve.
Building the ΔStop
I’m a software engineer by day and a film photographer and tinkerer by night, so this problem pulled all of my skills and obsessions together and forced me to pick up a few new ones along the way. Looking at my needs as a printer and at the existing options on the market, I landed on four core requirements for a first version:
- Manual controls: apps and spreadsheets are clunky; this timer needed to favor dials, switches, and buttons just like a film camera
- Selectable intervals: easily switchable f-stop increments
- Quick readout: it needs to clearly show where we are in the test strip process
- Memory: the timer should hold onto my settings between sessions
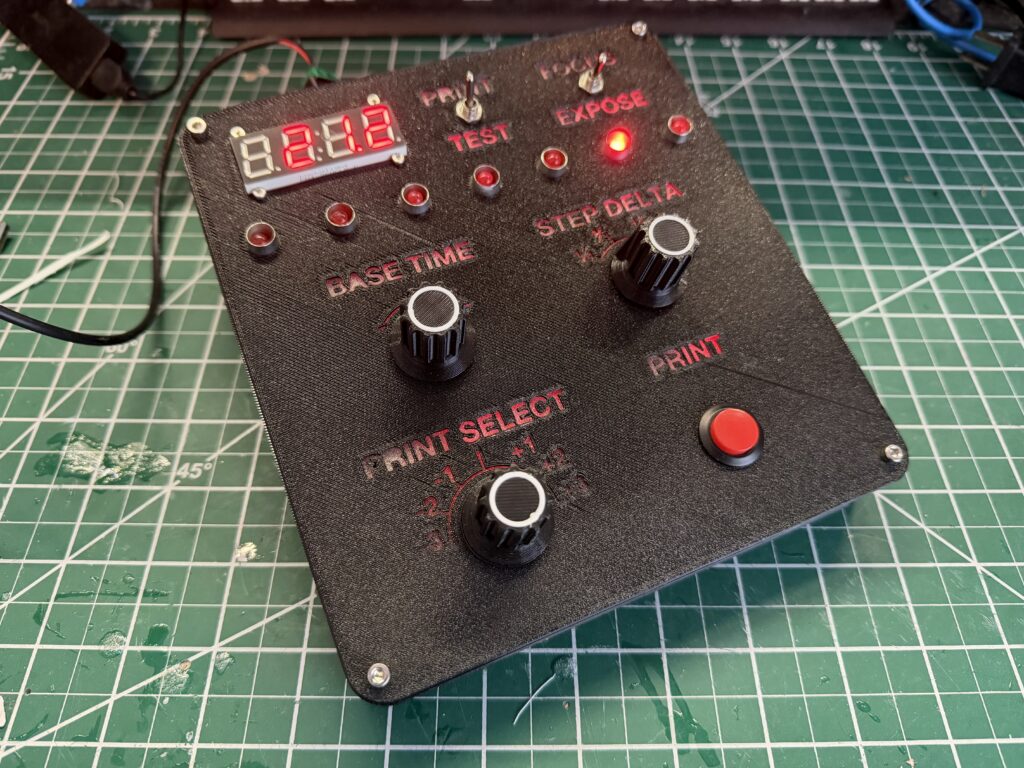
From those requirements I built a prototype, designed a PCB for fabrication, and put together a 3D printed enclosure to house it. The firmware was the easy part for me. F-stop math is tricky in your head but trivial for a microcontroller. The design was rudimentary, but it was reliable, and it worked. What I loved most about this were the manual controls. Each dial turned with a satisfying click just like on a manual camera. It was electronic, it was smart, but it still felt like it belonged in my analog process.
It worked just like the printing method I described above:
- First select a base time such as 30 seconds
- Set the timer to Test mode
- Select a test interval such as quarter steps
- Make a test strip by exposing the whole paper by hitting start to establish the lowest-time exposure. The first status light will then illuminate.
- Hide 1/7th of the paper and hit start again. This builds the second lowest-time exposure on top of the first. Another status light will illuminate.
- Repeat step 5 until you’ve reached the last 1/7th of the paper
- Develop, rinse, and repeat
I printed with that first version for about a year and a half. My results improved more than I expected. I was getting to final prints faster, and I was happier with them than I’d ever been. Occasionally someone would ask about replicating it from my open-source files, and I realized quickly that the construction was complicated enough to be discouraging even for someone motivated to try, and it really wasn’t holding up all that well with regular use. It was time to iterate.
So I started thinking about version two. The new requirements, on top of the originals:
- Better memory: store more than one group of settings
- Foot switch support: the most consistent piece of feedback from people who’d seen v1
- Better housing: the labels on the 3D printed case were too hard to read under a safelight
- Integrated PCB: in v1, the controls and board were wired separately, which made assembly difficult even for me

This time I started with the user experience rather than the circuitry. I designed the interface first, let that drive the PCB layout, and let the PCB determine the housing dimensions. With v1, I used mostly off-the-shelf dials and buttons for the assembly, but with this version I wanted everything custom. Each control on the face is a custom designed element meant to work as one cohesive interface and not as a pile of assembled hobbyist parts. So I started with common rotary encoders and rotational switches, but I designed custom controls to mount onto the components based on their CAD designs. The result, along with the newly designed faceplate, would be more intuitive and show that each element was intentionally designed instead to work as a whole.
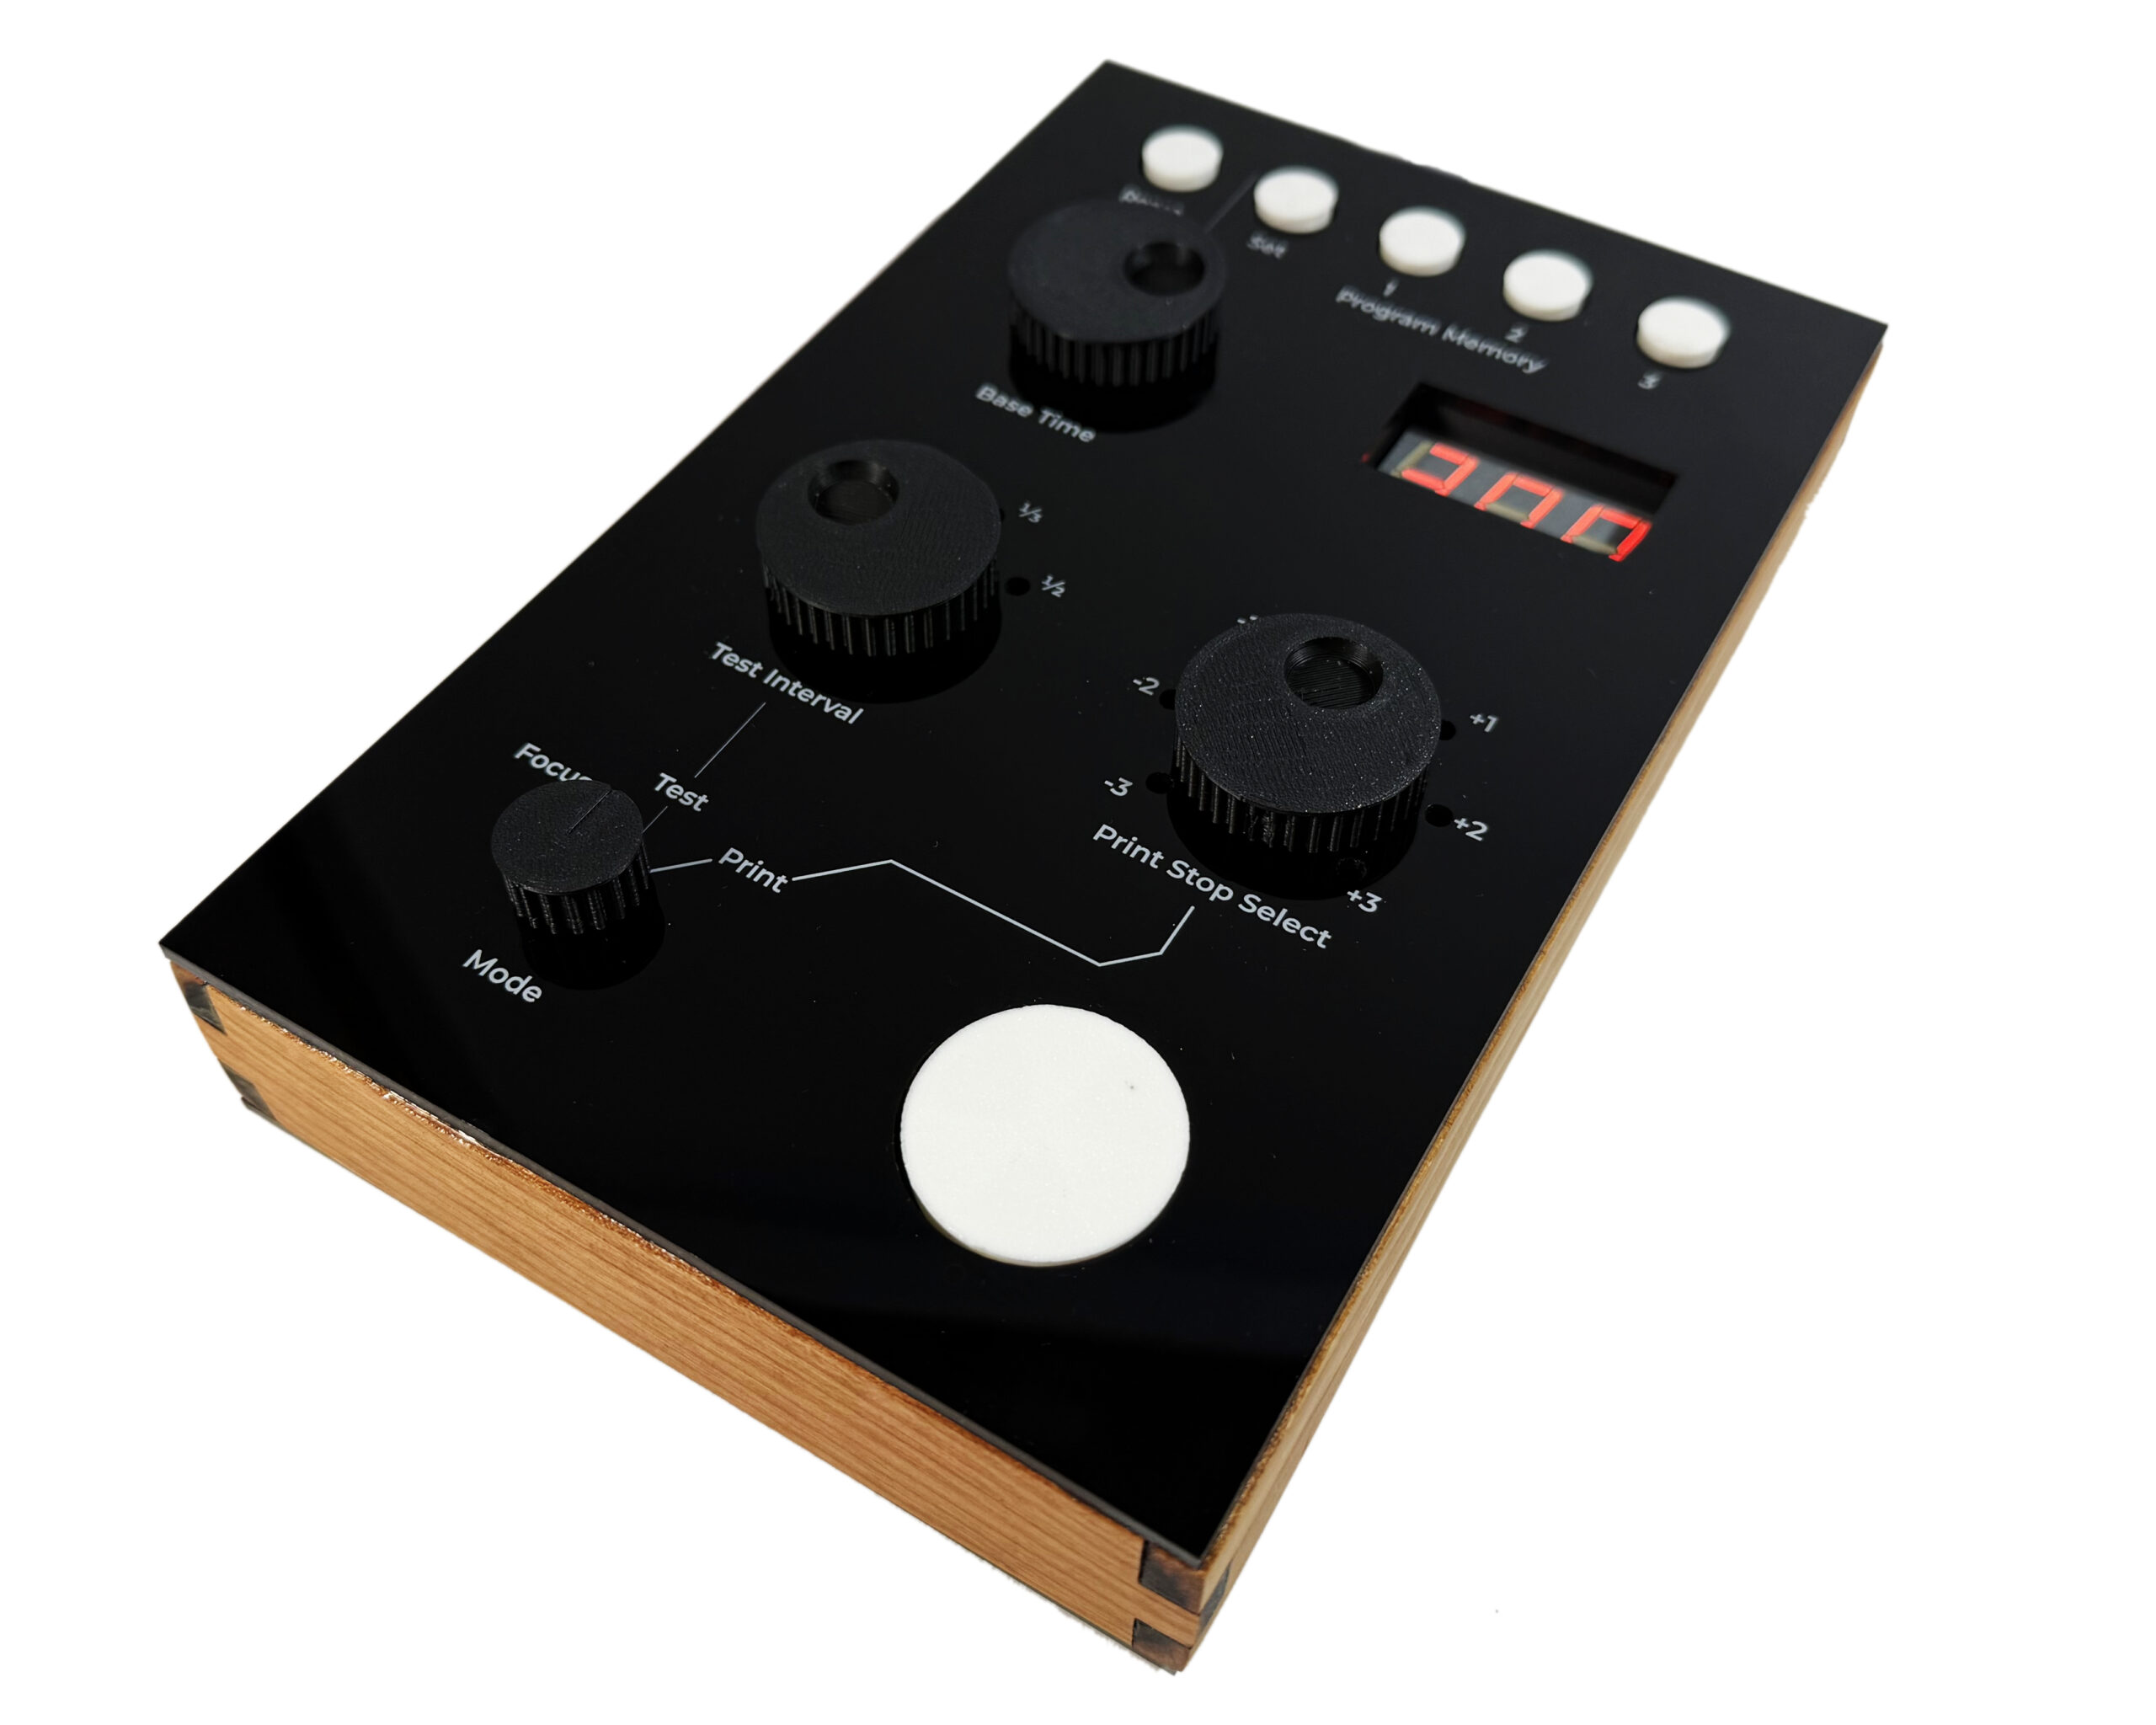
To replace the 3D printed faceplate, I laser cut a sheet of black acrylic and printed the interface design directly onto it. What had been a homebrew-looking project suddenly looked like a real product. For an outer case, I used laser-cut wood veneer panels over a 3D printed frame. It’s the kind of warm, tactile finish that wouldn’t look out of place on a late-70s piece of studio equipment. It was the detail that made me realize this had become something worth sharing.
If v1 improved my printing, v2 changed how printing feels. The memory features alone made it worth the rebuild. The ergonomic controls fit the rhythm of a session in a way the first version never quite did. For the first time, I was able to focus entirely on the art.
What’s Next
If you want to try f-stop printing without building anything first, Lambrecht and Woodhouse’s book is the right place to start, but printed tables and a phone calculator can get you going this week. When you’re ready for a dedicated tool, the ΔStop is available at deltastoptimer.com, where you’ll find the open source files to build your own, kit options, and fully assembled units. I’ve priced the assembled unit at $300, which is competitive with other dedicated timers on the market, but with a feature set I’d argue none of them match. The entire project is open-source because despite being flattered that someone would buy an assembled model from me, I also want to support the analog photography community and my fellow photography hackers attempting to iterate and improve the tools we commonly use.
Part of why V1 got better was because people told me what it was missing. It’s doubtful that this is the last version because I see this art form and community continuing to grow. If you have feedback or want to collaborate, hit me up.
Share this post:


Comments
AlistairH on ΔStop – The Darkroom Timer I Had to Build Because the Right One Didn’t Exist
Comment posted: 10/05/2026
RH Designs did (maybe still do) make a timer that works the proper way, but they were astonishingly expensive. The one time I tried to use one, it was so difficult to use, I found that doing the simple sums in my head and using a seconds-calibrated timer much easier.
Fidel on ΔStop – The Darkroom Timer I Had to Build Because the Right One Didn’t Exist
Comment posted: 11/05/2026
I made my own as well, a bit simpler than yours, but works for me.
I really only use the fstop portion for my test strips, figure out times of burns etc. Once i have my times down i switch to a regular time feature on my timer with a metronome. I like having extra time without the constrains of the clock forcing me to start/stop.