I’m a big fan of the easy35 system from Finnish company Valoi which has really improved my film negative scanning workflow. It is a very simple but capable system which fits onto the lens of a digital SLR camera (DSLR) and consists of a series of tubes, a film holder, and a light source – you are scanning by taking a digital ‘picture’ of the negative, illuminated by the light source. It scans a variety of film formats: 35mm (as the name implies), 110/16mm, and Minox.
Valoi also do film holders for 126, APS, 35mm half-frame, and 35mm with the sprocket holes. I do vertical-scanning using the pixl-latr and a CineStill CS-Lite for formats bigger than 35mm.
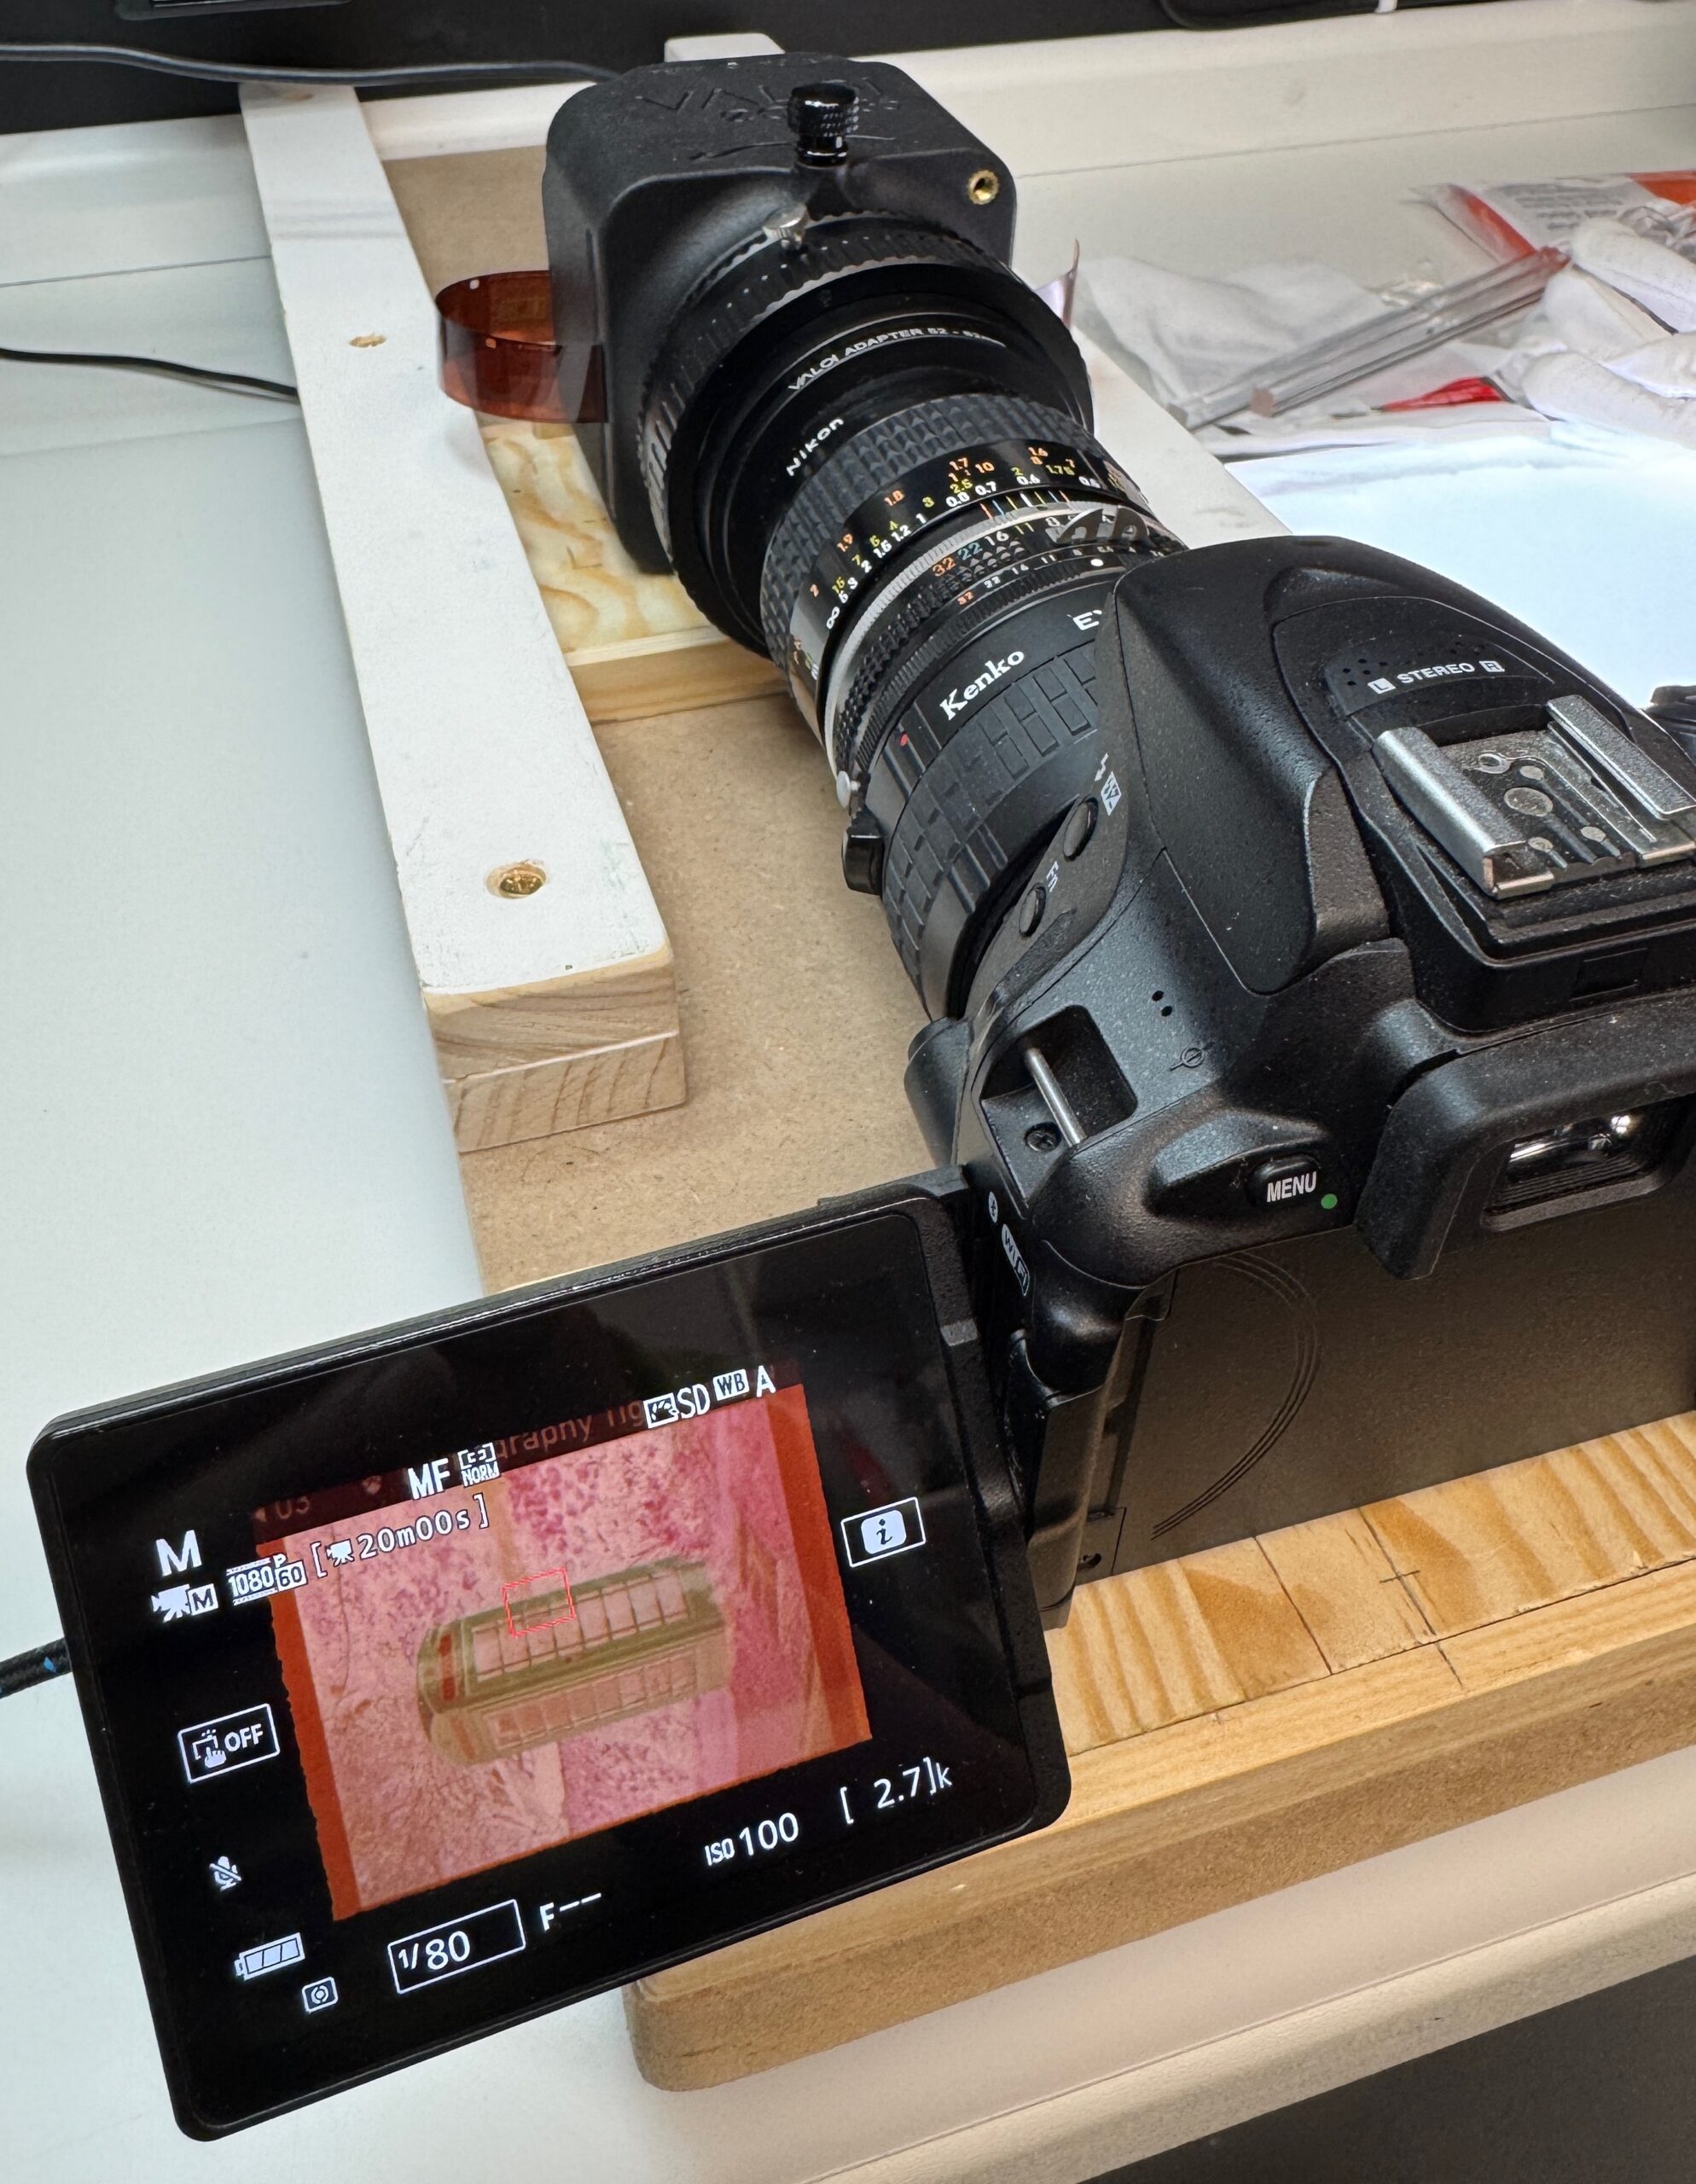
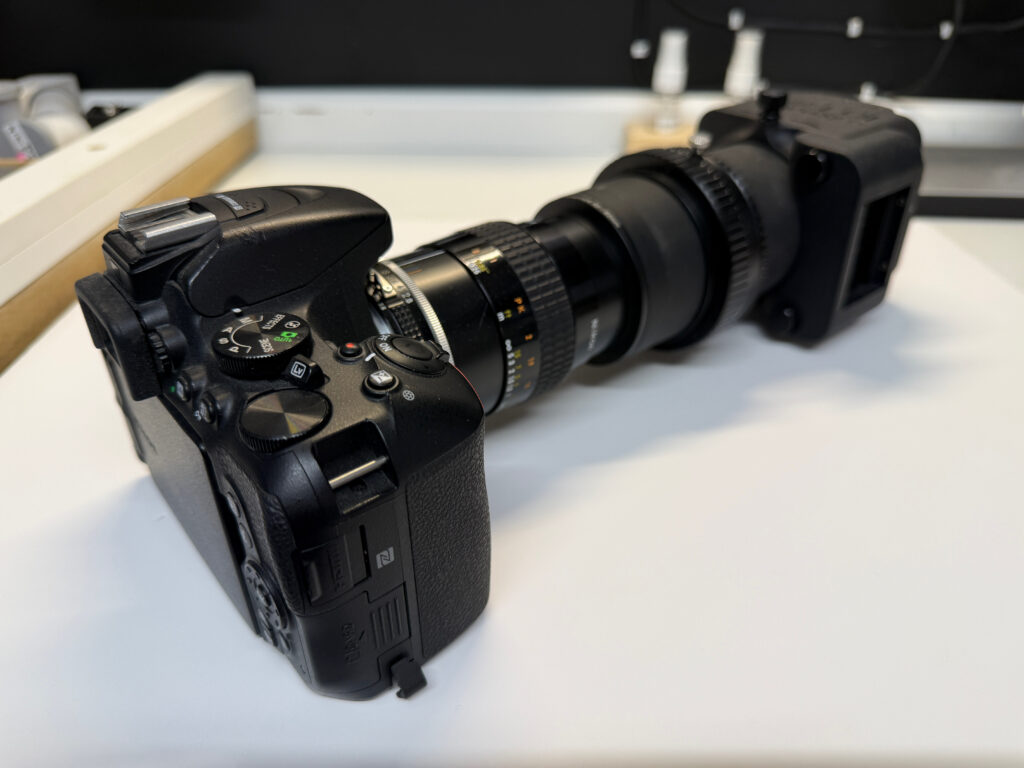
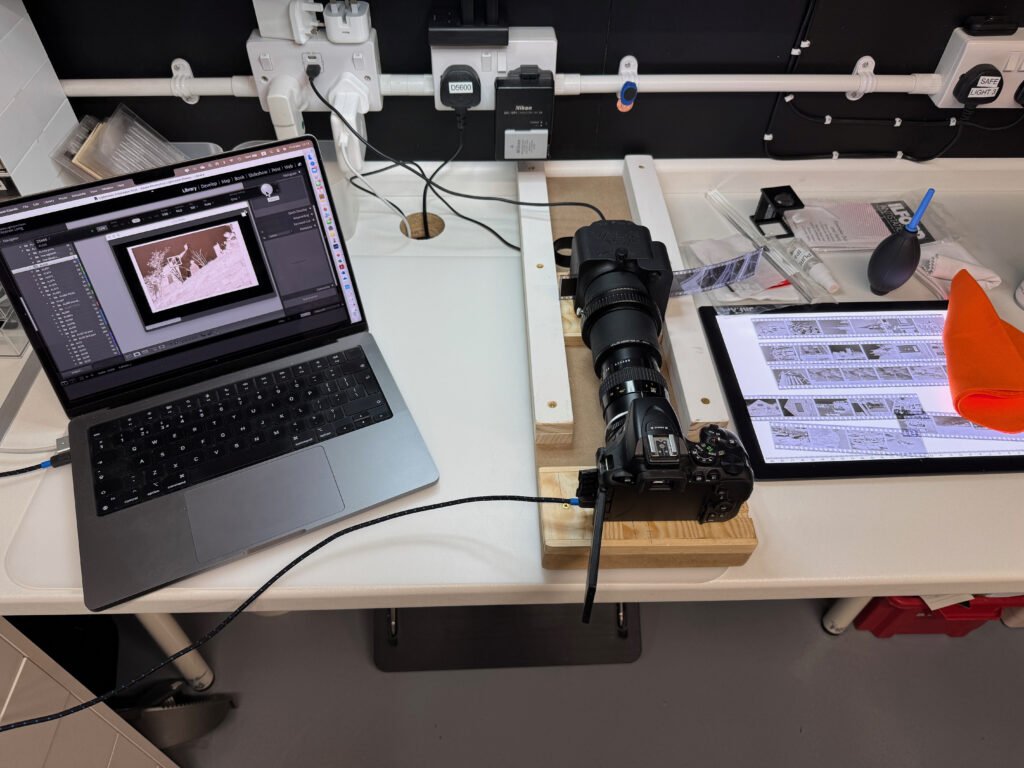
The system is based on using a digital camera with a detachable lens (DSLR or mirrorless) and a suitable macro lens. My setup uses a Nikon D5600 DSLR which has a 24.2-megapixel APS-C sensor, which is more than enough for my needs. It is paired with a manual focus Nikon Micro-Nikkor 55mm f/2.8 macro lens – I shoot various Nikon 35mm cameras (a F3, F2A, FE, FM2N, plus a few more!) so this standard F-mount 55mm can also be used as a prime or macro lens with them.
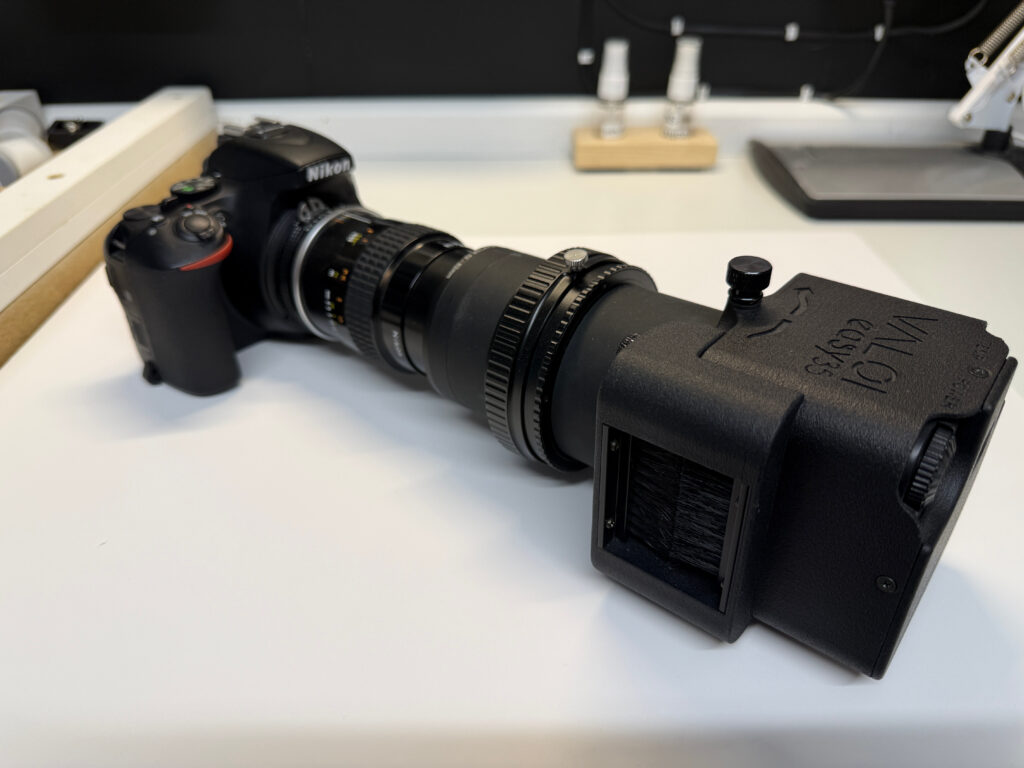
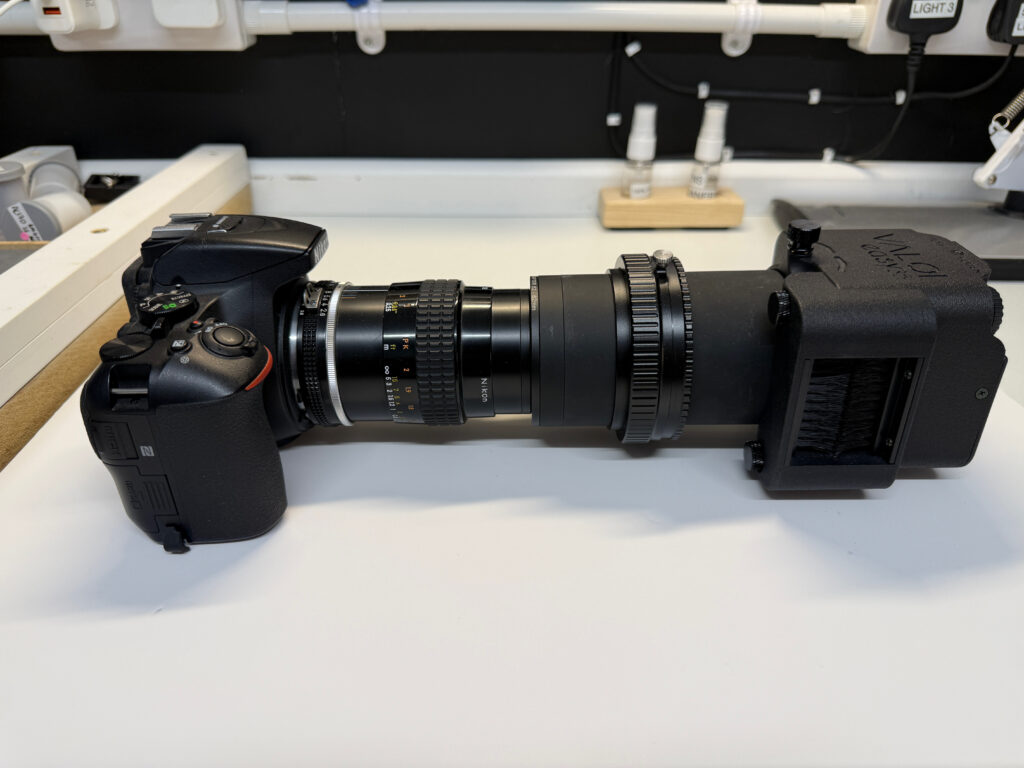
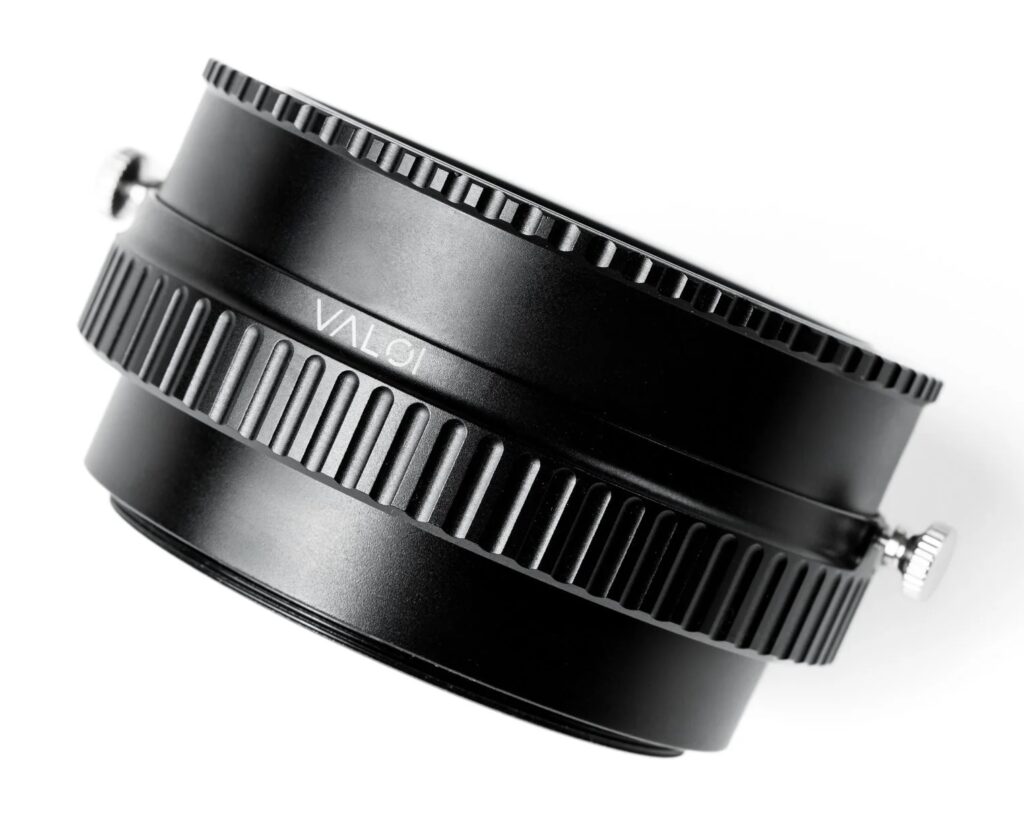
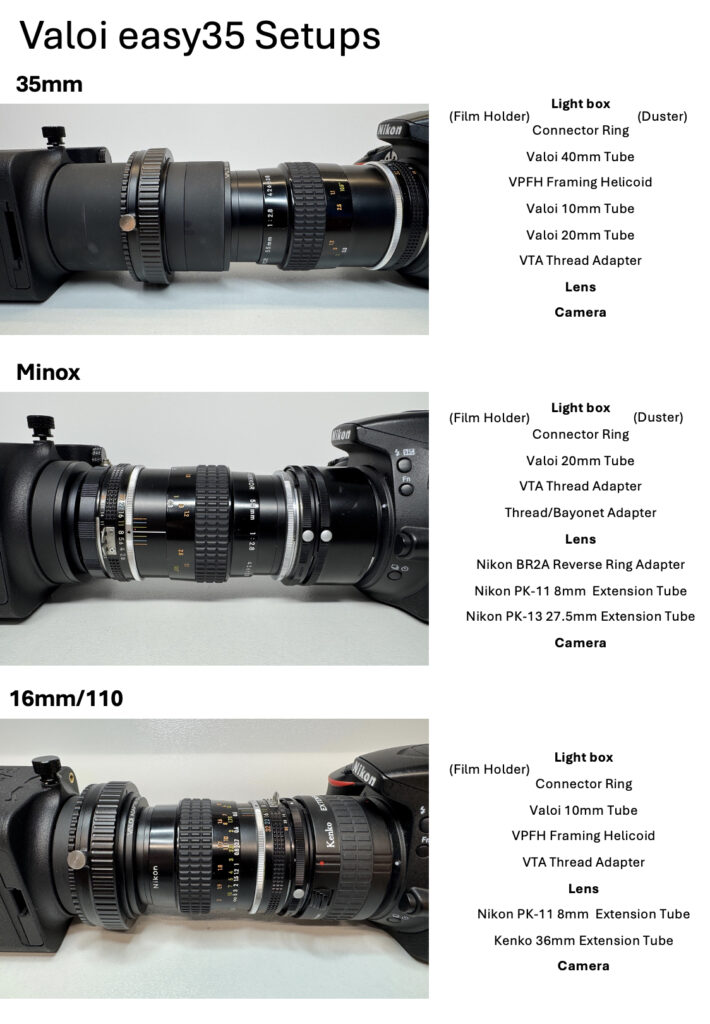
A series of tubes screw onto the lens’ filter ring, trapping the light between the camera’s sensor and the LED light box which screws to the other end of the tubes. The tubes come in incremental sizes (10, 20, & 40mm) which you combine to get the optimum focal distance, filling the frame of your digital camera.
A format-specific film holder slides into the front of the light box, which is held in place with a small grub screw. There’s also a nifty brush attachment which fits over the negative slot, picking up any dust that might have defeated your efforts with the air duster or anti-static cloth! The light box has three colour temperature settings, ‘cool’ for colour negative film, ‘neutral’ for black & white, and ‘warm’ for colour transparency.
Getting the right combination of tubes takes a bit of experimentation, and will vary with the film format you’re digitising, the camera’s sensor (and therefore frame size), and the magnification of your lens. However, once you’ve hit the sweet spot (and remembered to write it down!) you can set the different combinations up in just a few minutes.
Valoi do a clever Precision Framing Helicoid, which opens and closes like a lens but without the glass, covering a step-less range from 20mm full closed to 40mm fully open. This addition to the system really helps when framing the negatives, especially with old cameras where the film mask can slightly vary in size or has imperfections at the edge.
For smaller formats, some optical wizardry is needed to maximise the image of the negative in the digital camera’s frame. For 110/16mm, I’ve added 44mm of extension tubes between the camera body and lens, plus the Valoi 10mm tube and Precision Framing Helicoid between the lens and the light box. For Minox, which has a tiny 8x11mm negative, you have to reverse the lens using a reversal ring on one side of the lens and a thread-to-bayonet adapter on the other, plus various Valoi and extension tubes. It is possible to get excellent scans from these minuscule negs.

Me being me (!), I’ve built myself a jig to hold all the components together horizontally on my workbench, but you can use any tabletop. The system is also very portable, if you felt the need. Some people even stand the whole combination on its end (the lightbox end!), but that seems very precarious to me, plus you’d need a lens focusing helicoid that is lockable or at least one that doesn’t close with the weight of the camera and gravity!

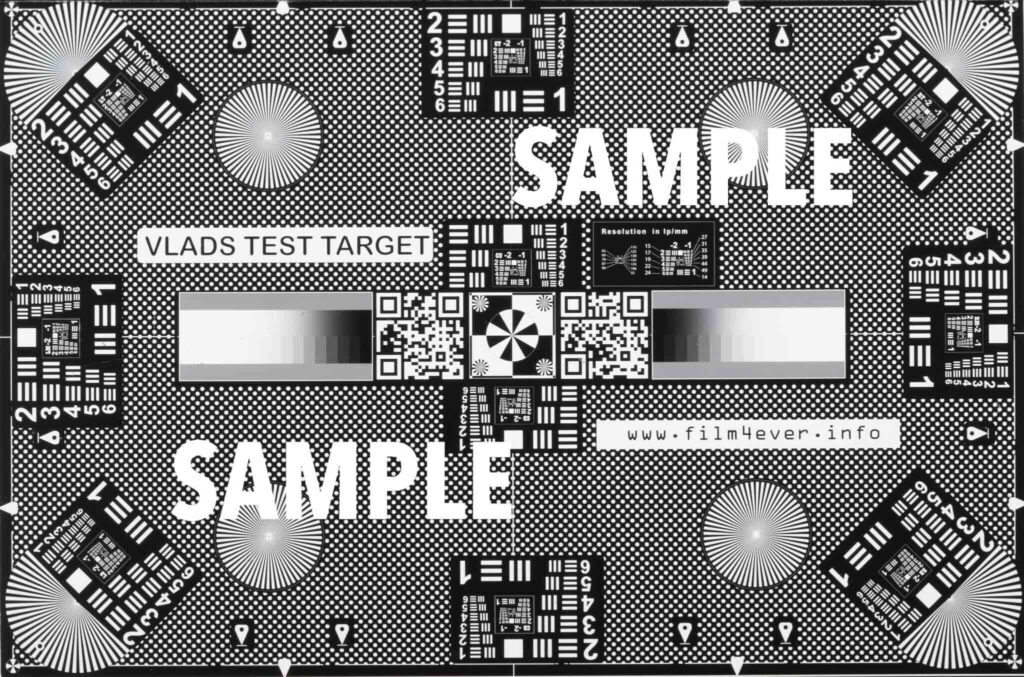
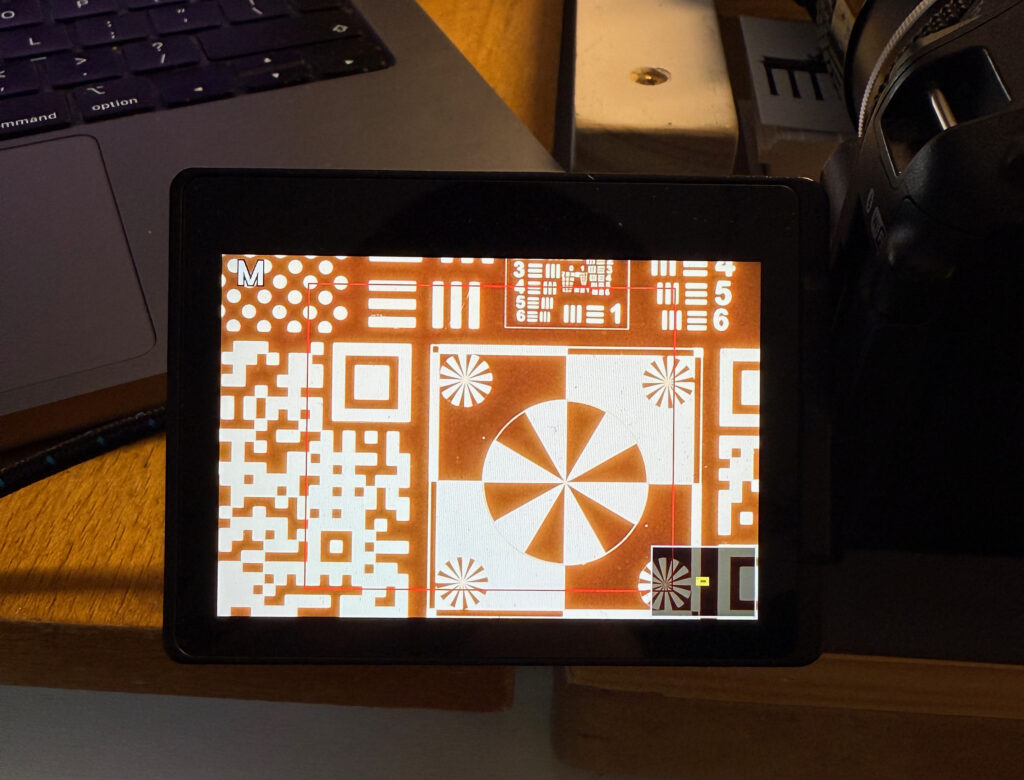
An indispensable tool is Vlad’s Test Target, available in 35mm and 120 formats (6×6, 6×7, 6×9, but unfortunately not 645, which is the negative size of my Bronica ETRS – for that I’ve had to improvise!) The target features a calibrated image reproduced on a piece of film. It shows the full dimensions of each frame size along with various calibration marks developed by the United States Air Force in the 1950s to test their aerial reconnaissance cameras. Rather than having to zoom in and try to focus the digital camera on some sharp detail in the negative or even the grain, you zoom in on various geometric shapes and numerals allowing you to get perfect focus in just a few seconds. Hamish Gill introduced me to the product, for which I am very grateful, and they are available from pixl-latr and Valoi. Using a Vlad’s Test Target for your scanning is highly recommended – it has transformed my scanning workflow.
So, once you’re all set up (it really only takes a couple of minutes, ok, perhaps five …) you simply slide the strip of negatives into the film holder, centre the frame in the camera’s viewfinder, and hit the shutter release.
I’ve done myself a little poster that is on the wall of my darkroom which I use as a reference when changing formats.
It is possible to streamline the workflow further, allowing you to scan a whole 35mm film in under five minutes. I prefer to cut my negs into the strips of six that subsequently go into the negative storage sheets. Some people like to leave the full 182cm of 35mm film intact, but I worry that this long snake of negatives will get damaged as you pull it through.
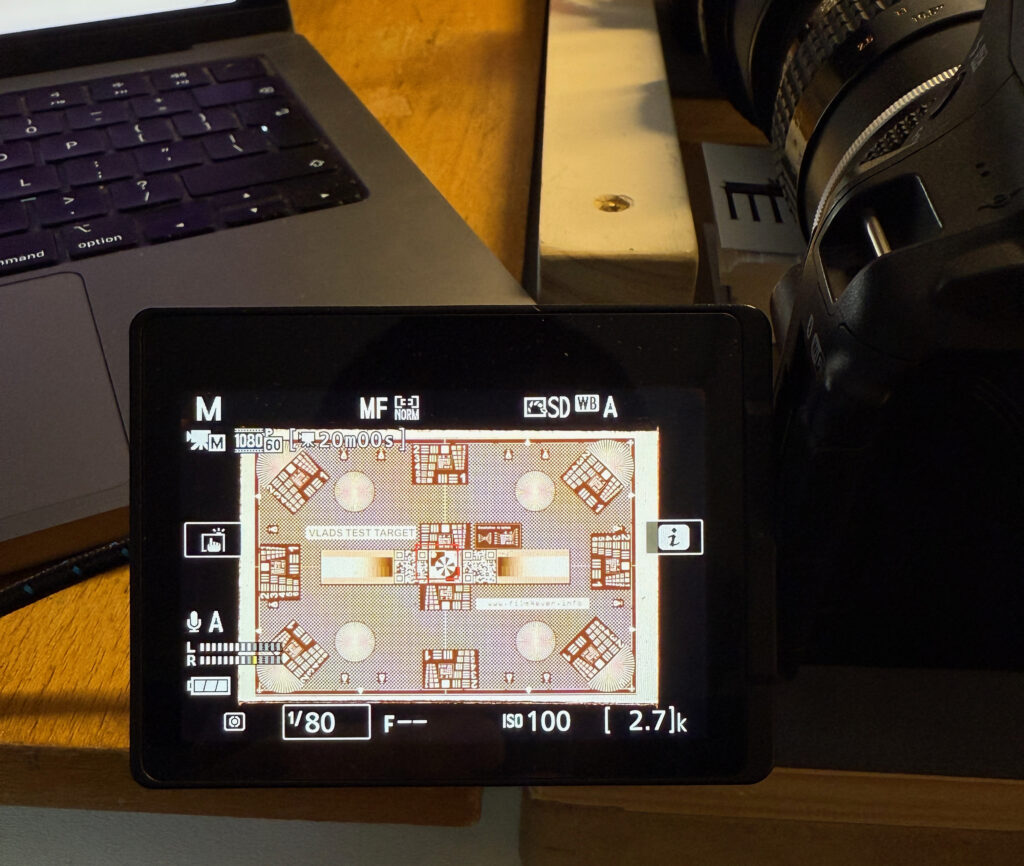
My DSLR is connected (tethered) straight into Lightroom Classic on my Mac with a USB cable. You select File/Tethered Capture/Start Tethered Capture from the main menu, enter how you want the file to be named as (I use the following format: unique film number/format/film stock/camera, for example AL278 120 645 HP5+ ETRS), tell it to start counting from frame 1 (very frustrating if you forget!) and hit OK. Then you use the ‘Live View’ on your computer screen to line up the negative in the virtual viewfinder and hit the capture button. The software does the rest. I use the Negative Lab Pro plug-in in Lightroom Classic to convert the negatives.
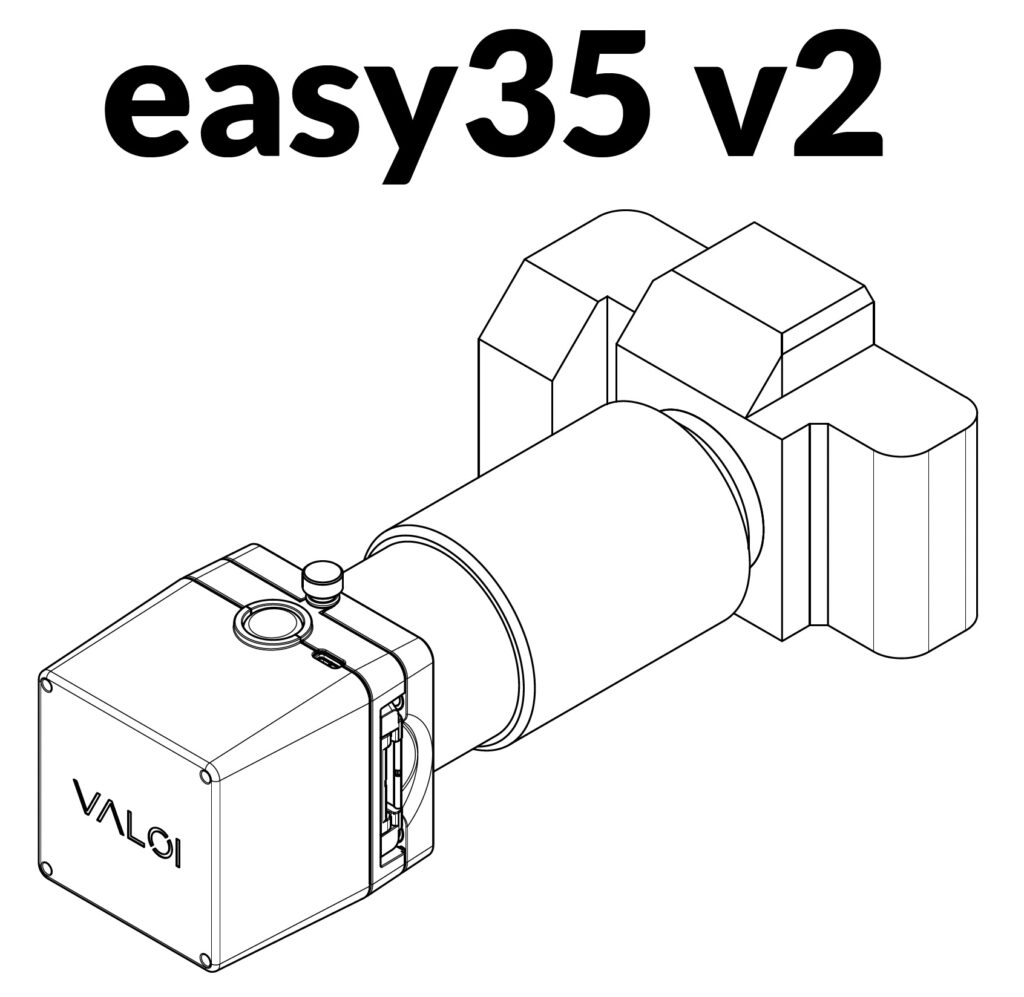
So, why choose this moment to wax lyrical about the Valoi easy35? Well, Valoi have announced a v2 of this splendid system, and I will be shortly getting a kit to test. The new version looks to be a considerable upgrade from the v1 version, and I’ll run through the main changes in anticipation of getting my hands on the new one.
First of all, the design looks sleeker, and the materials look more refined – getting my hands on it will confirm what looks like improved fit-feel-finish (design-speak for build quality!), with injection-moulded ABS replacing 3D-printed nylon.
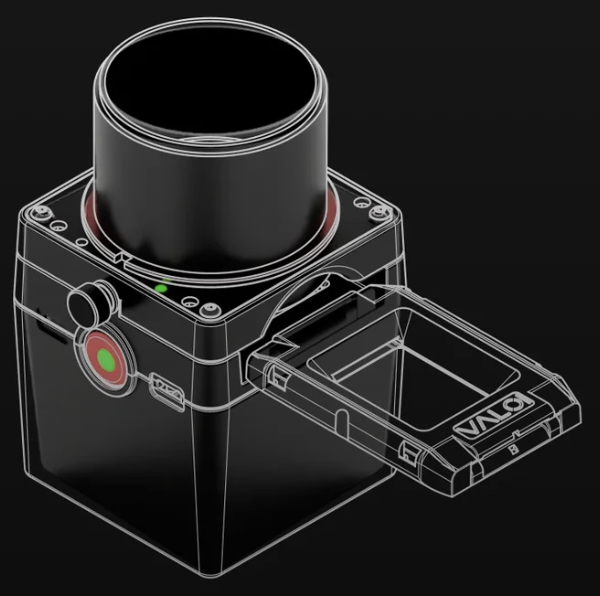
The ‘Universal Light Source’ looks to be a big step forward. With v1 you had to adjust the light temperature to suit the type of film you’re scanning (warm: colour neg; neutral: black & white; cool: colour transparency), but the new light source in the v2 works across all types and gives a significant leap in performance. Light uniformity increases to 99% giving edge-to-edge illumination, especially important for tricky negatives. The colour balance on colour negative scans is improved (‘prebalancing’), preserving maximum detail for your post-processing and the CRI 95+ LEDs ensure faithful colour reproduction across the entire spectrum.
Accessories such as the film duster are now attached magnetically, which is useful when, as I do, you switch formats and have to reconfigure the tubes. Perhaps other accessories will be introduced using this method of attachment?
The film holders have always been good with the easy35, but they have been re-engineered to ensure consistent parallelism and faster holder changes.
The light box has an improved battery with over 4 hours of continuous battery operation (doubled from v1), making the system even more portable. There’s also a ‘Smart Battery Bypass’ which allows the unit to be powered direct from a USB-C wall socket without going anywhere near the battery, reducing heat and preserving battery health.
The easy35 v2 is also fully user-repairable using standard screws rather than glue or clips allowing individual components to be replaced, extending the product’s usable lifespan and reducing electronic waste. Potentially further upgrades will be facilitated by this?
As an experienced user of the v1 easy35, it’s clear that this new version is much improved, from a build quality, user-experience, and workflow point of view, and I’ll do a detailed review when I get my test sample. In due course, I’ll also be testing the Valoi easy120 system, and their 360 Professional vertical scanning system, looking at them individually and as a general review of film digitisation systems on the market, including, of course, the pixl-latr! Thanks for reading!
Share this post:


Comments
Martin Siegel on Valoi easy35 – How this film negative scanning system improves your workflow, and in anticipation of the v.2 …
Comment posted: 08/05/2026
I'm looking forward to the v2, too.
Florian on Valoi easy35 – How this film negative scanning system improves your workflow, and in anticipation of the v.2 …
Comment posted: 08/05/2026
I'm not sure this is correct. Wouldn't you want to use the "cool" (bluish) light for colour negatives in order to counter the orange negative base?
Comment posted: 08/05/2026
Comment posted: 08/05/2026
Andrew L on Valoi easy35 – How this film negative scanning system improves your workflow, and in anticipation of the v.2 …
Comment posted: 08/05/2026
Comment posted: 08/05/2026
Louis Sousa on Valoi easy35 – How this film negative scanning system improves your workflow, and in anticipation of the v.2 …
Comment posted: 08/05/2026
Gary Smith on Valoi easy35 – How this film negative scanning system improves your workflow, and in anticipation of the v.2 …
Comment posted: 08/05/2026