

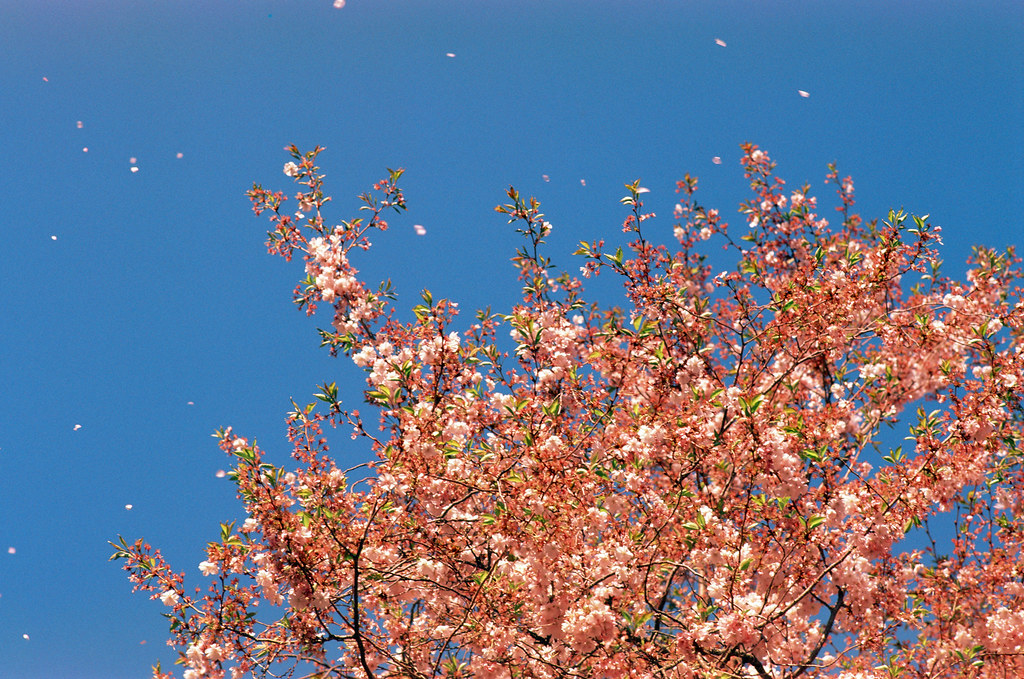
Slide film is beautiful! Online though, it feels like there’s a lot of trepidation regarding metering for slide film. The common advice I’ve heard is to bracket your shots, so that you can feel confident that at least one of the 3 or so is properly exposed. I think this is good advice if you’re photographing something valuable, but it’s also drastically increasing the cost per shot – and at least in the States, most slide film is expensive and hard to find. And in the case of an out-of-production film stock like MS 100/1000, it’s throwing away frames that can never be replaced.
Lately, I’ve been digging through my fridge and using a lot of slide film for color, and as much as I love it, I’ve felt this pressure to get each frame right too. For this reason, I wanted to share some advice and my personal approaches to metering slide film, without needing to rely on bracketing.
Spot Metering
In my personal opinion, using a spot meter, either TTL or a handheld one, is the best way to get results on slide film. Metering this way gives you the most creative control over how a scene is exposed, regardless of whether you’re using slide or negative film. Spot meters may seem intimidating at first, but believe me, they’re actually straightforward once you start using them. I use spot metering mode on my Contax SLRs more now than center-weighted for all films!
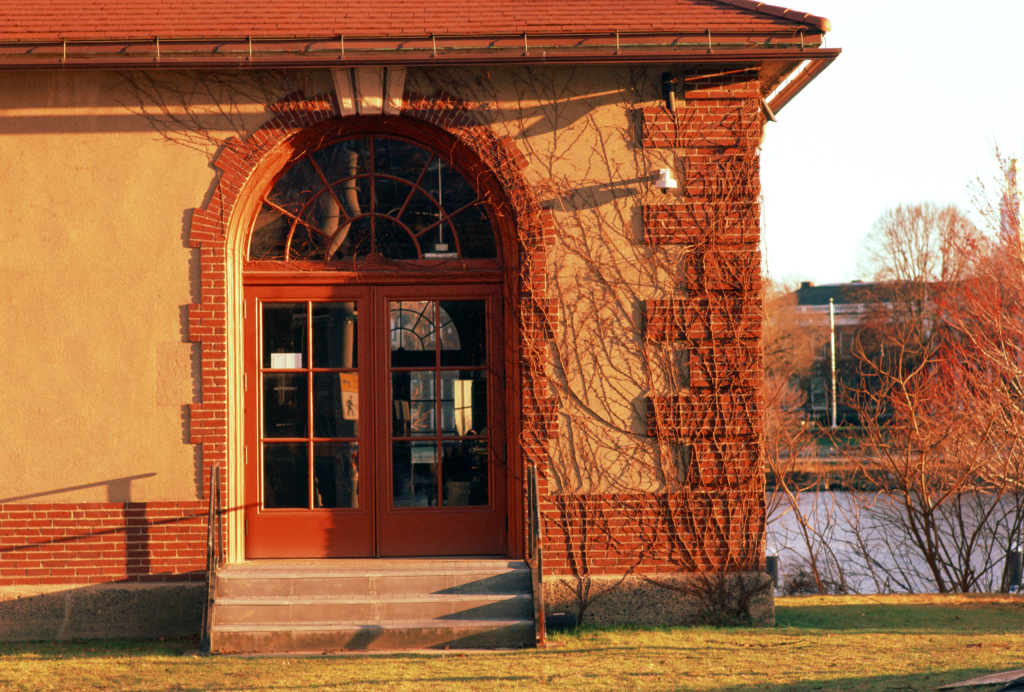
Why? Here, using my TTL spot meter, I preserved the dark window reflections just enough to be visible, without blowing out the sunset-lit façade of the boathouse. Spot metering allows you to pick out specific slices of your scene, and gives you finer control over what details to preserve.
So, how do we meter for slide film with a spot meter? If you’ve used the zone system for B&W before then this will probably be familiar to you: the goal here is to use the spot meter to figure out the exposure, for the highlights and the shadows. Specifically, what highlight and what shadow details do we want to preserve in the scene? Those will become our image’s dynamic range. Then, we will set our exposure to fall somewhere in between this range. For example, if you’re shooting manually (let’s say, aperture of f/8), and the highlights are 1/500 while the shadows are 1/125, then pick 1/250.
Keep in mind, slide film has very limited exposure latitude. My rule of thumb is +/- 1-1.5 stops from either end of the exposure range, though with Ektachrome, you might be able to squeeze 1.5-2 stops. If the dynamic range is tight, then exposing at the middle will resolve everything; otherwise, you will need to pick either the shadows or the highlights to preserve. Generally, crushing shadows and preserving highlights look better on slide film to me, so in such a situation, I would shoot at +1 stop over the highlight exposure. So, if the highlights are 1/250 and the shadows are 1/30, then I’d shoot at a shutter speed of 1/125.

On this photo, I actually just used a phone light metering app to find the range. I wanted to preserve the dock details and the city skyline, so I set those as my shadow and my highlight areas and metered them. The sky wasn’t particularly interesting, so I was fine sacrificing it here. Thankfully, the range between highlight and shadow was only about 3 stops, and Velvia 100 has slightly better exposure latitude than the more popular Velvia 50, so exposing dead center caught everything.
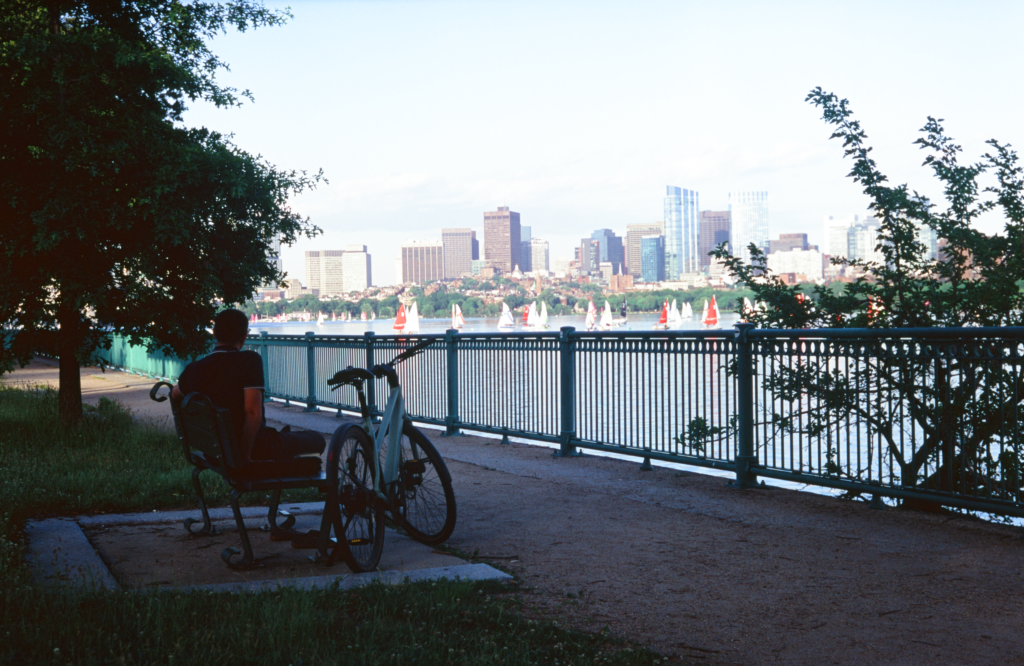
In contrast, I took this only a few minutes afterwards, but since the dynamic range of this scene is way larger, neither shadows nor highlights exposed the best. Don’t do this! It’s a hard scene and I’m not sure I could have gotten much better, but exposing more for the highlights here might have gotten a better result while still preserving the shape of the cyclist.
As I was shooting on a fully mechanical Contax IIa in both cases, I just set the shutter dial to the closest speed to what I calculated, and snapped. The method may seem a little time consuming at first, but once you get the hang of it, I find it easy enough even when in a hurry.
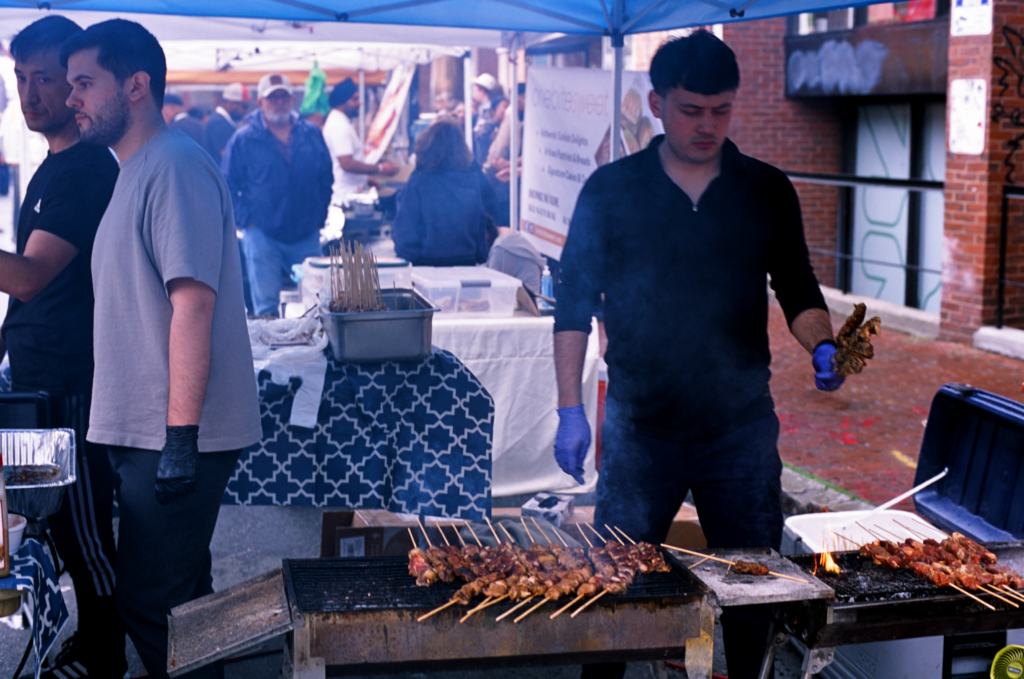
With electronic stepless shutters & TTL it’s even easier to follow this method. Just quickly sweep the scene and lock the appropriate exposure; you’ll be better equipped for more complex lighting situations and dynamic scenes. Like this shot of delicious Uyghur kebabs being grilled at Harvard’s Spring Festival. Despite the challenging lighting, I think I was still able to pull enough shadow detail to complete the image.
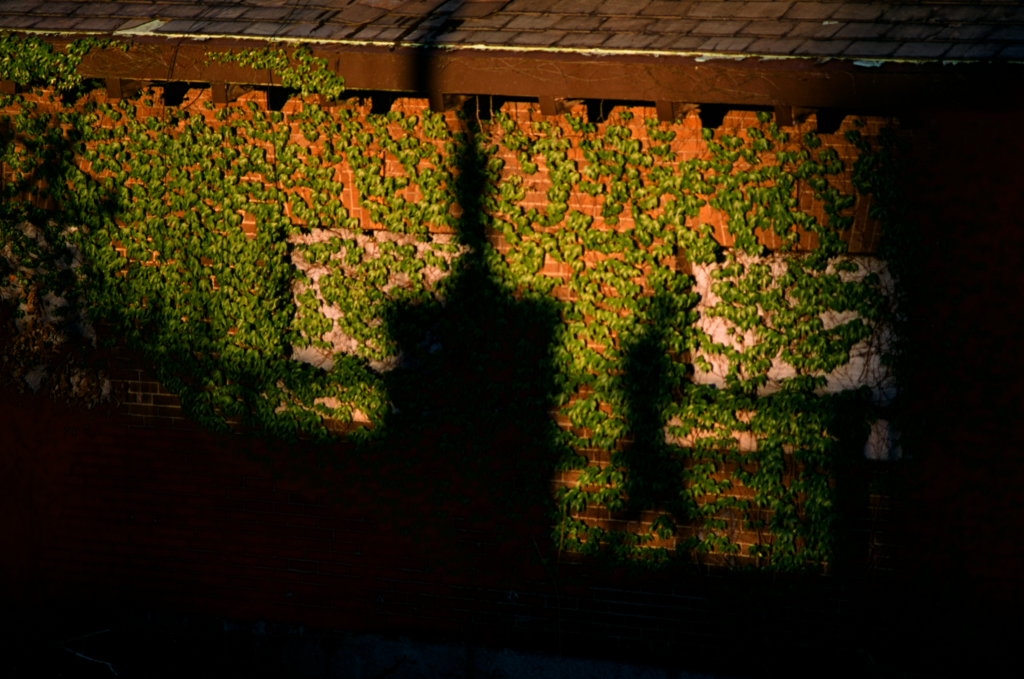
Of course, you don’t always have to try to maximize your exposure latitude. Once you know the exposure of the highlights and shadows, you can play with the lighting however you like. As a simple example, in the above photo, I chose to crush the shadows in order to emphasize the person’s silhouette.
Though this method is fast enough in most cases for my style of photography, there is another way to use the spot meter to be quicker.
The Fast Way
Sometimes, we’re in a rush and need to snap immediately, such as in a highly dynamic street scene…or even to catch falling cherry blossoms at just the right time, such as the featured image of this article. The quickest, most straightforward way of using a spot meter, is to just meter your subject and rely on it being properly exposed relative to the scene. Using Ektachrome or Provia 100F, which have better exposure latitude than Velvia 50 and Velvia 100, also helps make it easier.
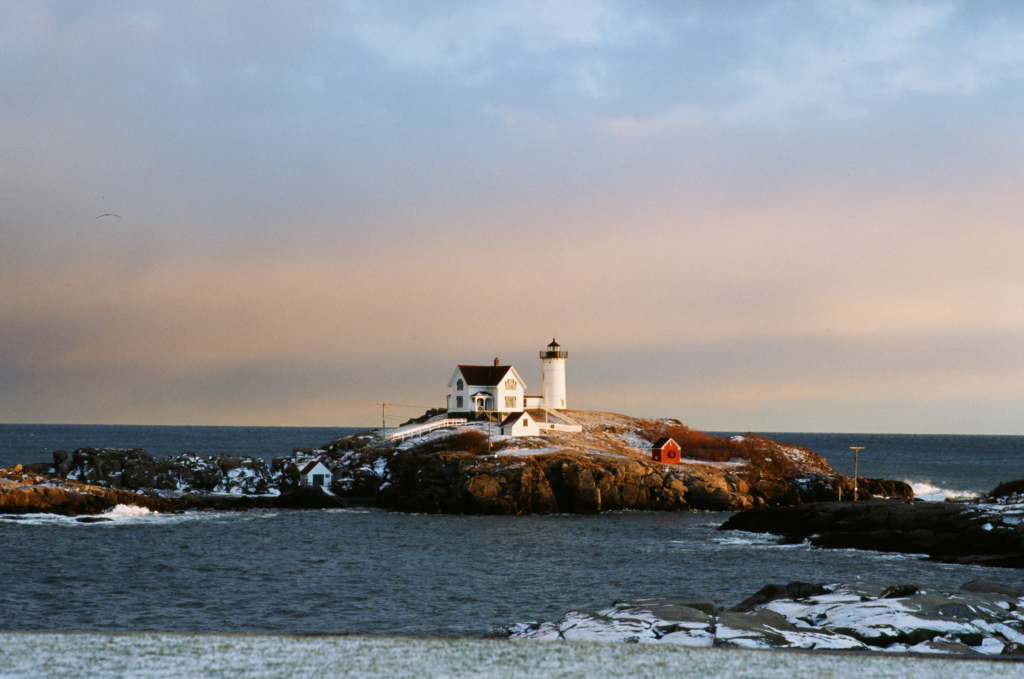
This in turn makes selecting the right subject the most critical aspect of composing and metering a scene. Here, I used my Contax 167MT’s TTL meter in spot mode to meter the lighthouse house, while I tried to catch the waves washing up upon the rocks. The deepest shadows came out a bit muddy, but everything important is properly exposed and full of detail, even the lovely peach & lilac tones of the sky.
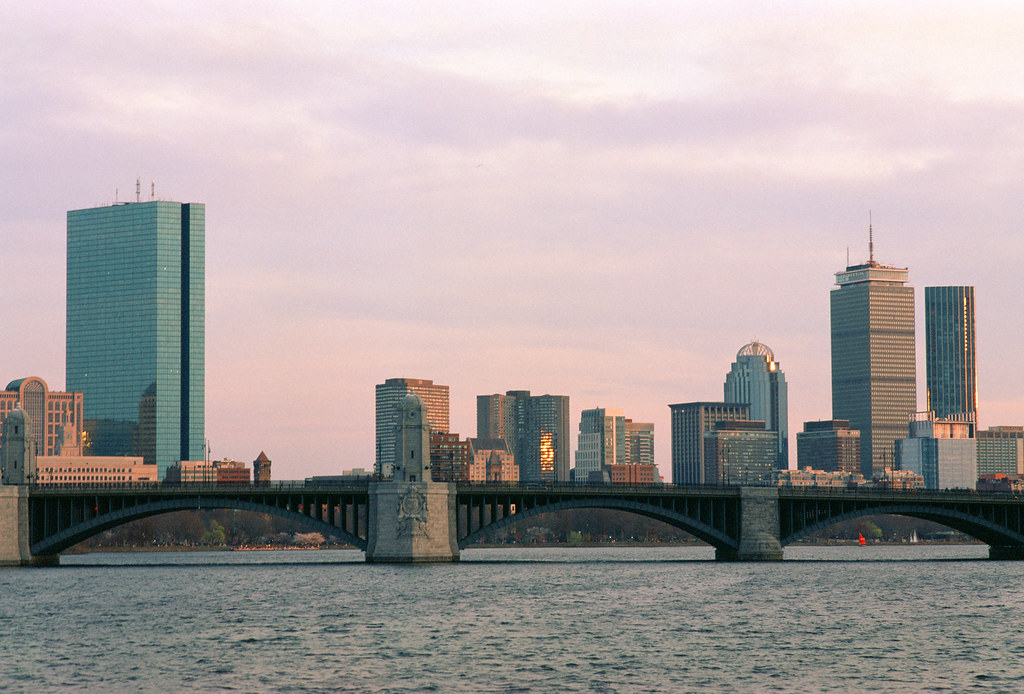
For this sunset/dusk shot, I was able to get away with simple center-weighted TTL metering on my Contax RX. In even, diffused light, such as on overcast days, blue hour, or subjects fully illuminated by sunlight, the dynamic range will become limited enough to where center-weighted will be sufficient. Worth noting too, Velvia 50 particularly performs well in such lighting conditions.
Sunny 16-ish
If you have no meter, it is possible to use the Sunny 16 rule for slide film. It’s not as scary as it sounds! This is in fact how people used to shoot their vacation photos in the past, without a meter. In general, the guidelines I’ve seen from vintage film are Sunny 16 exposure for a highlighted subject, +1 stop overexposure if the subject is partially in the shadows/complicated lighting, and +2 stops overexposure if the subject is entirely in the shadows.
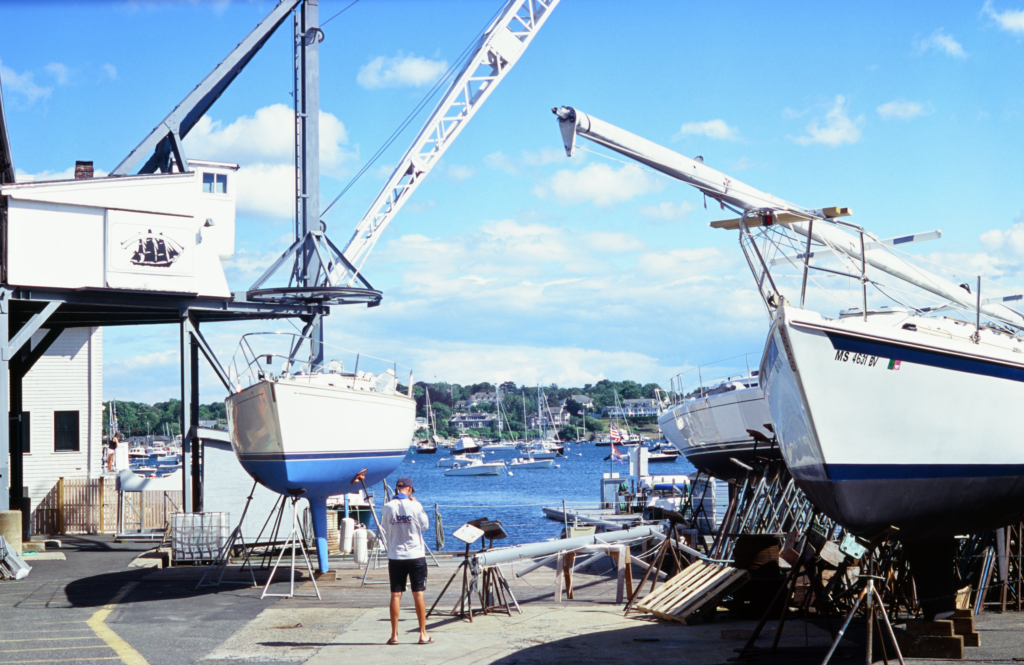
Here, again using my Contax IIa, I followed Sunny 11 – in Boston our sunlight even in the summer doesn’t always go to f/16, most of the year it’s f/11. Actually, it seems the value that day was probably more like f/13, so this may be a little too much light, but thankfully there is no serious loss of detail.
Films for Practice
Now let’s go shoot! As with anything practice makes perfect, and while the first roll may be a learning experience, I think slide film is much easier to get used to than is commonly suggested. My recommendation for one’s first slide film is Ektachrome E100. I find it to have the most forgiving latitude of any of the currently available slide films, and it is also typically the cheapest to find. Even if your exposure is slightly off, you can still get a usable image. Like here:
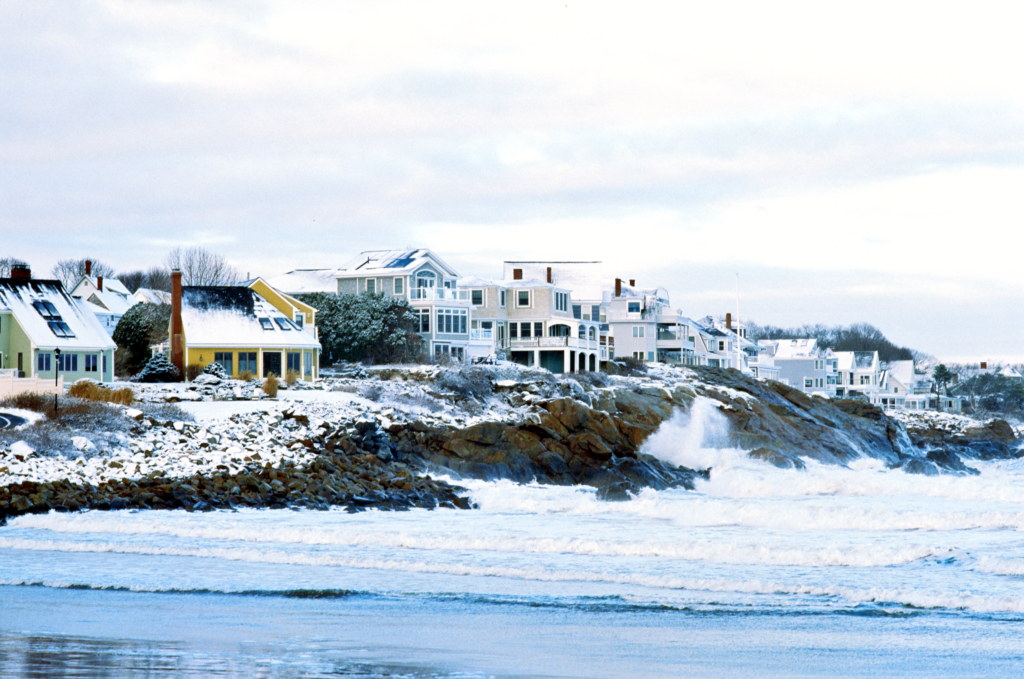
In this case, I overcompensated for the snow and the whites are pretty blown out. Nevertheless, some information in the highlights is still preserved; the cloud, seaspray, and snow textures still show through. Ektachrome is also good at capturing subtle, pastel tones in a scene, which can help with seeing how accurate your exposure is.
Provia 100F is an alternative to Ektachrome for similar reasons, but it’s much harder to find in the States and is more expensive, plus it feels a tad less forgiving. If Provia is easy to find where you are though, it’s a fine alternative, especially if you prefer the more saturated, magenta look of Fuji over Kodak’s colder, more natural rendering.
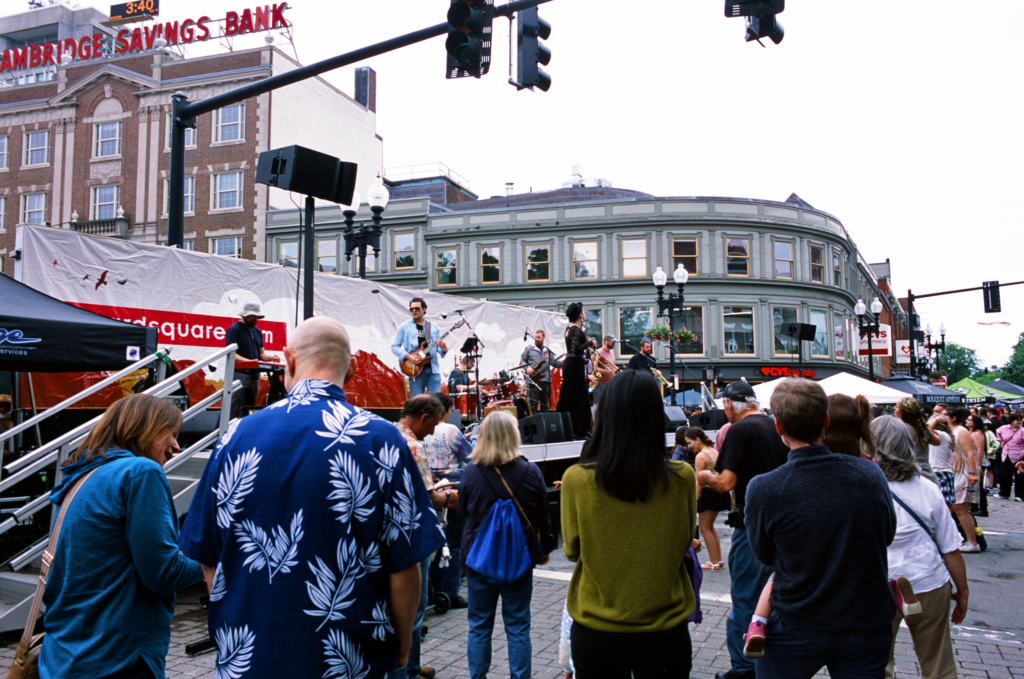
Despite TTL metering being less accurate with wide-angles, Provia was able to give me a very well exposed view of the crowd in this street concert, without any muddied shadows. The sky is blown out, but given that it was a grey, overcast day, it wasn’t a loss to me.
Another option in theory, is expired Fuji Sensia 100, if you can find some that was properly freezer stored. However I am generally against training on expired film because it introduces too many variables into the equation. The final Sensia rolls are at least 16 years old at this point, and chemical degradation will have affected their exposure latitude and color rendition. Still, if you can find some for a good price, it may be worth trying for fun.
Ultimately, slide film is a ton of fun to use, and it rewards a careful eye, regardless of whichever stock you pick. By improving my own metering approach, I’ve both increased the quality and number of successfully exposed images whenever I shoot something like Velvia, and I hope that these tips will be helpful for you too. Thank you so much for reading this, and have fun shooting!
A big thanks to Hamish and the whole 35mmc family for everything, and particularly this wonderful community.
If you’d like to see more of my work, come follow me on Flickr here.
Share this post:

Comments
Erik Brammer on How I Meter Slide Film
Comment posted: 01/09/2026
Comment posted: 01/09/2026
Walter Reumkens on How I Meter Slide Film
Comment posted: 01/09/2026
Comment posted: 01/09/2026
Andrew on How I Meter Slide Film
Comment posted: 01/09/2026
But the odd thing is that the only metering I can remember him using was the built in selenium cell meter on his Mamiya camera and possibly also sunny 16. Certainly there was nothing more fancy in his equipment drawer.
Kodachrome had a notoriously low exposure latitude. So how did my dad manage to get 95% of his slides correctly exposed? A mystery which departed with him!
Comment posted: 01/09/2026
Comment posted: 01/09/2026
David Pauley on How I Meter Slide Film
Comment posted: 02/09/2026
Comment posted: 02/09/2026
Anthony Bailey on How I Meter Slide Film
Comment posted: 02/09/2026
Jeffery Luhn on How I Meter Slide Film
Comment posted: 02/09/2026
As many of us old timers can attest, transparency films were the preferred source for printers of catalogs, magazines, etc, until digital cameras offered high resolution images. These printing businesses didn't do any corrections. Not even color balance, let alone preservation of hightlights or opening of shadows. Remember viewing chromes on the light table and being thrilled that some of them had all the tonal values needed? Maybe they were taken on a slightly overcast day, in blue hour, or of course in the studio where scene brightness ratios could be dialed in. Remember throwing away loads of chromes that were unusable brackets? It was expensive to maintain the highest quality for clients, but every working photographer had to get it right, because if you didn't get right, you weren't a working photographer for very long. When digital cameras became usable for commercial color work, I was thrilled and haven't looked back. I enjoy seeing contributors to 35mmc posting shots from color film, but for me, color is done digitally and B&W is done on film. Let others carry the torch of color film.
Comment posted: 02/09/2026