Honing In On Areas For Improvement – My First Steps into Analogue – Part 2 – By Andrea Bevacqua

By Andrea Bevacqua

Moving on from my first experiences, and having a lot of spare time, I was thinking how I could improve and enjoy more my journey. In doing so, I identified two main points. I needed to improve my exposure and improve my scanning method.

Obviously, the development is another focal point, but at the moment it does not seem to be a big deal. The Cinestill Df96 is really simple and so helps a lot, and I want to proceed by tackling the steps that feel the most important/difficult to me.

Improving my exposure

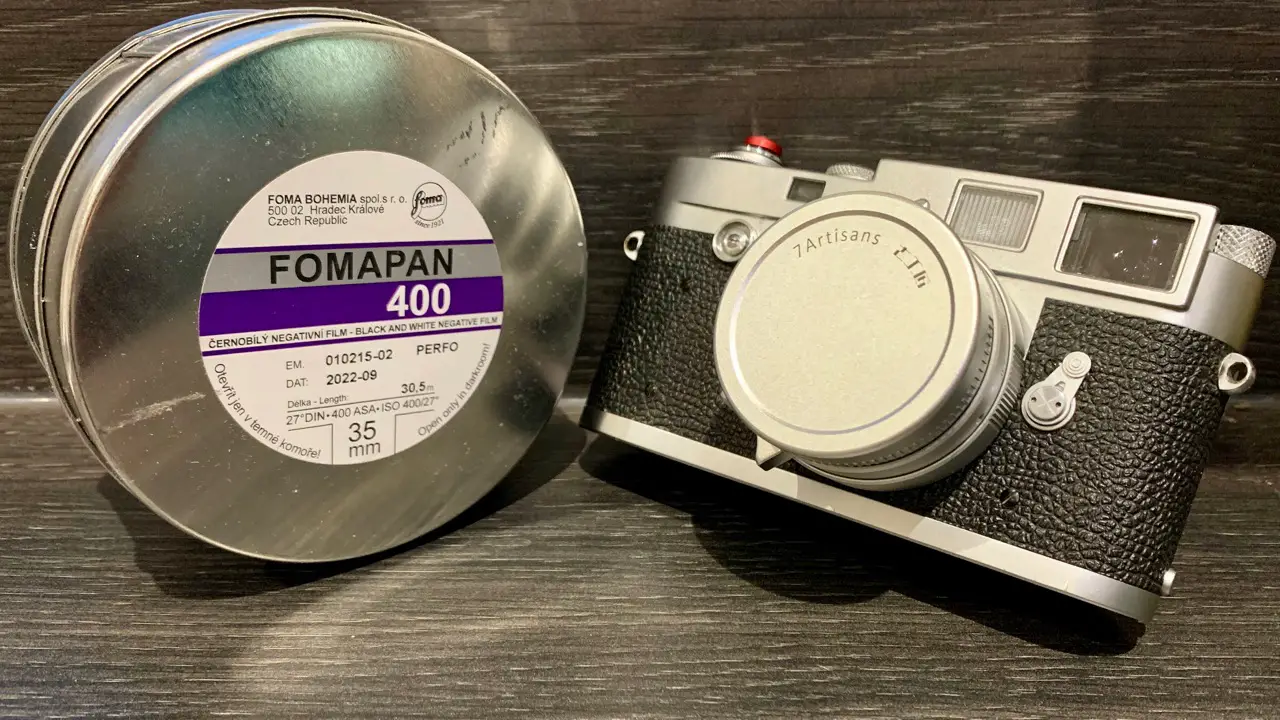
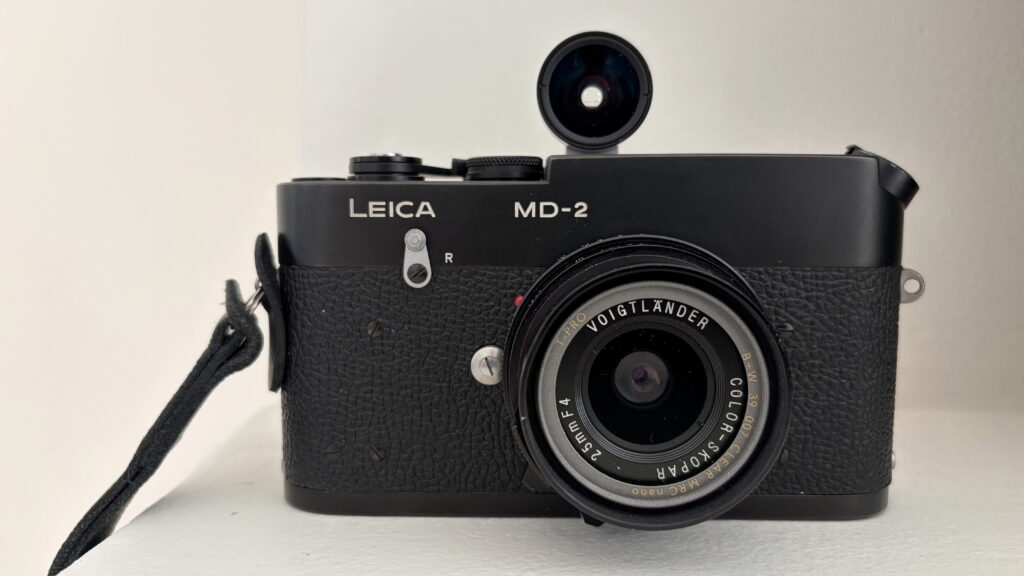
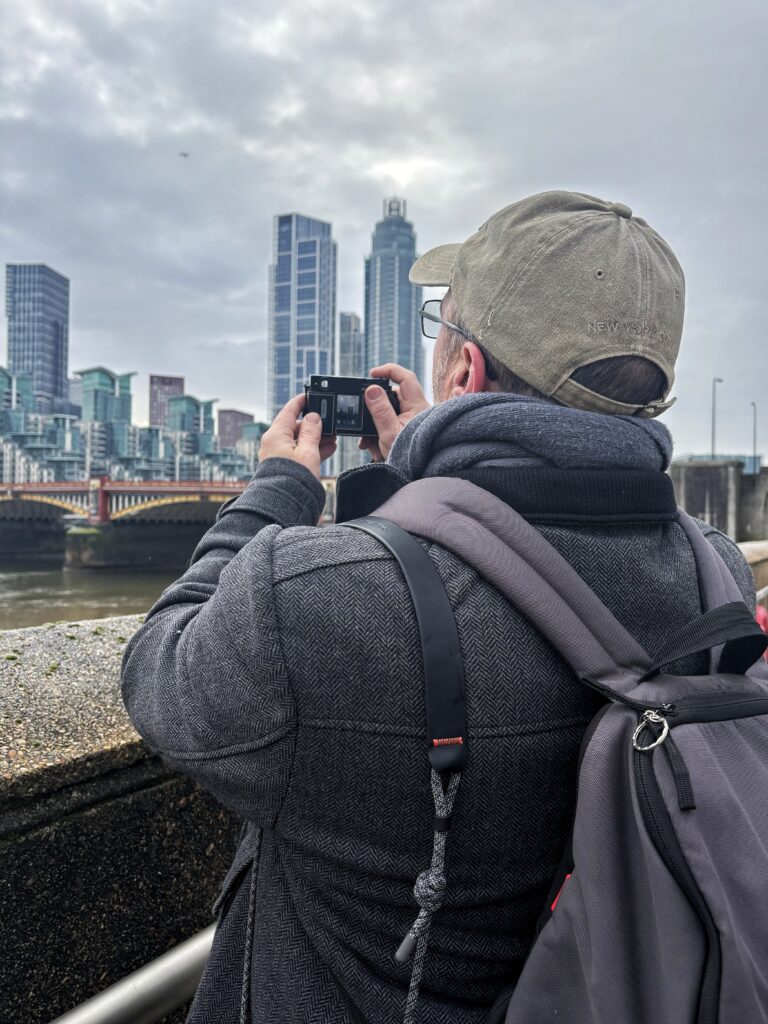
Having the opportunity to use a Leica M2, because I love the feeling of the rangefinder and quality in general, I thought I should have to “master” it first. I felt like I would also prefer to avoid taking out my phone every time in order to read the exposure. Reading around online looking for a solution to this stumbled across the sunny 16 rule. I found this article very interesting and useful, but as I said, there’s tons online about this topic.

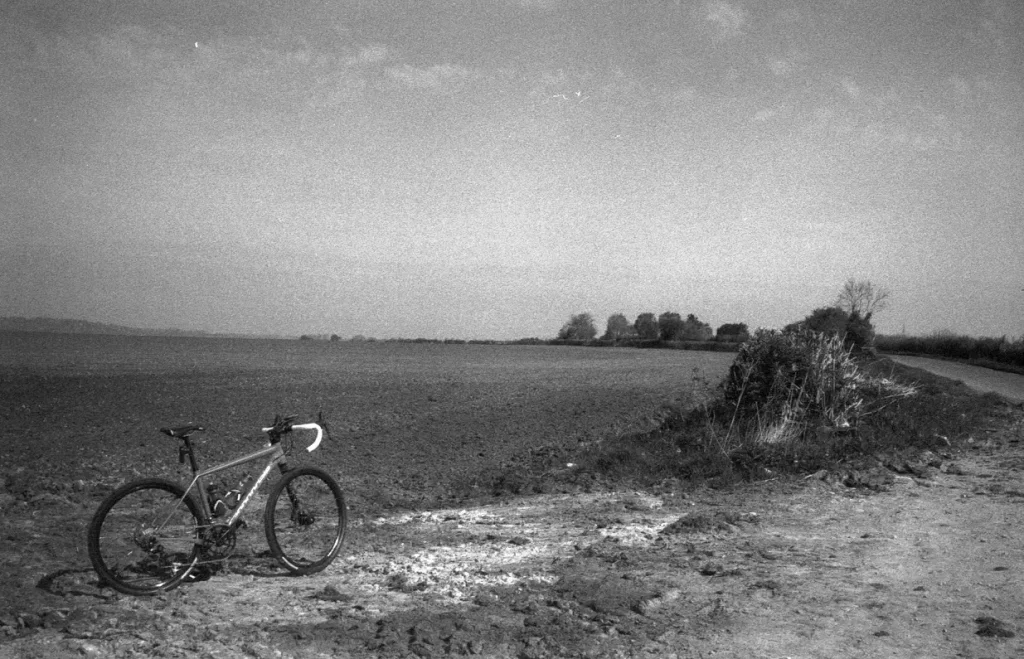
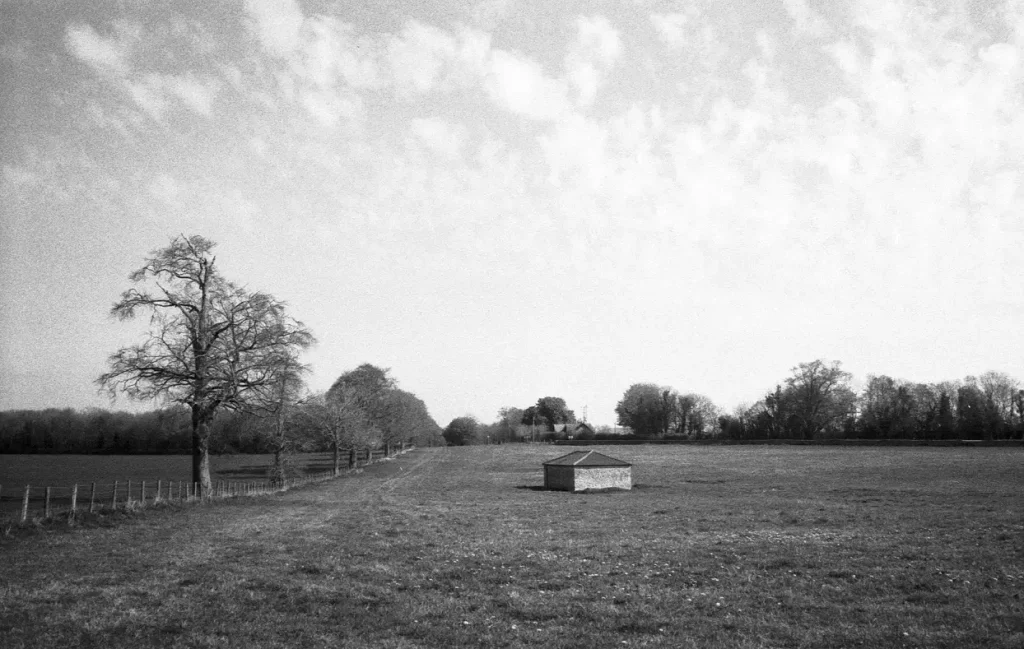
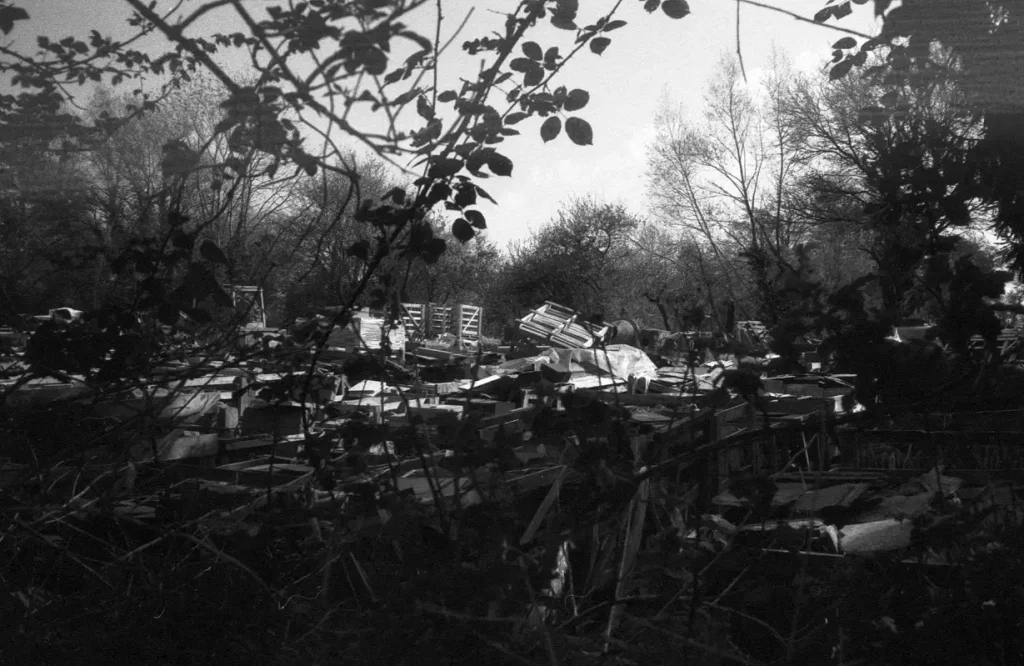
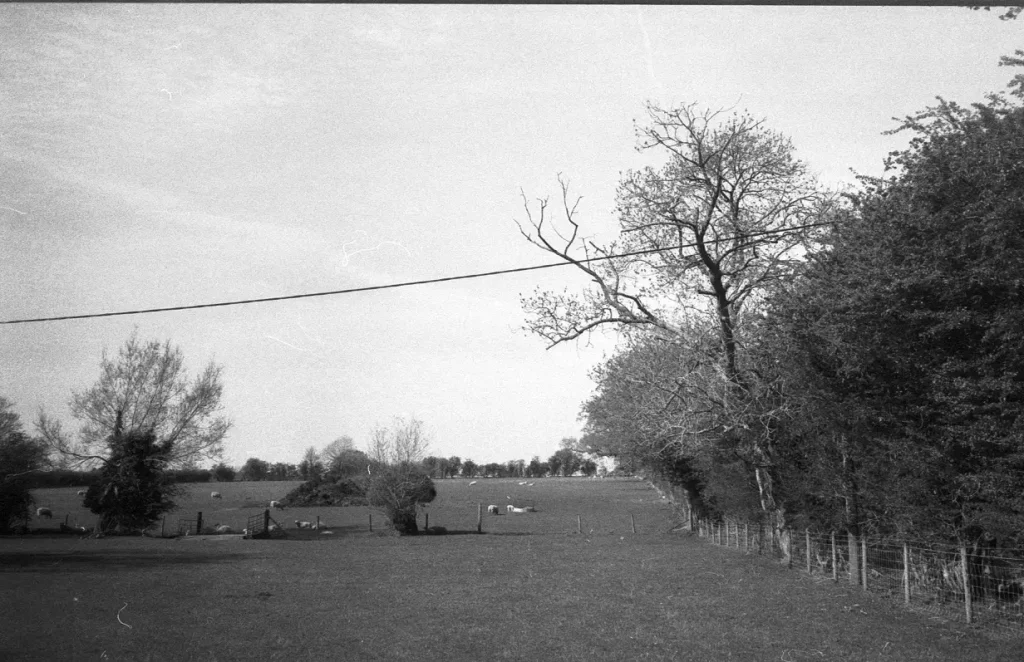
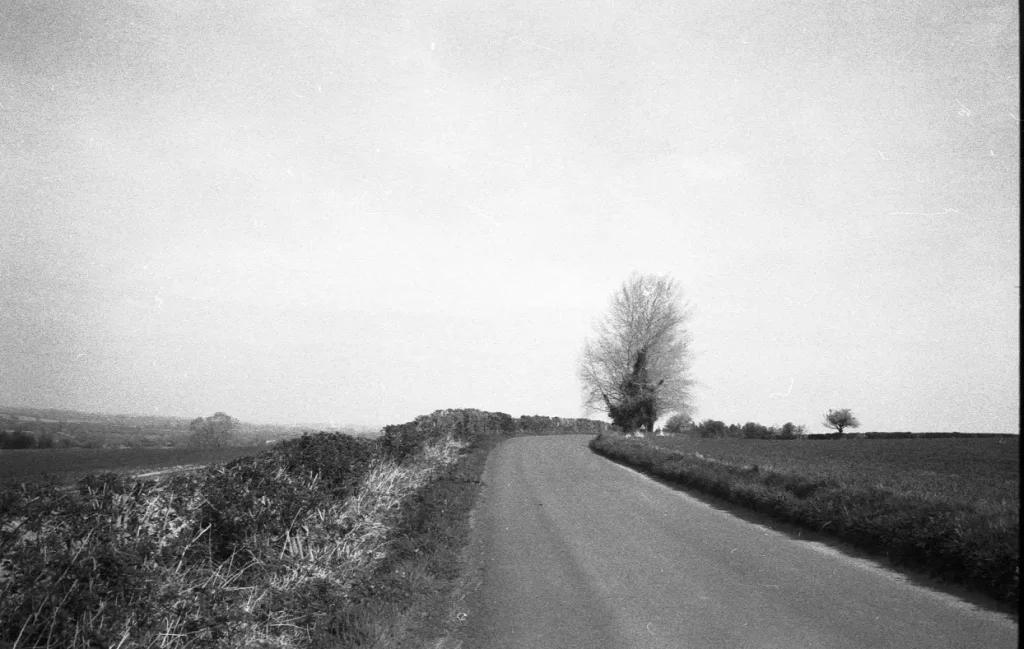
The principle is very easy, but it requires a bit of attention when you come across some specific situations. Fortunately for me when experimenting with this technique for the first time, I think it was easier than it could have been. When I shot these landscapes, there were not a lot of shadows – perhaps if I approached street photography with this technique it would be a different story.

I applied the rule and the results are here below. I was surprised how little I had to tweak the images in post pro. I only adjusted the exposure and the contrast here and there, and only a little. My aim is to only need to make minimum adjustments with the scanning software, and I think to do this I need to be able to make a balanced image in the camera. And in order to achieve that, the only answer is repeated good exposures.

I am going to carry on experimenting with the Sunny 16 rule, but I have also started to look for a small dedicated light meter that I can carry with me and use without having to look at my phone.

Leica M2 – Fomapan 400 – Cinestill Df96 – 7Artisans 35mm

Improve the scanning method

I find the scanning process very laborious and boring, so I want to keep it as short as possible. I thought that one way of achieving it that would be to make it as automatic as possible and to find a decent software which is “clever” enough to reduce my interactions to the minimum.

I bought an Epson V600 which comes with its own software which is not too bad but it requires a constant presence. I mean, once you have launched the scanning process, you can’t use the computer for something else because as soon as you open another window, it stops scanning! The same if you leave it alone working. You have to move the mouse pointer on its pop-up windows, otherwise it goes into sleep and the process stops. So annoying …

So, I found out about another software option Silverfast (there is also the free version of it). The nice two points of it are:

  • It has got a powerful scratch/dust removal feature (which does not work on B&W!)
  • It has got a feature which simulate the emulsion for some most used films

I found these two features quite interesting so I decided to download the free version and give it a go. Again, it requires a bit of attention, but once you understand a few of the processes, it is quite easy to obtain a decent scan. The support forum is very useful too – it’s very active so you can find most of the answer to your doubts and questions with a bit of searching.

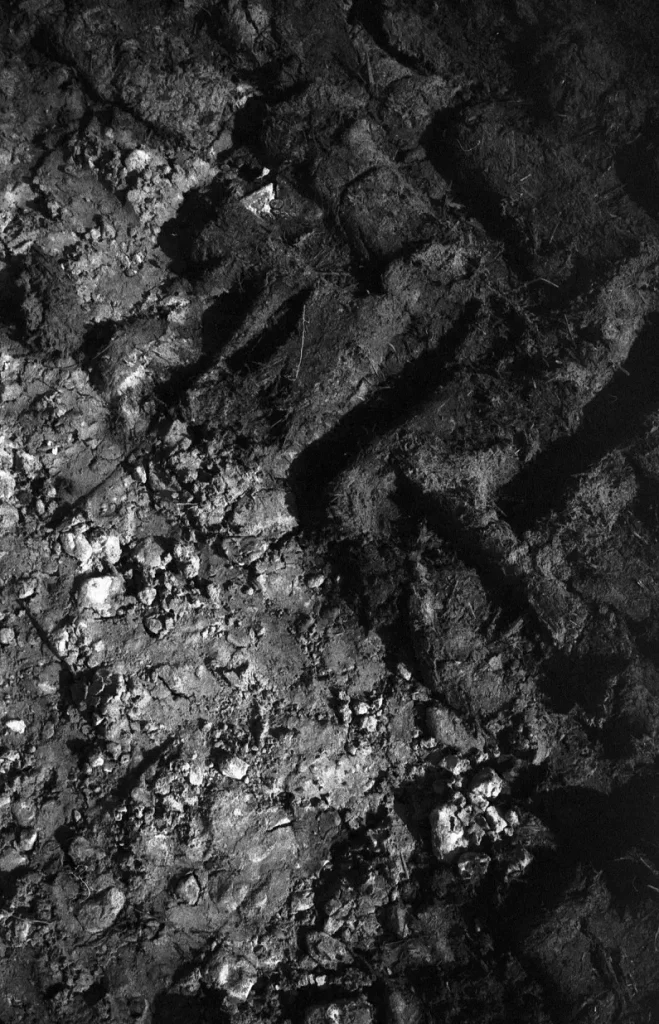
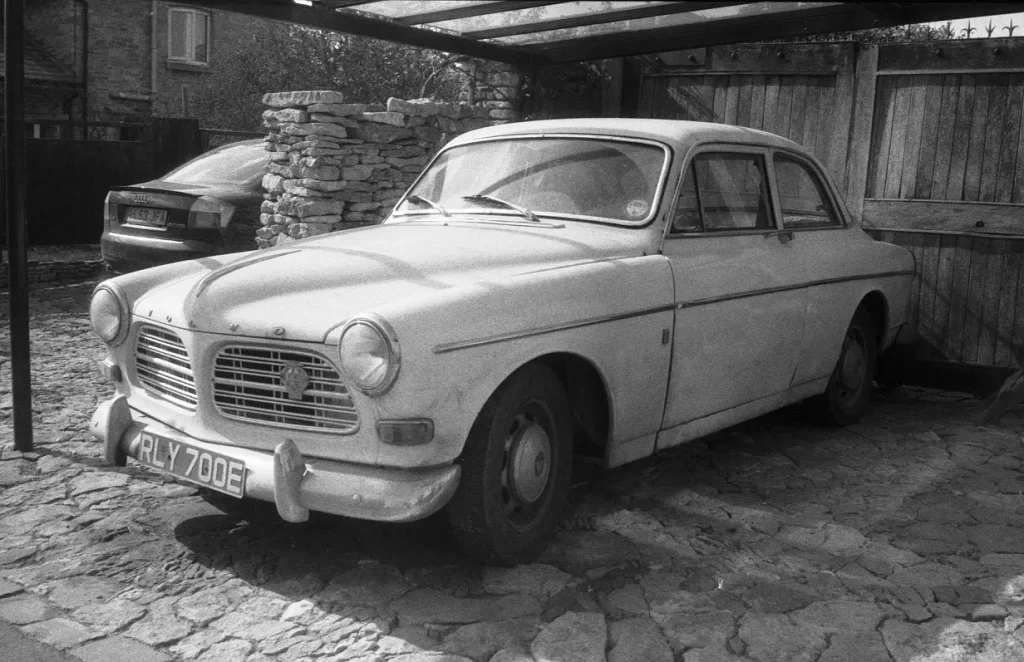
The main problem I am encountering is the lack of details in my scans and I don’t understand if it is a matter of the scanning process, the developing or something else. As I have said, I know I need to improve my developing process as well, but at the moment I am following the instruction given with the developer, so I am quite confident that it is going well enough to achieve slightly better results than I am getting out of the scanner. So I think it is more a matter of the scanning process, but I will have to do more tests and reading.

I should say, I didn’t pay too much attention to the dust, and some of my images have also got watermarks – something else to work on improving, I think that a bit of isopropyl alcohol could do the trick.

8 – Leica M2 – Fomapan 400 – Cinestill Df96 – 7Artisans 35mm
11 – Leica M2 – Fomapan 400 – Cinestill Df96 – 7Artisans 35mm
13 – Leica M2 – Fomapan 400 – Cinestill Df96 – 7Artisans 35mm
15 – Leica M2 – Fomapan 400 – Cinestill Df96 – 7Artisans 35mm

Thanks for taking the time to read this article, if you have any tips for me, please share them, otherwise, please check out my Instagram.

Share this post:

Find more similar content on 35mmc

Use the tags below to search for more posts on related topics:

Contribute to 35mmc for an ad-free experience.

There are two ways to contribute to 35mmc and experience it without the adverts:

Paid Subscription – £2.99 per month and you’ll never see an advert again! (Free 3-day trial).

Subscribe here.

Content contributor – become a part of the world’s biggest film and alternative photography community blog. All our Contributors have an ad-free experience for life.

Sign up here.

About The Author

By Andrea Bevacqua
I am passionate about photography but I have got so much to learn! I am just at the beginning of my analogue journey and I am so thirsty to know and understand how to produce decent images. What fascinate me the most is the street photography and all the stories that it can tells.
View Profile

Comments

Merlin Marquardt on Honing In On Areas For Improvement – My First Steps into Analogue – Part 2 – By Andrea Bevacqua

Comment posted: 07/05/2020

https://www.hamrick.com/

Kodak PhotoFlo
Reply

Leave a Reply

Your email address will not be published. Required fields are marked *

Patrick Cook on Honing In On Areas For Improvement – My First Steps into Analogue – Part 2 – By Andrea Bevacqua

Comment posted: 07/05/2020

The lack of details in your scan would be the scanner. Flatbed scanners are not good for 35mm. Try getting a second hand Nikon Coolscan or scanning with a digital camera and software like NLP.
Reply

Leave a Reply

Your email address will not be published. Required fields are marked *

Andrea Bevacqua replied:

Comment posted: 07/05/2020

Thanks Patrick, I will have a look!

Reply

Leave a Reply

Your email address will not be published. Required fields are marked *

Roger B on Honing In On Areas For Improvement – My First Steps into Analogue – Part 2 – By Andrea Bevacqua

Comment posted: 07/05/2020

Before buying a dedicated scanner, consider using your DSLR or mirrorless camera and a light box, with the 35mm film transport made by Negative Supply. Why buy a $800 scanner when you already own one - disguised as a camera.
Reply

Leave a Reply

Your email address will not be published. Required fields are marked *

Andrea Bevacqua replied:

Comment posted: 07/05/2020

Hi Roger, My camera is quite old (canon 30d) and I don’t have a lens suitable for this job. Only the lens would cost as the scanner (paid 230£...not a lot).

Reply

Leave a Reply

Your email address will not be published. Required fields are marked *

stephen j roberts replied:

Comment posted: 07/05/2020

That negative supply film transport is ridiculously expensive.

Reply

Leave a Reply

Your email address will not be published. Required fields are marked *

Brian Dedora on Honing In On Areas For Improvement – My First Steps into Analogue – Part 2 – By Andrea Bevacqua

Comment posted: 07/05/2020

I find it odd and not just with your posts, Andrea, but many others that for some reason will not add the f-stop and shutter speed of photos they are using to illustrate some point. When your out learning and want to learn more this info on photo examples might help...I understand that post developing one can make changes in contrast or crop but the photo began with the original f-stop and shutter speed plus, of course ISO and film maker.
Reply

Leave a Reply

Your email address will not be published. Required fields are marked *

Andrea Bevacqua replied:

Comment posted: 07/05/2020

Hi Brian, Yes I got your point. The thing is that, in order to do that, you should have to write it down for every shoot you do. Is not very practical and it is very time consuming, but I absolutely agree with you.

Reply

Leave a Reply

Your email address will not be published. Required fields are marked *

Philipp Kaiser on Honing In On Areas For Improvement – My First Steps into Analogue – Part 2 – By Andrea Bevacqua

Comment posted: 07/05/2020

Hey, you've already switched to Silverfast but if you should ever decide to try out the Epson software again, there's a fix for that constant mouse wiggling thing. You have to download the Epson Scan Common Updater from Epsons Website. https://www.google.com/amp/s/aows.co/blog/how-to-prevent-your-epson-scanner-v550-v600-from-pausing-between-images-when-scanning-multiple-photos?format=amp
^ That's the article which helped me out with that. Hope it helps! Great article mate!
Reply

Leave a Reply

Your email address will not be published. Required fields are marked *

Andrea Bevacqua replied:

Comment posted: 07/05/2020

Hey Philipp, Thanks for this tip! I did not know that and yes, it is very very helpful. Thanks a lot!

Reply

Leave a Reply

Your email address will not be published. Required fields are marked *

David hill on Honing In On Areas For Improvement – My First Steps into Analogue – Part 2 – By Andrea Bevacqua

Comment posted: 08/05/2020

Merlin said this up top of these remarks but it seems to have fallen by the wayside. "Kodak Photoflo". It's a wetting agent to prevent watermarks when drying your film. "Kodak Photoflo". Denatured alcohol is NOT the soltition; photoflo is. After your final wash cycle you dip the film in pfotoflo solution, and hang to dry. A wetting agent breaks the surface tension of water so it runs easily off your film without forming the "puddles" which cause watermarks.
Reply

Leave a Reply

Your email address will not be published. Required fields are marked *

Andrea Bevacqua replied:

Comment posted: 08/05/2020

Thank you David, I started suing the Ilford wetting agent and I see some improvement. I also noticed that many, rather than doing the last bath with it into the tank, they just run the film into a big jug with water and wetting agent.

Reply

Leave a Reply

Your email address will not be published. Required fields are marked *

Sroyon on Honing In On Areas For Improvement – My First Steps into Analogue – Part 2 – By Andrea Bevacqua

Comment posted: 11/05/2020

You could consider getting a Leicameter MR. It was designed as an M2/M3 accessory and integrates beautifully with the shutter speed dial. The older Leicameters with selenium cells rarely work, but the later ones with CdS cells are often found in working order.
Reply

Leave a Reply

Your email address will not be published. Required fields are marked *

Andrea Bevacqua replied:

Comment posted: 11/05/2020

Hi Sroyon, Yes, I did consider that, also because I think is just a beautiful piece which fit very nicely on the camera. At the moment I am carrying on with the Lumu app and the sunny 16, but it is not excluded ???? Thanks, Andrea

Reply

Leave a Reply

Your email address will not be published. Required fields are marked *

Some little improvements - My First Steps into Analogue - Part 3 - By Andrea Bevacqua - 35mmc on Honing In On Areas For Improvement – My First Steps into Analogue – Part 2 – By Andrea Bevacqua

Comment posted: 14/05/2020

[…] up my previous article, I was determined to iron some issues I identified in my process, hoping it would lead me to an […]
Reply

Leave a Reply

Your email address will not be published. Required fields are marked *

Leave a Comment

Leave a Reply

Your email address will not be published. Required fields are marked *