My second year of shooting film – Part 16
(Read Part 15 here)
For about nine months now I have been developing colour film at home, so I thought it was time to share some experiences. But to start with my conclusions: I don’t have a fool-proof strategy yet. My biggest struggle is dealing with chemicals going bad: how to recognise it, how to deal with it, and how to prevent it. I will share my results, and my current solution, but I am hoping for some input from readers with more experience.
Developing with fresh chemicals
So back to the beginning: after purchasing a scanner at the end of last year, I didn’t have an excuse anymore not to develop film myself. I started with black and white, but as I mostly shoot colour film I soon after decided I should try to do that myself too. I don’t want to make this into a tutorial on developing colour film, as there are a lot of good tutorials online. I will just share the link of my favourite, not only because it is useful, but this one is very funny too:
https://petapixel.com/2016/06/28/developing-color-film-need/
Developing the first rolls were scary, but I found it not too difficult, you just have to be precise and be patient. And of course you need a thermometer. I use a wine thermometer that has enough precision and that I can stick directly in the bottle of developer (in the photo the bottle sits in the sink as it is ready to use, but to get it to this temperature I use a bucket with hot water):
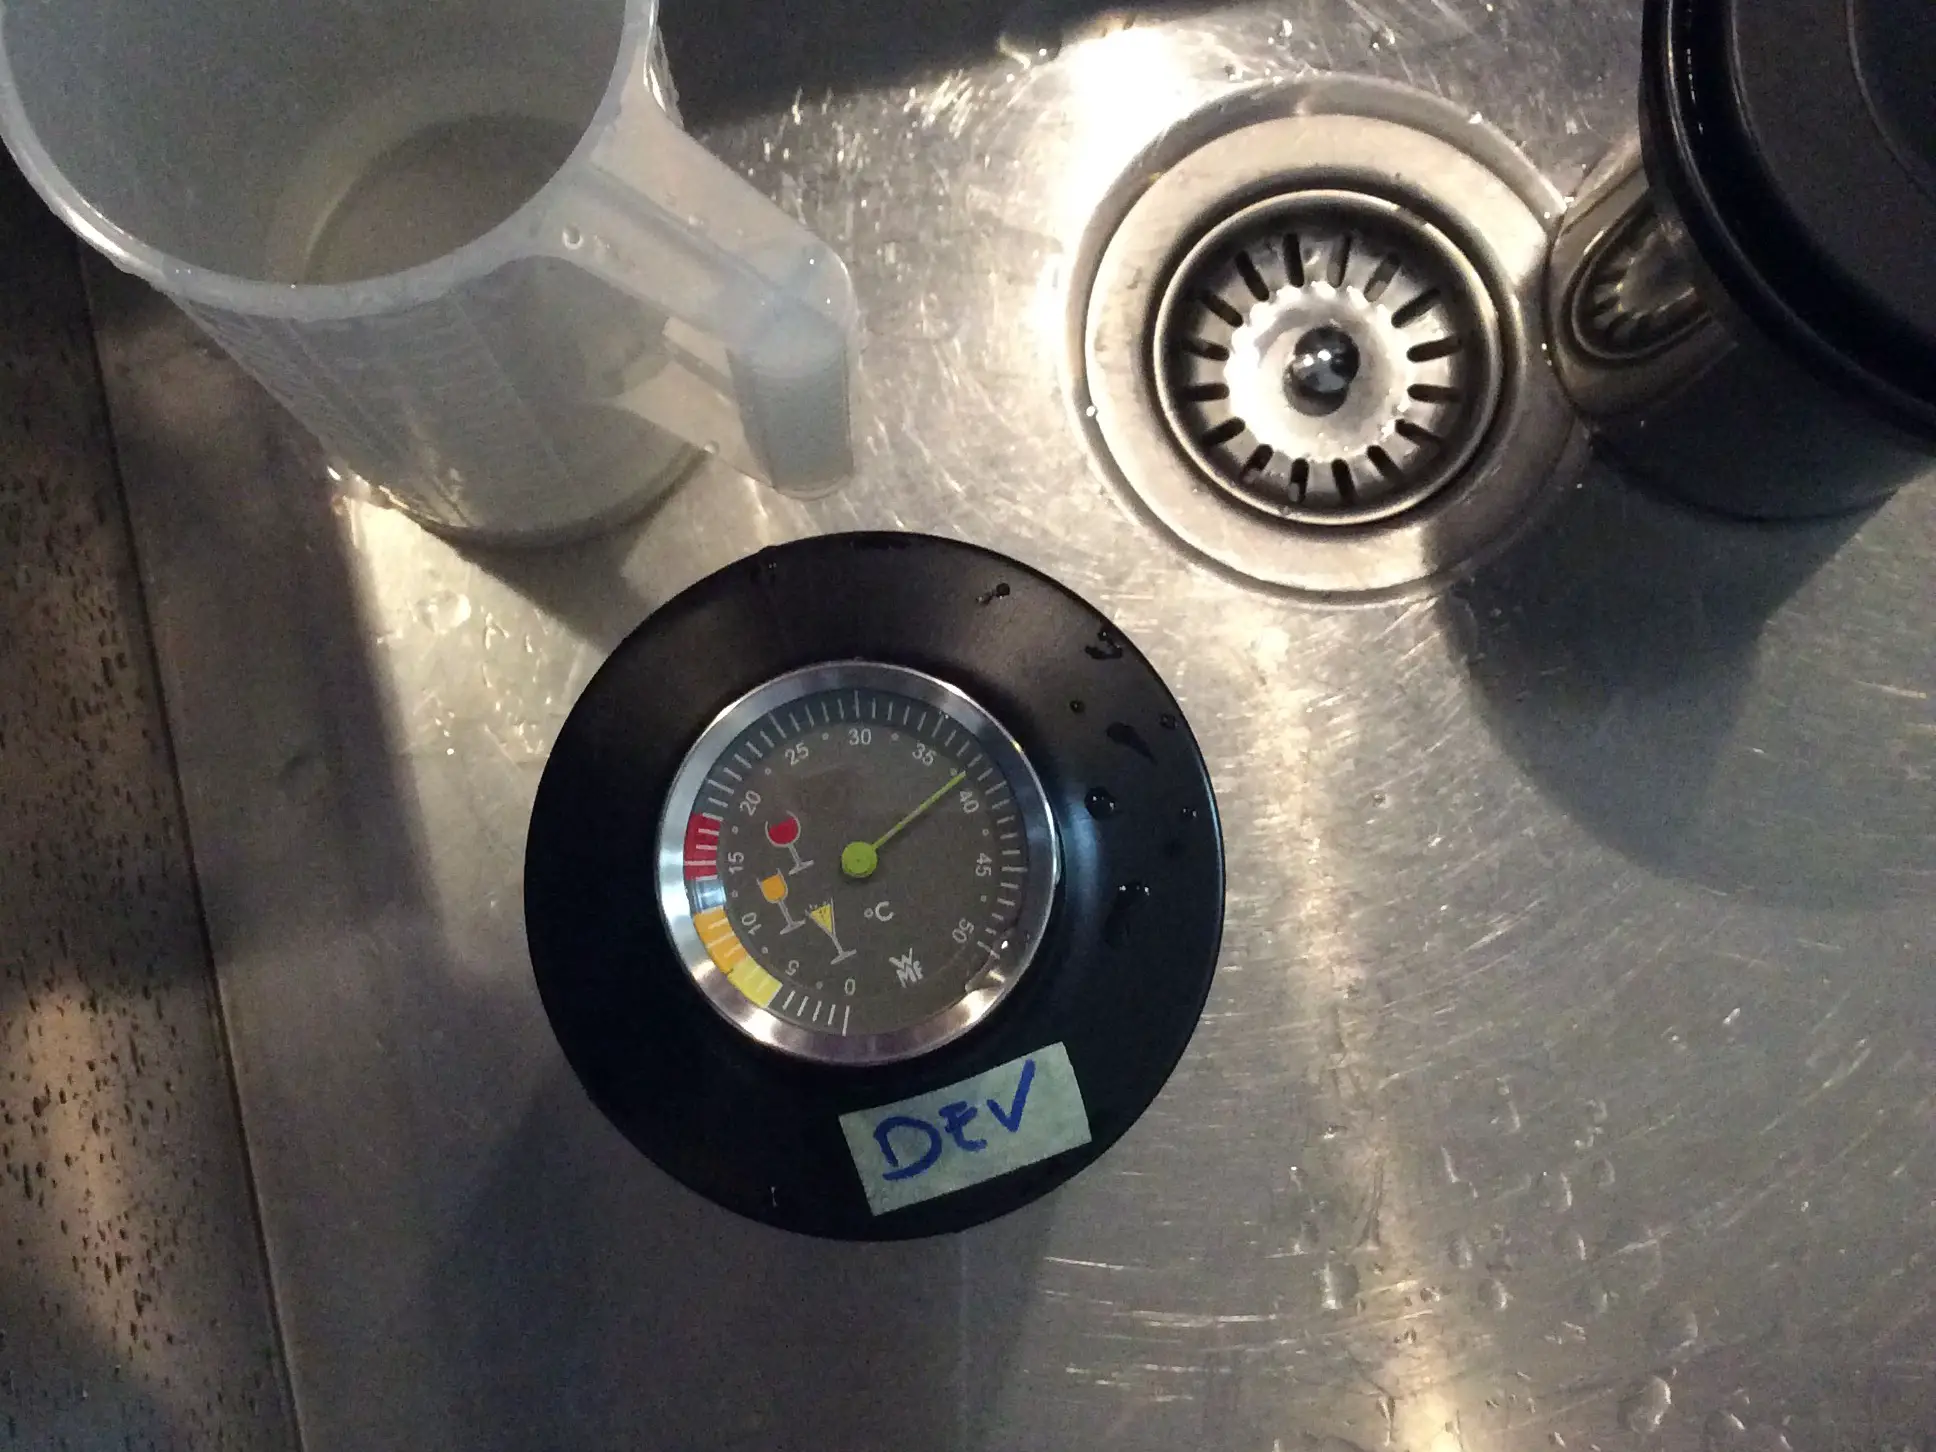
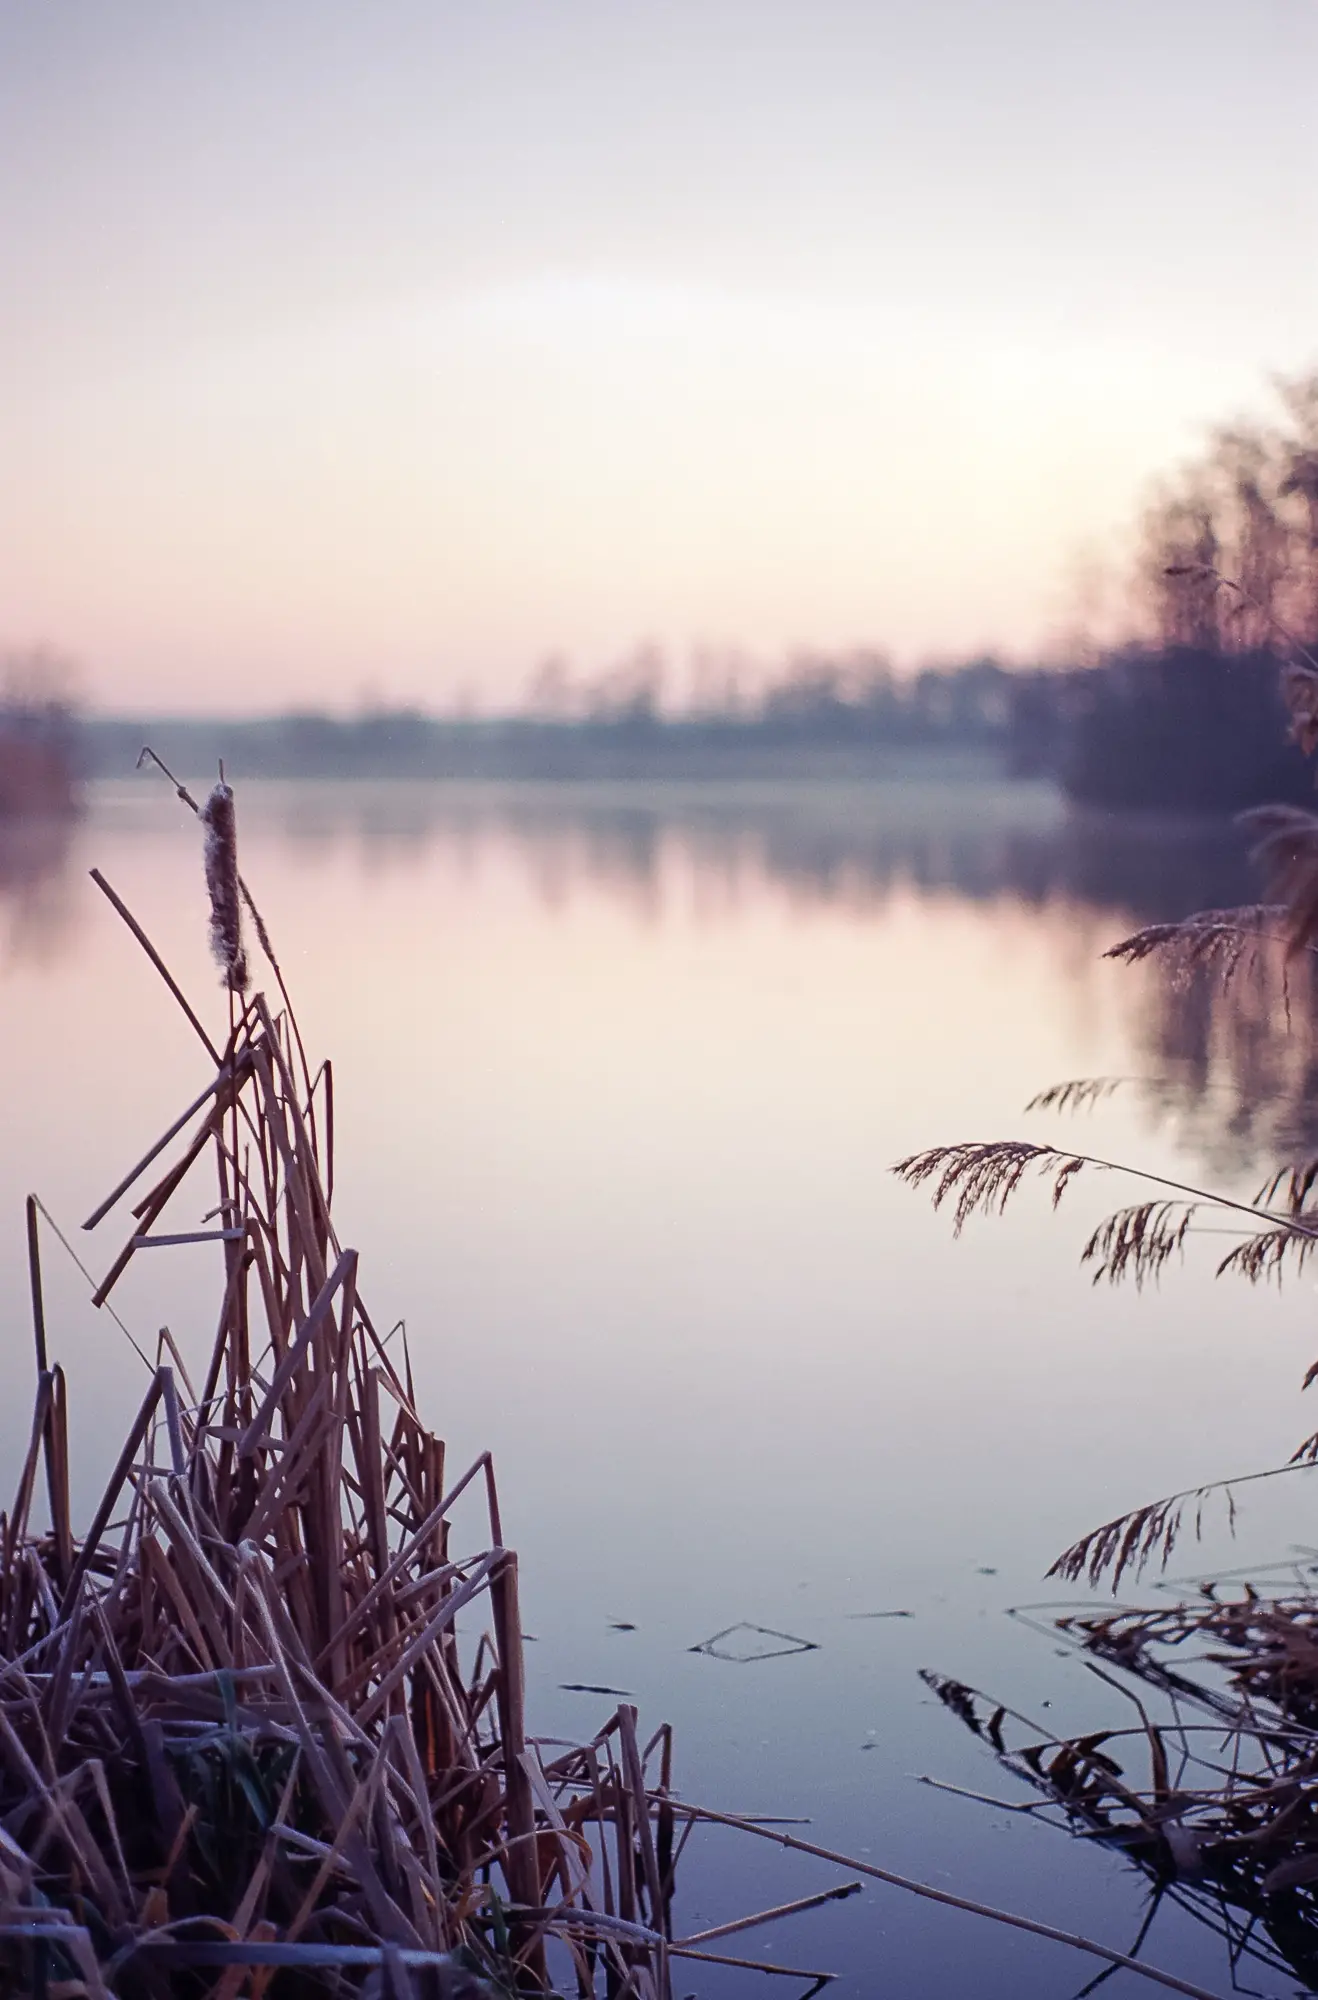
There are several different makes of chemicals for developing colour negative film, I choose Tetanal Colortec C-41 Rapid kit, mostly based on availability. The first results were very encouraging:
The effect of ageing chemicals
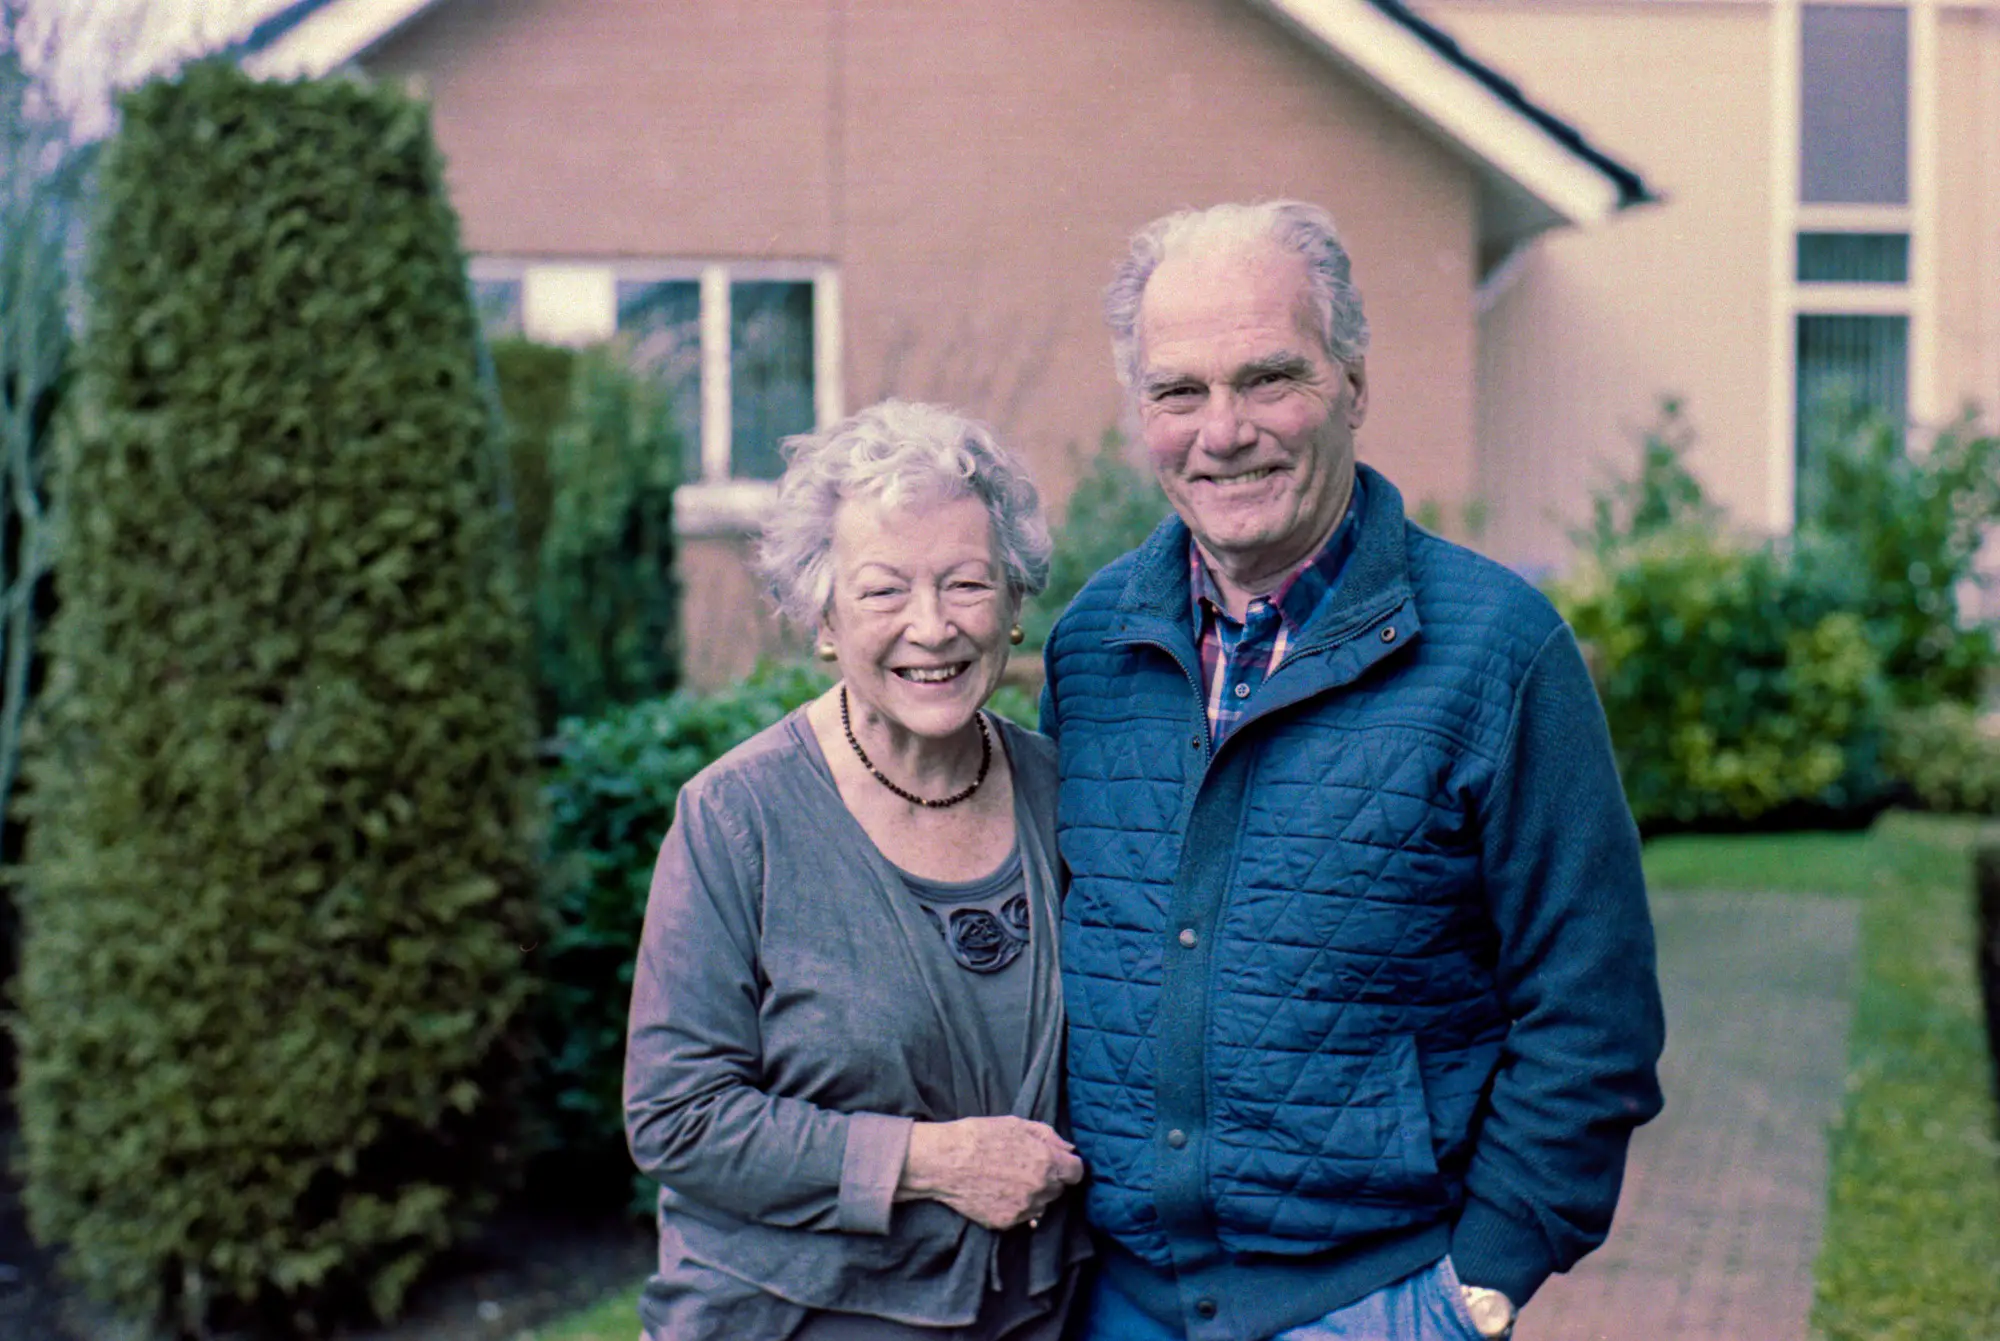
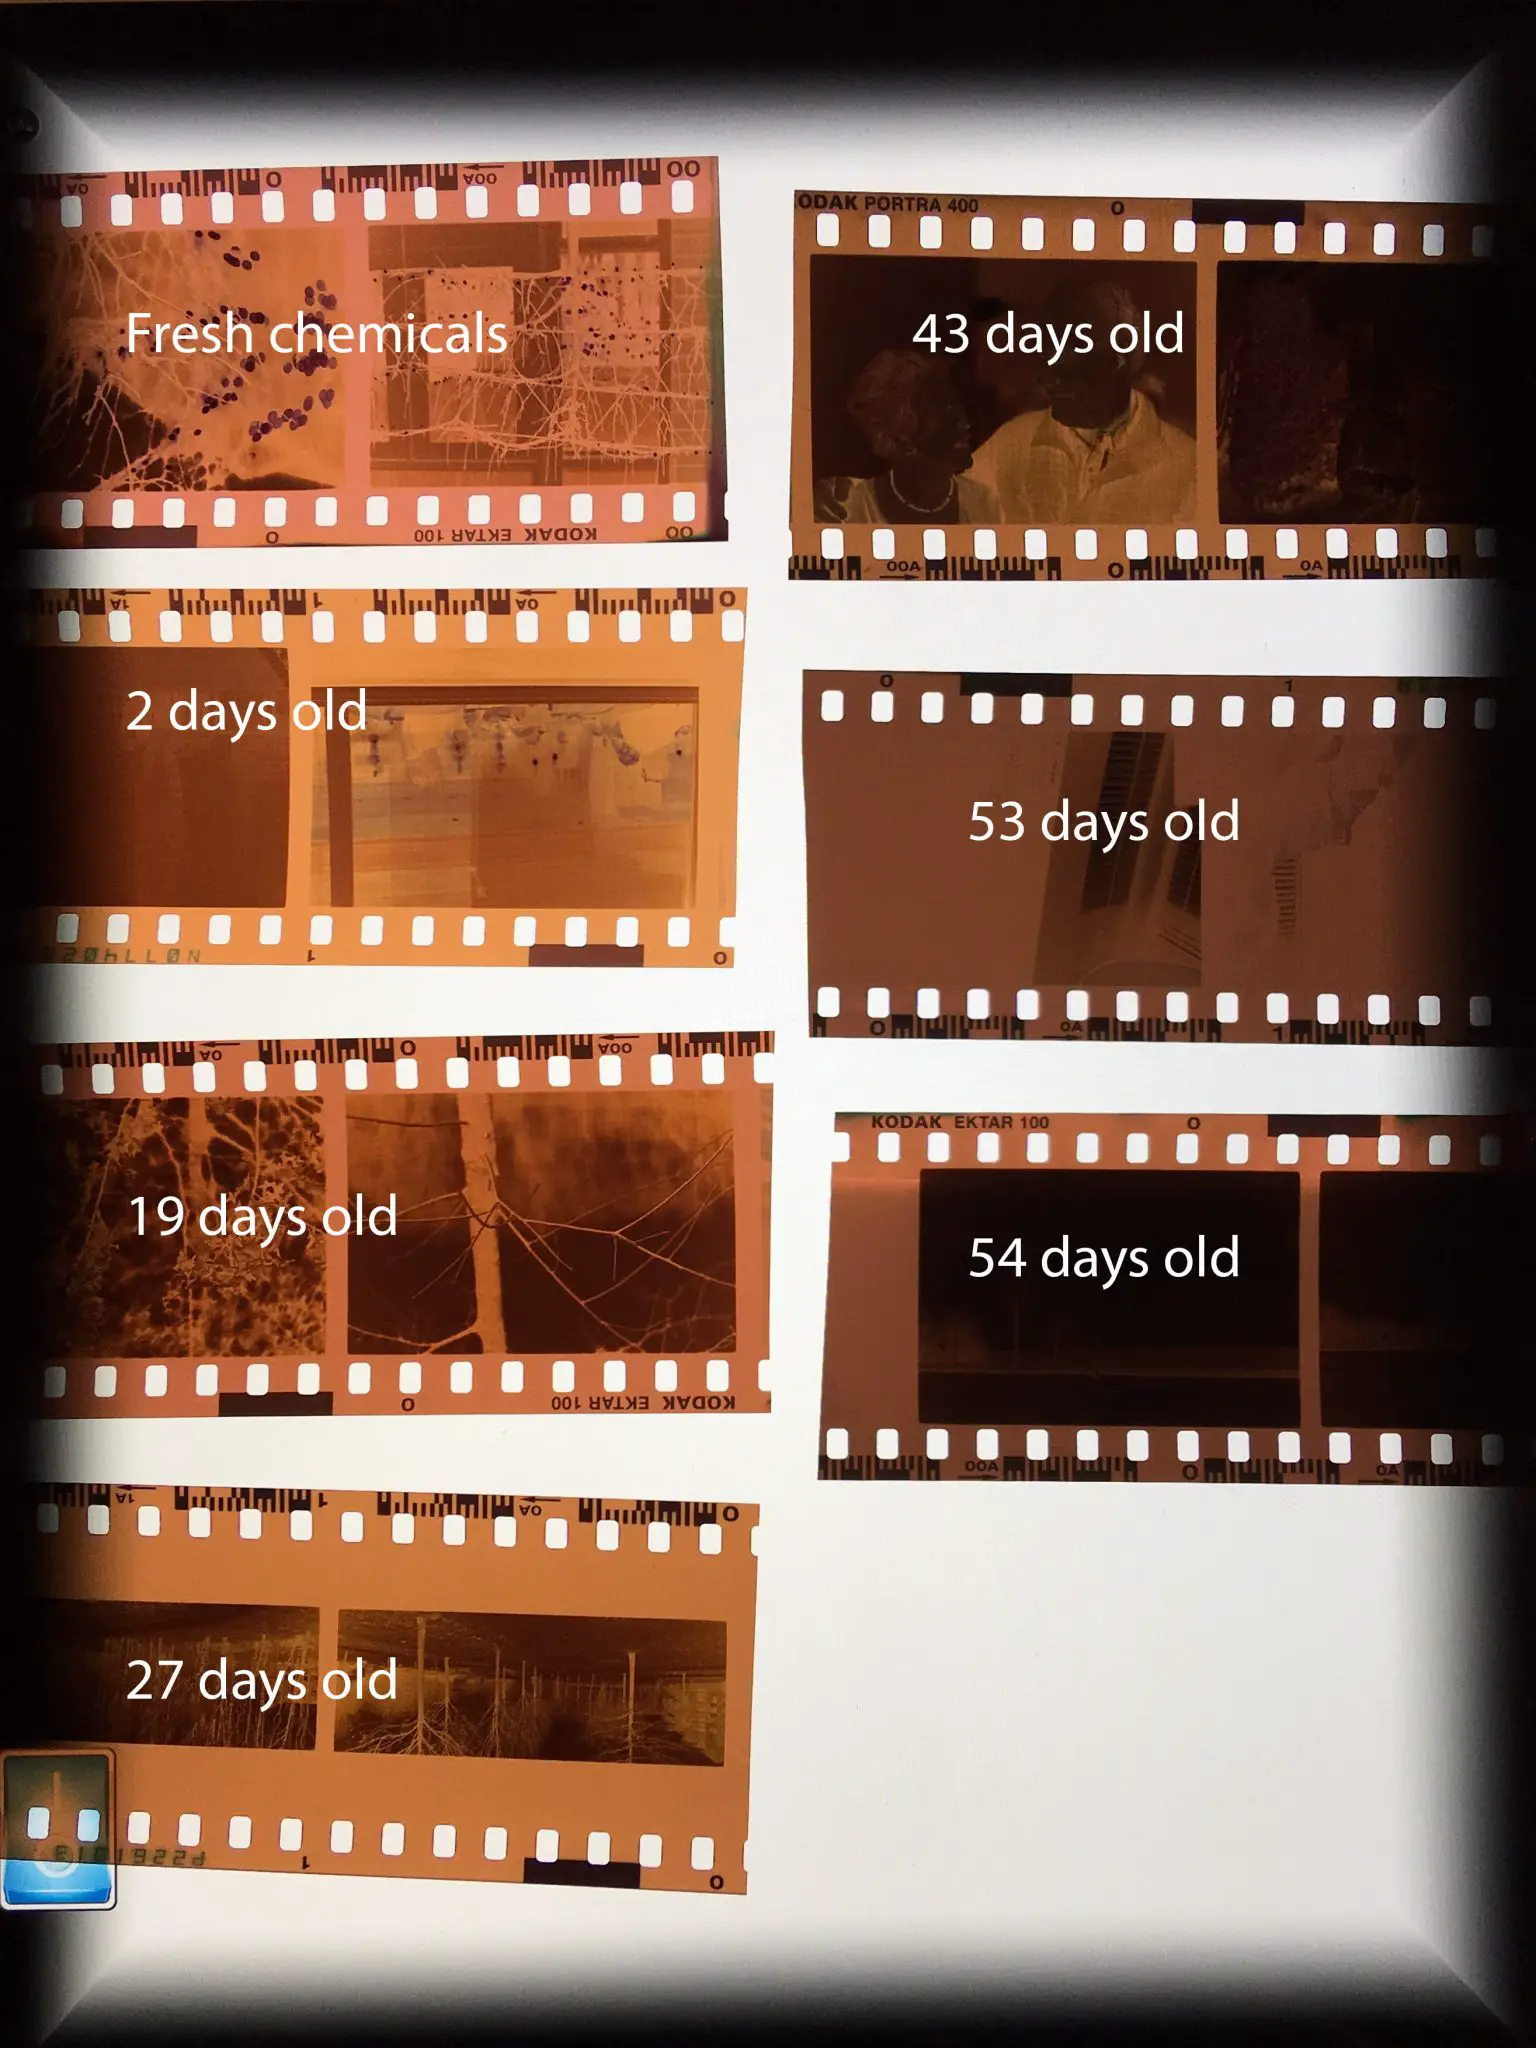
After a few rolls things get more difficult. And this is also when I couldn’t find a lot of information online, so here is where I ask you to get involved. You see I don’t shoot a lot of film, so even the smallest available amount of chemicals (for 1 Liter) will last me longer than the specified shelf life, which is about two weeks after opening and mixing. I do read people online claiming to make it last longer, but I found it difficult to establish exactly how long I can use it. So at some point I started to see a problem with the film I developed. Below is an example of Kodak Portra 400 developed in Tetenal that was 43 days old. You see the colours are way off, and I just couldn’t get it right during scanning or in post-processing.
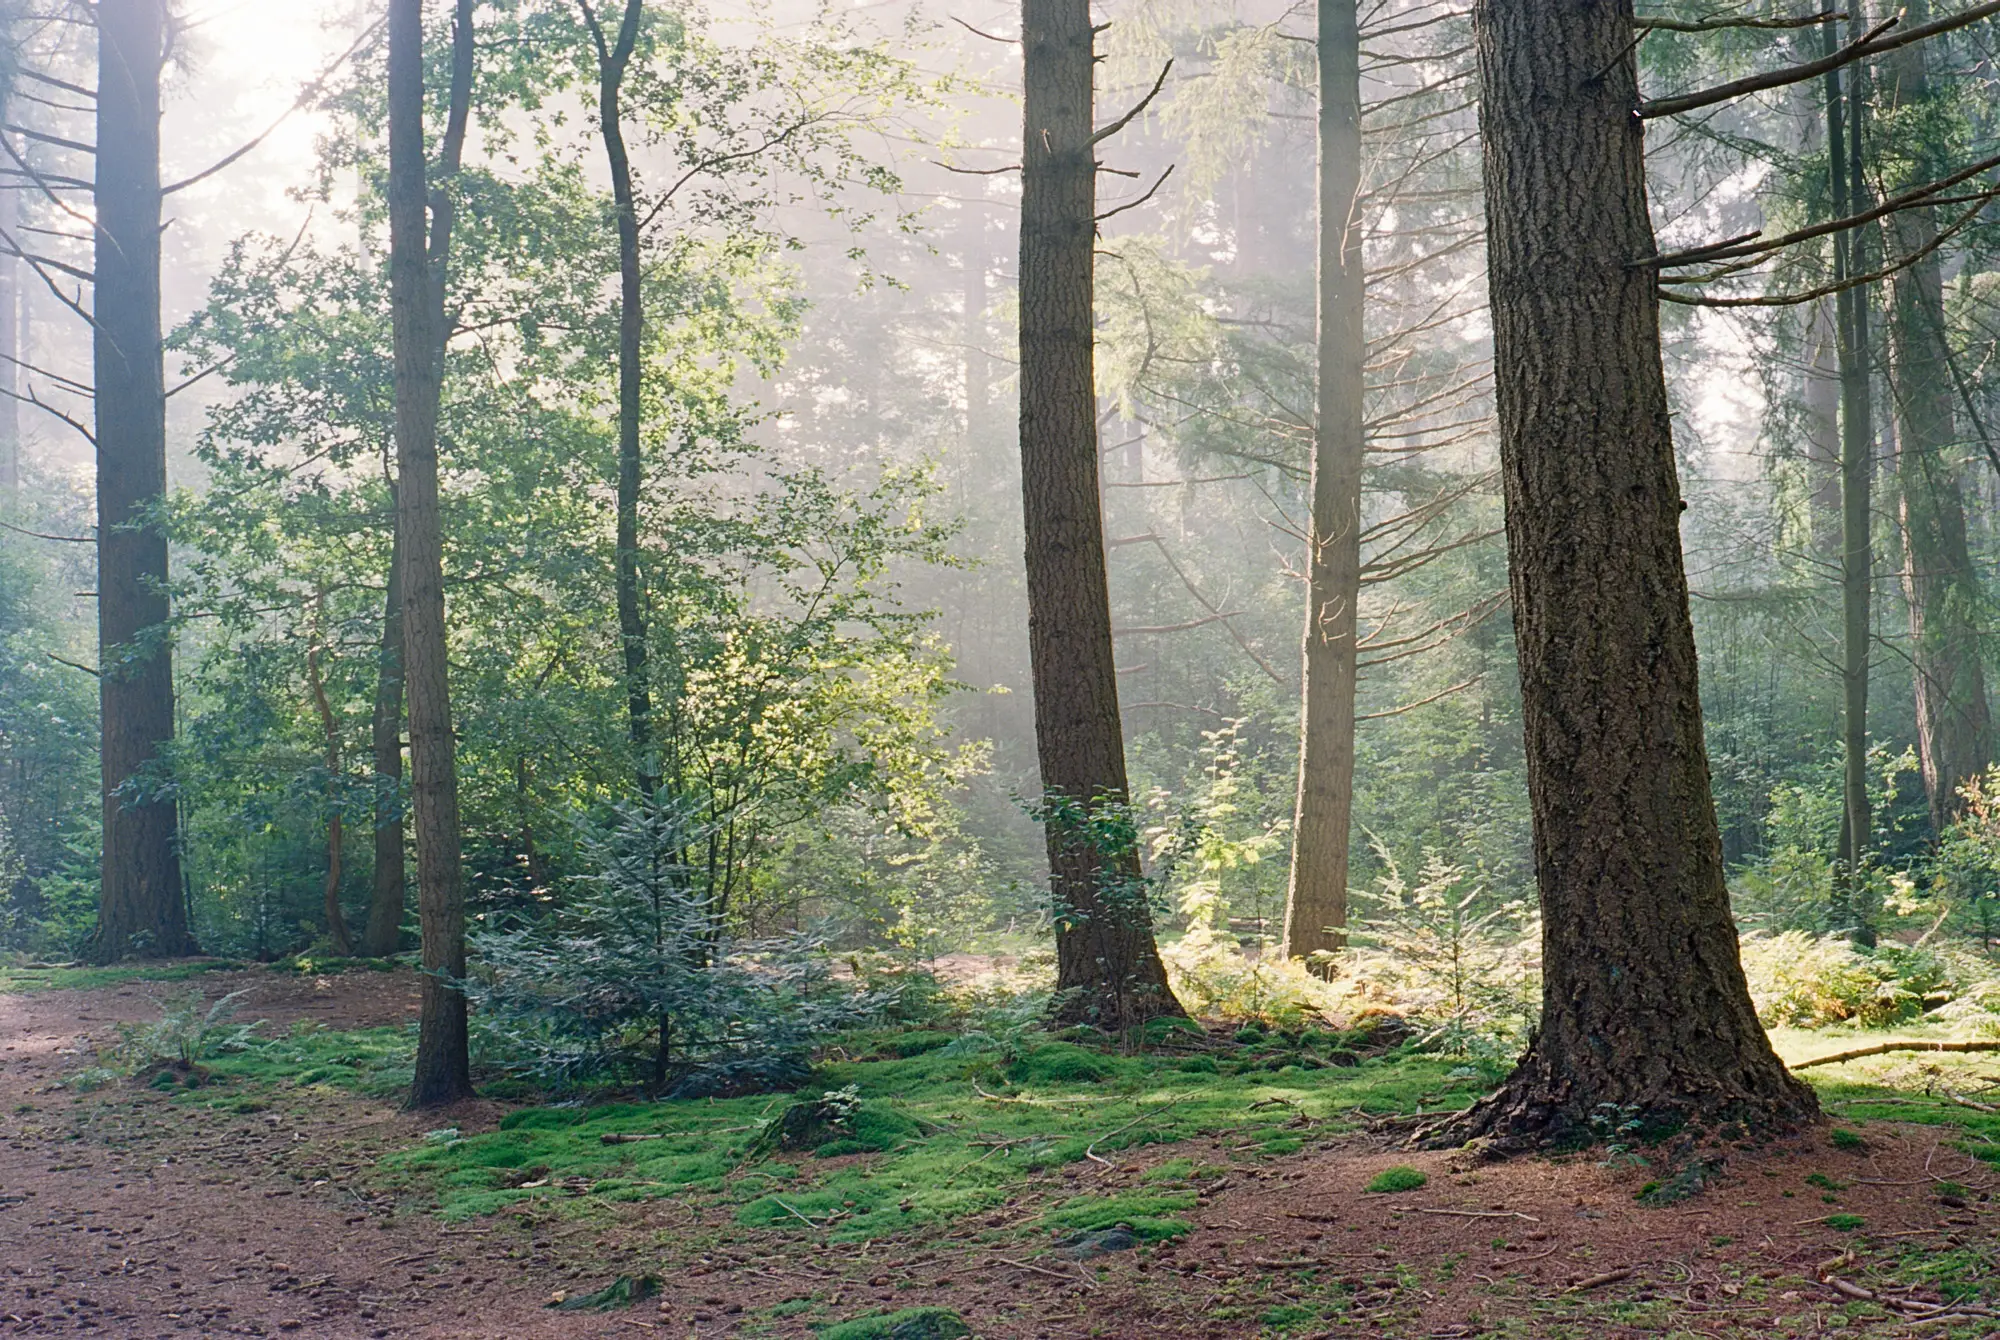
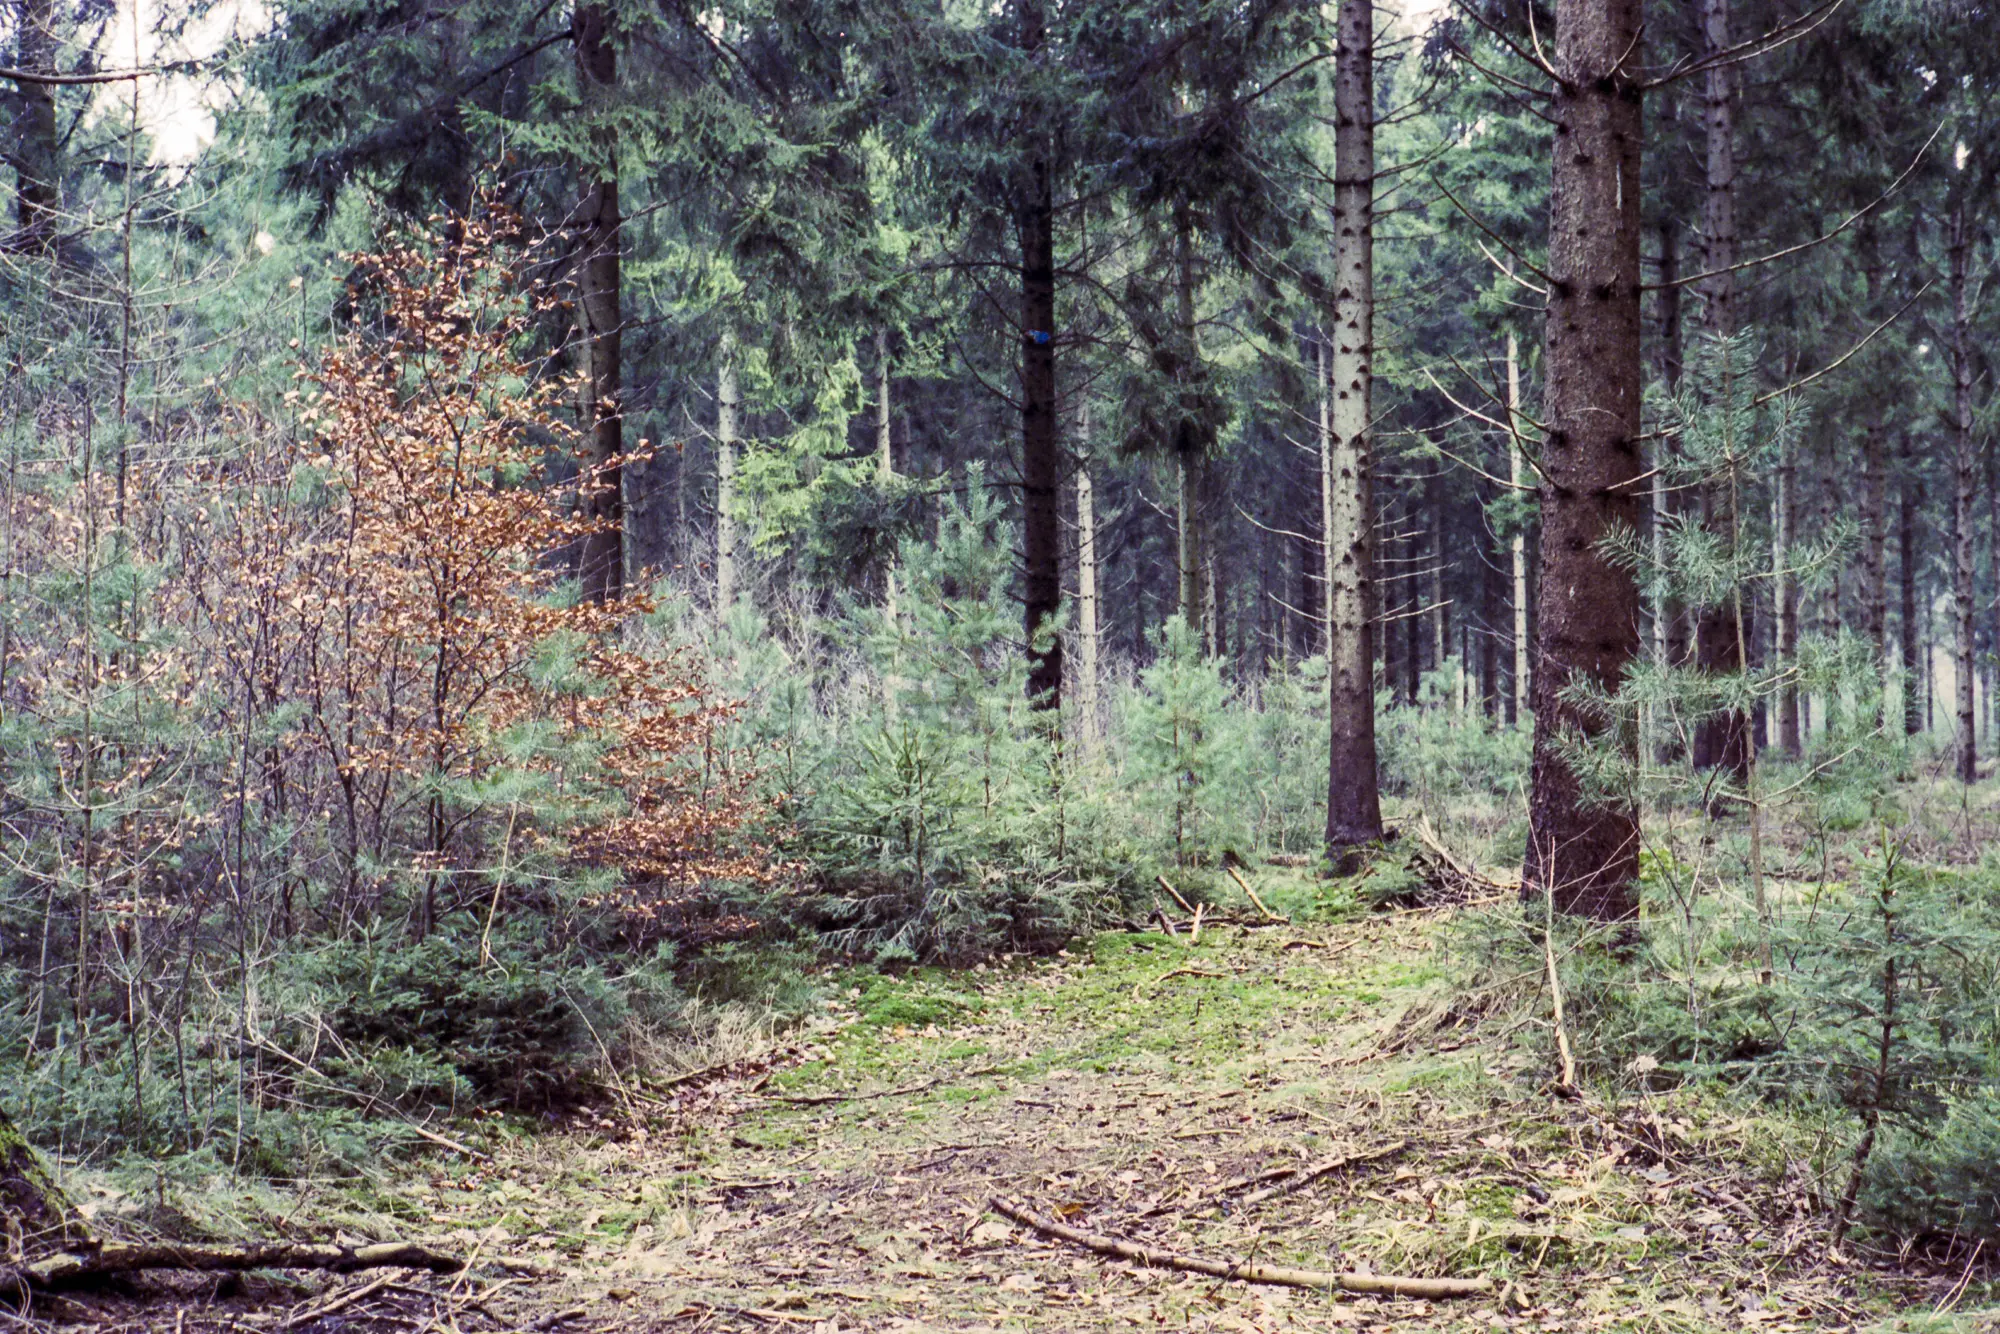
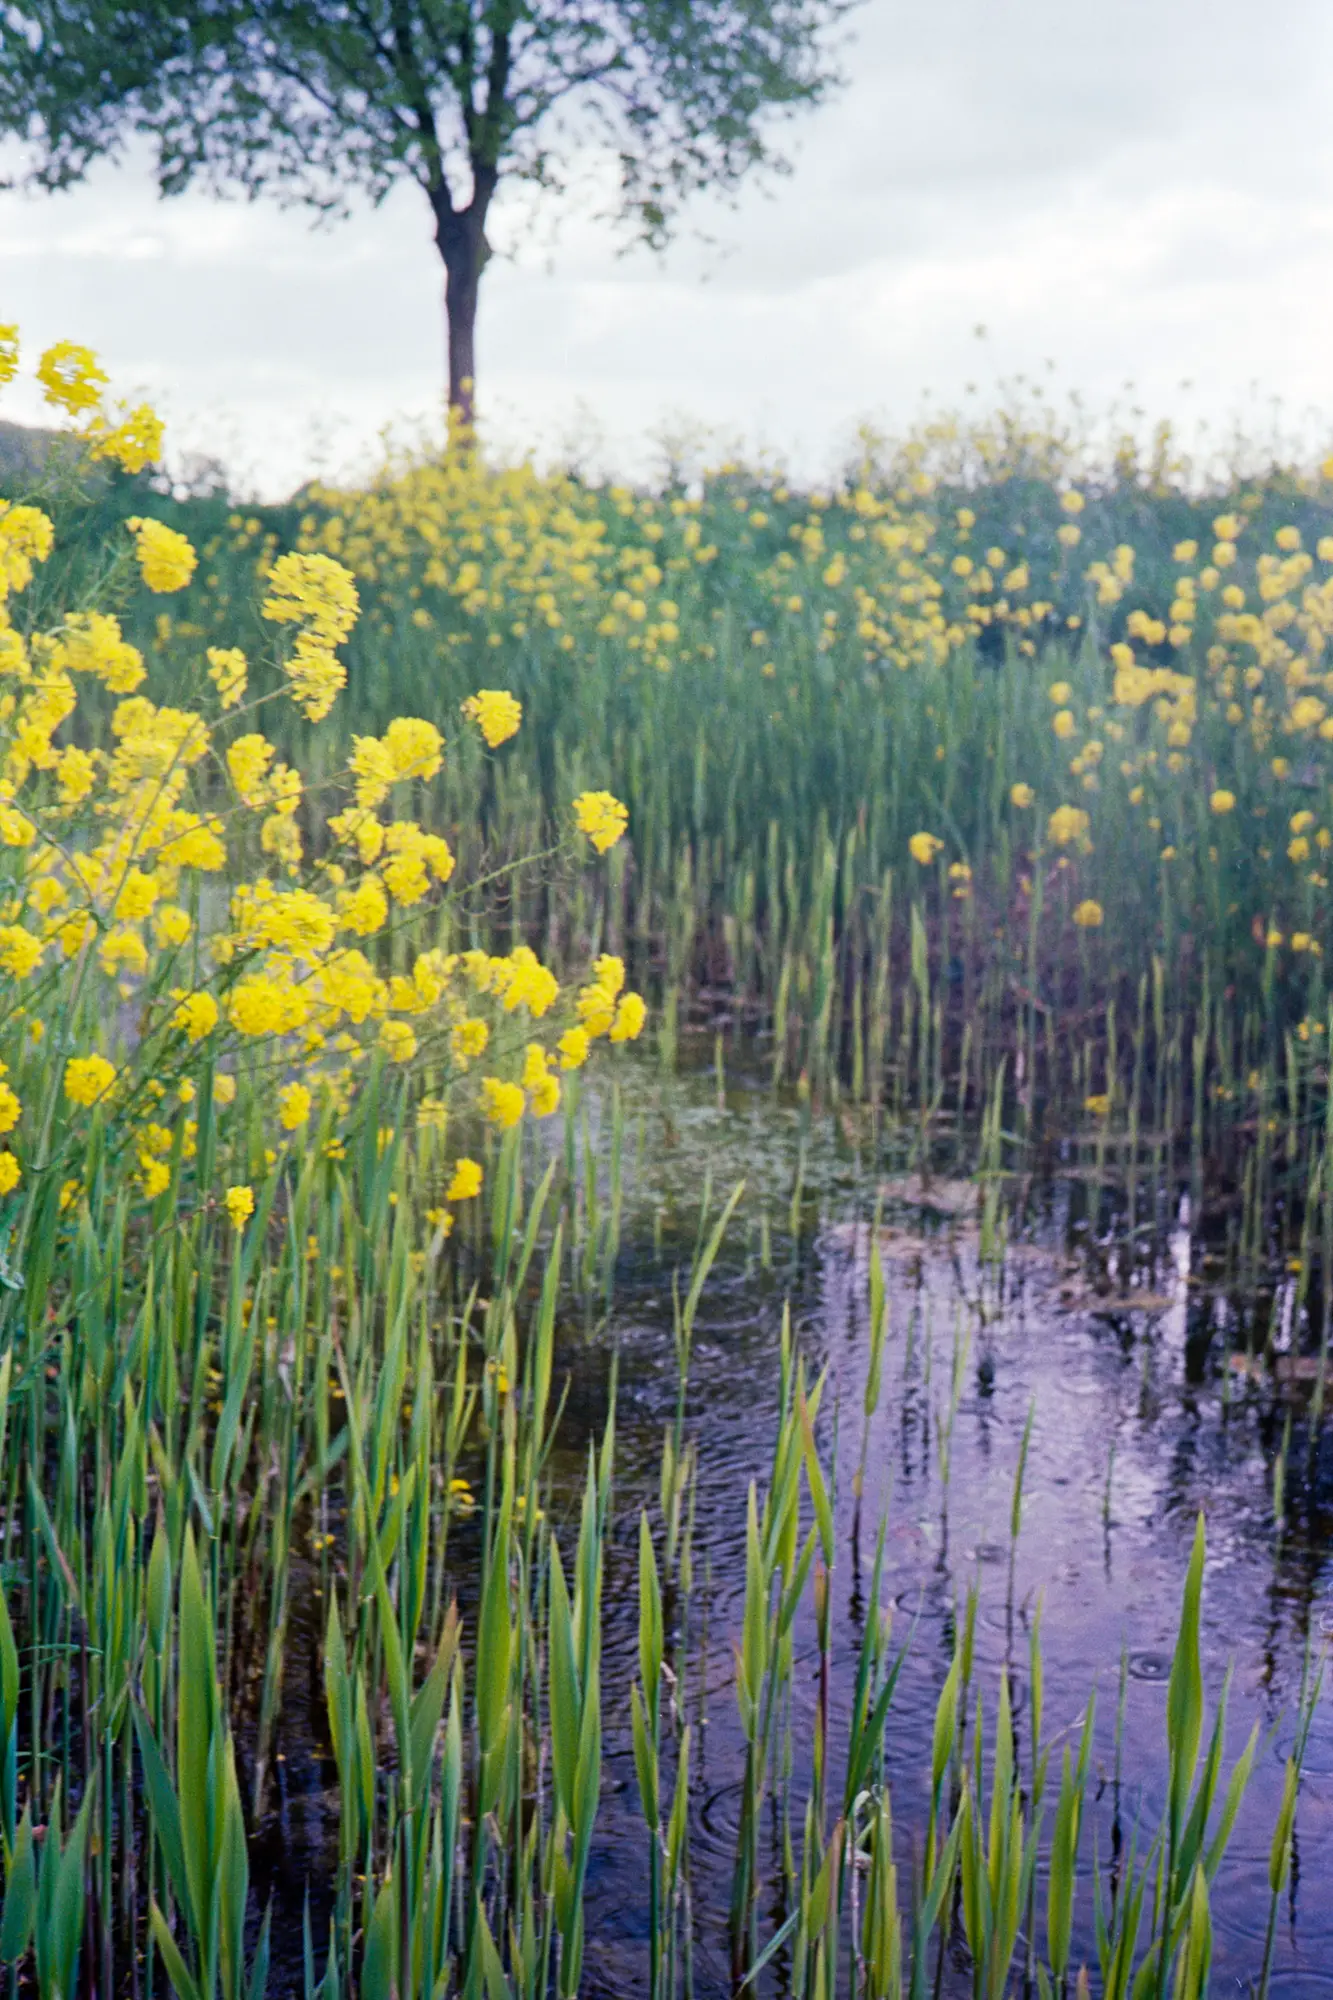
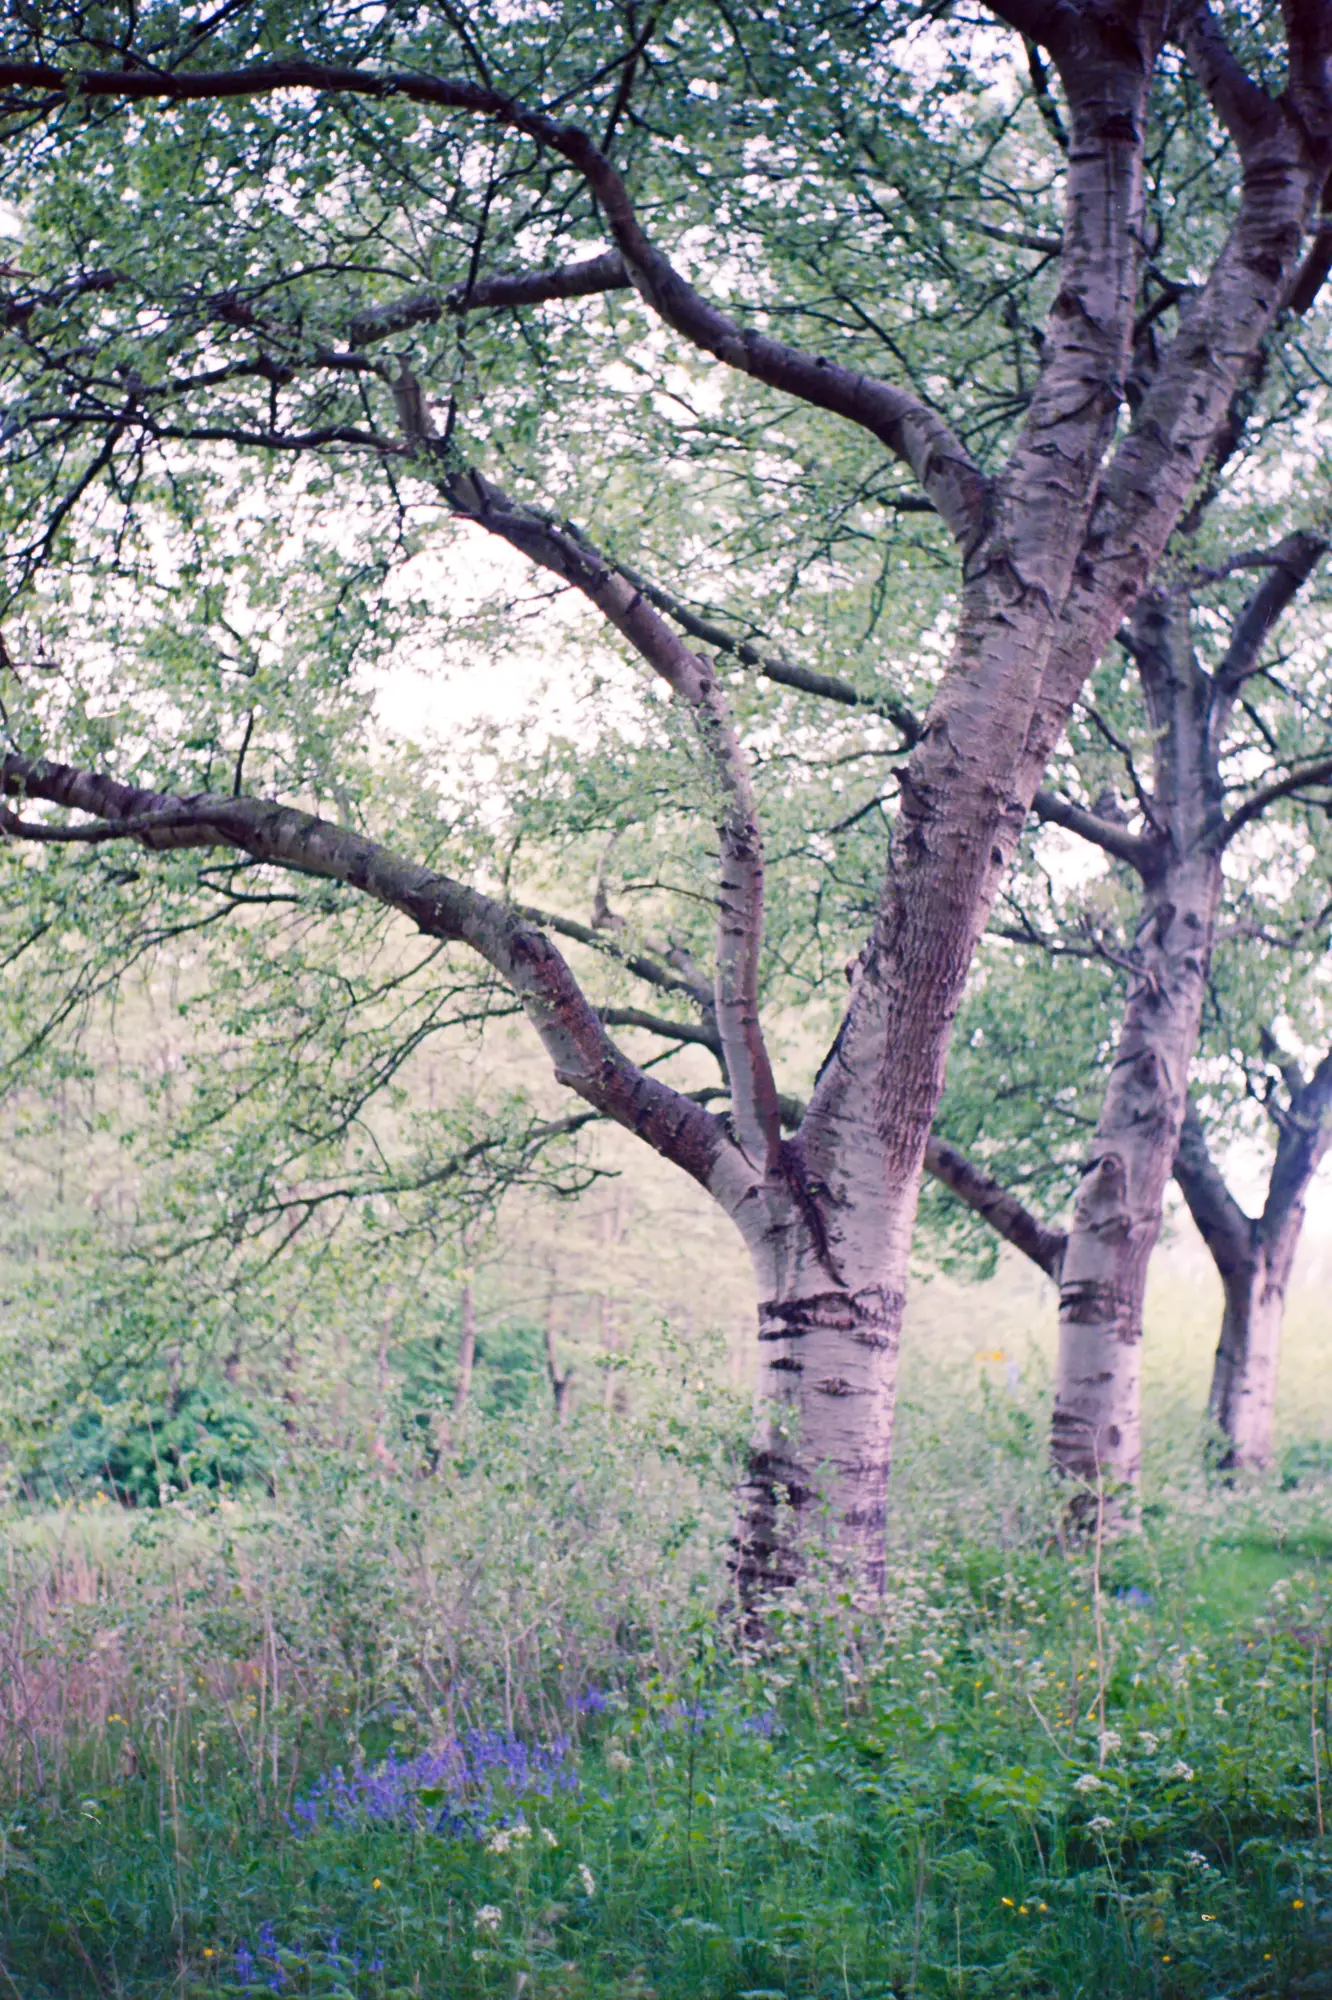
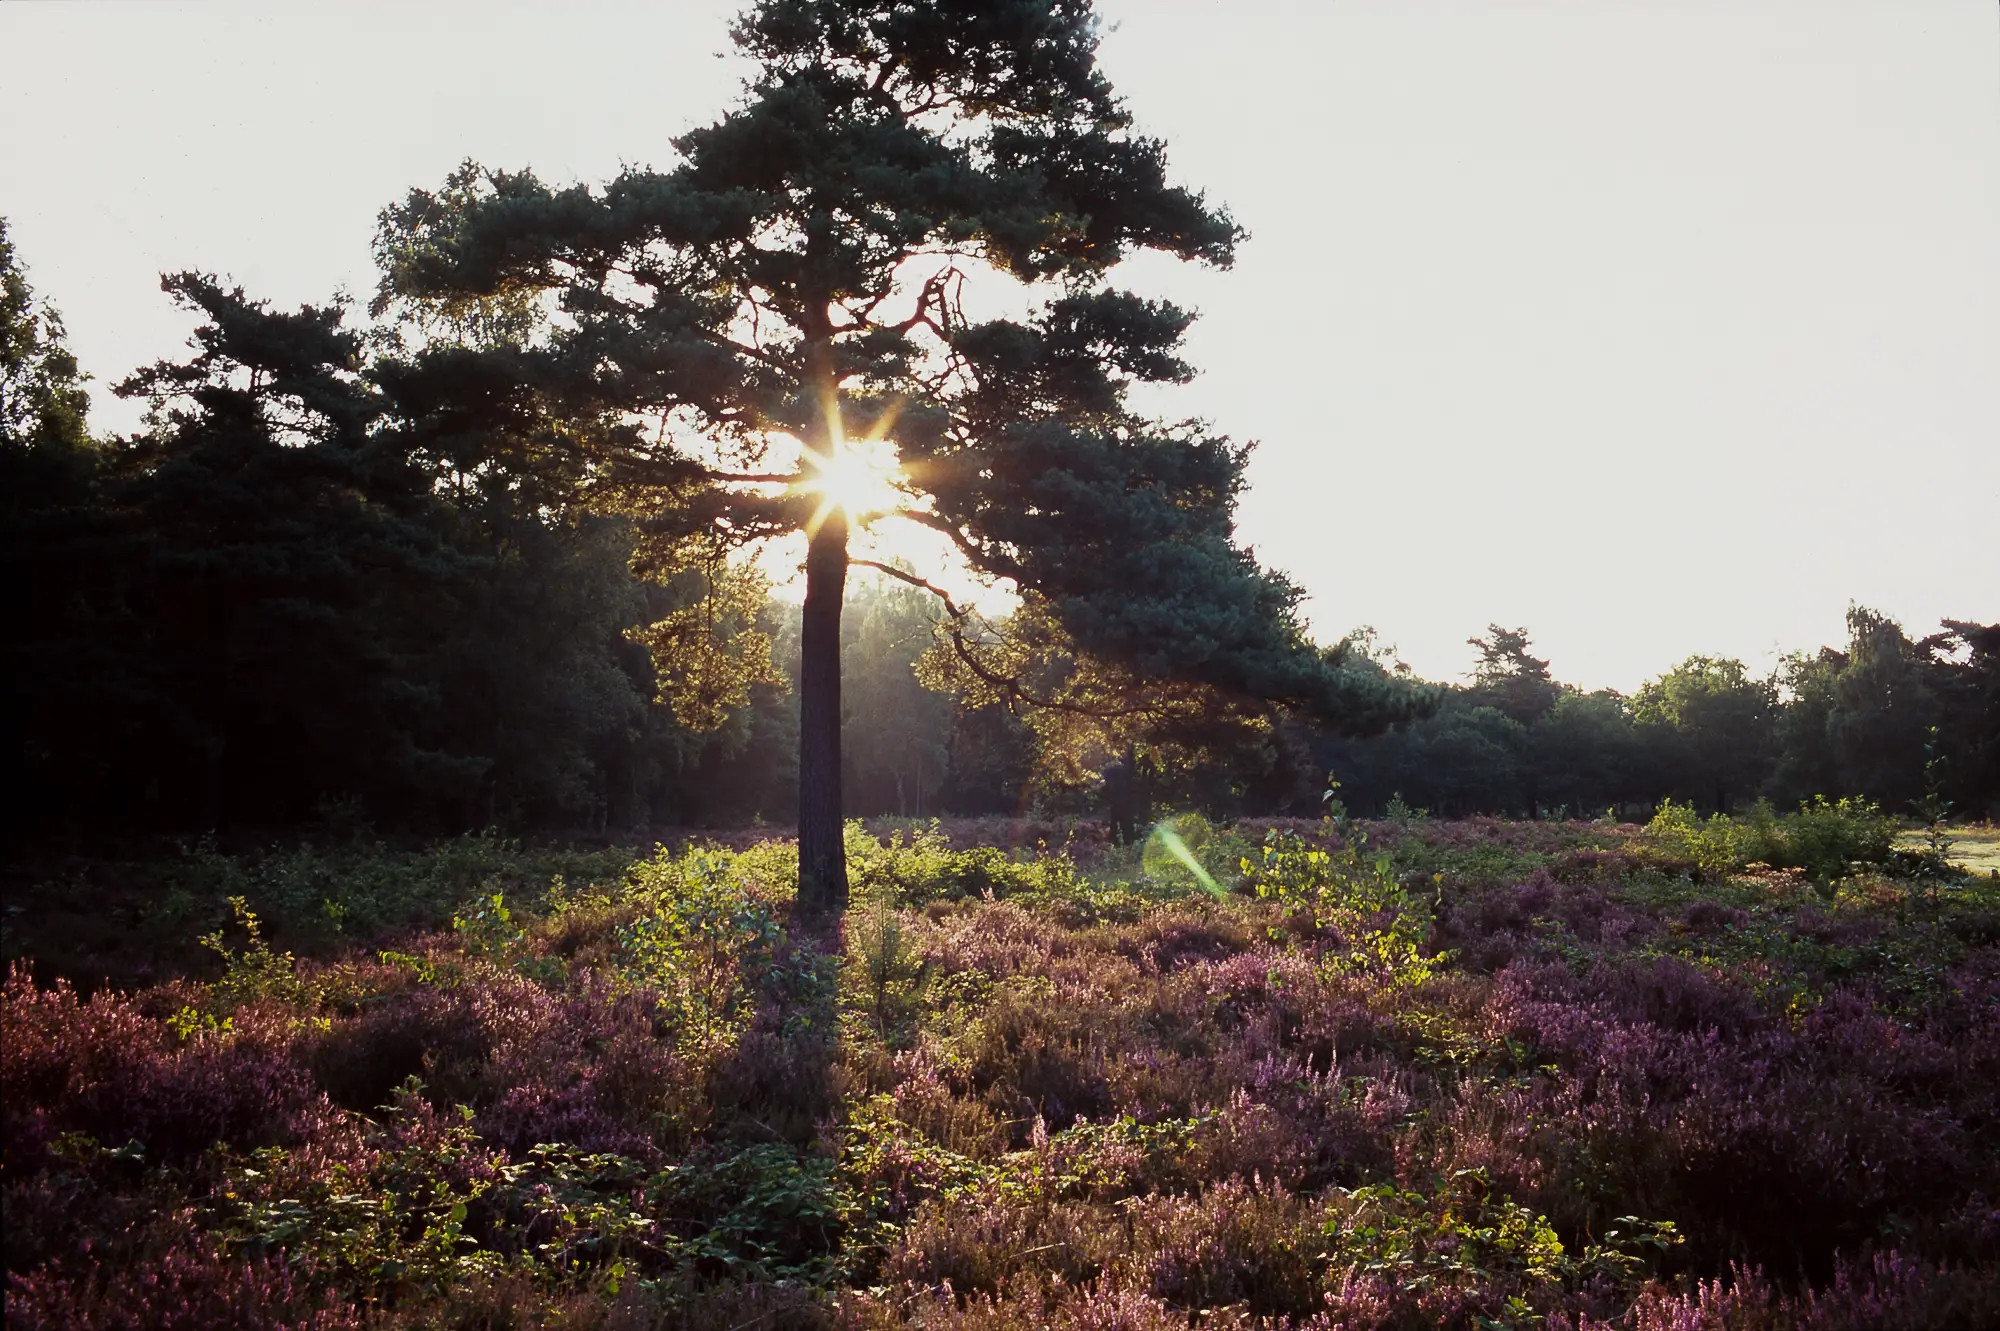
I have to mention that the problem is the worst when photographing people. The photos I shot in a forest are sort of ok (see below), because you can play more with post processing. But still, the colours are a bit grey-ish and dull.
At first I didn’t really know what was wrong, but after some research I finally realised that the chemicals, probably the blix, had gone bad. I expect that the developer is still ok, as the negatives have enough density and contrast. And I found out that blix is difficult to keep fresh, as the bleach and fix chemicals fight each other in the bottle (you can tell I am not a chemist!). So I took some negatives and started to compare them. Below you see an overview, and you can clearly see that the negatives get darker and murkier once the chemicals get older.
Once I realised the chemicals had gone bad, I bought new chemicals. This time I decided to give the Rollei Digibase C-41 kit a try. With this kit the bleach and fix are separated, meaning you have to do one (or two if you include a washing step) extra. But separating the bleach and fix might have a positive effect on shelf life. However, having two types of chemicals makes the comparison in this post a bit difficult, but I didn’t know up front I was going to write this, so it is not a scientific experiment. Now we’ve got the disclaimer out-of-the-way, let’s start with some results I got with Digibase. Again, the first batch is pretty good:

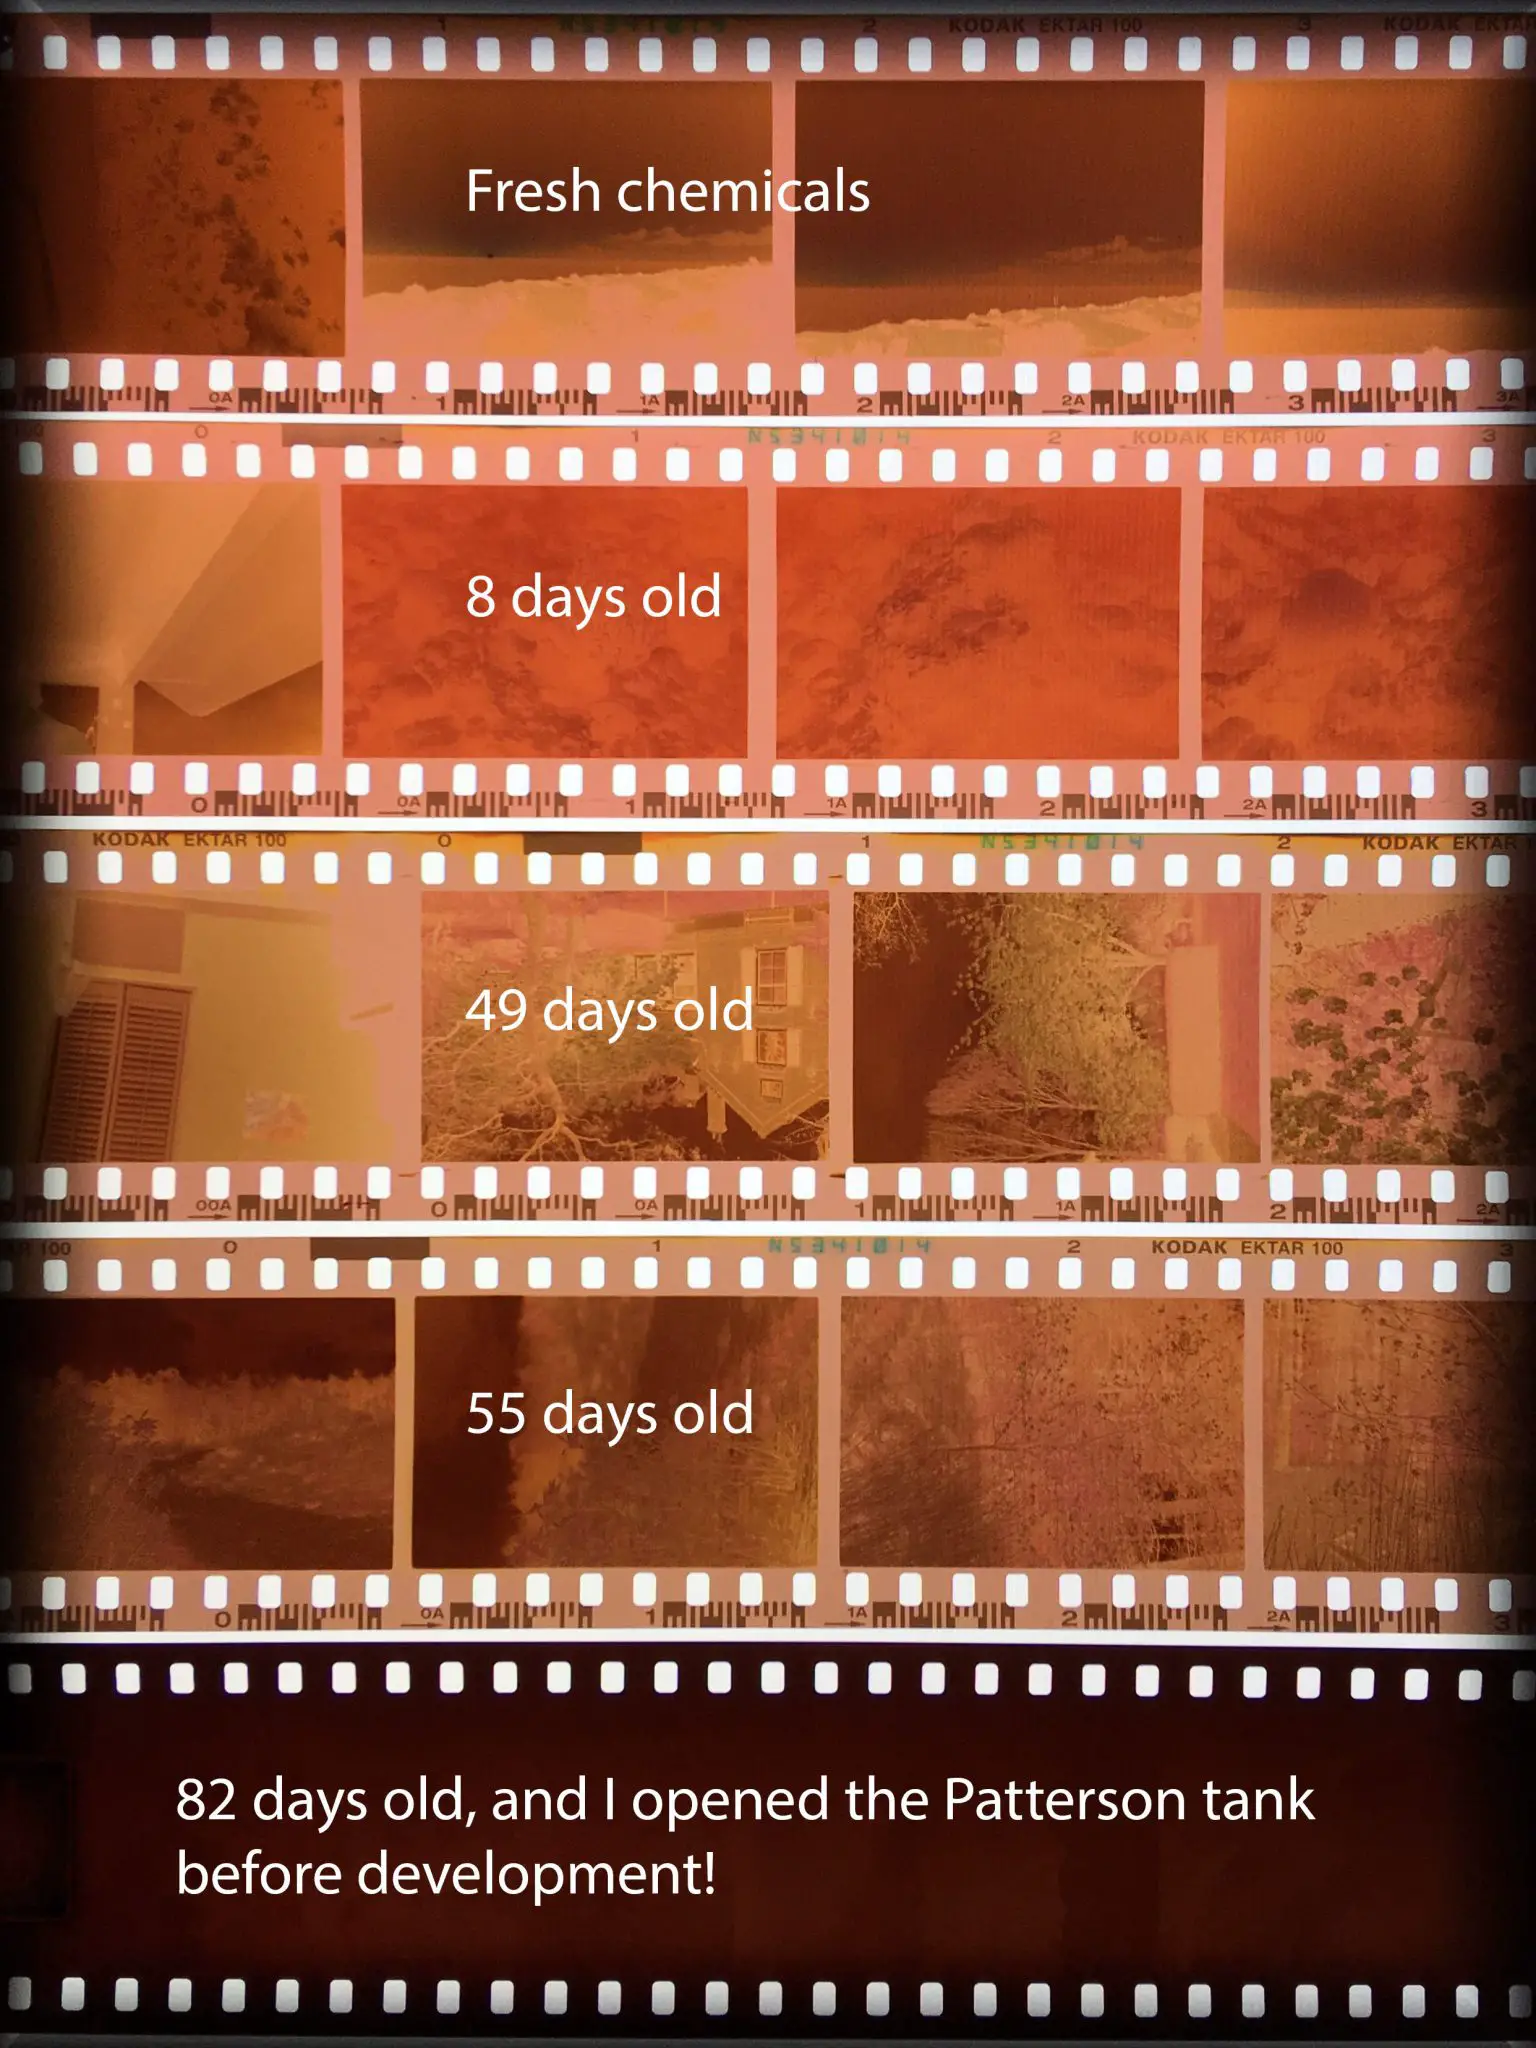
Again, after a while you can see the negatives getting darker/murkier. Below some examples of Ektar, with some scans of photos. To me, the film developed in 49 and 55 day old Digibase looks better than the film developed in 42-day old Tetenal that was shown above. So it seems that the self life of Digibase is indeed better.
Another example with Kodak Portra. The negative that was developed in 75-day old chemicals looks pretty dark, but I was still able to get some nice saturated colours from the scan. I didn’t try this with people though…

After realising that the chemicals were to blame for the dark negatives (for a while I thought I over-exposed everything) I searched for information on how to act on this before developing. How do I know if the chemicals have gone bad, because the specified shelf life seems rather on the safe side. As I mentioned before, I found it difficult to find information on this, but I did find a conversation on Flickr regarding chemicals for developing black and white. The suggested approach was to drop a piece of the leader in the prepared solutions of fixer, and time how long it takes to become clear. The fixer time should then be about 2x this amount for proper fixing. I thought that this might also work for C-41 chemicals, so I decided to give that a go.
Intermezzo: Mistakes happen
The first time I tried to adapt fixing times to compensate for ageing chemicals I made a mistake. This of course is a risk of developing at home, and something that might put people of. I want to share my mistake to show that that can also lead to some nice unexpected results, one of the things that makes shooting film magical and exiting. Here’s what happened: for some reason unknown to myself I opened the patterson tank after pouring out the water that soaked the film. Or: I let light into the tank before I developed the film. I decided to carry on anyway, and see what I would end up with. Obviously, this extra light exposed the film making it impossible to see the effect of changing the fixing period, as the negative was very dense due to over-exposing (see lowest strip in the photo with examples of Ektar, the chemicals were 82 days old). But, I was still able to get some images from this film with my flatbed scanner, as you can see below. You can see the light-stripes induced by the structure of the reels, and for some images this turned out pretty nice. What I want to say is that you might make a mistake every now and then, but the results may surprise you!

Testing the leaders
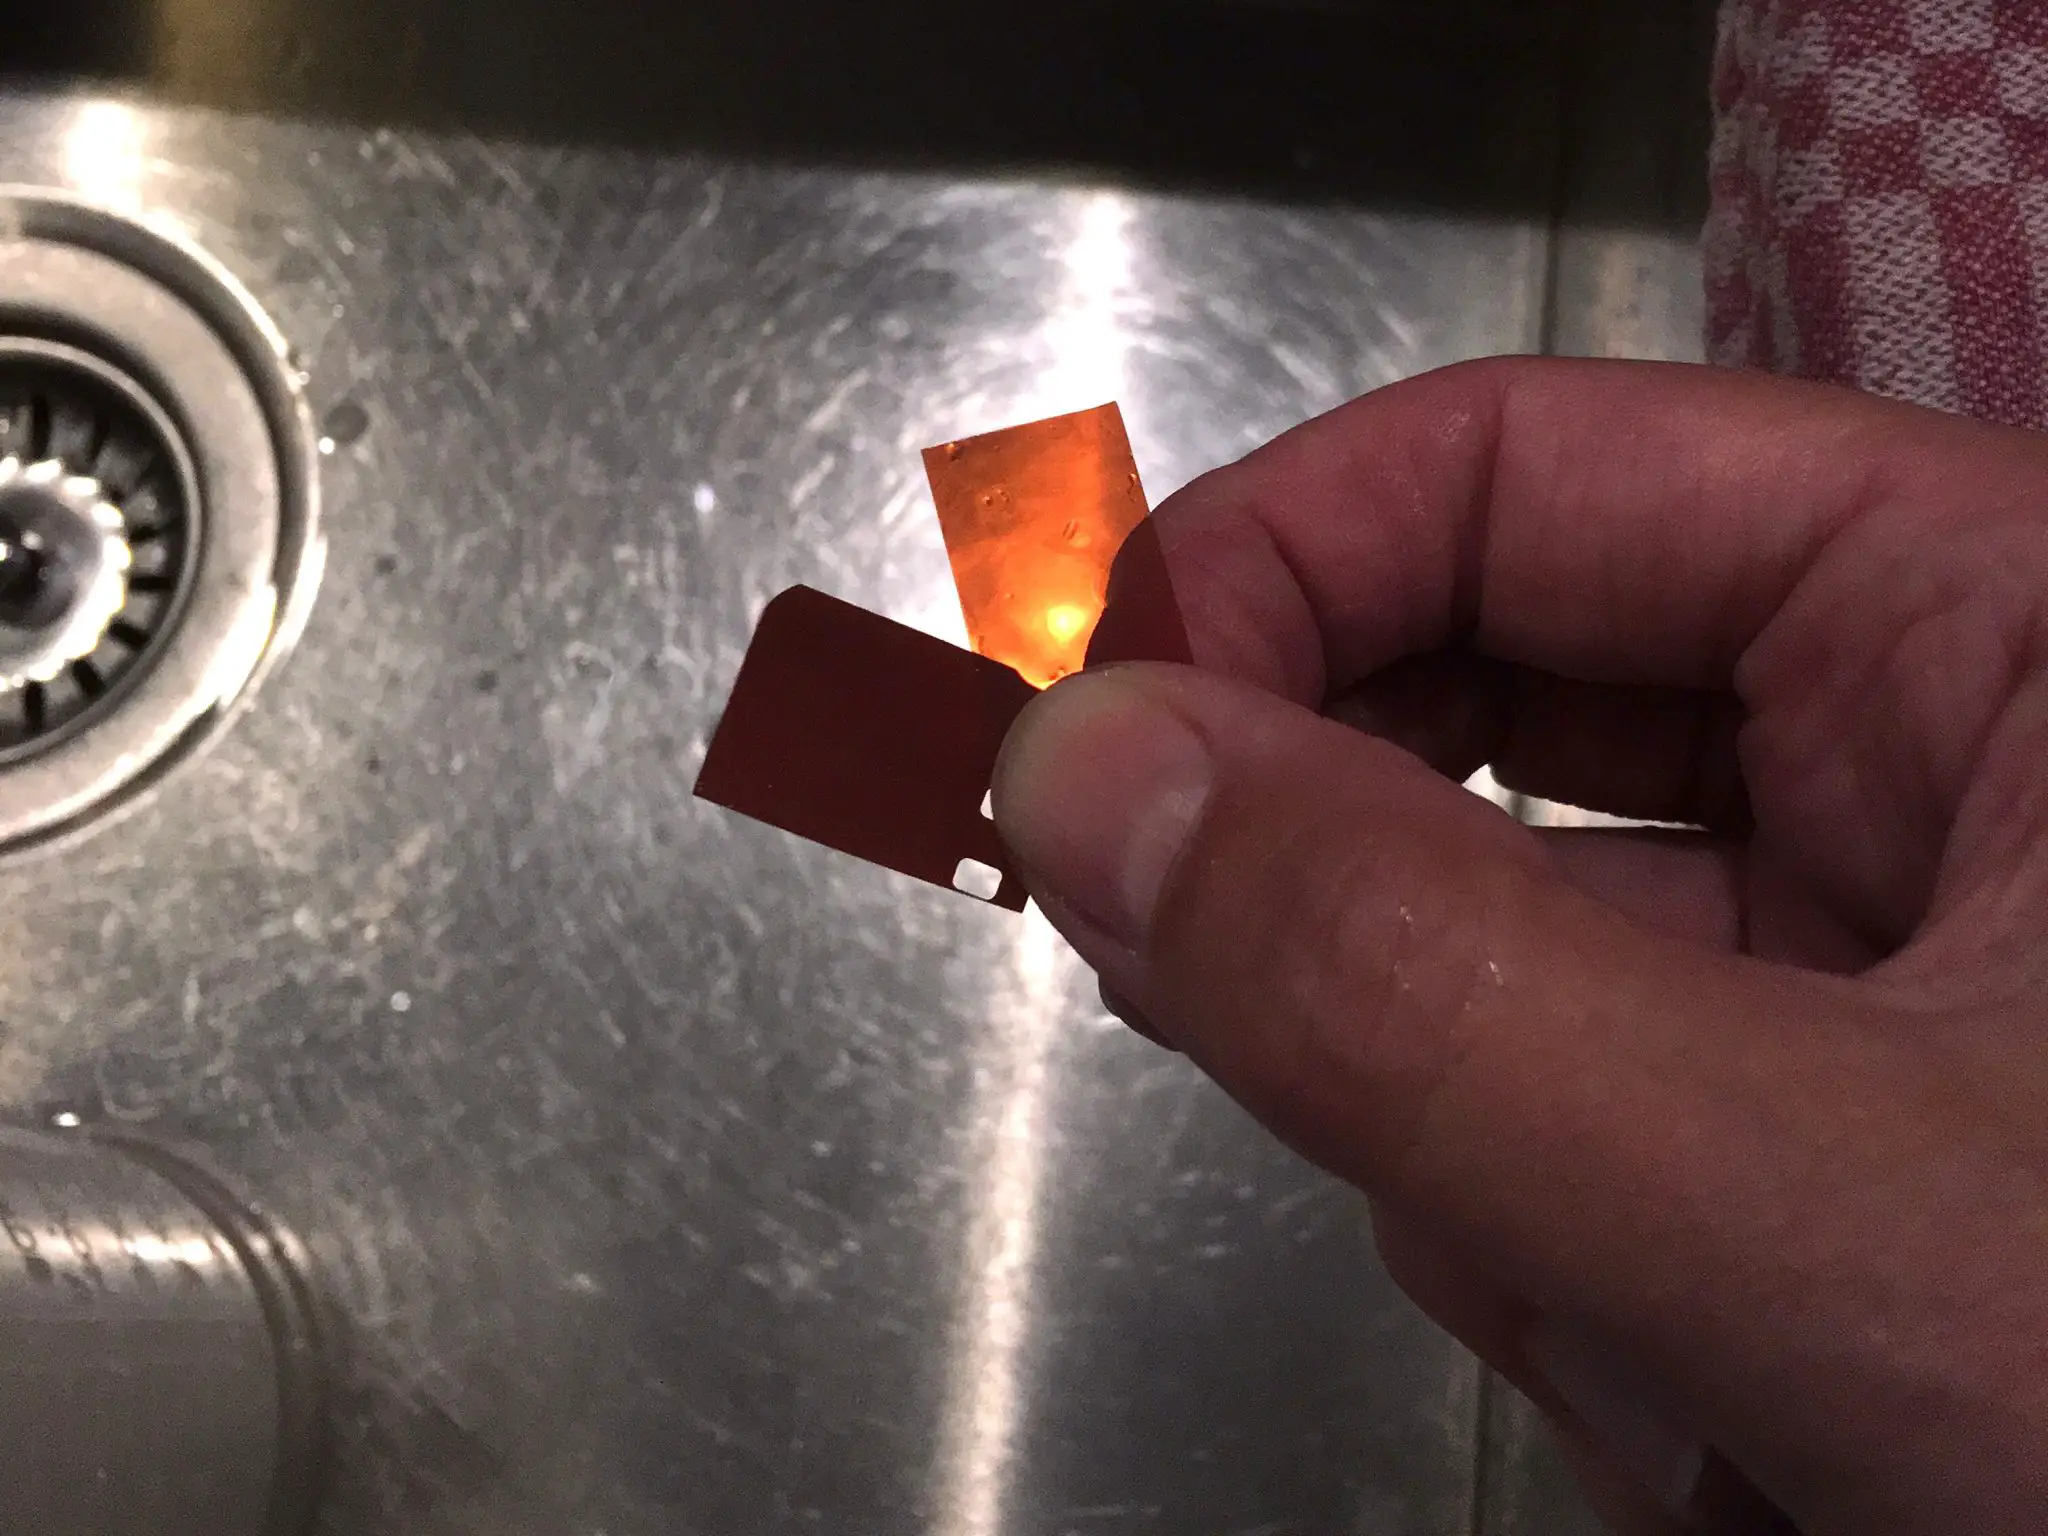
My next move was to do a proper test with a leader, and compare old chemicals to fresh ones with one roll of film. To make that happen I cut a film in two, put the two halves on different reels and in different tanks, and developed them separately. But first the leader test: In the photo below you see two parts of the same leader tested in two different chemicals: Left was put in a bowl of old fixer from the Digibase kit, the right part was tested in a bowl with fresh blix from a Tetenal kit. The test was not really successful, as after about 8 minutes I didn’t see any changes in the left piece, even if I waited another 15. It just never got really clear, as the other part did. Here’s a question: does the leader test only work with blix, and not with fix? Or is this purely a result of age? Anyway I didn’t get a result on how to adapt the development times. I decided to make a guess, and add a few minutes to the specified amount of time (this depends on how many rolls you have already developed with the kit, for this specific case it was roll 16).
Below you see the result with the frame that was cut in half. The upper part was developed in 170-day old Digibase chemicals, the lower part was developed with fresh Tetenal chemicals. You can see clearly a green cast over the upper part, caused by a darker (more brown/red) negative. For this comparison it was scanned in one run, so it was optimised for the fresh part of the frame.
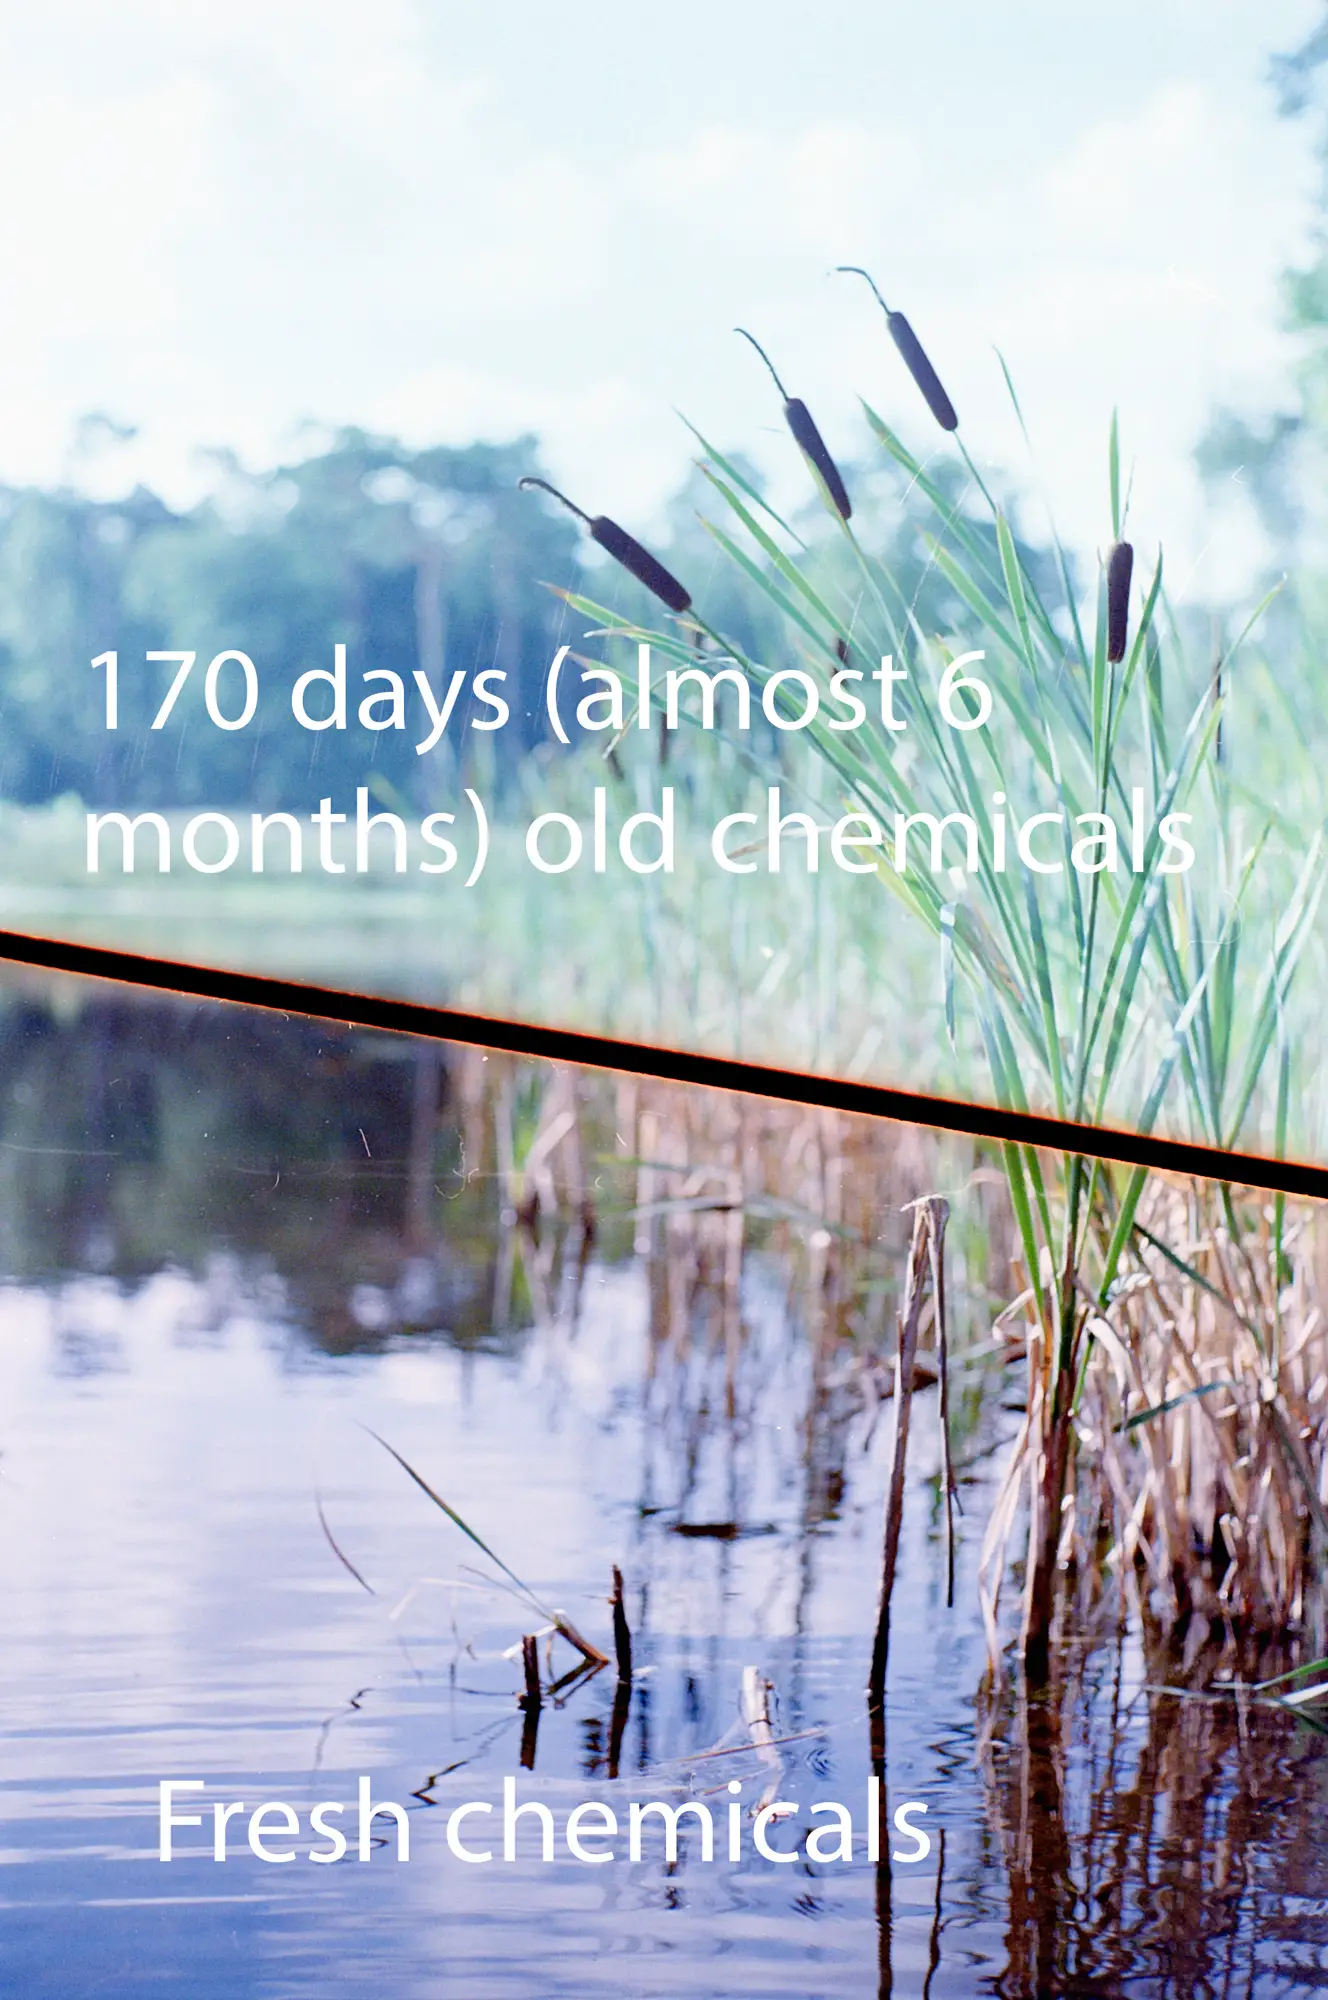
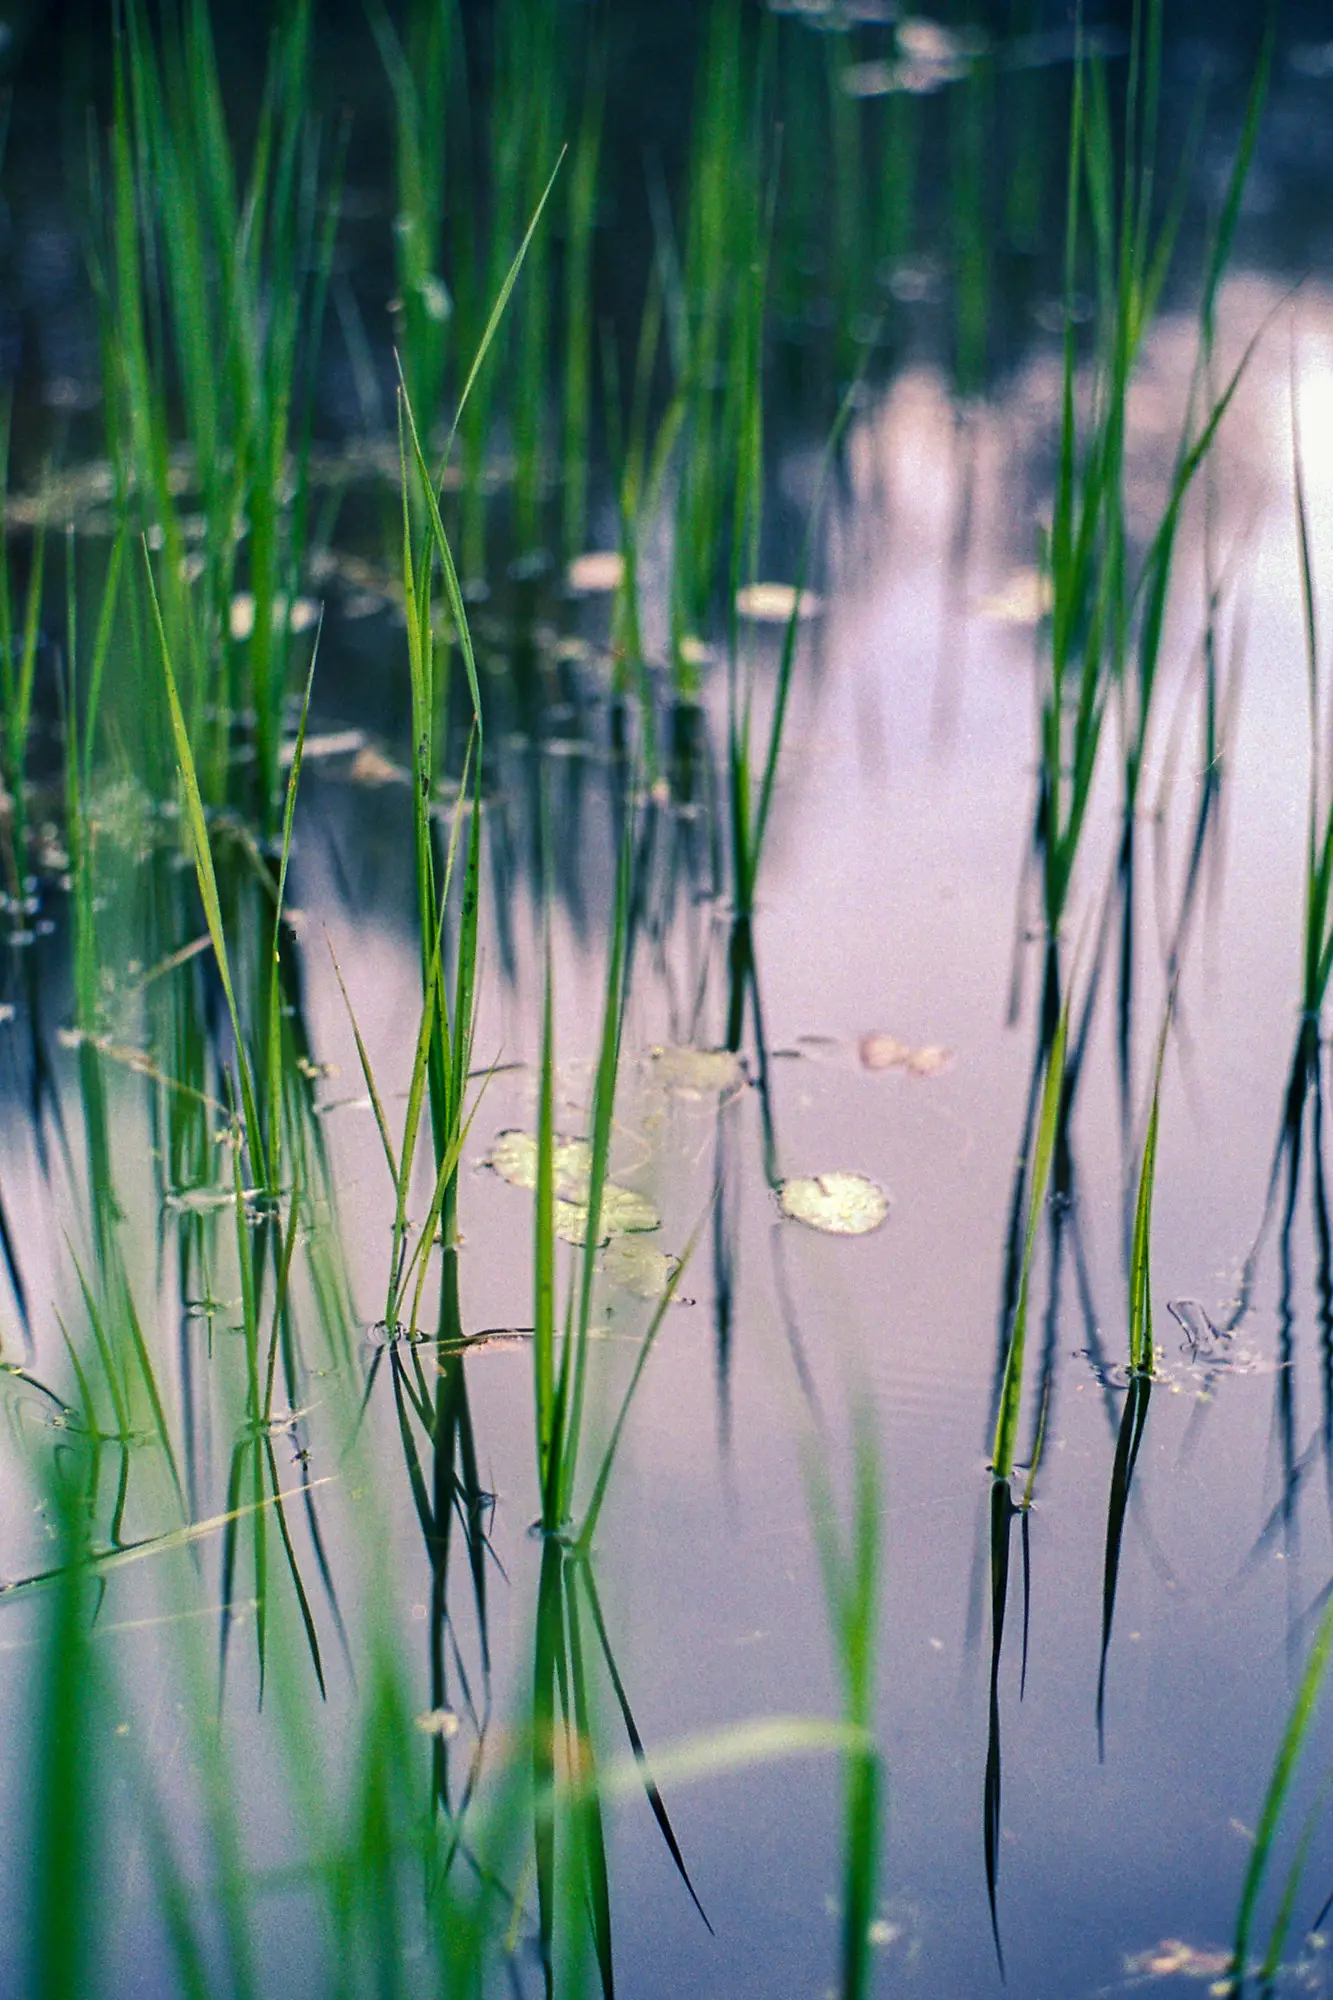
But it is possible to compensate for the cast with the scanner, specifically with nature/landscape photos. Below a frame from the same film, developed in 170-day old Digibase. I think the result is still pretty good.

How to deal with chemicals
After seeing the results with old chemicals, the question remains on how to avoid using bad chemicals. I have found a couple of rules/best practises that I want to discuss. Please let me know how you deal with this, or if you have anything to add.
- Only use fresh chemicals: Ok so this might be an obvious one, but for me it is not practical. You could postpone developing film until you have enough rolls to finish one kit of C-41 in one weekend. This would be 16 rolls for a 1 liter kit. For me this is not an option for two reasons: I don’t shoot a lot of film so the wait would be too long, and developing 16 rolls in one weekend would put too much strain on me physically and time-wise. But it would be the safest option.
- Keeping air out: As it is mostly oxygen that ruins the chemicals it helps to keep the air out. Even from the start, I tried to do this the best I can, probably leading to a longer shelf-life than the specified two-weeks. I have tried using flexible PET-soda bottles and collapsible bottles. I don’t like the collapsible ones as they are difficult to squeeze, I always feel I need an extra hand, and they are opaque so I can’t judge the solution on colour before pouring.
- Store chemicals in a dark and cold place: I stored my chemicals in a dark container in my garage, where in winter it is pretty cold (2-10 degrees). During the summer however it gets much hotter, so a couple of months ago I bought a small fridge to store my chemicals.
- When using a kit with separated bleach and fix steps use a washing step in between, to prevent contamination of the fixer solution. Fix appears to be the most vulnerable to ageing.
These are the measures I took so far, resulting in the results I showed above. I would be happy to hear more suggestions. At the moment I can only think of one step to take: shoot more so I finish my kit faster :-).
Developing slide film
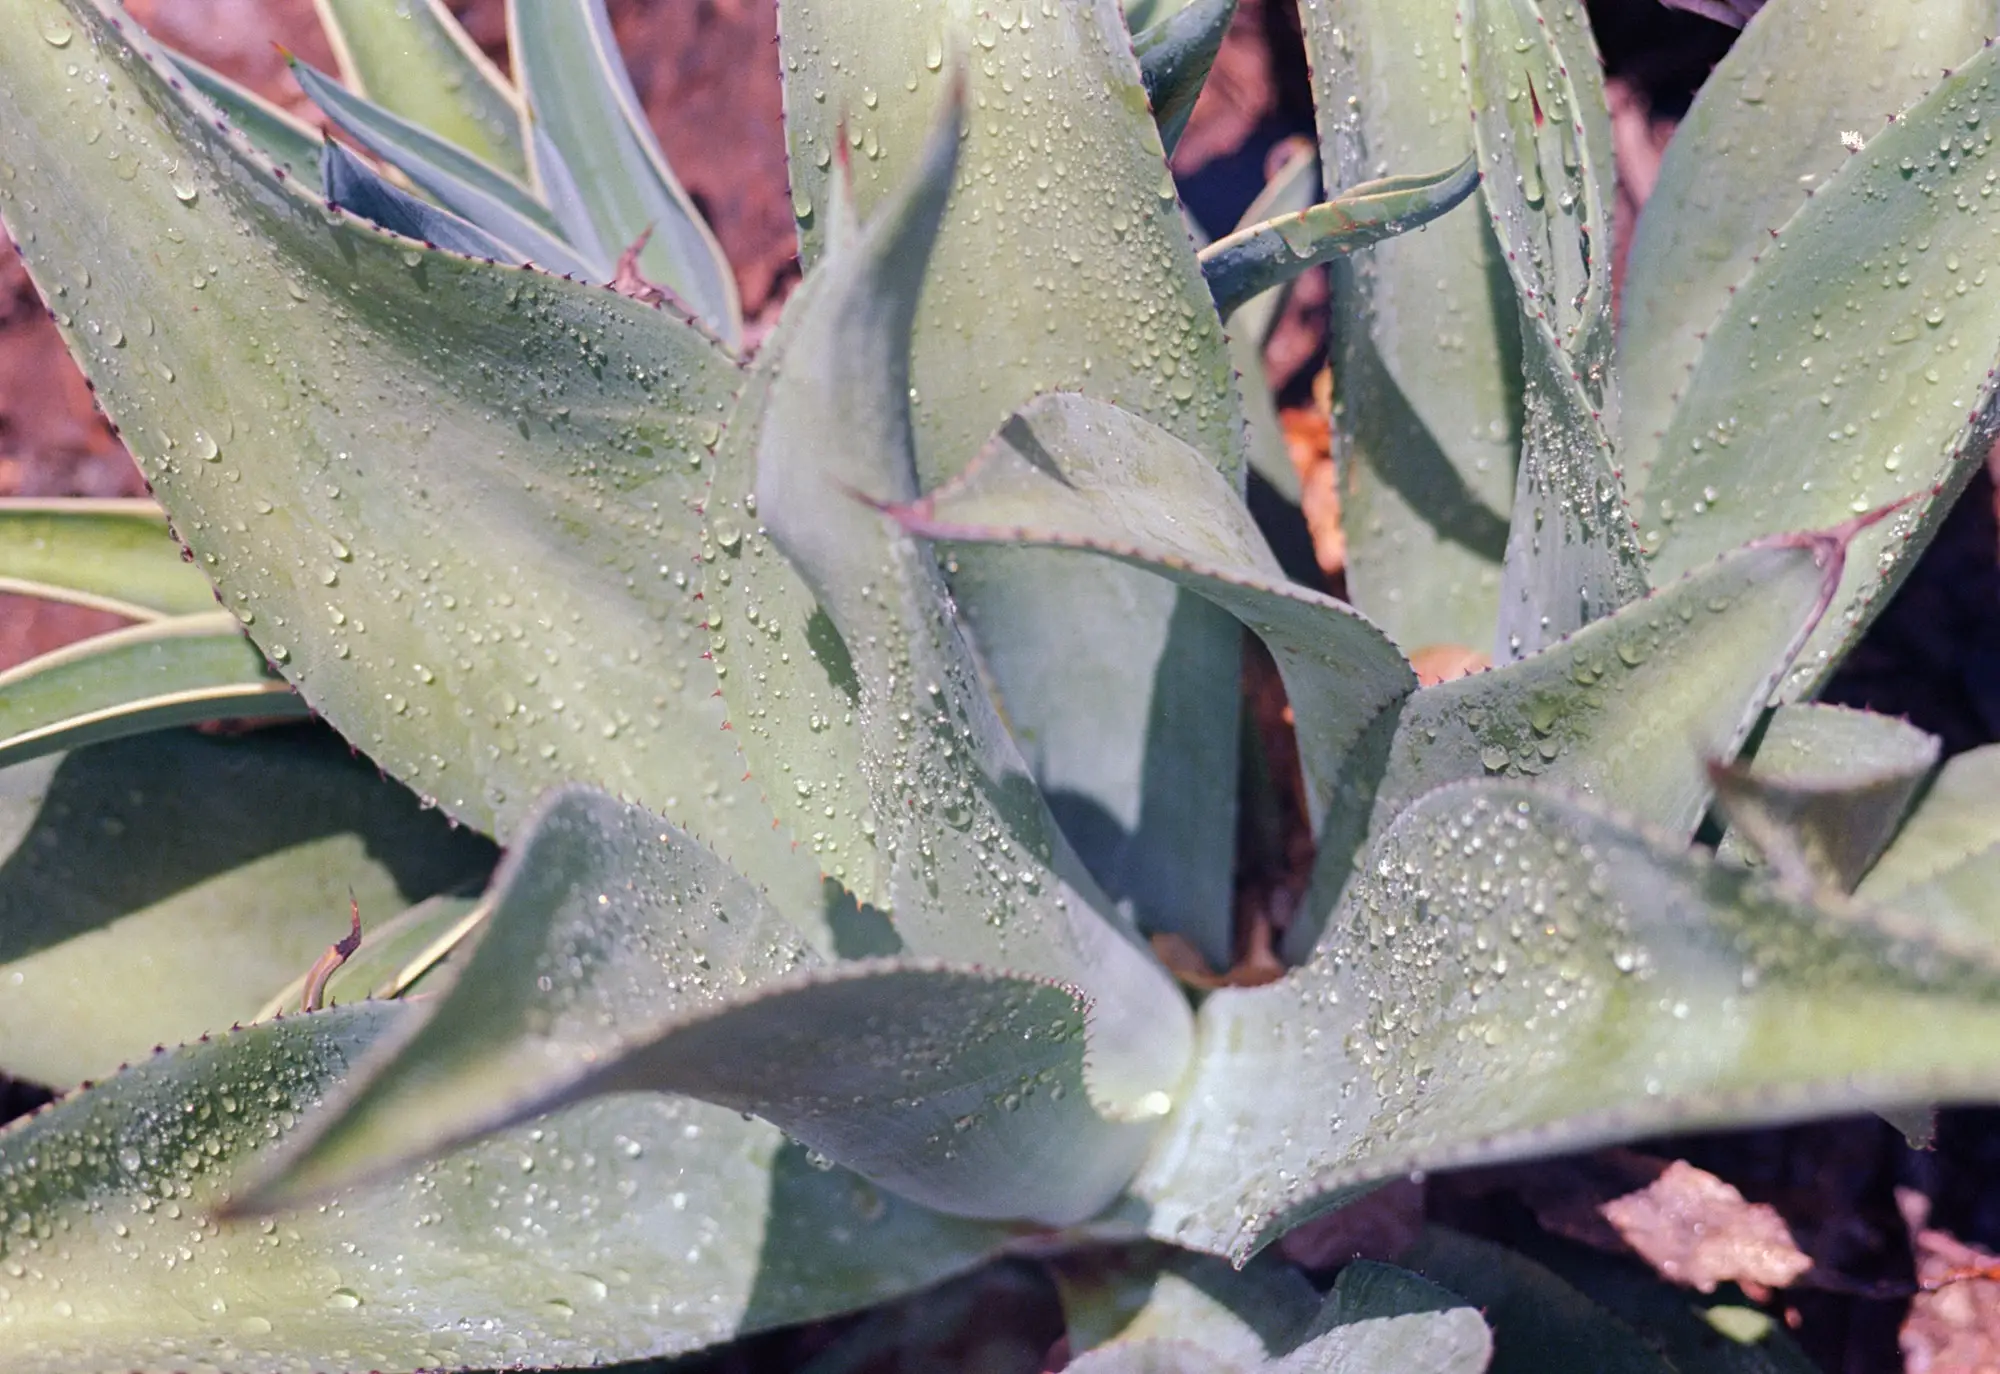
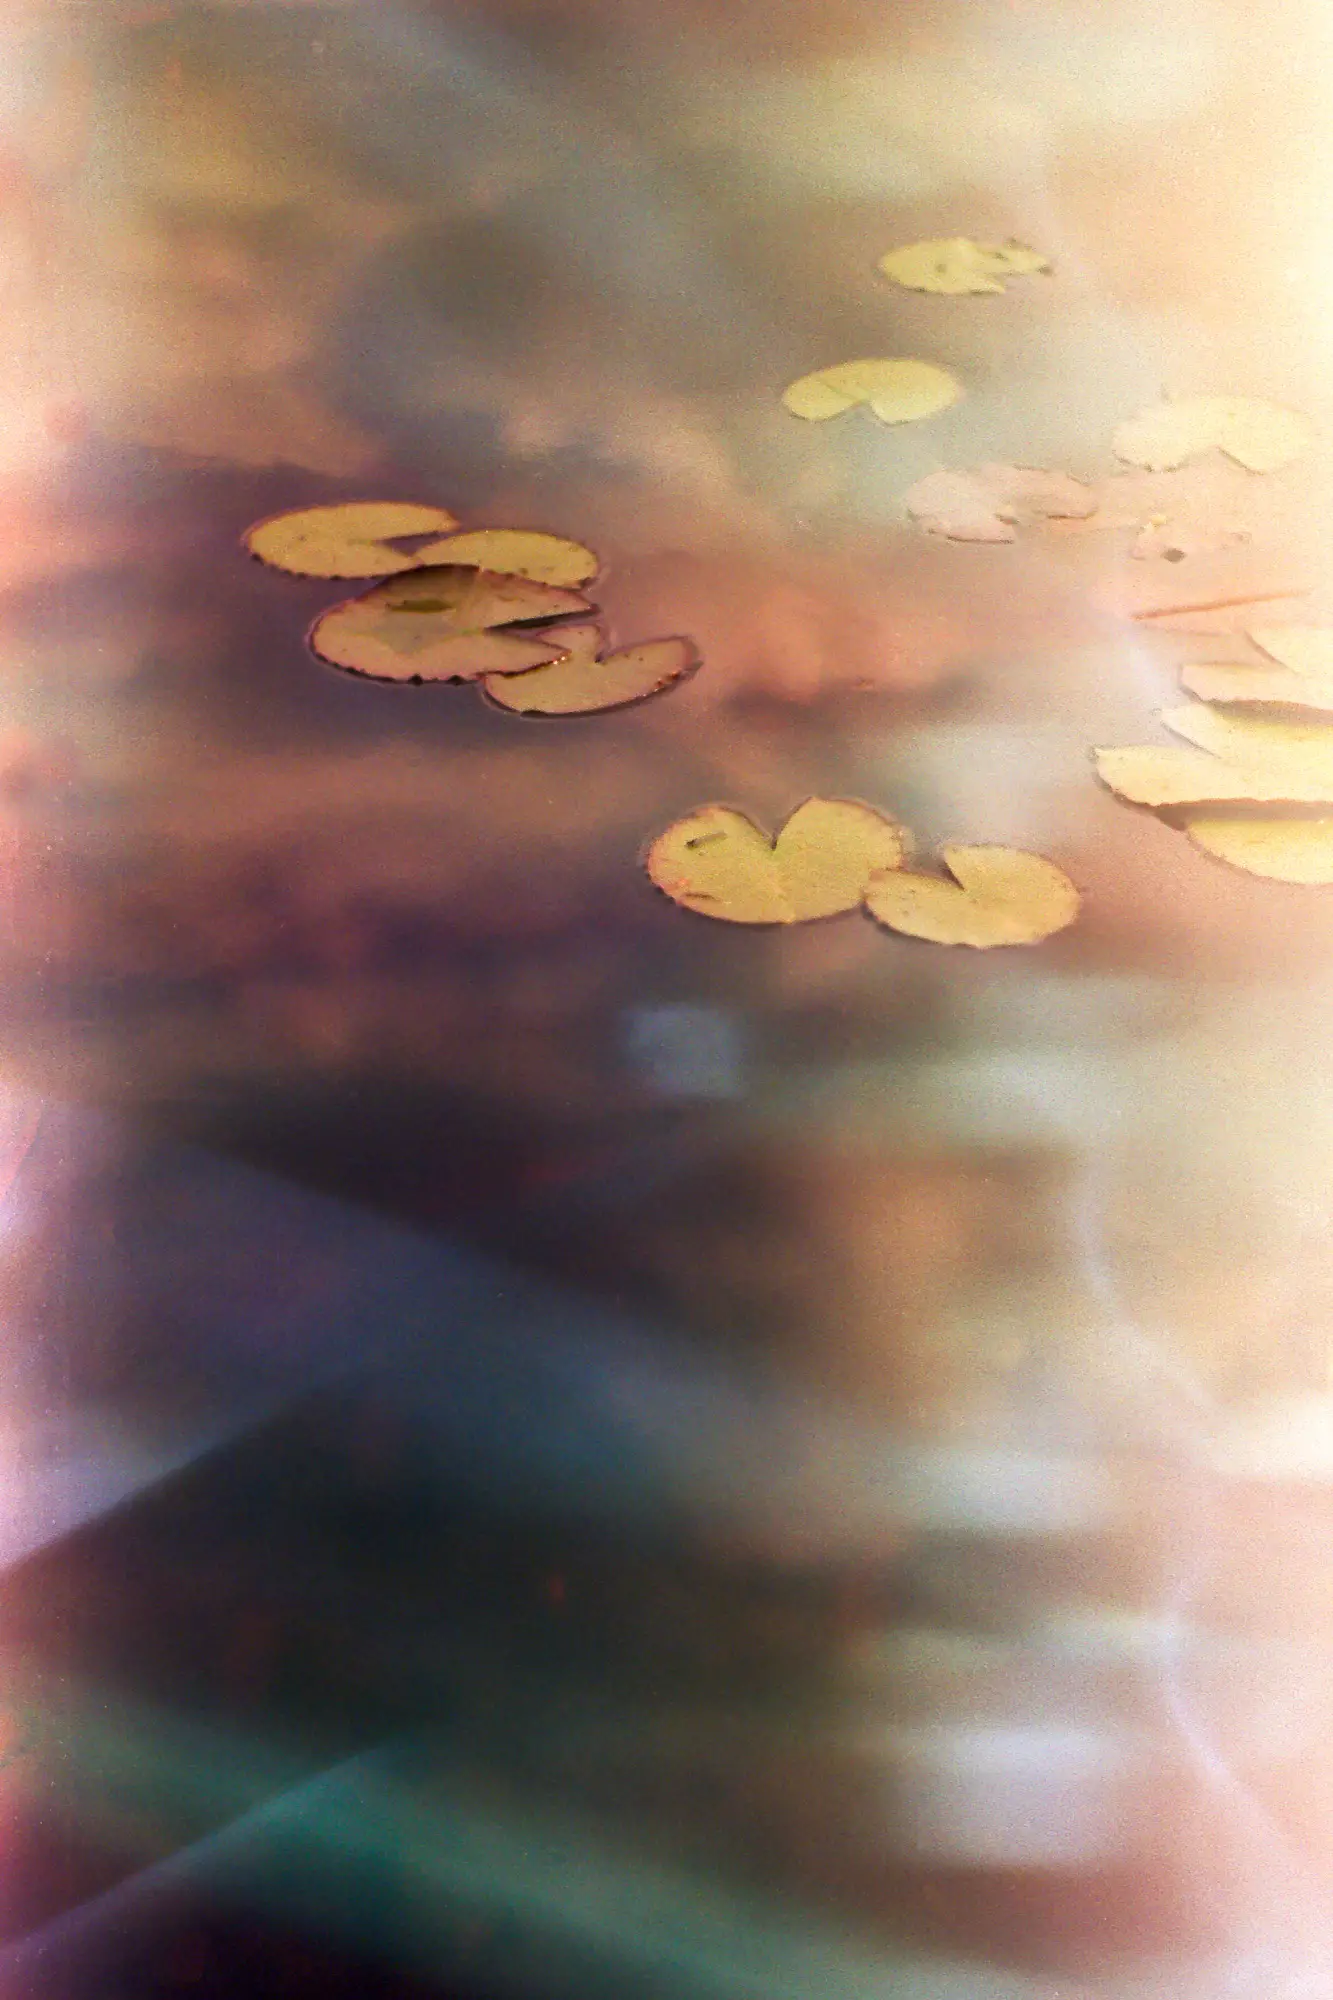
Back to some encouragement: if you can develop colour negative film at home, you can also do slide. The process is similar, with the same requirements on temperature, you just need to buy a different kit. So I will finish with a result from my first roll of slide film developed by myself. How this develops when the chemicals get older is something I have yet to find out…

Conclusions
After months of developing at home I come to the conclusion that it is not that difficult, even if you’re developing slide. The struggle for me lies in dealing with ageing chemicals. I can tell if chemicals are going bad from the negatives, but I would prefer to be able to detect that before developing. Doing a test with a piece of a leader might help, but with the Digibase kit it didn’t work out yet. I am not sure if this had to do with a separate bleach and fix step, or that I did the test wrong.
The Rollei Digibase C-41 kit seems to have a longer shelf life than the Tetenal Colortec C-41 kit, probably because the Digibase kit keeps the bleach and fix chemicals separated.
Due to the chemicals going bad a kit of developer doesn’t last very long, making the cost comparable or higher than what a lab will charge. However, even with a slightly higher cost I still keep developing at home. I really like the hands-on aspect of developing myself. I certainly prefer home-scanning as I want to keep control of the final image, and developing alone is a service not all labs provide. So for now I hope the fridge will expand the shelf-life of my chemicals, and maybe some of you can give me more tips on how to improve things.
Thanks for reading and Hamish, thanks for having me!
All film was developed by me and scanned on my Epson V800 scanner. If you are interested you can find more of my photos, both digital and film, on my website: whataukjesees.com. I also post film photos regularly on instagram.
Share this post:


Comments
Joseph Meyerson on Experiments in Developing Colour Film At Home: The Chemicals Dilemma – by Aukje
Comment posted: 11/11/2017
Comment posted: 11/11/2017
Comment posted: 11/11/2017
jeremy north on Experiments in Developing Colour Film At Home: The Chemicals Dilemma – by Aukje
Comment posted: 11/11/2017
Comment posted: 11/11/2017
Terry B on Experiments in Developing Colour Film At Home: The Chemicals Dilemma – by Aukje
Comment posted: 11/11/2017
Without a reference point I found all your images great to look at. Even that of what I assume to be of your mum and dad, which has that old faded look of old prints. And as you have had a go at E-6, you will soon be able to have a go with Ektachrome. next best after K25/64 (probably!).
Comment posted: 11/11/2017
Louis Sousa on Experiments in Developing Colour Film At Home: The Chemicals Dilemma – by Aukje
Comment posted: 11/11/2017
Comment posted: 11/11/2017
Sandro on Experiments in Developing Colour Film At Home: The Chemicals Dilemma – by Aukje
Comment posted: 11/11/2017
I’m ising it and I don’t see density or color shifts as those you prent here.
Comment posted: 11/11/2017
Michael J on Experiments in Developing Colour Film At Home: The Chemicals Dilemma – by Aukje
Comment posted: 11/11/2017
The only other thing I can think of is to weigh out smaller amounts of the chemicals so you don't mix it all at once. It makes 1L but you only need 330ml to develop a roll in, so you could split the kit into thirds (or at a minimum the BLIX) and get more time out of the kit.
Comment posted: 11/11/2017
Andre Domingues on Experiments in Developing Colour Film At Home: The Chemicals Dilemma – by Aukje
Comment posted: 11/11/2017
Really interesting analysis you've done. I've had the same FPP color kit for about three months now and I haven't seen any changes in the negs. I mainly attribute this to the fact that I use VacuVin vacuum wine stoppers to remove all of the air from my glass bottles once I'm finished developing a roll. Here's a link to show you what I'm talking about: http://wineenthusiast.scene7.com/is/image/WineEnthusiast/f/n/w/1500/30479.jpg
Give it a try and let me know if it helps.
Comment posted: 11/11/2017
James T on Experiments in Developing Colour Film At Home: The Chemicals Dilemma – by Aukje
Comment posted: 11/11/2017
One way to help keep the oxygen levels down is to use those rubber stoppers plus vacuum pump that you can get for helping wine to keep.
(For me though, since I shoot about 75% b w I think the colour chemicals would go off no matter what I did.)
Comment posted: 11/11/2017
C.Z. on Experiments in Developing Colour Film At Home: The Chemicals Dilemma – by Aukje
Comment posted: 12/11/2017
To keep oxygen out I sprayed some protective gas using PROTECTAN (TETENAL) over the developer. This gas is heavier than air and stays in the bottle before closing.
Comment posted: 12/11/2017
Mauro Pastore on Experiments in Developing Colour Film At Home: The Chemicals Dilemma – by Aukje
Comment posted: 12/11/2017
It is a long time that I would like home developing my color films, but never did it. Now, after reading your article I am really tempted to give a go!
Comment posted: 12/11/2017
Joey on Experiments in Developing Colour Film At Home: The Chemicals Dilemma – by Aukje
Comment posted: 12/11/2017
Comment posted: 12/11/2017
ruffault caroline on Experiments in Developing Colour Film At Home: The Chemicals Dilemma – by Aukje
Comment posted: 13/11/2017
Comment posted: 13/11/2017
Ken Hindle-May on Experiments in Developing Colour Film At Home: The Chemicals Dilemma – by Aukje
Comment posted: 13/11/2017
C41 is just a different barrel of monkeys, though. I bought the Tetanal kit last year, encouraged by its ability to be developed at 30°C (most aquarium heaters don't go as high as 38°C, so it makes maintaining the water bath much simpler). I put a few rolls through it straight away and was really happy with how well they came out. Then, just a few weeks later, I put a roll of 120 through and the Blix just didn't seem to want to work properly: even when I repeated the Blix step, the negs came out thick and brown (thankfully they were Holga shots, so it didn't matter too much). I made up fresh Blix from my chemicals and that, too, didn't seem to work properly.
I lost faith in the kit and threw it out. I might have just barely broken even on it, but only because colour 120 dev is so much more expensive than 35mm. And that's why it's worth trying to crack this at home - at £3 a pop, I'm happy enough with what my local lab gives me for 35mm but double that for 120 (and slide) and buying a kit starts to make more financial sense. I'm thinking of giving digibase a try, mostly because I hope the separate steps will increase the longevity of the kit (and from your experiments that certainly seems to be the case) but also because you have the freedom to develop as low as 20°C if you want to.
One thing I've heard about with Blix, though, is that in contrast to most of our chems, which mix with oxygen and degrade, Blix actually needs some oxygen to work properly. I've heard people say they make sure they pass it between two containers a few times and give it a really good shake to get it 'activated' before using it. I'm not sure what to believe, as a lot of people claim the exact opposite!
Comment posted: 13/11/2017
Comment posted: 13/11/2017
Comment posted: 13/11/2017
Ken Hindle-May on Experiments in Developing Colour Film At Home: The Chemicals Dilemma – by Aukje
Comment posted: 13/11/2017
Comment posted: 13/11/2017
David Hill on Experiments in Developing Colour Film At Home: The Chemicals Dilemma – by Aukje
Comment posted: 13/11/2017
Regarding oxygen blockers, this is one source: http://www.bloxygen.com/. Also useful for paint and varnish and just about anything else that oxidizes.
rademenes on Experiments in Developing Colour Film At Home: The Chemicals Dilemma – by Aukje
Comment posted: 11/08/2018
Comment posted: 11/08/2018
Kevin Allan on Experiments in Developing Colour Film At Home: The Chemicals Dilemma – by Aukje
Comment posted: 29/08/2018
In theory my Jobo tank, when configured to process 3*120 rolls, need 570 ml but I have found that 500ml provides enough coverage, which helps to get the most of the pack (eg 5 batches of chemicals from a 2.5l kit. Alternatively I could mix 4*600ml batches, the reason being that my Jobo storage bottles take 600ml and therefore there is no room for oxygen at the top.
I have to admit that I have NEVER actually managed to get the full theoretical number of films processed from any kit, whether Tetenal, Digibase. or Fuji. In every case the chemicals have either gone bad before the end, or due to clumsiness I have spilt some chemicals or even thrown them away after a single use, as I do with HC110 for BW developing.
Comment posted: 29/08/2018
Andrew Fildes on Experiments in Developing Colour Film At Home: The Chemicals Dilemma – by Aukje
Comment posted: 28/05/2020
Comment posted: 28/05/2020