

For many photographers, there is a clear divide between shooting digital and shooting film – not just because of the intrinsic qualities of each medium, but also because of the different mindsets applied when using different formats.
In my photographic journey, I was initially attracted to the “film” look. At the time, rather than just shooting film for the sake of it, I was drawn to that “lo-fi” quality celebrated by movements like Lomography. I started shooting with a Holga 135 and later a Canon TLB that had shutter curtain issues. Later on, I transitioned to mainly shooting digital with a micro four-thirds camera. My experience with SLRs made me realize that I truly valued a small form factor, regardless of whether the cameras were truly pocketable or not.
My main interest eventually shifted toward street photography. Digital felt comfortable because it suited my workflow: the vast majority of the photos I took were rejected during the culling process once I imported them to my computer. Last year, I bought a Fujifilm X-Pro 2 but kept that same workflow, strongly preferring the standard horizontal format the camera naturally provides. You can see some of my work on my Instagram.
My Story with the Camera
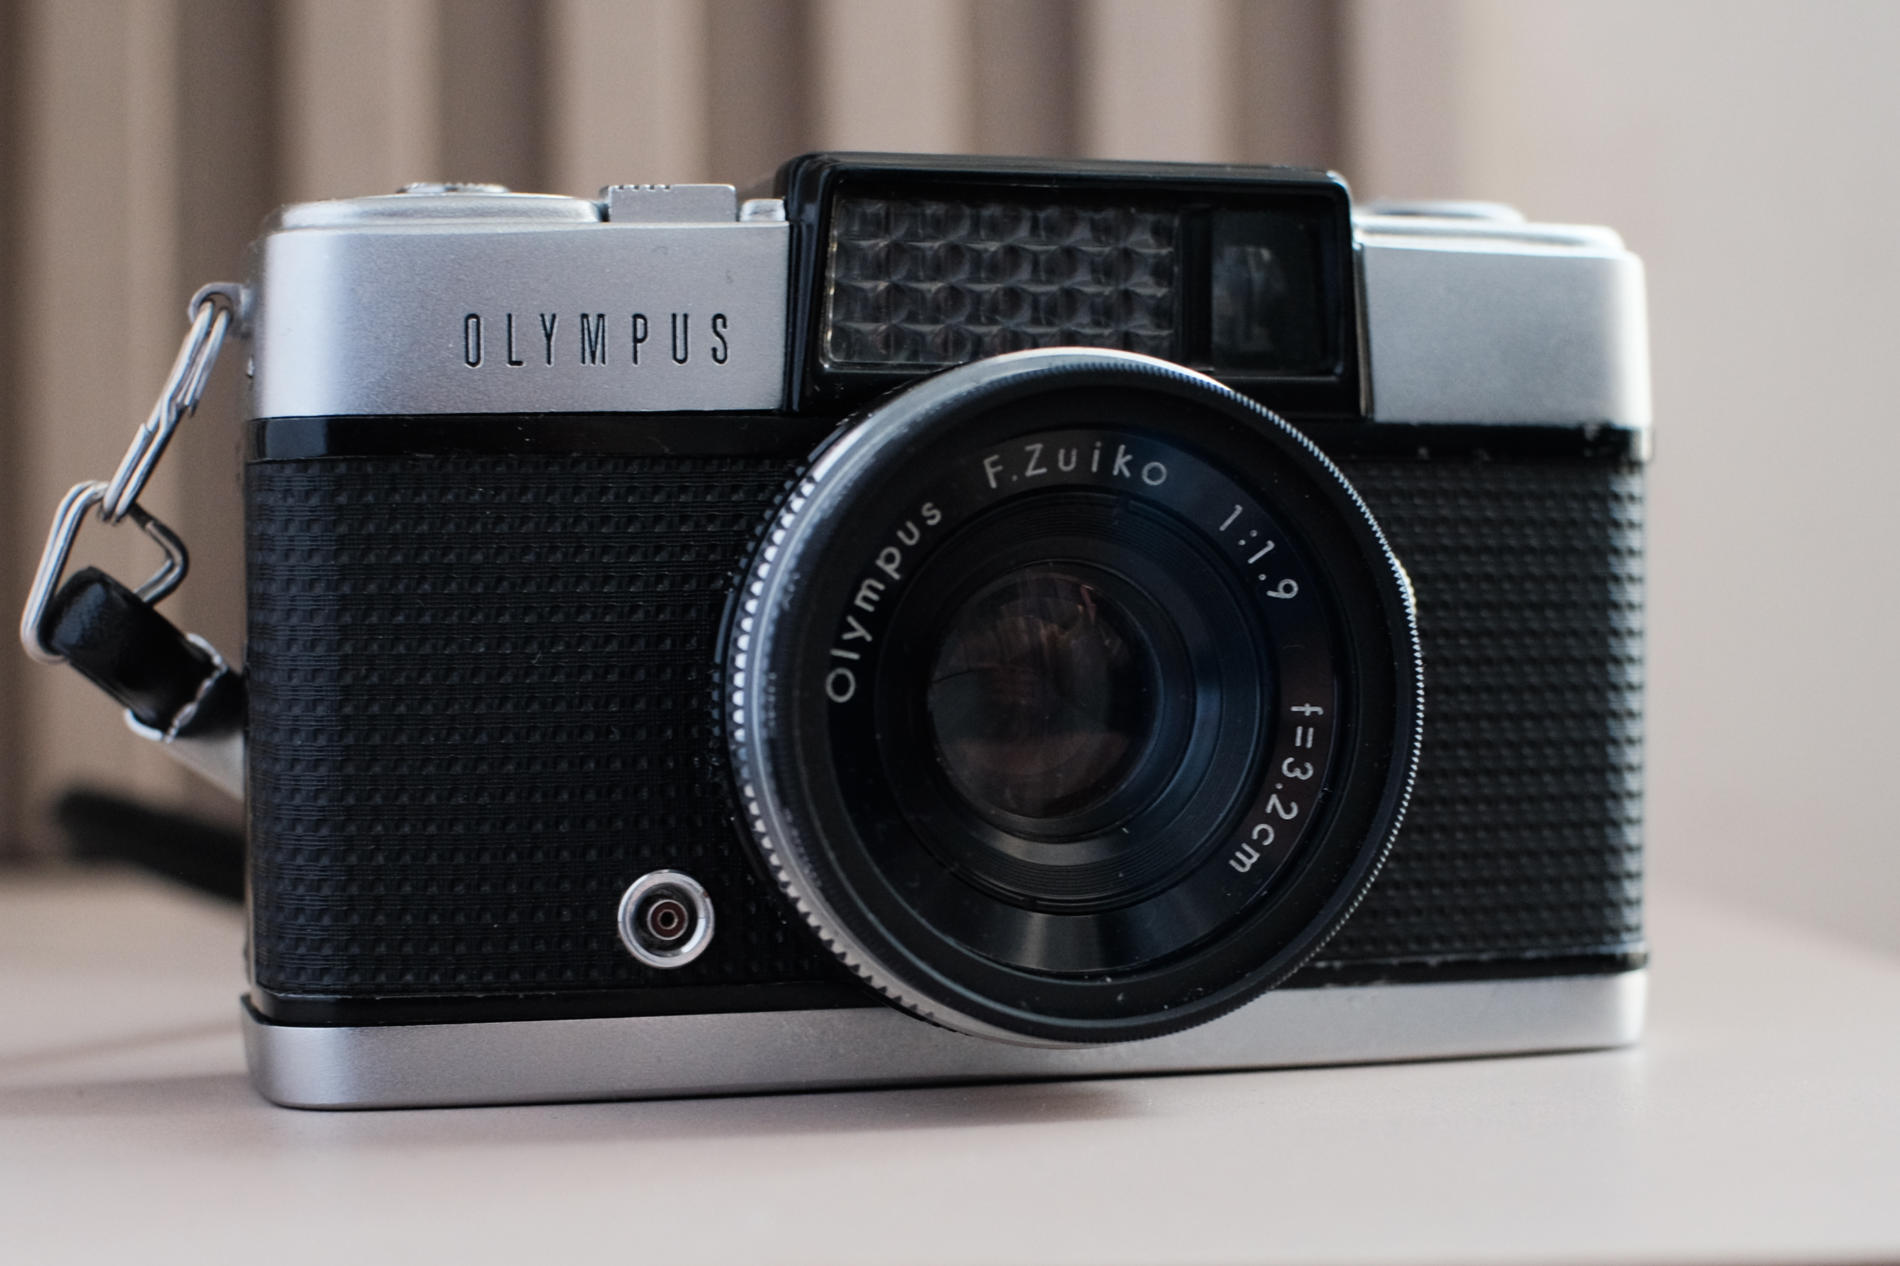
Earlier this year, while visiting an analog photography fair that takes place occasionally here in Santiago, Chile, I stumbled upon a booth selling a couple of half-frame cameras. Among them was an Olympus Pen D.
Usually, at these kinds of fairs, most gear is quite worn out by the years, or at the very least, in desperate need of a CLA. What immediately caught my attention about this Pen D was how great it looked—the viewfinder and the lens were spotless compared to the rest. I also noticed that this model didn’t feature the classic “portrait, group, mountain” zone focus icons; instead, it had a detailed distance scale in meters.
The lens on this camera is a 6-element F.Zuiko 32mm f/1.9, which is quite fast and sharp compared to other half-frame cameras. Moreover, the light meter doesn’t require batteries; it uses a selenium cell, and surprisingly, it seemed to be working perfectly. Even though I went to the fair strictly with the intention of selling some unused lenses and maybe buying a roll of film, I ended up walking away with the camera for around $110 USD.
To test the camera, I bought a bulk-loaded roll of Kodak Vision2 250D, which was developed by the same home lab that respooled it: Semilab.
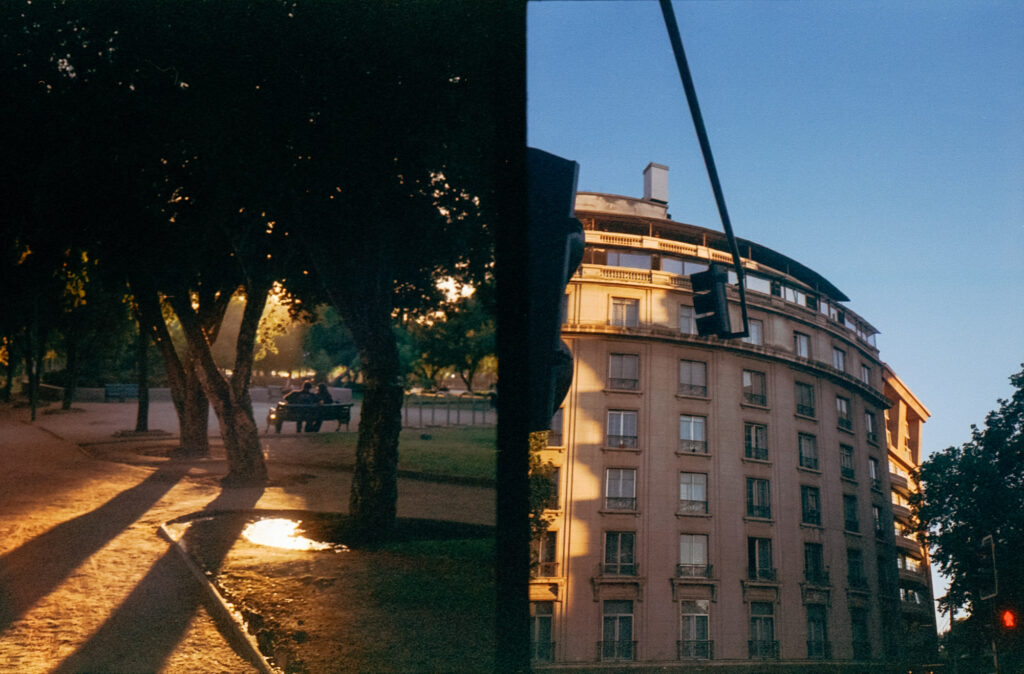
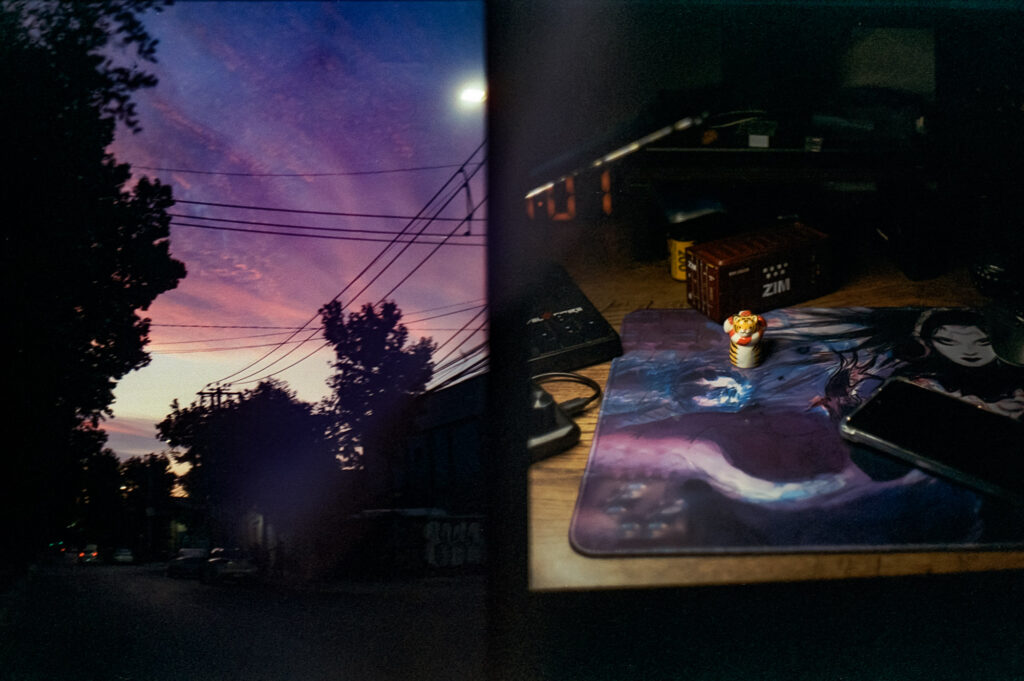
I wasn’t entirely happy with that first roll. I missed focus and botched the exposure on many shots. Also the seals needed work. I was clearly too accustomed to using autofocus combined with auto-exposure or aperture priority on my X-Pro2. At first, I blamed the camera’s selenium meter, assuming it had simply fallen out of calibration over the decades.
However, I really liked the size of the camera and the novelty of the native vertical format. I kept experimenting with bulk-loaded motion picture film. Since these are usually 24-exposure rolls, shooting half-frame gives you 48 shots. This gives the roll a really nice, extended lifespan for casual shooting.
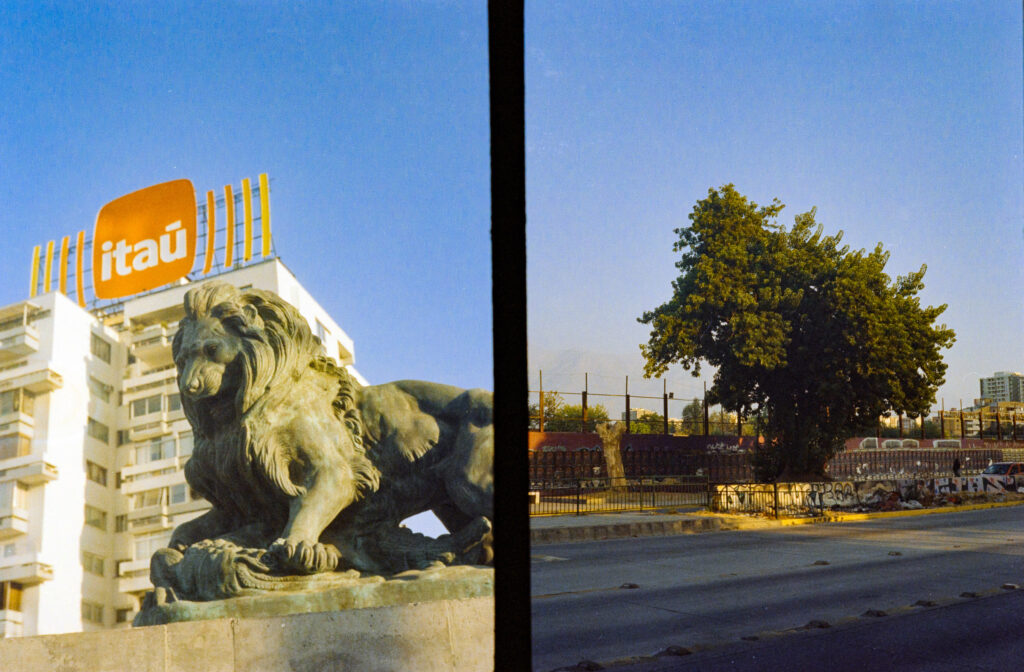
While this might bother some film purists, part of my process has always been tweaking my photos in Lightroom. With my digital files, I mainly edit to adjust exposure, highlights, and shadows, but primarily to give them a look closer to film, as the clinical digital look has never been my thing. With these film scans, however, it’s mostly just about adjusting exposure and contrast. With the lab I work with now, Empty Club, I choose the standard scanning process where they scan two half-frames together as a single image, generating an average exposure for both. For me is ok since I can always scan again a “hit” if I want.
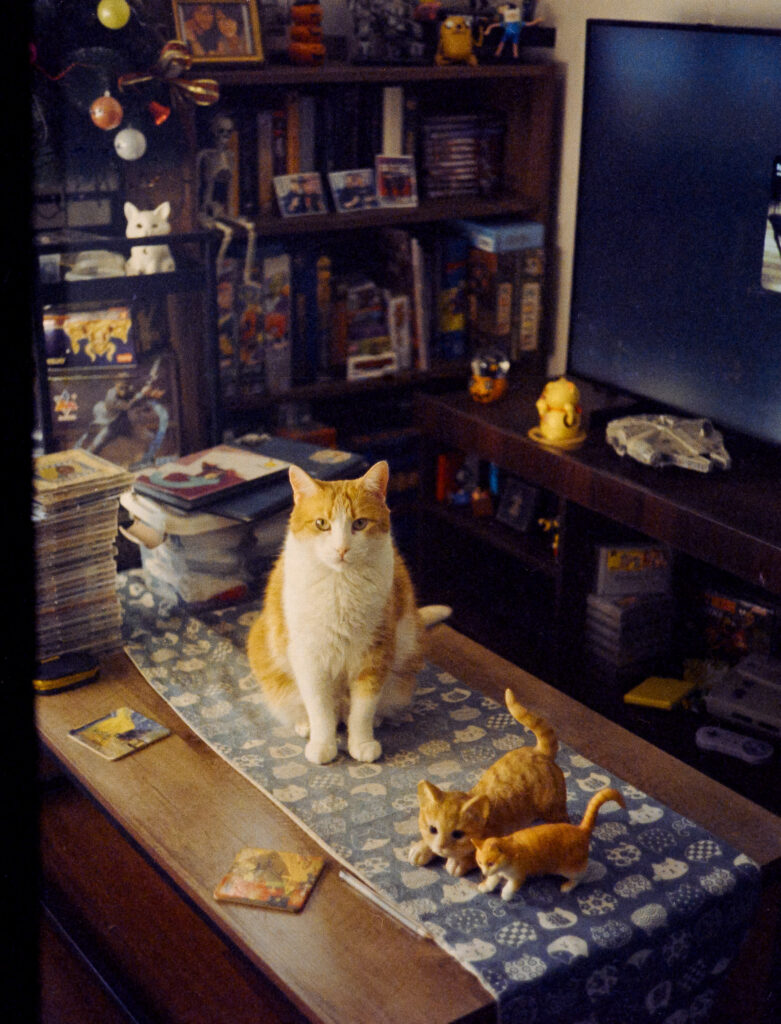
Going back to film brought some very rewarding surprises, like this photo. I was lucky enough to nail the distance (since the camera doesn’t have a rangefinder or a prism to confirm focus), and the exposure turned out quite well despite the low indoor light.
It turns out the light meter on my camera is actually quite accurate in good lighting, and the EV-based metering system becomes incredibly logical for finding shutter speed and aperture combinations. This led me to develop a habit of stopping down the aperture as much as possible while maintaining a decent shutter speed. Relying on a deeper depth of field helps immensely in getting the zone focus right.
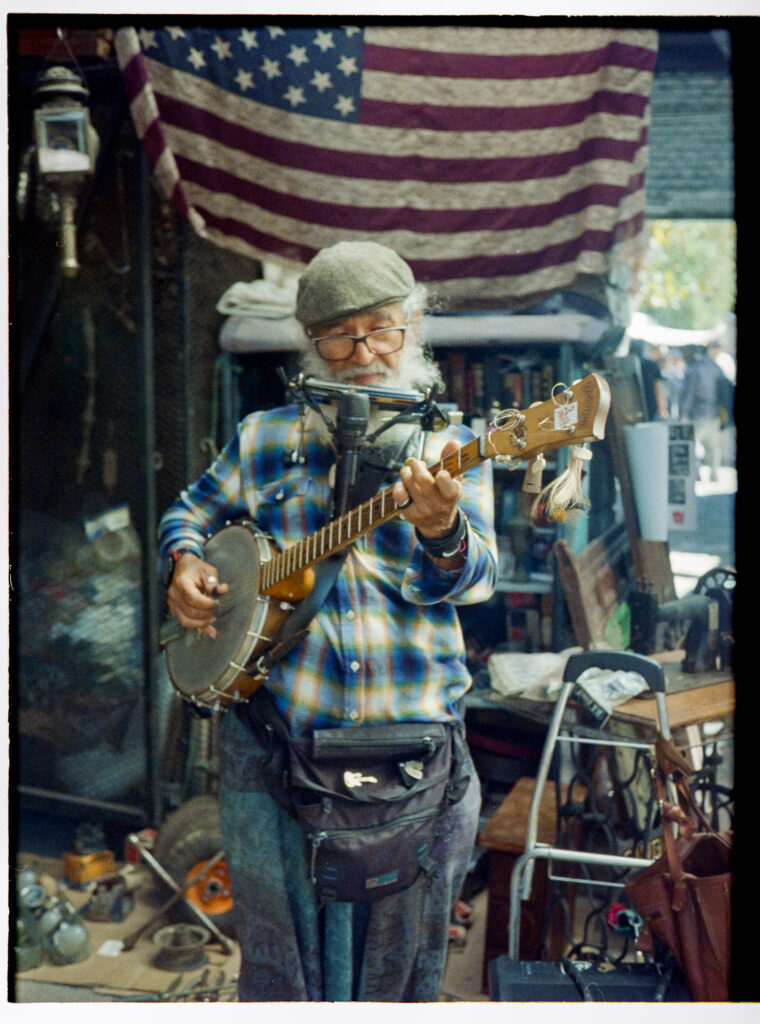
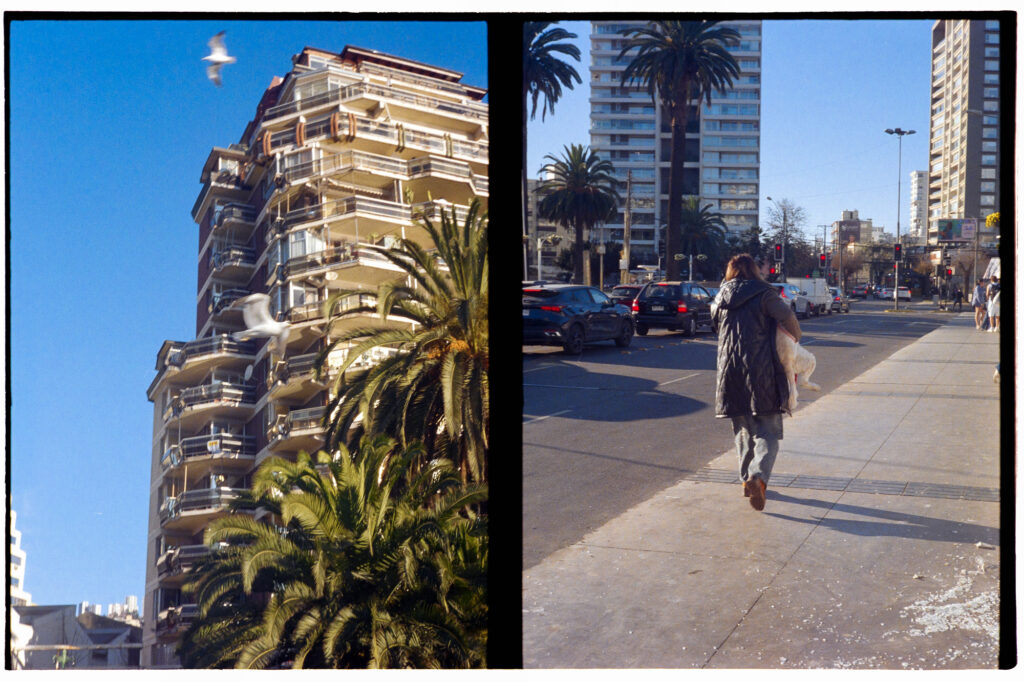
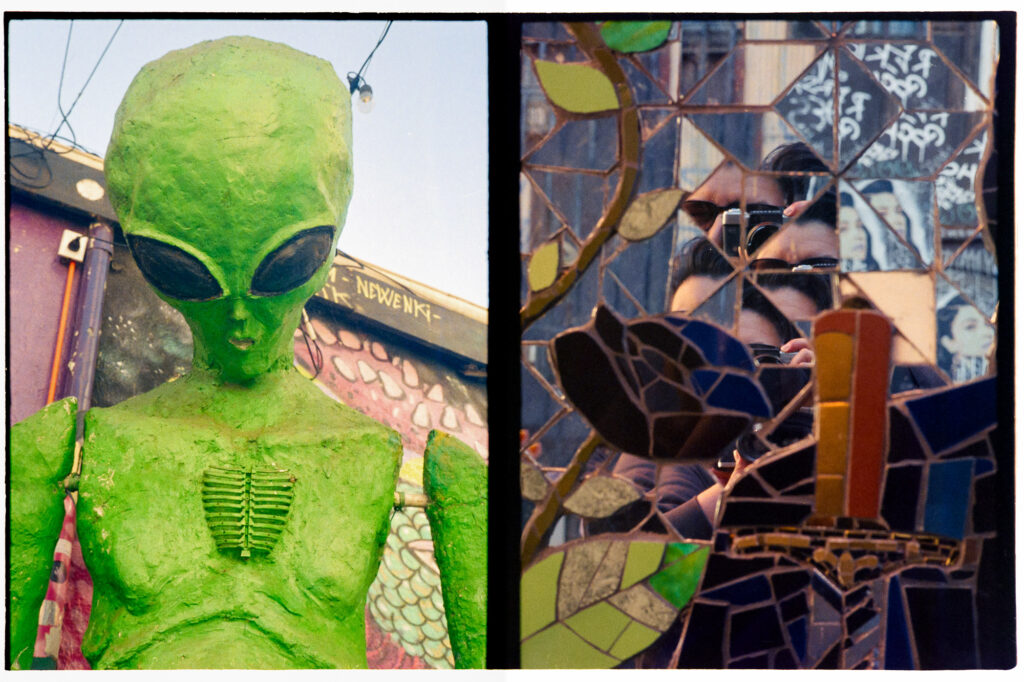
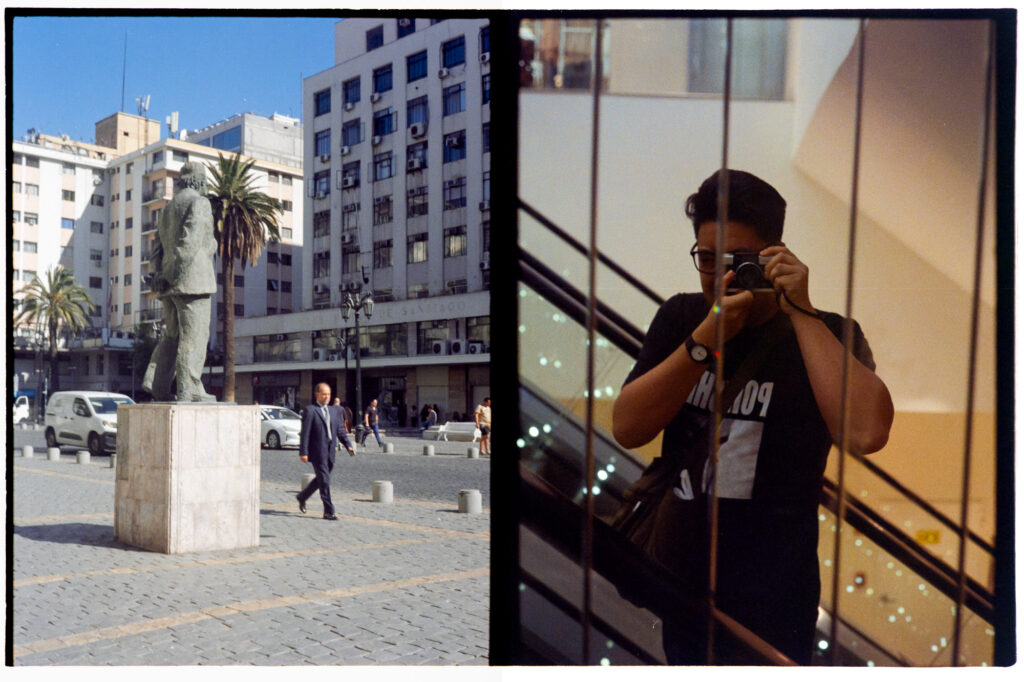
The Olympus Pen D quickly became my go-to companion for photo walks, acting as a sidekick to my digital camera. While my goal with the X-Pro2 is to capture intentional street photography, with the Pen, I simply pay more attention to colors, light, or random things that catch my eye. One interesting result is the accidental diptychs created by scanning two photos together. Sometimes they work out beautifully, sometimes they don’t, but I don’t put any pressure on myself to force them.
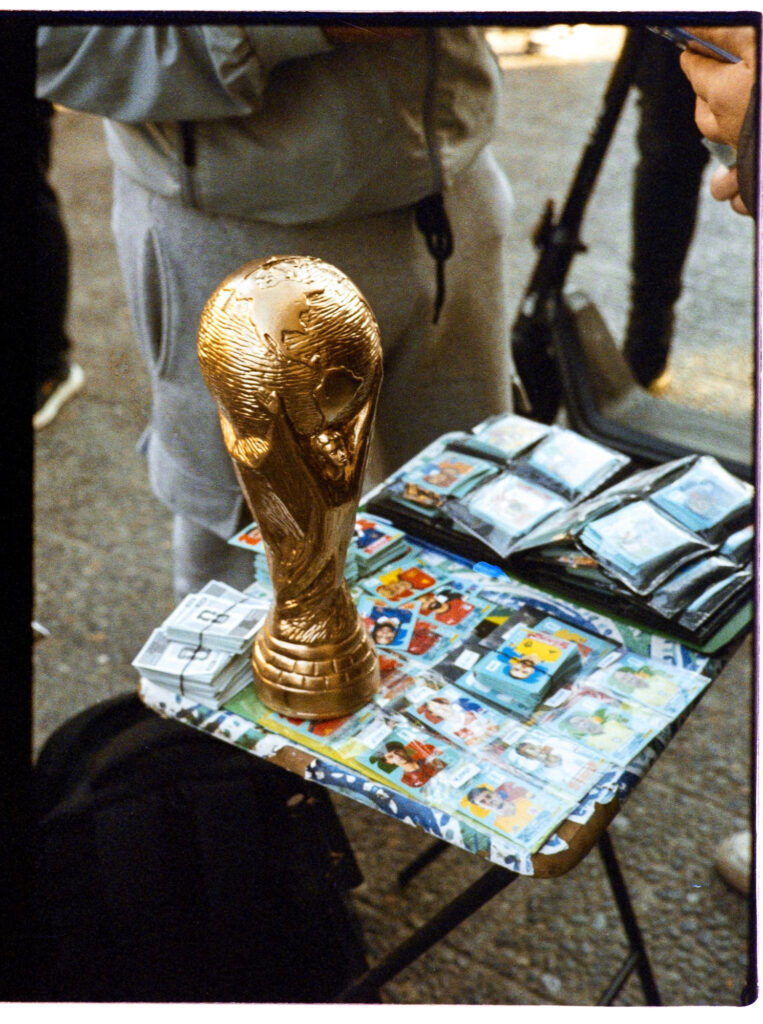
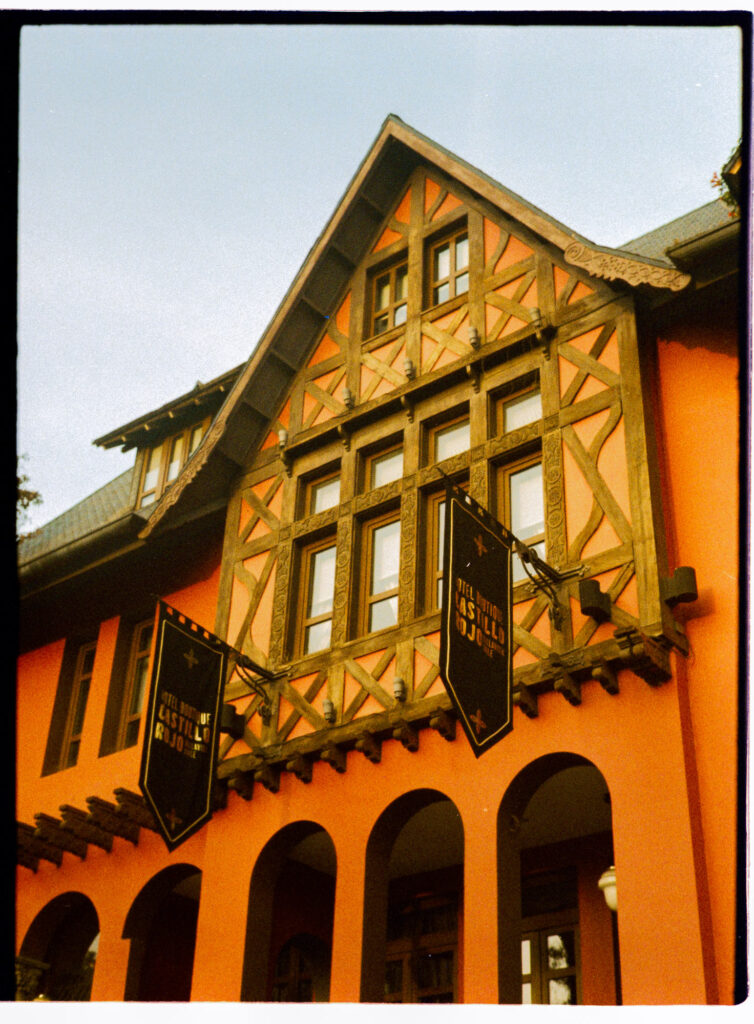
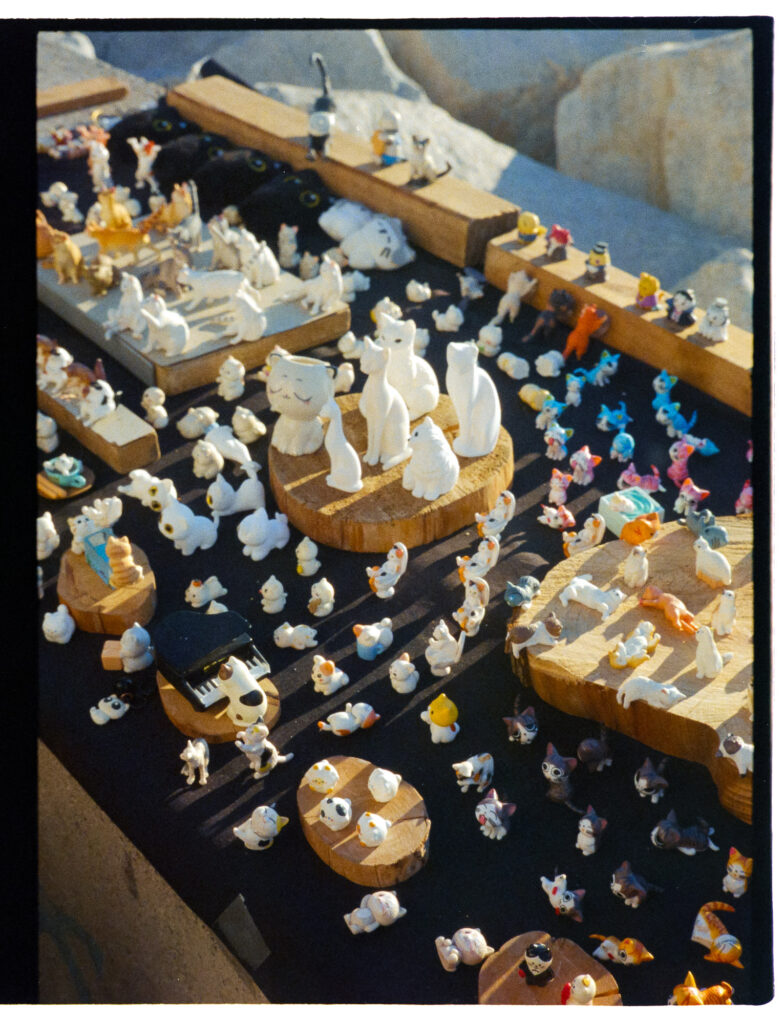
A couple of months ago, I took a short trip to the beautiful coastal cities of Valparaíso and Viña del Mar. I brought my usual digital + film combo, but having used the Pen for a while now, I ended up shooting 90% of the trip’s photos with it. Aside from nailing the focus, my main concern was watching out for lens flares. With this lens, flares are quite common when the sun is directly in front or at certain angles, so using a lens hood is highly recommended.
Conclusion
Ultimately, shooting with the Pen D is just a very fun experience, which undoubtedly wouldn’t be the case if the camera and lens weren’t in such great condition. In the beginning, adapting to a fully mechanical camera with zero automation was tough, as was training my eye to gauge distances.
I don’t mind the half-frame image quality or the grain. In fact, I find that less detailed, gritty look highly appealing, especially since this isn’t my primary camera. The beauty of this setup lies in the contrast: having the endless options of a modern digital camera is great, but sometimes the most refreshing thing you can do for your photography is to deliberately embrace the limitations of another format.
Share this post:

Comments
No comments found