

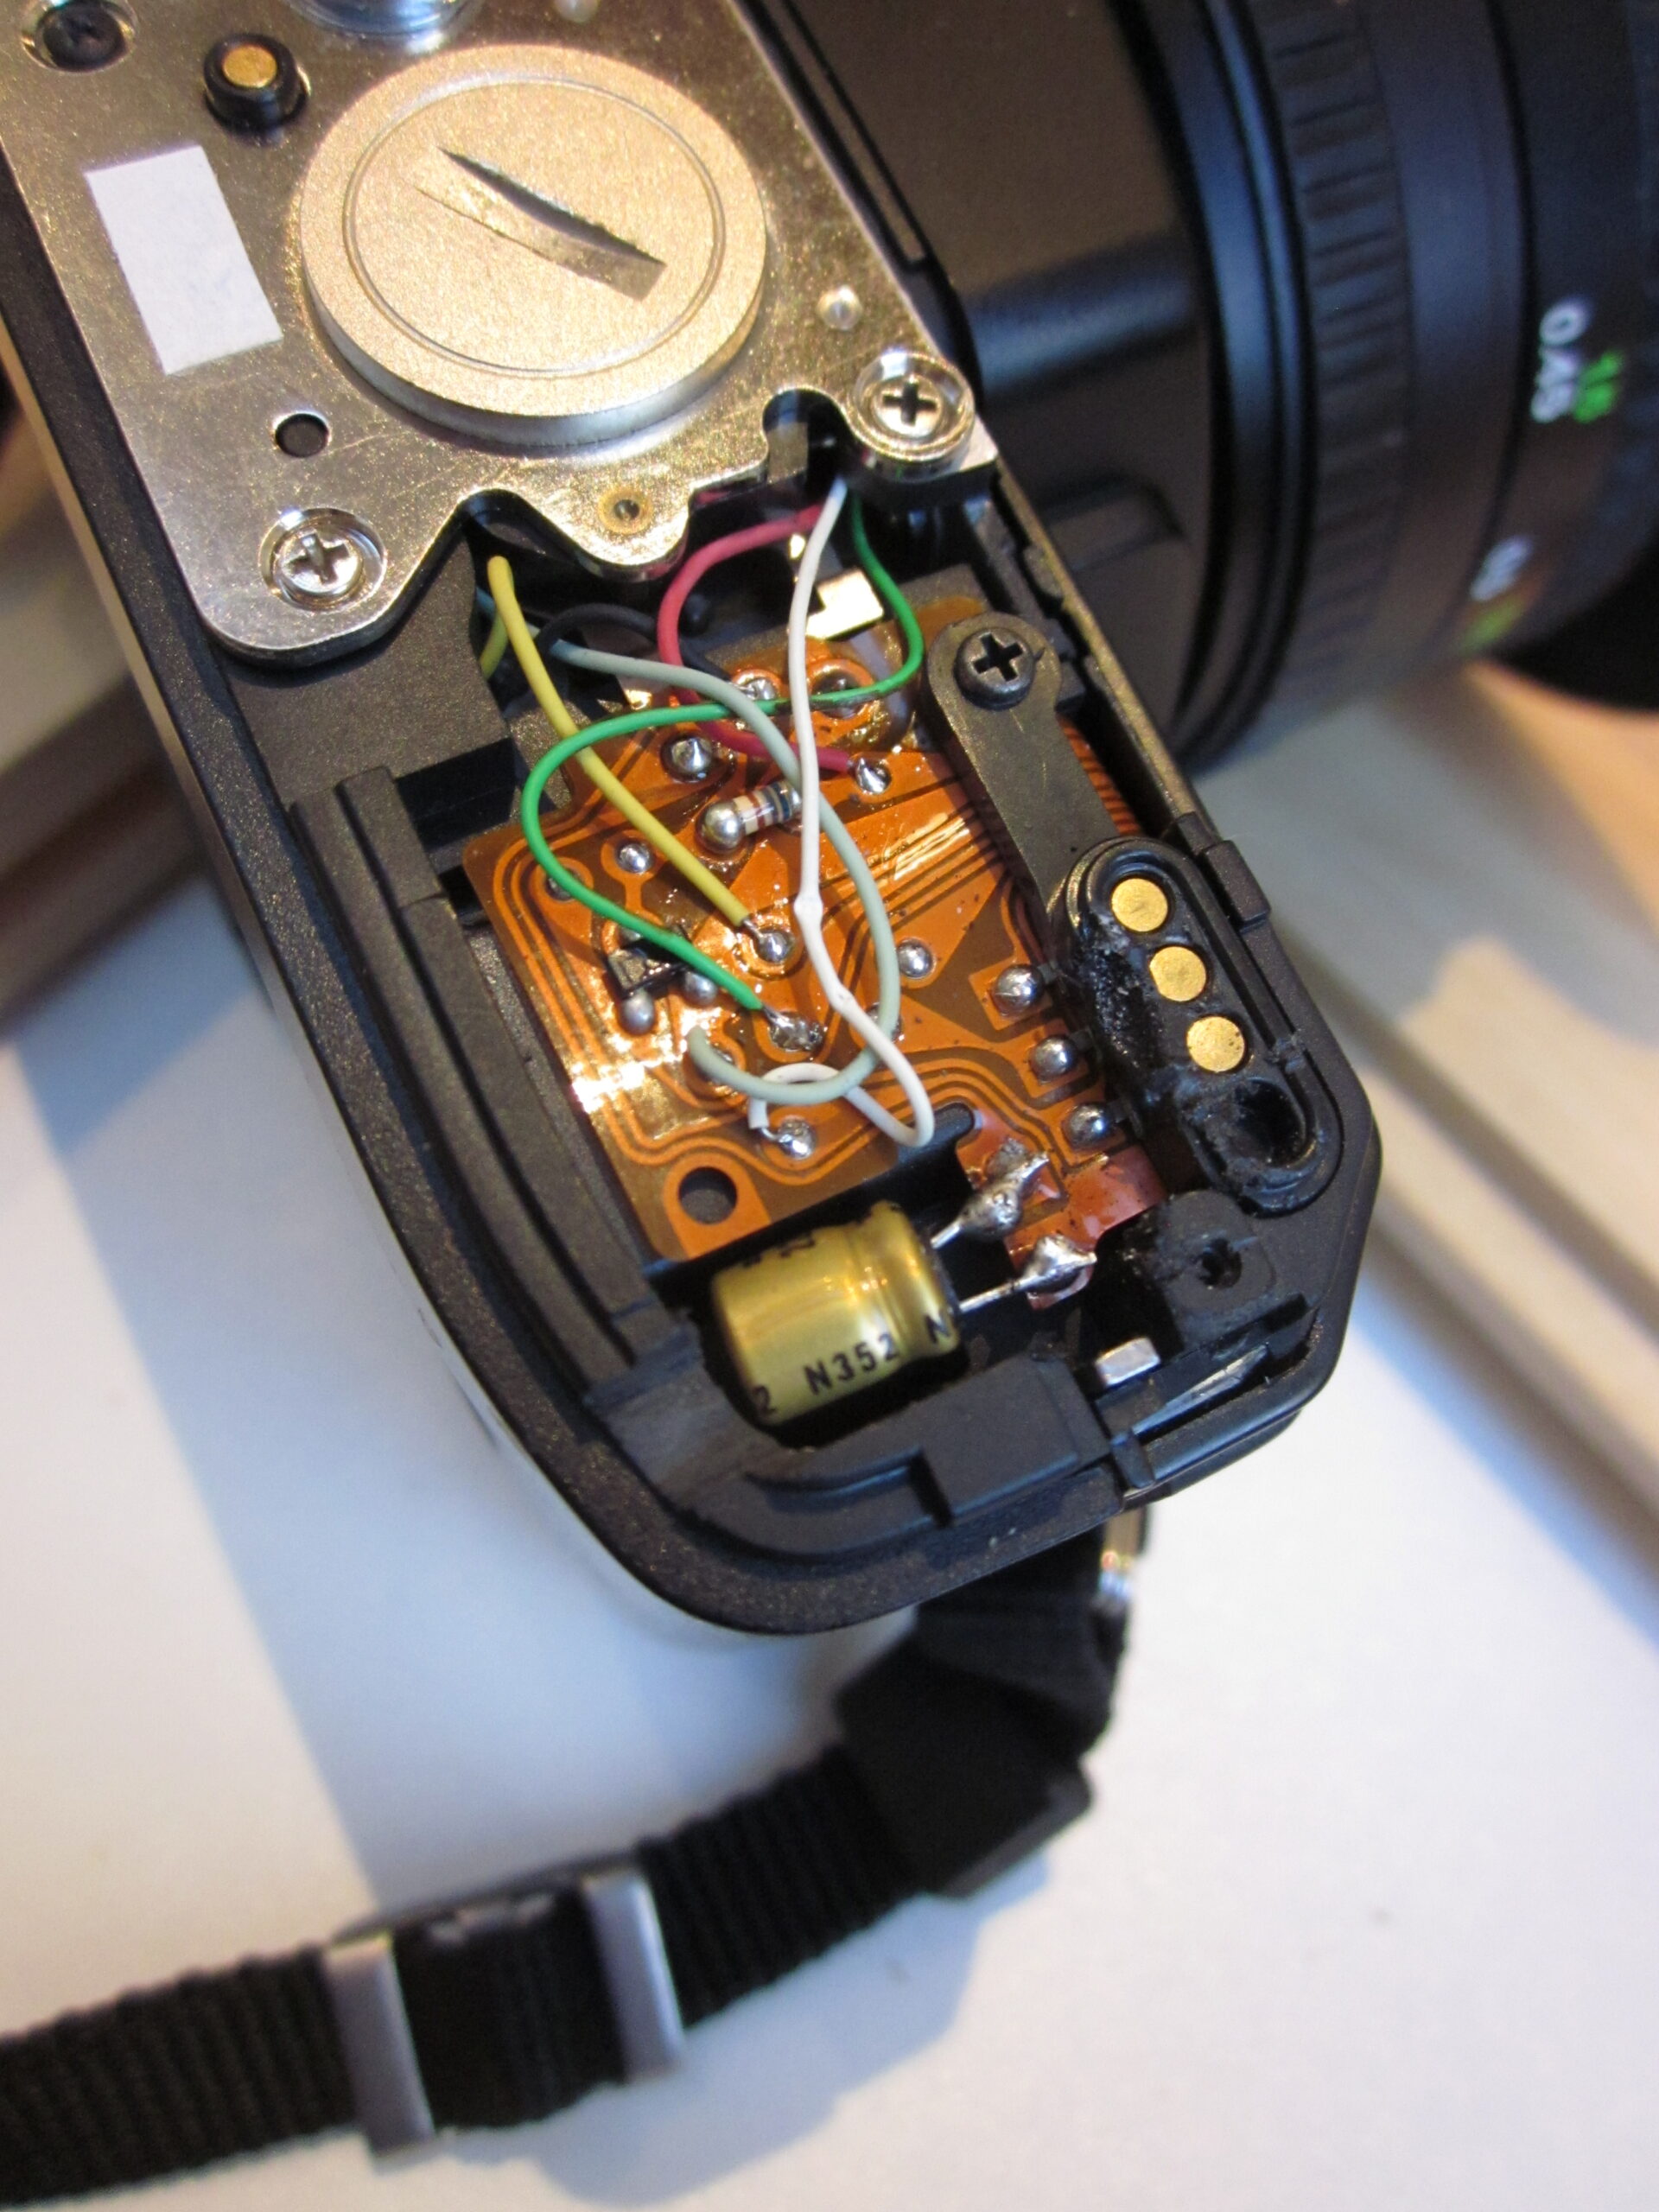
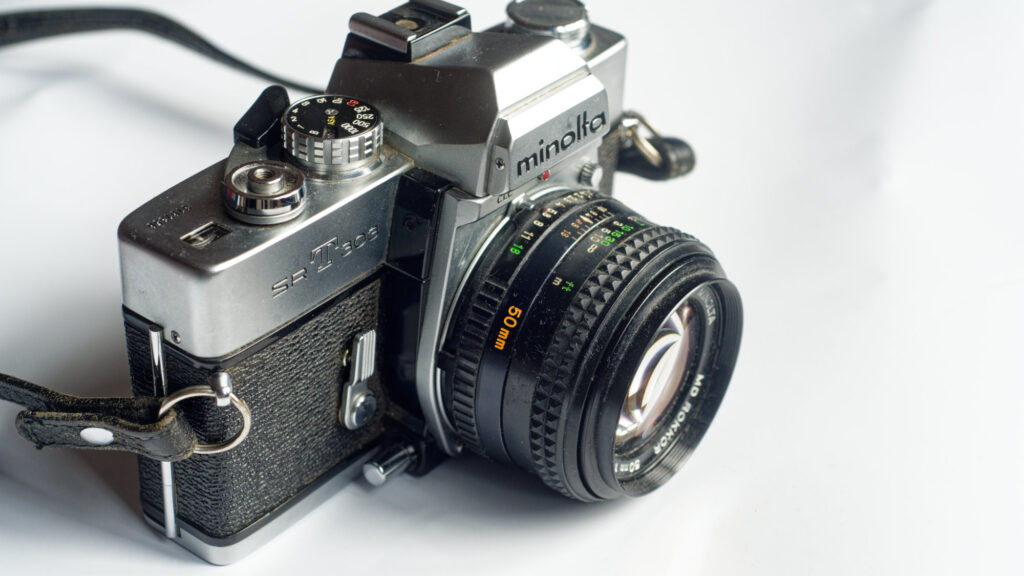
The ‘300’ series of cameras, all derived from the classic Minolta X-300, are approaching forty years of age. It would be surprising if the cameras didn’t have a few niggles. Even at this age, the Minolta X-300 and its derivatives are pretty robust, with many still going strong but for one small issue. They can be incapacitated by budget capacitors.
A sign that the capacitor is reaching the end of its life is intermittent camera failure during use. The DF-300 may take around a dozen shots without any difficulty; then the metering display goes dark when the shutter button is half-pressed. The camera fails to respond to input. Switching the camera on and off may bring it back to life for a few more shots, but essentially you are on borrowed time. Eventually the camera will cease to function.
Thankfully there is a simple fix for the ‘300’ series cameras. It involves replacing the old capacitor. The vital part is easily reached by removing the base plate which is retained by four small screws. If you can use a soldering iron and have a steady hand, this DIY repair should be quite achievable. However you should only attempt this repair if you are prepared to fry your ‘300’; a project like this is not without risks.
Given that this is not the most expensive camera in the world (in fact it is one of the most affordable, particularly in its derivative forms such as the Centon DF-300), you can easily pick another one up for a small amount of money. It’s not the end of the world if the repair goes wrong.
The Centon DF-300
The DF-300 was a lightweight, entry-level SLR, retailed by Jessops, a once ubiquitous high street camera shop in the UK. Centon was the ‘in-house brand’, created to re-sell kit made by other manufacturers. Jessops would have sold tens of thousands of DF-300s in the early-mid 1990s. The camera was pitched as an affordable route into ‘serious’ amateur photography. It is an aperture priority 35mm SLR with an automatic mode. There is a simple dial for adjusting the shutter speed; the aperture is set on the lens. The camera also has a self-timer and exposure lock switch.
Jessops retailed a range of lenses for the camera, all built on the Minolta MD mount, branded with the Centon moniker. Lens manufacturers may have included the Korean company Samyang. Other accessories included flash guns, a motor drive, camera cases and bags. Back in the day you could equip yourself with a substantial amount of gear for not much money, at least compared to the prestige manufacturers such as Nikon, Canon, Minolta, Pentax and Ricoh.
The Centon is more or less an exact copy of a 1980s classic, the Minolta X-300. The DF-300 looks more utilitarian, being made with an all-black plastic exterior, but the internal mechanism is identical to the X-300 as far as I can tell. A Chinese camera company called Seagull purchased the rights to manufacture X-300 clones, initially for their domestic market, and then for overseas markets like the UK and the USA. In the UK, Centon became the brand associated with the Chinese clone.
You can find out all you need to know about the Centon DF-300 online (links below). Charles Higham has written about the charms of the camera on 35mmc.
The Fix
The ‘300’ series of cameras lend themselves to this repair. There is a single capacitor that can be removed from the circuit board and replaced with a new item. The original capacitor was rated at 4 volts and 220 uF (microfarads). An exact replacement is difficult to find as most modern small capacitors seem to be 6.3 volts at 220 uF. Online research suggests this is an acceptable replacement even though it’s not an exact match.
The critical thing is to find one that is physically small enough to fit in the allotted space in the base of the camera. The length of the capacitor body should not exceed 7mm if it is to be a drop-in solution. The key seems to be to source an audio capacitor; these tend to be smaller than the equivalent non-audio types.
The more advanced cameras in Minolta’s X range, such as the X-700, are also vulnerable to capacitor failure. But they do not lend themselves to the simple repair. The X-700 has two capacitors. Unfortunately the second capacitor is in the top of the camera and is not accessible without significant disassembly. It can be replaced, but the task needs a substantial amount of electro-mechanical know-how and technical skill.
The Steps
1. Remove the battery holder and set aside.
2. Remove the base plate using a 000 JIS screwdriver. The two central screws are short and easy to lose. The two screws at the ends of the base plate are longer and more easily handled.
3. The capacitor sits in a well at the right-hand end of the camera (with the camera upside down and the mount facing away from you). It is soldered to a circuit board, which is actually more like a flexible film. The major risk associated with the repair is melting this fragile circuit board. Remove the dead capacitor by delicately unsoldering it from the board.
4. Solder the new capacitor in place having trimmed the connecting wires to about 6-7mm. It is essential to identify the negative pole of the capacitor before soldering it into place. It is marked with a ‘minus’ symbol on the side of the capacitor. The negative pole of the capacitor is on the outside of the board, next to the camera body.
5. Replace the battery holder and test the camera. If the metering display glows, the camera is likely to be fixed.
6. Replace the base plate and conduct further tests.
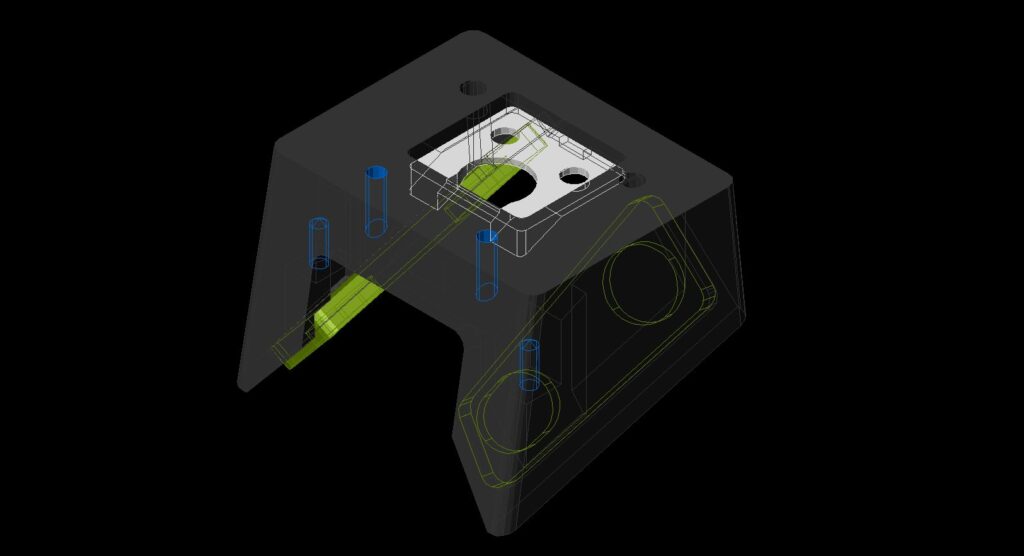
The following images show the layout of the camera mechanism and the circuit board and capacitor at various stages of the repair.
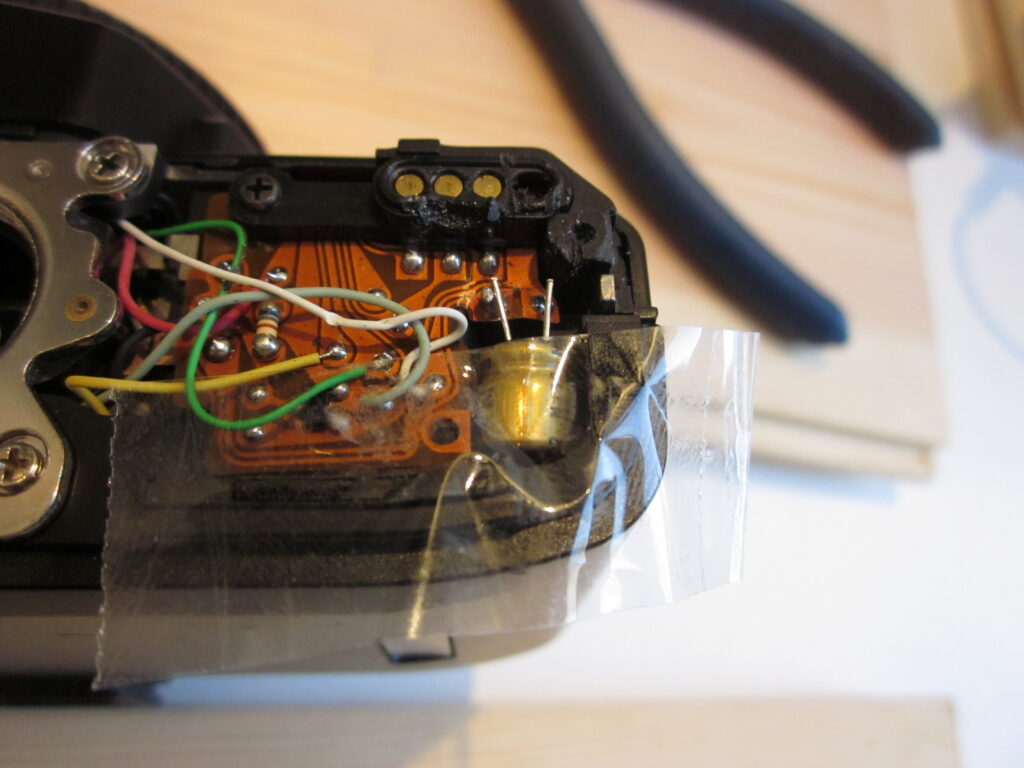
The photograph above shows the secondary risk of melting the surrounding plastic case with the soldering iron. In this case no significant harm was done and the three motor drive contacts still function (top right). In future I would mask the surrounding plastic with thick, dense card to provide at least one line of defense. The unsoldered capacitor contacts can be seen.
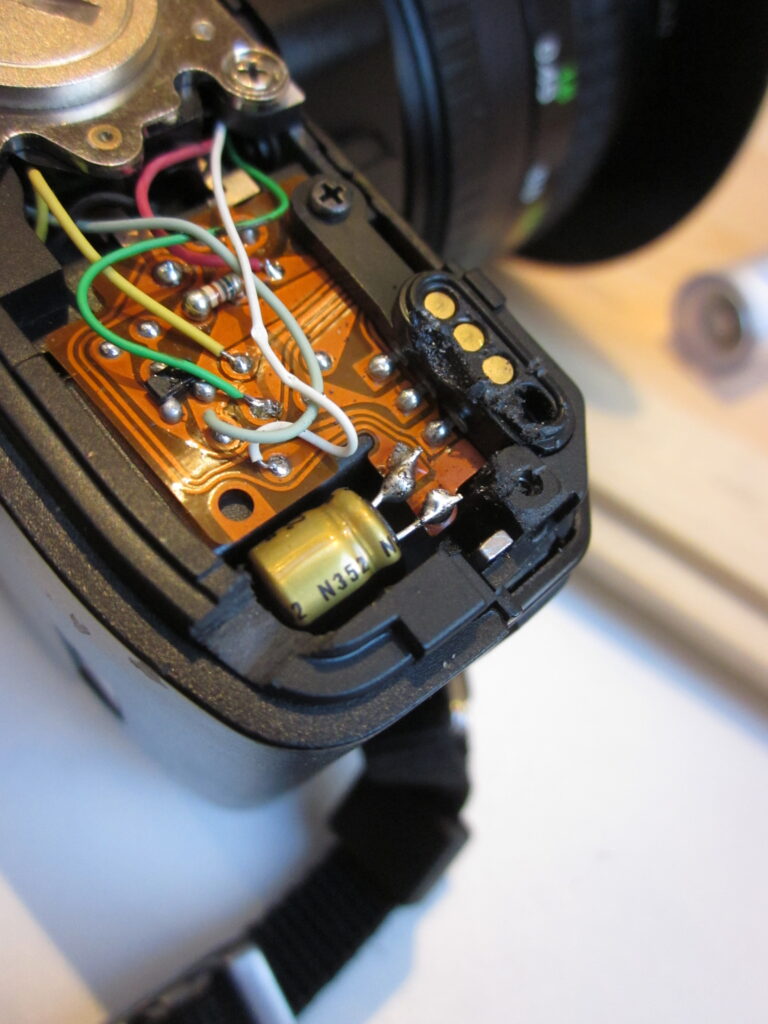
This is not my neatest soldering job, but the fix worked and this example of the DF-300 is fit for a few more years. The circuit board is incredibly fragile and if it is melted in this operation the camera is probably not worth repairing. The thin wires and multiple soldered attachments would add further complication to the repair task.
Conclusion
If you have a ‘300’ series camera derived from the Minolta X-300, and it is showing the symptoms described above, you should be able to repair it by following these instructions. However any DIY repair is not without risks, to your camera or your person. I can’t recommend that you undertake the repair if you are not prepared to accept these risks. However this is one of the simpler fixes using a soldering iron, so you may wish to have a go rather than send your beloved SLR to the recycling depot.
Links
Charles Higham’s DF-300 Report
That Camera Guy – DF-300 Review
Share this post:



Comments
Martin on Incapacitated by Capacitors – Fixing the Centon DF-300, Minolta X-300, et al
Comment posted: 13/09/2026