Following up my previous article, I was determined to iron some issues I identified in my process, hoping it would lead me to an improvement in my photos.
The biggest problems I recognised were the exposure, the scanning method (which is strictly connected to the post editing side of the images) and also I wanted to improve – or at least see if I could make some difference – to the developing.
Exposure – follow up
As I have written before, I started to apply and to read more about the Sunny 16 rule, but in order to improve my skills, most of the time before hitting the shutter button, I am guessing the exposure and then using the Lumu App in order to check my guessing against the exposure read.
Although it was quite a slow process, I think it is very helpful so I think I will carry on doing this for a while. It is true that on the net is possible to find hours and hours of lectures, but the best thing is always to practice, make errors and learn from those.
The result of this method, brought me to expose a couple of rolls (in total approx 55 images) with a good amount of them being almost correctly exposed. Some were over or under exposed quite badly and I am not sure why. I need to dig into it and understand the reasons.
Scanning method – follow up
I was not happy at all about my scanning process so wanted to learn more about it. Surfing on the net I found out that the size of a .tiff file for a 35mm film scan is usually between 8 and 14mb for a scan at 3200 ppi resolution and scan quality of 300 ppi.
These are approximates numbers which can be very different depending from many factors, but it is just good to have a rough idea. At the beginning, when I was scanning with the Epson software, I was getting files from 40 to 70 Mb, which I thought would have been full of detail. Silverfast has been a good find – it’s quicker and easier to use compared to the Epson stock software, but when I compare Epson and Silverfast (which are roughly 14 Mb), I can say that the latter images are probably better too. Big files, doesn’t automatically mean better results.
This is helpful for two reasons:
Working with smaller files means that when I have to precess them it’s going to be quicker and also, of course, I can save more of them in the HD.

Editing of the scans
In the beginning I thought that, because I wanted to keep the photos as much “original” as possible with very little adjustment, I could have avoided use editing software, but now I think I was wrong. It seems I need a bit of post production, and usually with a very basic software is very difficult to obtain decent result.
Using an Apple environment, I thought I could have used ‘Photos’, which comes with the Mac OS but I didn’t find it very intuitive and I don’t think enough. From there, my first choice would have been Lightroom because it’s the most famous and most used editing software, and because I’ve used it in the past. The downside of it is the monthly cost. I am not a professional and because when this horrible period comes to end I will not be able to spend so many time for my passion, I thought that a monthly payment would have been too much for me.
I would be happy to spend a fair amount of cash to buy a software which is capable to give me the minimum tools I need for my editing, but I thought that a monthly payment would have been a waste of money in my case, so I decided I had to steer towards something more “open”. I did some research and I stumbled across Darktable.
I decided to give it a go and was pleased to find it to be a very good compromise! It is basically a copy of Lightroom, with most (if not all) of its functionality – the interface is the same, it is free and being an open source software is constantly developed and updated and it seems to work very well.
Yes, it does not have a lot of cool features which Lightroom has (iPad app, the cloud and other features) but I don’t need those.
I was especially pleased to find that it is possible to manage the files with its database feature. I can also save presets for the most used procedures, it is a non-destructively software and it works quite smoothly.
As usual, I have to learn how to use it, but there are plenty of videos on youtube and on its website there’s a blog and a thriving community, so with a bit patience I think everything I need is feasible.
Developing
On the developing side, I wanted to use the Ilford Simplicity started pack I got with the developing starter kit. The reason behind it is that I wanted to see if I was able to improve the quality of the developing, and most of all I wanted to give the wetting agent a go to se if I was able to get rid of the watermarks on the negatives.
In order to do that I dowloaded the massive dev app as I did not want to mess around with timings and I took care about the water temperature and the mixing.
As said before, so far, I used only the Cinestill monobath because I thought it was convenient especially for a beginner like me (and to be honest because the only thing you have to think about is the timing for the development) but I found the Ilford dev solution quite easy as well and very convenient. The development is more consistent as the dev solution needs to be fresh every time and the timing is always the same (unless you want to push/pull the film…but is not my case yet) where with Cinestill you have to remember to add 15 sec every time you develop a new roll because of the degradation of the solution.
I also have to think more about the temperature with the monobath. Ilford Ilfosol3 develops at 20 degrees centigrades where Cinestill develops between 18 and 32 centigrades depending on the result you want to obtain and the type of agitation you apply. In short, in some ways, it requires more thought.
In any case, I would like to highlight the needs to bring the dev liquids to a recycling centre and avoid pouring it the down the sink. Probably many people ignore this “little” step.
Anyway, the last rinse of the film you can see in this post was done with the wetting agent, which avoided me needing to use distilled water for all the rinses, instead I just used it just for the last one.
I am not in a position where I can say what is “better” out of Ilford or Cinestill, I just described the two processes I followed and I noticed that both of them are not as difficult as I thought they might be. When I was looking at starting my journey I have to admit I was a bit scared as I thought would have been difficult to develop… but really, as I have said before, it is not difficult at all!
So, if you are still thinking about giving it a go, all I can say is “stop thinking and do it!”.
Results
All these changes has lead me to some improvements.
After having rinsed the film, I was so excited to see the results of my effort that I could hardly wait to take the films out of the spirals, and at first sight I was so happy! I noticed a lot of shades of grey in the films and most of them seemed to be decently exposed so I could not wait to scan them and watch the results appear on the monitor.
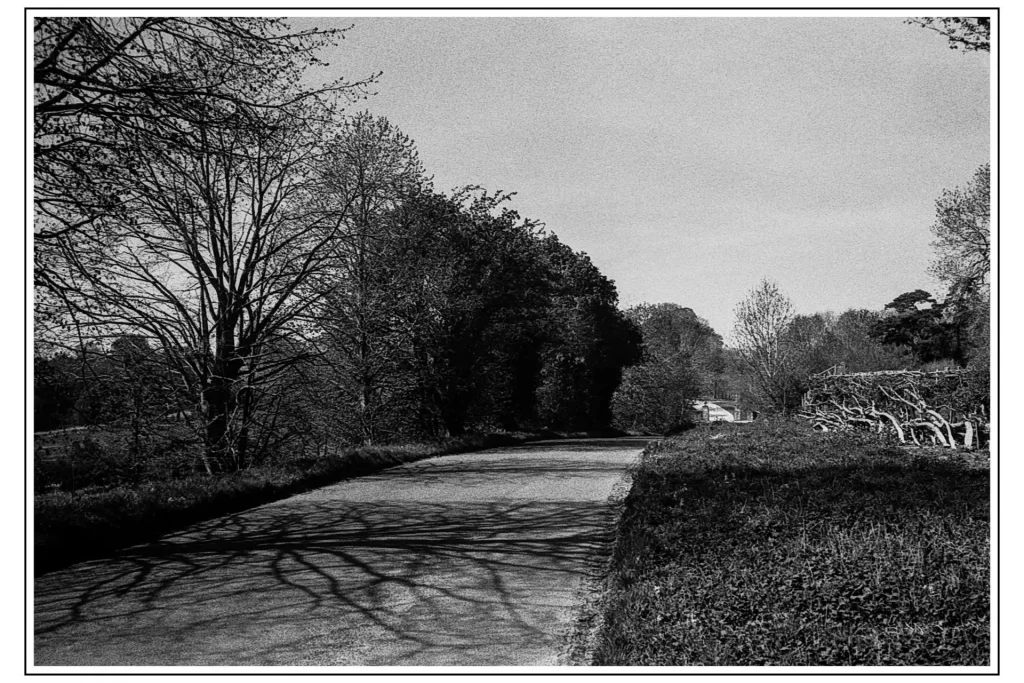
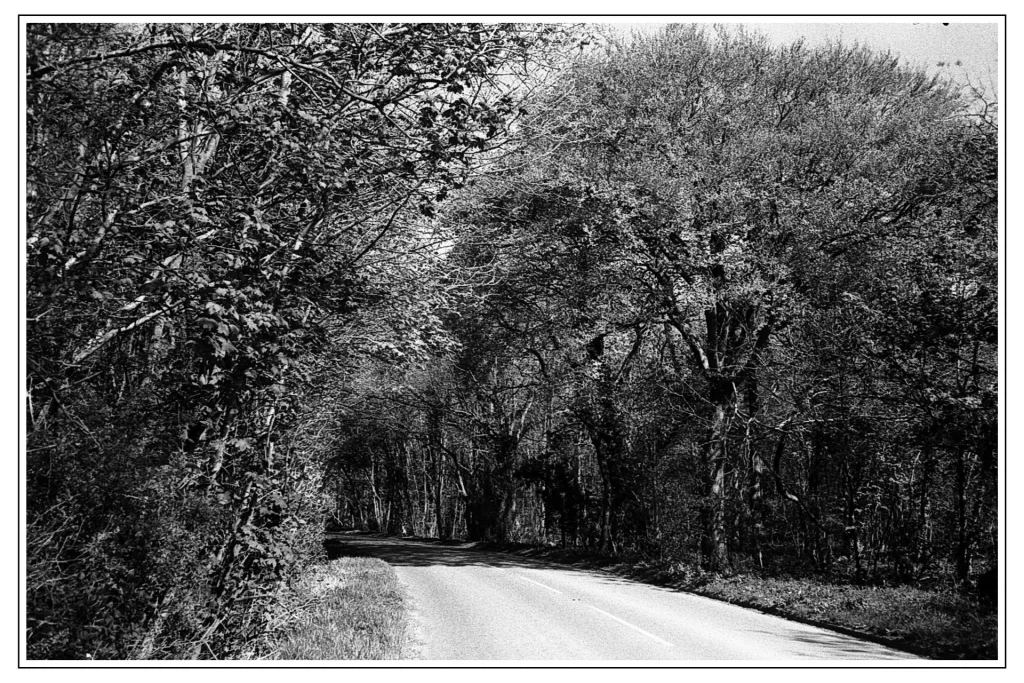
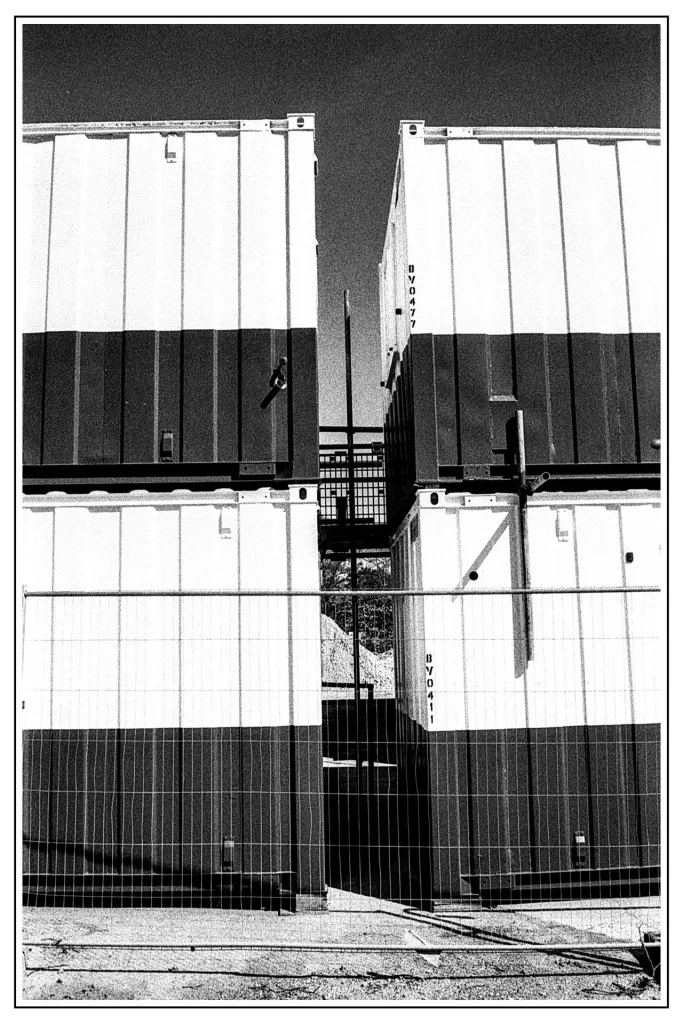
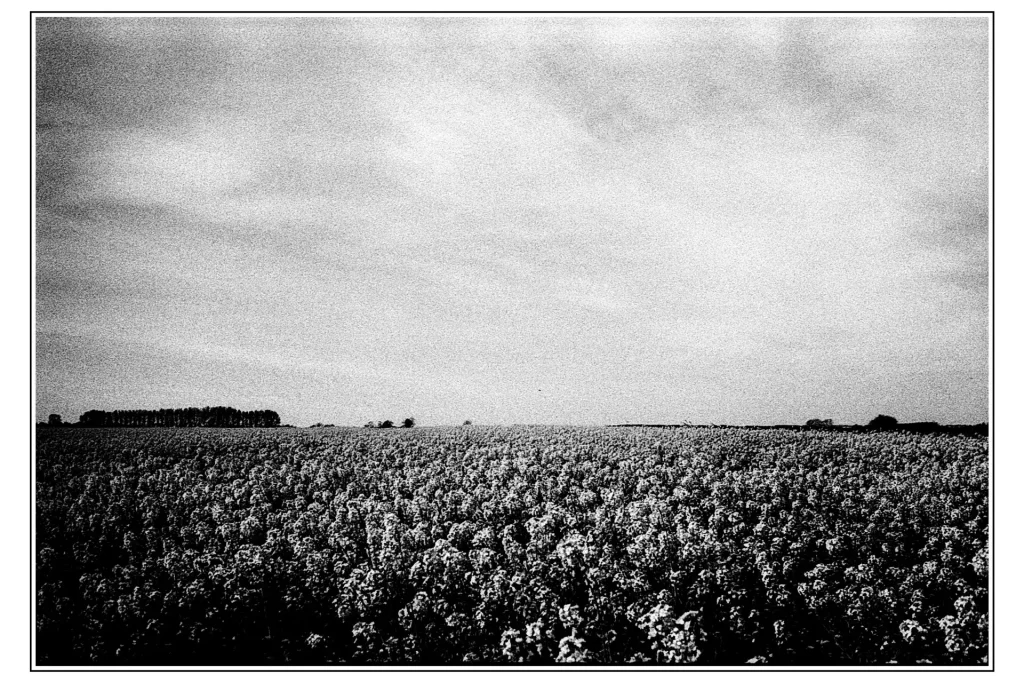
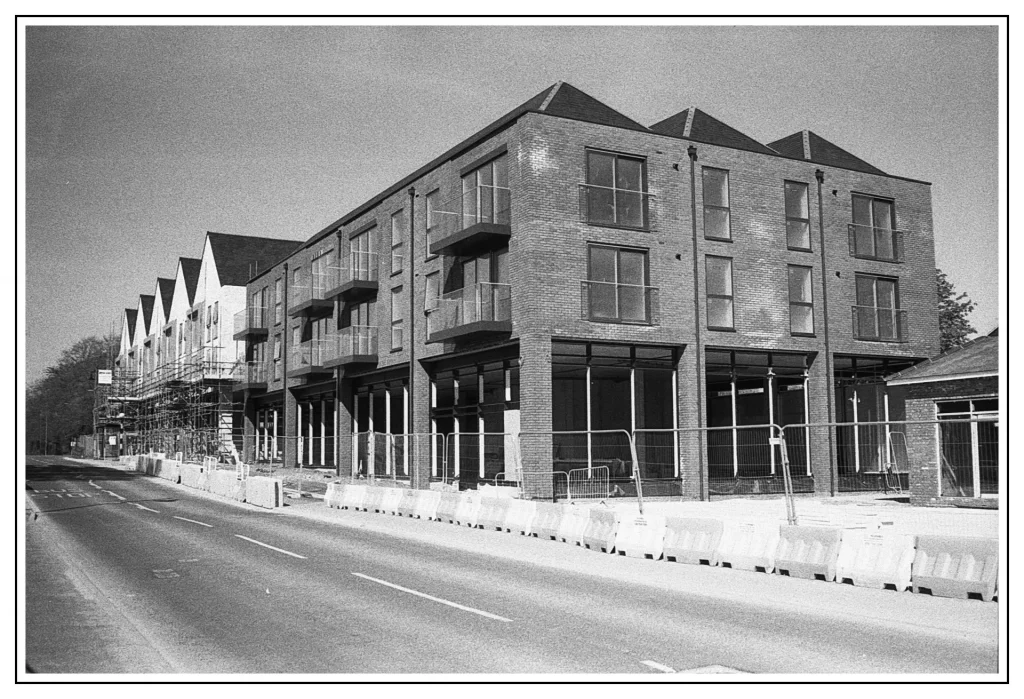
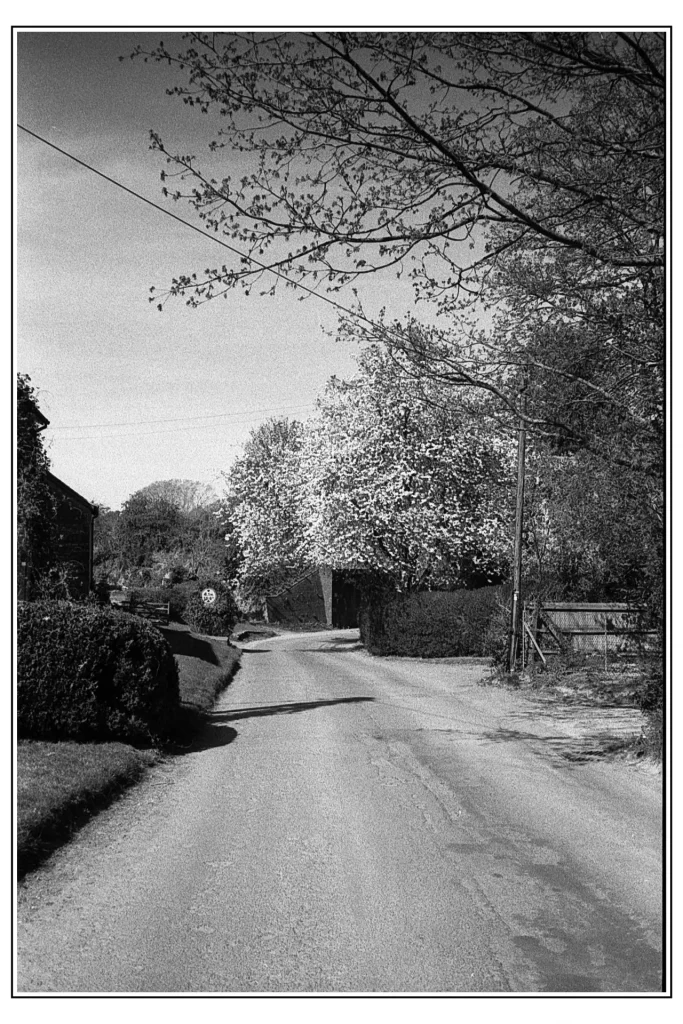
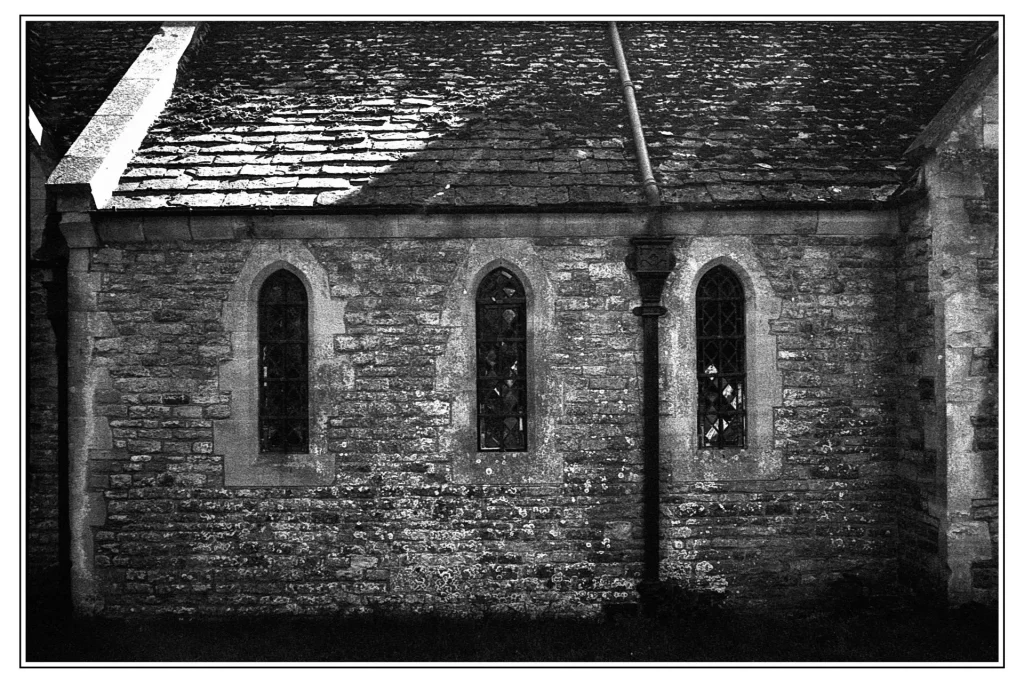
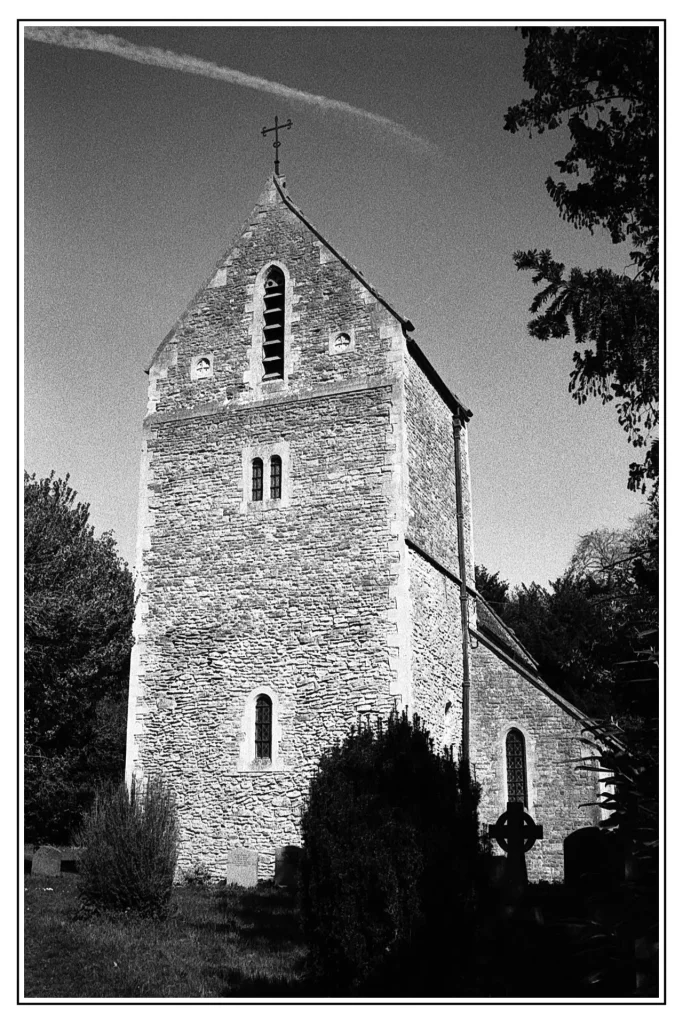
Of course, there is still a lot of room for improvement, but I think made a good step in the right direction as I hope you can appreciate from the images in this article.
What’s next
First of all I have to keep consistency with the improvements I have achieved so far. I need to keep familiarising with the sunny 16 rule, continue to improve the scanning quality by understanding better the consequences of changing the settings, and learning the editing software.
I also think I need to find information in order to understand how to read histograms and understand curves when scanning and processing as that seems to be another key point for a correct image.
If you have got this far in reading my article, thank you very much! I would really appreciate if you could comment with your thoughts and give me some feedback and tips in order to progress in this fantastic world of film photography.
Thanks,
Andrea
If you fancy, you can check out my Instagram
You can read more about my journey into shooting film here
Share this post:


Comments
Michael Watkins on Some little improvements – My First Steps into Analogue – Part 3 – By Andrea Bevacqua
Comment posted: 14/05/2020
Comment posted: 14/05/2020
Marco Andrés on Some little improvements – My First Steps into Analogue – Part 3 – By Andrea Bevacqua
Comment posted: 14/05/2020
Comment posted: 14/05/2020
Roeland vbb on Some little improvements – My First Steps into Analogue – Part 3 – By Andrea Bevacqua
Comment posted: 15/05/2020
I have been developing film for some 30 years now, some advice maybe:
The relation between exposure and development time/temperature is what it's all about concerning technical quality. The end result should be such that the lightest parts in the picture (= your shadows) are not transparent but retain detail. This is what you expose for. Then develop for a pleasant overall density and contrast according to your taste. Rule of thumb: you should be able to read a newspaper through the final negative.
When you have very light negatives, look at the neg. numbers. Are the dark enough? if yes, you exposed wrong. If no, you developed to little.
Lat bit not least, ilfosol gives very grainy results, maybe start with ID 11 or D76 as developer, these are much better to get a feel for the whole process, give beautiful tonality and can be used on a wide variety of film. Your choice of developer will very much influence the result, much more then dev. time/temp and exposure.
Comment posted: 15/05/2020
Comment posted: 15/05/2020
Comment posted: 15/05/2020
roelandcvv on Some little improvements – My First Steps into Analogue – Part 3 – By Andrea Bevacqua
Comment posted: 15/05/2020
When scanning and post-processing, do'nt sharpen the image. In a gelatine print, the grain is never sharp. The viewing distance to the final print wil make it appear sharp. Gelatine/silver printing & scanning is very different from digital processing because a digital 'image' is not sharp from itself and needs artificial sharpening drom software. An analogue negative is already at it's peak and needs no sharpening. I always scan for a very soft digital result, the bring the tonal range between max black and white with a levels adjustment and as last step look at the overall contrast using the curves tool. Nothing else.
Michael on Some little improvements – My First Steps into Analogue – Part 3 – By Andrea Bevacqua
Comment posted: 16/05/2020
Great pictures and I like the grain which you have achieved, it really separates an authentic film image from a synthetic digital black and white one. In relation to processing your film, I found this great video on YouTube which is the best explanation yet on controlling shadows and highlights in the development process - you can find it here https://www.youtube.com/watch?v=OdpfRqDDZyw
Also, as an alternative to Darkroom and Gimp, I was surprised to find that Hassleblad give their imaging software for free - search for Phocus and try it!
Michael
Comment posted: 16/05/2020
Sroyon on Some little improvements – My First Steps into Analogue – Part 3 – By Andrea Bevacqua
Comment posted: 19/05/2020
I saw in another comment that you're now using ID-11. I've settled on ID-11 or D-76 (which is functionally identical) in 1 1 dilution for developing all my film, and I really like it. Massive Dev Chart is useful, but I'd say use it as a back-up. It's a bit like Wikipedia, the information is user-generated and therefore not always reliable. If you can find the film manufacturer's recommendations for your developer of choice, that's usually more trustworthy.
Most dev time recommendations assume you're at 20°C, but Ilford has a datasheet with a graph showing how to modify your times for temperatures from 20–24°C, which gives you a bit more flexibility.
Comment posted: 19/05/2020
First Experiments in Home Developing Colour - My First Steps into Analogue - Part 5 - By Andrea Bevacqua - 35mmc on Some little improvements – My First Steps into Analogue – Part 3 – By Andrea Bevacqua
Comment posted: 04/06/2020