I’ve written before about how important it is to me to see and experience my photographs in a printed form of some sort. Whether it’s a darkroom or giclee print, in a photobook or some other physical format, I’m simply not a great fan of looking at photographs (mine at least) on a screen.
A few years ago, I went to the Royal Academy Summer Show in London, something I now try and do every year, and was completely taken aback by a printing technique I’d never even heard of – polymer photogravure (or photopolymer gravure as it’s sometimes called).
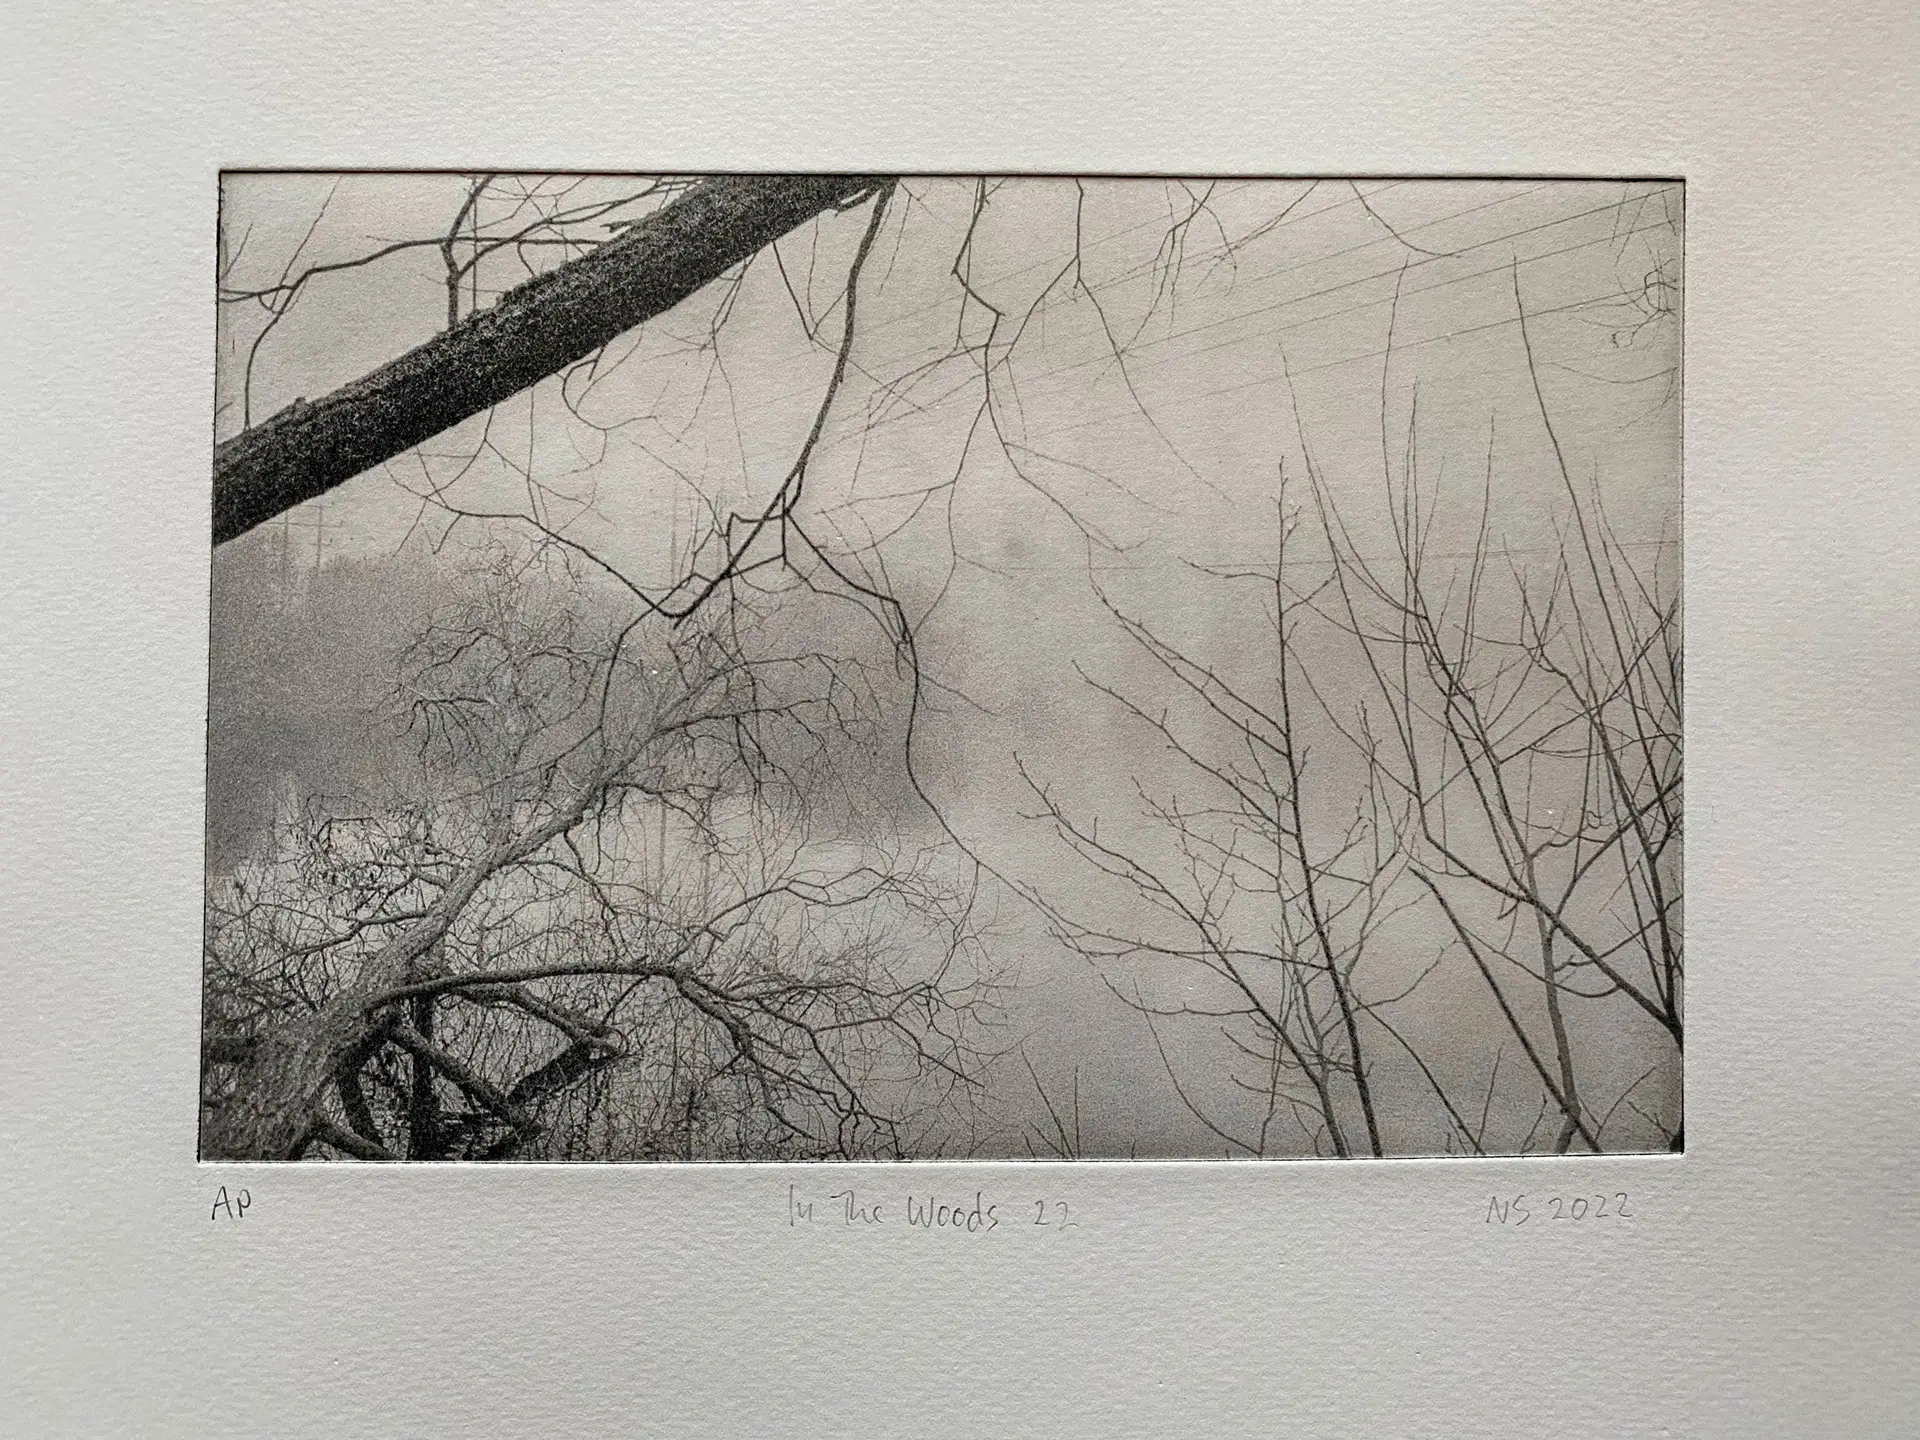
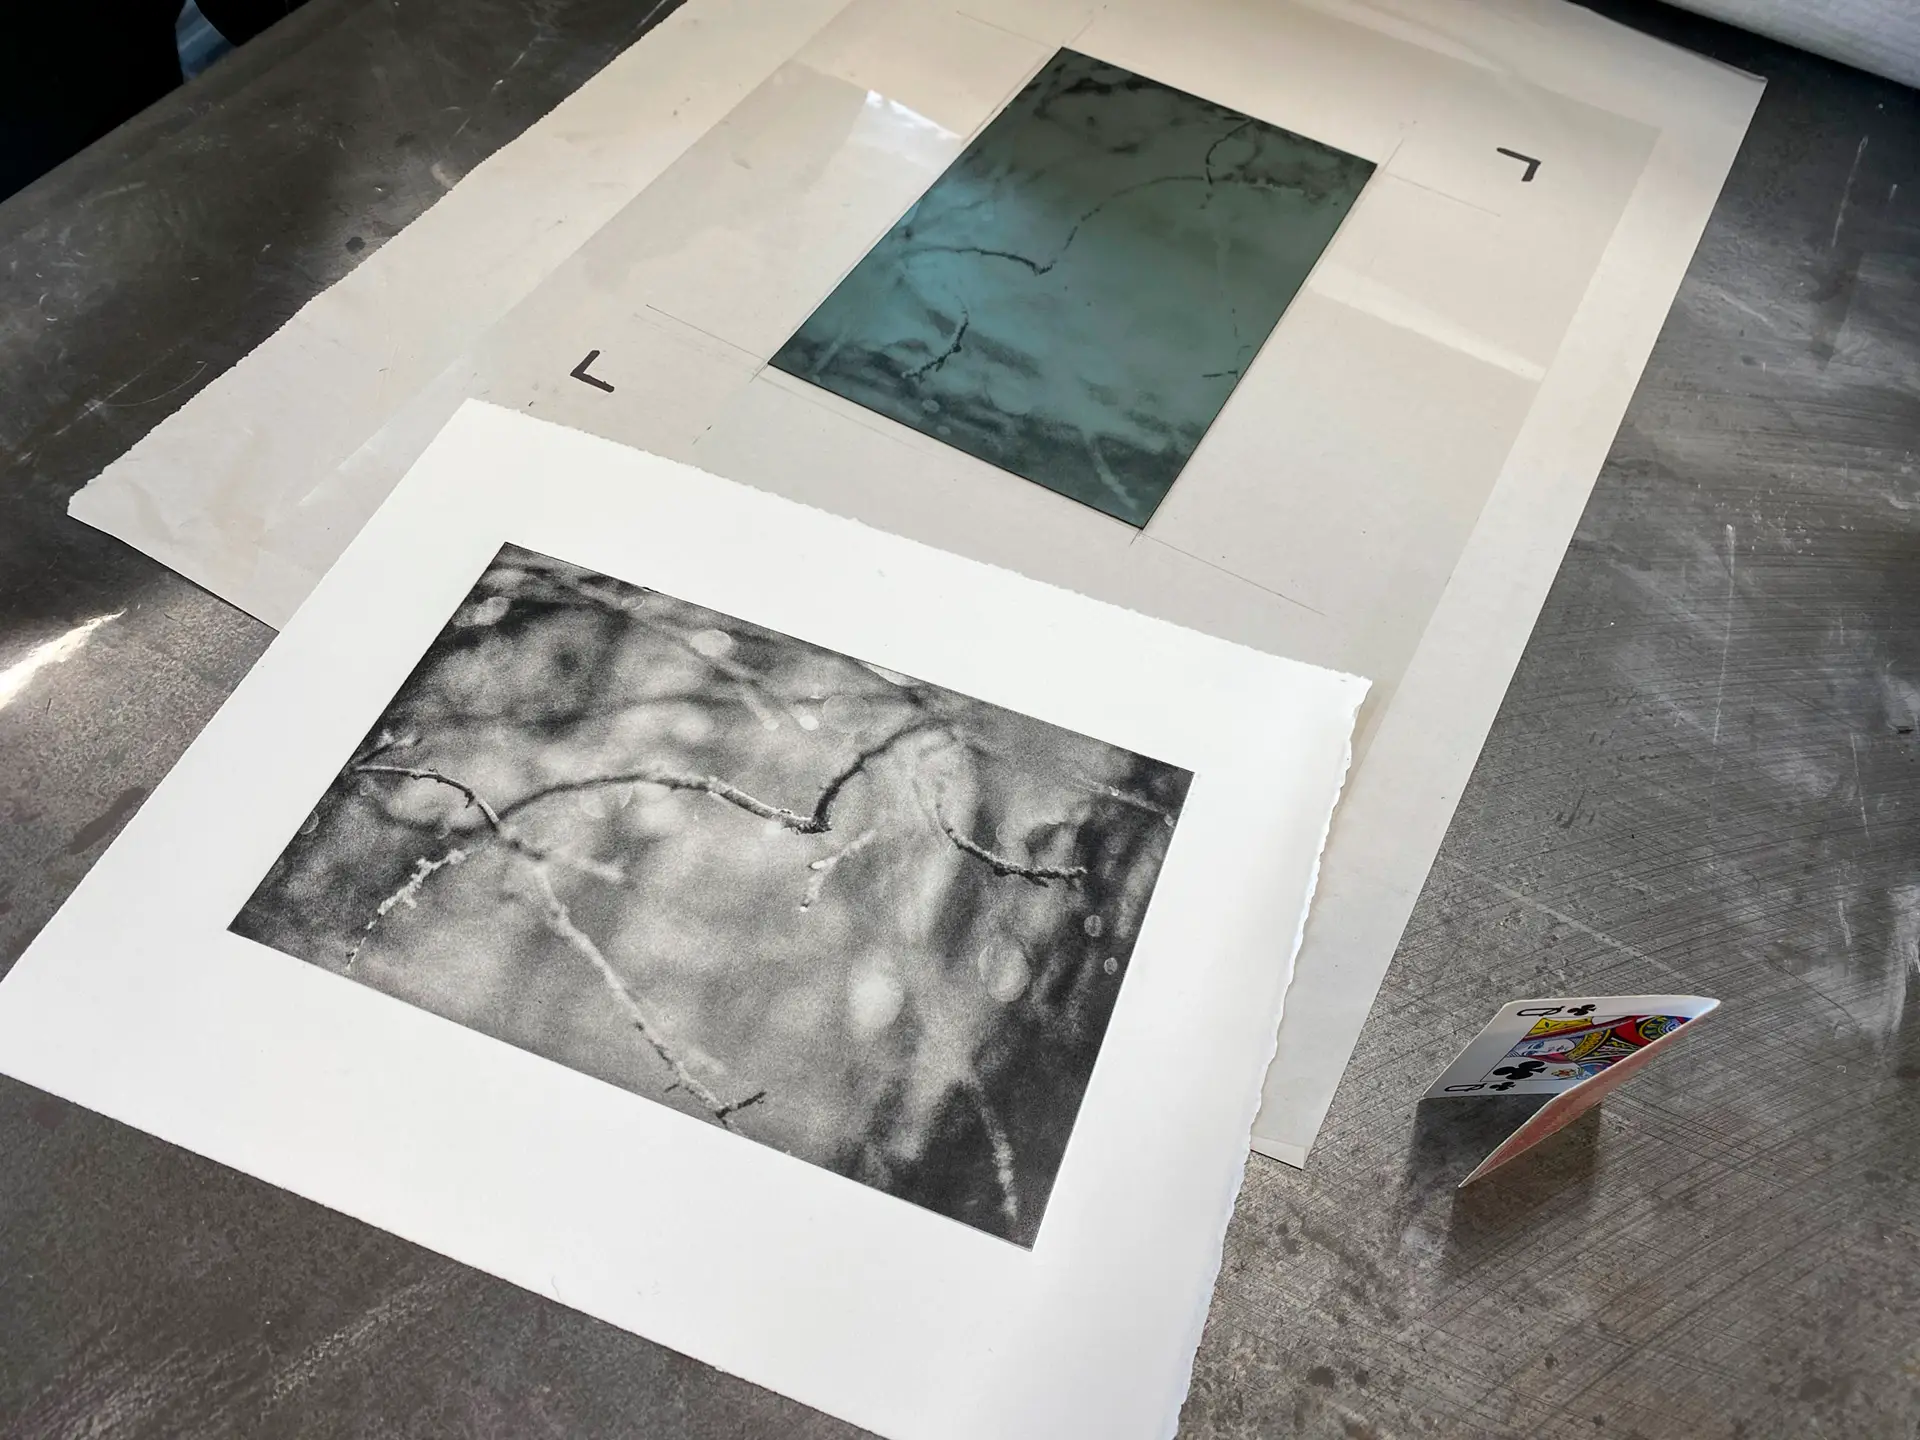
What drew me in was the incredible depth and tonality of the prints, and their sumptuous three-dimensional quality. The printing technique is a physical one in that an inked plate is pressed into heavy textured paper on a roller press (think old-fashioned mangle). As such, it’s an intaglio technique that’s a cousin of the etching process where plate marks and heavy textured paper are intrinsic.
It’s a technique that lends itself very well to analog photography as you can imagine. It’s also one of the few if not the only printing process outside of the commercial printing world that is able to print the continuous tones seen in photographs.
Photogravure is not a new process though the use of UV sensitive plates within it is. Back in the early 1900s photogravure was the only way that photographs could easily be ‘mass’ reproduced (printed) for use in publications. Alfred Stieglitz, the founder and editor of the Camera Work quarterly journal, was a master photogravure printer and the process was how the photographic illustrations were printed for inclusion. Yes, all of the photographs in each copy of each issue were hand printed!

The essence of the technique is as follows (somewhat simplified though):
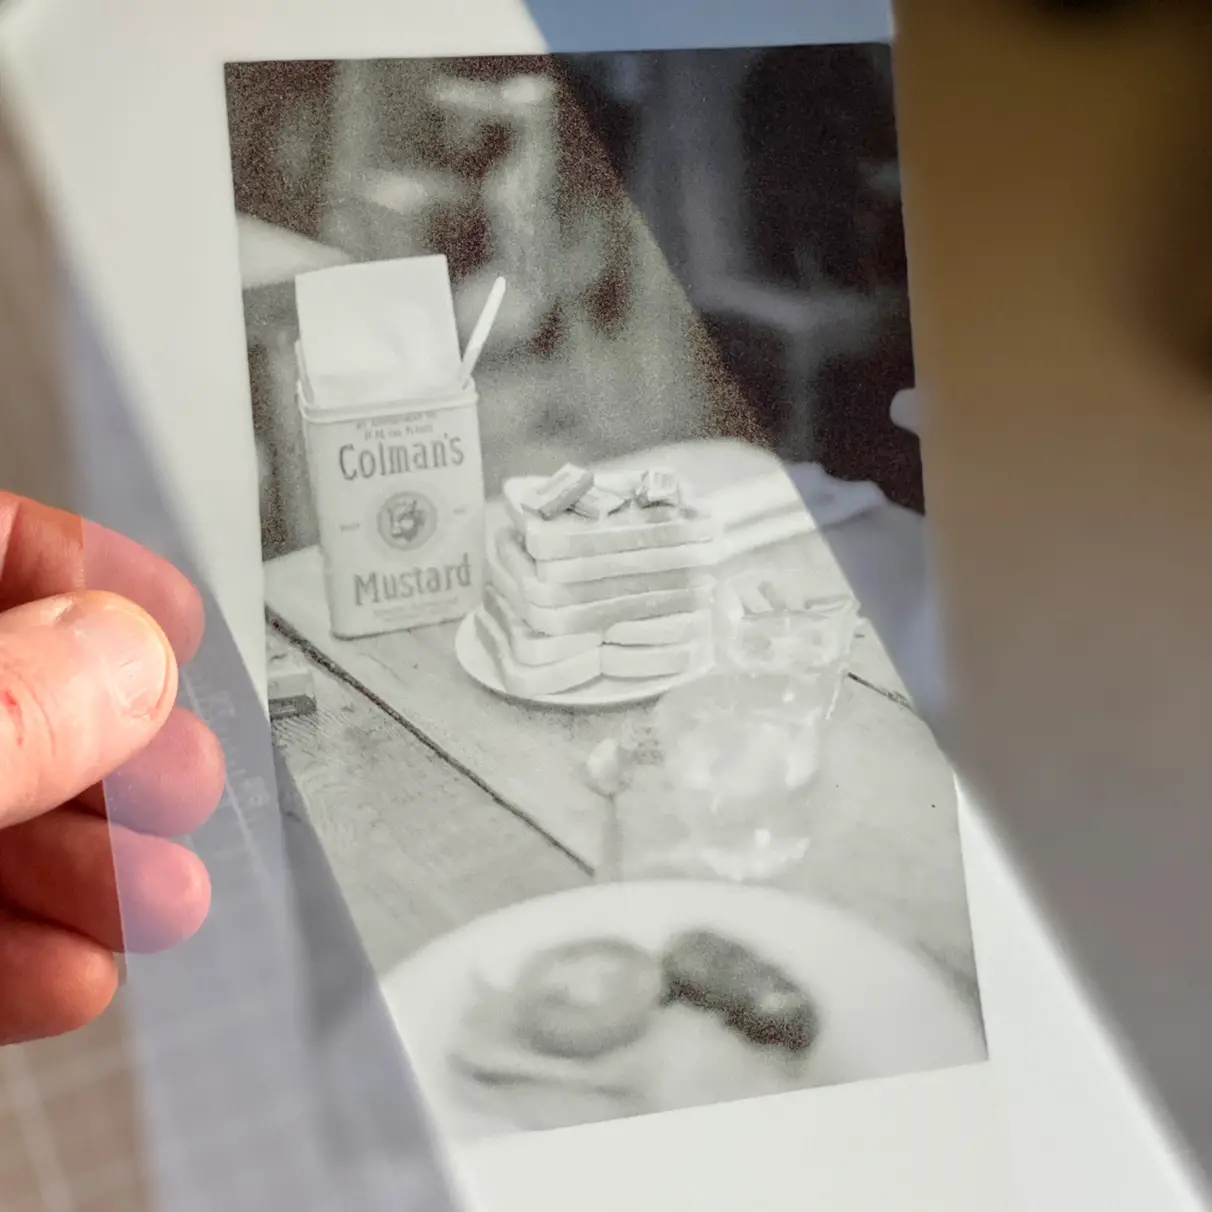
- Print your chosen photograph as a positive onto an acetate sheet
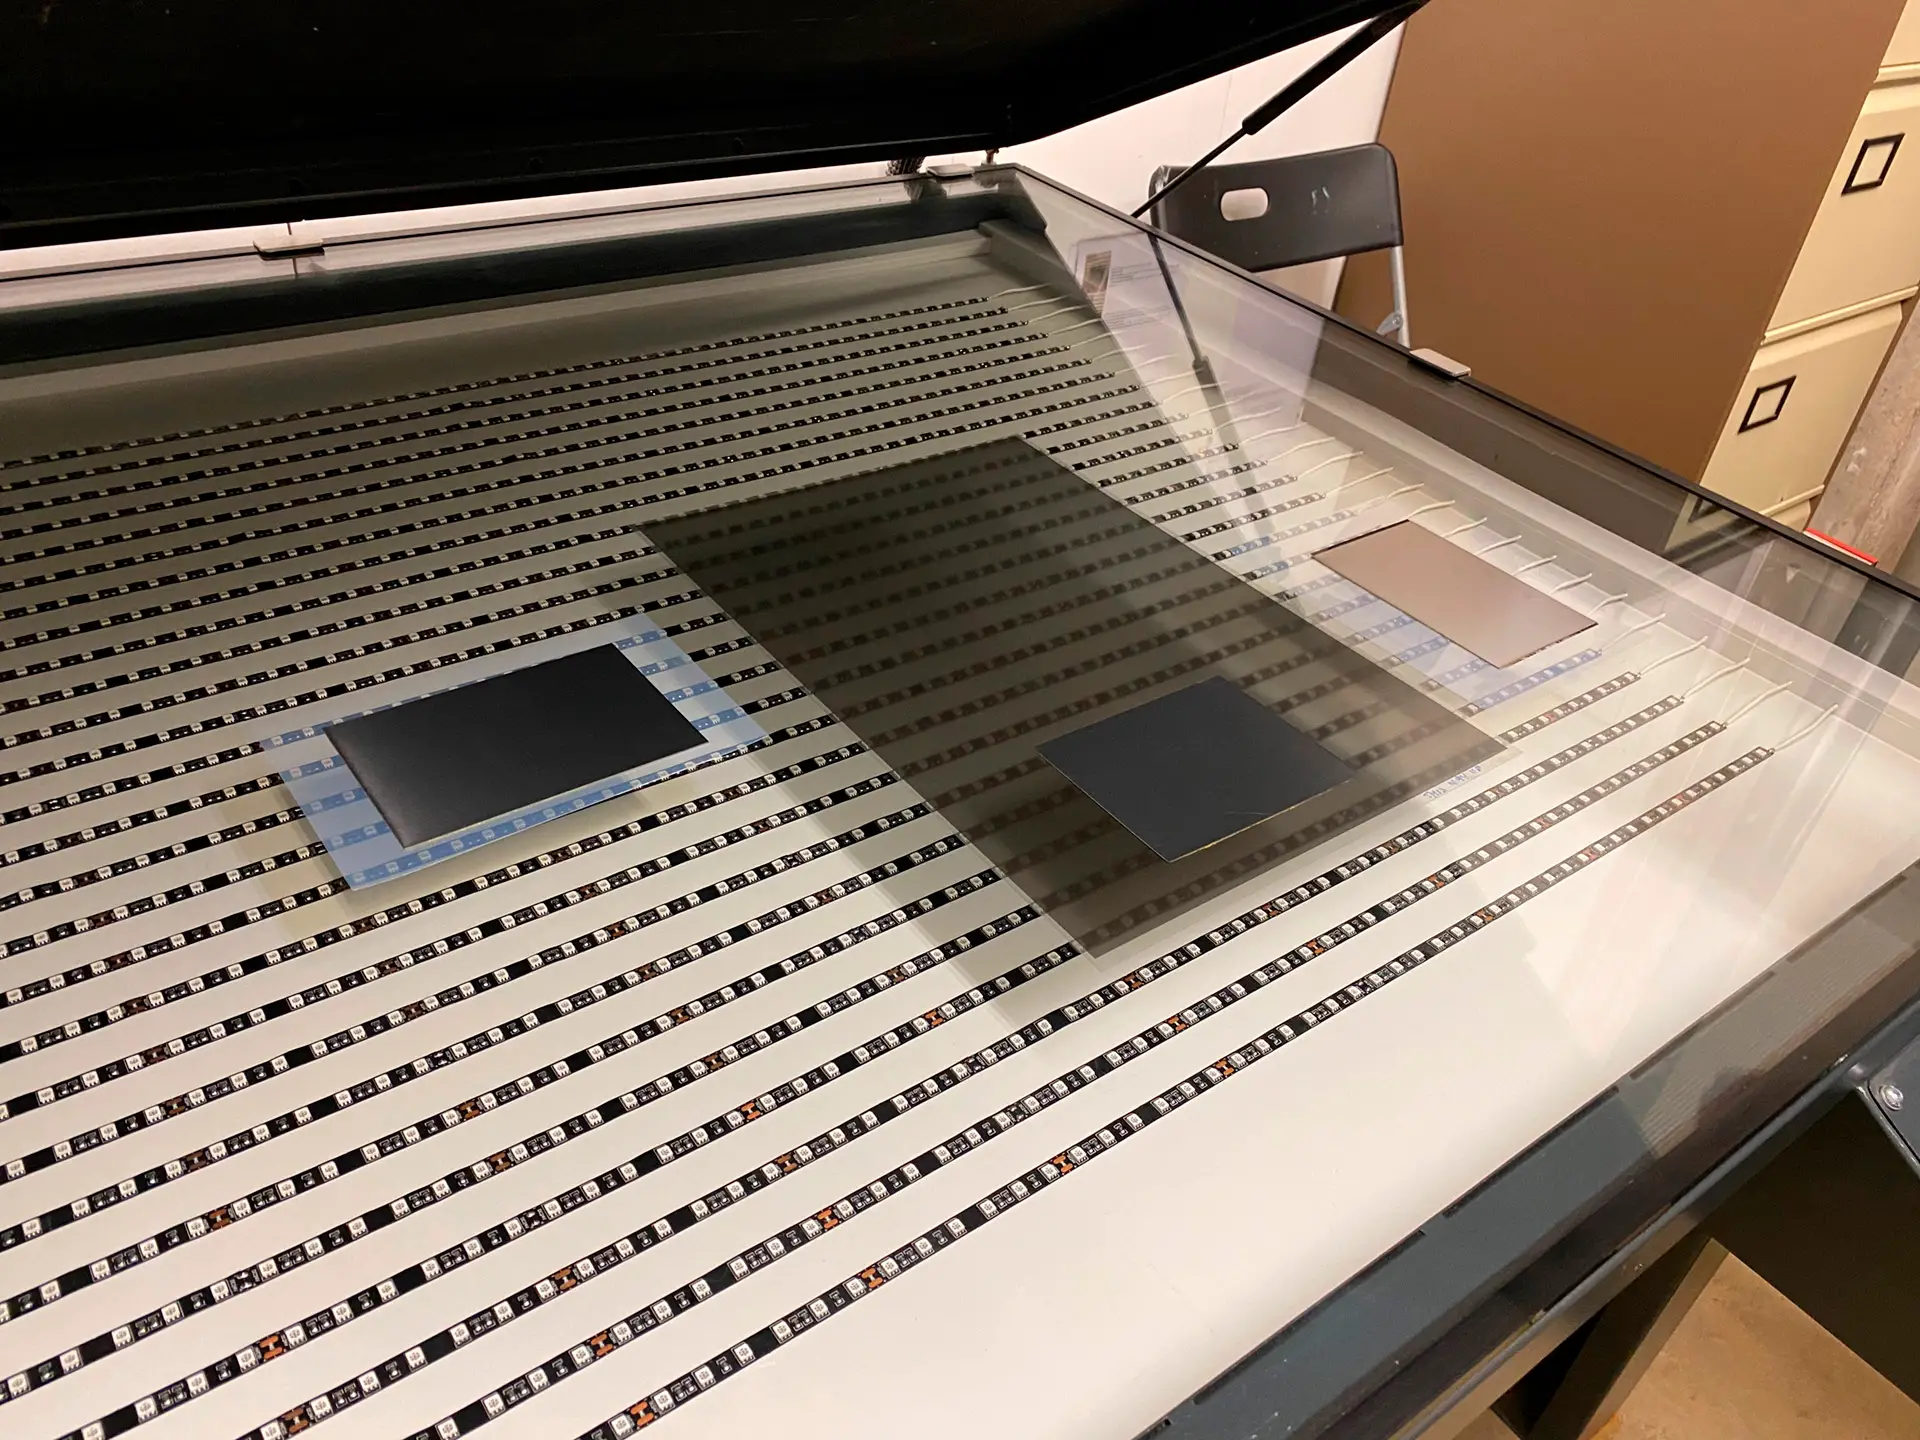
- Contact print a photogravure plate with a high resolution aquatint screen (see below). The plate is a commercially available steel sheet coated with a UV sensitive polymer.
- Contact print the image acetate onto the plate
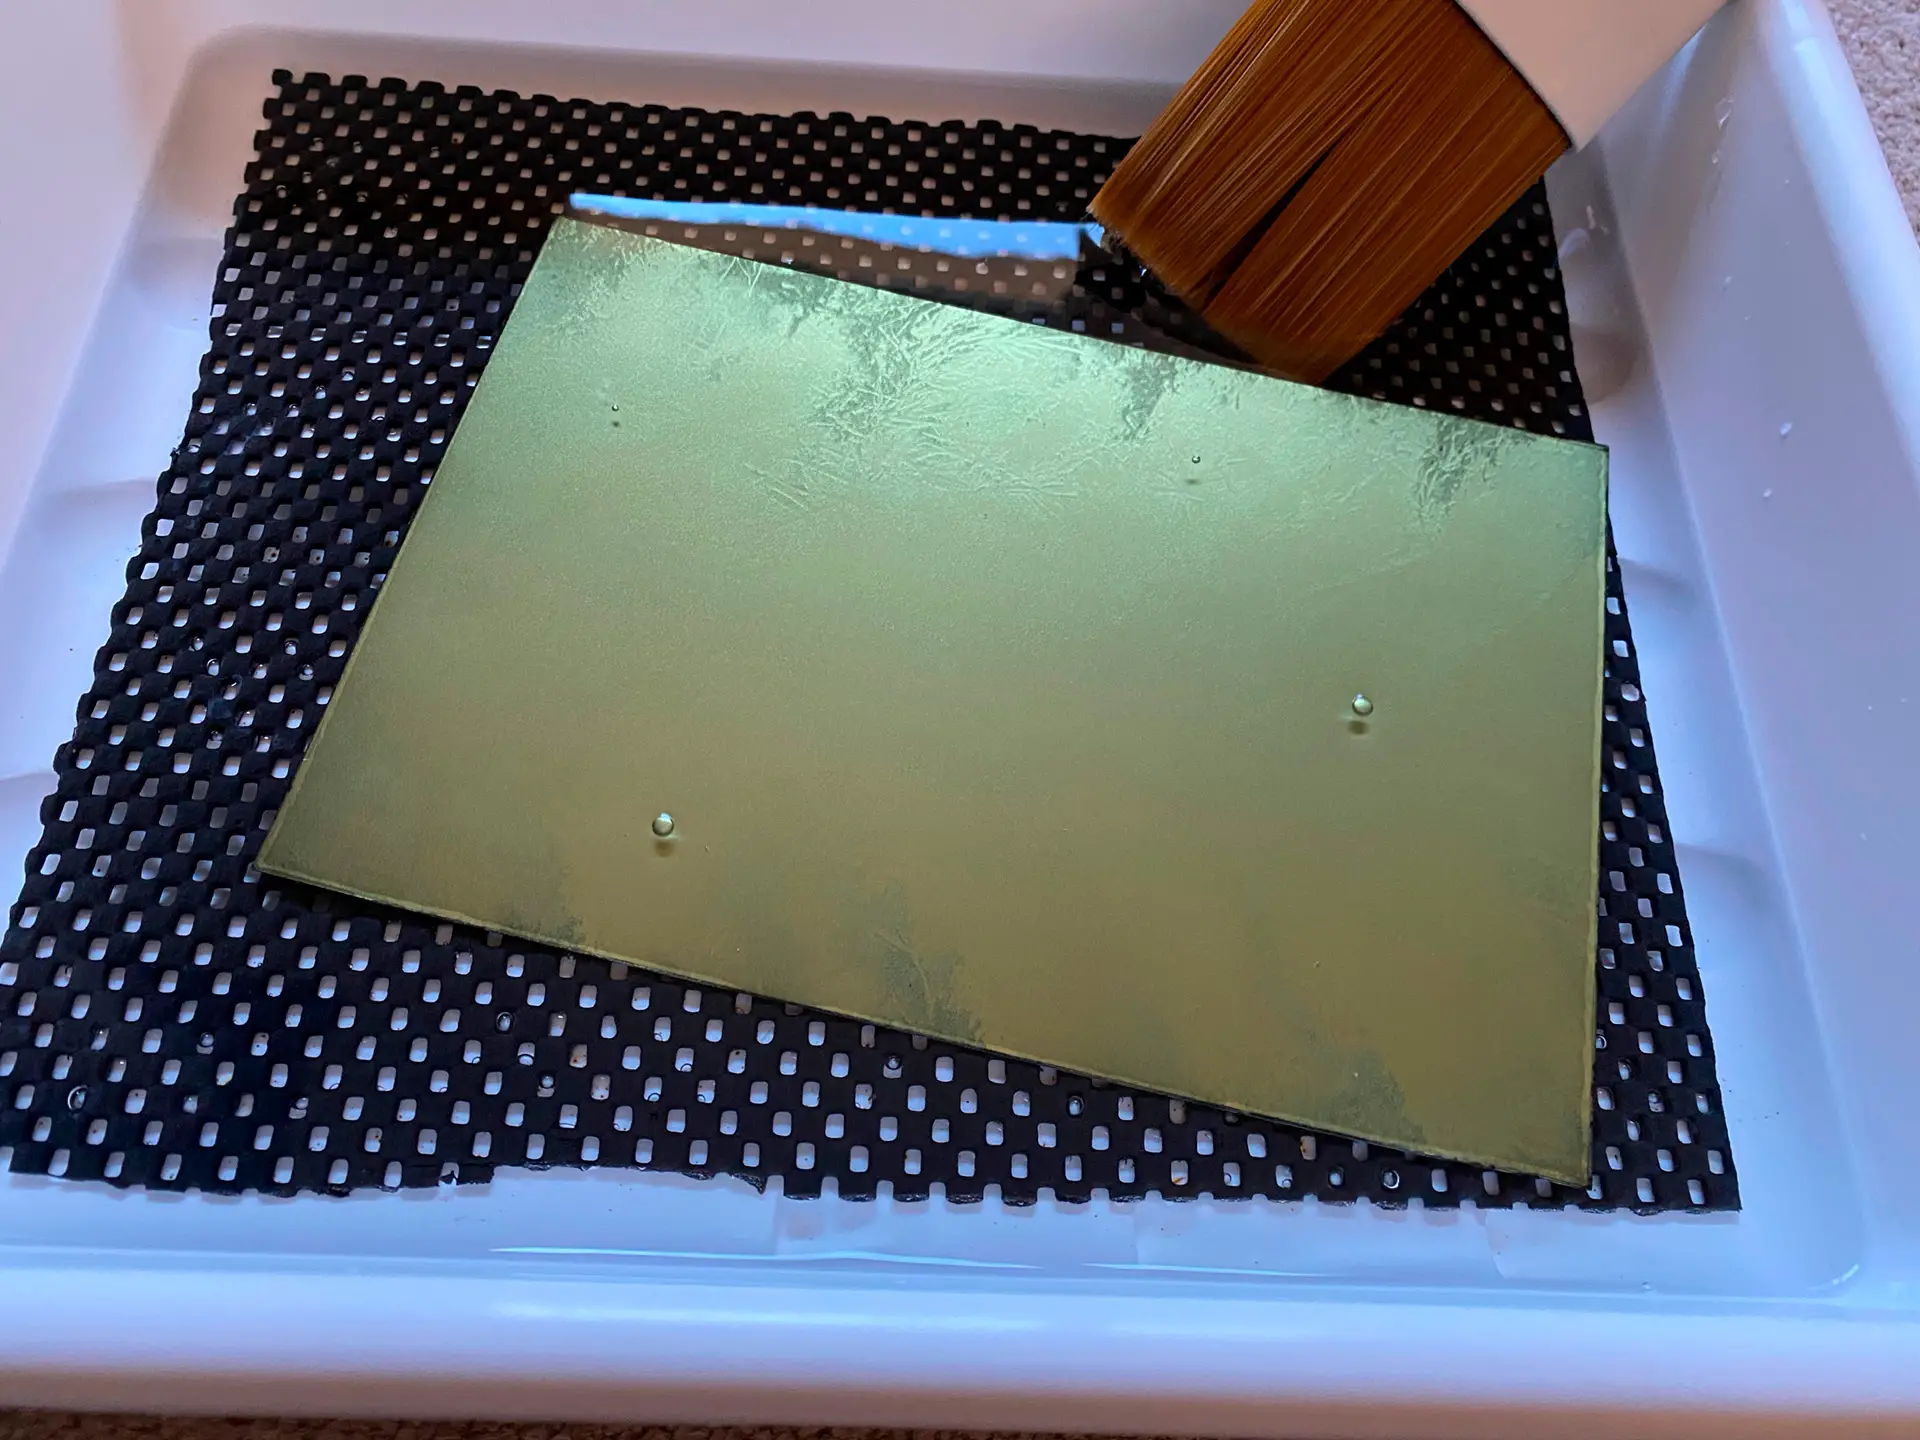
- Wash out (‘develop’) the exposed plate in water to reveal the image in reverse etched into the polymer layer
- Dry and harden the plate (heat from a hairdryer and then more UV exposure). Once you have created your plate, you can print almost any number of images from it.
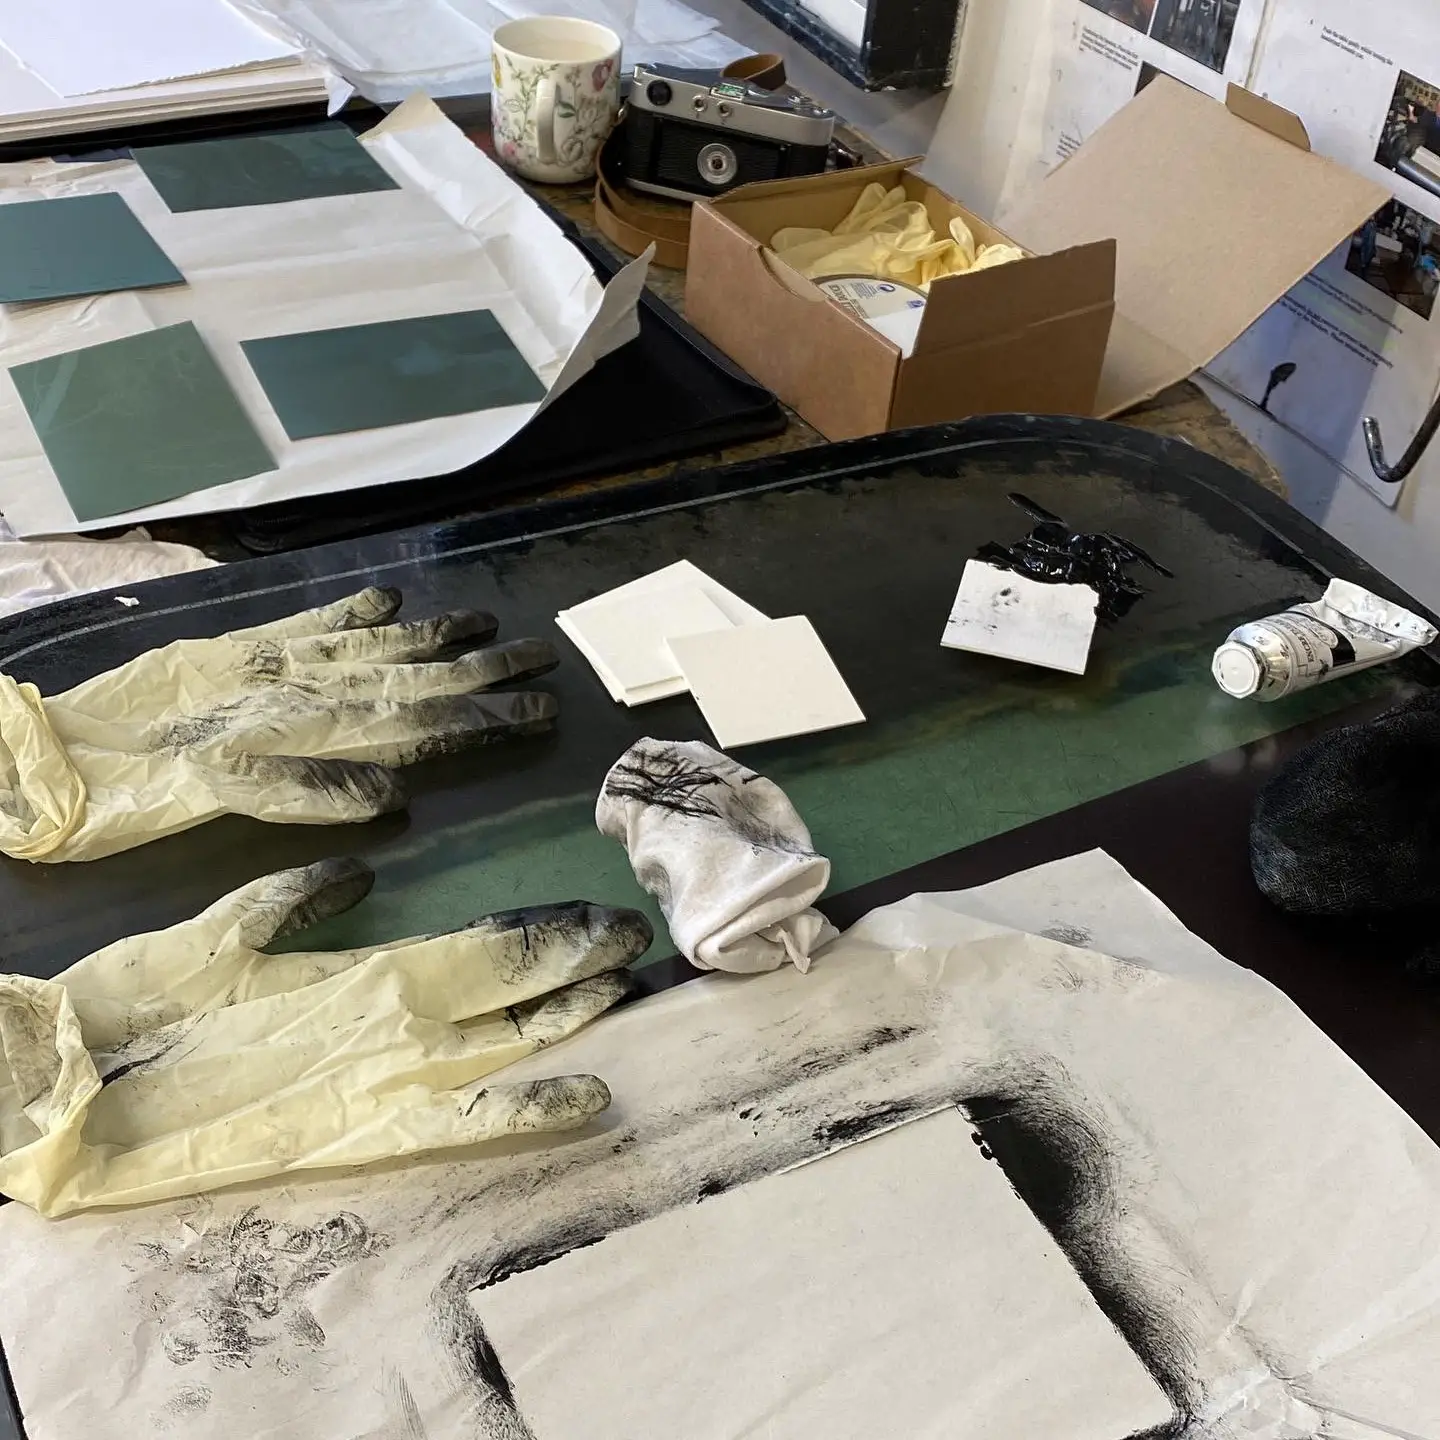
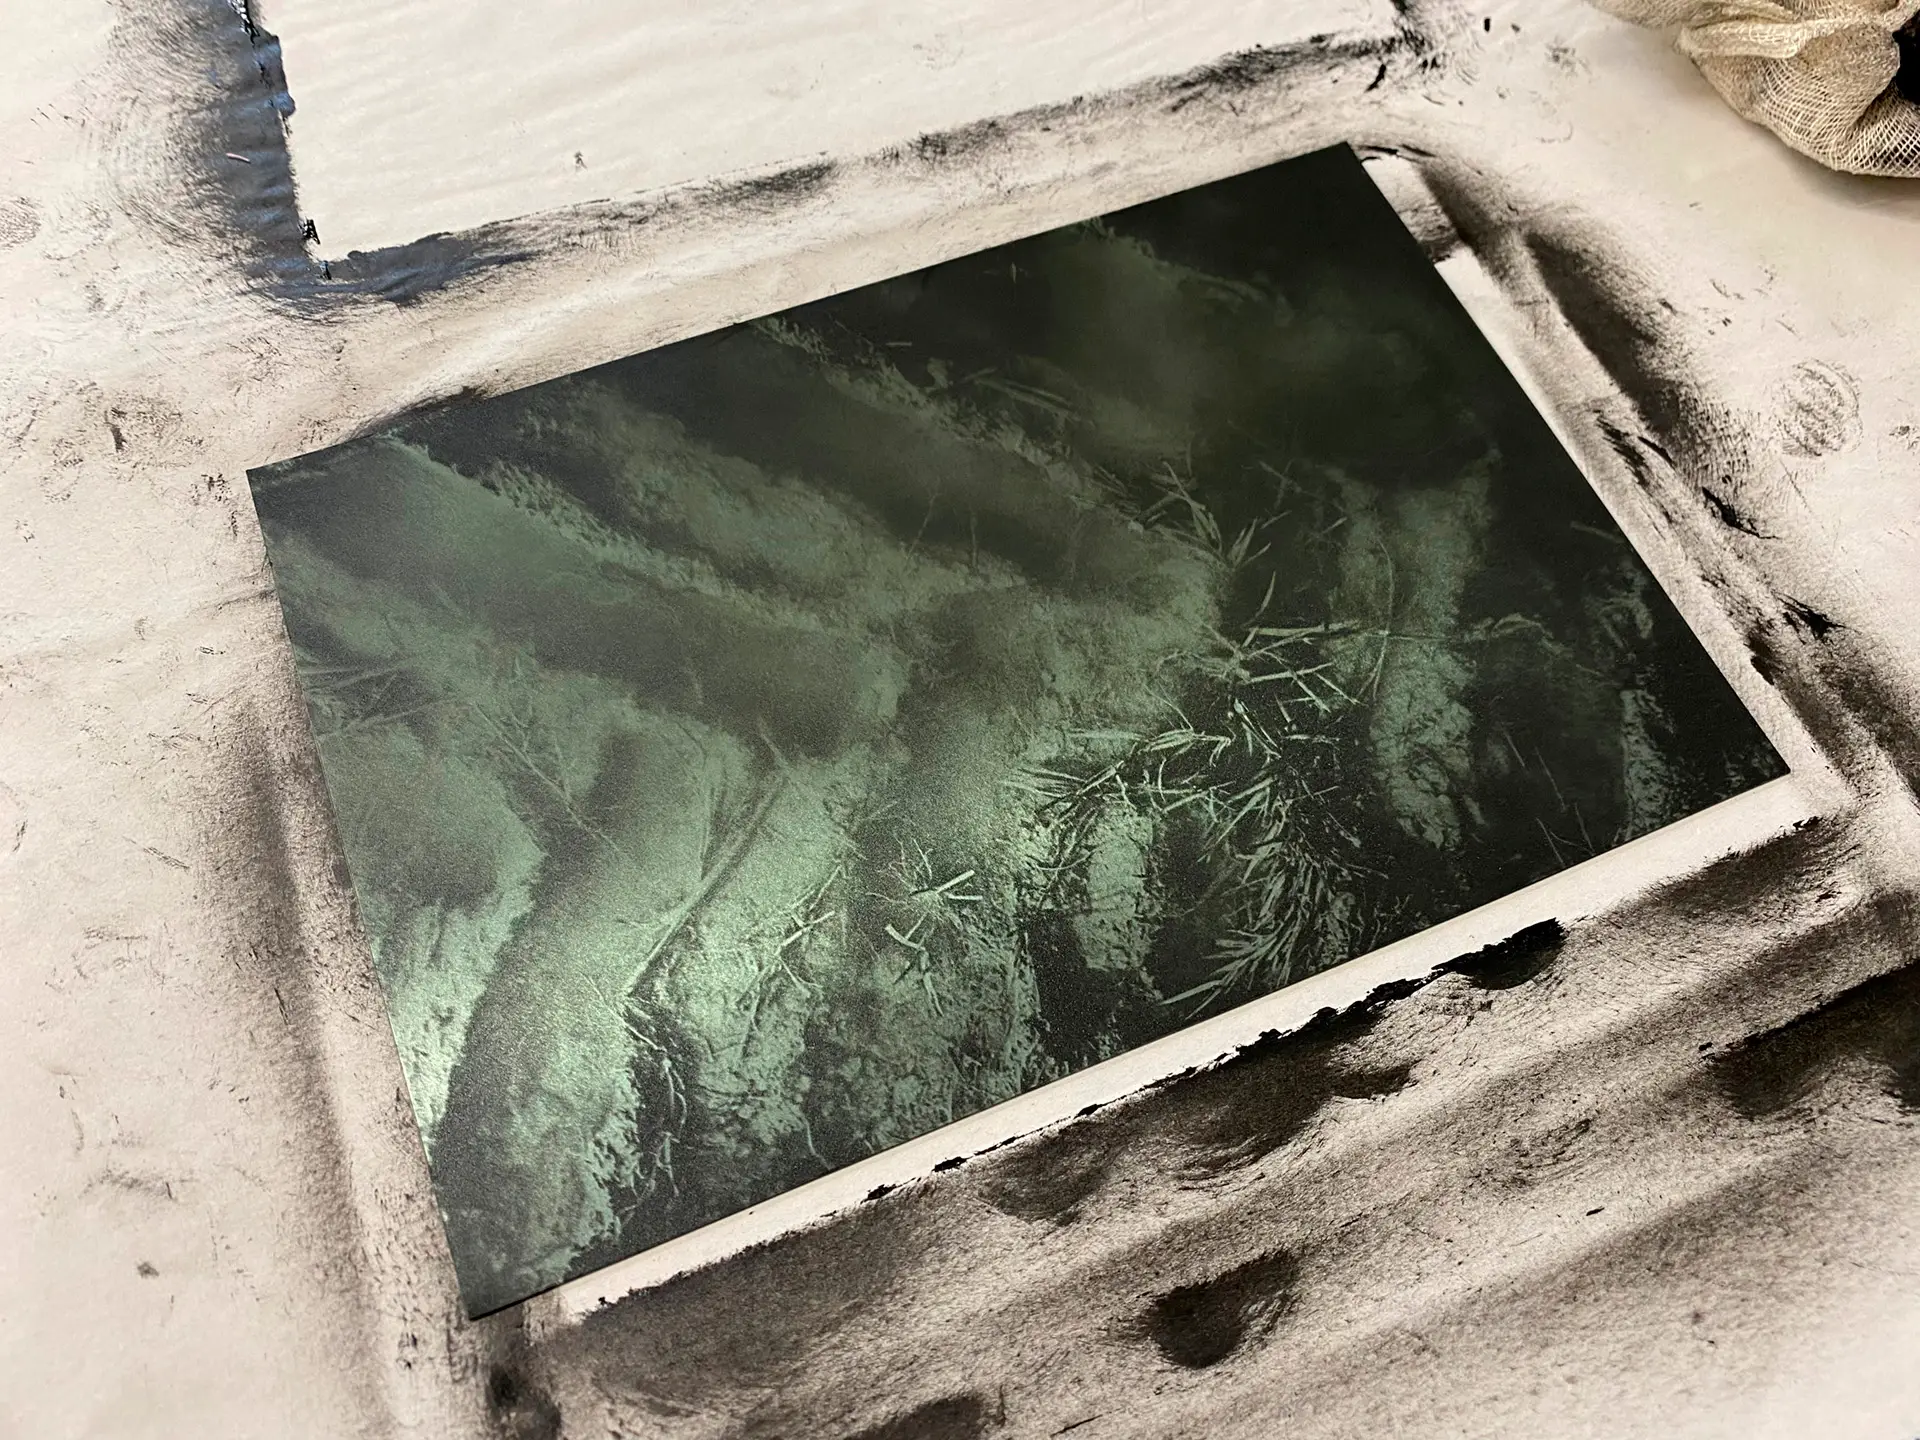
- Using oil-based etching inks, ink and wipe the plate. These inks are very thick and this inking process forces them into the etched pits on the plate.
- Using dampened heavyweight paper on top of the face-up inked plate, run the sandwich through a printing roller press. You dampen the paper so that the fibres can be forced into the inked areas of the plate.
- Peel the print from the plate
- Admire the sheer physical beauty of what you have created
[Aquatint screen: This is a reusable acetate sheet printed with a dense array of dots in a random pattern that creates needlelike structures in the surface of the plate which in turn enables areas of black in the image on the plate to hold ink. Without this step, these areas would be completely washed out and unprintable.]
There’s a whole lot of complexity behind some of these steps not least of which is calibrating aquatint and image exposure times, but you get the gist. Having researched what it was all about, I decided to go on a course (at Bainbridge Print in London) to gain a solid understanding of how all the steps fitted together – I came away with a lovely print of one of my photographs… and a belief that I could go away and achieve quality results on my own.
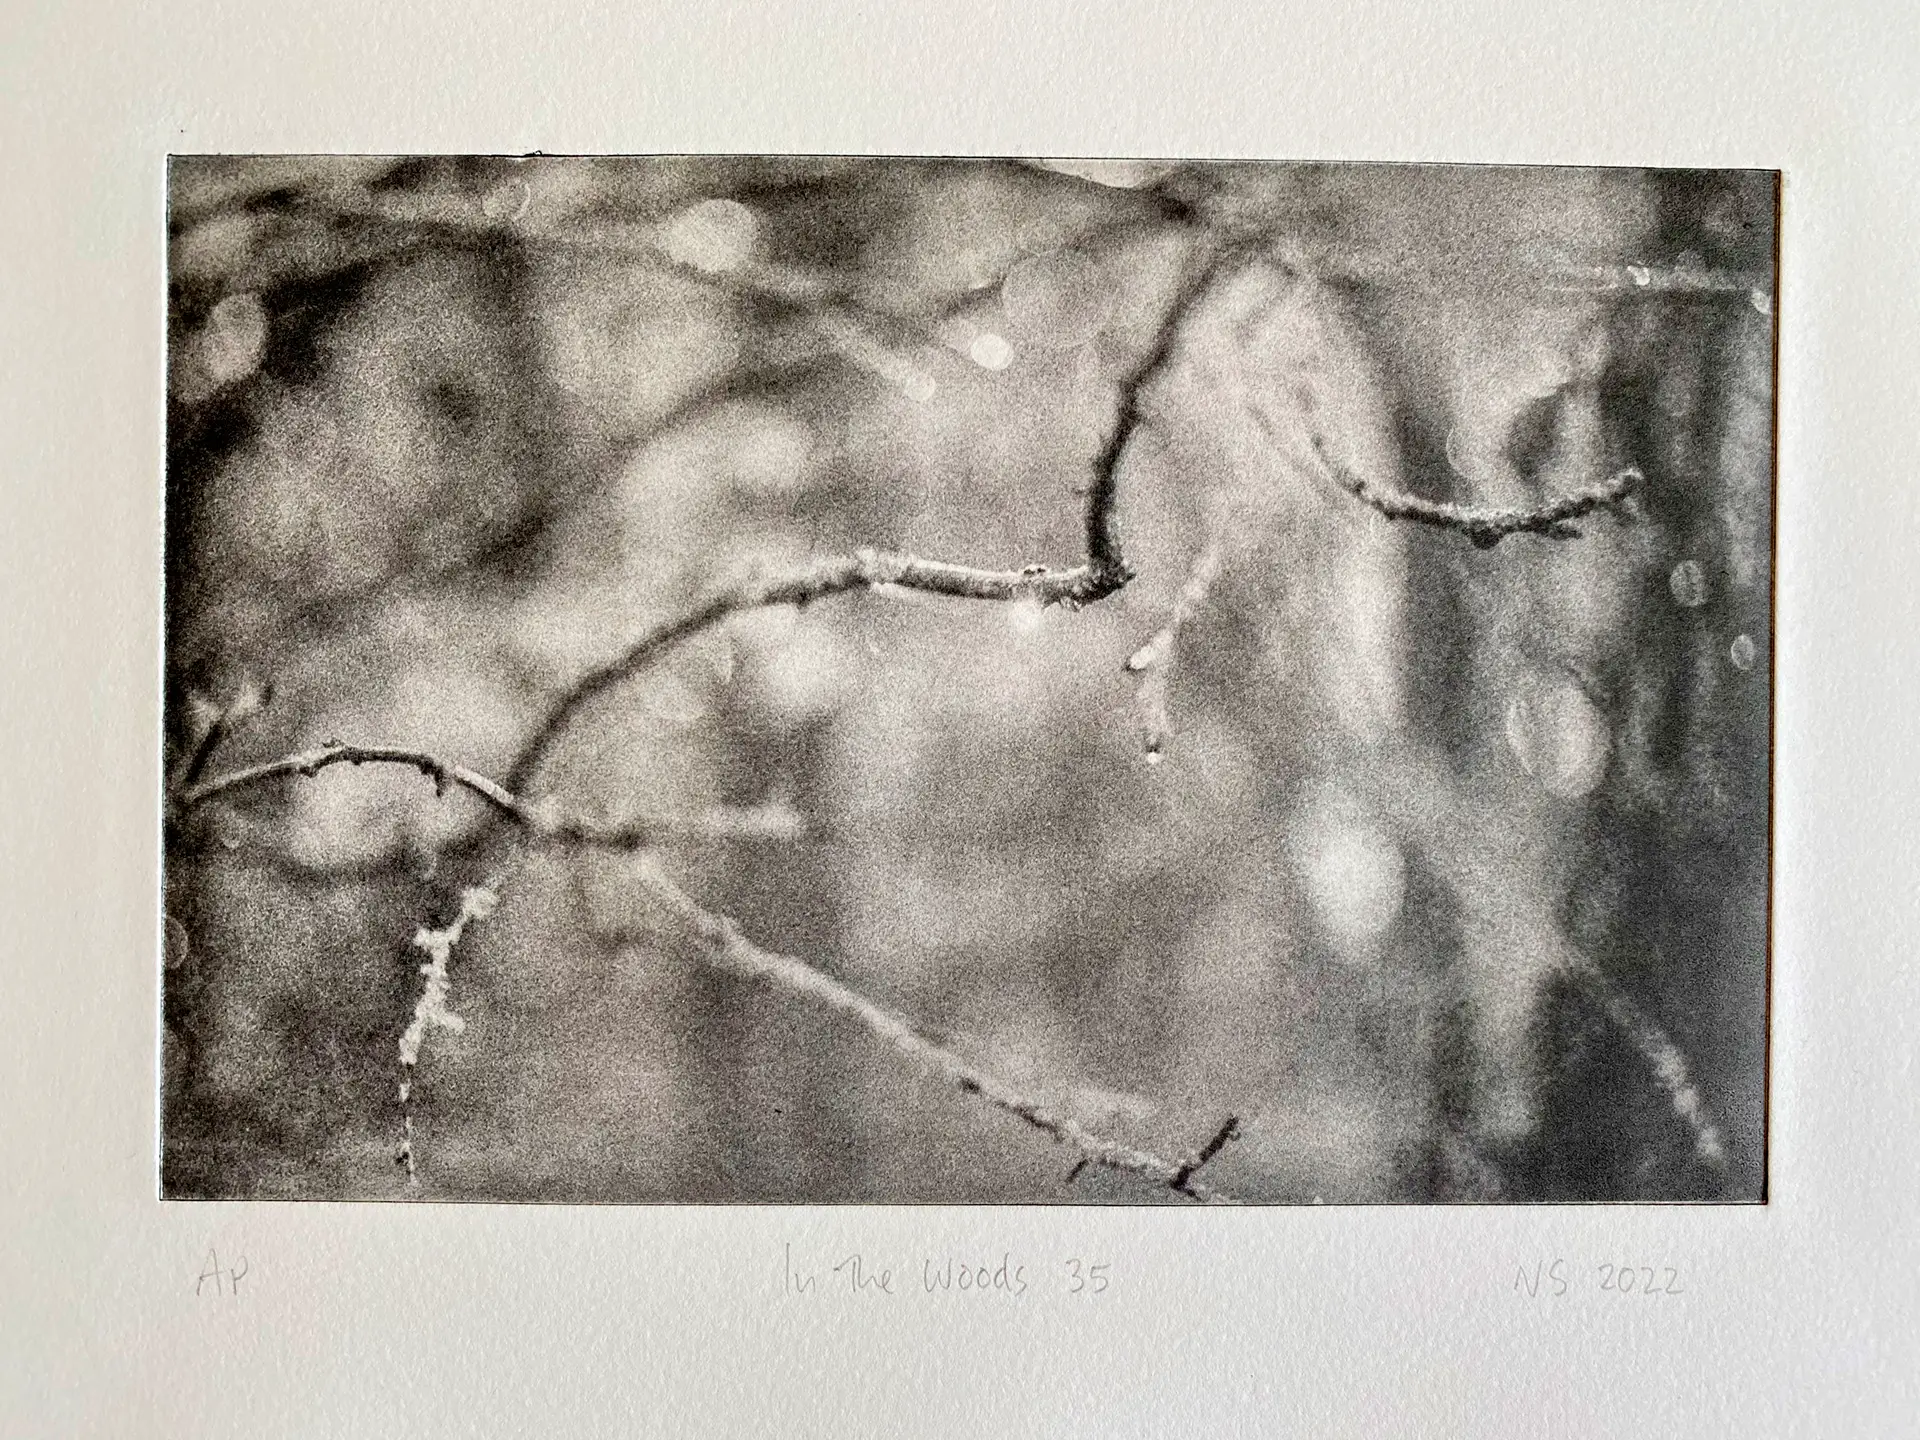
In the Woods 35 (Leica M3, Summicron 50 DR [with goggles attached], T-Max P3200 in Rodinal)
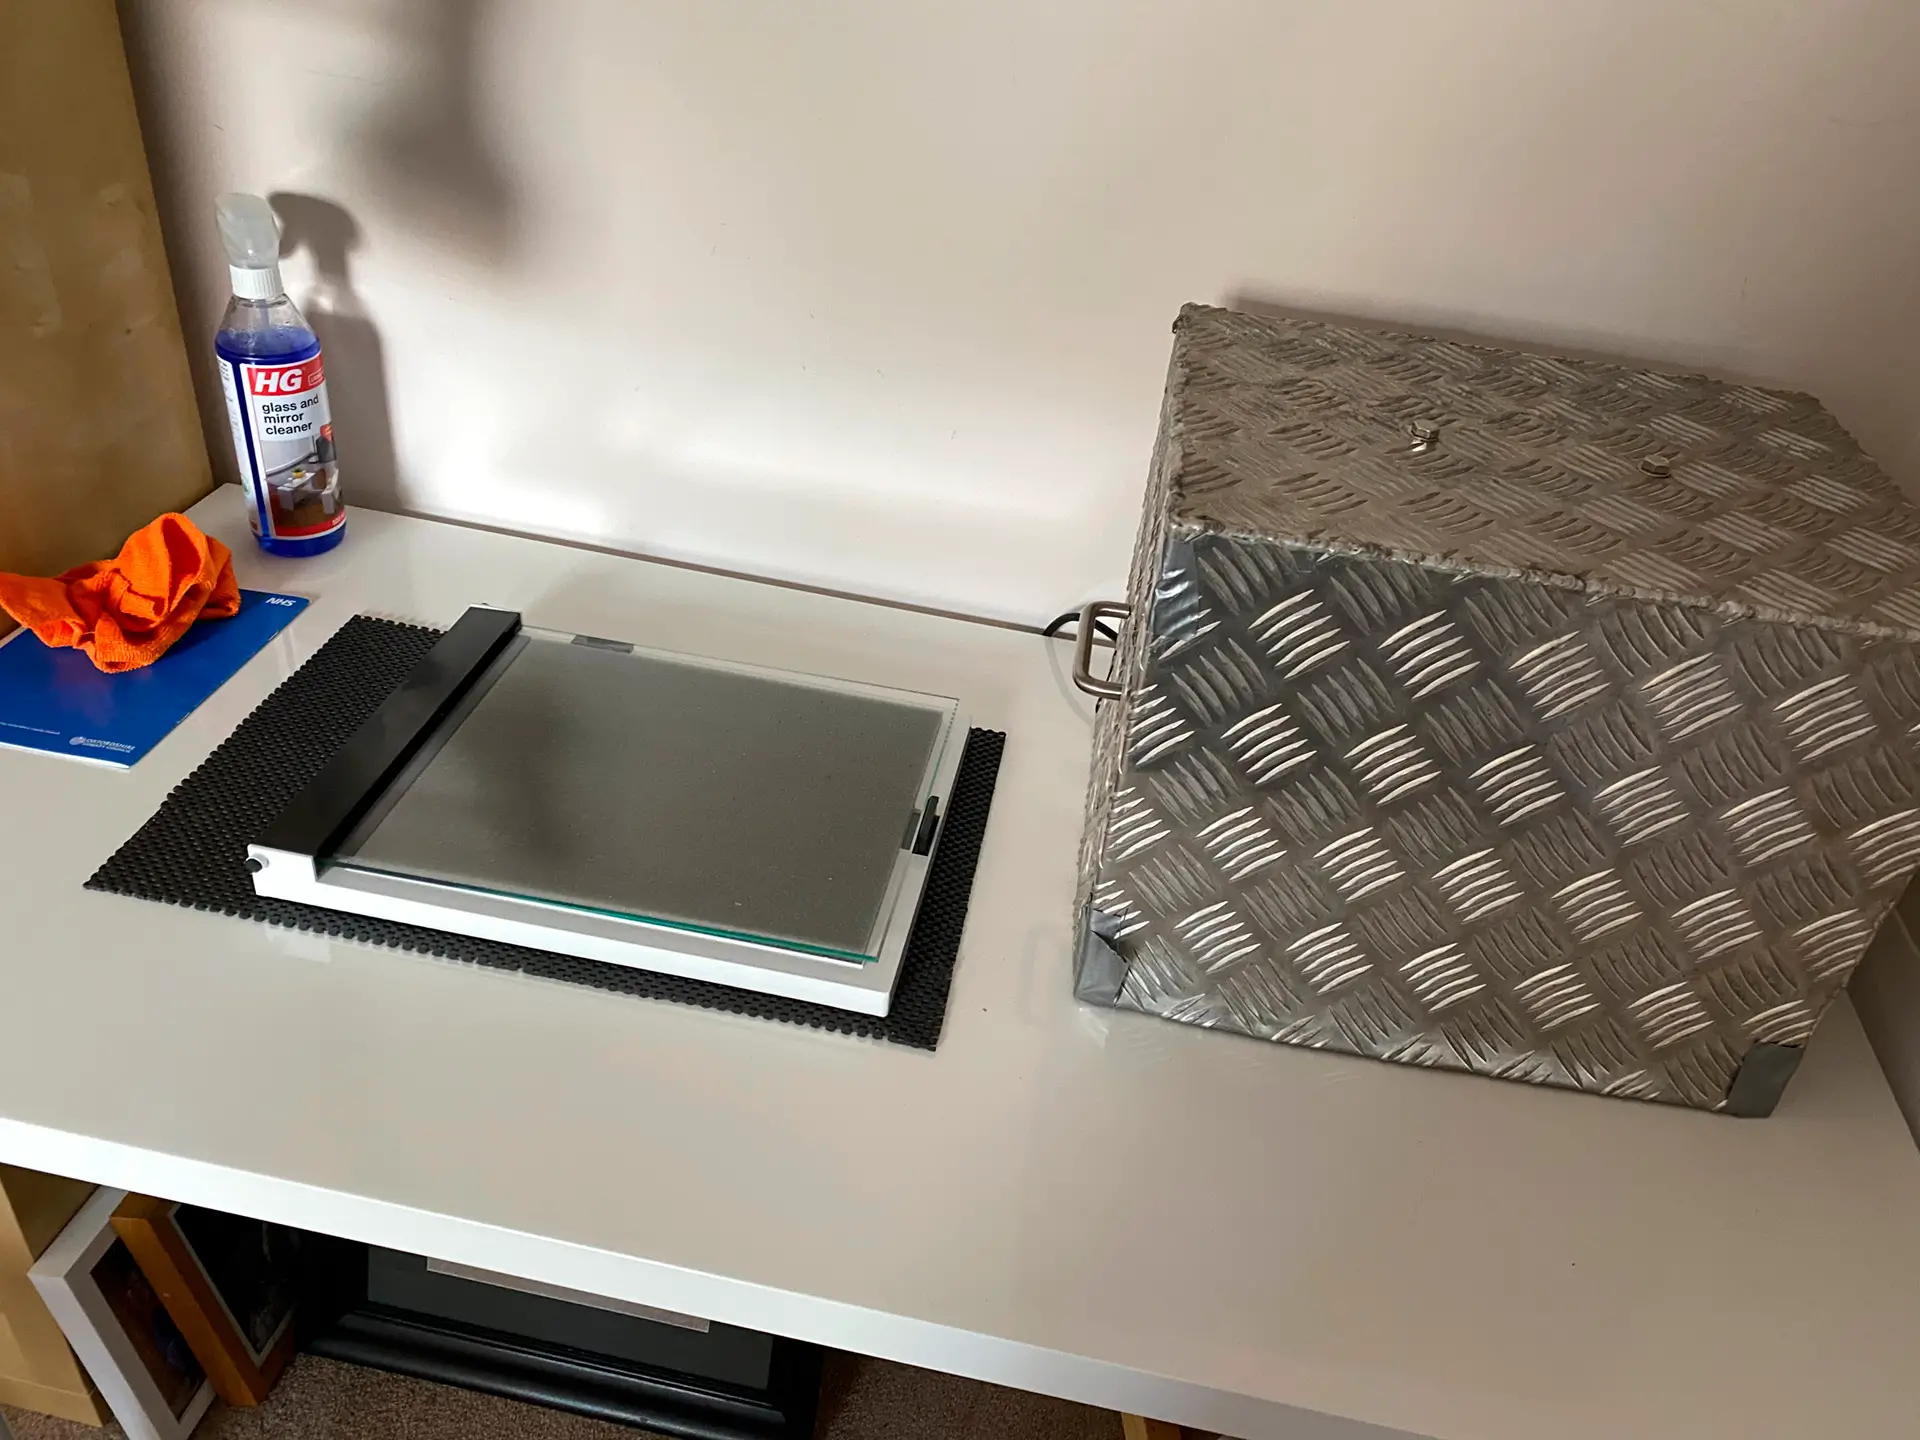
A year later and I’m still tweaking and fine-tuning my process – using a homemade UV exposure unit and the open access printing facilities at the Oxford Printmakers Cooperative. That said, I’m now starting to produce prints that I’m happy with (I’ve sold a few too!). I’m also currently working towards submitting two of my polymer photogravure prints to this year’s Royal Academy Summer Show.

I love photogravure prints because, as I said earlier, they have a three dimensional quality that comes from the sheer physicality of the process. I also cherish the inherent archival fade-free longevity from the use of pigmented inks and acid-free paper, and the fact that there’s a whole lot of craft and skill involved in creating them.
I’m not going to pretend that photogravure prints are easy to make because there are a lot of process steps and skills to master. The pitfalls are many and the learning curve is long and steep but if you have time and energy to invest, and can deal with the odd failure or two, the results are stunning.
I hope you find this intriguing but often infuriating and fiendish process interesting and that you can forgive the somewhat scrappy and non-linear nature of the process illustrations – I didn’t set out to document it all…
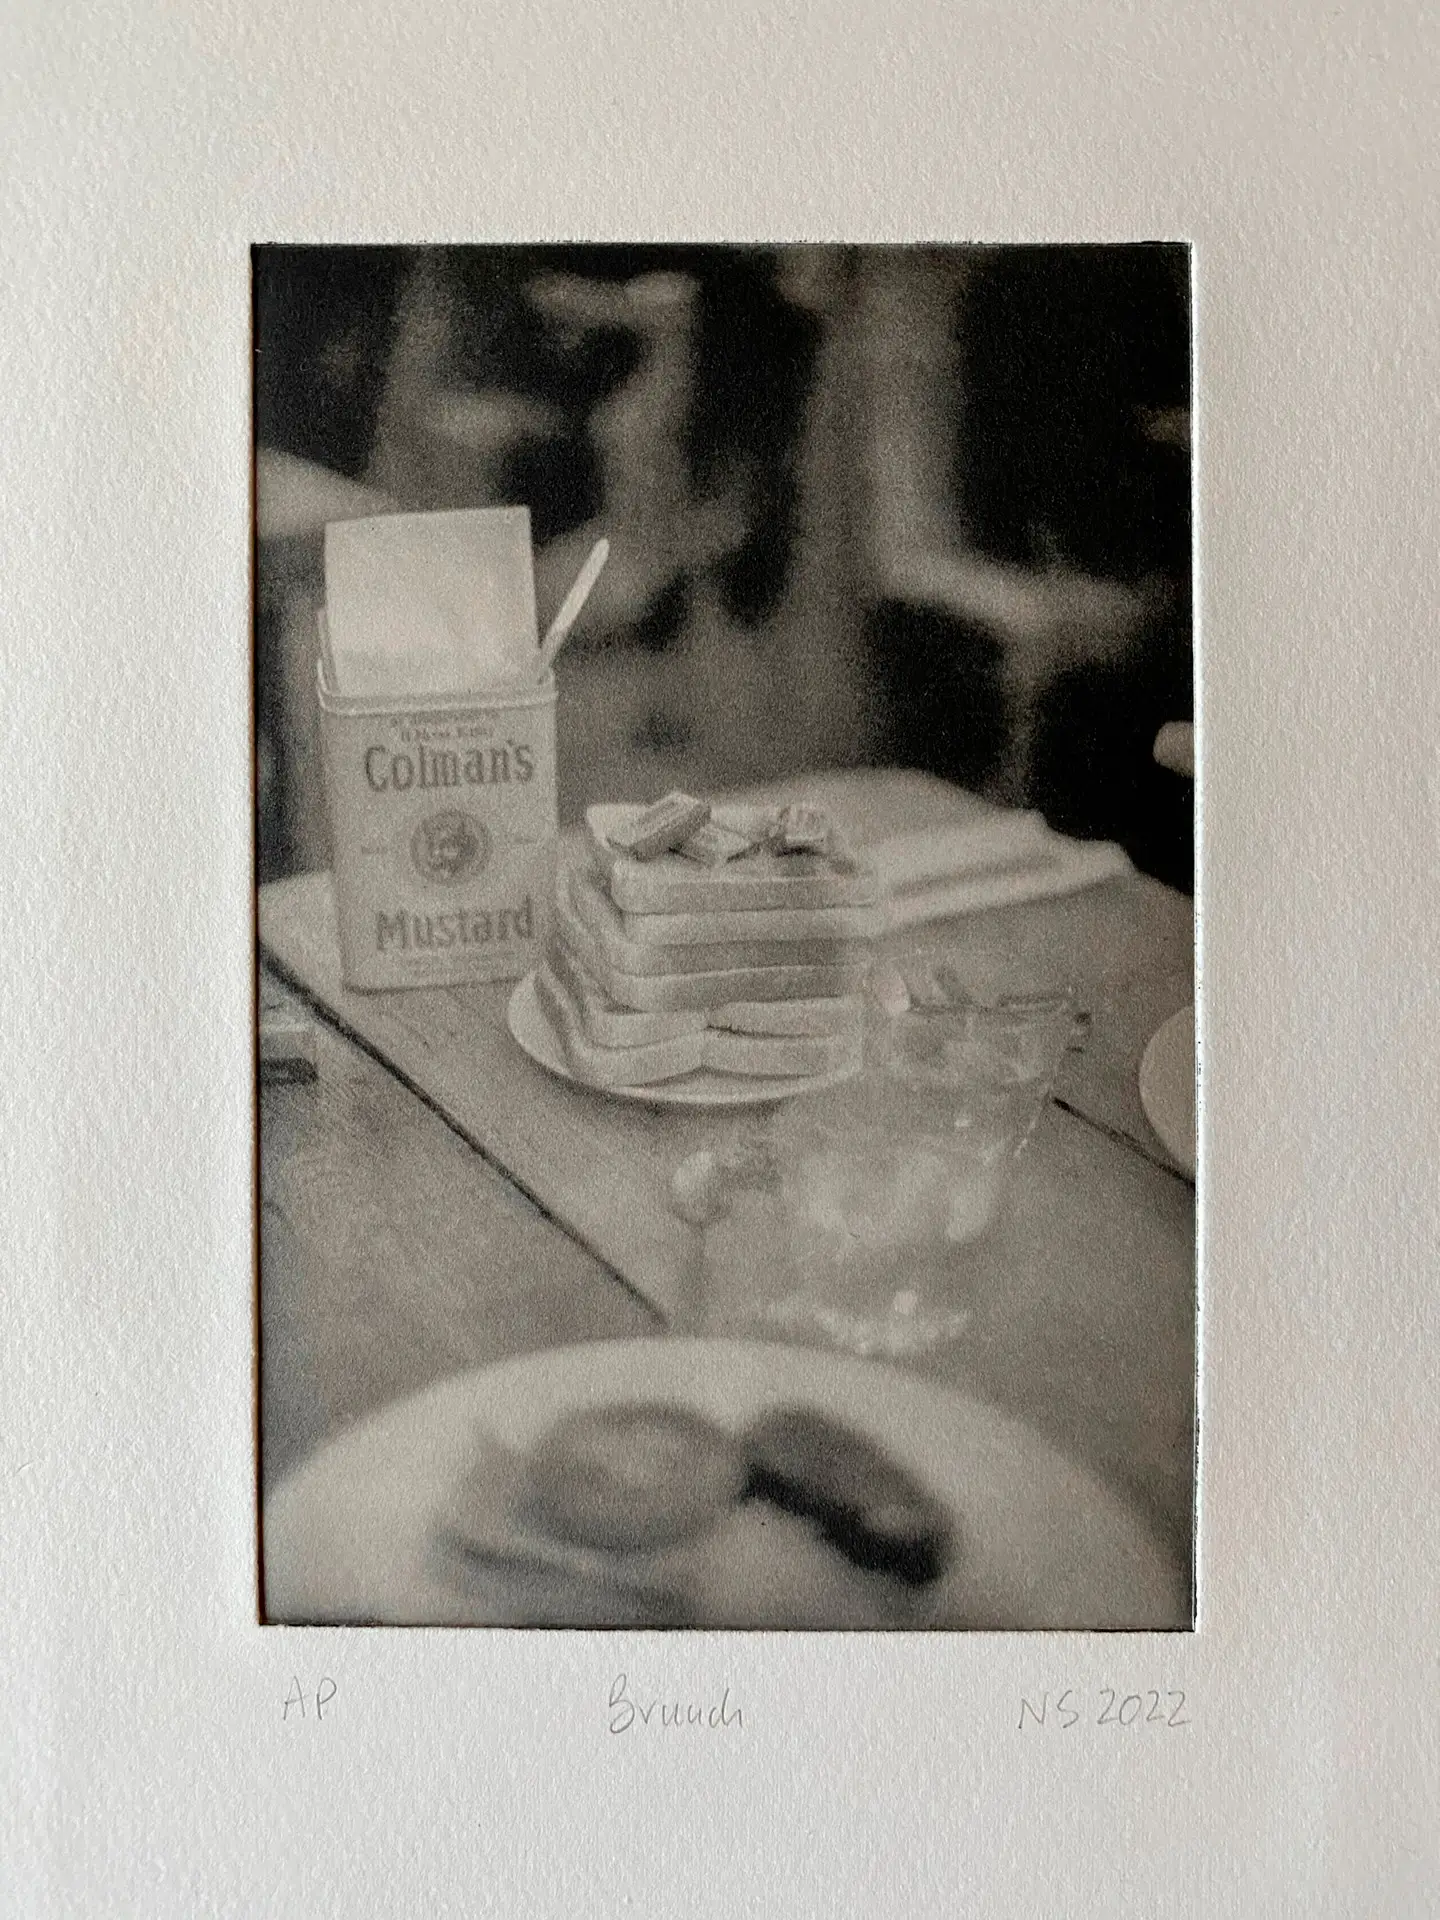
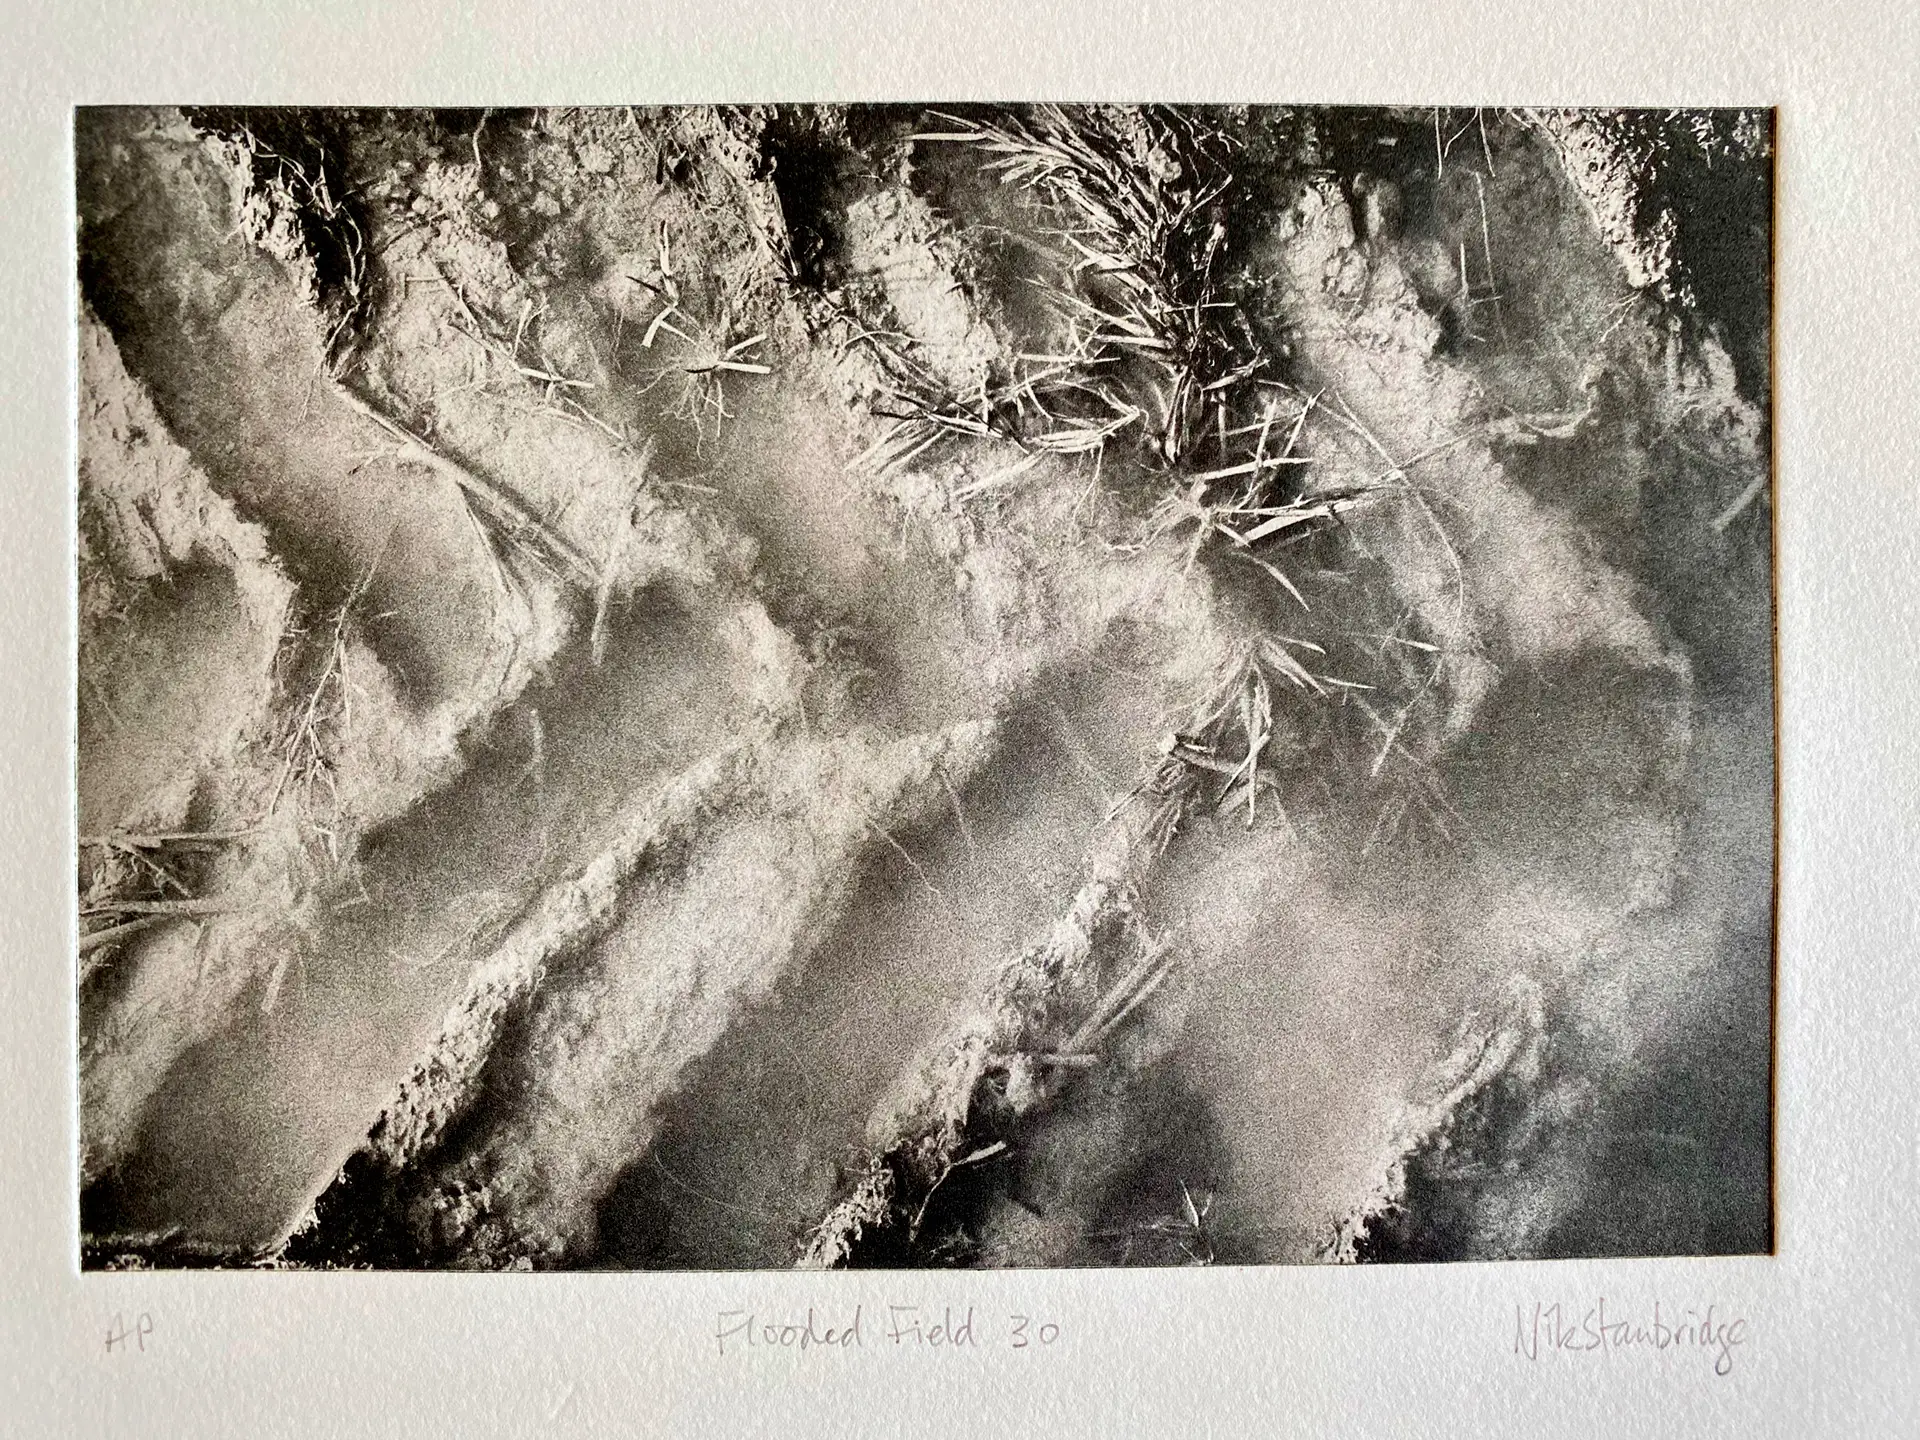
All the prints in this article were printed from Toyobo KM73 plates on Somerset Satin cotton rag paper using Charbonnel oil-based inks. The transparency positives were printed on PermaJet digital transfer film on an Epson ET-7700 printer. The Photoshop correction curve was derived using the free/online Easy Digital Negatives (EDN) process.
I’m on Insta @nikstanbridge where you can follow not only my photograpy and photogravure adventures, but also my new foray into lino printing.
Share this post:


Comments
John Hauschildt on The Polymer Photogravure Process – By Nik Stanbridge
Comment posted: 16/03/2023
While this may be, as you warned, an infuriating process, that's part of the learning curve of any worthwhile pursuit, isn't it? I cannot imagine it's more frustrating that my current relief printing process of transferring my image onto a 4-foot block of wood so I can carve it up and run it through a press the size of a small car.
Thank you.
Comment posted: 16/03/2023
Patrick Medd on The Polymer Photogravure Process – By Nik Stanbridge
Comment posted: 16/03/2023
As an aside from looking at your instagram I think you live in the village I used to live in before I headed to Devon - small world!
Comment posted: 16/03/2023
Karen McBride on The Polymer Photogravure Process – By Nik Stanbridge
Comment posted: 17/03/2023
Thanks.
Comment posted: 17/03/2023
Ibraar Hussain on The Polymer Photogravure Process – By Nik Stanbridge
Comment posted: 26/05/2024
Fascinating process and beautiful tangible works of art.
I don’t print much at all these days - not even for my own pleasure.